A Little Tipsy

Creative Tips & Ideas

  • home
  • About Me
  • the tipsy top
  • press
  • projects
  • contact me
[print_thumbnail_slider]

Dominos {Giant Syle}

June 2, 2011 By Michelle Barneck 23 Comments

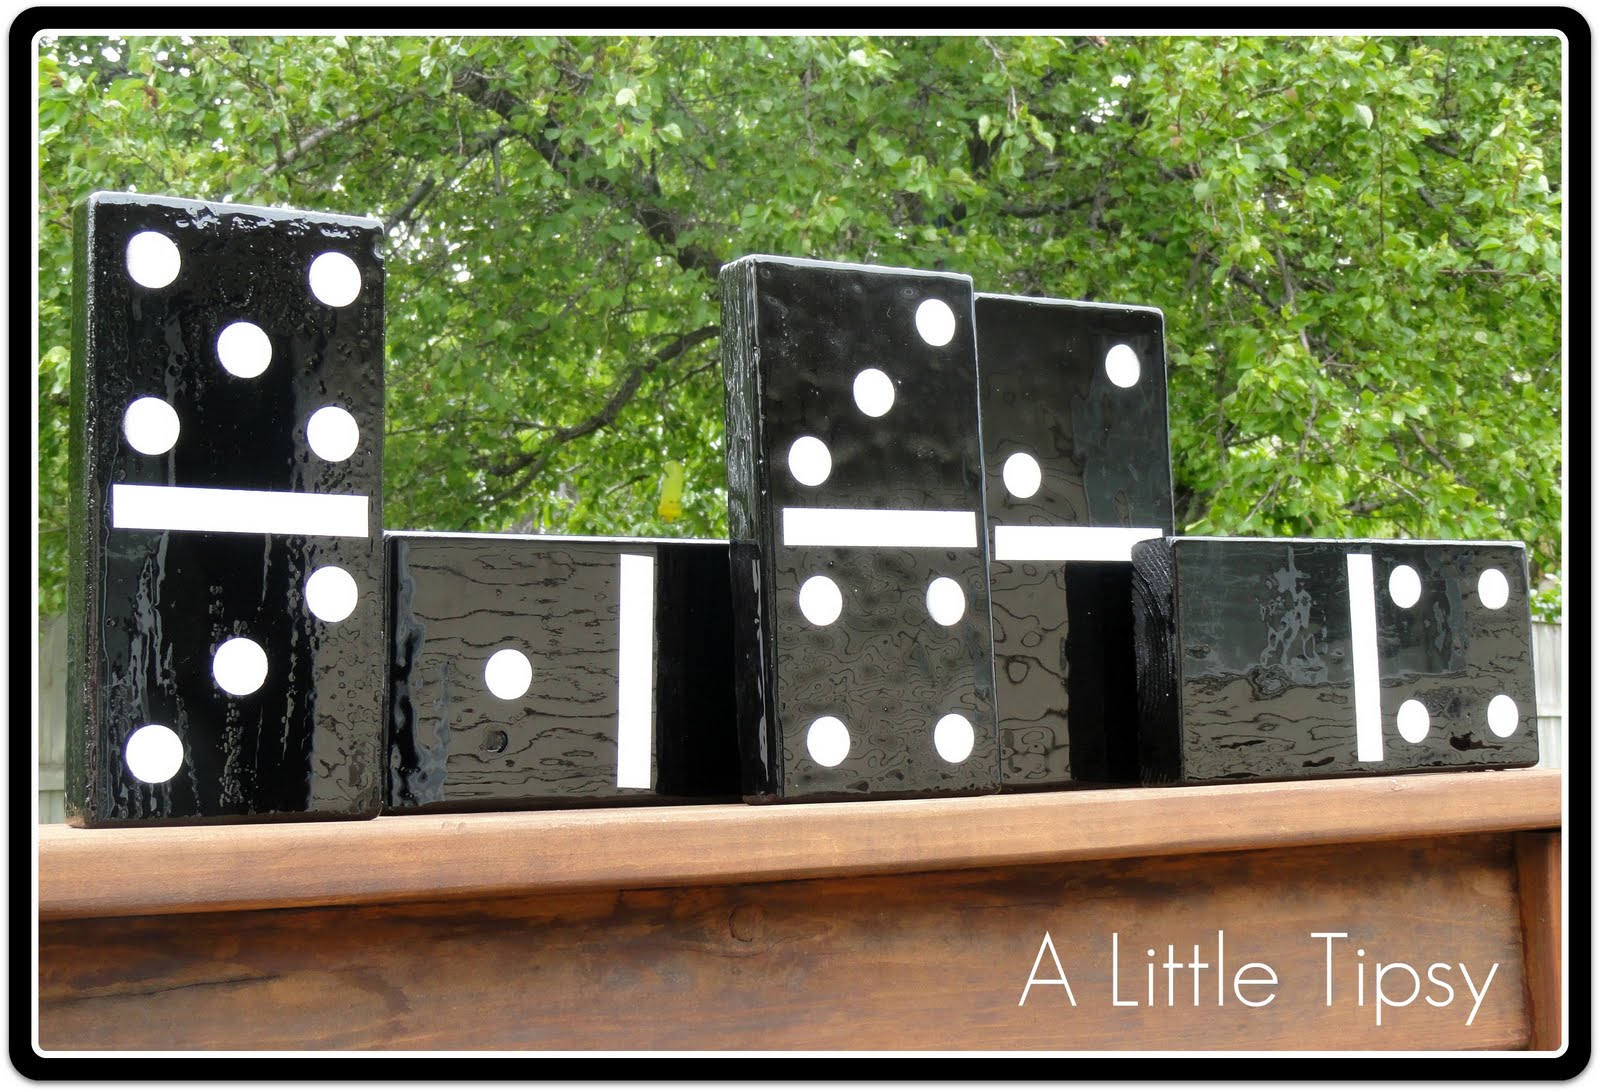
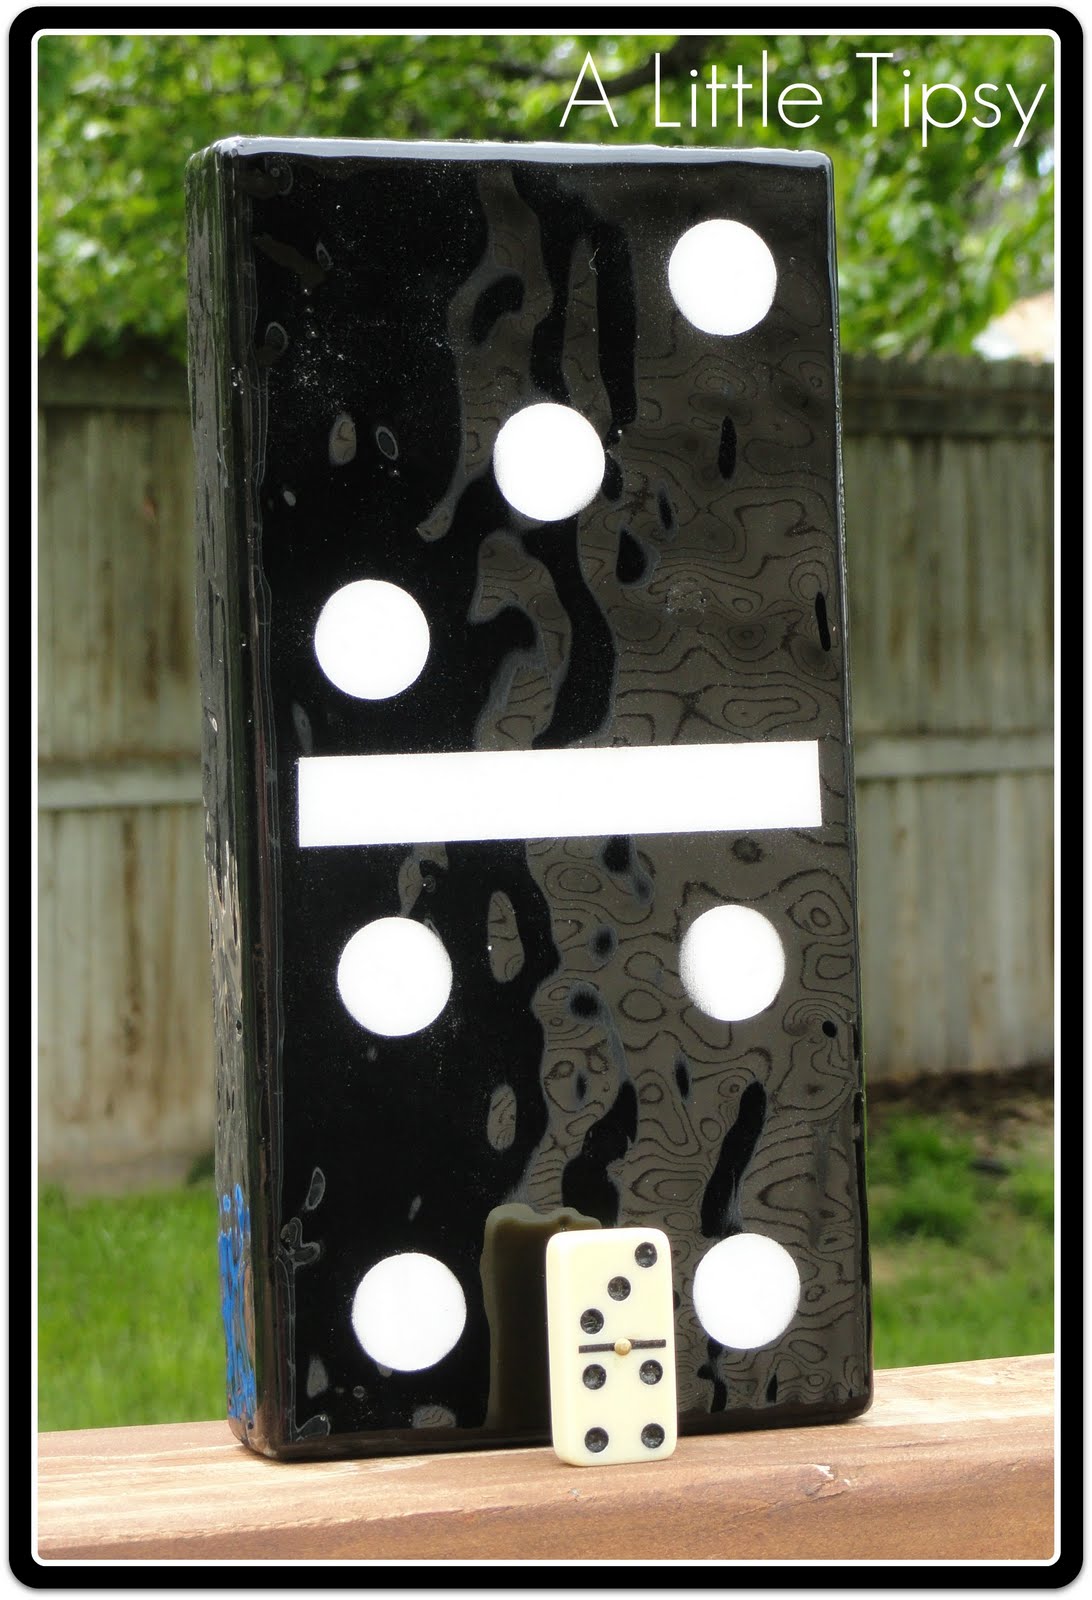
I am in the process of redecorating our play/game room. I decided to include some over-sized game pieces for an added element of fun. I went with a couple of my hubs favorites to start with chess and dominos. I figured I could easily make some dominos of my own, so that’s just what I did. I thought of using birth dates as the numbers to make them even more significant, but quickly decided against that realizing that the 27th would just not fit. πŸ˜‰ Instead, I went with our anniversary date.
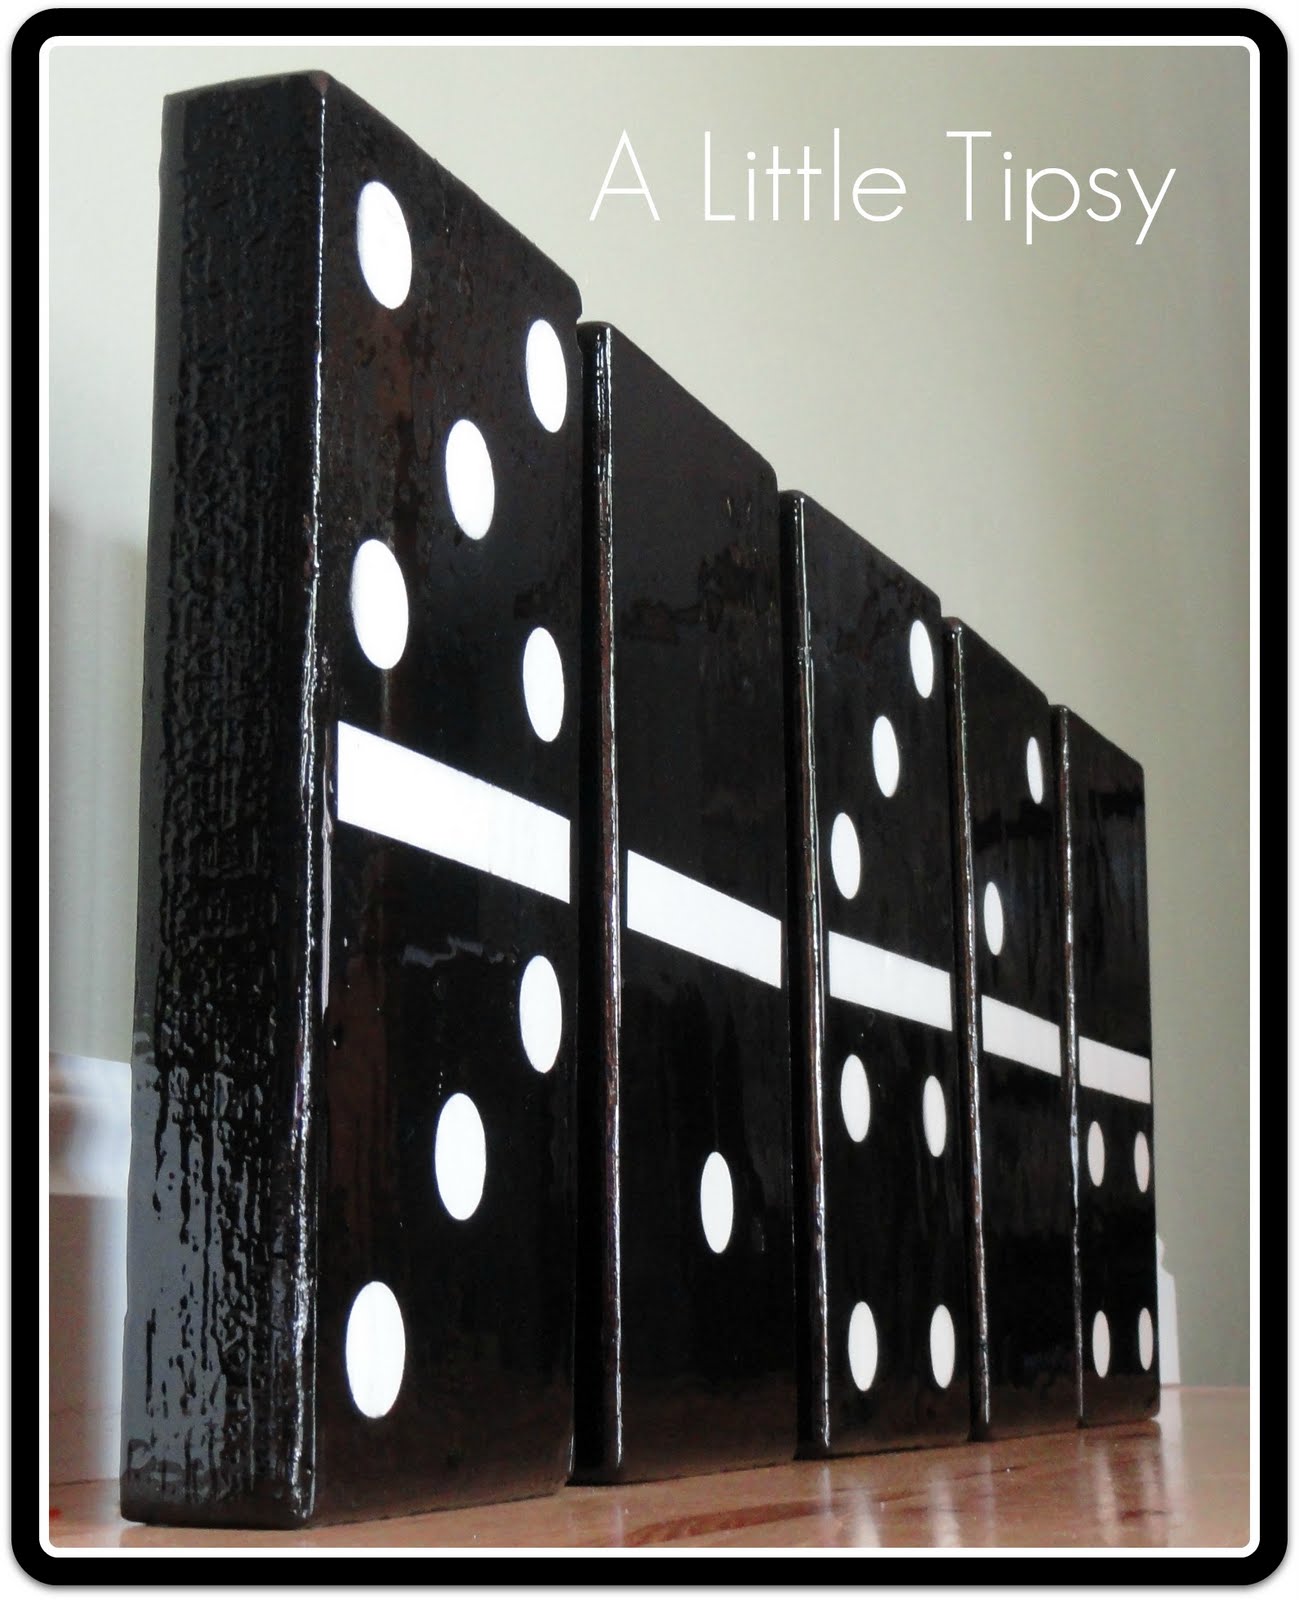
Dominos
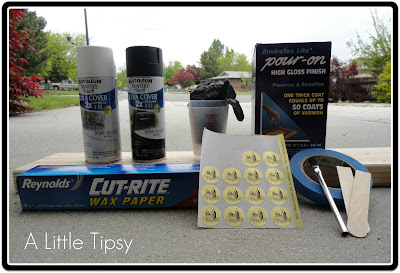
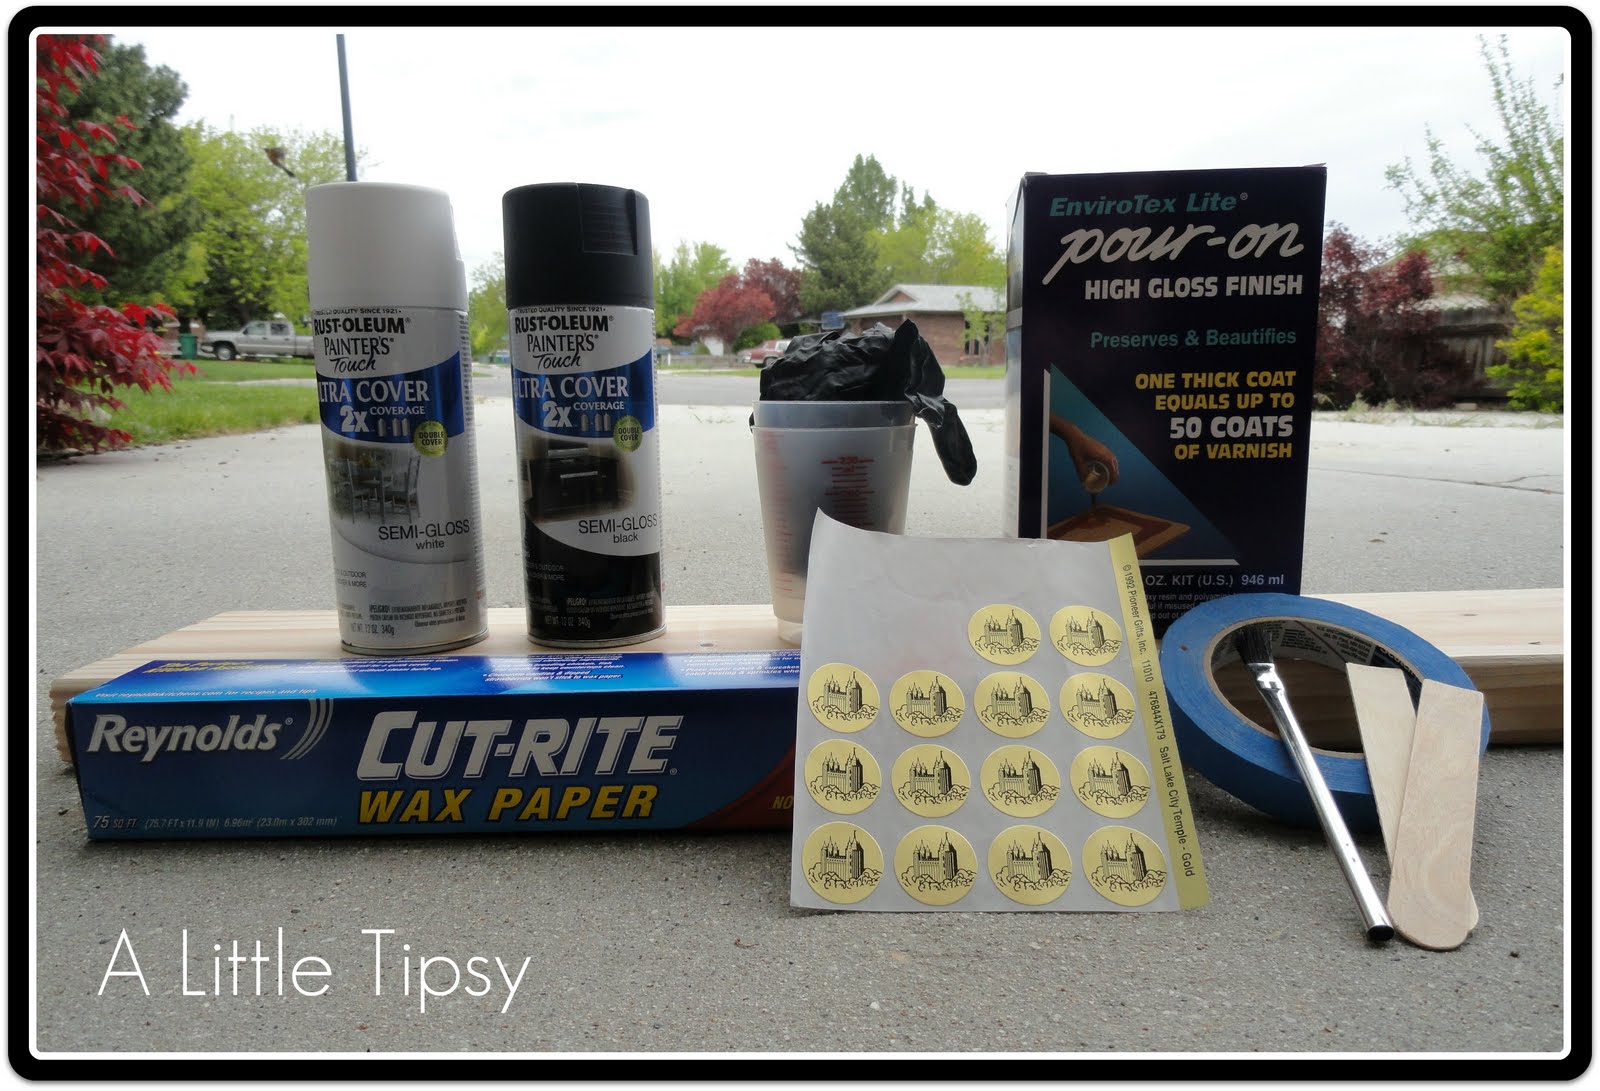
Supplies needed:
  • One 2×6 board
  • Electric sander
  • White spray paint
  • Black spray paint
  • Thin blue paint tape
  • Circle stickers
  • Wax paper
  • Mixing cups
  • Mixing sticks
  • Gloves
  • Brush
  • 4-5 oz. Envirotex Lite pour-on high gloss finish
  • Cups (to hold dominos for drying)

1. Cut your 2×6 board in to five 11 inch pieces (you will have about 3 ft leftover). I had one of the workers at Home Depot do this for me (I call him my Home Depot husband), though he used a HUGE saw and it left deep grooves on the ends which I did not love.
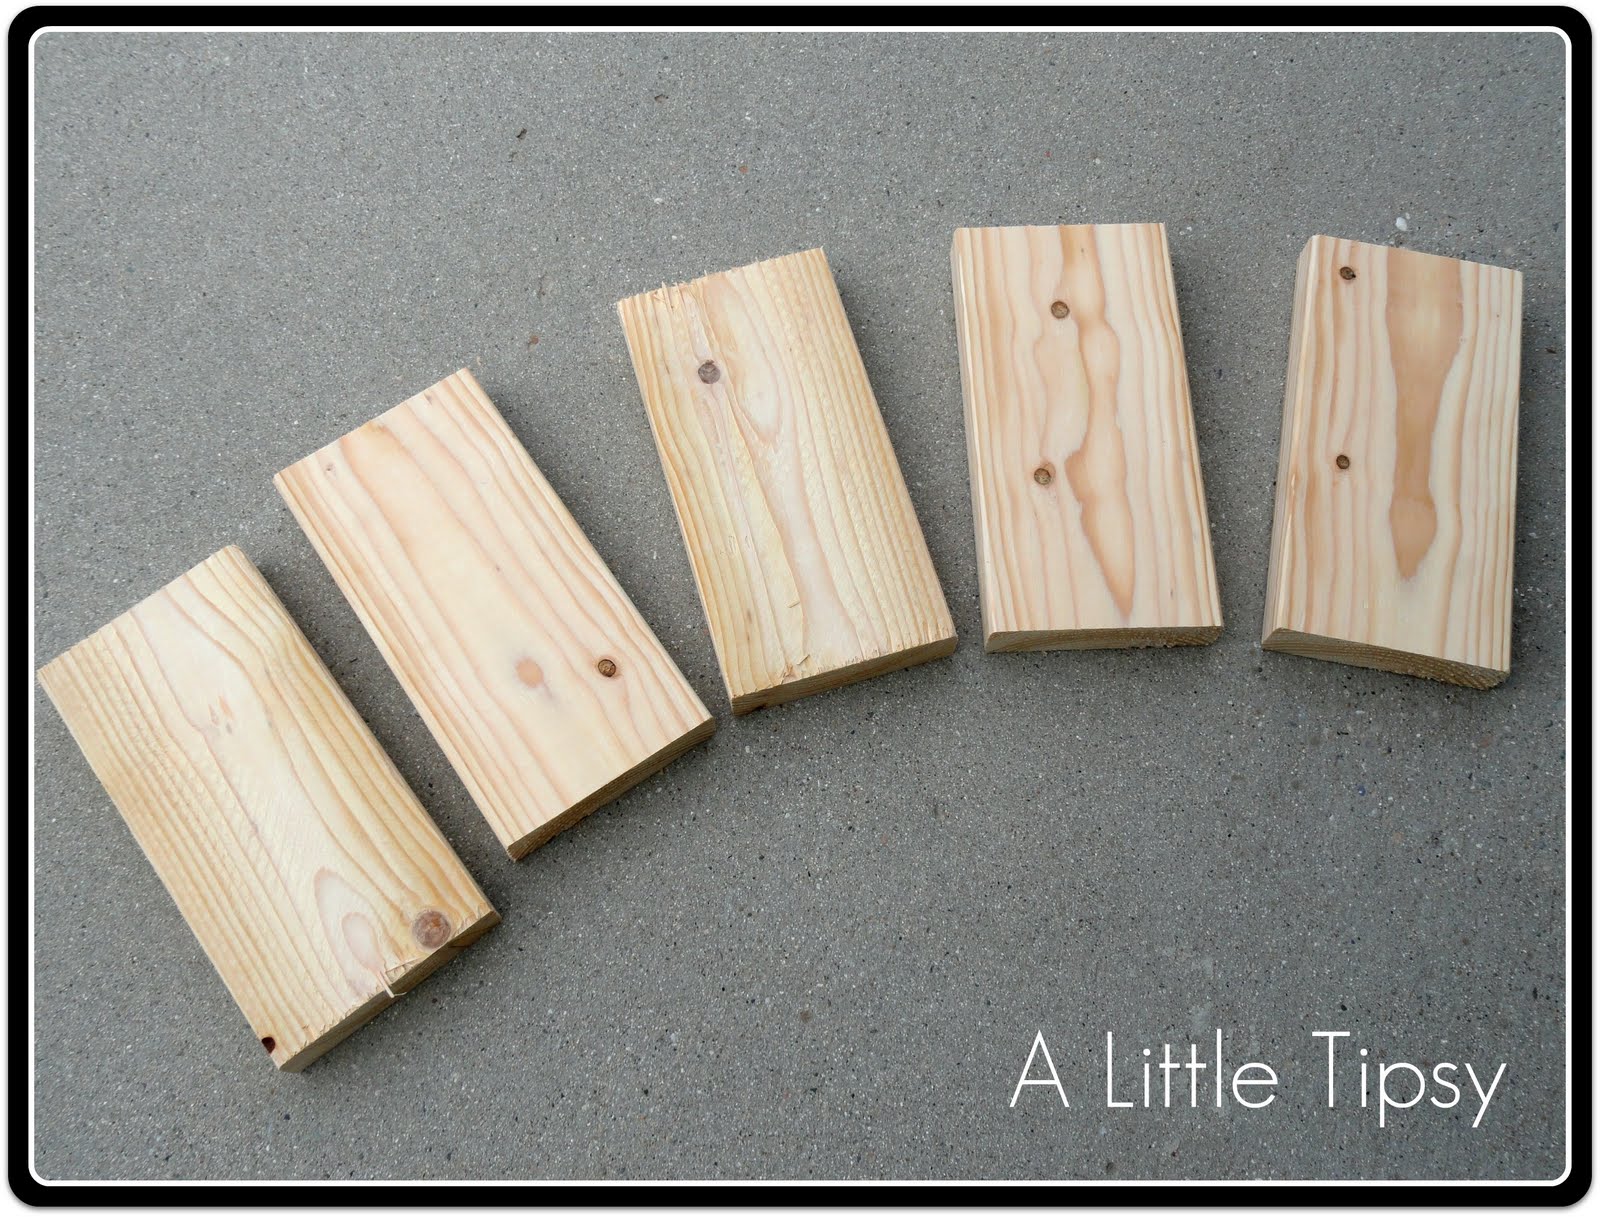
2. Sand down your board so it is smooth and all the edges and corners are rounded like a domino.

3. Spray the front of your domino with a coat of white paint and let dry according to the directions on the can.
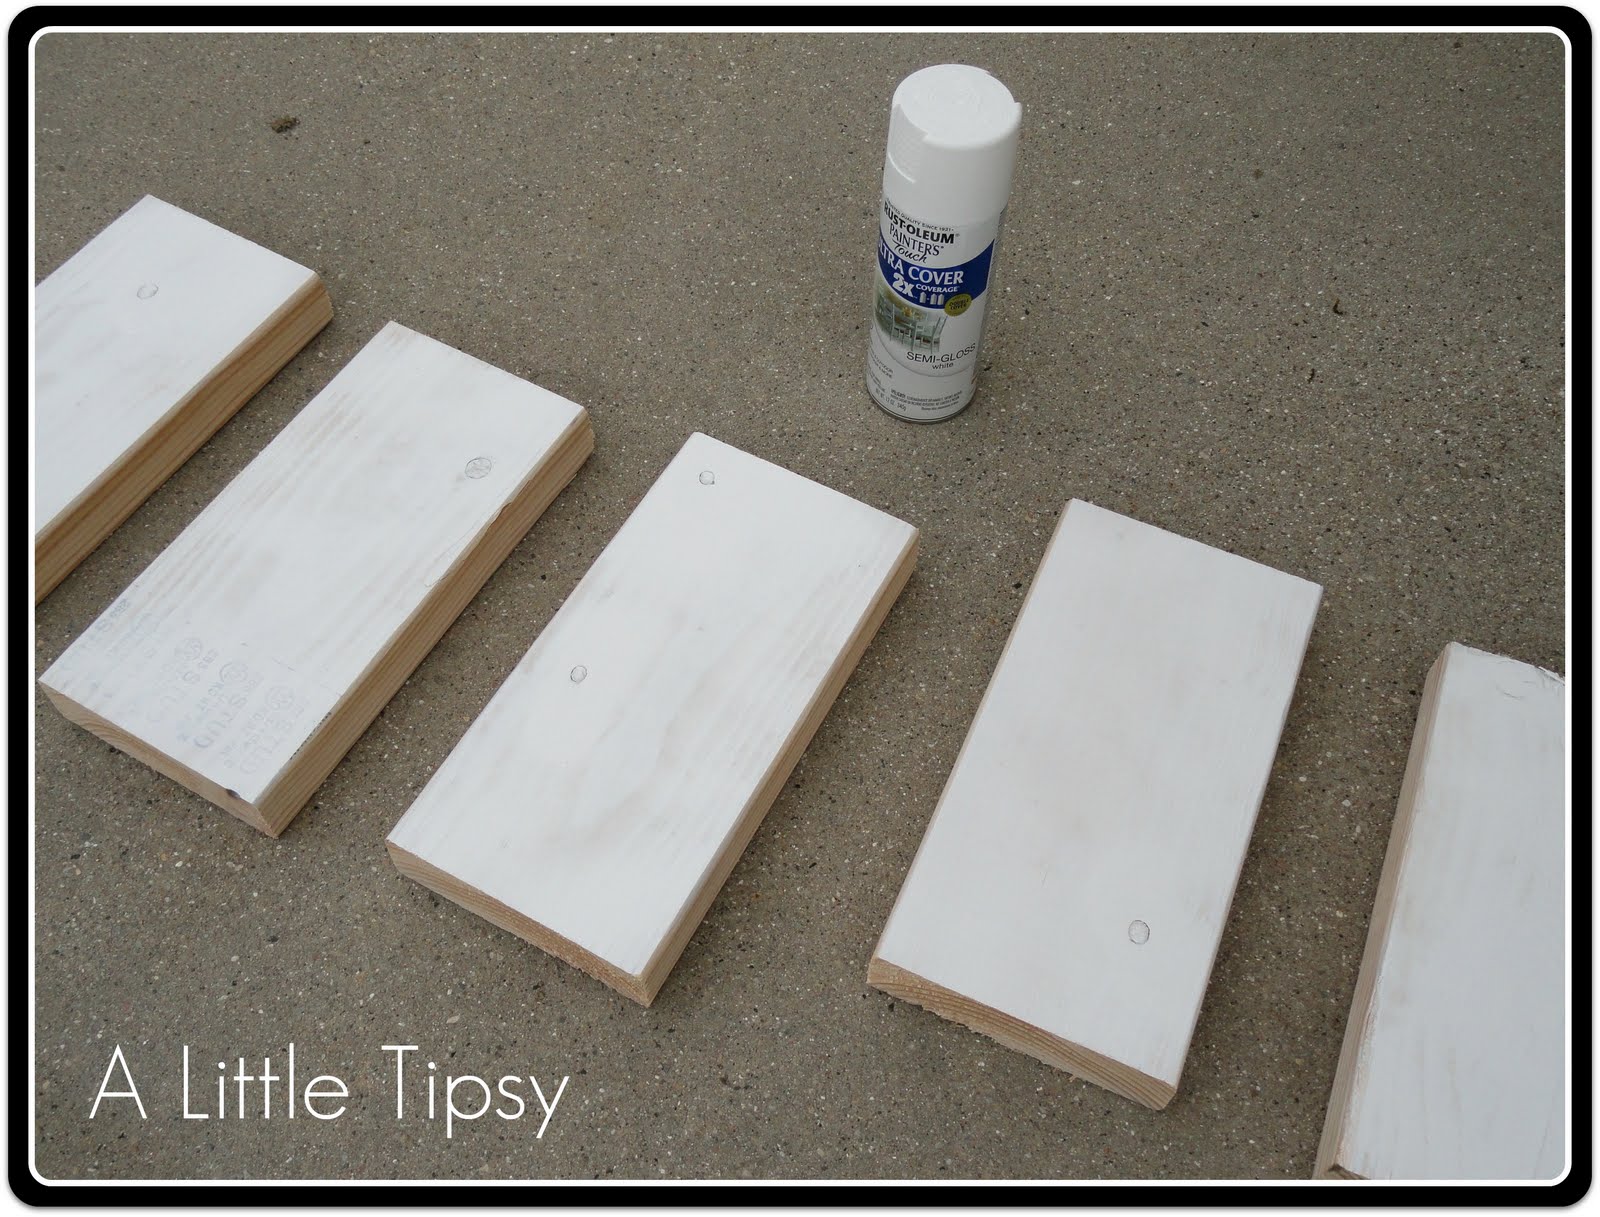
4. Use a strip of blue painters tape to make the line in the middle of each of the dominos. Place your circle stickers where you want them for the numbers on the dominos making sure all the edges are down securely.
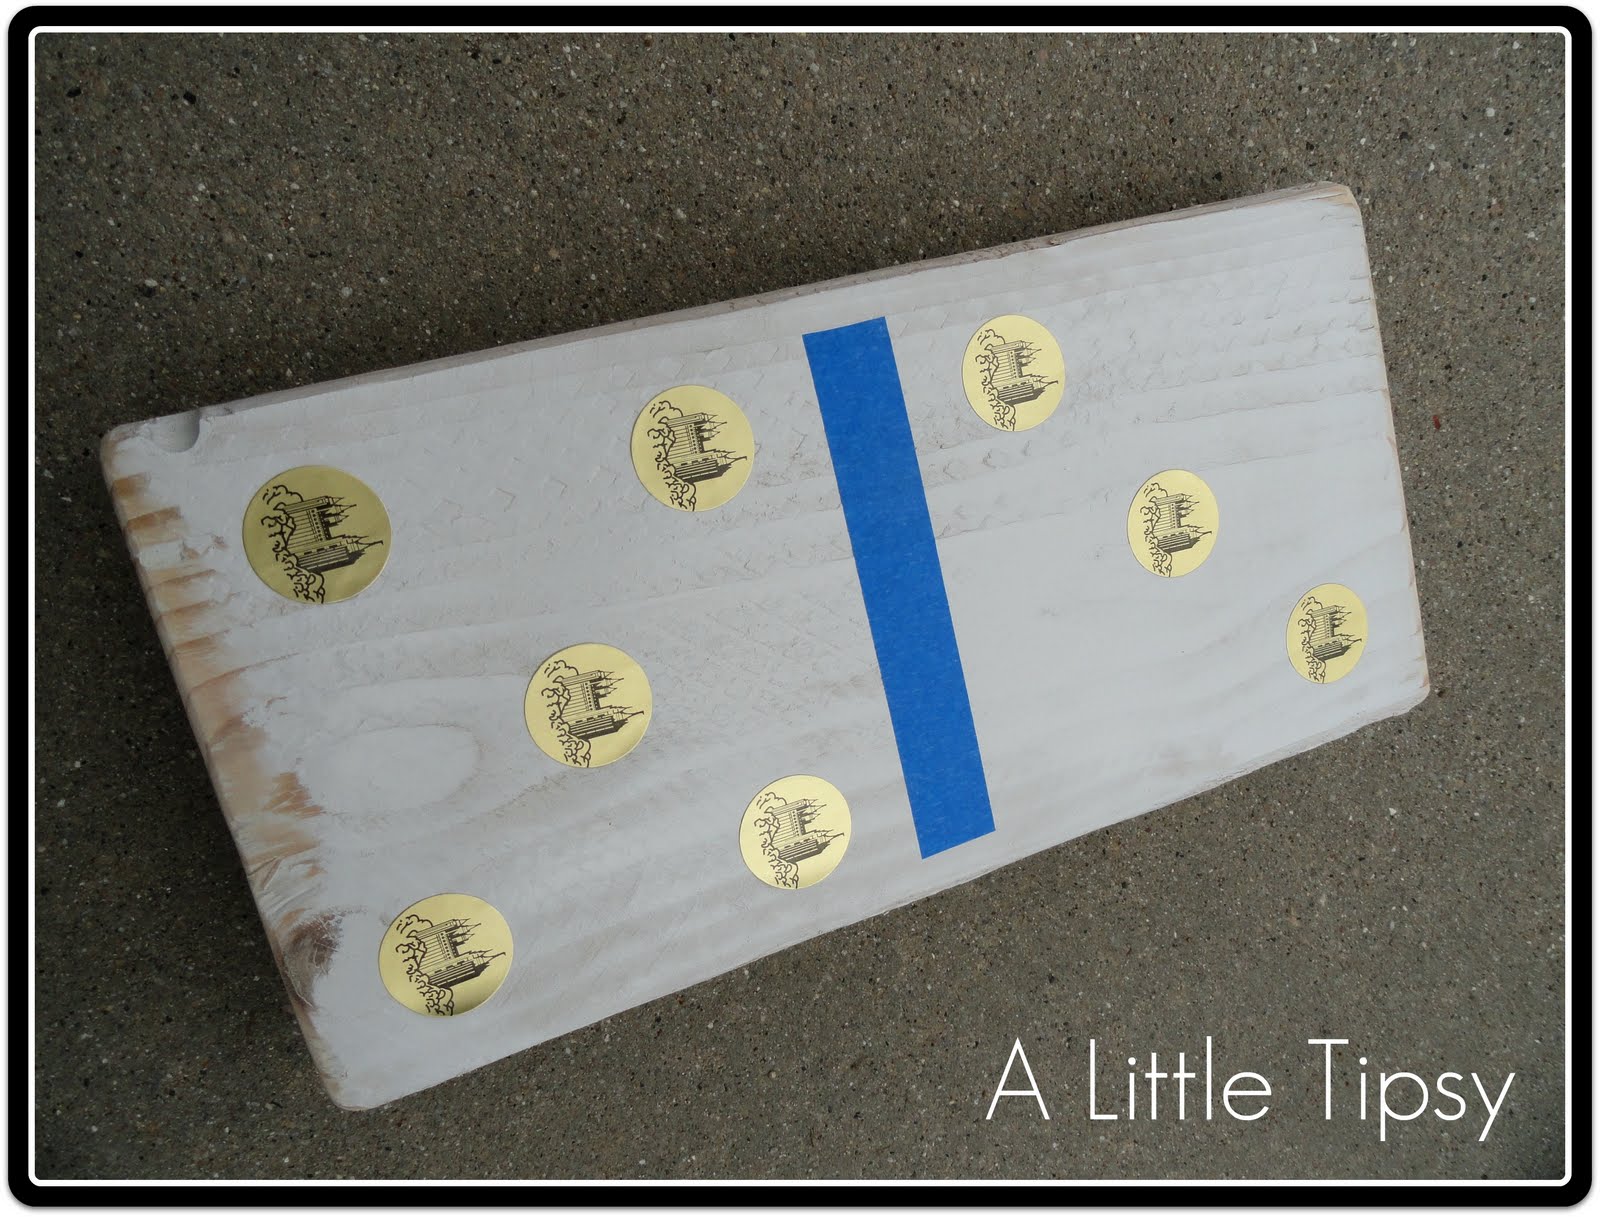
5. Spray paint the dominos black.

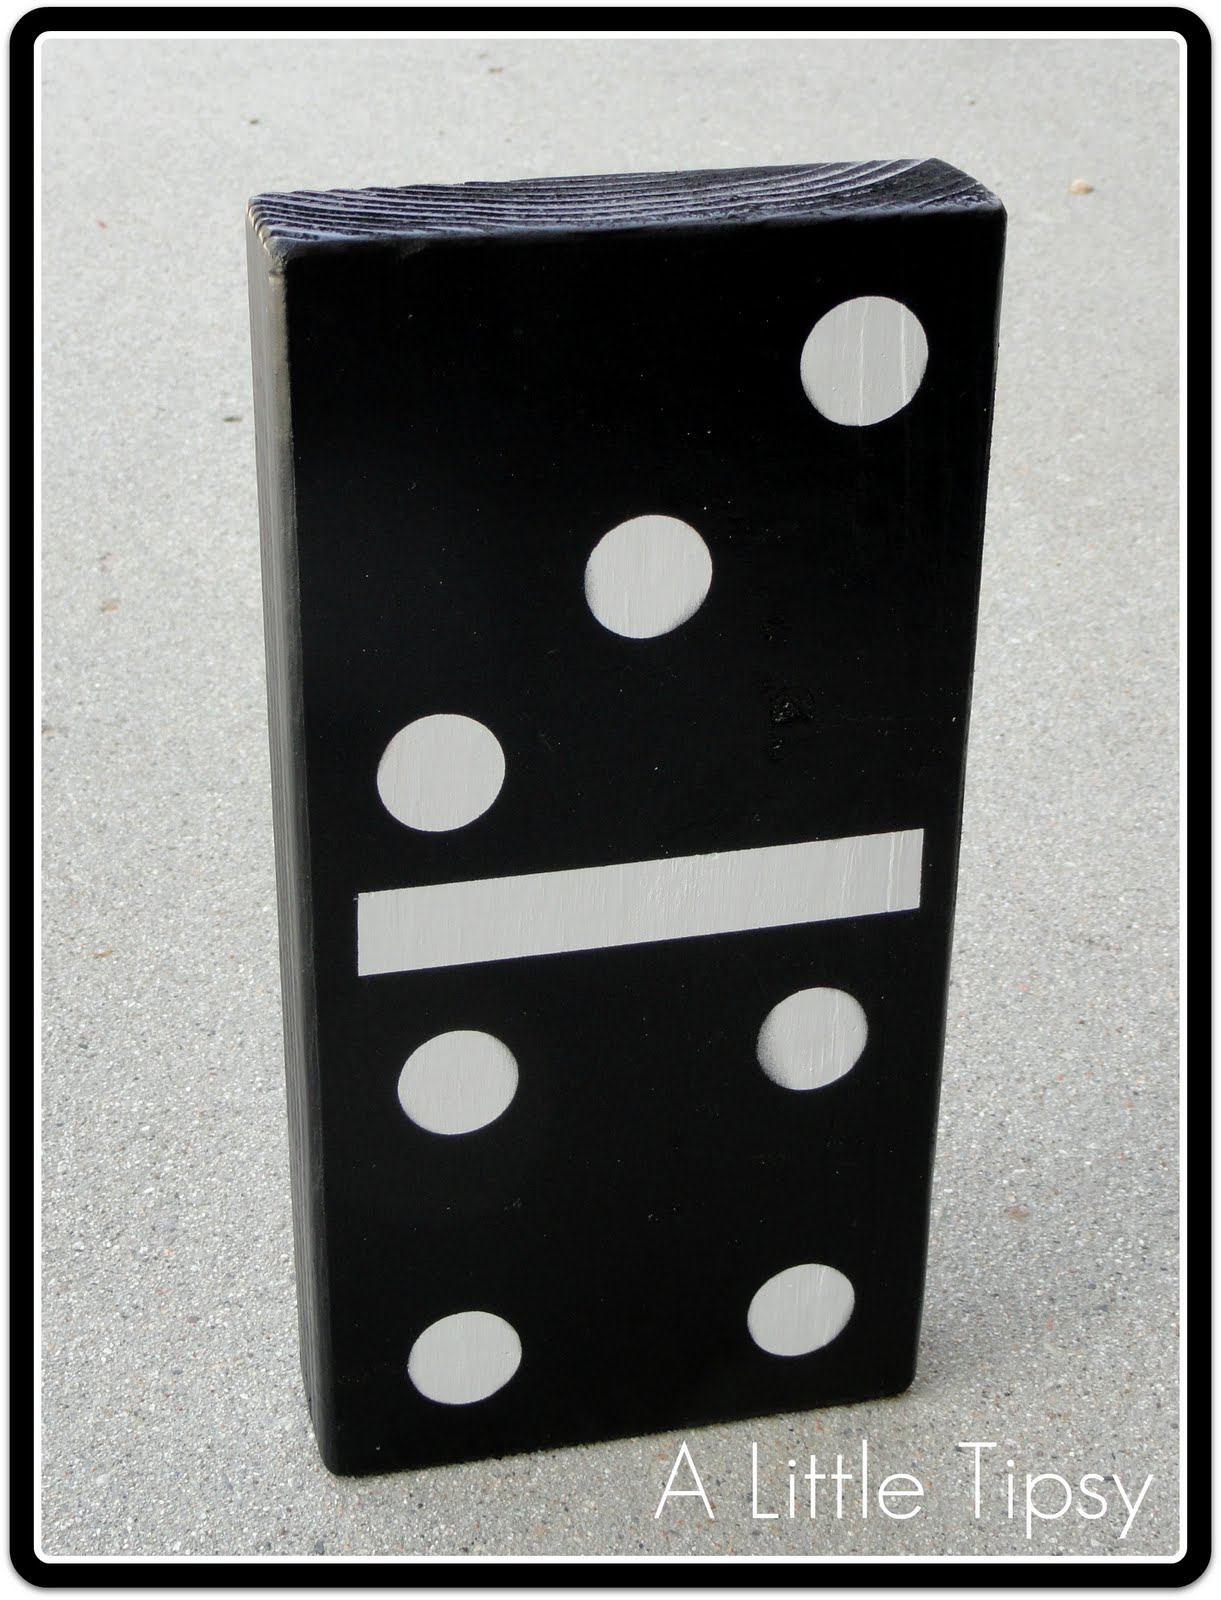
6. After a couple of hours, peel off the stickers and tape to reveal the white dots and lines on the dominos. Let the black paint continue to dry and allow to dry according to the instructions on the paint can.
7. Pick a surface to place the dominos where they can sit to dry (I did it on the kitchen table after the kids went to bed so the dominos would have a good 11 hours to dry before curious little hands were introduced.) and will not be exposed to a lot of dust floating around and is also at least 70 degrees. Cover your surface with wax paper and place the cups to hold the dominos while adding the gloss.
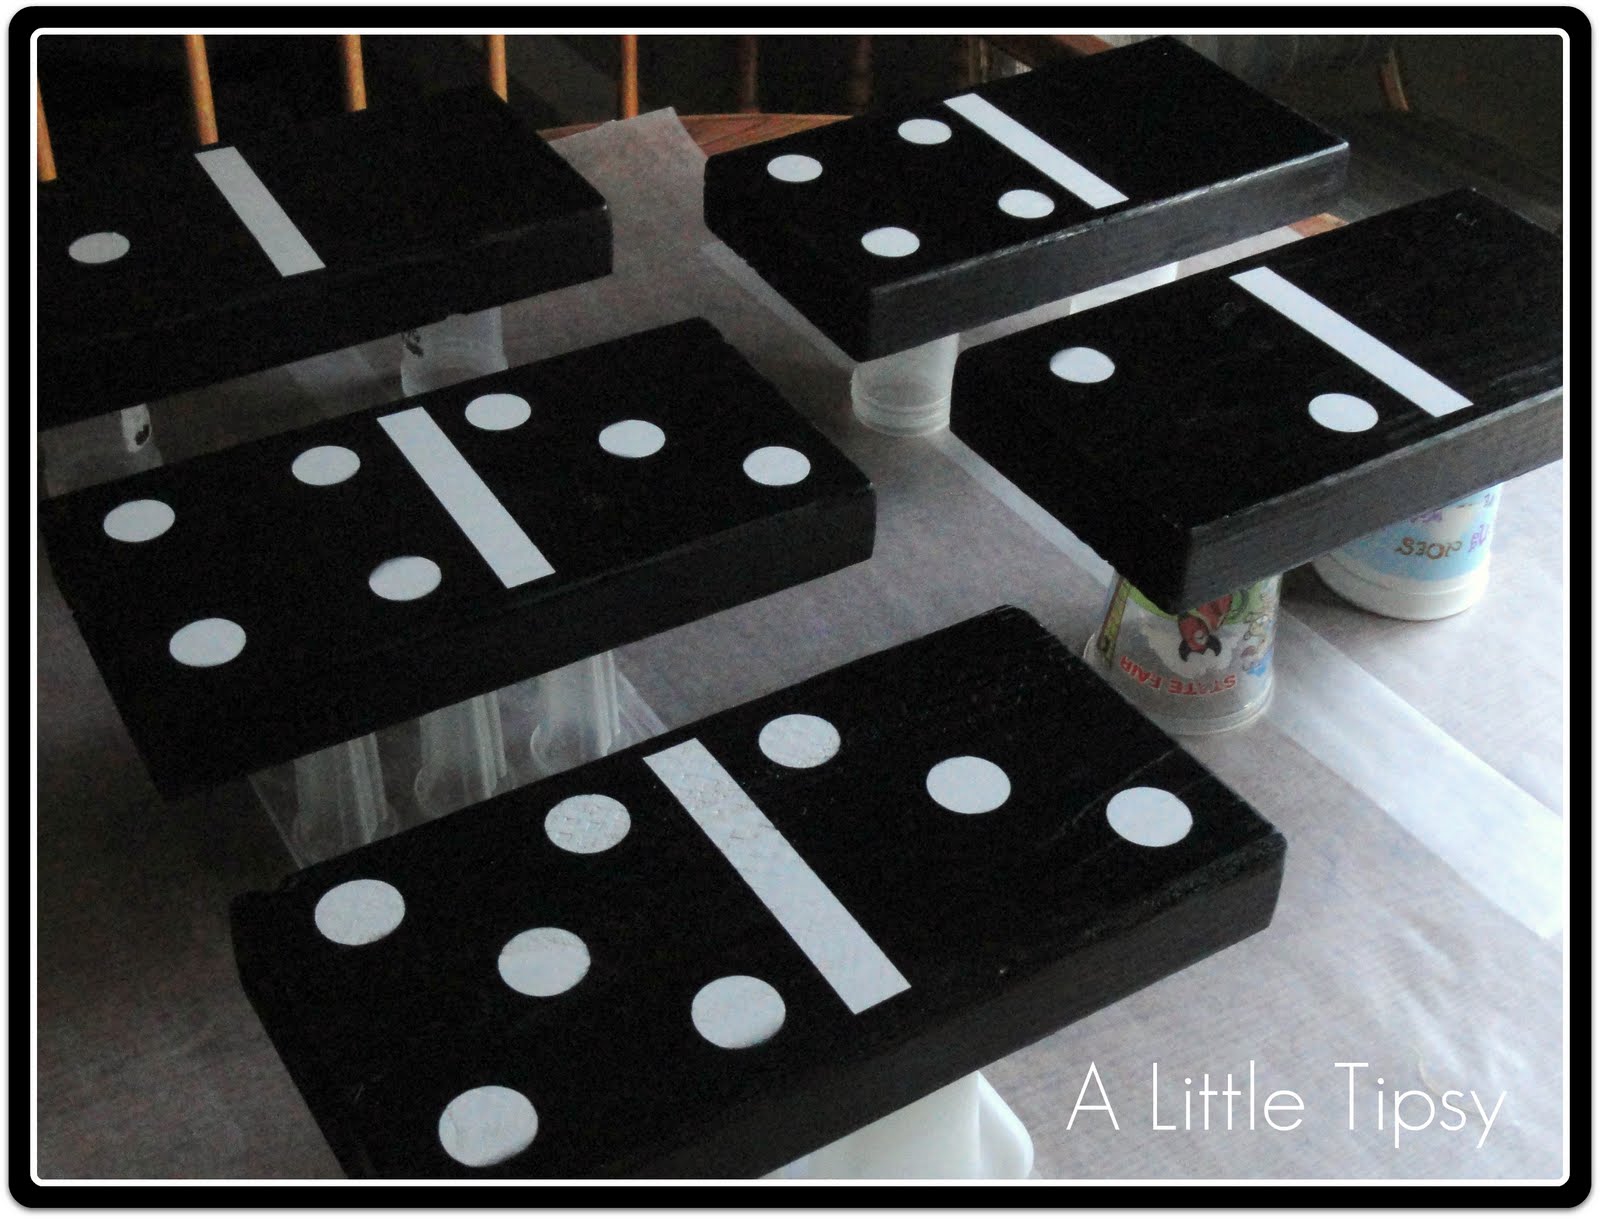
8. Mix up the Envirotex Lite pour on gloss according to the instructions. I just brushed on a thin wood sealant coat. I was going to do the flooding, but ended up liking it with just a “thin” coat. {READ ALL THE INSTRUCTIONS IN THE BOX FIRST and wear gloves. Trust me on this. You do not want to mess this part up and it can be temperamental!} I used about 5 oz. of Envirotex, but that is because it started hardening before I was done and I had to mix up and additional ounce. You can probably do it with 4 oz. if you do it in two batches of 2 oz. I just used my breath to get the bubbles out after I applied the thin coat.
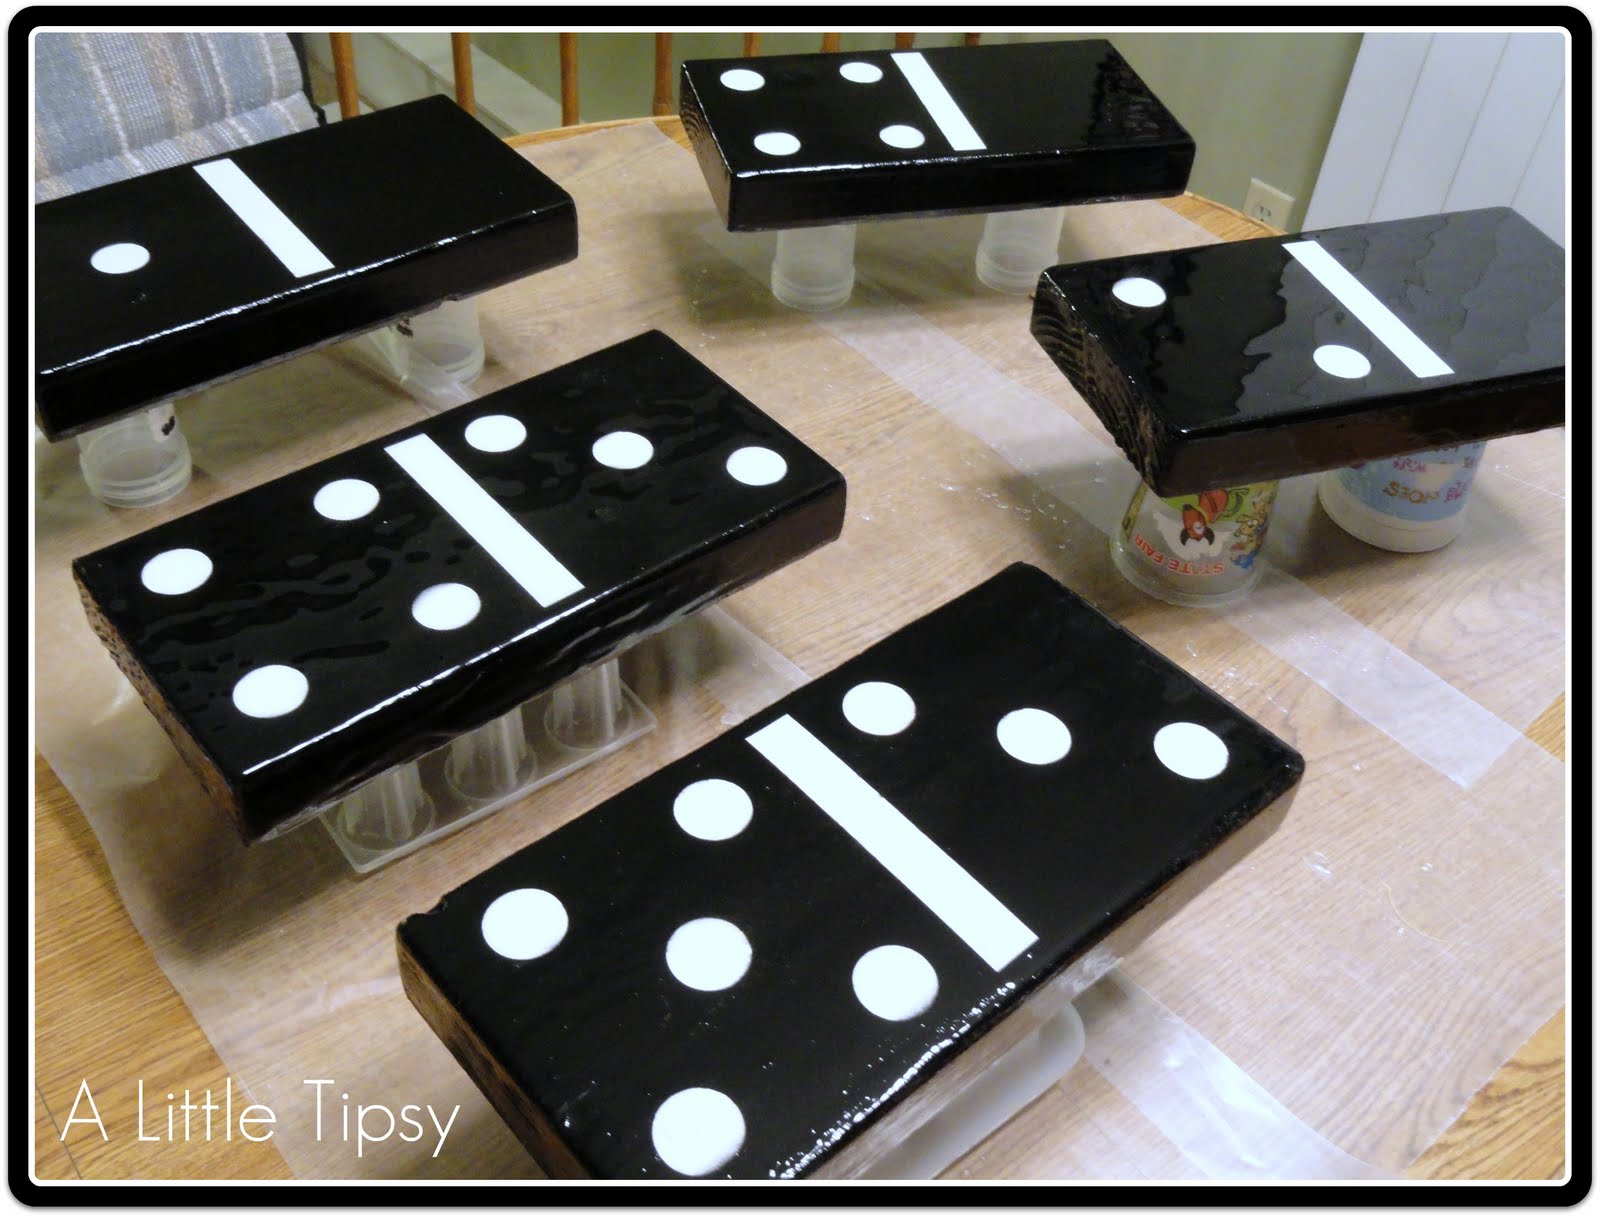
9. After you cover them all with gloss, let them dry for a couple of hours, then go around and scrape any drips off the bottom of the dominos. Otherwise, they will become permanent drips.
(I was having fun taking pics with reflections in them, here’s my kitchen light fixture)

10. I let them dry overnight, then moved them to a more secure location and let them dry for another couple of days just to be sure.

Now, I just need an awesome shelf in the game room to house them!
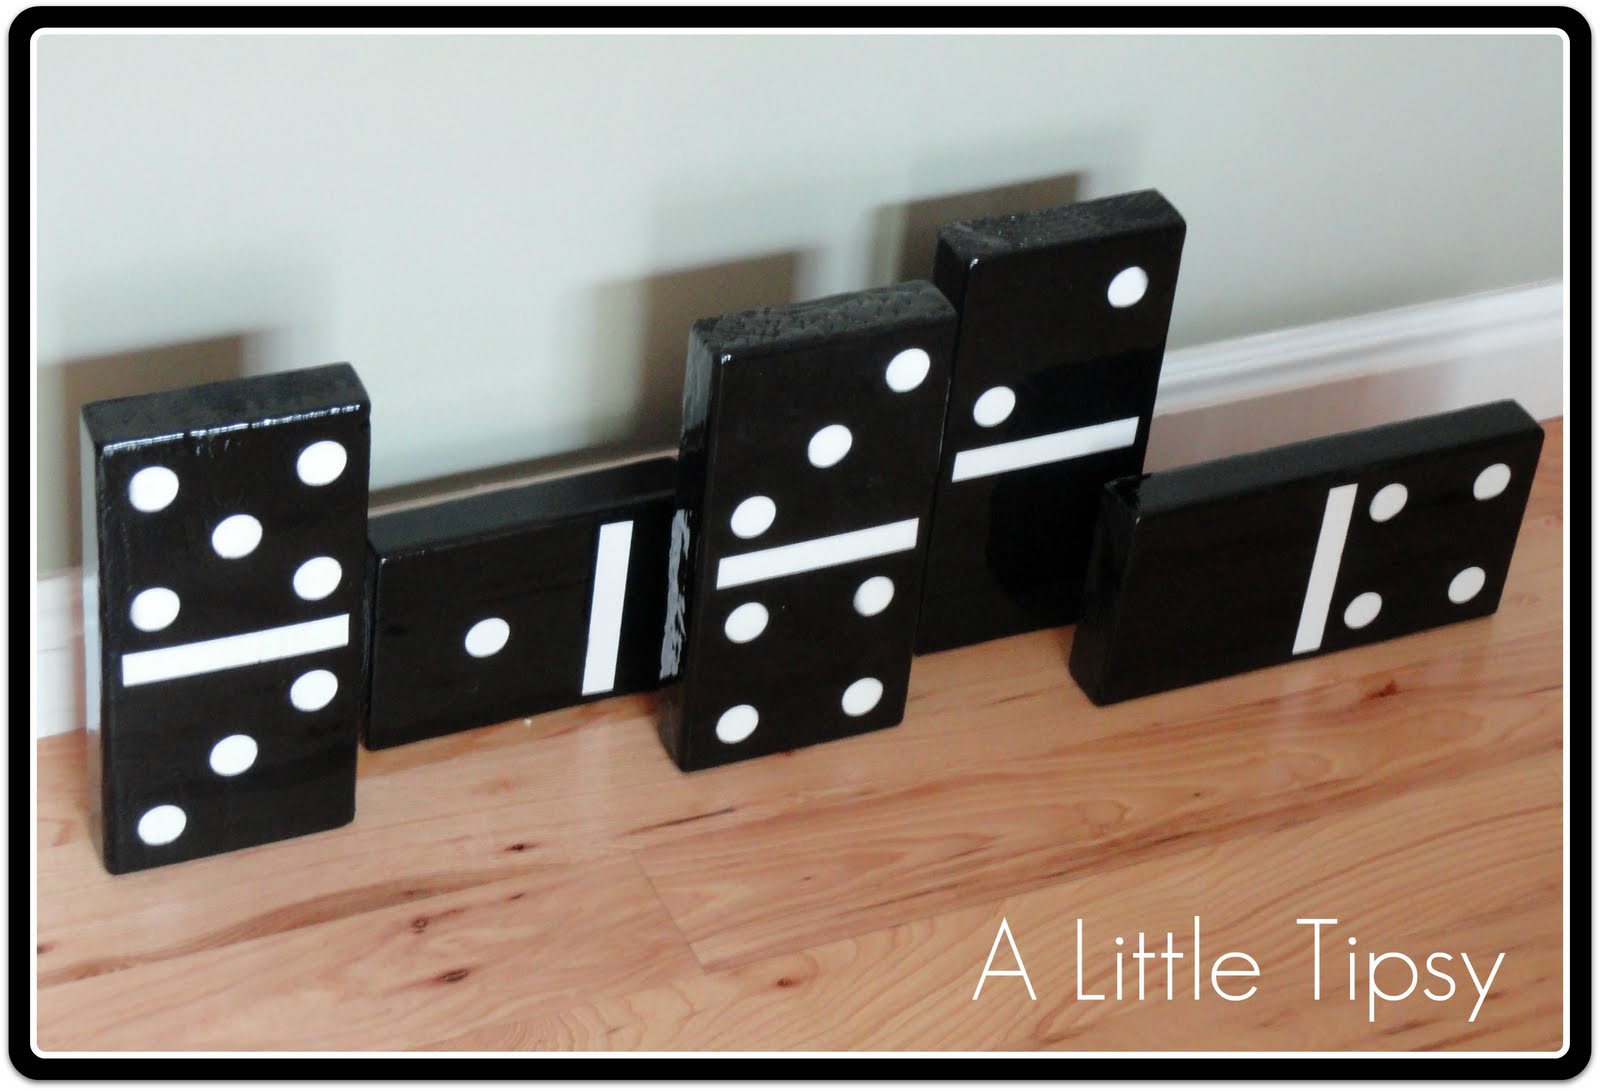
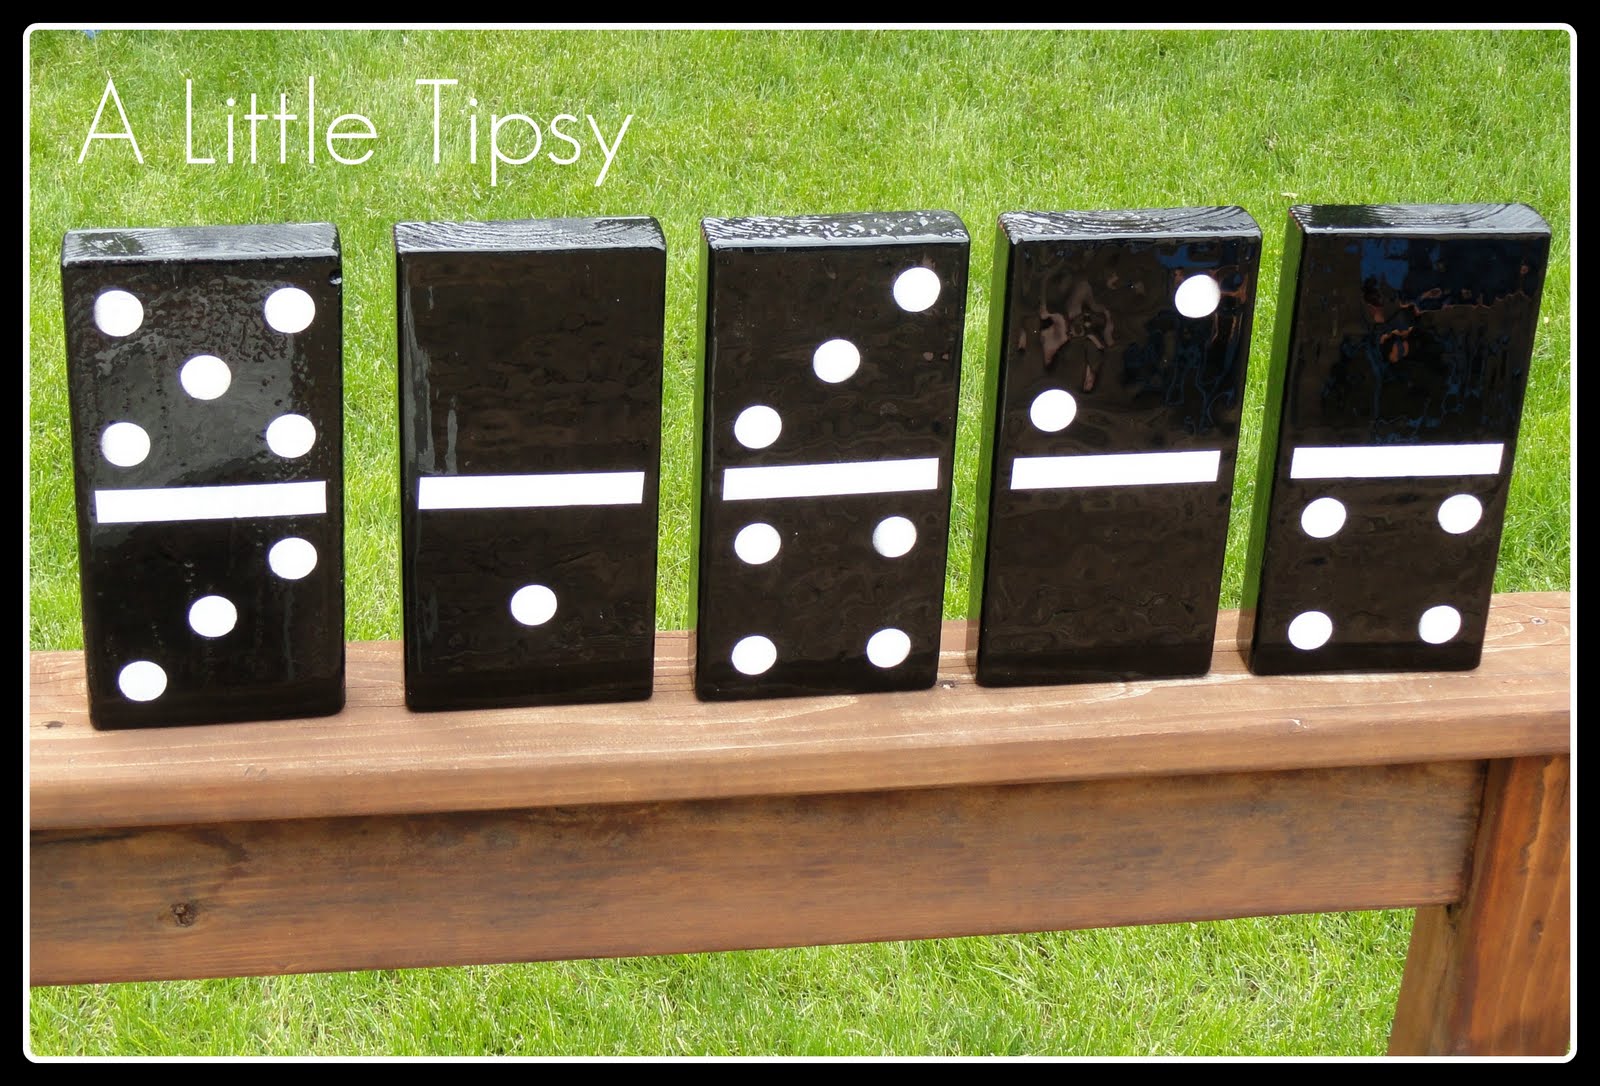
A big thanks to Crafterminds for choosing me to participate in this Envirotex Lite party! I can’t wait to try it out on some more things!

ETI sent me this product to try out. You won’t believe all that you can do with this product. Envirotex Lite was created by Environmental Technologies Inc. (ETI), which is the home for many resin and mold making products.
The use of resin in jewelry making, mixed media and paper arts continues to grow in popularity. Today, artists are using ETI’s products in many crafty ways and they will be showcasing these works of art on their new blog “Resin Crafts”.

Check them out on:
Resin Crafts Blog
ETI on Facebook
ETI on Twitter

P.S. Don’t forget to sign up for free Tipsy updates via RSS or email.

We have decided to truncate our feed to help protect against stolen content. I apologize for any inconvenience. Please love us anyway. πŸ™‚

DIY Under $5 {Sugar Shaker Bouquet}

June 1, 2011 By Michelle Barneck 6 Comments

Need a quick and cute little gift idea? This mini bouquet may just be your answer. It is so easy and is a great way to say “thinking of you.” I saw this idea on my friend Whitney’s blog (her personal blog so I will not link, unless she tells me otherwise) a while back and immediately fell in love with it. She used carnations, but since I bought my flowers on Memorial Day, Mums were plentiful and I like their shape.

{Sugar Shaker Bouquet}

Supplies needed:
  • Sugar shaker
  • Flowers with skinny stems (I used one medium Mum plant for my 3 bouquets)
  • Kitchen shears
  • Ribbon
  • Glue dots
  • Chipboard letter sticker

Just fill up your sugar shaker with water, put the lid on and cut the flowers so the stem is small enough to poke through the holes in the shaker lid and there is your bouquet.

It’s like flower arranging 101.

Total cost for three: $7
Shakers $3
Mum $4
Ribbon on hand
Letters on hand

Cost for one: $2.33

Now it’s time to link up your $5 projects!

Please remember:

  • Only link to your own projects that cost you $5 or less (price does not have to include items you had on hand)
  • You can link past projects that fit the dollar limit, but please only link each project once
  • No giveaways or items for sale
  • Please link back so others can join the party and so you have the opportunity to be featured on Saturday!

DIY under $5


P.S. Don’t forget to sign up for free Tipsy updates via RSS or email.

We have decided to truncate our feed to help protect against stolen content. I apologize for any inconvenience. Please love us anyway. πŸ™‚

Make a Memory {4th of July Parade}

May 30, 2011 By Michelle Barneck 4 Comments

I am so excited to kick off our “Make a Memory” series today! Each Monday now through the end of August I will feature a special family tradition from one of my favorite bloggers. It is so important to create lasting memories with our families and this will be a fun way to get ideas for fun traditions we can start with our own families. So let’s get started and see how Shelley from How Does She and her family make a memory!

——————————————————-

The 4th of July is possibly one of my top favorite holidays. Family, food, water, fireworks, cute outfits to put the kids in,…it’s simply a fun holiday {not to mention the beautiful significance of celebrating our freedom}. This past year we had several small children around my home during the 4th of July. We thought of all the fun things we COULD, but probably SHOULDN’T, do with the toddlers: Sparklers {too risky}, Big Fire Work Show {too late}, 4th of July Parade {we’d lose the kids}. I was starting to feel a little ‘gyped’ until my Mother-in-law took control of the events. Now, HANDS DOWN, I can say my very favorite 4th of July memory was created this past year, in front of my little house, with a simple, hilarious, homemade celebration.

My Mother-in-law decided to bring the events to us. Who needs to go to a 4th of July Parade when the parade can literally come to your neighborhood?!

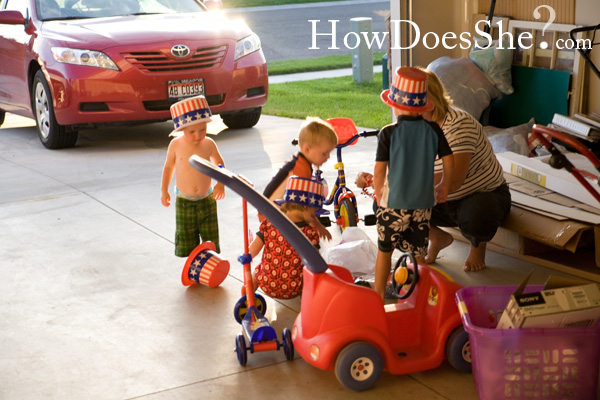
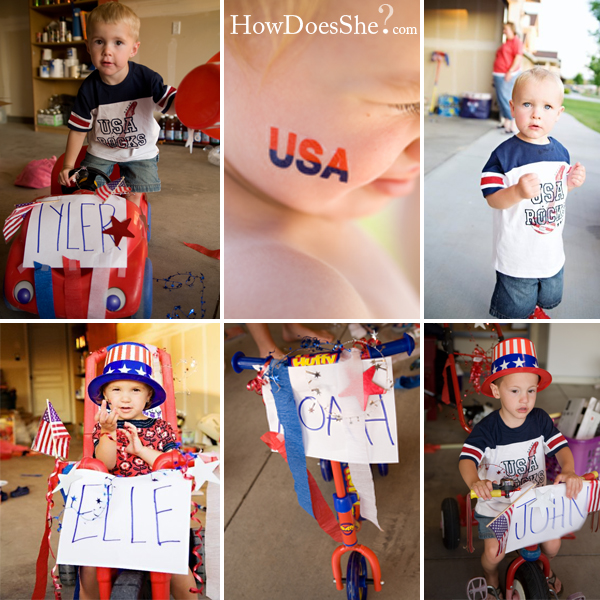
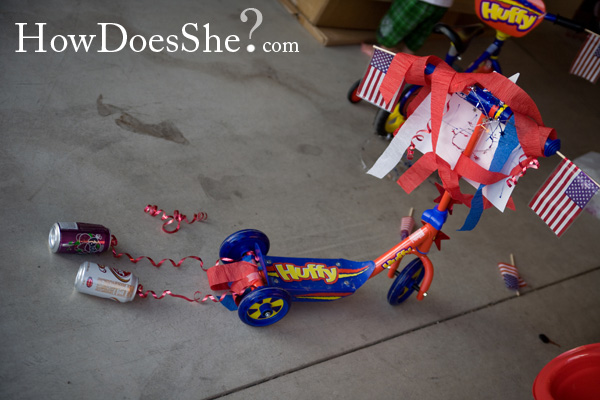
After buying all sorts of inexpensive decorations for the children to decorate their bikes and scooters with, the kids got to work. This was going to be one parade to remember.

They were so proud of their creations and were ready to celebrate in style.

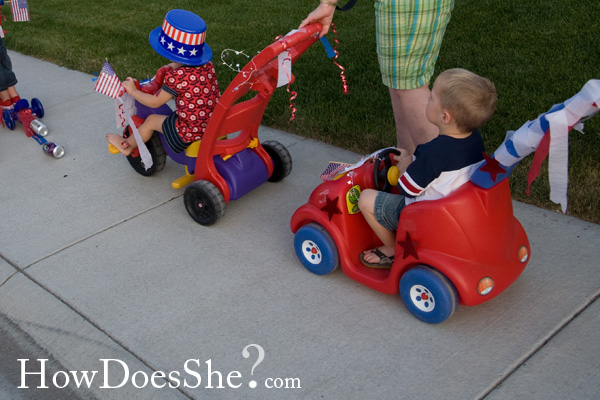
The children then proceeded to line up on the neighborhood sidewalk.

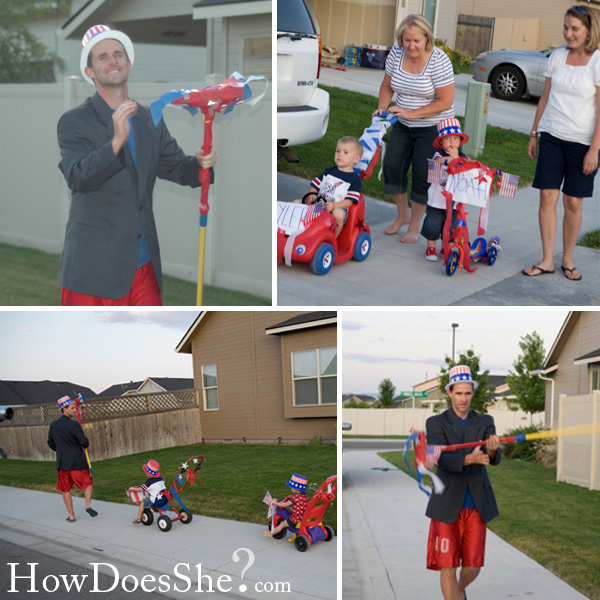
But wait! We needed a “drum major” to lead the parade. My sweet husband stepped up and took responsibility. {Yes, he is a dork and yes, that is a mop} πŸ˜‰

One of the uncles hopped in the car, opened the doors, BLARED patriotic music, and drove slowly next to the kids as they walked on the sidewalk. It didn’t take long until our neighbors started opening their doors, other kids started following, and people started clapping. Hilarious! The kids felt so special and thought it was a SERIOUS PARADE. What a priceless priceless memory!

I can’t wait to make this a family tradition. Wait, a NEIGHBORHOOD tradition. Can you just see it?! Send out an invitation to participate, have all the neighborhood kids decorate their bikes, and have a line up of adorable patriotic kids?! There is no way a million dollar firework show could beat this event.

——————————————————–

The husband with the mop is killin’ me! What an awesome dad. We do something similar at our 4th of July family reunion and the kids have a blast! I love the idea of doing it through the neighborhood and letting other kids join in! So much fun and definitely something the kids will remember!

Join us next Monday for another great way to make a memory!

P.S. Don’t forget to sign up for free Tipsy updates via RSS or email.

We have decided to truncate our feed to help protect against stolen content. I apologize for any inconvenience. Please love us anyway. πŸ™‚

DIY Under $5 Features

May 28, 2011 By Michelle Barneck 3 Comments

I have so much fun going through your links each week. I am totally inspired by all of your creativity. Thanks so much for taking the time to link up your projects and share with us! Now for this weeks features…

Link with highest clicks:

Tiered Plate from Stove Burners by Decor-ganize Crafts

My faves:

Faux Roman Shades by My Balancing Act

Flamingo Beach Tote {Kate Spade Knock off} by Inspiration & Realisation

$1.99 Nightgown and Office Caddy Makeover from Pleased as Punch

Be sure to grab your A Little Tipsy featured button here.

P.S. Don’t forget to sign up for free Tipsy updates via RSS or email.

We have decided to truncate our feed to help protect against stolen content. I apologize for any inconvenience. Please love us anyway. πŸ™‚
« Previous Page
Next Page »

  • Bloglovin
  • Facebook
  • Google+
  • Instagram
  • Pinterest
  • RSS
  • Twitter

Hi there! I'm Michelle. Mother of three little boys and one little princess. Welcome to A Little Tipsy, a place for exploring creativity and sharing inspiration.

Follow on Bloglovin


Visit Michelle Barneck {A Little Tipsy}'s profile on Pinterest.

Tutorials by Category


15 Family Reunion Games

Family Reunion Games Collage

15 Sprinkle Party Ideas

Sprinkle Birthday Party
Creative Commons License

© Copyright 2014 A Little Tipsy · Site Designed by The Fairy Blogmother · Web Hosting by RFE Hosting

This website uses cookies to improve your experience. We'll assume you're ok with this, but you can opt-out if you wish.Accept Read More
Privacy & Cookies Policy