A Little Tipsy

Creative Tips & Ideas

  • home
  • About Me
  • the tipsy top
  • press
  • projects
  • contact me
[print_thumbnail_slider]

Feature Friday {Pocket Full of Pink}

July 8, 2011 By Michelle Barneck 2 Comments

Hi! My name is Karen and I am from the crafty blog Pocket Full of Pink. I am really excited to be here on A Little Tipsy with Michelle! I have admired her blog for a while now!

I am going to show you how to make these cute little paper posie cards! They are so easy to make and you can also use paper scraps for them.


1. Rip 4 paper circles in different sizes and paper designs. You don’t have to be perfect with this! It looks cool when they really look ripped, so don’t try to get it perfect.

2. Wad up each paper in your hand to make it look really wrinkled. Flatten each of the circles out.

3. I like to ink the edges of each circle with a stamp pad. It gives them dimension and it looks pretty! You can use any color stamp pad that matches the paper.

4. Lay each circle on top of each other starting with the biggest and ending with the smallest. Now, you can either attach a brad in the center (that is what I did) or you can put a pretty button in the center!

5. There a a few different ways I have made this card: the first one, I covered the bottom half of a 4 1/2 x 5 1/2 inch card with patterned paper and glued a strip of ric rac at the top of the patterned paper. Then I put the posey in the center at the top of the card where it its blank. Your can either glue the posey down or stick the brad through the paper and attach it that way.

6. The other card is made with a strip of patterned paper going down the side of the card. Rip both edges of the paper so the white inside of the paper shows.

7. Then I attached the posey so it was half way on the patterned paper and halfway on the blank card. I also stamped Birthday Wishes on the bottom right hand corner of the card. You can also just leave the card blank if you wish.

8. Ink the edges with a stamp pad or a chalk ink pad.

9. These cards are so simple to do and you use tons of paper scraps!

Thanks so much for having me Michelle! I hope you can stop by my blog! I would love to have you:)
I hope this inspired you to use up your paper scraps and make something lovely to give to someone else!

———————————————————————————————-
Thanks for swappin’ it up Karen! Those cards are so cute and I love that they can use up the scraps we all have laying around!

P.S. Don’t forget to sign up for free Tipsy updates via RSS or email.

We have decided to truncate our feed to help protect against stolen content. I apologize for any inconvenience. Please love us anyway. 🙂

I Am Talented?! Who Knew.

July 7, 2011 By Michelle Barneck 4 Comments

Thank you to Yahoo! Mail for sponsoring this post about staying connected. I was selected for this sponsorship by the Clever Girls Collective, which endorses Blog With Integrity, as I do.

I love blogging. I love how it keeps me connected to the outside world as a SAHM. I love the new friends I have met through blogging. I love being able to share ideas with all of you and marvel over those of others. But, I have to admit, sometimes I get overwhelmed. I see an amazing sewing project or a piece of fabulous re-finished furniture and start wondering if I measure up. I had a slump like this a few months ago. I started comparing myself to others and it got depressing quickly.

Image source

I opened up my email for my end of the night scan and found this in my box:

“I just have to tell you that I am in LOVE with your project! It is my absolute favorite out of all of them! I am totally going to do this one. Props to you! I am so glad that you are part of our creative collaboration. You really are incredibly talented. That’s all. “

It was from Jonie, a member of Point of View. She had not known me long (we chatted for a few minutes at a cookie exchange a few months earlier), nor did she know me well, but her message changed me. There was one particular word that struck me, talented. I had never thought of myself as talented. Creative, sure. A little wacky, yes. But talented? I was so honored that she chose that particular adjective.

She did not have to take the time to email me. She could have left it in a blog comment or just kept it to herself. But she didn’t. She was excited about something I did and wanted to share. I will be forever grateful that she did.

I challenge you to email someone you admire and tell them why. Let them know what you love about them and make their day like Jonie made mine.

Heck you could even do it through messenger. See they’re online, shoot them a sincere compliment. It’s as easy as that!

P.S. Don’t forget to sign up for free Tipsy updates via RSS or email.
We have decided to truncate our feed to help protect against stolen content. I apologize for any inconvenience. Please love us anyway. 🙂

DIY Under $5 {Organize It}

July 6, 2011 By Michelle Barneck 8 Comments

Lately, I feel like thing have been crazy and with us always on the go the house becomes a mess quickly. So what to do but organize it so everything has a place and it is easier to keep things in order. I decided to tackle our master bathroom vanity and found that there are so many great affordable options to help organize it.

Eight Ways to Organize it for a Dollar or Less


Top drawer:
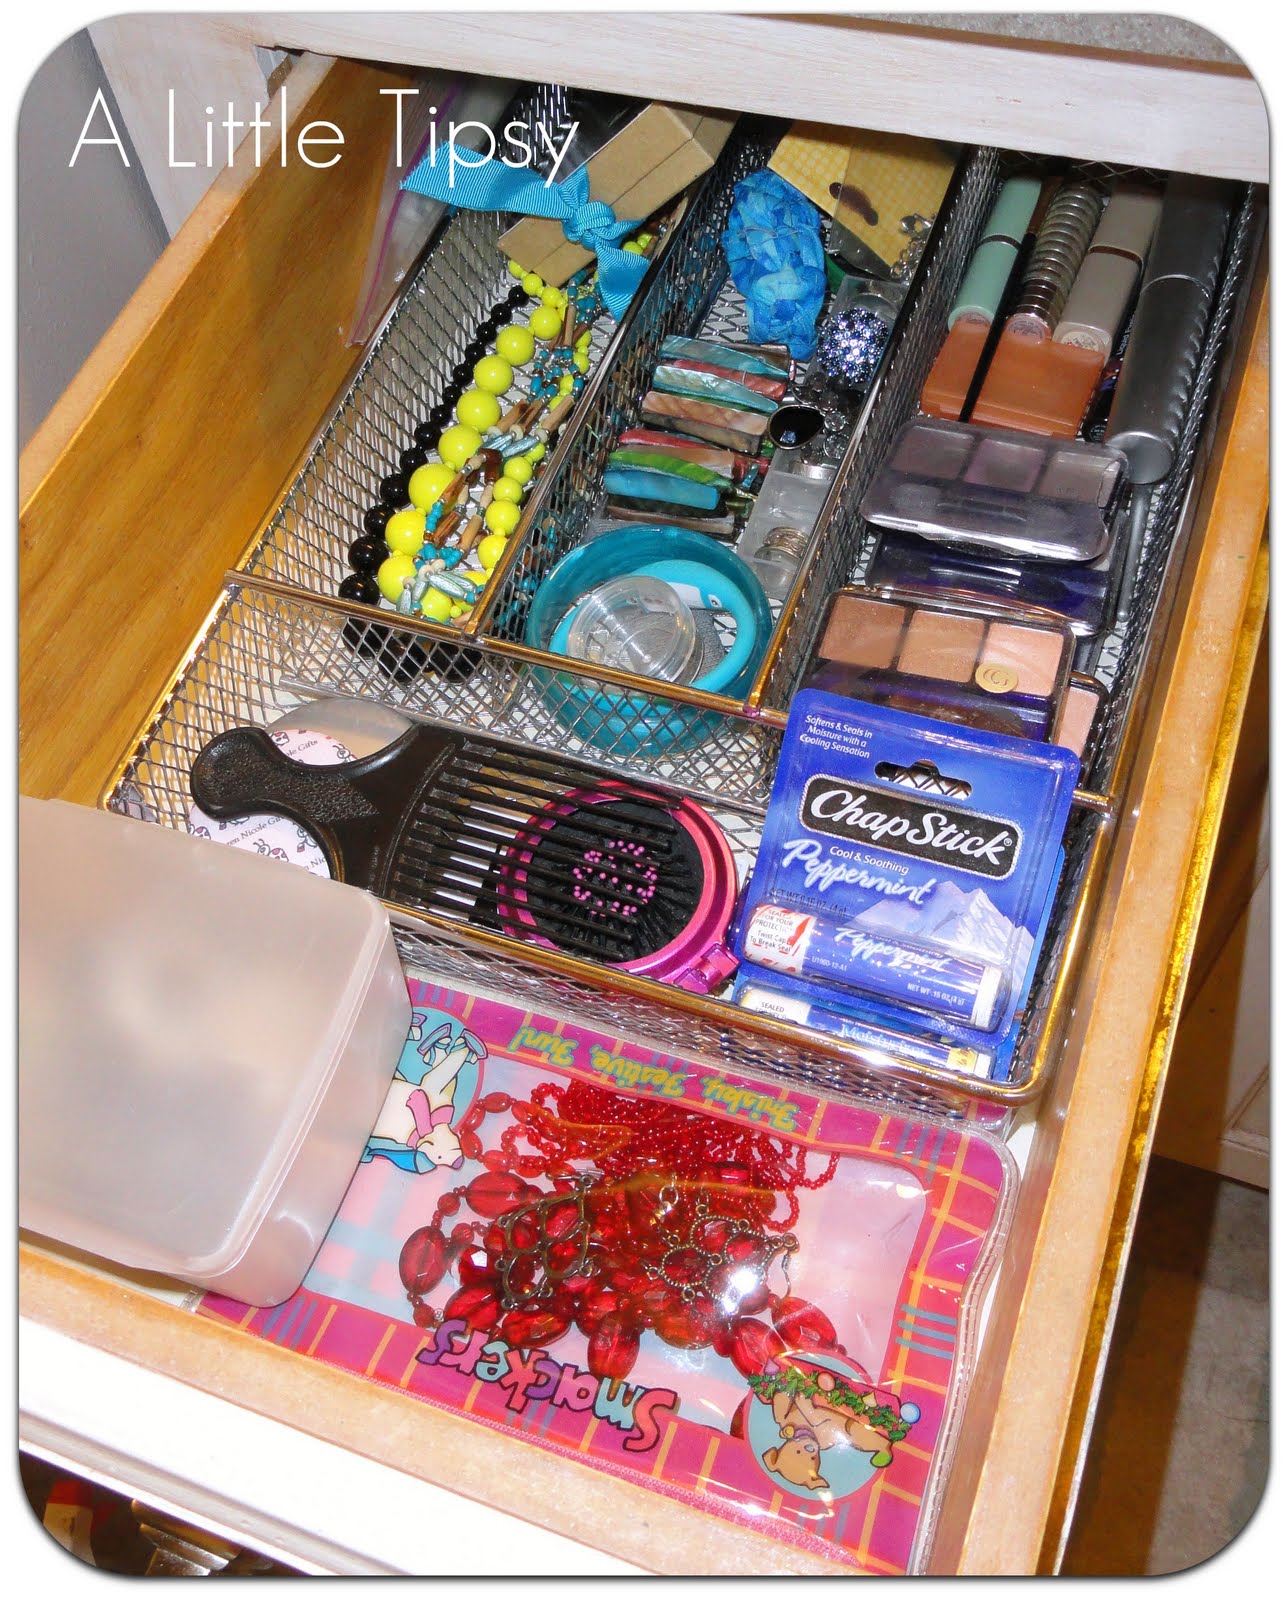
1. Metal mesh silverware tray-holds chunky jewelry and extra make-up.
2. Face wipes container-holds other jewelry
3. Plastic zipper pouch (from chapstick)-holds my red beaded jewelry.
4. Week pill box (in the middle of silverware tray)-organizes rings with one in each day

Second drawer:
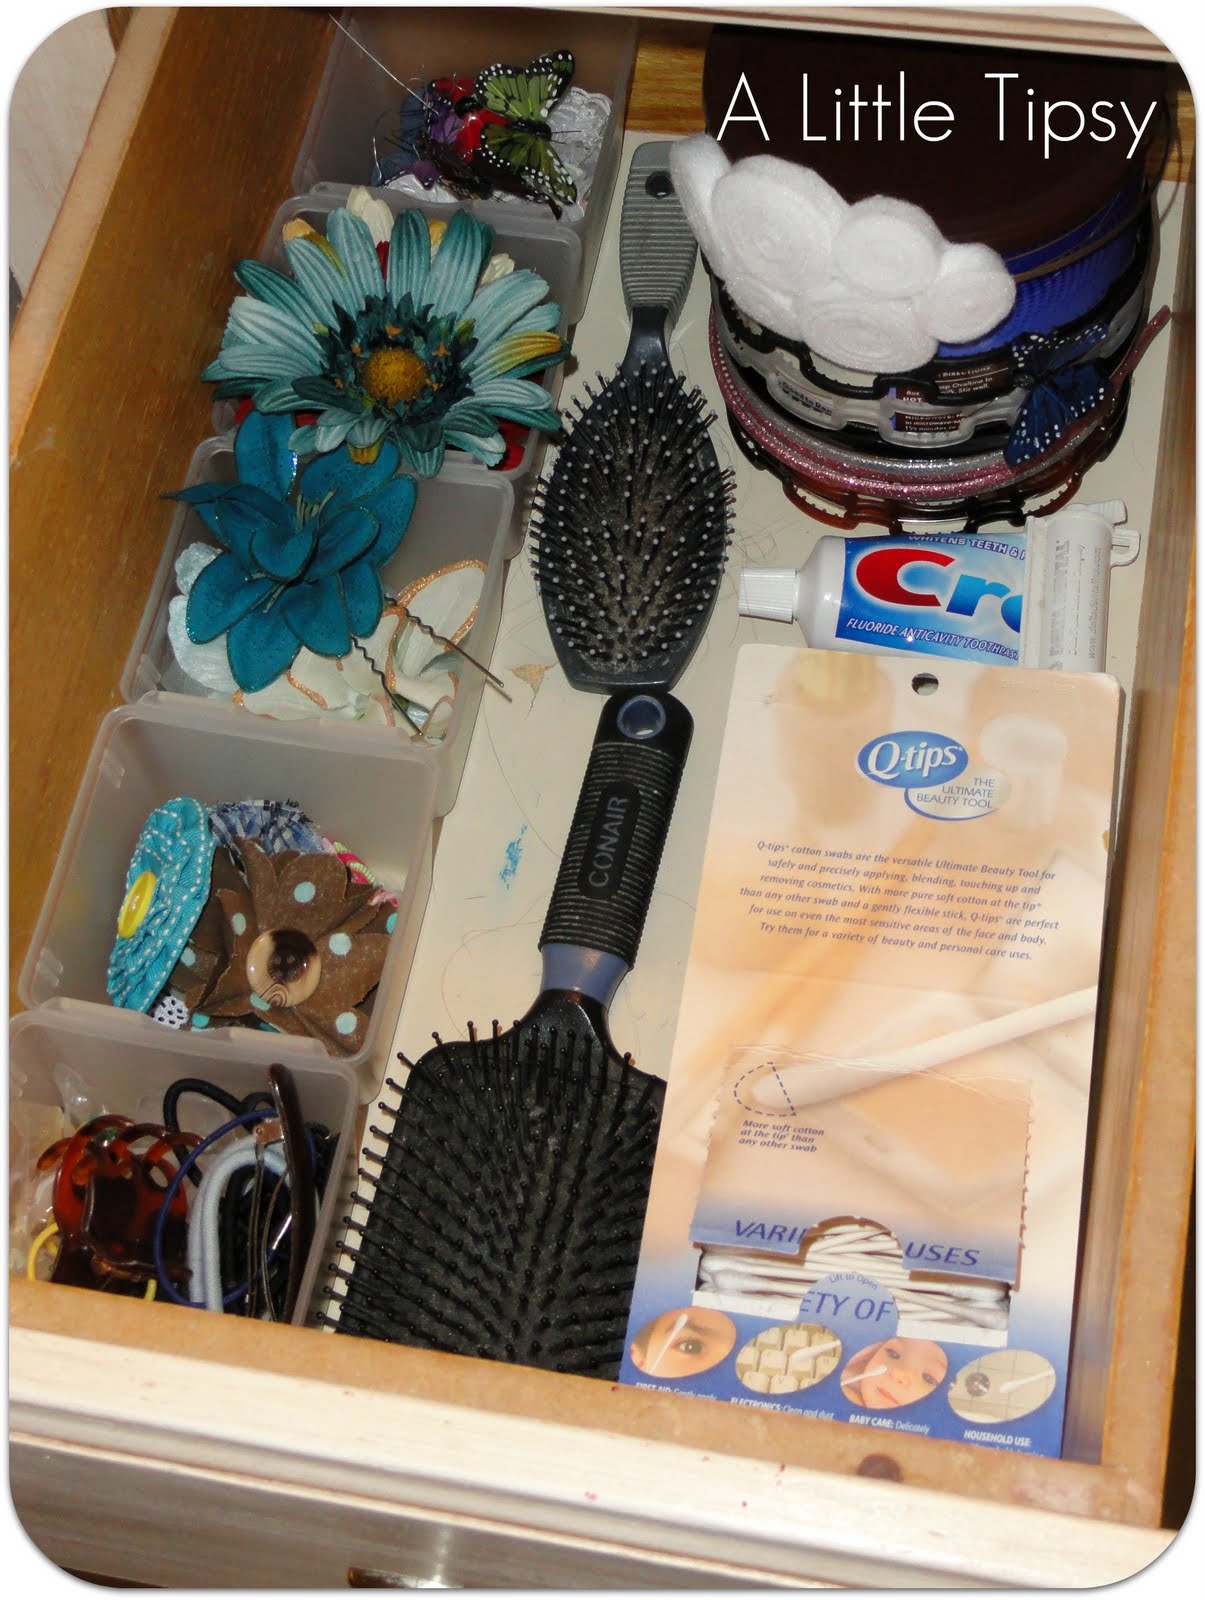
5. Dollar store plastic drawer organizers-organize hair accessories
6. Ovaltine container (to be covered in cute paper, I didn’t want to get distracted in the middle and not get the other drawers done)-holds stiff headbands on the outside and fabric headbands inside

Third drawer: more dollar store plastic organizers for pedicure and moisturizing supplies and face wipes container for nail polish

Under sink:
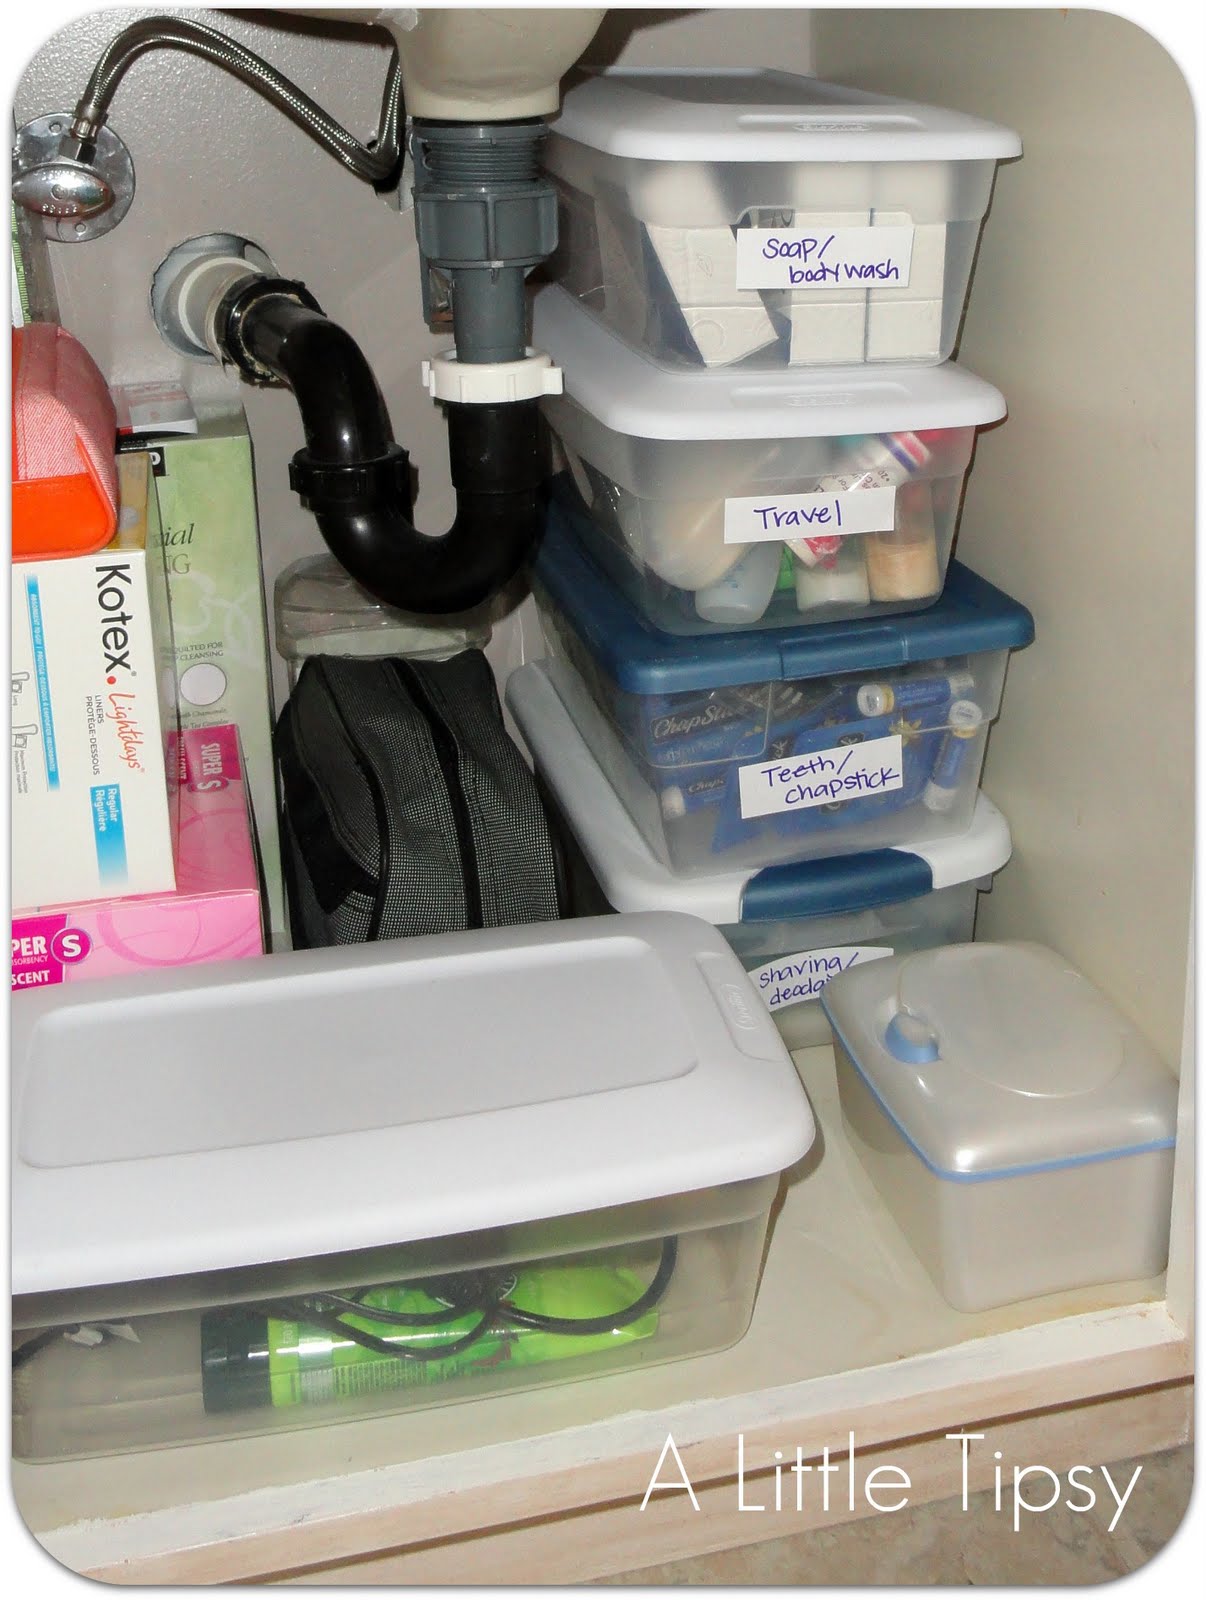
7. Wet wipes containers-for small items
8. Plastic shoe bins-for extra products like soap, toothpaste, deodorant, etc.

I hate running out of stuff, so I always have an extra of everything stored under my sink.

So far this has worked really well. Even the hubs is putting things away and our counter is staying clear! We’ve had it organized for about to two weeks now.

If you like these ideas, you may also like my DIY Jewelry Organizer for the back of a door.

Now it’s time to link up your $5 projects!

Please remember:

  • Only link to your own projects that cost you $5 or less (price does not have to include items you had on hand)
  • You can link past projects that fit the dollar limit, but please only link each project one time to one DIY Under $5 party. Do not link the same project week after week.
  • No linking giveaways or items for sale
  • Please link back so others can join the party and so you have the opportunity to be featured on Saturday!

DIY under $5

P.S. Don’t forget to sign up for free Tipsy updates via RSS or email.
We have decided to truncate our feed to help protect against stolen content. I apologize for any inconvenience. Please love us anyway. 🙂

Game Table featuring Krylon Dual Paint

July 5, 2011 By Michelle Barneck 8 Comments

I have been working on re-vamping my game/playroom, as many of you know from my recent dice and dominos projects. What better way to take another step forward than with a game table re-do. Up until this point I had not tackled a piece of furniture of this size so I was slightly hesitant to dive in. But, every journey begins with the first step right?

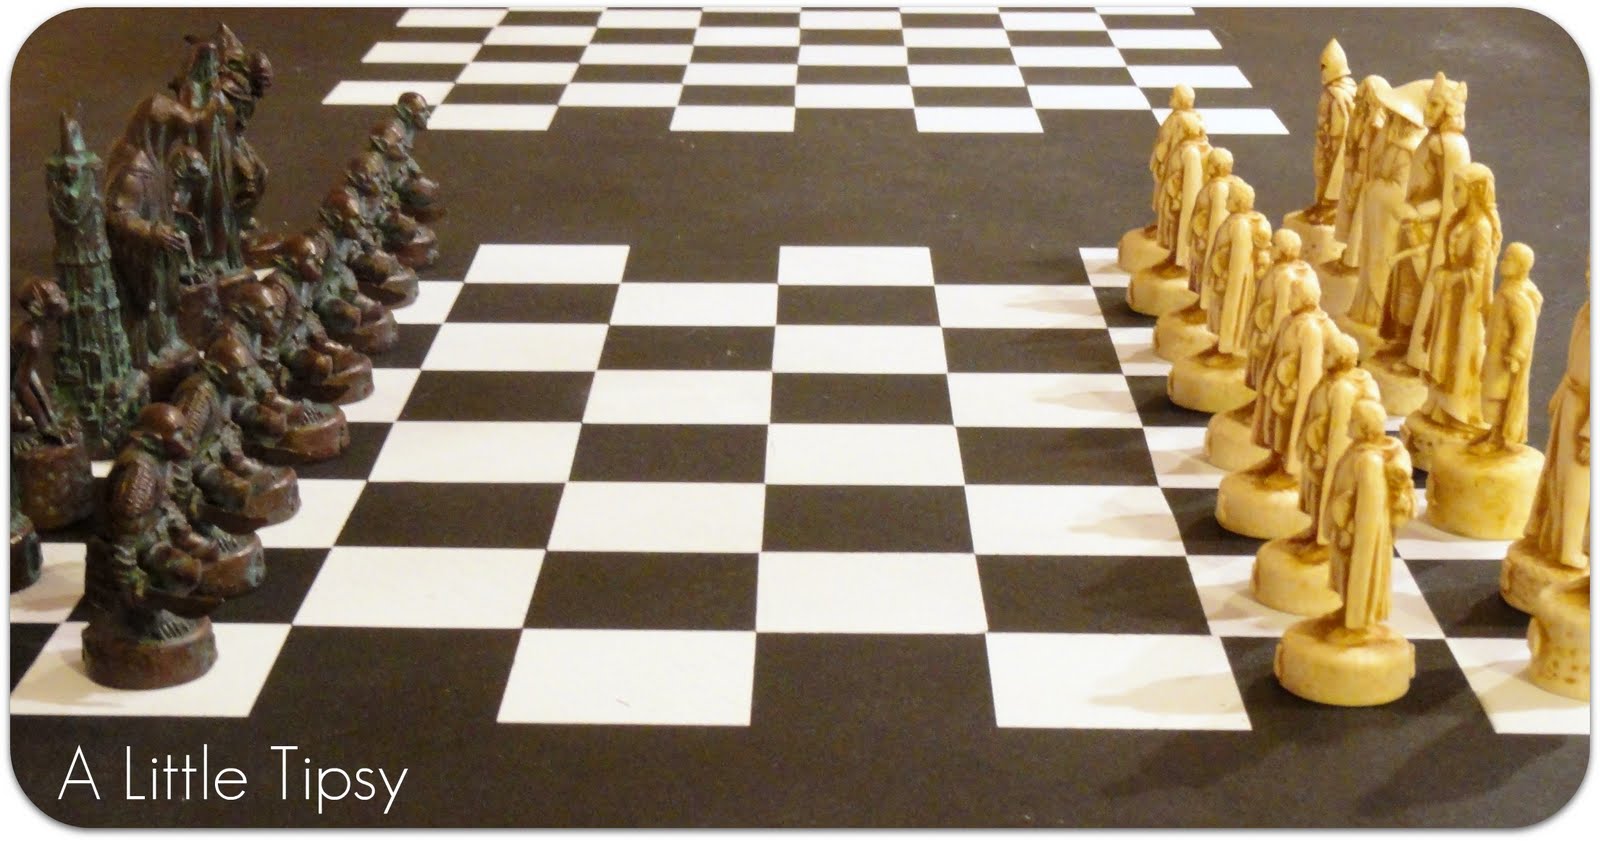
My husband loves chess and has fun trying to teach our son. I like the checkerboard pattern and thought it would be great to re-do a table to have a cute pattern that is also functional.


Game Table

Supplies needed:

  • Table
  • Handheld Sander & sandpaper
  • Blue automotive paper towels
  • Measuring tape
  • Pencil
  • Vinyl Squares (mine were 2 1/4 inch)
  • Tarp or drop cloth
  • Krylon Dual Spray Paint in Black (4 cans)
  • White spray paint (1 can)
  • Spray Grip (pictured below)-optional
  • Clear spray paint
  • Sunny day preferred

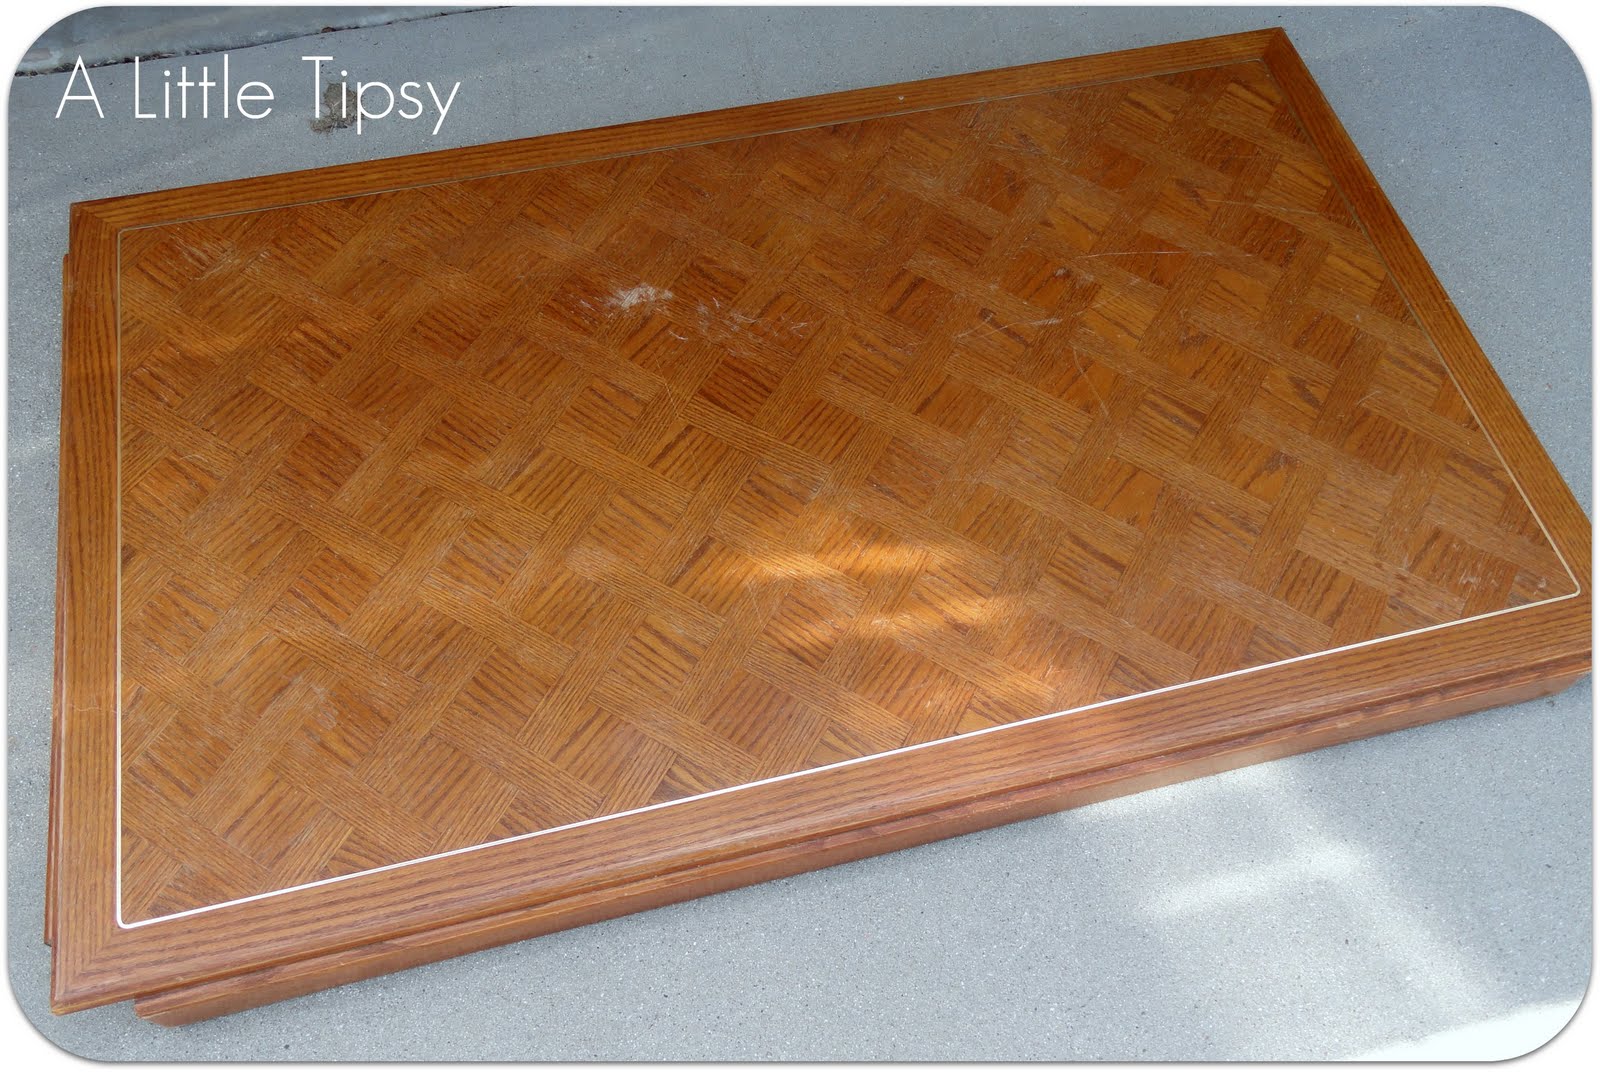
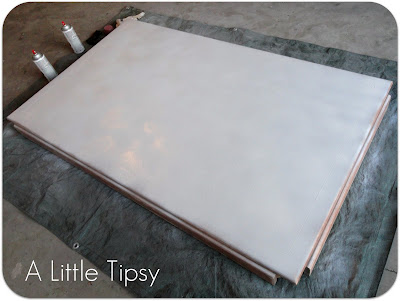
My table legs were removable so I took those babies off and put the table top right on the ground. I appreciate the hand me down from my parents and it has a cool pattern, but I was not crazy about the color.

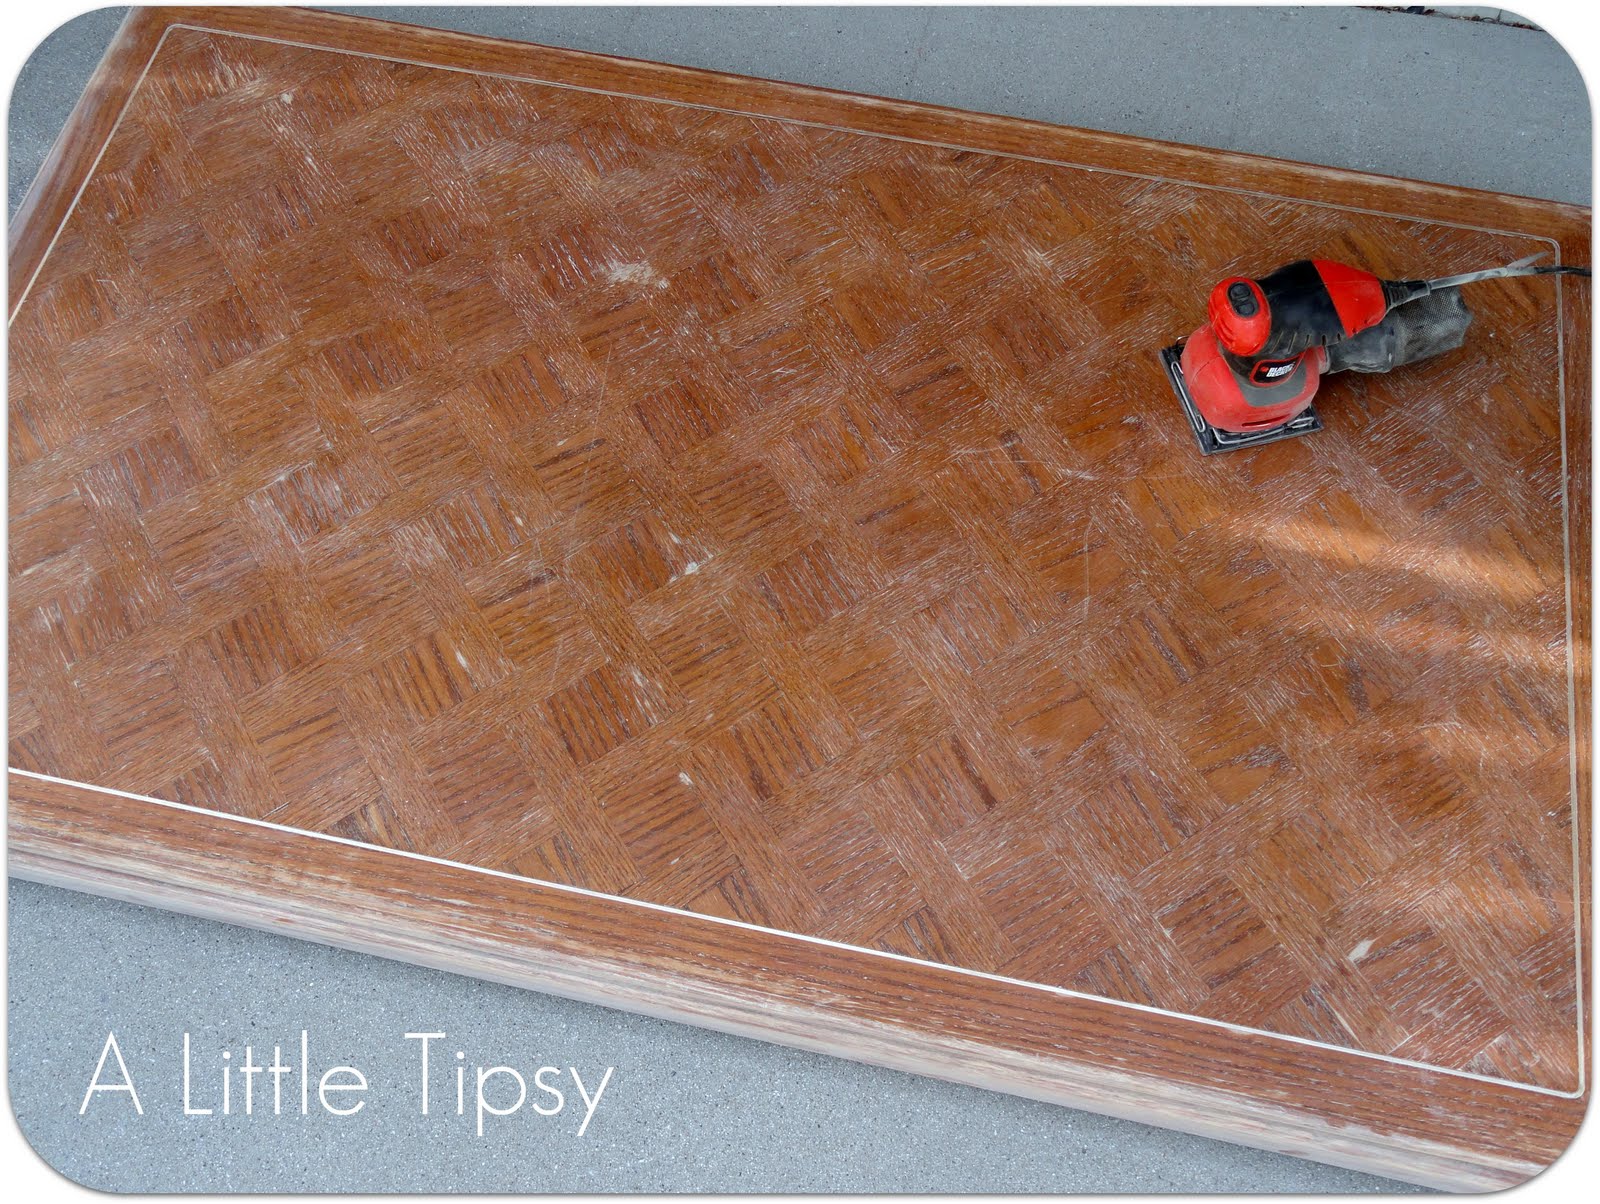
1. Rough up the surface of your table using the handheld sander until it is not shiny so the paint will go on nicely.

2. Use damp automotive paper towels to wipe off any dust without leaving furry debris. Allow the table to dry completely.

3. Spray the table top with a couple thin coats of white paint allowing it to dry between coats. This is just for the checkerboard pattern, so don’t worry about getting the sides or legs of the table.

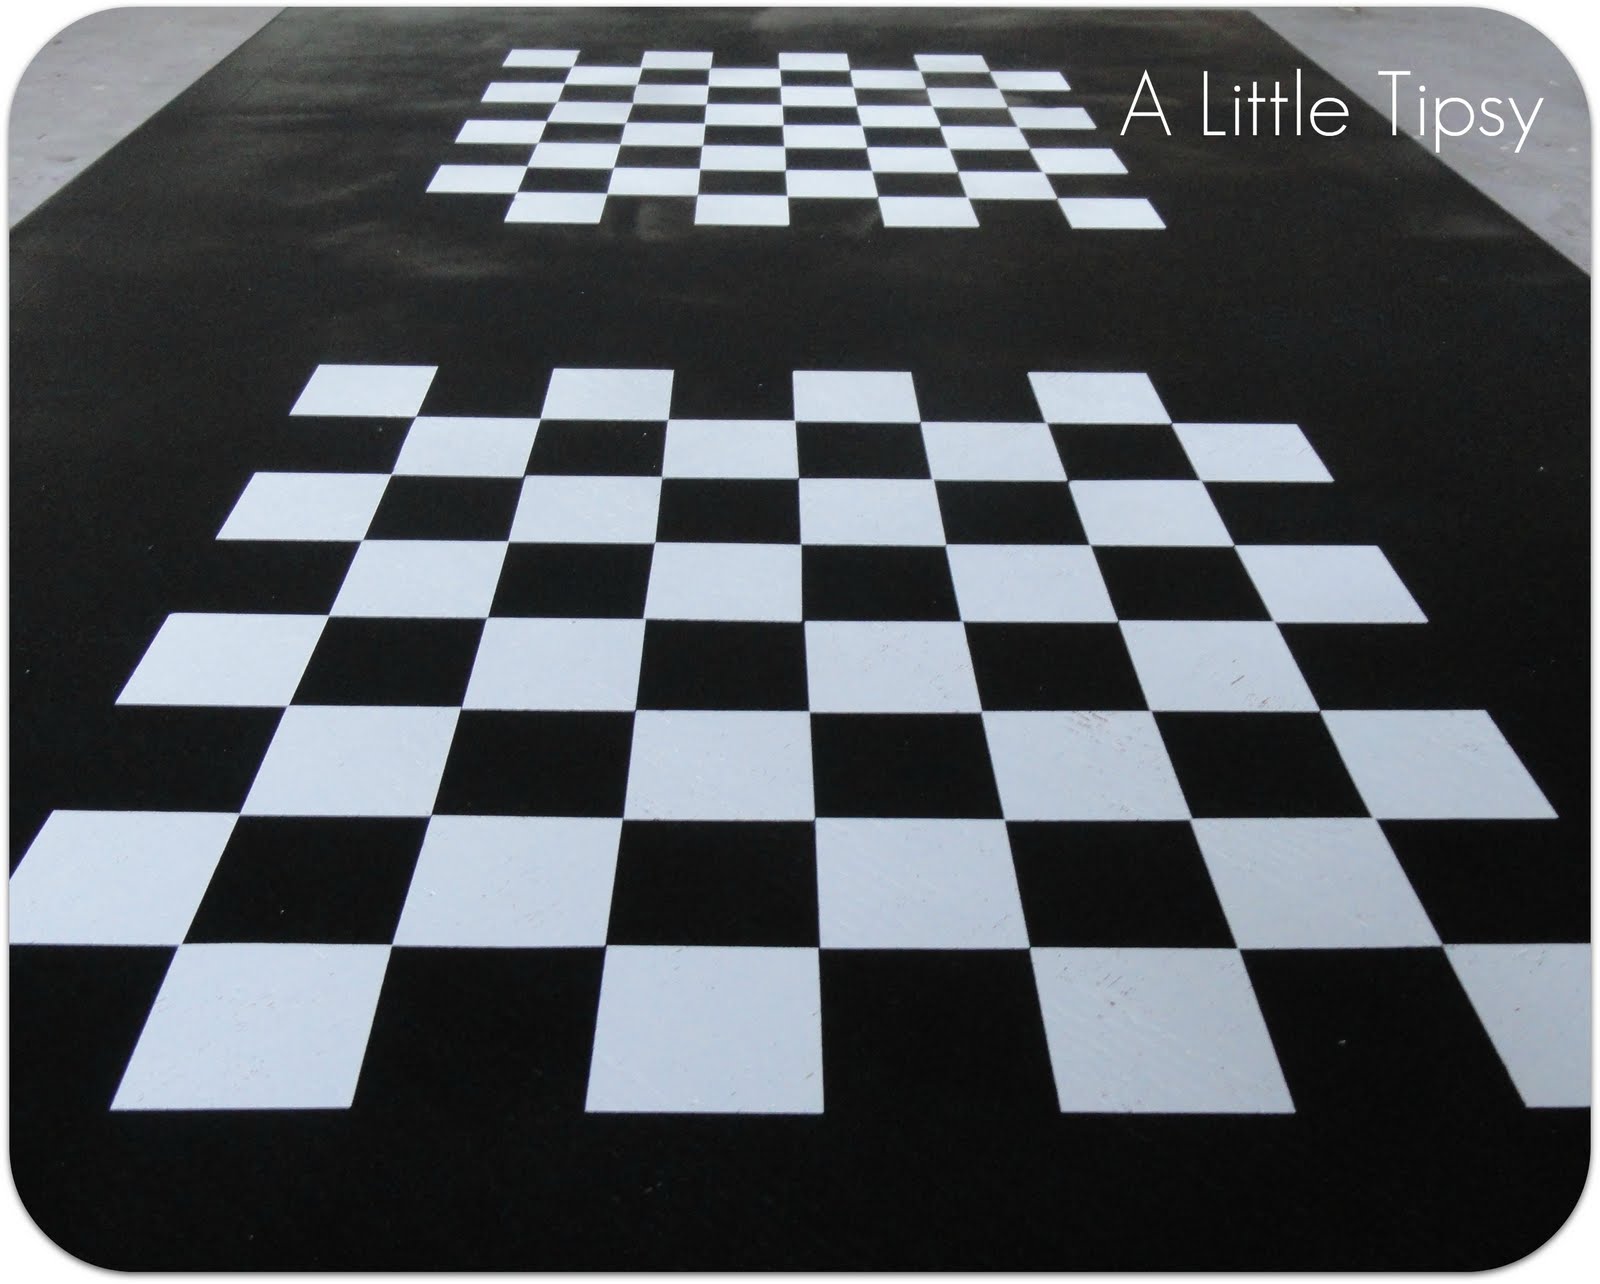
4. Measure where you want your checkerboards to be on your table depending on how big they are and how big your table is. Mark where each edge will be with a pencil so you can see if that is where you like it before you commit.

5. Start placing your vinyl squares on starting with the inside edge center and moving out. This was you know they will be centered on your table. If you are picky and want to board to be competition chess grade, make sure you place them so the lower right corner of your board has a vinyl square and will end up white. (Long story as to why mine are not, blah)


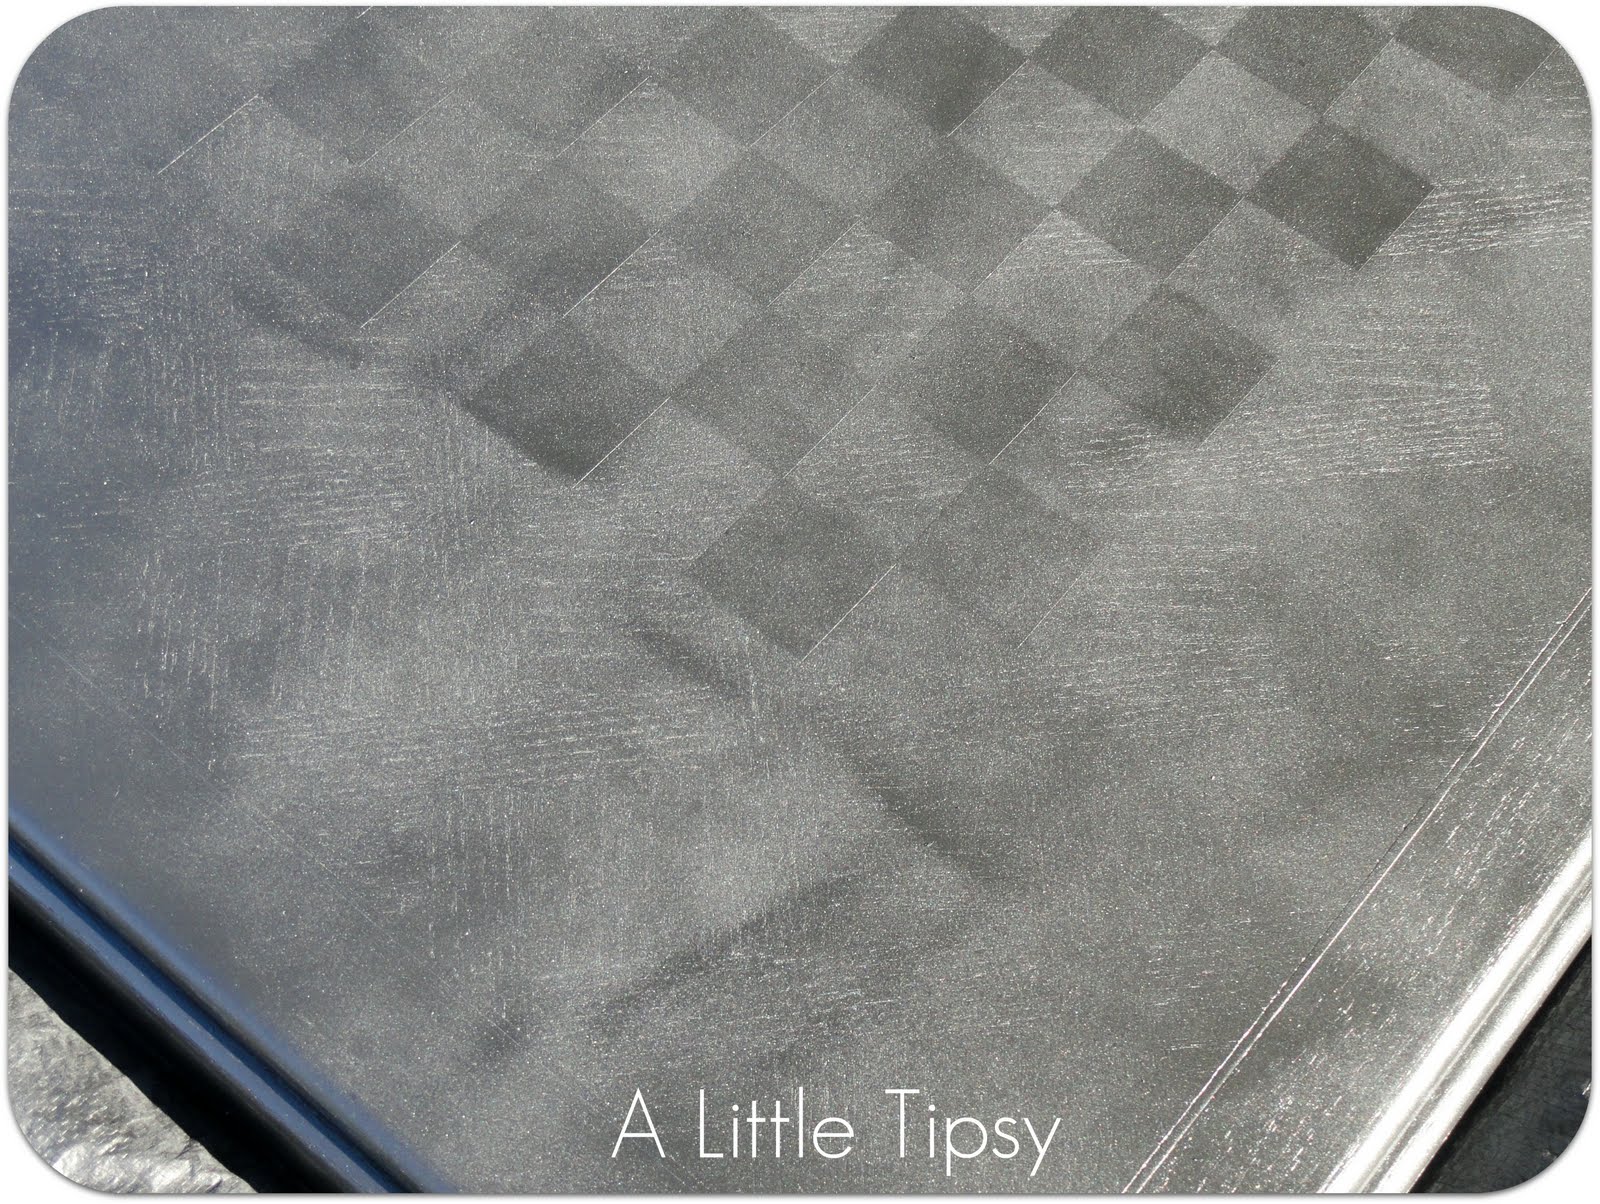
6. Begin spraying with black using light coats. When sweeping back and forth be sure to go off the edge of the table so you don’t get dark pooling spots on the edges. I nearly stopped after the first coat because it had a cool marble effect. Keep spraying light coats and letting them dry until it has your desired look.

I like how it left some texture from the table pattern showing through.

7. Peel off the vinyl squares to reveal the white.

8. Coat with clear spray paint to protect the surface and let dry.

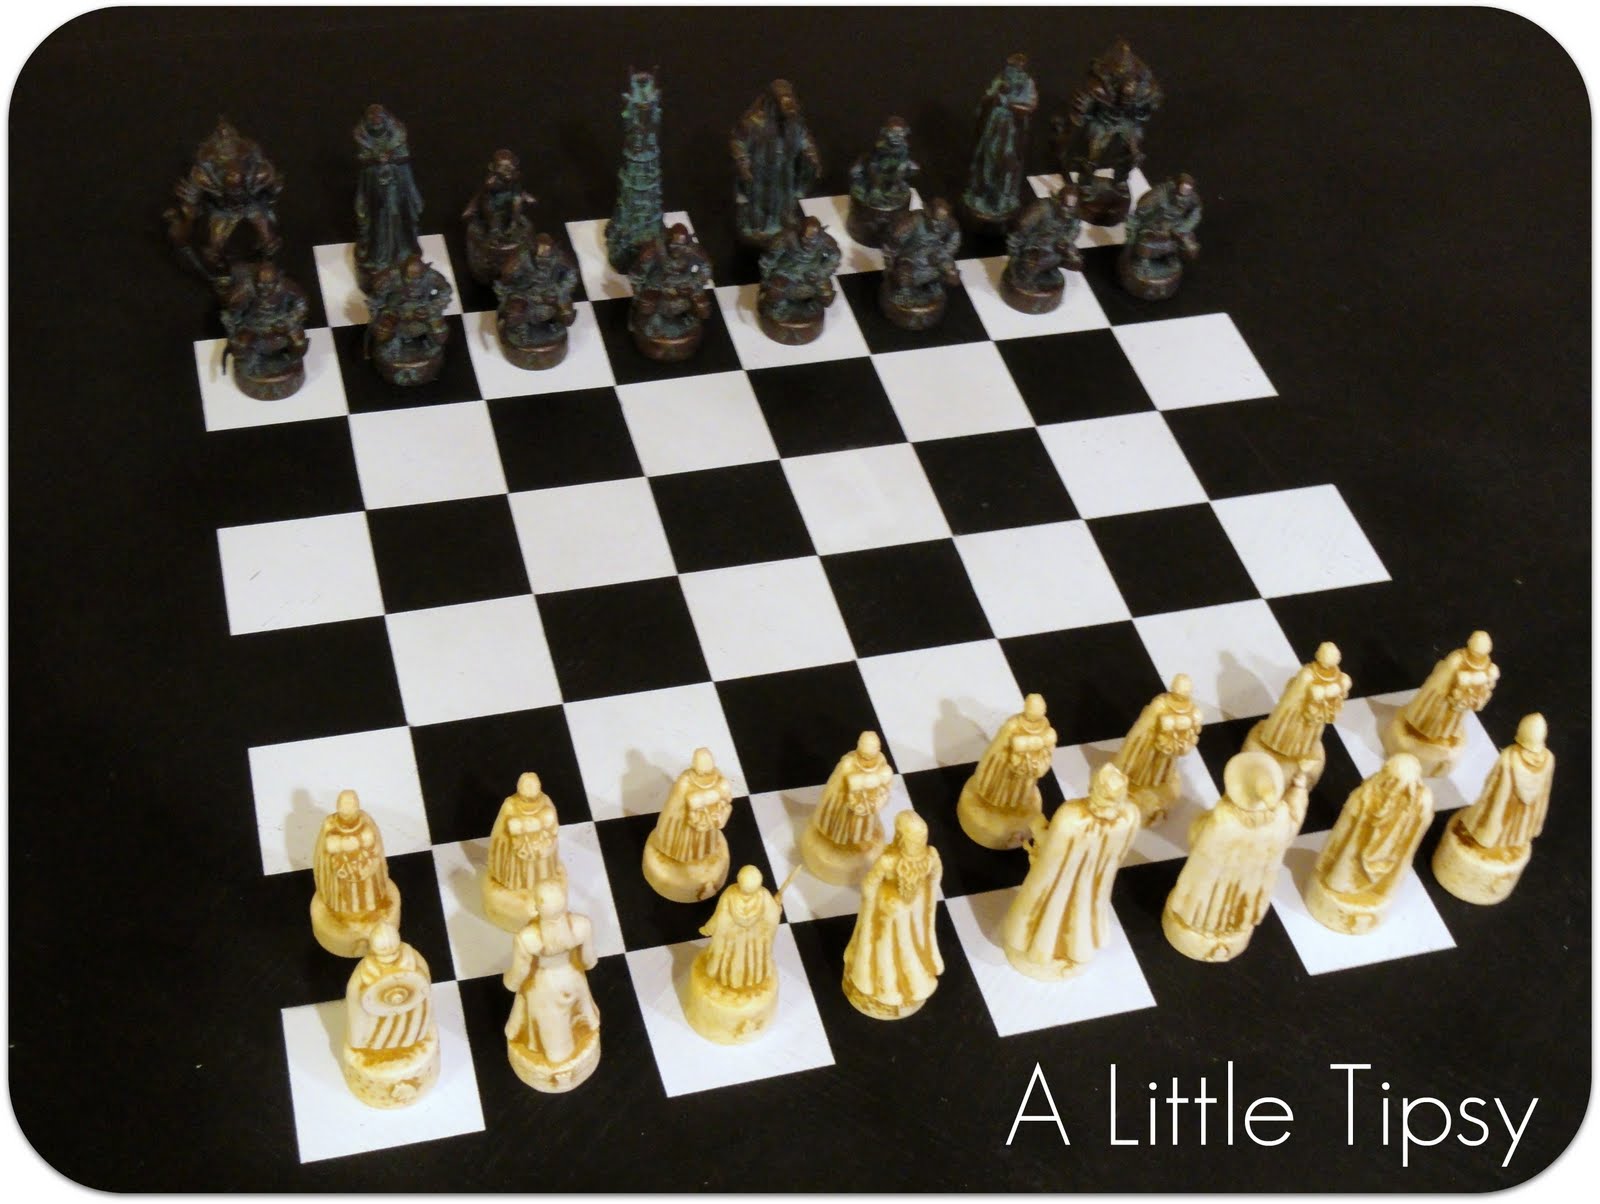
Find a checkers or chess set (this is my hubs Lord of the Rings set) and go to town!


During this project, I used two reputable brands of paint side by side and the Krylon Dual Paint coated the large area a lot more smoothly. The Krylon also worked easier with the spray grip I used. I did not have to push as hard so it made several coats nearly effortless. I can’t wait to get more so I can get started on the matching chairs.

Krylon sent me the new Dual Paint to try out. Check out their latest promotion, The Dual Duel, where Krylon is looking to find The Ultimate Restorer. To win this title, enter your spray paint restoration project and encourage friends and family to vote for your project as their favorite for their chance to win too.

Dual Duel Button
Disclosure: Krylon sent me paint, but I was in no other way compensated for this post. All opinions are 100% my own.

P.S. Don’t forget to sign up for free Tipsy updates via RSS or email.

We have decided to truncate our feed to help protect against stolen content. I apologize for any inconvenience. Please love us anyway. 🙂
« Previous Page
Next Page »

  • Bloglovin
  • Facebook
  • Google+
  • Instagram
  • Pinterest
  • RSS
  • Twitter

Hi there! I'm Michelle. Mother of three little boys and one little princess. Welcome to A Little Tipsy, a place for exploring creativity and sharing inspiration.

Follow on Bloglovin


Visit Michelle Barneck {A Little Tipsy}'s profile on Pinterest.

Tutorials by Category


15 Family Reunion Games

Family Reunion Games Collage

15 Sprinkle Party Ideas

Sprinkle Birthday Party
Creative Commons License

© Copyright 2014 A Little Tipsy · Site Designed by The Fairy Blogmother · Web Hosting by RFE Hosting

This website uses cookies to improve your experience. We'll assume you're ok with this, but you can opt-out if you wish.Accept Read More
Privacy & Cookies Policy