I have been working on re-vamping my game/playroom, as many of you know from my recent dice and dominos projects. What better way to take another step forward than with a game table re-do. Up until this point I had not tackled a piece of furniture of this size so I was slightly hesitant to dive in. But, every journey begins with the first step right?
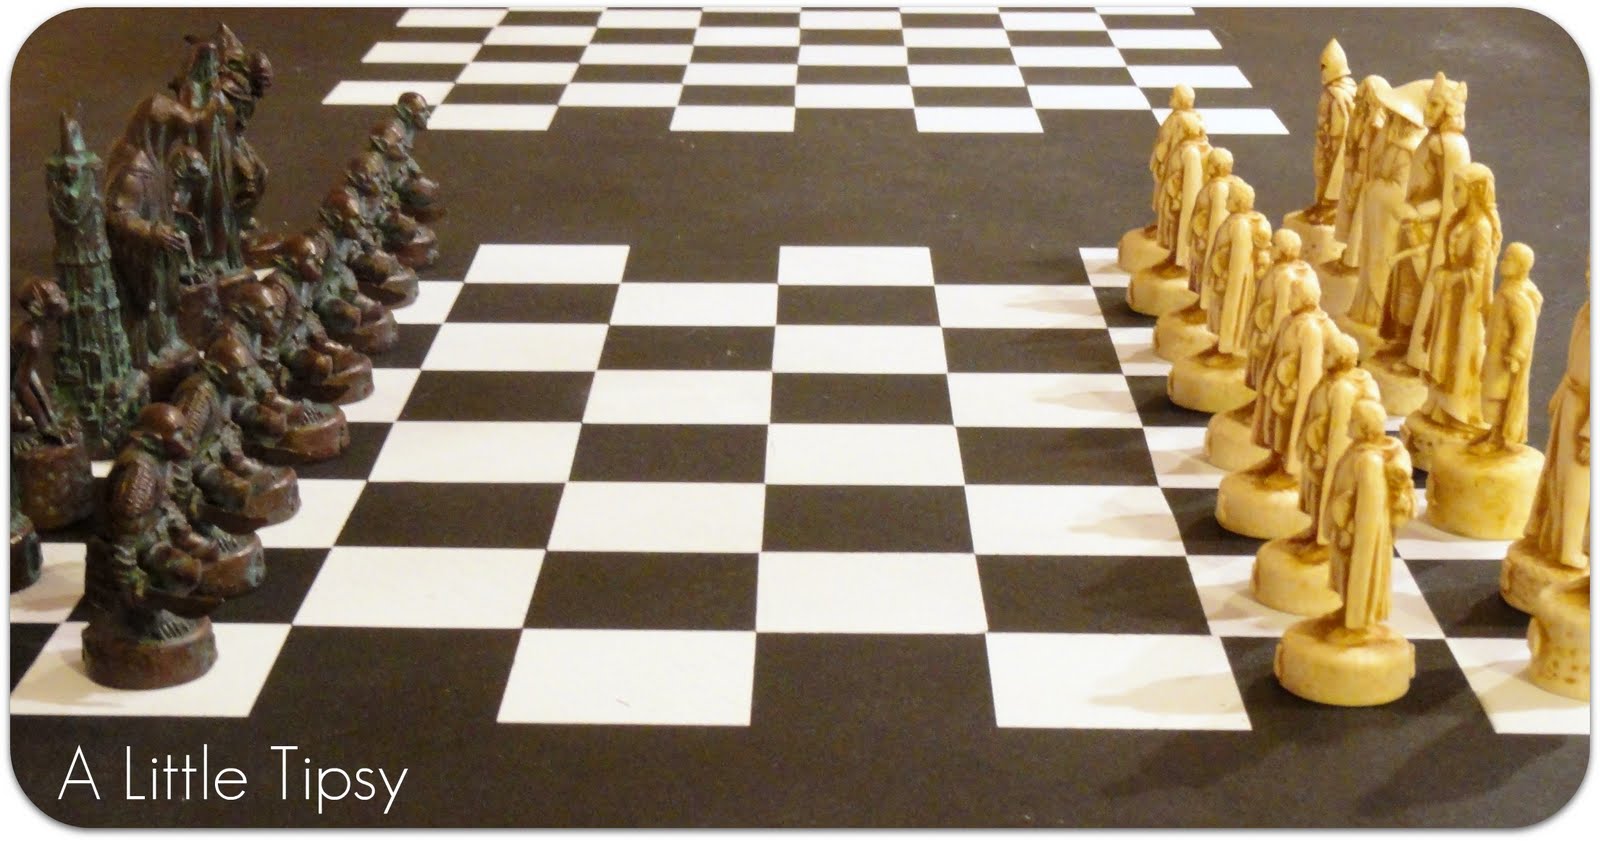
My husband loves chess and has fun trying to teach our son. I like the checkerboard pattern and thought it would be great to re-do a table to have a cute pattern that is also functional.


Game Table
Supplies needed:
- Table
- Handheld Sander & sandpaper
- Blue automotive paper towels
- Measuring tape
- Pencil
- Vinyl Squares (mine were 2 1/4 inch)
- Tarp or drop cloth
- Krylon Dual Spray Paint in Black (4 cans)
- White spray paint (1 can)
- Spray Grip (pictured below)-optional
- Clear spray paint
- Sunny day preferred
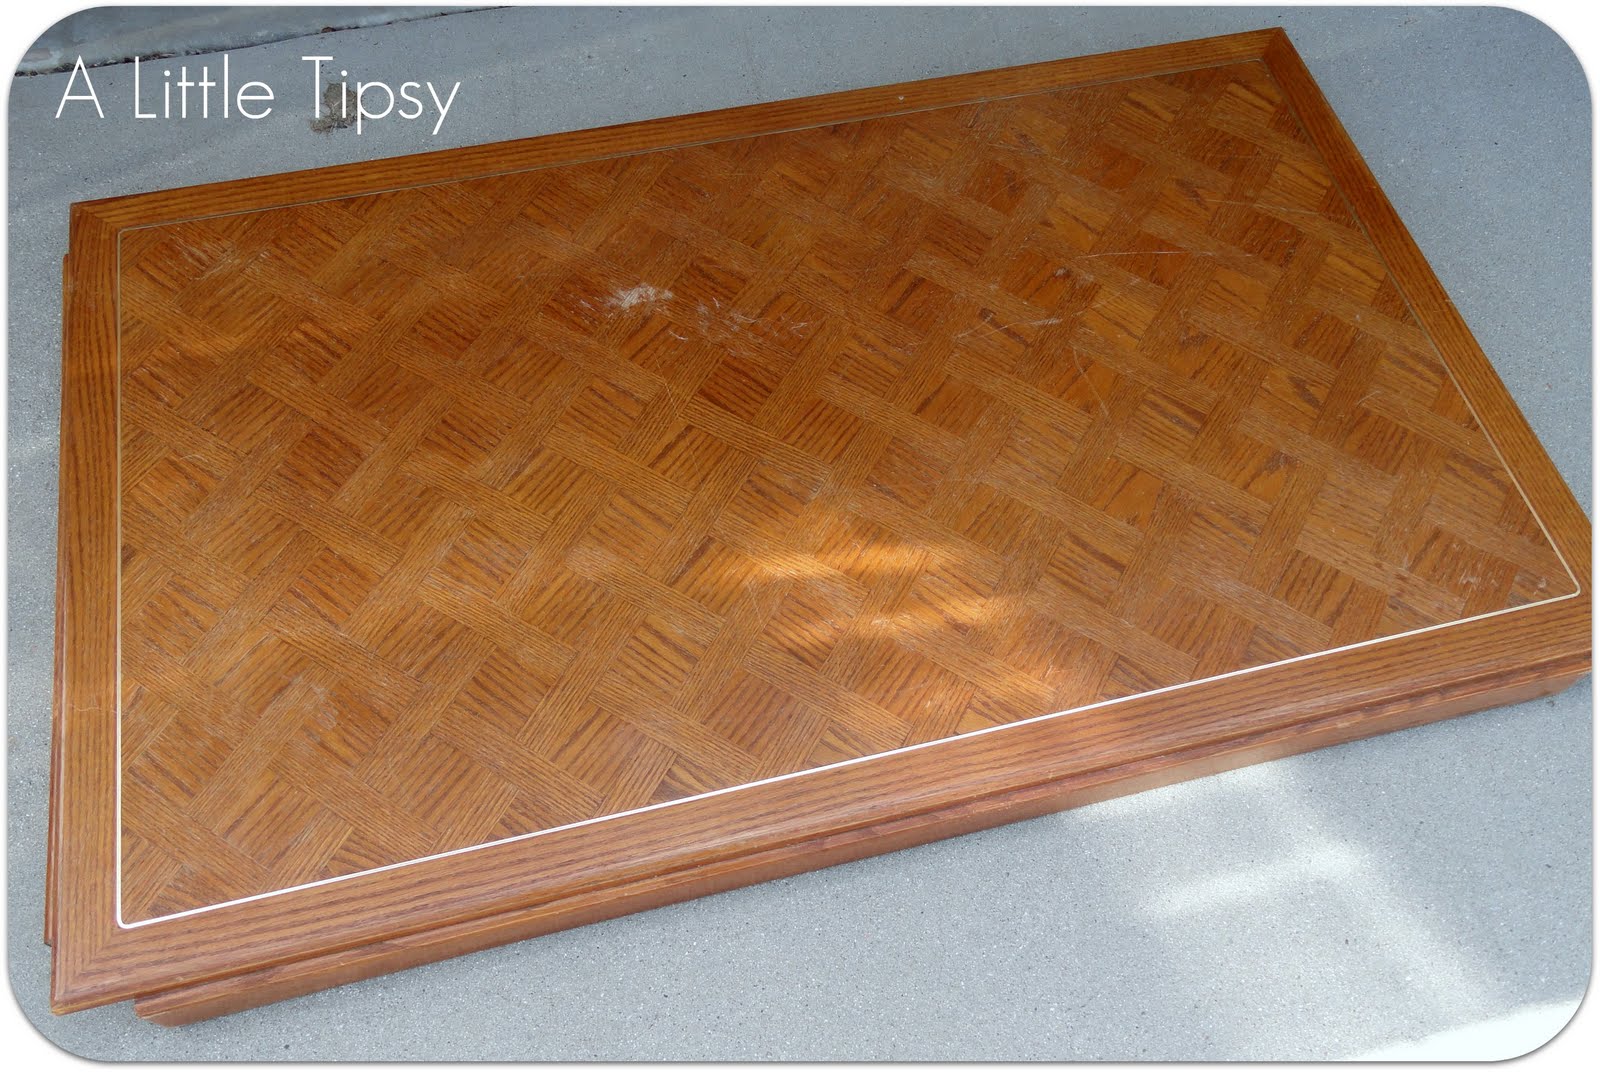
My table legs were removable so I took those babies off and put the table top right on the ground. I appreciate the hand me down from my parents and it has a cool pattern, but I was not crazy about the color.
1. Rough up the surface of your table using the handheld sander until it is not shiny so the paint will go on nicely.

2. Use damp automotive paper towels to wipe off any dust without leaving furry debris. Allow the table to dry completely.

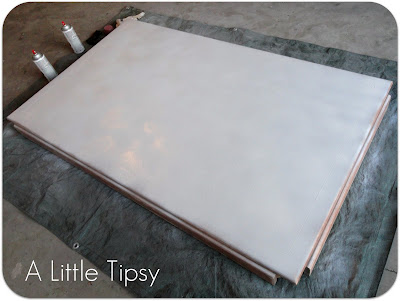
3. Spray the table top with a couple thin coats of white paint allowing it to dry between coats. This is just for the checkerboard pattern, so don’t worry about getting the sides or legs of the table.
4. Measure where you want your checkerboards to be on your table depending on how big they are and how big your table is. Mark where each edge will be with a pencil so you can see if that is where you like it before you commit.

5. Start placing your vinyl squares on starting with the inside edge center and moving out. This was you know they will be centered on your table. If you are picky and want to board to be competition chess grade, make sure you place them so the lower right corner of your board has a vinyl square and will end up white. (Long story as to why mine are not, blah)


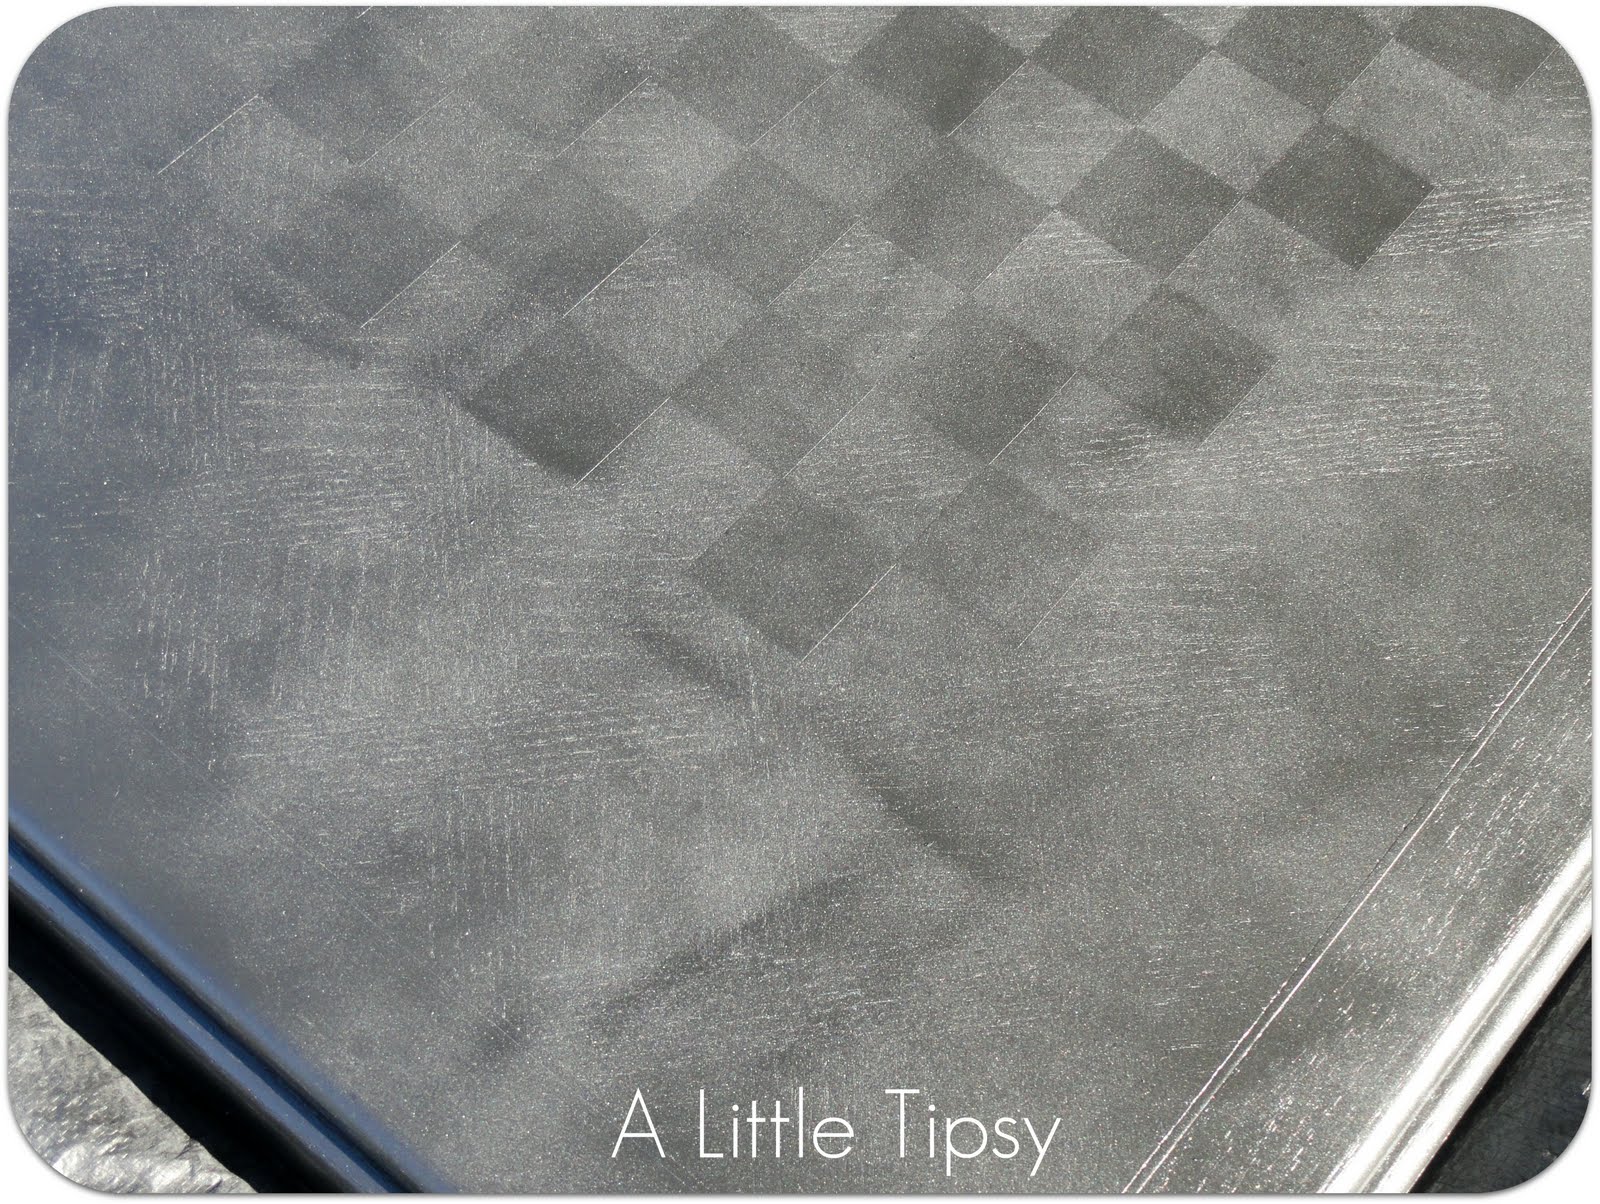
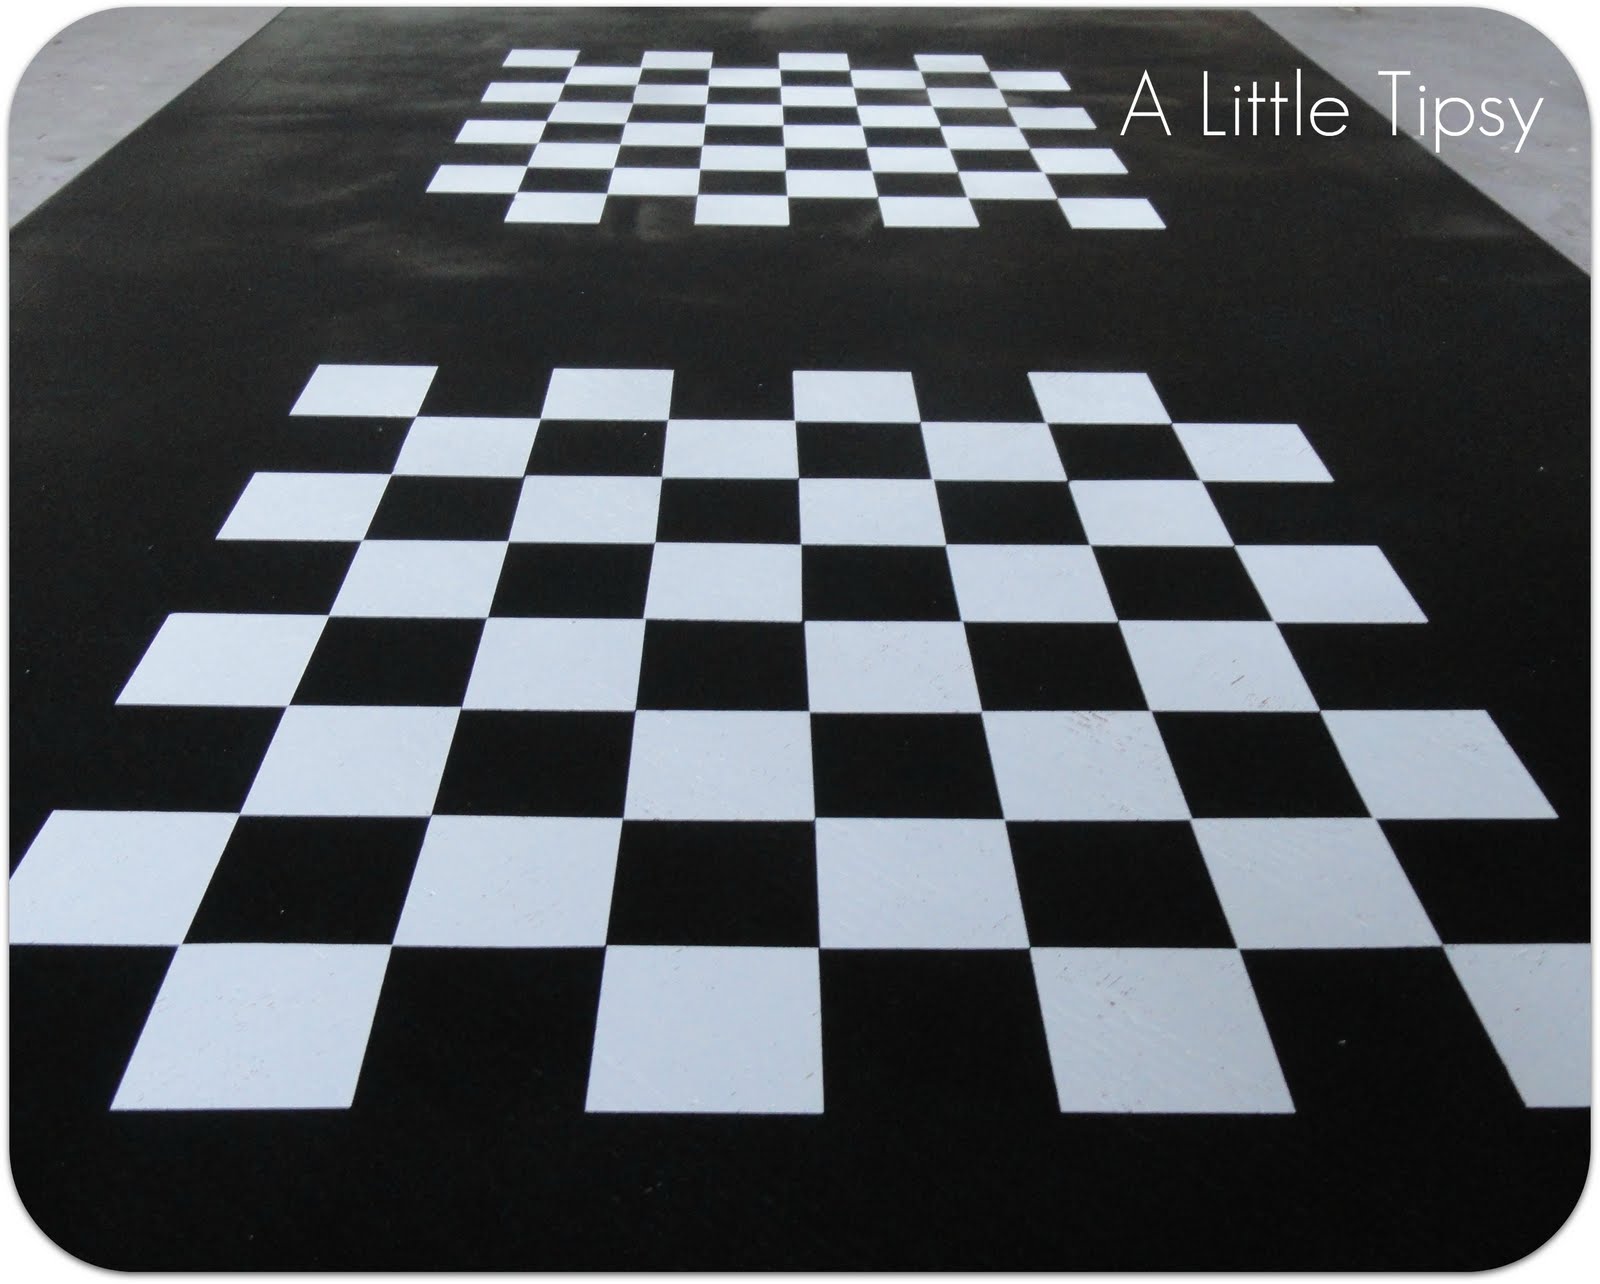
6. Begin spraying with black using light coats. When sweeping back and forth be sure to go off the edge of the table so you don’t get dark pooling spots on the edges. I nearly stopped after the first coat because it had a cool marble effect. Keep spraying light coats and letting them dry until it has your desired look.


I like how it left some texture from the table pattern showing through.
7. Peel off the vinyl squares to reveal the white.
8. Coat with clear spray paint to protect the surface and let dry.
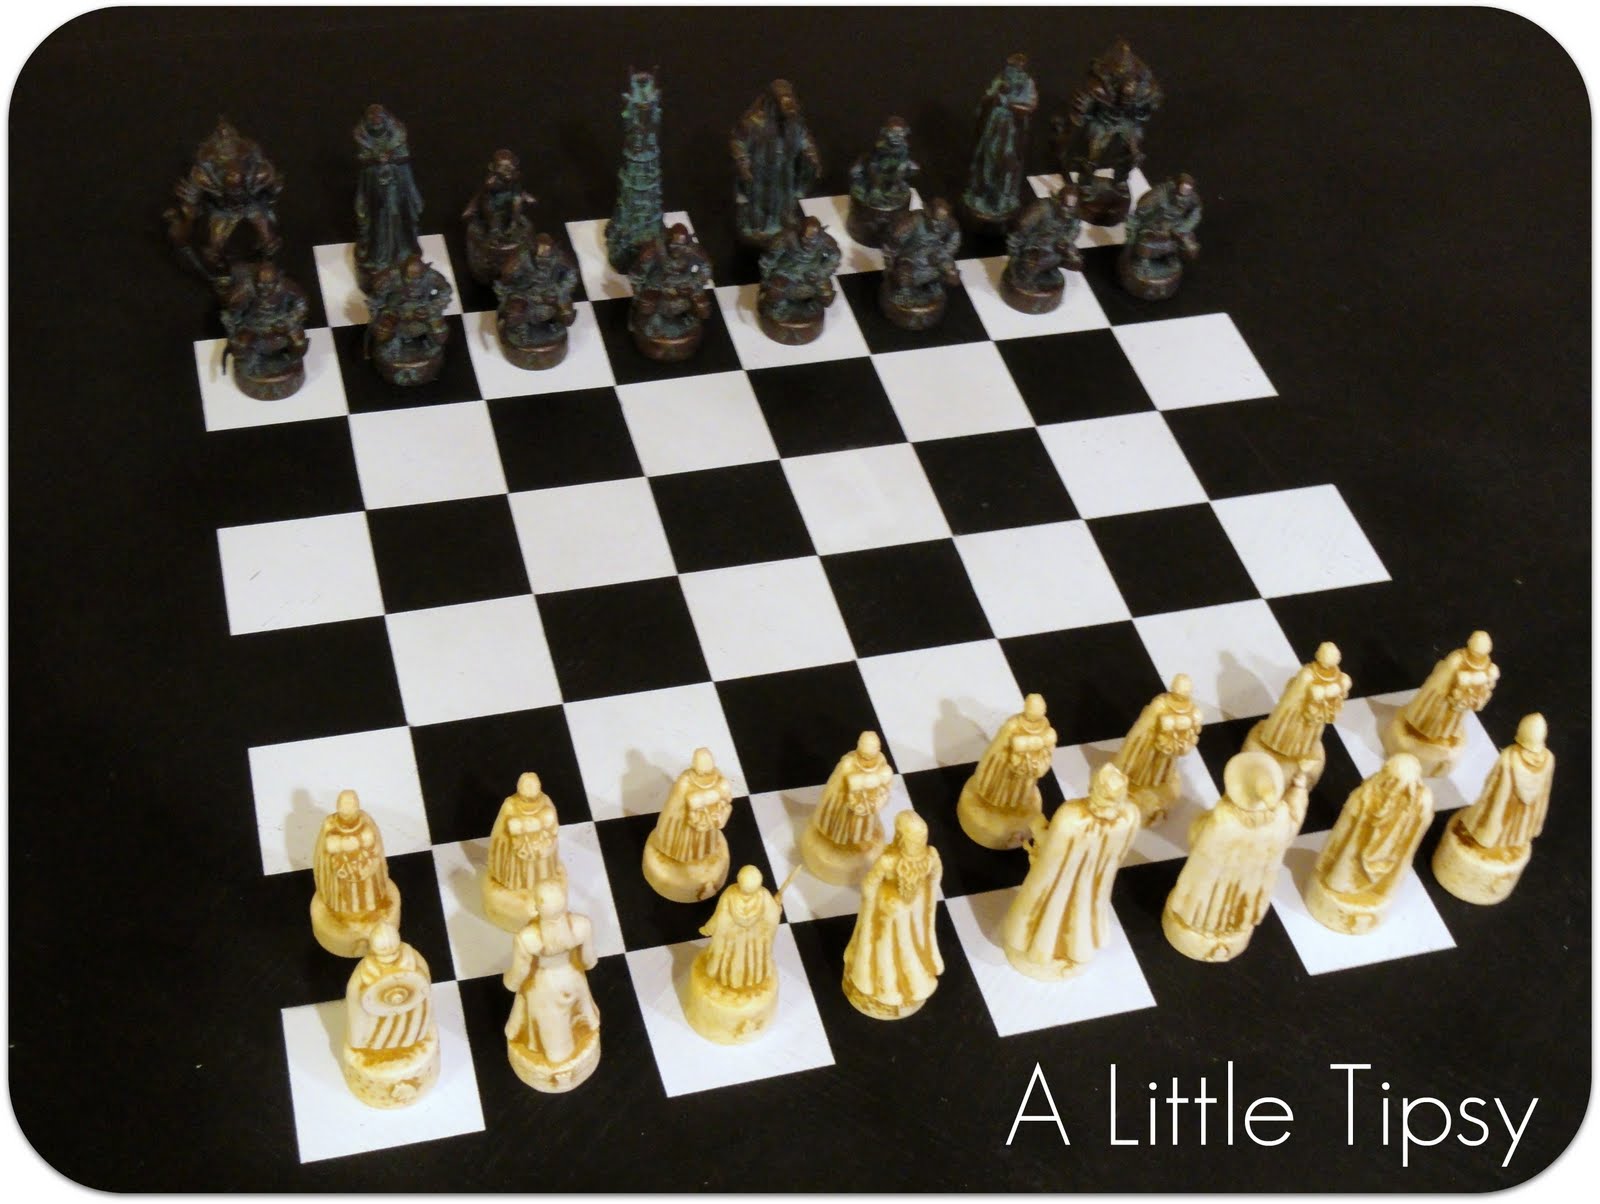
Find a checkers or chess set (this is my hubs Lord of the Rings set) and go to town!


During this project, I used two reputable brands of paint side by side and the Krylon Dual Paint coated the large area a lot more smoothly. The Krylon also worked easier with the spray grip I used. I did not have to push as hard so it made several coats nearly effortless. I can’t wait to get more so I can get started on the matching chairs.
Krylon sent me the new Dual Paint to try out. Check out their latest promotion, The Dual Duel, where Krylon is looking to find The Ultimate Restorer. To win this title, enter your spray paint restoration project and encourage friends and family to vote for your project as their favorite for their chance to win too.

Disclosure: Krylon sent me paint, but I was in no other way compensated for this post. All opinions are 100% my own.
P.S. Don’t forget to sign up for free Tipsy updates via RSS or email.
I have always wanted a game table and this is such a great way to make one!
~ The Tuckerbag ~
This is *such* a fun idea! I just love everythng youve been doing for your game room. If I ever have a game room in my house, I think I’ll take inspiration from you. Thanks so much for sharing!
This is such a cute idea! I’m sure this will create many happy memories between your hubby and son. Great job!
-Heather
Love it! I have a table that needs painting…this just might be the ticket! 🙂
This is so, so FUN!!
This is awesome! Now I want you to spraypaint the chess figures. 🙂 No, don’t do that just for me.
Gorgeous looks!