I am so delighted to be here at A Little Tipsy, sharing my first contributor post! I am Amy and I blog over at The Happy Scraps. Today I want to share with you this fun DIY Stenciled Easter Sign. It is so simple to make, but does take a little bit of time.
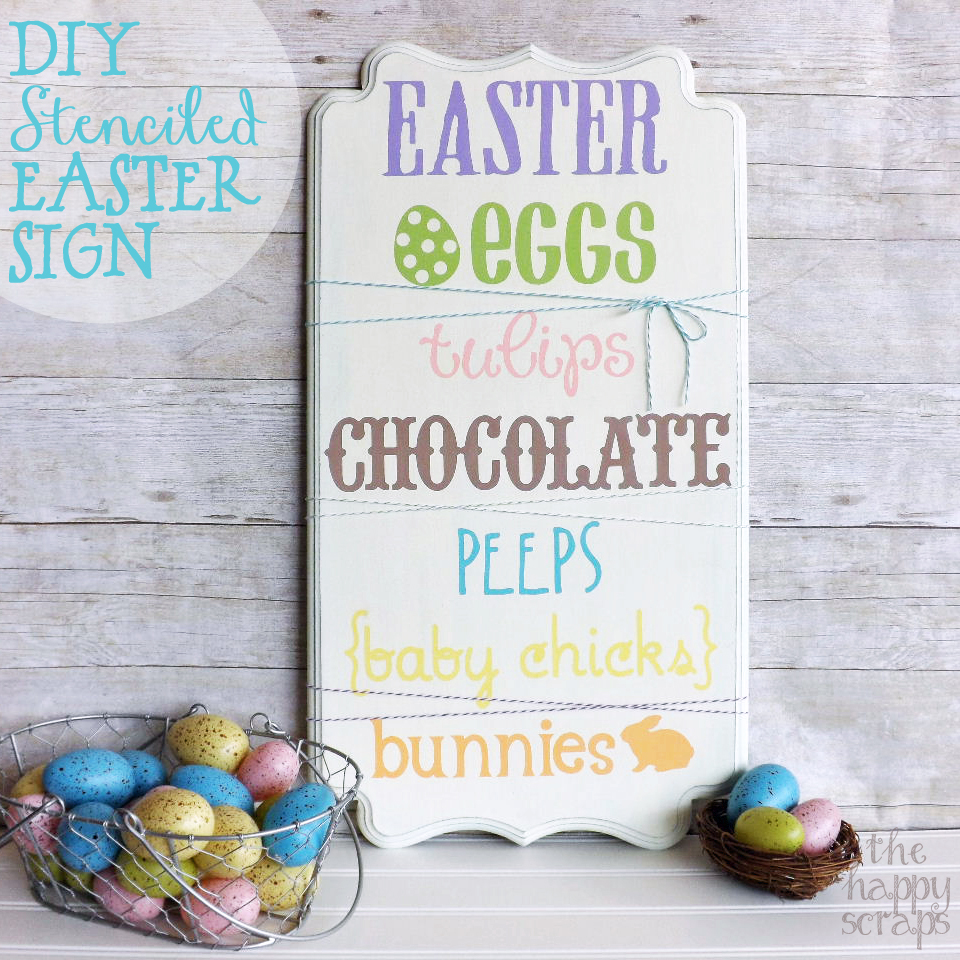
Start off with your board, and paint the edges blue. Once that is dry, you can start putting your layers of white on. If you are using MDF, then it will take a few coats. Once you are finished painting the white on, distress your edges to reveal the blue. Next, using some vinyl and your Cricut, you will cut out your stencil and stick it on. Click here to download the template for Cricut Craft Room. Now you are ready to paint! Pick out your Easter colors of paint and get painting.

Once you’ve painted all of your words the desired colors, peel up your stencil. At this point, I took some fine sandpaper and sanded the top of my sign, just to smooth it out a little bit, then I wiped it down with a wet wipe to get the dust off.

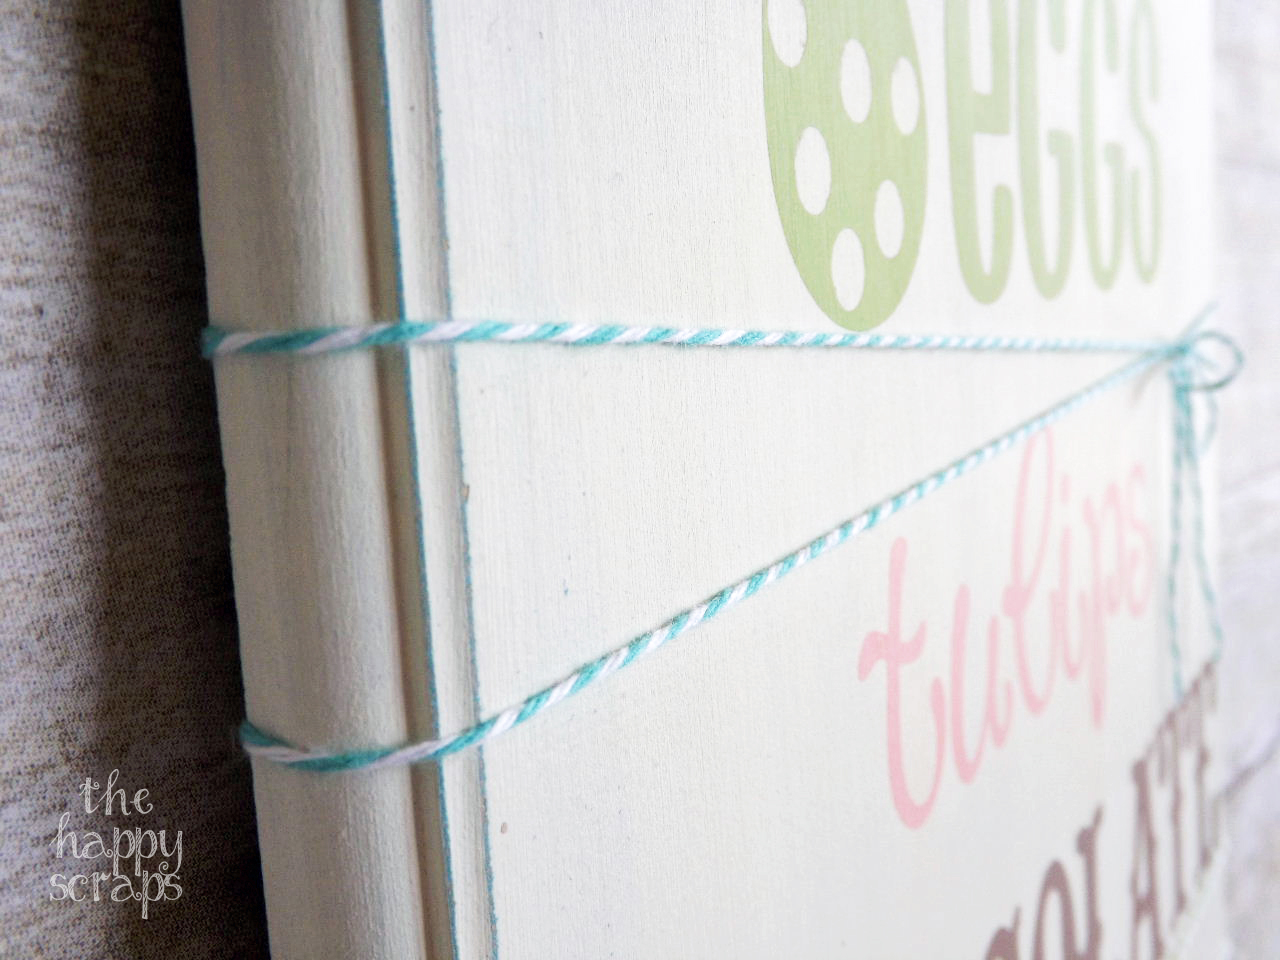
Once I was finished with the distressing, I wrapped some twine around the board in a few different places.
That’s it, you are finished! Now you just need to find the perfect place to put it in your home.

I hope you’ll come by and visit over at The Happy Scraps! I’d love to have you!

super cute project! and simple!!!