A Little Tipsy

Creative Tips & Ideas

  • home
  • About Me
  • the tipsy top
  • press
  • projects
  • contact me
[print_thumbnail_slider]

DIY Envelope Pillow Cover

July 2, 2013 By Michelle Barneck Leave a Comment

Hey guys, I’m super excited to be back over here at A Little Tipsy today to share a fun sewing tutorial. I am a self taught sewer, so I’m not technical or detailed. I usually figure out all of my projects on my own (with a little trial and error!) and I share them in non-sewing terms because I really don’t know much!

  Envelope Pillow Tutorial from OurThriftyIdeas.com

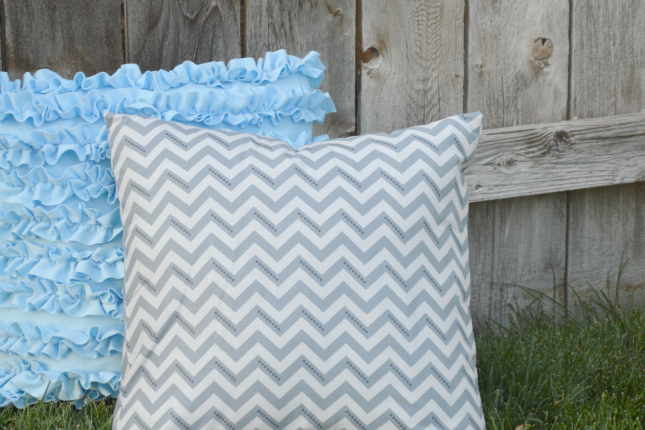
I am currently re-doing my master bedroom color scheme and decor, and in the process I am making new pillows for my bed, because you can never have too many pillows on your bed! Today’s pillow tutorial is super simple. I got it done in less than 30 minutes, and it makes such a great impact for being so simple.

{Read More of this Awesome Tutorial}

Envelope Pillow Tutorial from OurThriftyIdeas.com

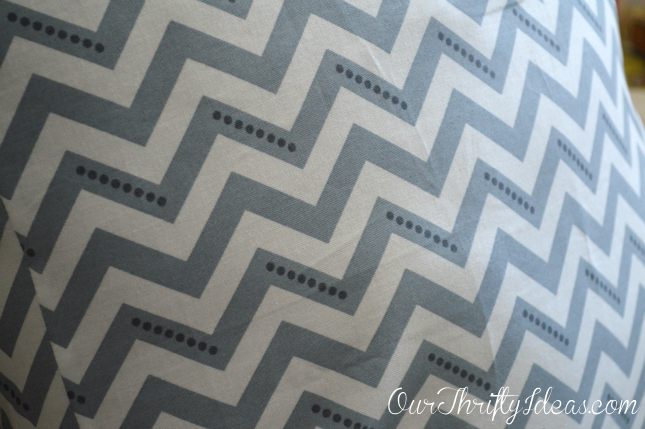
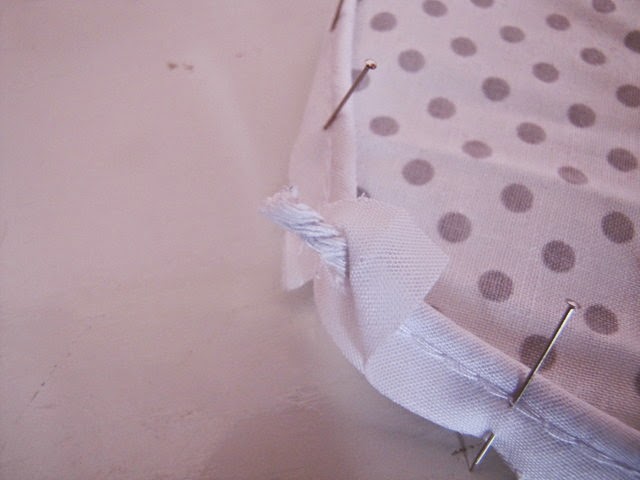
I found this cute fabric at my local Bennion Crafts store. I love that it’s not just a typical chevron, but has the accents with the dots. This is for an 18 inch pillow, but if you are doing a different size, just adjust the measurements accordingly.  Cut your fabric to 19×19 and 19×24 inches. This will allow for seams and also give your pillow a snug fit. Then cut your 24 inch piece in half, making two 19×12 inch pieces. From there you are going to hem one side of the 12 inch pieces (pictured below)
  Envelope Pillow Tutorial from OurThriftyIdeas.com  

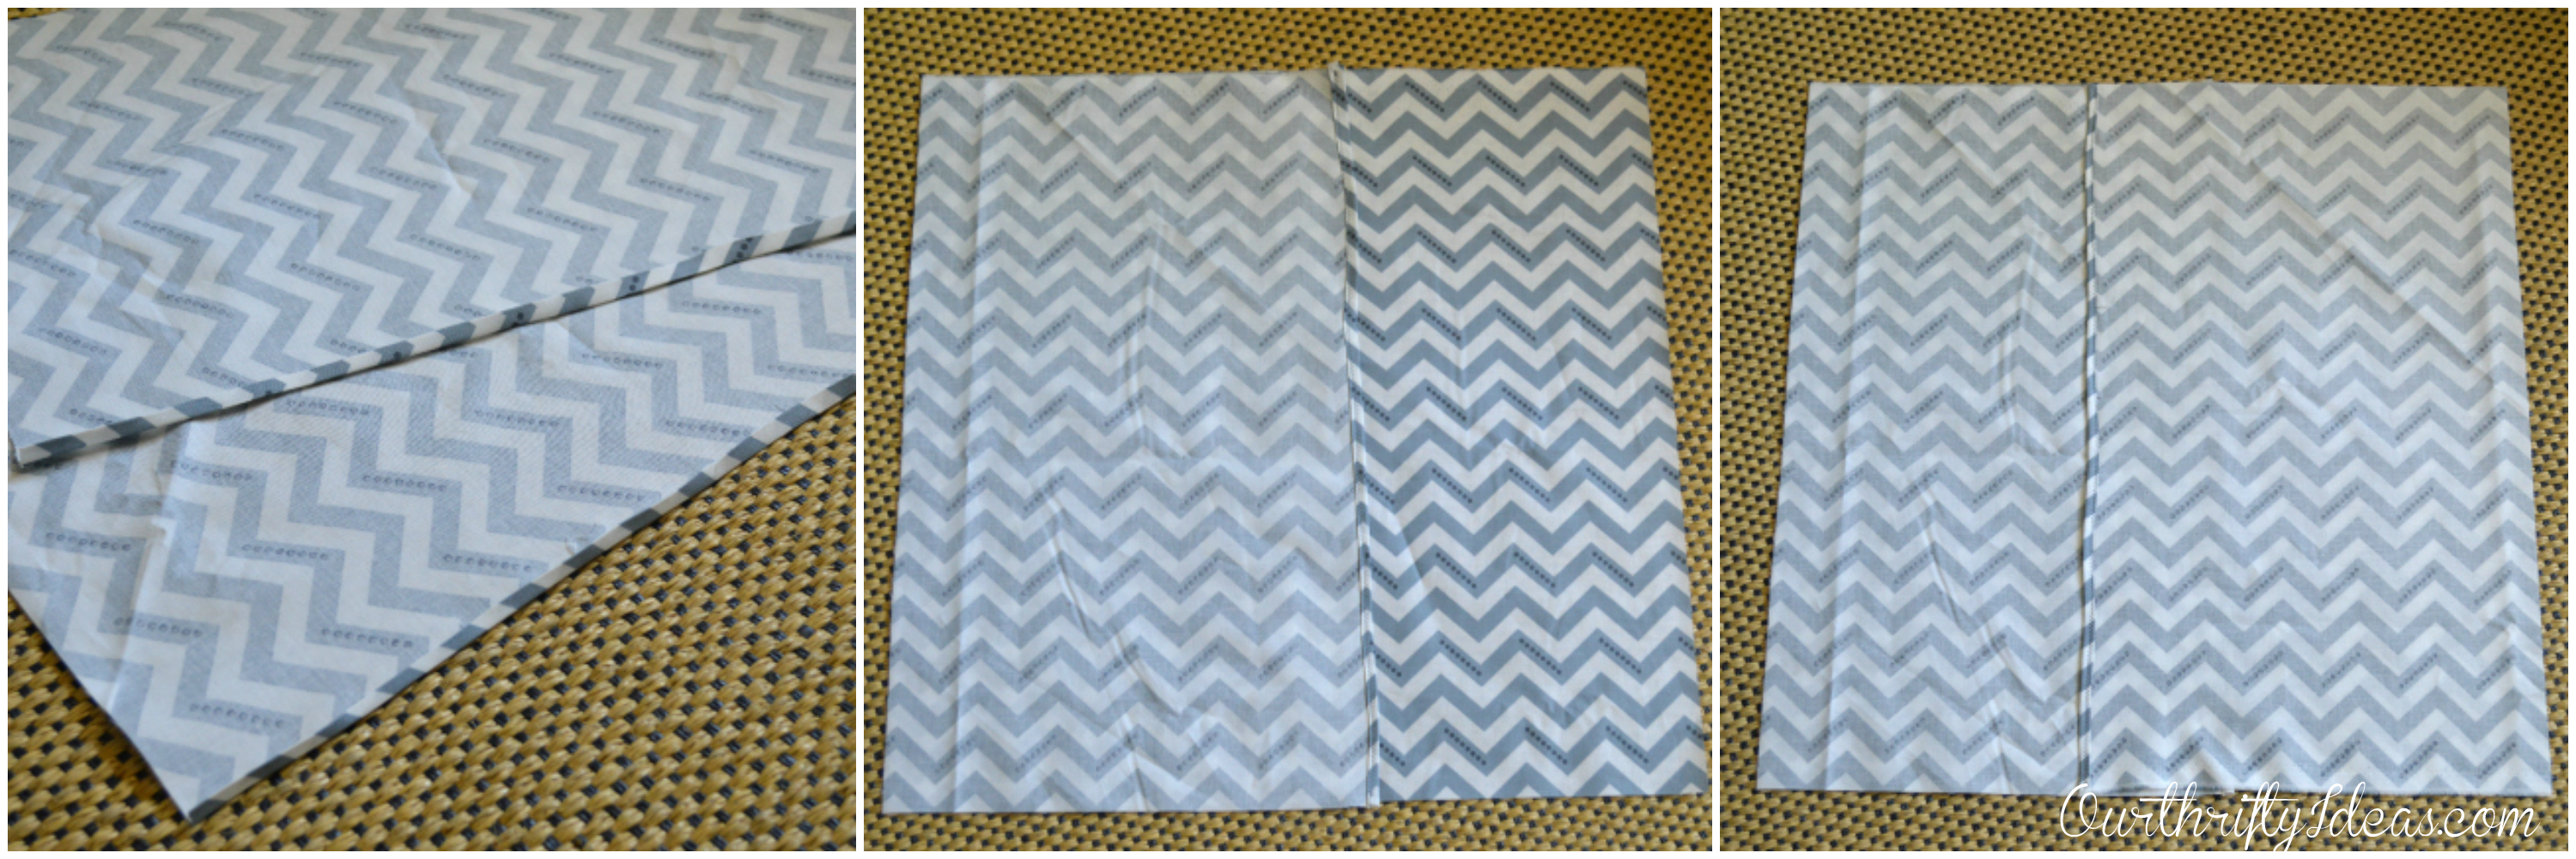
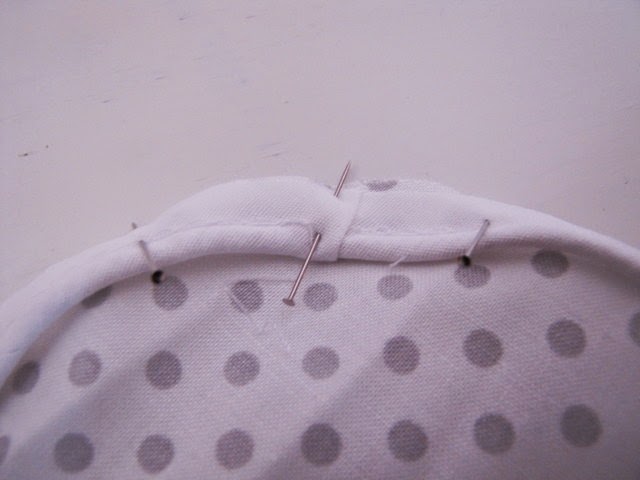
After your 2 sides are hemmed, lay your 19×19 piece on the ground facing up. Lay each 12 inch section on top, right sides facing down, with the seam in the middle. They will overlap creating the “envelope” fold of your pillow.

  Envelope Pillow Tutorial from OurThriftyIdeas.com

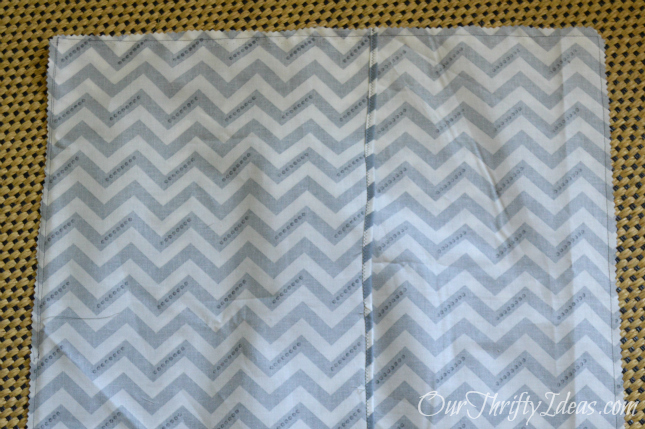
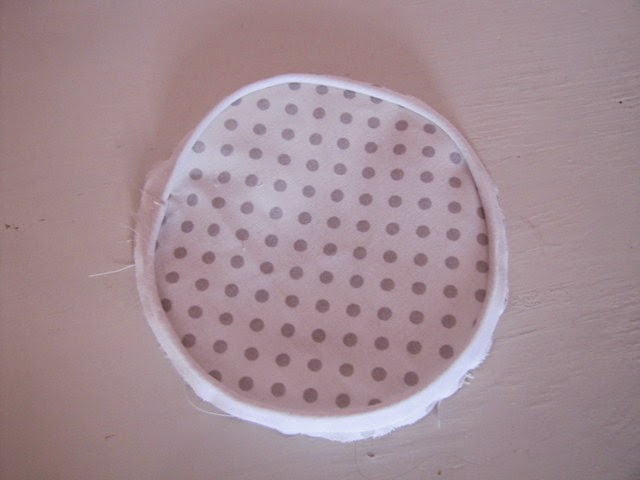
Then sew around all 4 edges with with a straight stitch and a 1/2 inch seam allowance. Once it is all sewn, trim off the excess fabric from all sides. Now all you need to do is turn the pillow case right side out and stuff
with your pillow!

  Envelope Pillow Tutorial from OurThriftyIdeas.com   

 Thanks for letting me stop by and share a sneak peak into my new master bedroom. Make sure to check out the full reveal on my site later this month (after my big move to Sunny St. George!)

———————————————————————–
Thanks Vanessa! I love a sewing tutorial that looks easy enough for me to follow and chevron + polka dots = cuteness!

We have decided to truncate our feed to help protect against stolen content. I apologize for any inconvenience. Please love us anyway. 🙂

Bottle Piggy Banks #12MonthsofMartha Giveaway

June 28, 2013 By Michelle Barneck 27 Comments

Disclosure: Martha Stewart provided the books for review/giveaway. The strong opinions are as always my own. 
We have been having so much fun this summer with field trips and crafts. It is the perfect time to enjoy time with the kids and create which is why I was thrilled when I received Martha Stewart’s Favorite Crafts for Kids to try out. I heard tons of oohs and aahs and “I want to make that!” as we flipped through the book. We plan on making many of the items from the book, but settled on bottle piggy banks to start out.
Aren’t they the cutest little oinkers? I am loving this book!
The instructions are simple and the pictures are of course fabulous.
SUPPLIES NEEDED:
  • Scissors
  • Colored & Patterned Paper
  • Mini Water Bottles
  • Double Sided Tape (optional)
  • White Craft Glue
  • Utility Knife
  • Template for ears from pg. 340
  • Hole Punch
  • Sharpie (optional)
  • Wooden Beads
  • Acrylic Paint (optional)

INSTRUCTIONS:
1. We opted to paint our feet aka wooden beads to match our paper. If you are going to do this, paint them first to allow time to dry.
2. Cut long strips of paper to go around the bottles. You can glue them in place, or if you have little hands helping opt for double sided tape.

3. ADULTS: use a utility knife to cute a slot in the top for coins.

4. Use templates to cut out inner and outer ear. Glue together, bend back bottom of ear, glue to bottle.

5. Glue beads to the bottom of the piggy bank for feet.
6. Use a hole punch to make nostrils and (if you have a tiny punch) eyes and glue them in place. If you only have the standard punch you can color on eyes with a Sharpie.

Let the glue dry completely and feed those little piggies some coins. My little guys love doing tasks to earn coins to put in their banks! It’s always nice to have a new form of motivation!

Want a Martha Stewart’s Favorite Crafts for Kids book of your own? Enter below to win!

a Rafflecopter giveaway

Follow my blog with Bloglovin

We have decided to truncate our feed to help protect against stolen content. I apologize for any inconvenience. Please love us anyway. 🙂

Tooth Fairy Pillow for Little Girls

June 25, 2013 By Michelle Barneck 1 Comment

Hi everyone! This is Terra from mama says sew. Today I’m going to share the tutorial for this Tooth Fairy Pillow with you.
A little while ago, our daughter lost her first tooth. She was so excited to leave it under her pillow and get a surprise from the tooth fairy. The next morning, however, she came into our room, very disappointed, saying that the tooth fairy hadn’t left her anything. Well, I was pretty sure that the tooth fairy had left something, because I know her {or in this case, him} personally, so I told her to go look again. But with this pillow, she can hang her tooth on her bedpost, and the tooth fairy can slip the surprise into the tooth pocket, with no worries about it getting lost {or waking her up}.

Click for the full photo tutorial.

Here’s how I made mine. I did an etsy search to get some ideas {and there are pages and pages of tooth fairy pillows} so head over there if you want some other ideas {or want to buy one instead of make one}.
You’ll need:
Fabric scraps
Piping {optional}
Embroidery floss
Felt
Batting
Basic sewing supplies
I started by cutting out two circles for the pillow and two strips of fabric for the door hanger. Then cut out some felt shapes. You can download the template for the bird here.
Pin your piping around the edge of one of the circles, overlapping at the ends.

Open up one end of the piping and snip off the thread inside.

Pin the piping casing over the other end of the piping, so that all raw edges are enclosed.

Baste the piping to the pillow. It is helpful to use a zipper foot. You can leave the piping off, or you could add a ruffle in place of the piping.

Sew on the tooth pocket, making sure to leave the top of the tooth open, so it is actually a pocket and not an applique.
Sew your fabric strips together, then turn right side out and topstitch the sides, to make the hanger.

 Sew on the beak and embroider some feet.

Sew the wing to the bird, and then make a french knot for the eye.

Sew the bird to the pillow.

Pin the hanger to the tooth side of the pillow.

Layer the bird on top, right sides together with the other pillow circle. Stitch all the way around, leaving a small opening to turn.

Turn the pillow right side out and stuff it with some batting. Slip stitch the pillow closed.

Now you’re ready for the tooth fairy! This would be easy to switch up for a boy-you could do dinosaurs, trucks, or whatever your little guy likes.

————————————————————————
Absolutely adorable Terra! I love the idea of hanging it on the bedpost so there is never any confusion/waking scares. Thanks for sharing!

We have decided to truncate our feed to help protect against stolen content. I apologize for any inconvenience. Please love us anyway. 🙂

How to Splatter Paint Using a Toothbrush

June 21, 2013 By Michelle Barneck Leave a Comment


Disclosure: This post is sponsored by the good people at Burg Pediatric Dentistry.

Summer is here and as parents that means donning our boredom buster tool belt. I am a firm believer that activities do not have to be expensive. With a little creativity you can have a blast with a few things already in your cupboard! I remember as a child of the eighties splatter painting. I saw spin art among other things from my childhood like neon and acid wash back in the stores, so why not bring on the splatter paint?
All you need is:
  • Washable Finger Paint
  • Toothbrushes (be sure to disinfect if using old ones!)
  • Butcher Paper
CLICK HERE FOR THE PICTURE & VIDEO TUTORIAL


1. Cover your surface with butcher paper and cover the kids with aprons or smocks because things are going to get messy.
2. Dip the brush in the paint and holding the brush close to the paper comb over the bristles with your finger sending the paint flying. Older kids can hold the brush with their four fingers and use their thumb to comb the bristles, but for little ones it is easier to hold the brush in one hand and use the other hand to comb.

3. Have fun creating fireworks, starry skies, or anything else your kiddos can come up with.
This video will show you in a little more detail how to splatter paint with a toothbrush and also how to create planets with the suction cup end.

If your toothbrush has a suction cup end, you can create planets by dipping it in the paint and stamping with the suction cup.

This one reminds me of phases of the moon or a planet traveling through the solar system.

For toddlers, just hand them the toothbrush and let them paint with it like a regular brush. They love it!

Thanks to Burg Pediatric Dentistry for sponsoring this post to show us toothbrushes are not only tools for healthy teeth, but tools for fun!

We have decided to truncate our feed to help protect against stolen content. I apologize for any inconvenience. Please love us anyway. 🙂
« Previous Page
Next Page »

  • Bloglovin
  • Facebook
  • Google+
  • Instagram
  • Pinterest
  • RSS
  • Twitter

Hi there! I'm Michelle. Mother of three little boys and one little princess. Welcome to A Little Tipsy, a place for exploring creativity and sharing inspiration.

Follow on Bloglovin


Visit Michelle Barneck {A Little Tipsy}'s profile on Pinterest.

Tutorials by Category


15 Family Reunion Games

Family Reunion Games Collage

15 Sprinkle Party Ideas

Sprinkle Birthday Party
Creative Commons License

© Copyright 2014 A Little Tipsy · Site Designed by The Fairy Blogmother · Web Hosting by RFE Hosting

This website uses cookies to improve your experience. We'll assume you're ok with this, but you can opt-out if you wish.Accept Read More
Privacy & Cookies Policy