A Little Tipsy

Creative Tips & Ideas

  • home
  • About Me
  • the tipsy top
  • press
  • projects
  • contact me
[print_thumbnail_slider]

Goodbye Death Trap, Hello Beauty {A Ceiling Fan Story}

April 11, 2013 By Michelle Barneck 5 Comments

This post is sponsored by Overstock.com who provided the ceiling fan for review. The thoughts and near death experiences are all my own. πŸ˜‰
It started out with what I thought was upgrading my “quite the sight” 1980’s ceiling fan and turned out to be saving ourselves from an untimely death. We traded in our non-classy brassy for a sleek little espresso number only to find the old ceiling fan was held on by one measly screw directly above my side of the bed. I was one moderate earthquake away from a news headline, “Local Blogger Impaled by Ceiling Fan.”
Granted it was not the poor fan’s fault. I blame the careless previous owners/builders who thought it too much work to make sure both anchor screws actually connected with something remotely solid. Maybe they were looking for a quick way out while still collecting life insurance? See the suspect fan below.
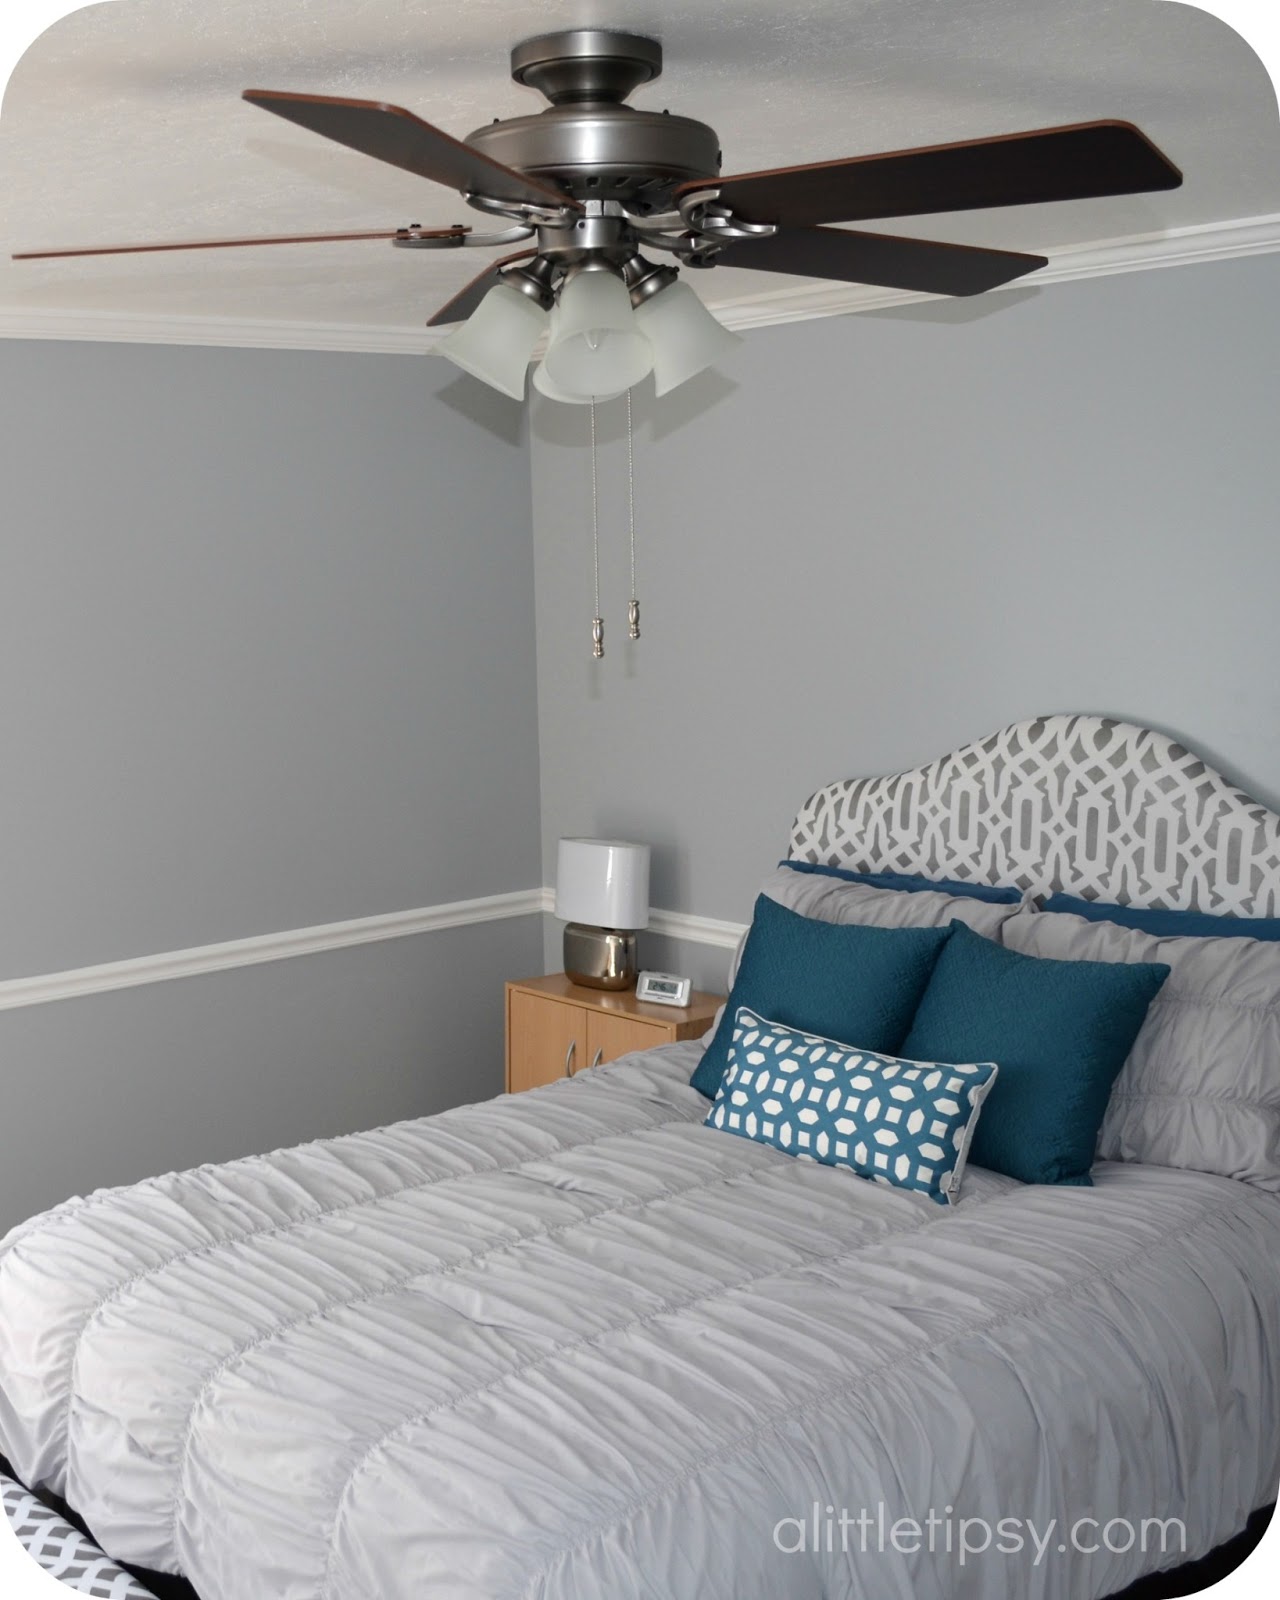
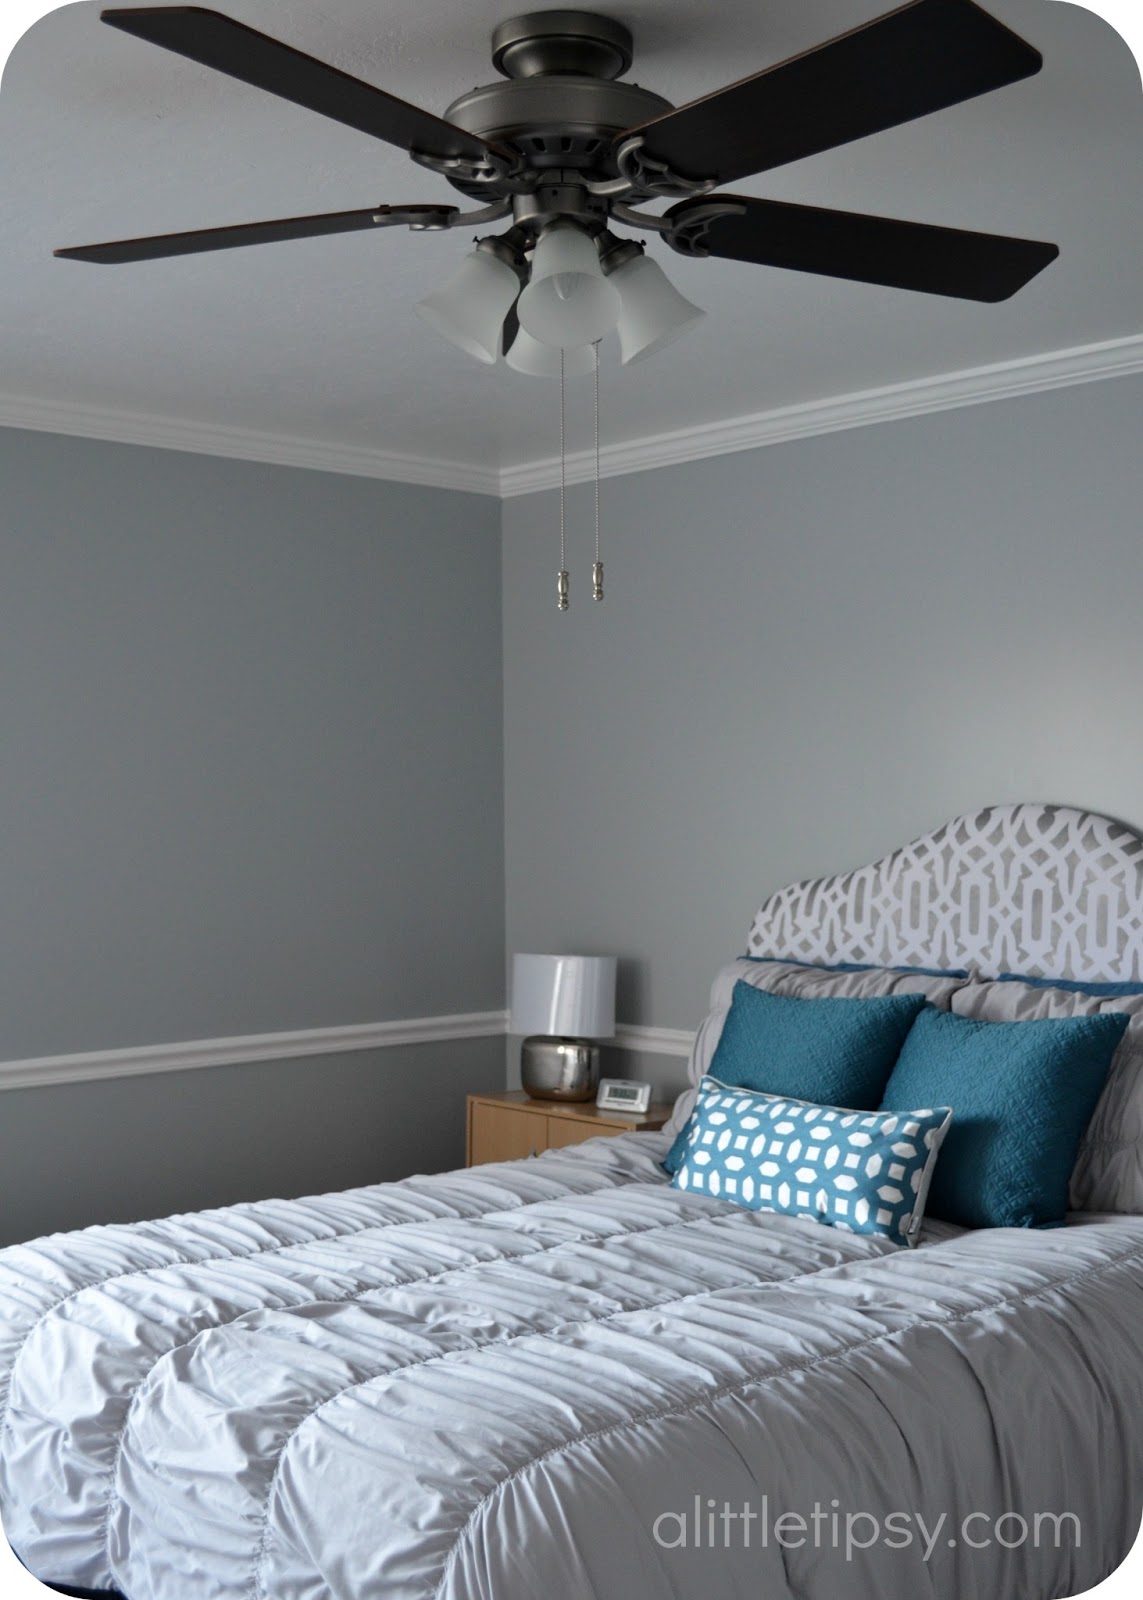
The difference is grand. Thank heavens for the hubs who climbed up in the attic to install an extra board to anchor the fan safely. I guess he wants to keep me around. I smile every morning when I see our new fan and know I will live to see another day. It is my daily dose of espresso. (hardy har)
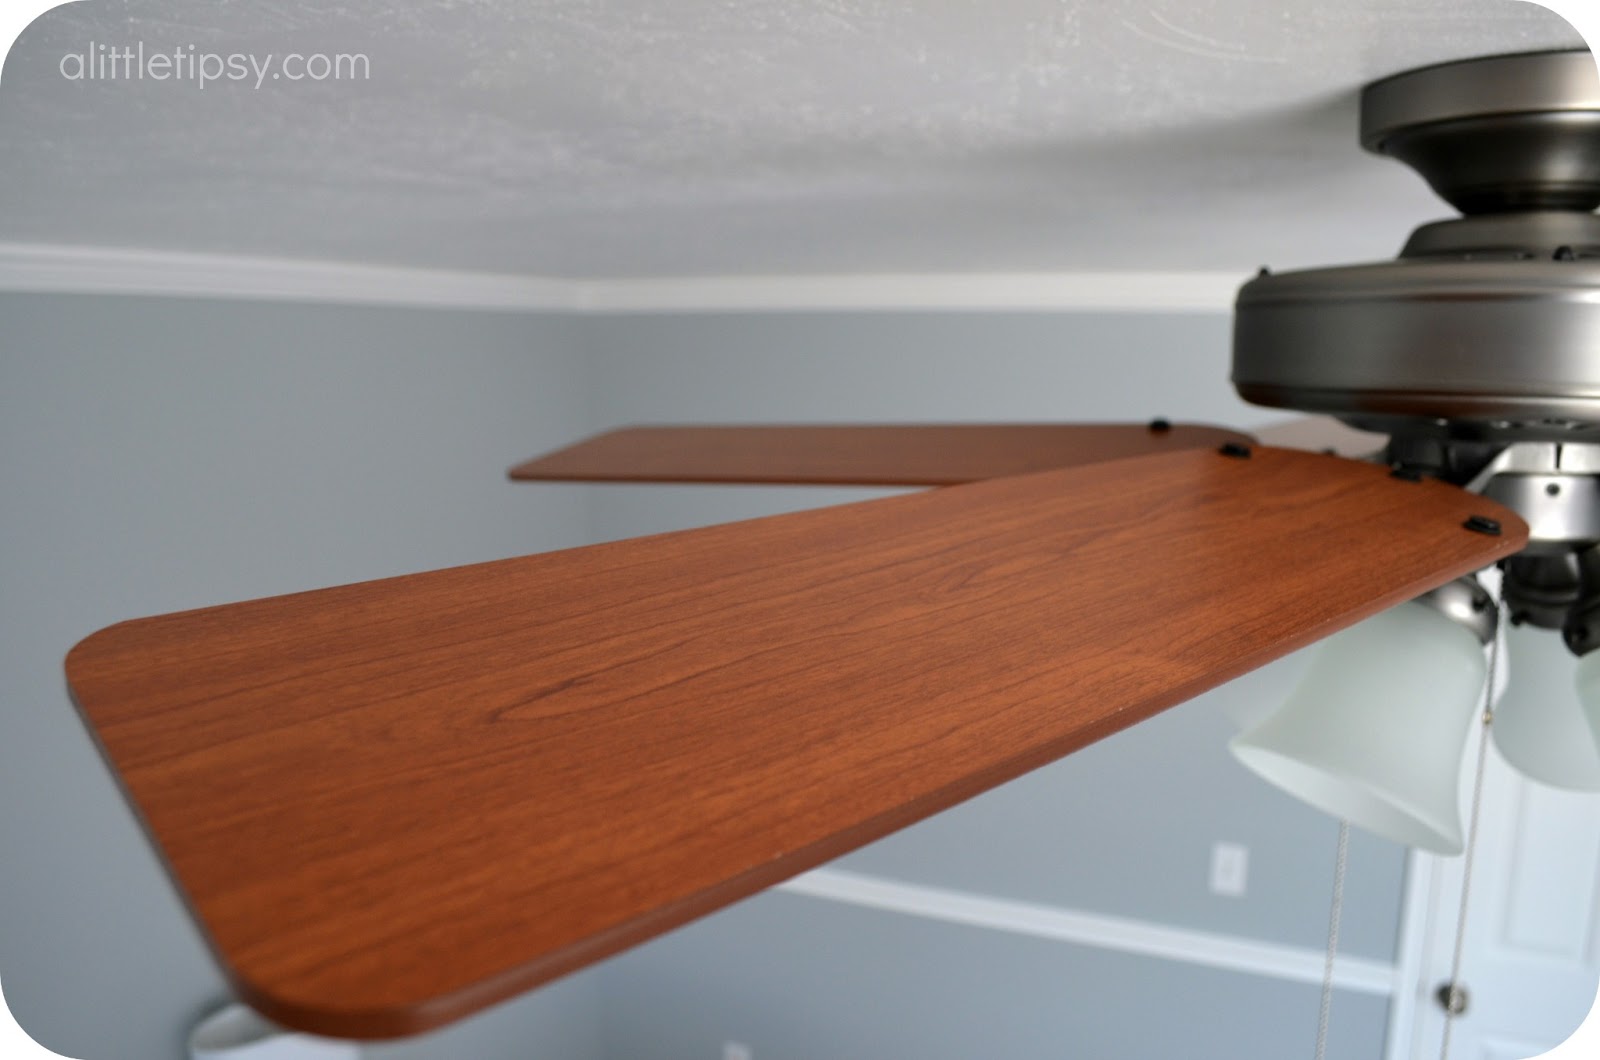
Wanna know what else is super cool about our new fan? The other side of the blades is a lighter shade of brown so if I decide to change my color scheme or espresso rolls out with the trendwinds I can just flip them over and give the fan a mini face lift.

I love the color, I love the quality and I love that I ordered it from the comfort of my own home without paying an arm and a leg. We love having four lights so it’s nice and bright when we need it. It is a total lifesaver during these spring months when it gets warm, but you don’t want to turn on the A/C just yet because it might be 70 one day and snow the next.

I knew Overstock had great deals on bedding, rugs, and clothing, but I was surprised to find such a great ceiling fan selection. You can order my ceiling fan here or see their collection of ceiling fans to choose a style all your own.

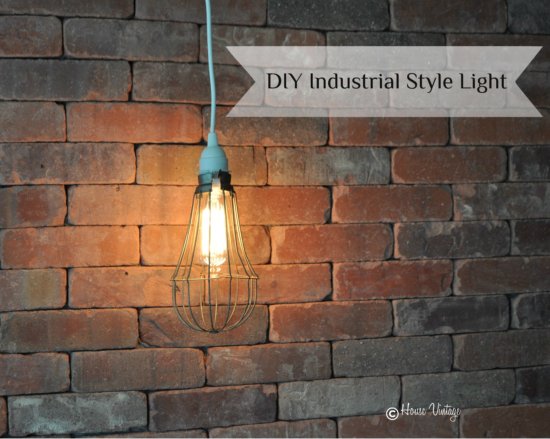
Do you have a light fixture you are dying to upgrade? 
Do you have any funny discoveries while doing home improvements?
We have decided to truncate our feed to help protect against stolen content. I apologize for any inconvenience. Please love us anyway. πŸ™‚

Succulents: A How-To Guide

April 3, 2013 By Michelle Barneck 2 Comments

I in no way claim to be a green thumb. Luckily there are those who excel in this area to help the rest of us along. I had been coveting the beautiful succulent arrangements popping up around the web for a while now and decided to bit the bullet and try my hand at it. I couldn’t be more thrilled with how mine turned out!
I am attending the SNAP! Conference in a couple weeks and as a fun way to prepare and get to know other bloggers participated in a SNAP Swap. We were given a budget of $15 and told to thrift store shop and raid our stashes to come up with some items for our partner to makeover. My partner Amber from Crazy Little Projects lives here in Utah so we were able to meet up and swap in person which was fun! Here’s the goods I came home with.
Be sure to run over and see what I sent her home with and what she came up with!
Now, how can you pot some succulents of your very own? Here’s the low down using tips I learned from this Outside Inside post from Ms. Green Thumb herself Cynthis Bee.
SUPPLIES:
  • Bowl or pot
  • Activated Carbon (found in the aquarium section)
  • Aquarium Gravel
  • Mirable Grow Moisture Control Potting Mix
  • Succulents (I found mine at Home Depot)

Layer your ingredients as follows: carbon, gravel, potting mix, succulents, gravel. You can keep the potting mix just in the middle and have only gravel around the edges if you want. The carbon and gravel are what make this bowl work with no drainage.
I love how it adds life, color, and texture to my front room!

I wasn’t sure about the blue gravel at first, but I had it on hand from when we used to have African swimming frogs and decided to give it a whirl. I am so glad because I am in love with it!

Come to find out, potting soil is not the best for succulents. Read all about it at the end of this succulent post from Cynthia. I am hoping the moisture control feature of the Miracle Grow combats this. Luckily, I am just keeping them indoors for a couple more weeks until it warms up in these parts and then they can move outside and re-pot if needed.
We have decided to truncate our feed to help protect against stolen content. I apologize for any inconvenience. Please love us anyway. πŸ™‚

Industrial Light {DIY Style}

April 2, 2013 By Michelle Barneck 2 Comments

Hello A Little Tipsy readers!  It is quite exciting to be here as a contributor.  You can usually find me at my blog House Vintage where I share DIY projects, vintage finds and ways to fill your home with what you really love. Industrial chic is everywhere right now, and I must admit I have a little design crush on this look.  It is such a perfect mix of new and old, rustic and modern.  Today I am turning a salvaged metal cage into an industrial style pendant light.  Let me show you how.

This project began when I found an old and very dirty metal cage at a flea market.  I brought it home for $1 and knew it was the perfect starting point for a new light, after some cleaning of course! Also necessary to this project is a light cord (I usually buy mine from IKEA) and a vintage style light bulb.  The bulb was the most expensive supply. You can typically find them at any hardware store for around $10.

This particular cage opened to accommodate changing the light bulb, but I did need to find a way to keep it closed the rest of the time.  I used a simple fine gauge wire and threaded it through the two openings.  You will want to use a wire that is easy to bend.

Next, screw the light bulb into the cord, and insert the light cord and light bulb into the cage.  Use the wire to tighten the cage around the threaded end of the cord.  Once it is secure, cut off the excess wire.  Be sure to turn the pointy end of the wire under, so there are no sharp edges exposed.

And there you have it….a great vintage looking industrial pendant light.

The only thing left to do, is to find the perfect spot to hang it in your home.  I think I could cuddle up with a good book right here!

———————————————————————-
Oooh, I have a design crush on it too! It is beyond perfect with that brick! Thanks for sharing your fantastic find turned industrial light with us Ali.
We have decided to truncate our feed to help protect against stolen content. I apologize for any inconvenience. Please love us anyway. πŸ™‚

Stenciled Glass Vase #12MonthsofMartha

March 27, 2013 By Michelle Barneck 8 Comments


SUPPLIES:
  • Glass Vase
  • Martha Stewart Satin Paint in Pool
  • Martha Stewart Crafts Laser Cut Stencils
  • Martha Stewart Spray Adhesive
  • Martha Stewart Pearl Paint in Aquarium
  • Foam Brush
  • Martha Stewart Sprayable Gloss Enamel Finish


DIRECTIONS:

1. Pour the satin acrylic paint inside the vase around the sides and swirl, rotate, and tap to coat evenly. Let it dry overnight.


2. Spray the back of your stencil with spray adhesive so it will stick to your vase and help make the stencil lines crisper. Using your foam brush dob the pearl paint over the stencil. It may create little bubbles, but they will go away.


3. Let the paint dry completely, then spray a thin even coat of the gloss enamel to protect it.


4. Place a smaller vase or cup inside the painted vase to protect the paint from water. (I used one of those kid’s cups they give you at restaurants.) Fill your stenciled glass vase with bright spring blooms and enjoy a little of the outside in!


There’s an AMAZING discount at Michaels right now! 30% OFF Entire Purchase of Martha Stewart Crafts Craft Paint Tools & Accessories good through April 13th 2013! View and print the coupon here: US URL and CAN URL

Disclosure: Martha Stewart provided product to complete this post. The idea and opinions are my own.

We have decided to truncate our feed to help protect against stolen content. I apologize for any inconvenience. Please love us anyway. πŸ™‚
« Previous Page
Next Page »

  • Bloglovin
  • Facebook
  • Google+
  • Instagram
  • Pinterest
  • RSS
  • Twitter

Hi there! I'm Michelle. Mother of three little boys and one little princess. Welcome to A Little Tipsy, a place for exploring creativity and sharing inspiration.

Follow on Bloglovin


Visit Michelle Barneck {A Little Tipsy}'s profile on Pinterest.

Tutorials by Category


15 Family Reunion Games

Family Reunion Games Collage

15 Sprinkle Party Ideas

Sprinkle Birthday Party
Creative Commons License

© Copyright 2014 A Little Tipsy · Site Designed by The Fairy Blogmother · Web Hosting by RFE Hosting

This website uses cookies to improve your experience. We'll assume you're ok with this, but you can opt-out if you wish.Accept Read More
Privacy & Cookies Policy