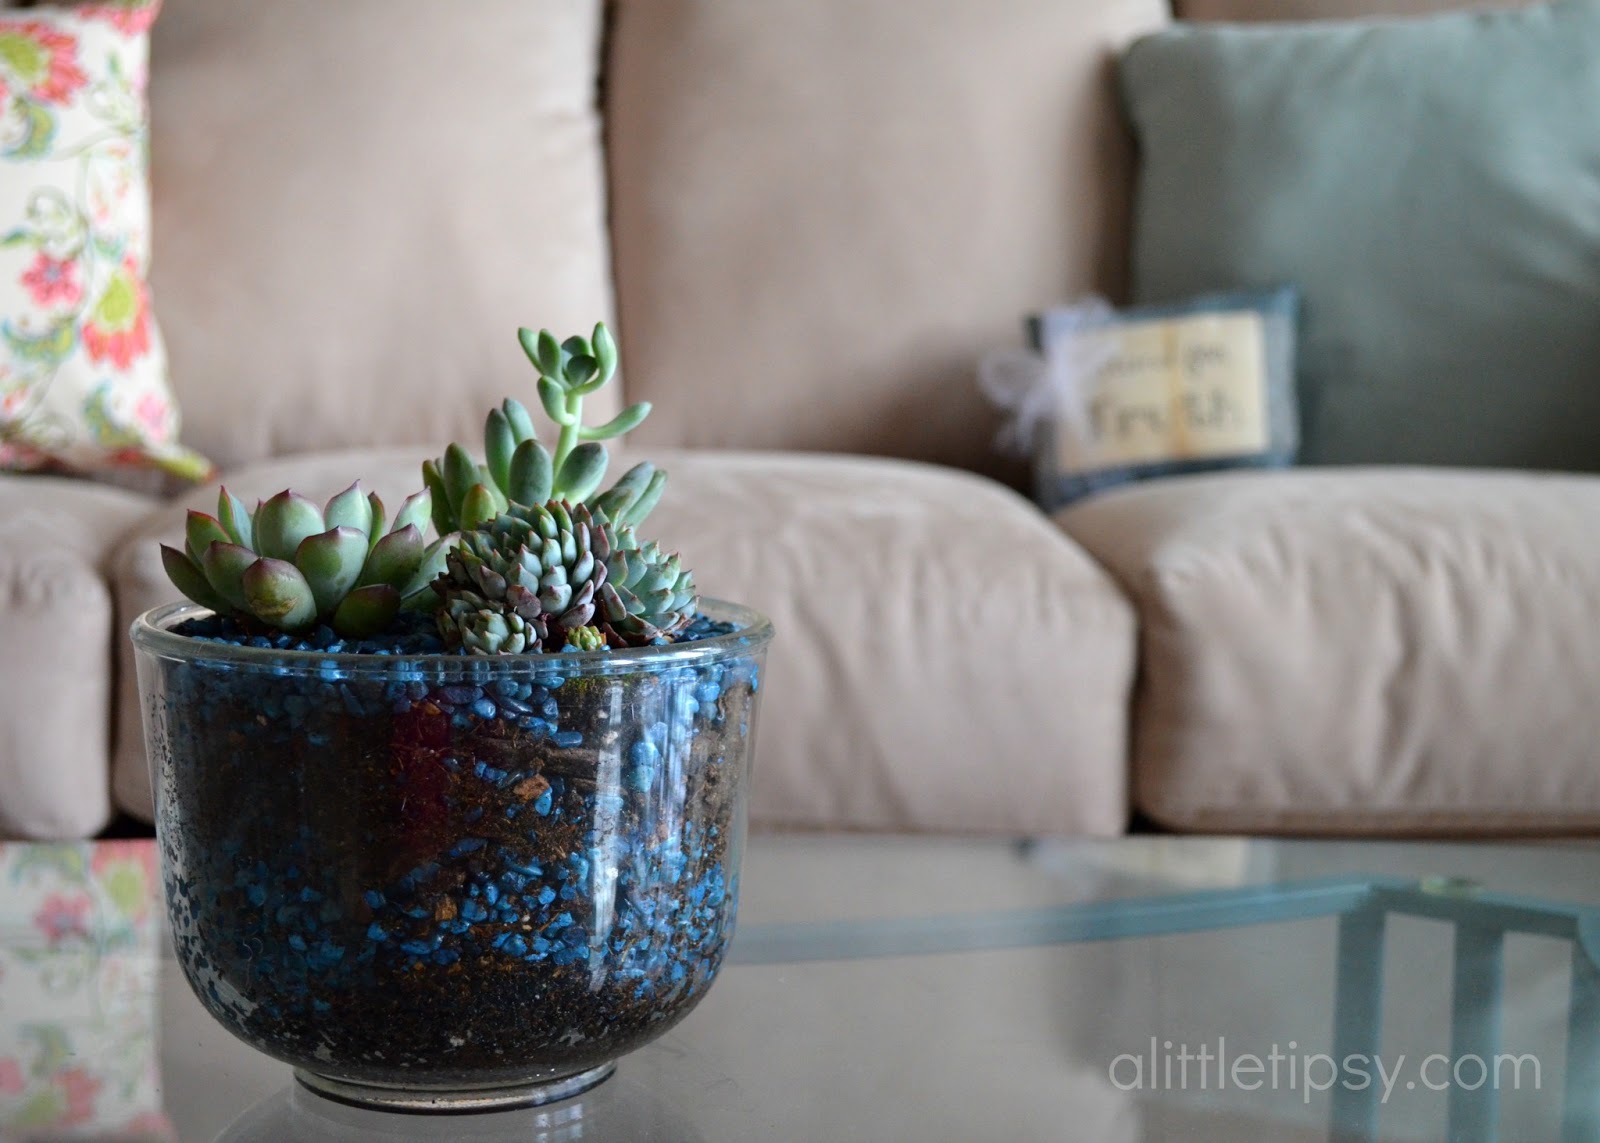
I in no way claim to be a green thumb. Luckily there are those who excel in this area to help the rest of us along. I had been coveting the beautiful succulent arrangements popping up around the web for a while now and decided to bit the bullet and try my hand at it. I couldn’t be more thrilled with how mine turned out!

I am attending the SNAP! Conference in a couple weeks and as a fun way to prepare and get to know other bloggers participated in a SNAP Swap. We were given a budget of $15 and told to thrift store shop and raid our stashes to come up with some items for our partner to makeover. My partner Amber from Crazy Little Projects lives here in Utah so we were able to meet up and swap in person which was fun! Here’s the goods I came home with.

Now, how can you pot some succulents of your very own? Here’s the low down using tips I learned from this Outside Inside post from Ms. Green Thumb herself Cynthis Bee.
SUPPLIES:
- Bowl or pot
- Activated Carbon (found in the aquarium section)
- Aquarium Gravel
- Mirable Grow Moisture Control Potting Mix
- Succulents (I found mine at Home Depot)

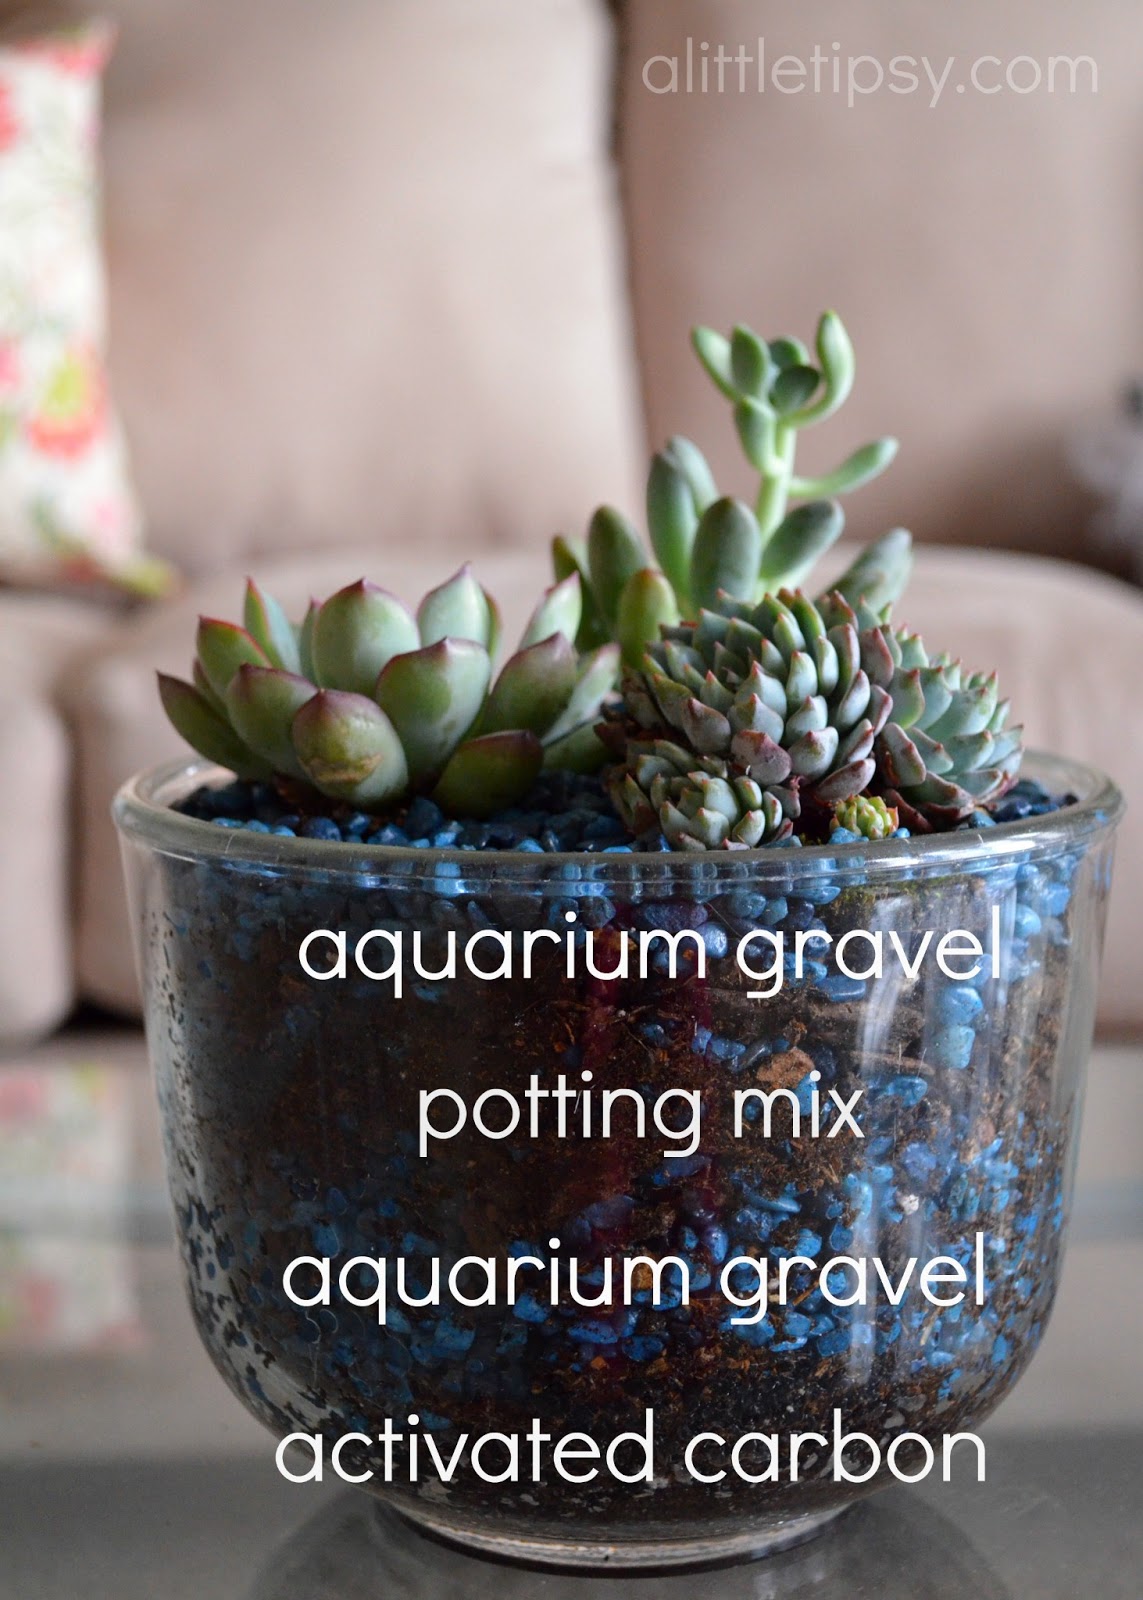
Layer your ingredients as follows: carbon, gravel, potting mix, succulents, gravel. You can keep the potting mix just in the middle and have only gravel around the edges if you want. The carbon and gravel are what make this bowl work with no drainage.
I love how it adds life, color, and texture to my front room!
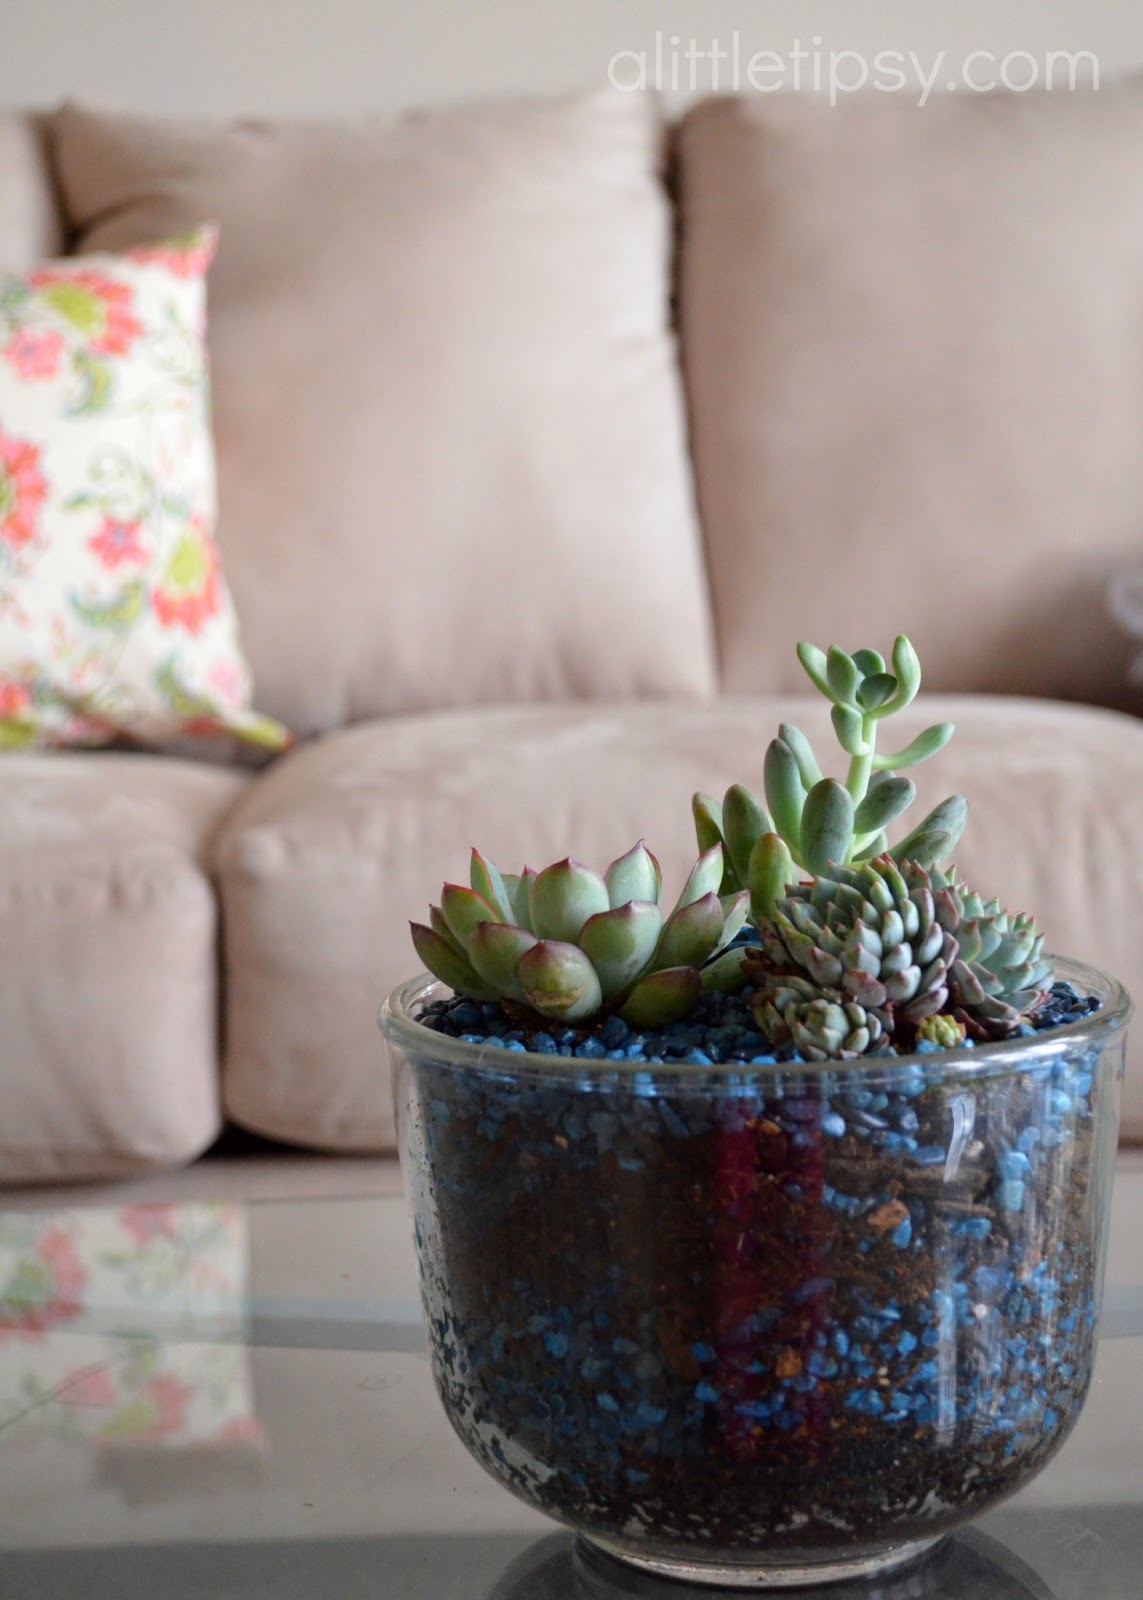
I wasn’t sure about the blue gravel at first, but I had it on hand from when we used to have African swimming frogs and decided to give it a whirl. I am so glad because I am in love with it!
Come to find out, potting soil is not the best for succulents. Read all about it at the end of this succulent post from Cynthia. I am hoping the moisture control feature of the Miracle Grow combats this. Luckily, I am just keeping them indoors for a couple more weeks until it warms up in these parts and then they can move outside and re-pot if needed.
We have decided to truncate our feed to help protect against stolen content. I apologize for any inconvenience. Please love us anyway. 🙂
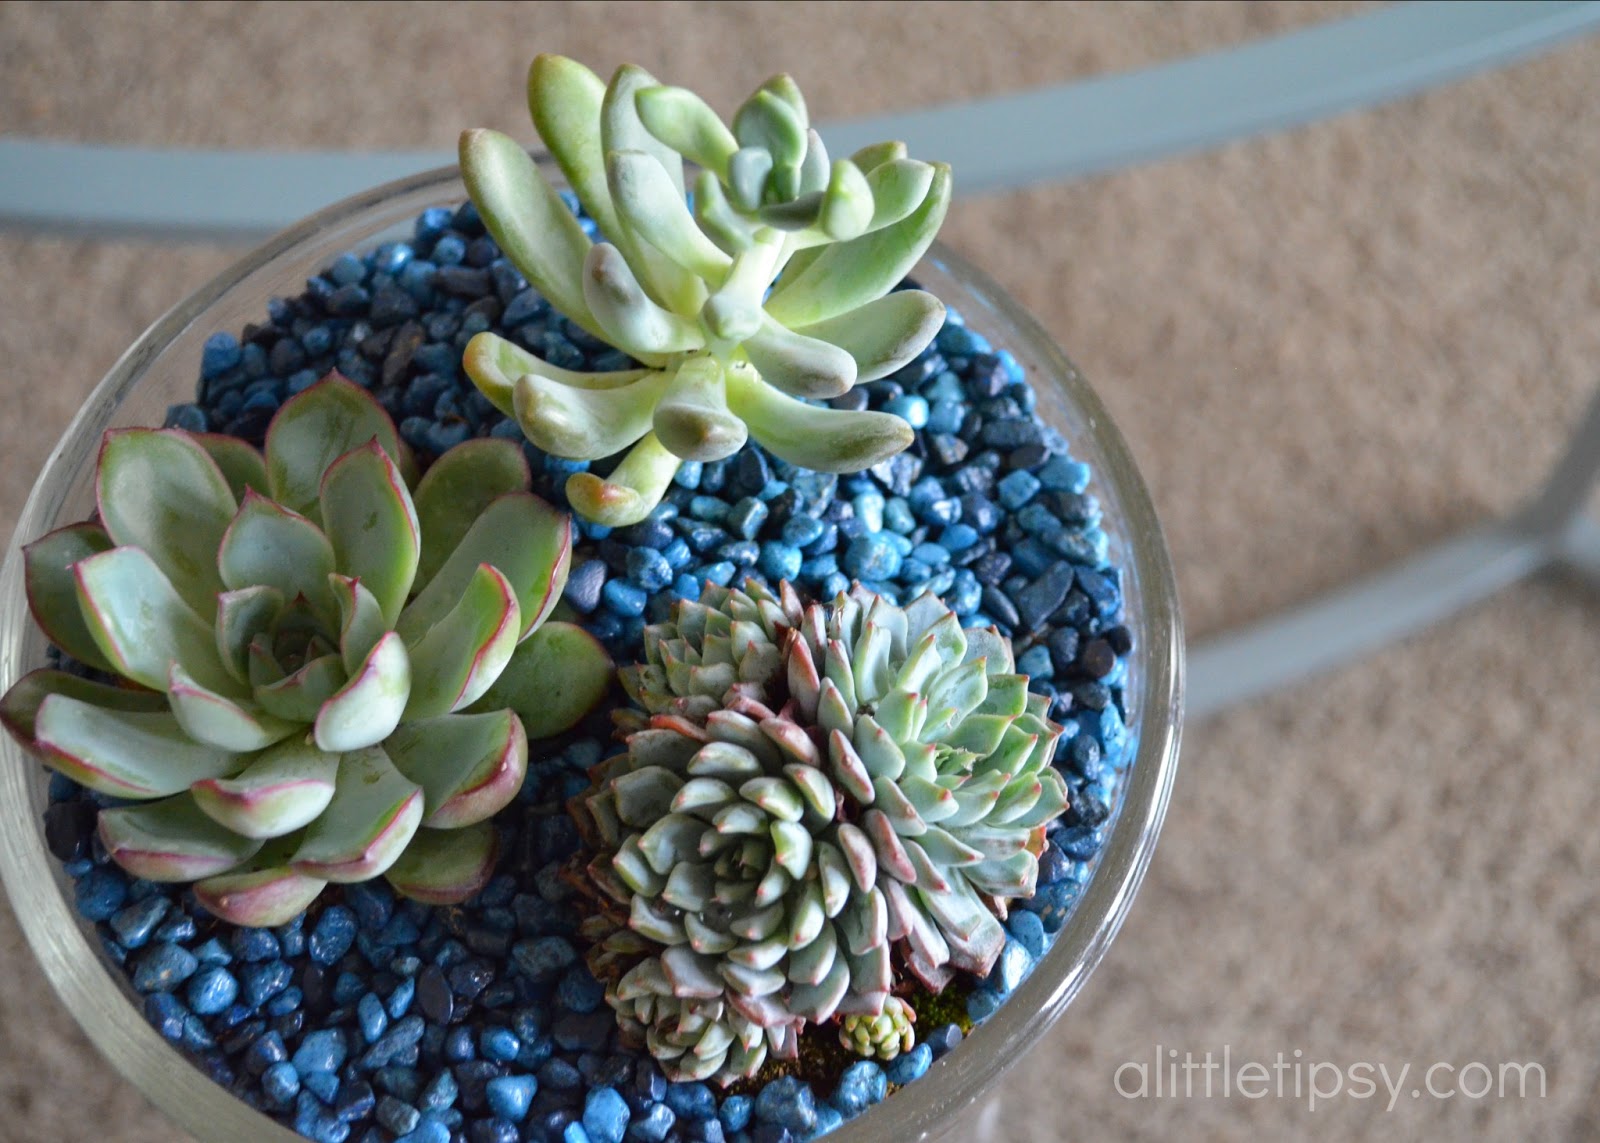
I was literally just thinking about how I need to plant some succulents around the house when I ran across your blog entry. Haha – so perfect!! I want to set some up around our windowsill. And those blue rocks really make it so pretty!
This turned out really nicely! I love the contrast of the blue rocks!