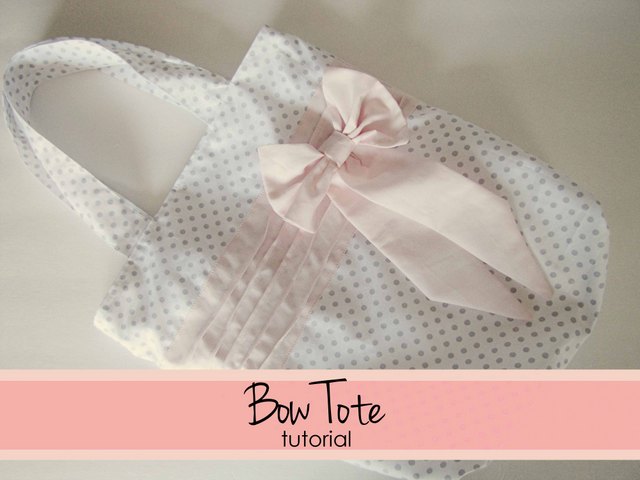
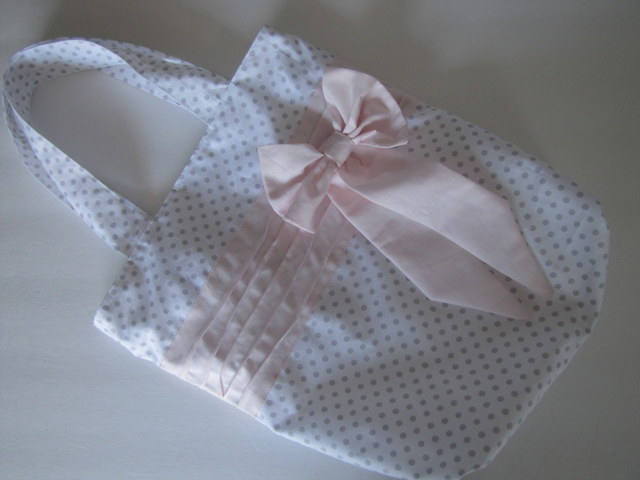
Hi there! It’s me, Terra from mama says sew. I’m here today to show you how to make this Bow Tote.
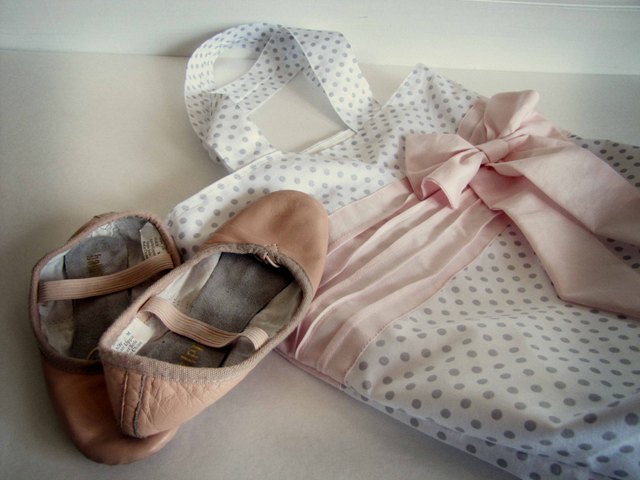
I gave it to my daughter to use as a dance tote {and she was so excited she immediately dumped everything out of her old bag so she could put it in this one}, but you could use it for just about anything. It would make a great last minute Mother’s Day gift as well.
Read More…
Read More…
It’s a pretty basic project, but I love how the bow makes an ordinary tote into something special. Perfect for that special little girl or Mom in your life!
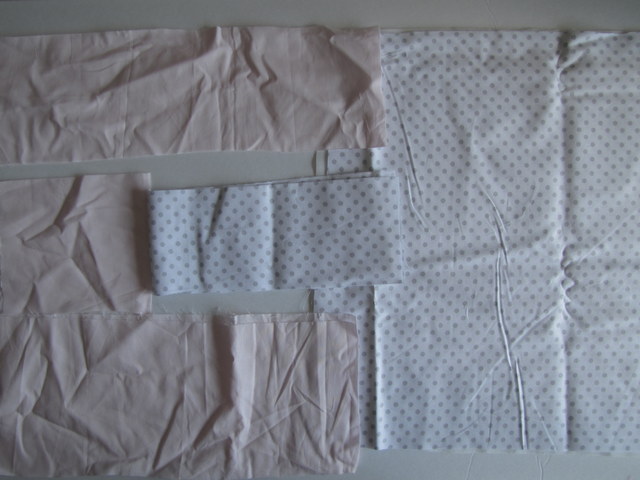
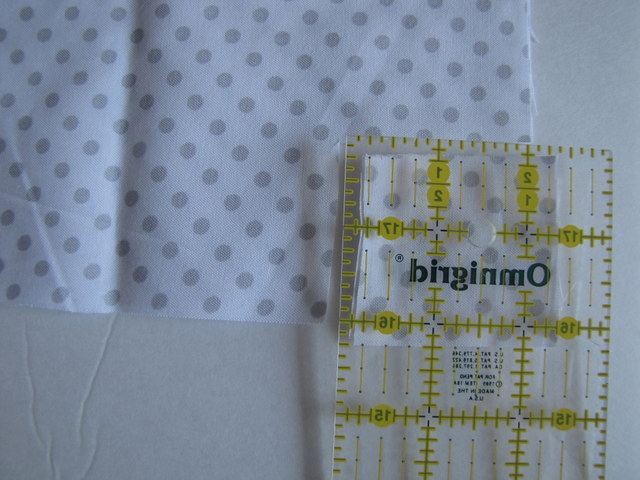
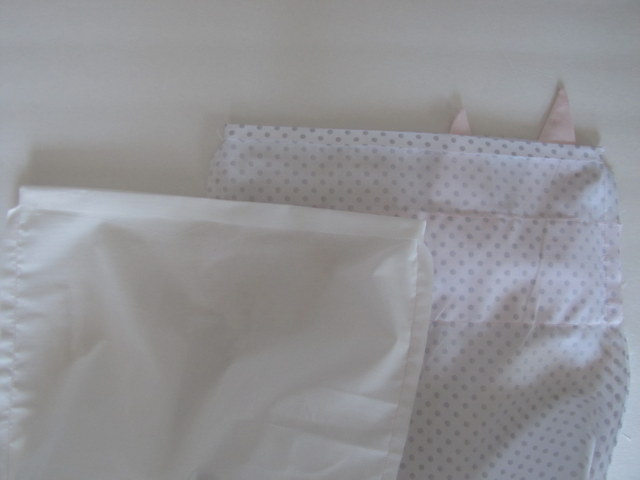
First start by cutting out your pieces. I’ve included the measurements I used, but you can adjust them to make the tote any size you prefer.
From main fabric:
Cut 2 bag pieces, 16.5 inches by 15 inches
Cut 2 handles, 4 inches by 20 inches
From lining fabric:
Cut 2 bag pieces, 16.5 inches by 15 inches
From contrast fabric
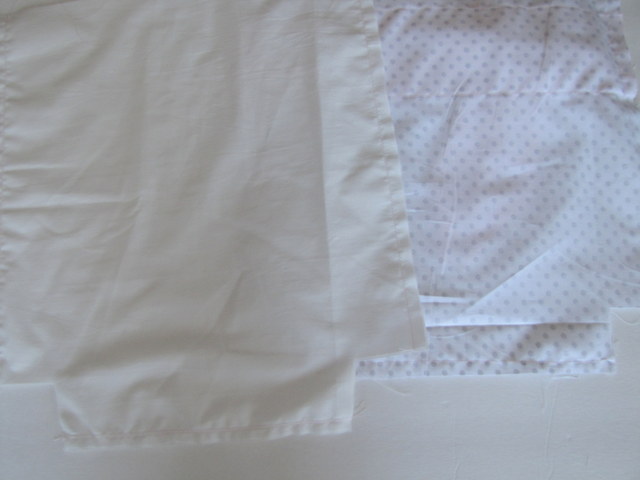
Cut 2 bow background pieces, 15 inches by 6 inches
Cut 1 bow piece, 6 inches by 11 inches
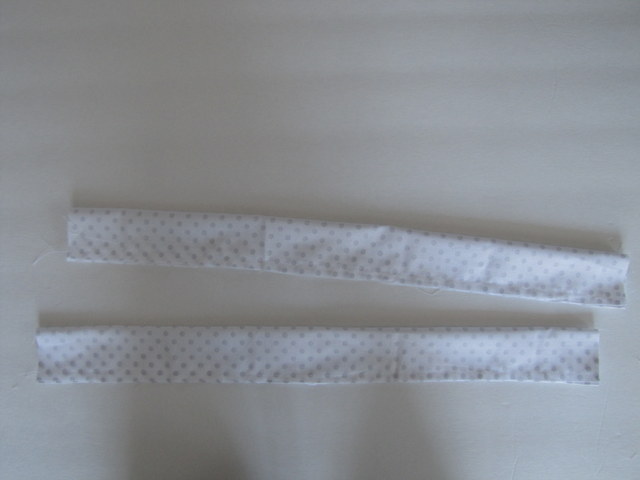
Cut 2 bow tail pieces, 5 inches by 16 inches
Scrap piece to wrap around the center of the bow
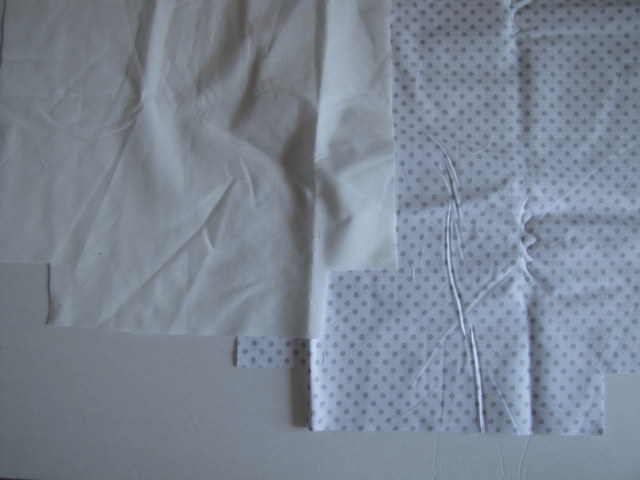
Cut a 2 inch square out of the bottom ends of the bag pieces.
Do the same for the lining pieces. All four pieces should look like this:
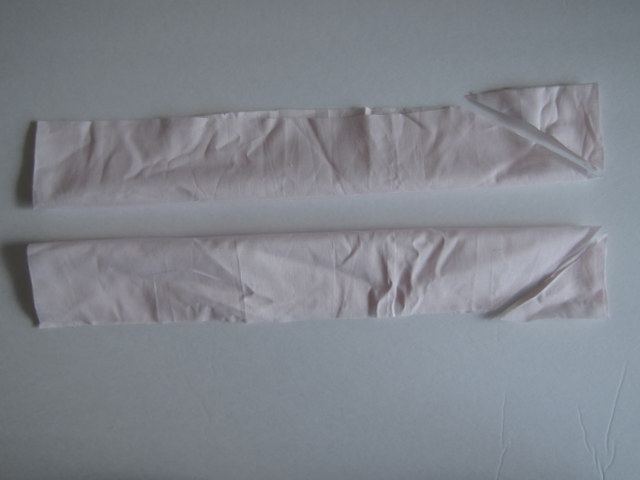
Fold the tail pieces in half and cut a triangle off each end, like this:
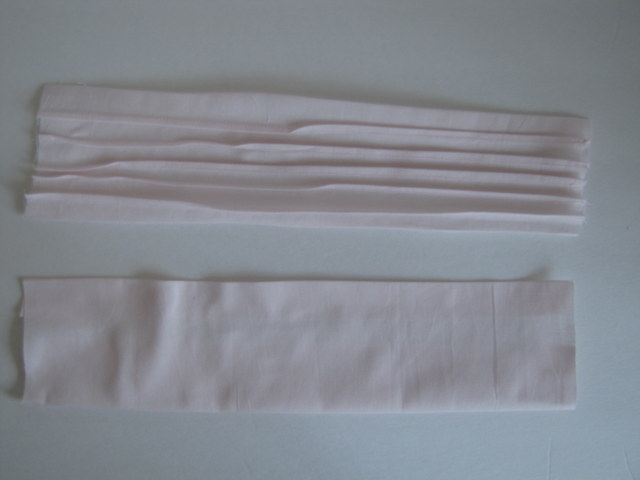
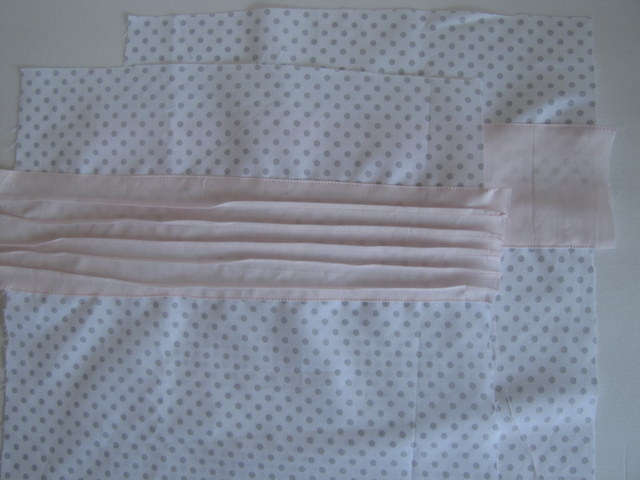
Now we’re going to make the tucks. Take one bow background piece, and iron a crease in it the long way, about an inch from the top. Stitch close to the crease, as shown.

Keep going, ironing creases and stitching close to the creases, until one of your background pieces is full of tucks. I didn’t mark them, because I wanted it to have a messy look.

Fold the long raw edges to the wrong side of the fabric on both background pieces so they are the same height.
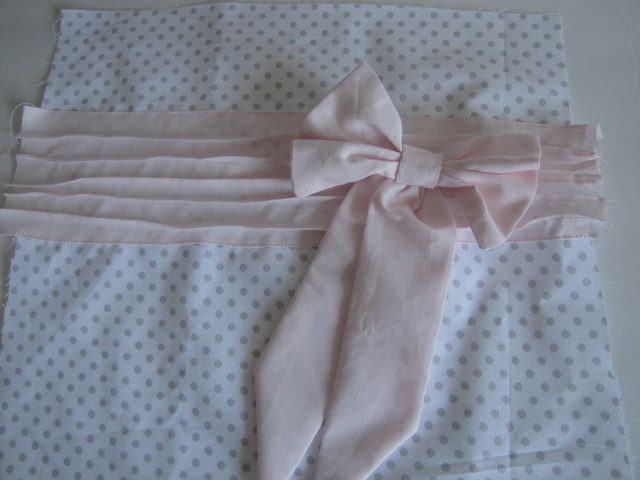
Stitch the background pieces to the main bag fabric, making sure they are both the same distance from the top of the bag. Make sure to account for seam allowances when deciding where to position the background.
Fold the bow in half and stitch around the three open sides. Clip corners.
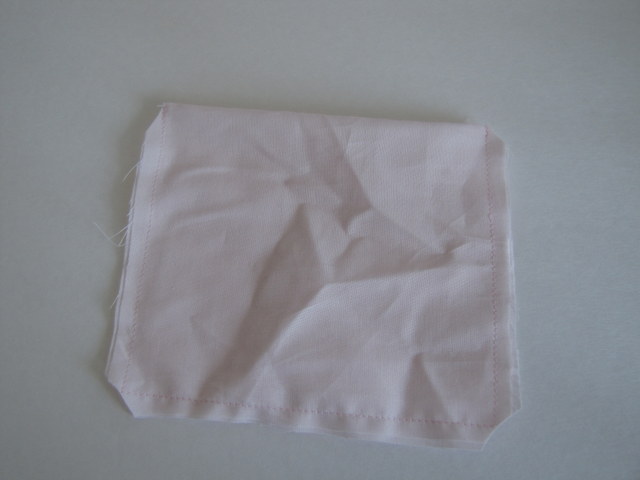
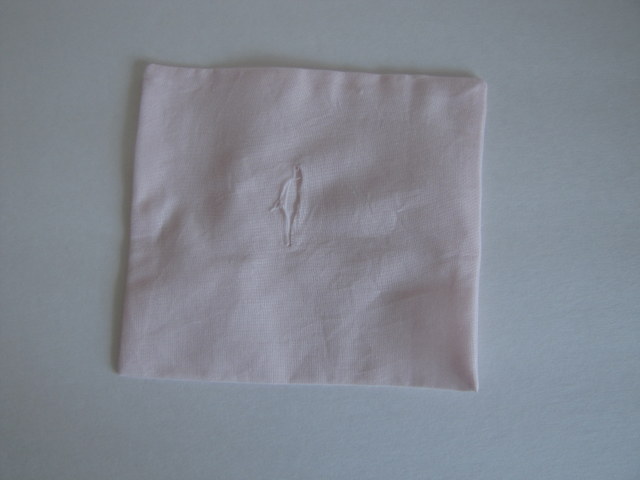
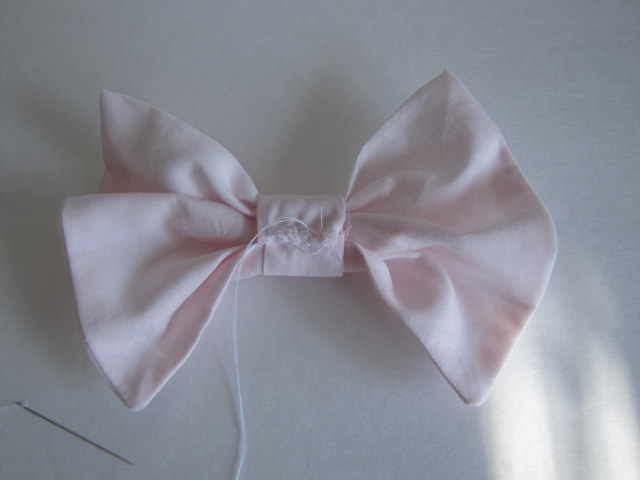
Cut a hole near the center of the bow.
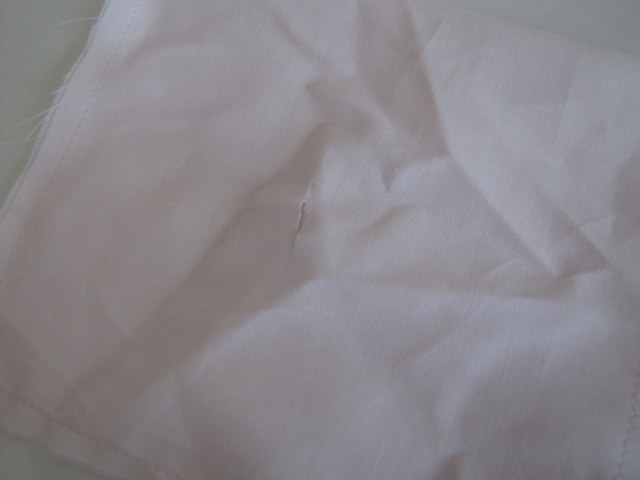
Turn right side out and press.
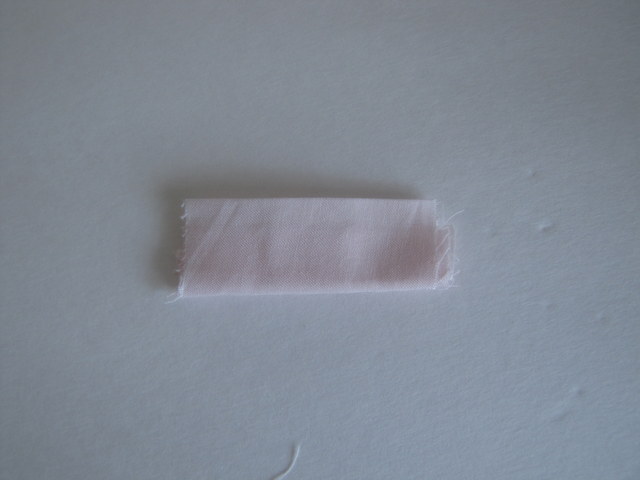
Sew your scrap piece into a tube.
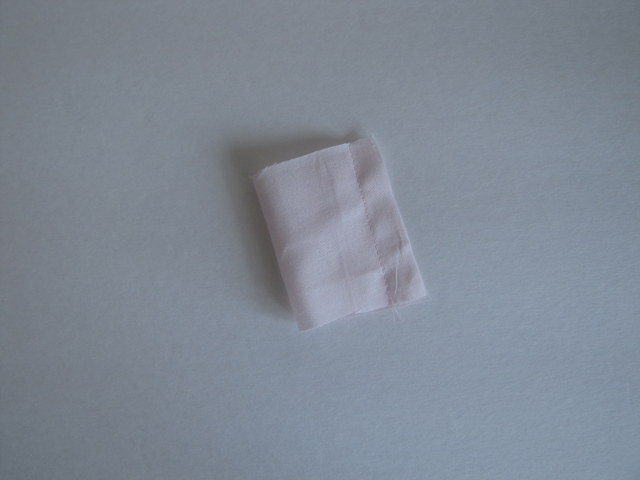
Turn right side out and press.
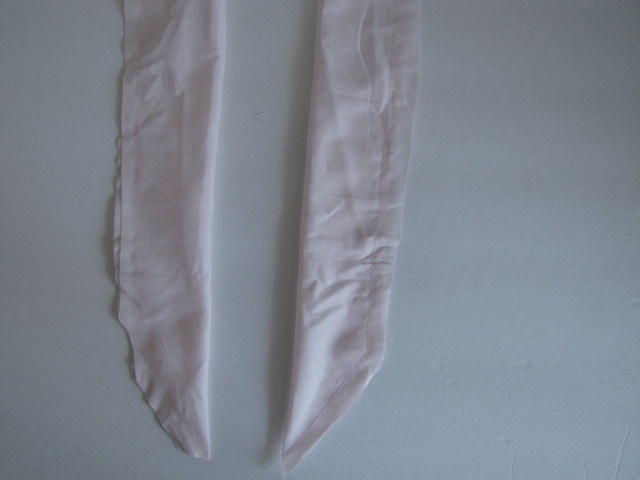
Fold the tail pieces in half and stitch down the open long side and across the bottom. Leave the top open for turning.
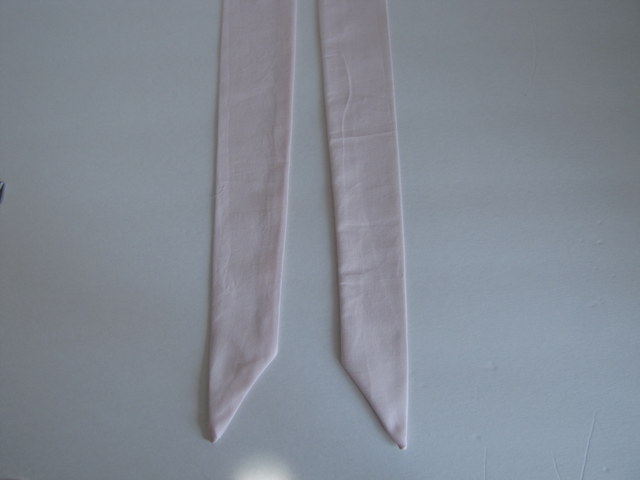
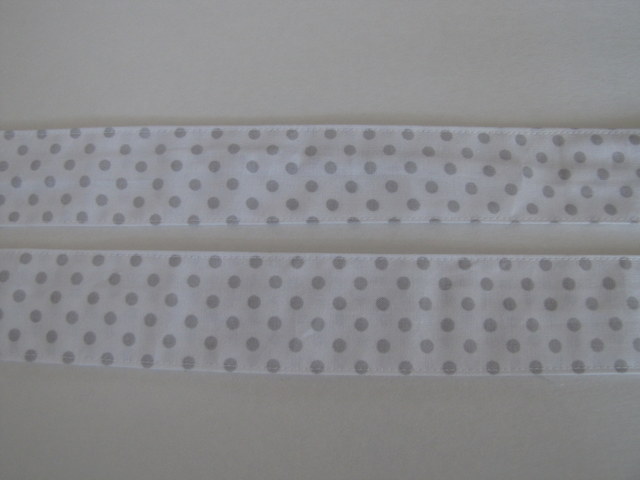
Turn the tails right side out and press.
Hand stitch the scrap piece around the middle of the bow, making sure to cover the hole you made.
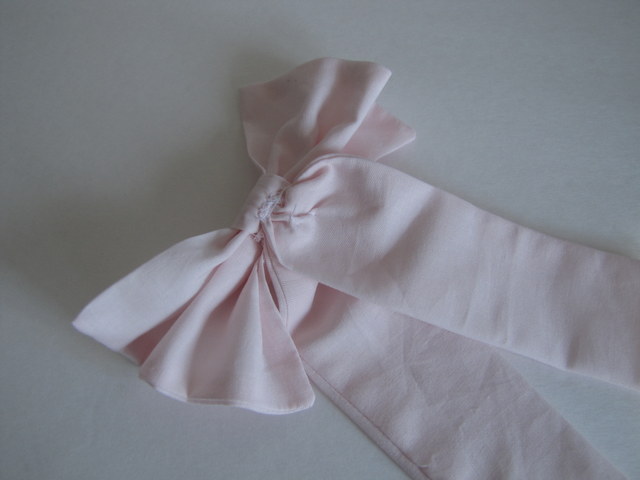
Hand stitch the tails to the bow {you may want to trim them to your desired length first}.
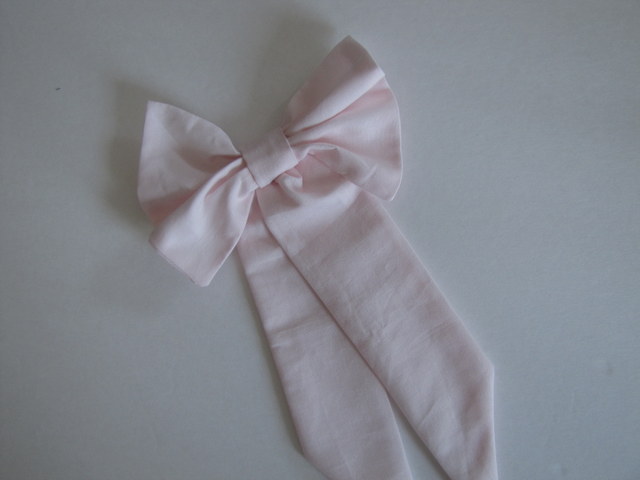
This is what the bow should look like.
Hand stitch the bow to the front of the bag where you want it. Make sure to sew it securely.
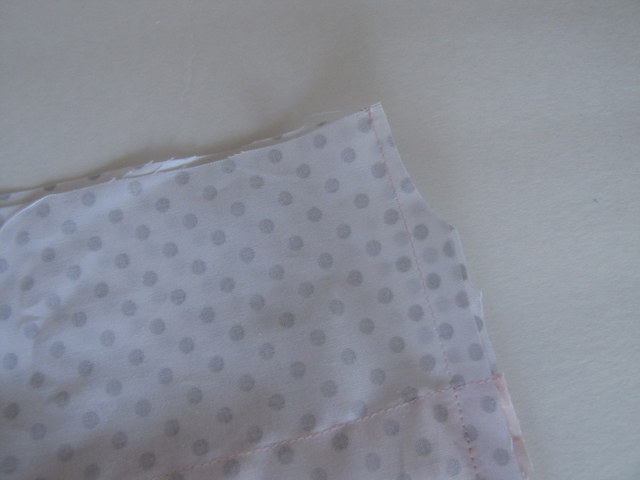
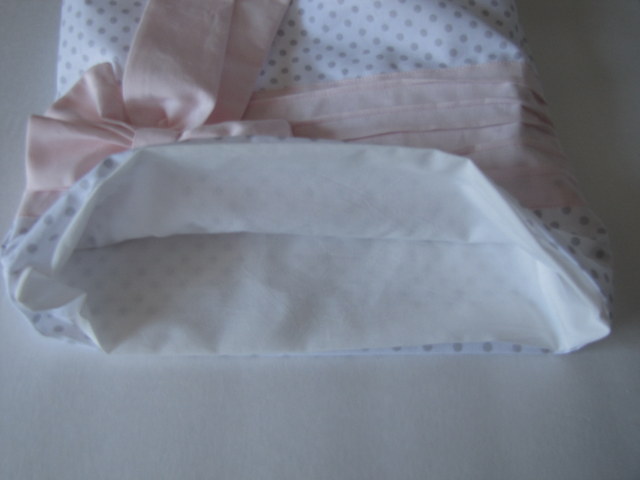
With right sides together, sew the side seams and bottom seam on your bag pieces and lining pieces. Leave the square area unsewn.
Pull the square open and match the raw edges together. Do a double row of stitching. Repeat with the lining.

Fold the handles in half and stitch along the long edge, leaving the ends open.
Turn right sides out and press. You can topstitch along the edges if you want.
Trim the side seams close to the top on the bag and the lining.
Press the top edges down about a half inch on the bag and lining.
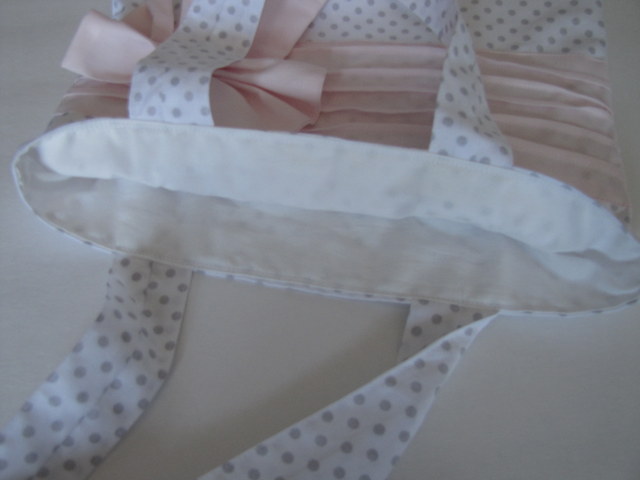
Turn the bag right side out and insert the lining into the bag so that wrong sides are together.
Pin the handles in place and stitch around the top of the bag.
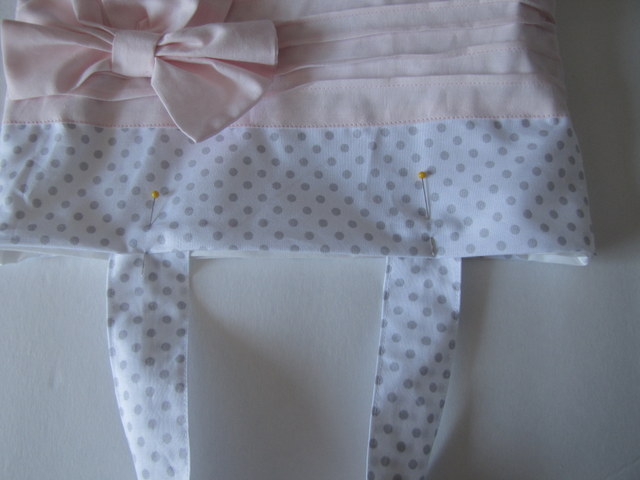
I did a double row of stitching to make sure everything was secure.
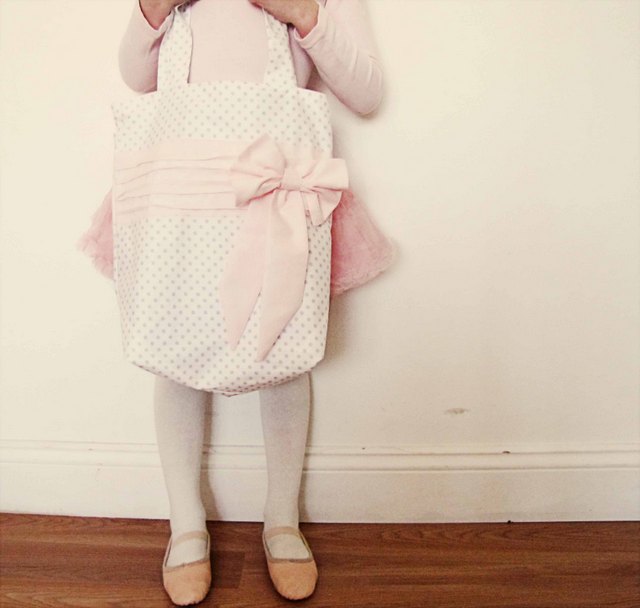
Ta-da! You’re done!

Thanks Terra! This is the perfect little tote for dance, church or the library!
We have decided to truncate our feed to help protect against stolen content. I apologize for any inconvenience. Please love us anyway. 🙂