Hi Friends, it’s Aly from Entirely Eventful Day. I am so excited to share this fun bike printable with y’all. I mounted these prints in my little boy’s room but they would look great anywhere really. These are so bright and fun. They get me all giddy for Summer!

I am more than happy to share these designs with you… but please remember that they are for personal use only. 🙂
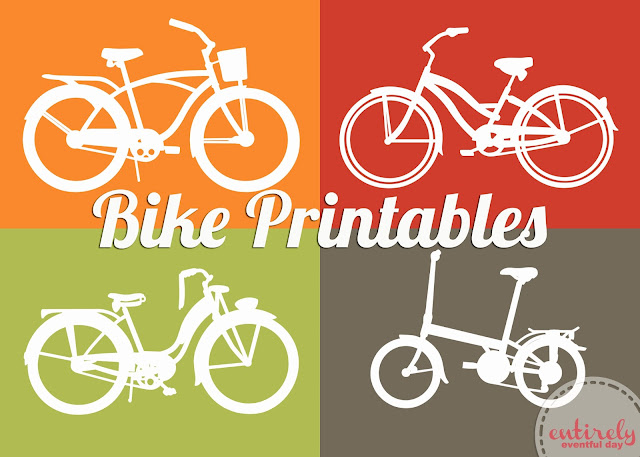
Download the bike printables here.
For this project, I used four, $2 Ikea frames and these cute bike printables, designed by yours truly. The color palette was inspired by this Riley Blake Fabric because my son has a similar print fabric in his room.
.JPG)
.JPG)
All you need to do is print the image. I printed it on card stock and put it in the frame.
.JPG)
It’s always a good idea to lay your grouping out on the floor first. You could arrange the bikes facing each other or going away from each other.
.JPG)
In the end, I decided I like them going away from each other. Don’t you just love the vibrant colors? I am working on updating my son’s room. He’s ready for a “big boy” room and I think these prints are the perfect addition.
If you use them I would love to see what you do!
Don’t forget to stop by Entirely Eventful Day and see what other fab projects I’ve been working on.

We have decided to truncate our feed to help protect against stolen content. I apologize for any inconvenience. Please love us anyway. 🙂