A Little Tipsy

Creative Tips & Ideas

  • home
  • About Me
  • the tipsy top
  • press
  • projects
  • contact me
[print_thumbnail_slider]

Layered Citrus Scrub

March 5, 2013 By Michelle Barneck 2 Comments

Hello! I’m Kelly from Smart School House. Today I have a pretty project to get you excited for spring!

It’s so fun to be here! Please come see the other pretty little inspirations I have at Smart School House, like these Marshmallow Wrapped Rainbows:
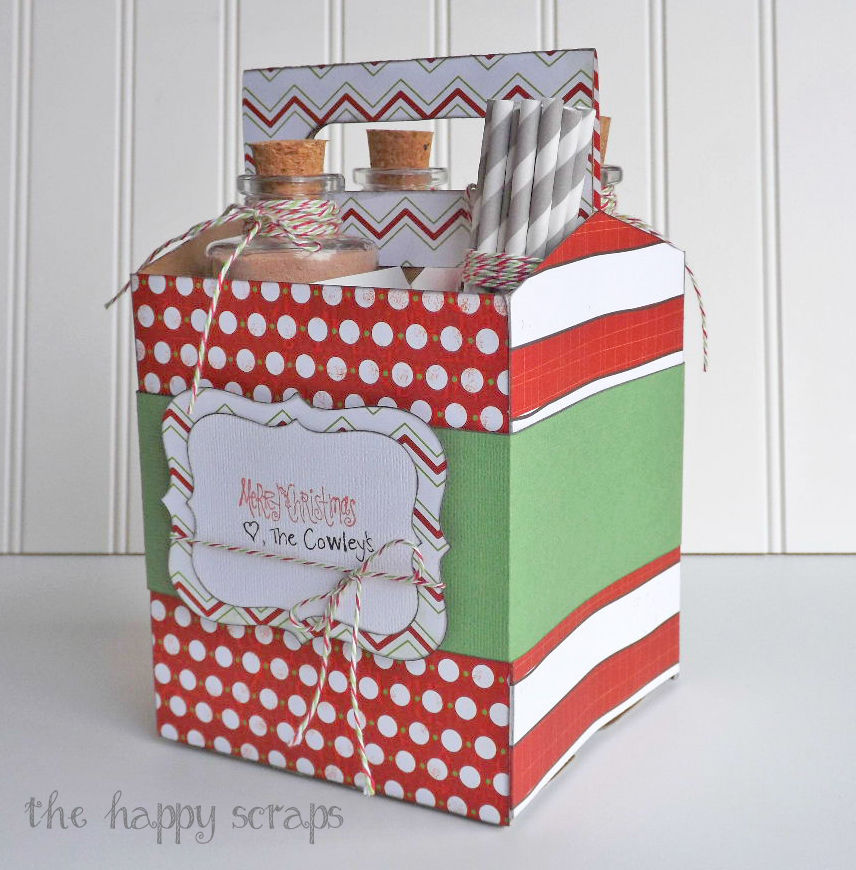
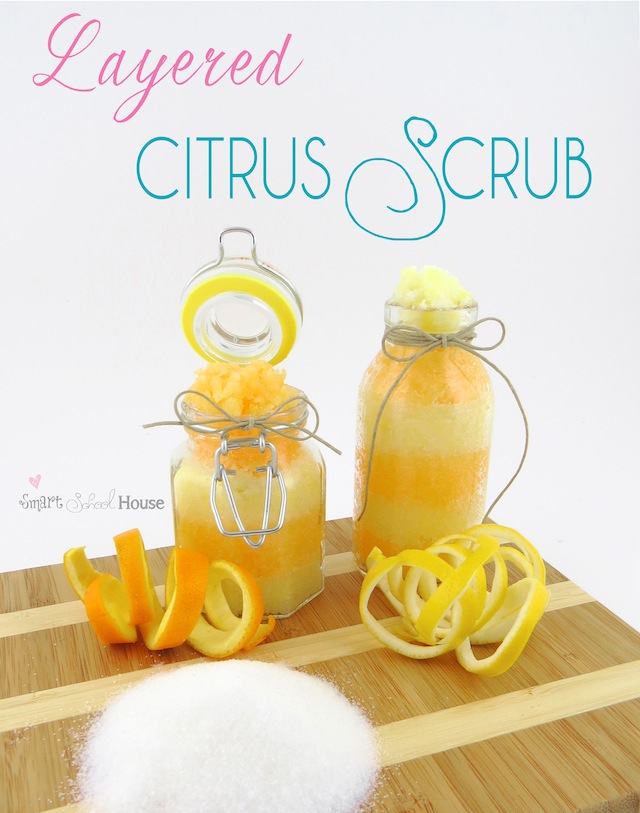
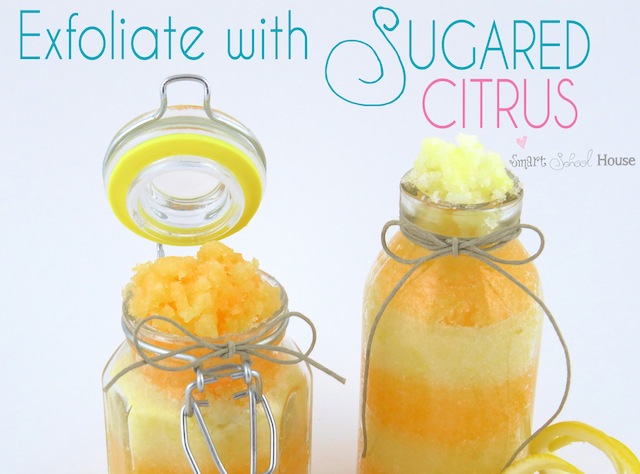
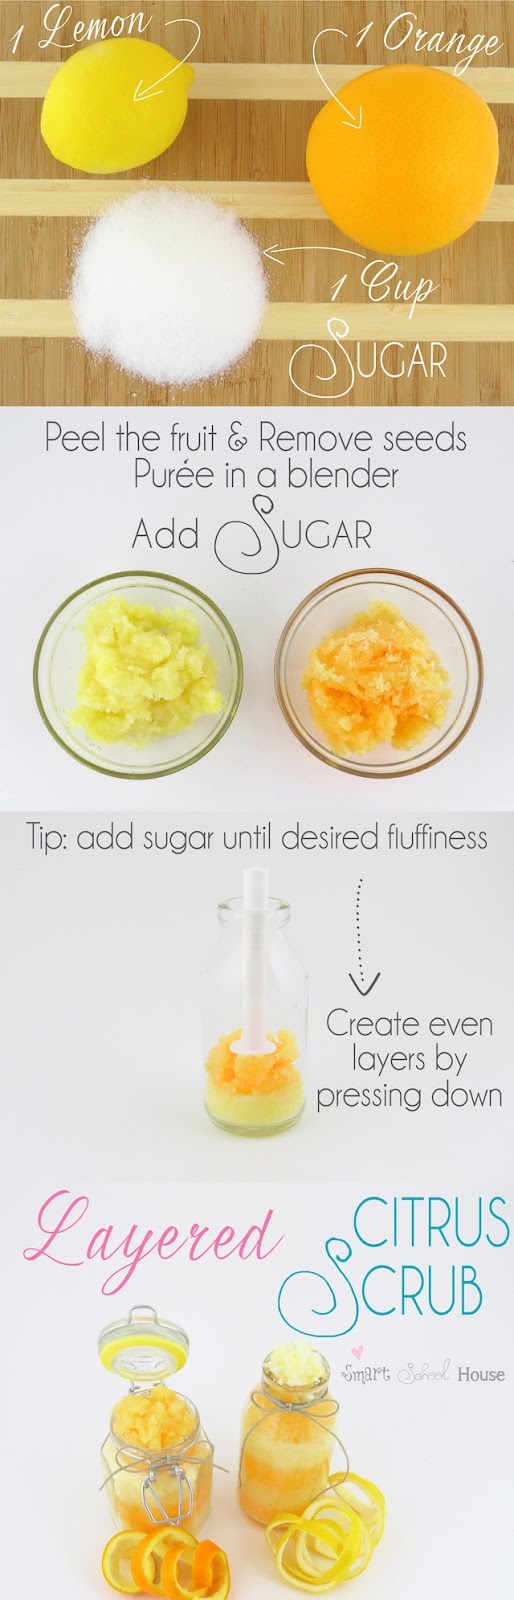
Citrus scrub seems like the perfect way to ring in spring! Love the fresh smell and how adorable it is in those jars! Thanks Kelly for such a fun idea!
We have decided to truncate our feed to help protect against stolen content. I apologize for any inconvenience. Please love us anyway. 🙂

Saltine Toffee

December 20, 2012 By Michelle Barneck 3 Comments

Be warned…you will not be able to put this down! I took dinner to a friend with this for dessert and she said she hid it from her kids so she could eat it all. It’s that good. And the best part? It is so fast and sooo easy! Perfect for when you need a last minute gift or treat to take to a party.

A huge thanks to my friend Kara for sharing and getting me hooked on this recipe!
SALTINE TOFFEE
1- 1 1/2 sleeves of saltine crackers
1 cup butter
1 cup brown sugar
2 cups chocolate chips
3/4 cup sliced almonds or chopped pecans, toasted

Line a 15×10″ jelly roll pan with foil. Spray with non-stick spray. Arrange saltines in a single layer over the bottom of the pan. Combine butter and brown sugar in a heavy saucepan and bring to a boil, stirring frequently. Boil for 3 minutes. Pour over the saltines and spread evenly. Bake at 400° for 6 minutes or until hot and bubbly. Remove from the oven and sprinkle with chocolate chips. Let sit for a few minutes until the chocolate melts, then spread it over the top. Sprinkle with nuts. Cool completely and break into pieces. It could take a few hours, so you can put it in fridge to speed things up.
MMMmmmm!


P.S. Don’t forget to sign up for free Tipsy updates via RSS or email.

We have decided to truncate our feed to help protect against stolen content. I apologize for any inconvenience. Please love us anyway. 🙂

Magnetic Paper Dolls

December 10, 2012 By Michelle Barneck 4 Comments

Remember that time when I flew to Arkansas to share a really fun project on KATV for Cricut? Well, I am finally posting the how-to for those super cute paper dolls. They are easy to put together using the Cricut Mini and the possibilities are endless with patterns, colors and textures to mix and match.

Are they not adorable? Did you spot the blogger bear? 🙂
Magnetic Paper Dolls
SUPPLIES:
  • Tin
  • Spray Paint
  • Cricut Mini
  • Teddy Bear Parade or Snow Friends cartridge
  • Cricut Vinyl
  • Cricut Magnet Material
  • Deep Cut Blade
  • Paper
DIRECTIONS:

1. Start off by finding a tin you like. This is a great way to use a thrifted or holiday cookie tin. I love these rectangle game tins you can find for $1 at the thrift store. Give it a couple of coats of spray paint and let dry completely.

2. Now cut your base image out of vinyl and place it slightly below center on the tin.
  • Panda Bear – In the free Cricut Craft Room software, drag Teddy Bear Parade Cartridge image TddyBear on to the mat. Click “hide contour” and click all of the lines, except the eyes, within the bear outline. Add an oval for the nose. Cut in white vinyl. Then cut just the bear outline hiding the eyes and nose in black vinyl. Trim the arms, legs and ears from the white bear and layer it on top of the black.
  • Snowman – In the free Cricut Craft Room software, drag Snow Friends Cartridge image Snowman1 on to the mat. Click “hide contour” and click all of the lines within the snowman outline so it will just cut a blank snowman body outline. There are multiple faces to choose from. I added some coal eyes and a carrot nose in vinyl. I added it after the pics, but you can see it in the news clip.

3. Use the coordinating outfits on each cartridge to create outfits for your “paper dolls.” Just keep the default height (at the bottom of the craft room screen by the image selection window) the same as the dolls for all the clothes and they will fit just right.

I loved including papers with different patterns and textures like sparkle and denim (DYK the cricut cuts fabric?). We even made a cute Santa outfit that I didn’t get a picture of, but it is in the news segment.

4. Make them magnetic paper dolls by cutting the most basic layer of each outfit image in the magnet material. I used the deep cut blade with Speed 3, Pressure 5, Depth 6, and 4 cuts which worked beautifully. Then, just peel off the white vinyl backing and use the existing adhesive to stick the clothes to the magnet pieces.
5. Store all the pieces inside the tin for a fun gift or great quiet activity for the kiddos in the car or at church. These two tins are under my tree for two lucky little ones.
What outfit was your favorite? 
If you could choose anything, what outfits would you make for paper dolls?

P.S. Don’t forget to sign up for free Tipsy updates via RSS or email.

We have decided to truncate our feed to help protect against stolen content. I apologize for any inconvenience. Please love us anyway. 🙂

Cocoa to Go Caddy

December 3, 2012 By Michelle Barneck 12 Comments

Hello to all of you A Little Tipsy friends!  I’m Amy from The Happy Scraps where I love to share paper crafting, cardmaking, scrapbooking, decor, and sewing ideas.  I’m so happy to be here today sharing a fun Christmas gift idea for a friend or neighbor.  I’m sharing this Hot Cocoa to-go caddy.

I started with an empty bottle box that I up-cycled.  I have several of these that I collected from a family party a while back.  I measured all the sides and cut paper to fit, and then adhered it to the box.

I chose a couple of different patterns of paper to add variety to the caddy.

Then I cut some coordinating green cardstock to make a band around the box.

Using my Cricut and Cricut Craft Room, I cut these bracket shapes out to make my gift tag/label.  Then I just used a fun Merry Christmas stamp, and signed our name, tied it with twine, and put it on the band around the box.

These bottle are my favorite part of the whole package. 🙂  I used my Cricut again to cut out the vinyl for the bottles.  I think labels like this make anything cuter!

After filling the bottles up with cocoa powder, mini marshmallows, and mini peppermint marshmallow bits, I put the corks in, and I wrapped the tops with twine then tied a bow.

Then they were all ready to go in the caddy.  I wrapped some paper straws up with twine as well and put those in, so that when they mix up their hot cocoa, they can sip it up in style.

I hope you’ve enjoyed this fun Hot Cocoa Christmas gift idea for your friends and neighbors!

Thank you so much to Michelle for having me over today!  I hope you’ll all come by The Happy Scraps and say hi!  I’d love to have you.

—————————————————————————————
Oooh, I just love this! What a perfect neighbor gift for the holidays! A huge thanks to Amy for sharing her fun project with us!
We have decided to truncate our feed to help protect against stolen content. I apologize for any inconvenience. Please love us anyway. 🙂
« Previous Page
Next Page »

  • Bloglovin
  • Facebook
  • Google+
  • Instagram
  • Pinterest
  • RSS
  • Twitter

Hi there! I'm Michelle. Mother of three little boys and one little princess. Welcome to A Little Tipsy, a place for exploring creativity and sharing inspiration.

Follow on Bloglovin


Visit Michelle Barneck {A Little Tipsy}'s profile on Pinterest.

Tutorials by Category


15 Family Reunion Games

Family Reunion Games Collage

15 Sprinkle Party Ideas

Sprinkle Birthday Party
Creative Commons License

© Copyright 2014 A Little Tipsy · Site Designed by The Fairy Blogmother · Web Hosting by RFE Hosting

This website uses cookies to improve your experience. We'll assume you're ok with this, but you can opt-out if you wish.Accept Read More
Privacy & Cookies Policy