A Little Tipsy

Creative Tips & Ideas

  • home
  • About Me
  • the tipsy top
  • press
  • projects
  • contact me
[print_thumbnail_slider]

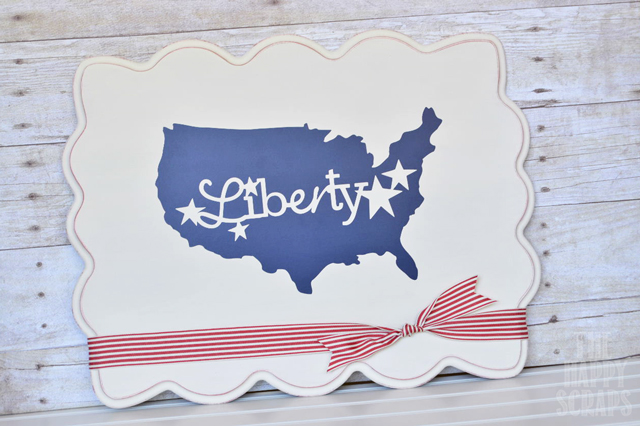
Independence Day Liberty Board

June 18, 2013 By Michelle Barneck 5 Comments

Hi, it’s Amy, here again from The Happy Scraps.  I’m excited to be here sharing this fun Independence Day Liberty board.  This was a really simple project, but it makes a statement and I’m so excited to have it up in my home for the 4th of July!

Click here for the full picture tutorial.

I had my shaped board and partially painted the edges red.  Then I gave it 3-4 good coats of white, including the red edges.  

Once it was all painted and dry, I distressed the edges, revealing the red, just a little bit.

Using my Cricut and Cricut Craft Room, I designed and cut out this outline of the US with the “Liberty” in the center of it.  With transfer tape I put it on the board. 
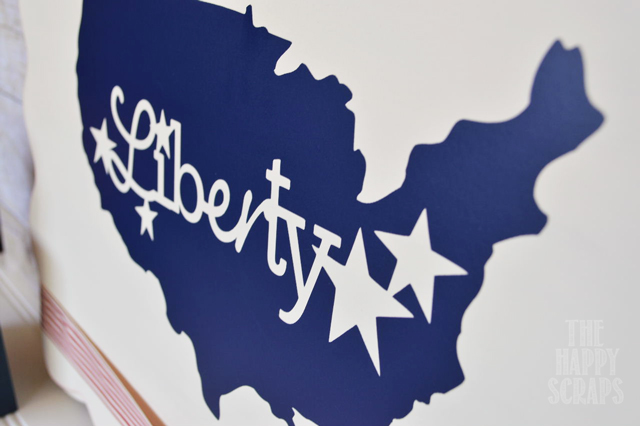
To finish it off, I tied this fun striped ribbon around the bottom. I think it was the perfect finishing touch.  
What kind of 4th of July decorations do you have?  I think this one is my new favorite. 

—————————————————————————
Thanks Amy! I think I need one of these at my house! The striped ribbon is the perfect touch.

We have decided to truncate our feed to help protect against stolen content. I apologize for any inconvenience. Please love us anyway. 🙂

Mother’s Day Gifts: Time Out for Mom

April 30, 2013 By Michelle Barneck 4 Comments

Hi, it’s Amy from The Happy Scraps here again, sharing this fun Mother’s Day Idea.

What are you giving your mom this mother’s day? I wanted to come up with a gift that could be enjoyed my mother’s of any age.  Those that have young kids, those that have teenage kids, or those that have grown kids that don’t live at home anymore.  I asked my mom and mother-in-law for ideas, and what types of things they liked, and I also thought about what I might like for mother’s day and this is what I came up with.
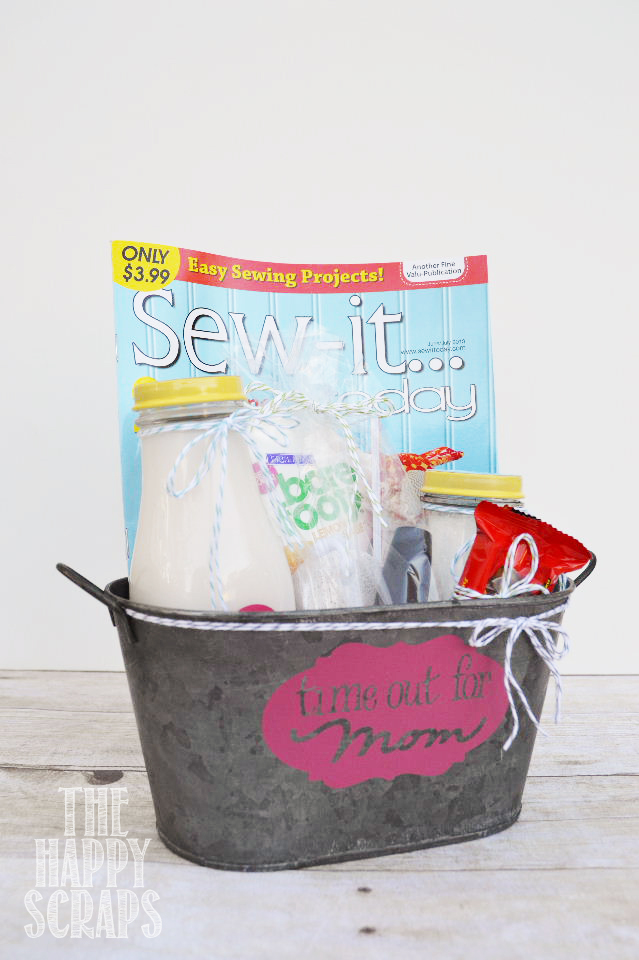
Wouldn’t any mother you know love to be pampered, or take a break when they have a few minutes?  I know I would, and I know of others that would as well. I picked up a few things to put together for such an occasion.

Read More…

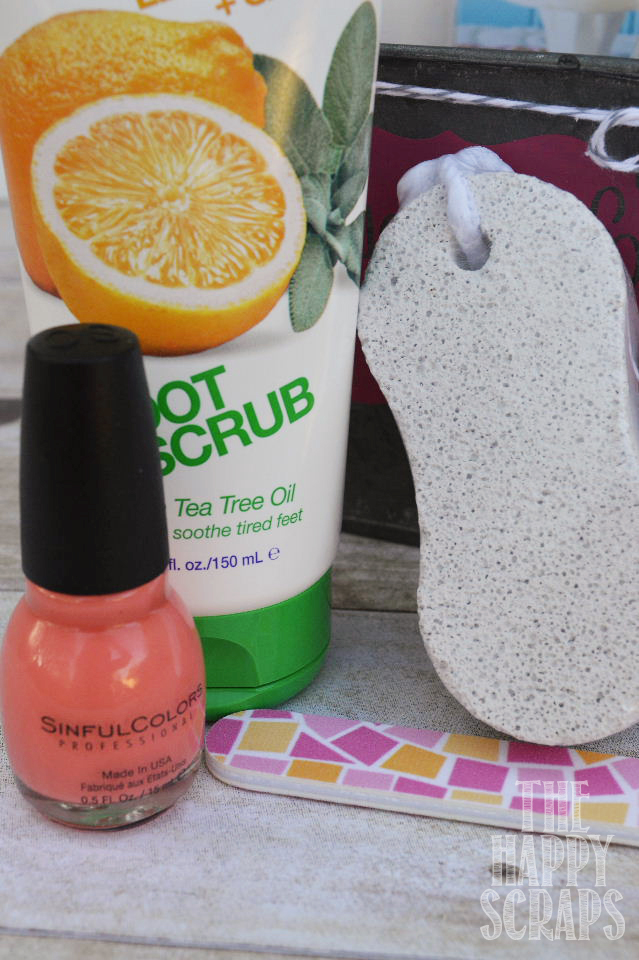
I picked up some foot scrub, a pumice stone, a nail file, and some nail polish.

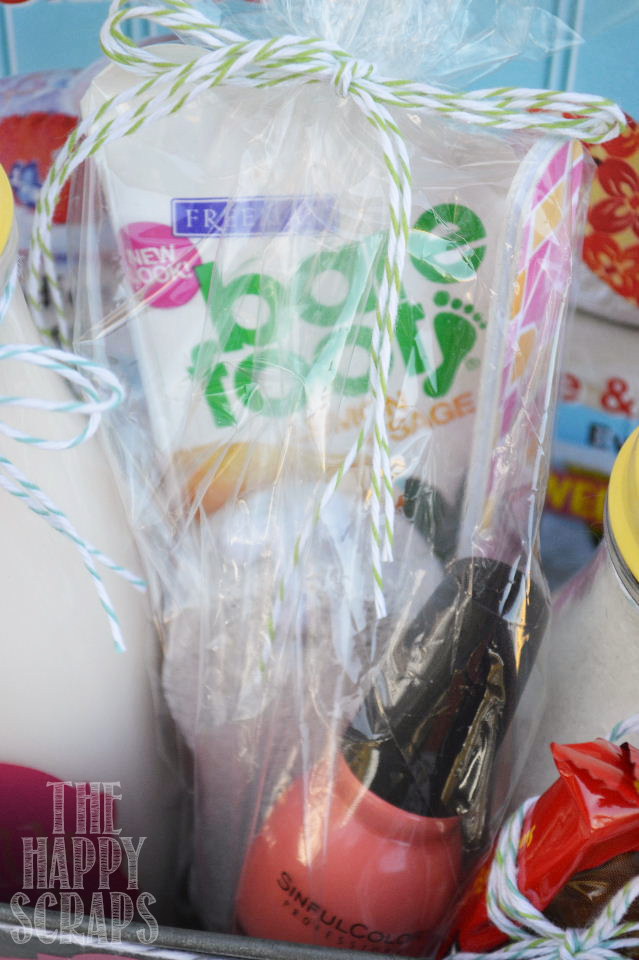
I packaged them in a cellophane bag, and tied it up with bakers twine.

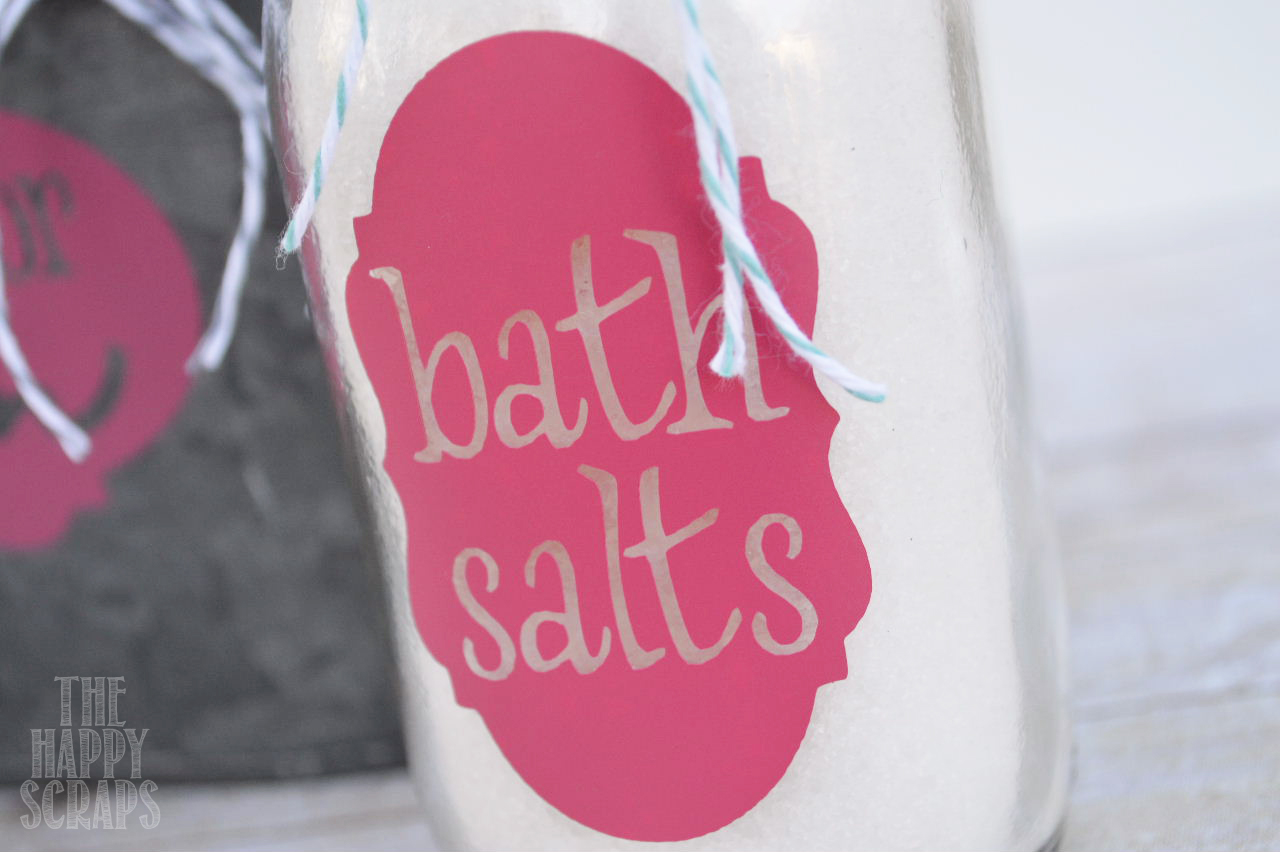
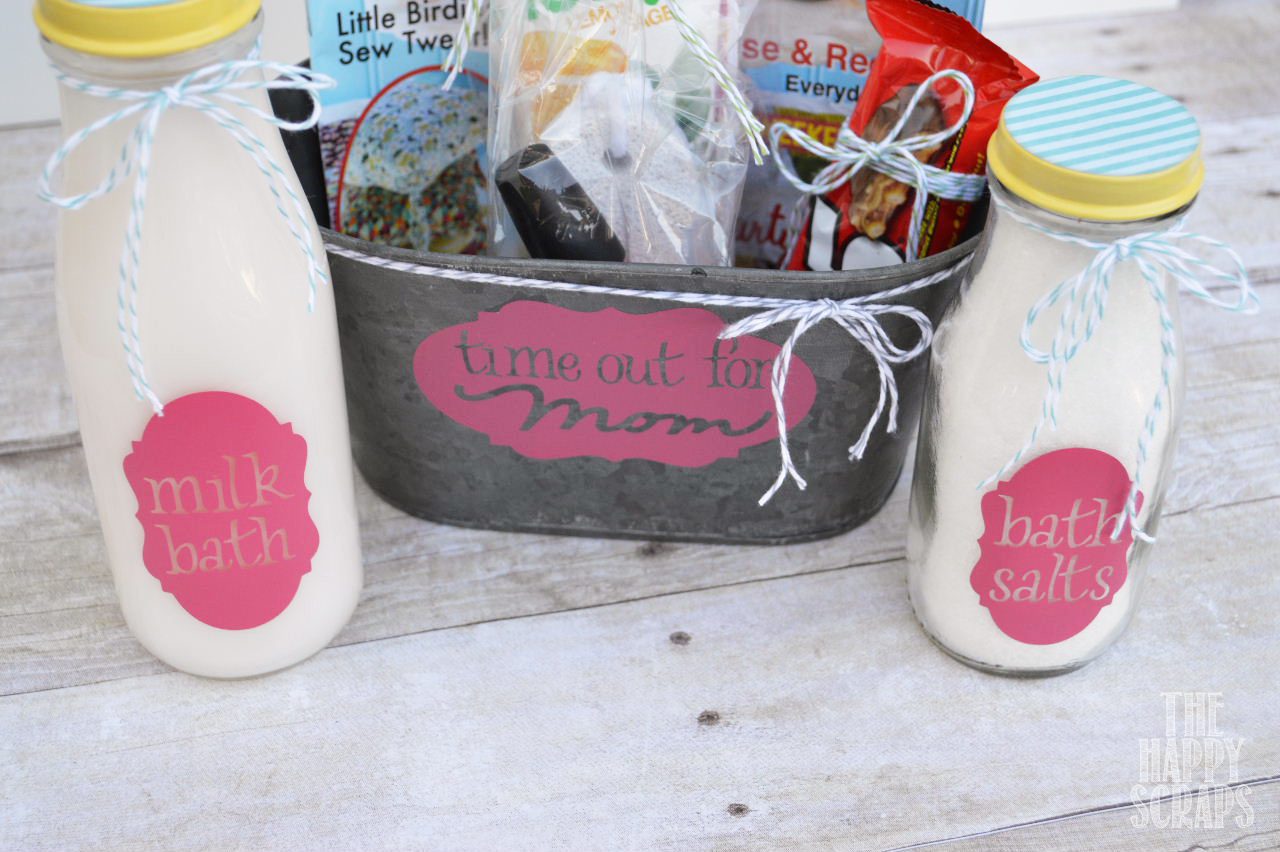
Using my Cricut, I cut out some fun labels for these cute jars that I had, and then I put some bath salts and milk bath into the jars.

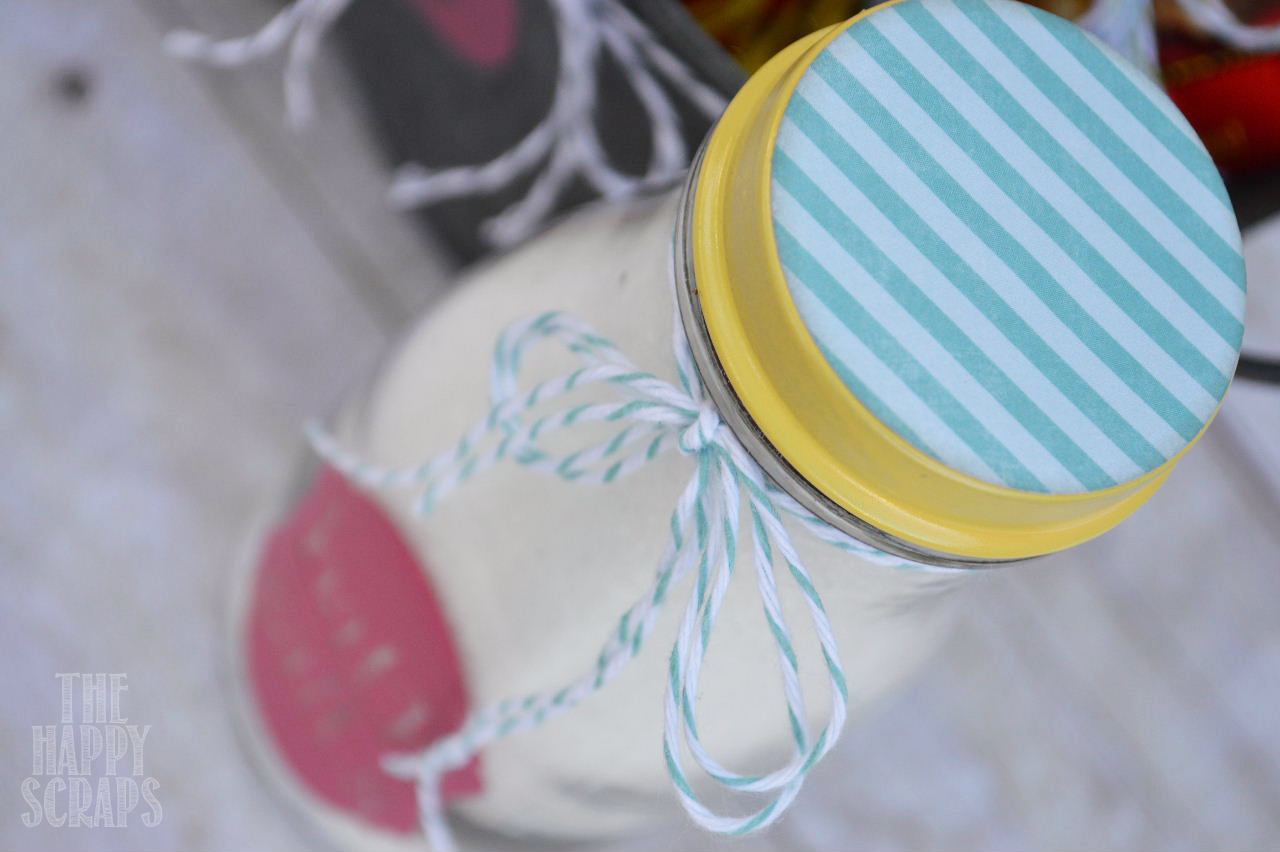
I spray painted the lids and then I used my circle punch to punch out some paper for the tops.  I finished off the bottles by tying baker’s twine around the bottle neck as well.

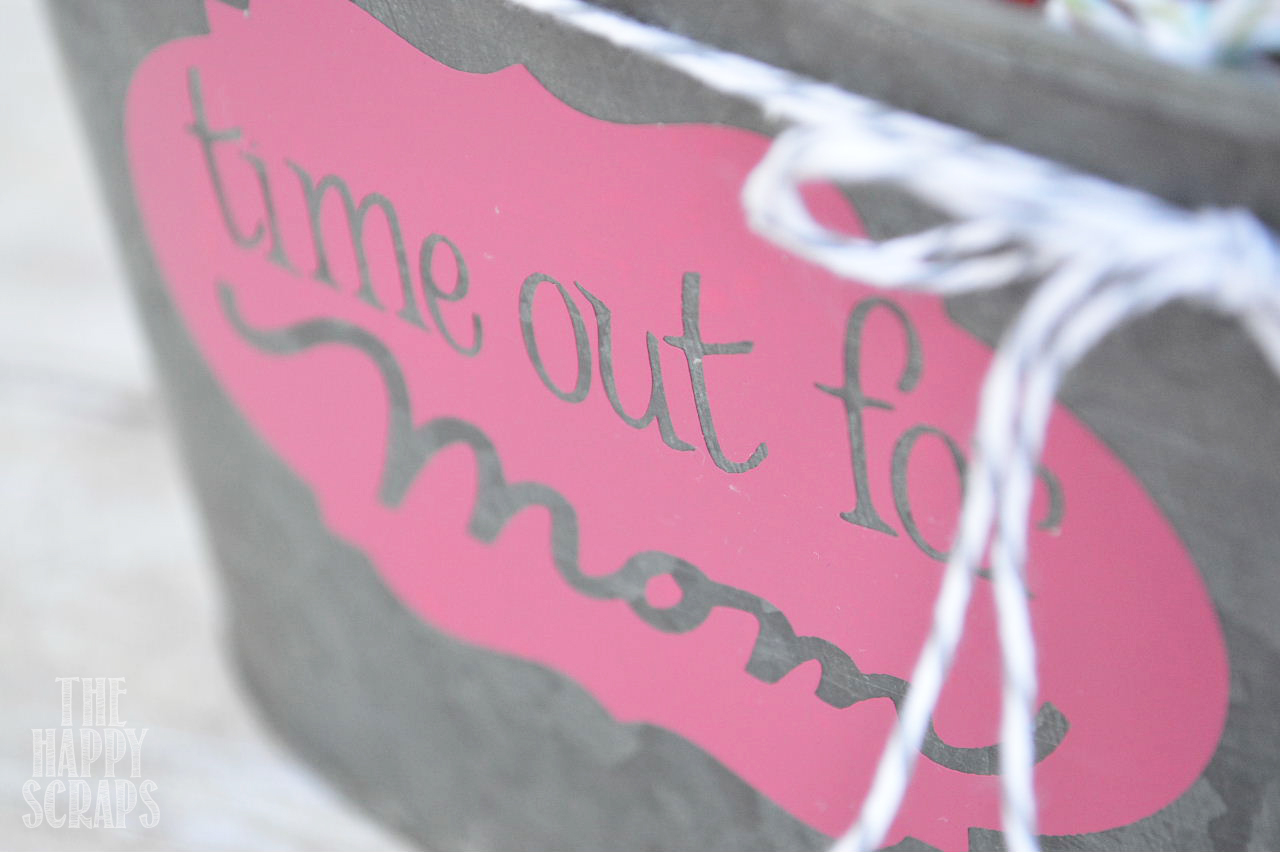
On the bucket, using the Cricut again, I cut out a label to match the others.  I also tied baker’s twine around the bucket.

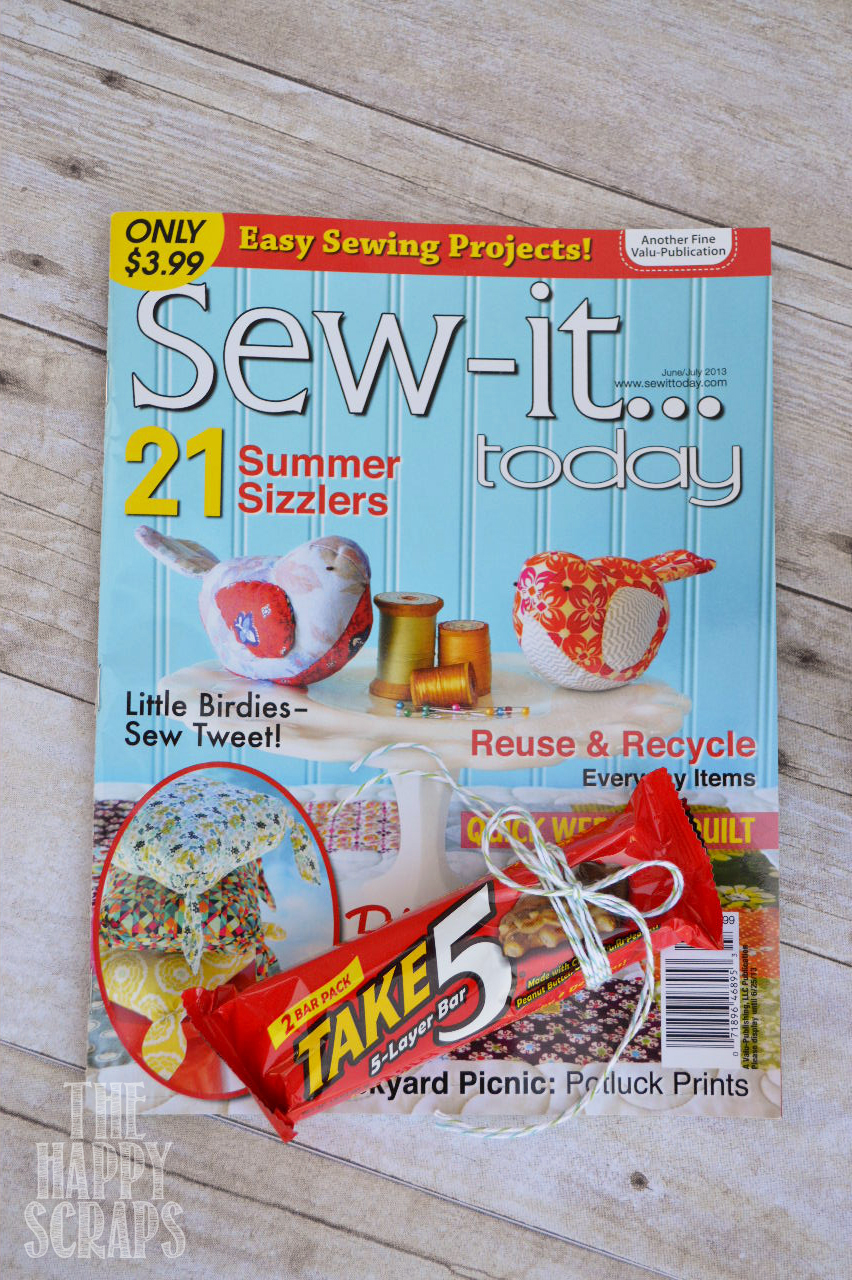
I know I always enjoy reading a fun magazine, so I added one to this gift as well, and who doesn’t love chocolate? I don’t know any mom that wouldn’t want to “take 5”. 

What do you think? I don’t know any mom that wouldn’t love to receive this gift!
I know as a mom I definitely have some times where I would like to give myself a timeout! Thanks Amy for such a cute Mother’s Day gift idea!
We have decided to truncate our feed to help protect against stolen content. I apologize for any inconvenience. Please love us anyway. 🙂

Gifts for Mom: Easy Photo Magnets #12MonthsofMartha

April 29, 2013 By Michelle Barneck 6 Comments

Disclosure: Martha Stewart provided product for this post. All ideas and opinions are my own.

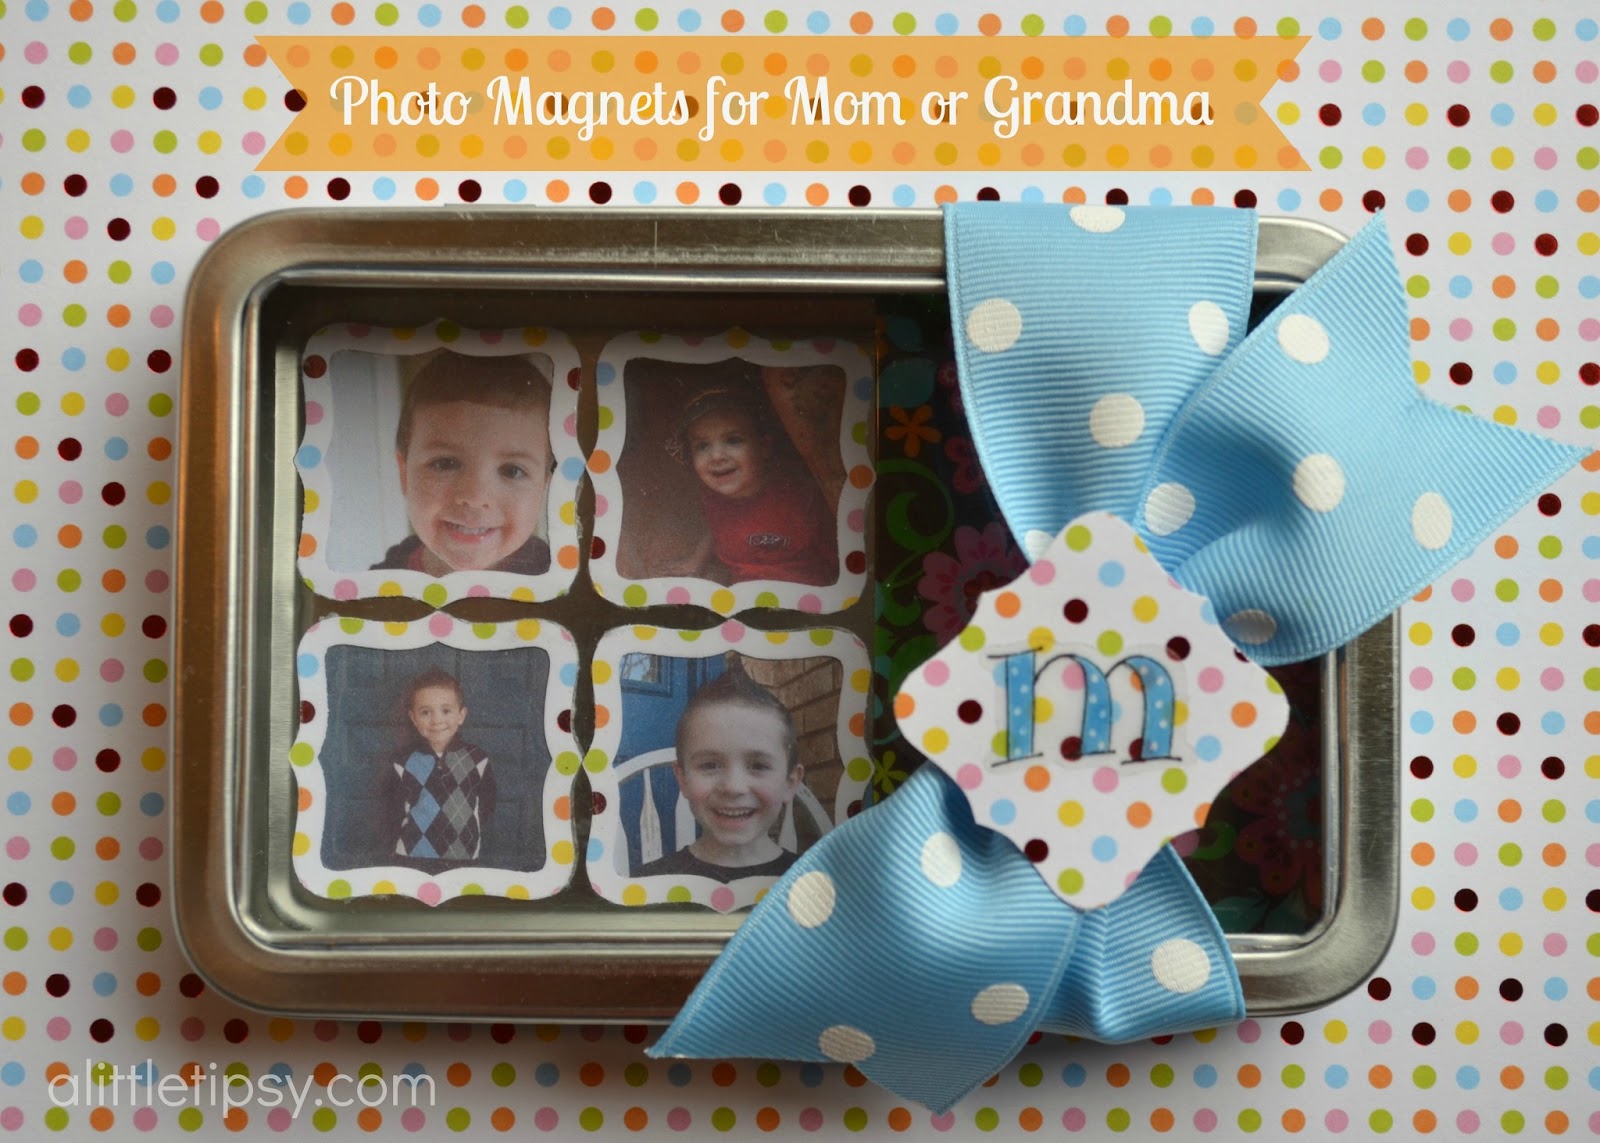
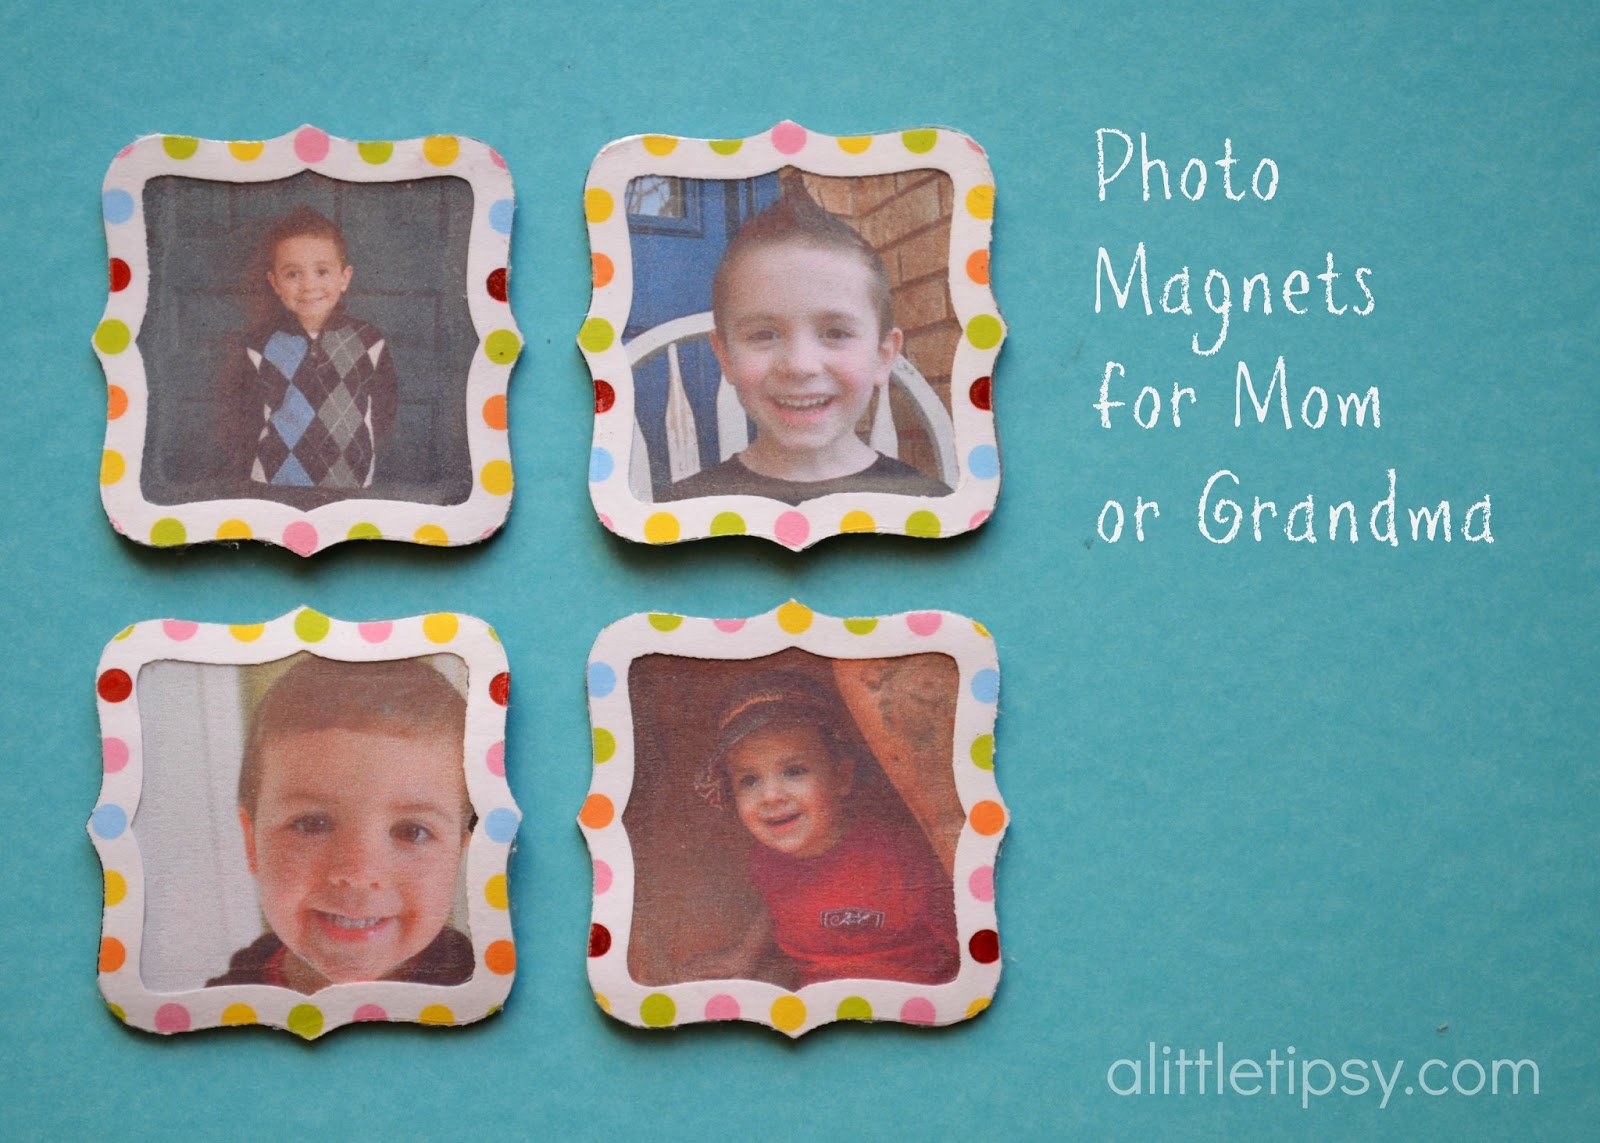
I find gifts for mom to be somewhat of a challenge. My mom is not the “crafty” type but I still like to give her something that is personal. My parents are leaving on a mission for the LDS church right before Mother’s Day so I wanted something I could ship easily and would not take up a lot of space. My kids adore their Grandma so I thought it would be great to make something with their cute little faces for her to take along, but would also be useful. I thought handmade photo magnets would be the perfect gift.
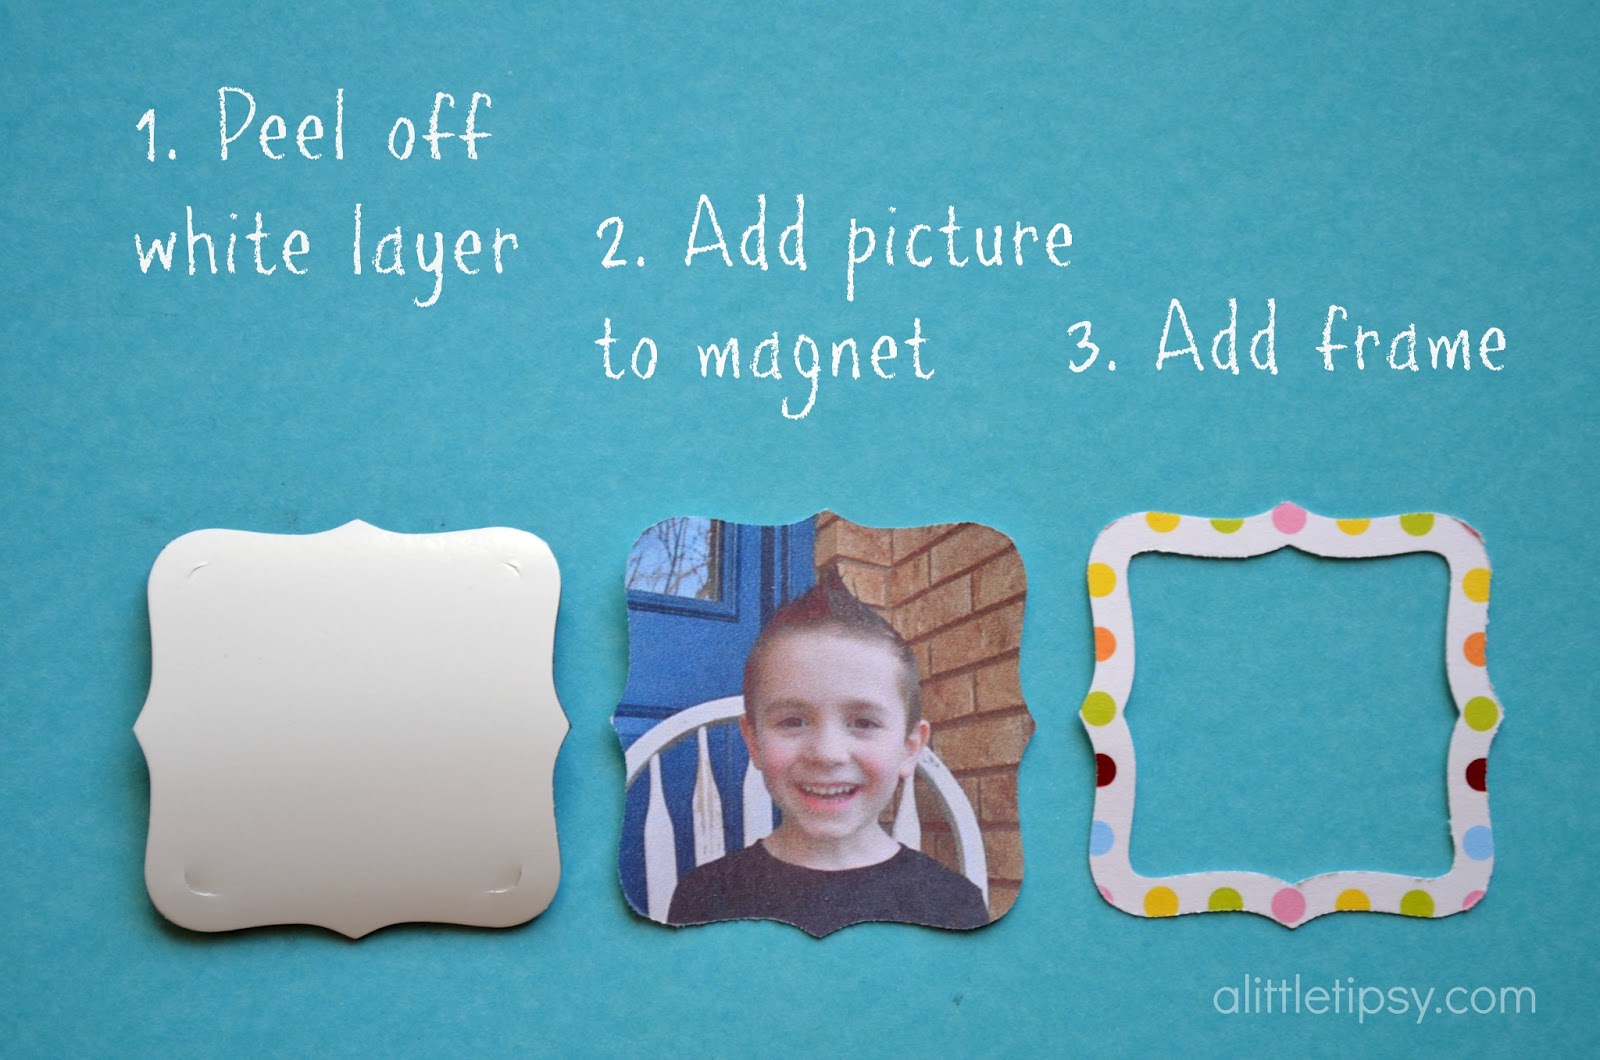
Not only are they super cute, but they were unbelievably easy to put together. You can get the jest in the photo below.

Gifts for mom have never been so easy! Now if you are the type who likes a bit more detail I’ll include the full tutorial below.
Read More…


SUPPLIES:
  • Martha Stewart Crafts Layering Punch {Flourish Frame}
  • Martha Stewart Crafts Craft Glue
  • Martha Stewart Crafts 12×12 Essentials Paper Pad {Brights}
  • Cricut Magnet Material (I am a Cricut affiliate)
  • Clear Contact Paper
  • Picasa (or other collage software)
  • Printer
  • Tin, Ribbon, Sticker and Gift Card Optional
INSTRUCTIONS:
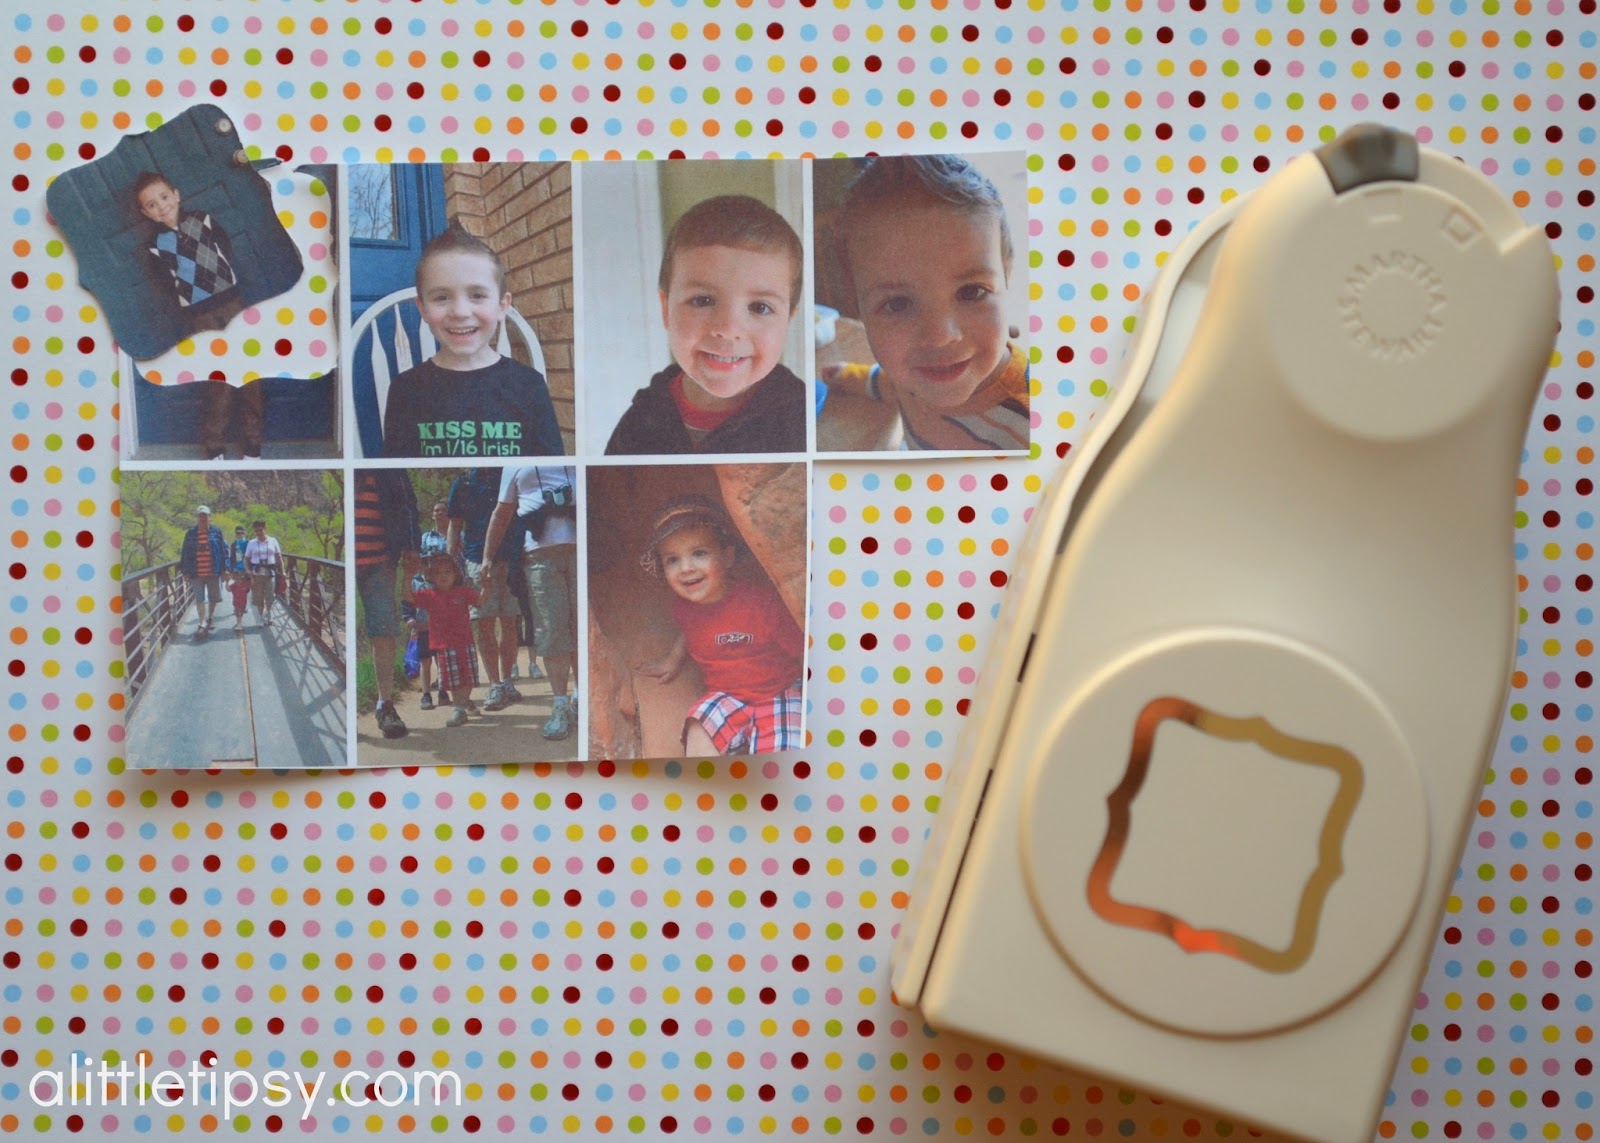
1. Find some pictures of the kids and put them in a collage using Picasa or another software making each picture a little over an inch. Print the collage.
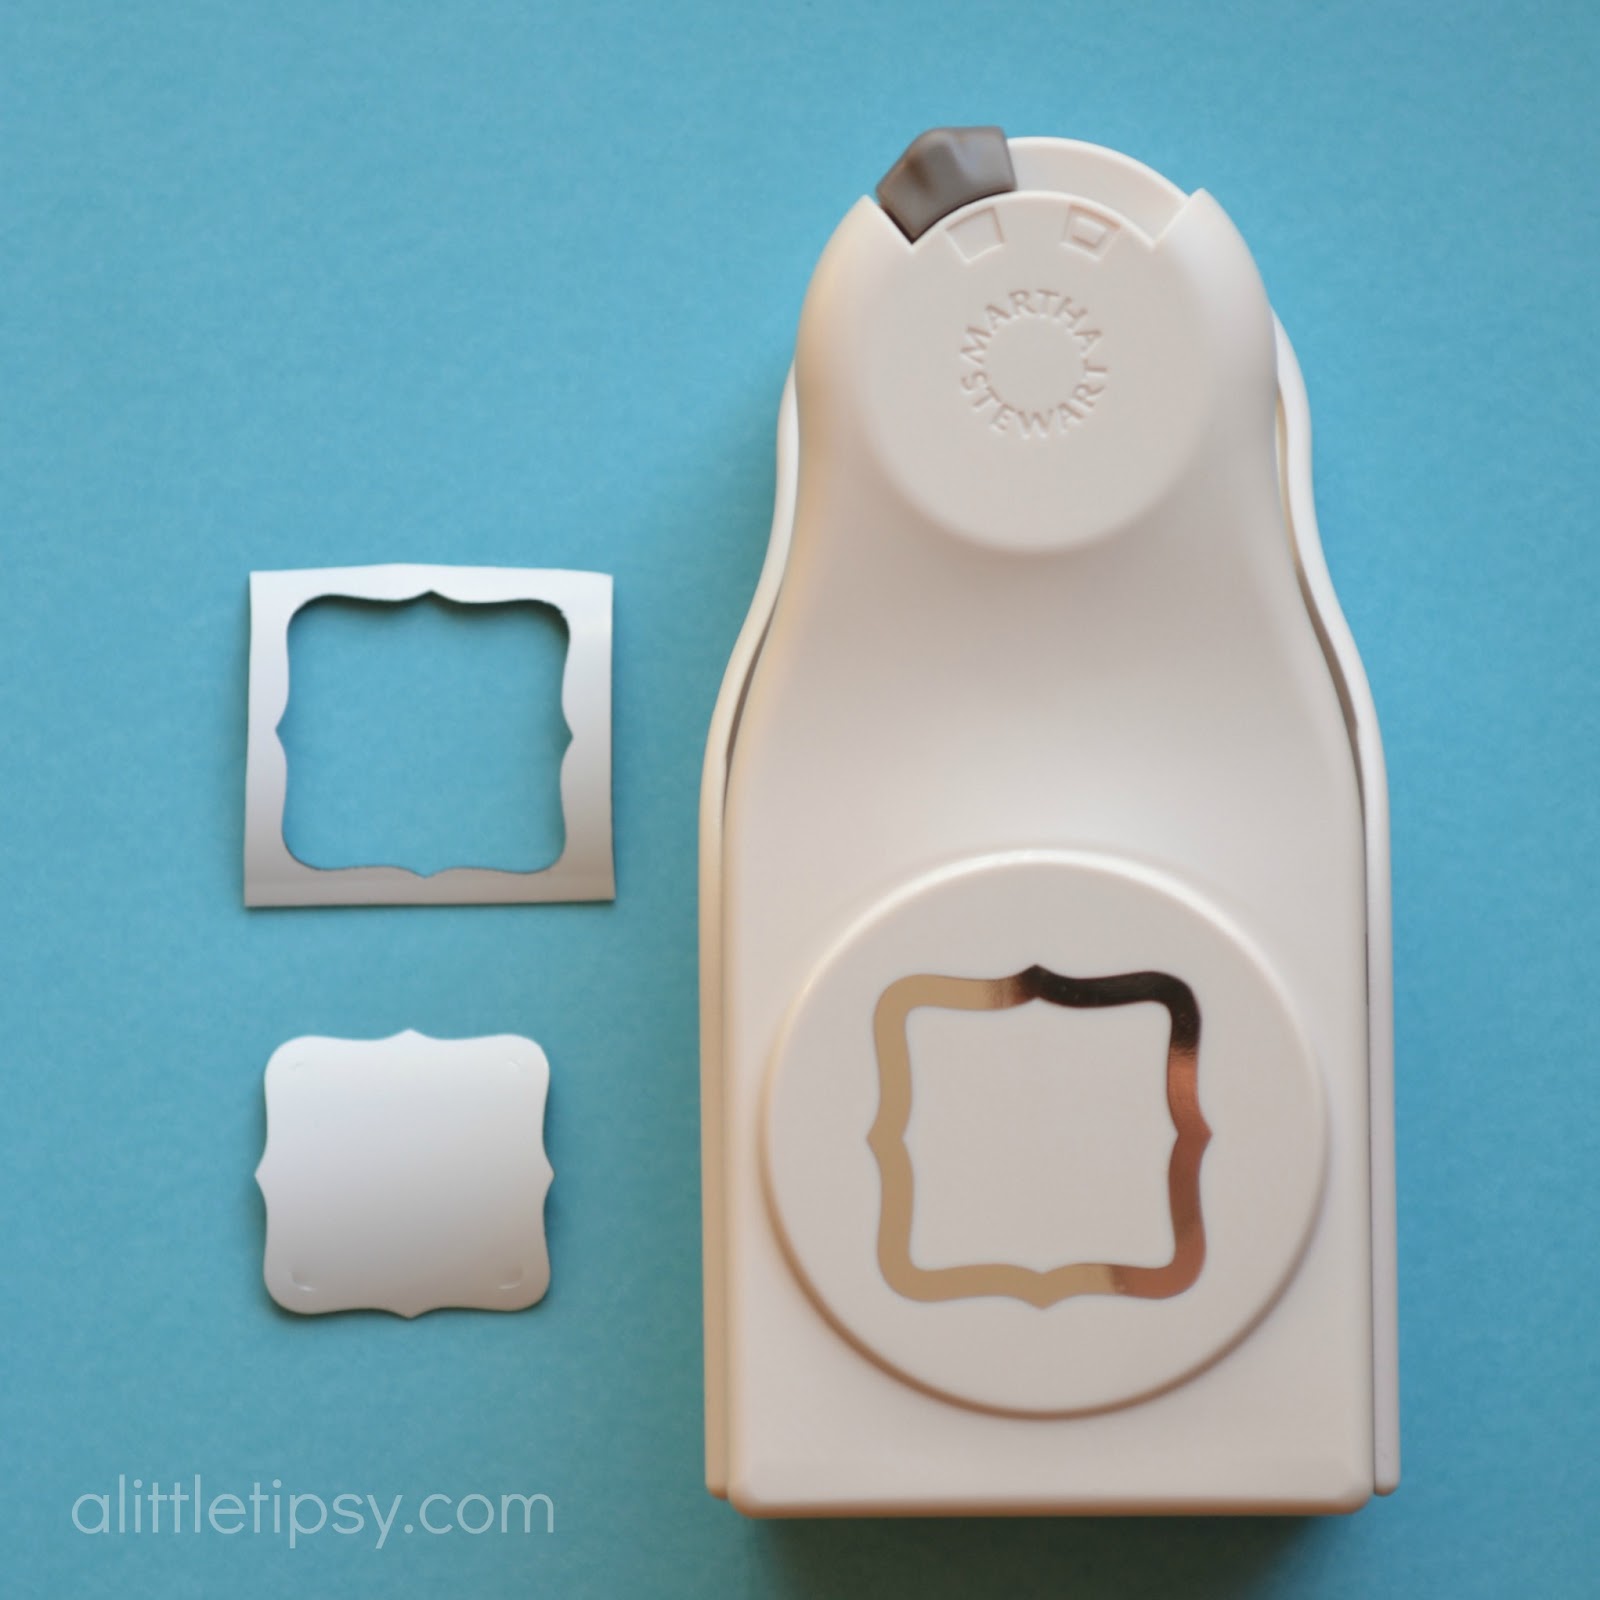
2. Using the Martha Stewart Flourish Frame Punch on the setting shown below, punch the pictures. You can slide the pictures in upside down and look through the bottom to make sure they punch in the right place.

3. Punch a piece of magnet material for each picture. I couldn’t believe how easily it punched through this thick medium!

4. Peel the white layer off the magnet to expose the adhesive and carefully place the picture on it. Switch the setting on the punch and cut a little frame out of the paper.

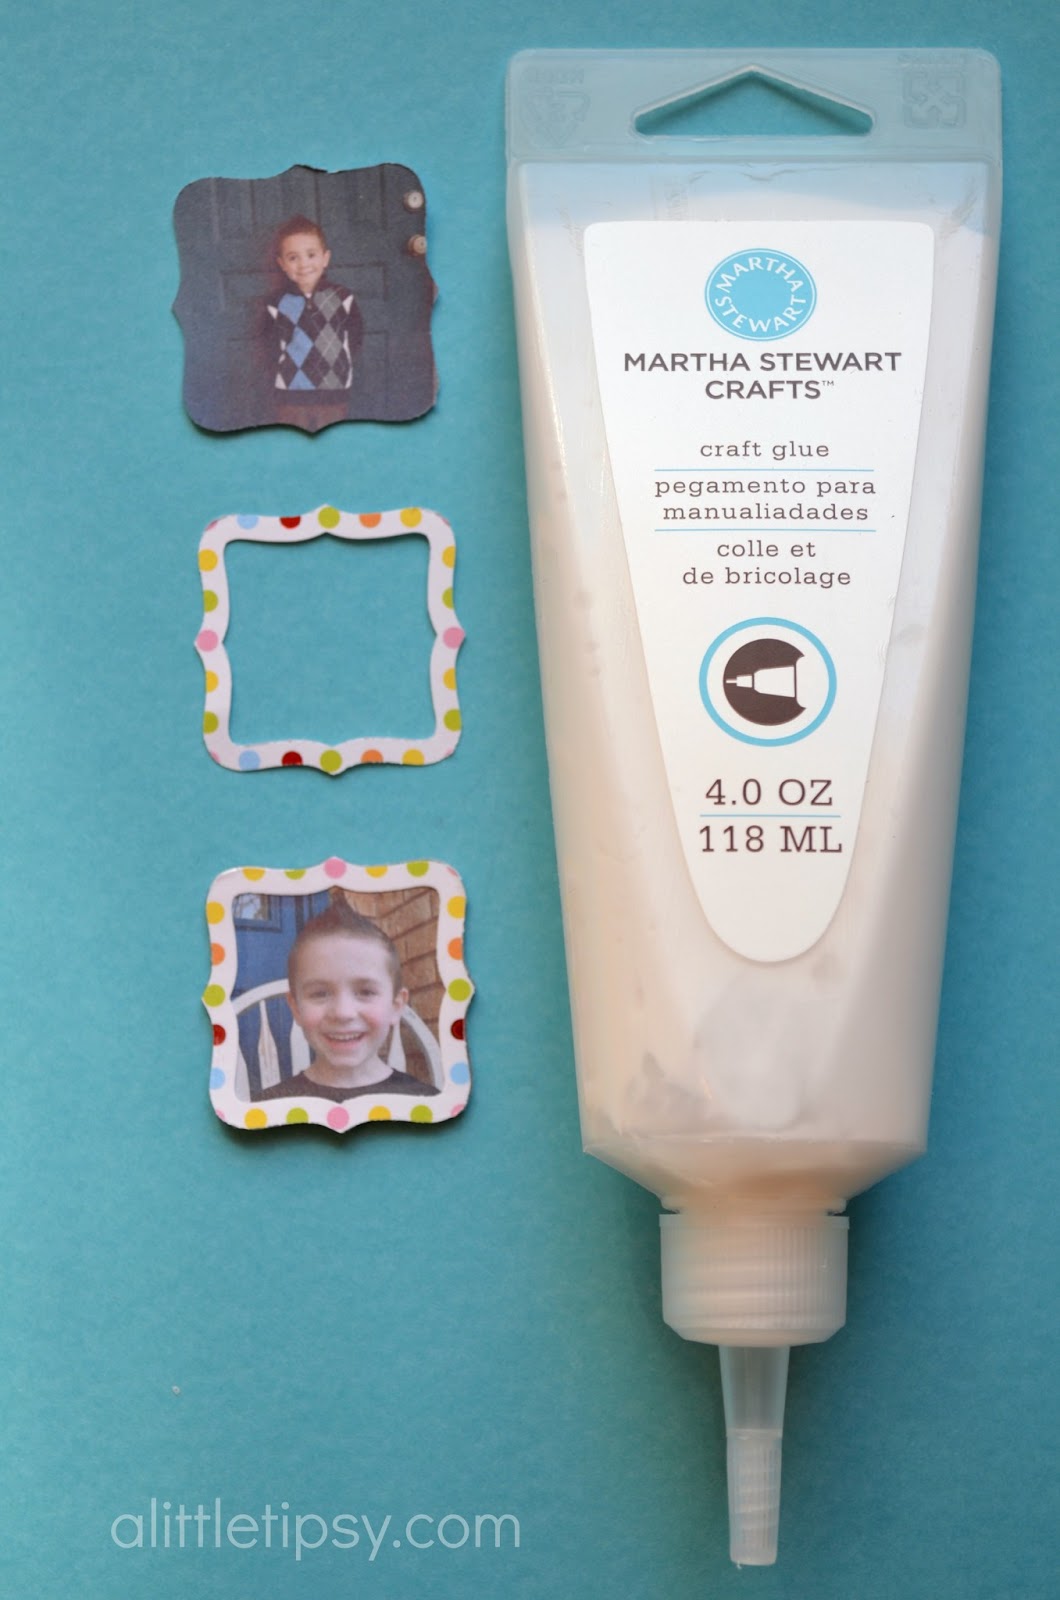
5. Use the Martha Stewart Craft Glue to adhere the frame to the picture. This glue is great for this because it is a little thicker so it doesn’t wrinkle paper and it has a really thin nozzle that is the perfect size for the tiny frame.
6. Punch out a little piece of clear contact paper to finish off the magnet and protect your mini photo and frame.
7. Wrap them up however you like to make the perfect little gift for mom or grandma! I put them inside a little tin with a gift card and tied it up with a bow.

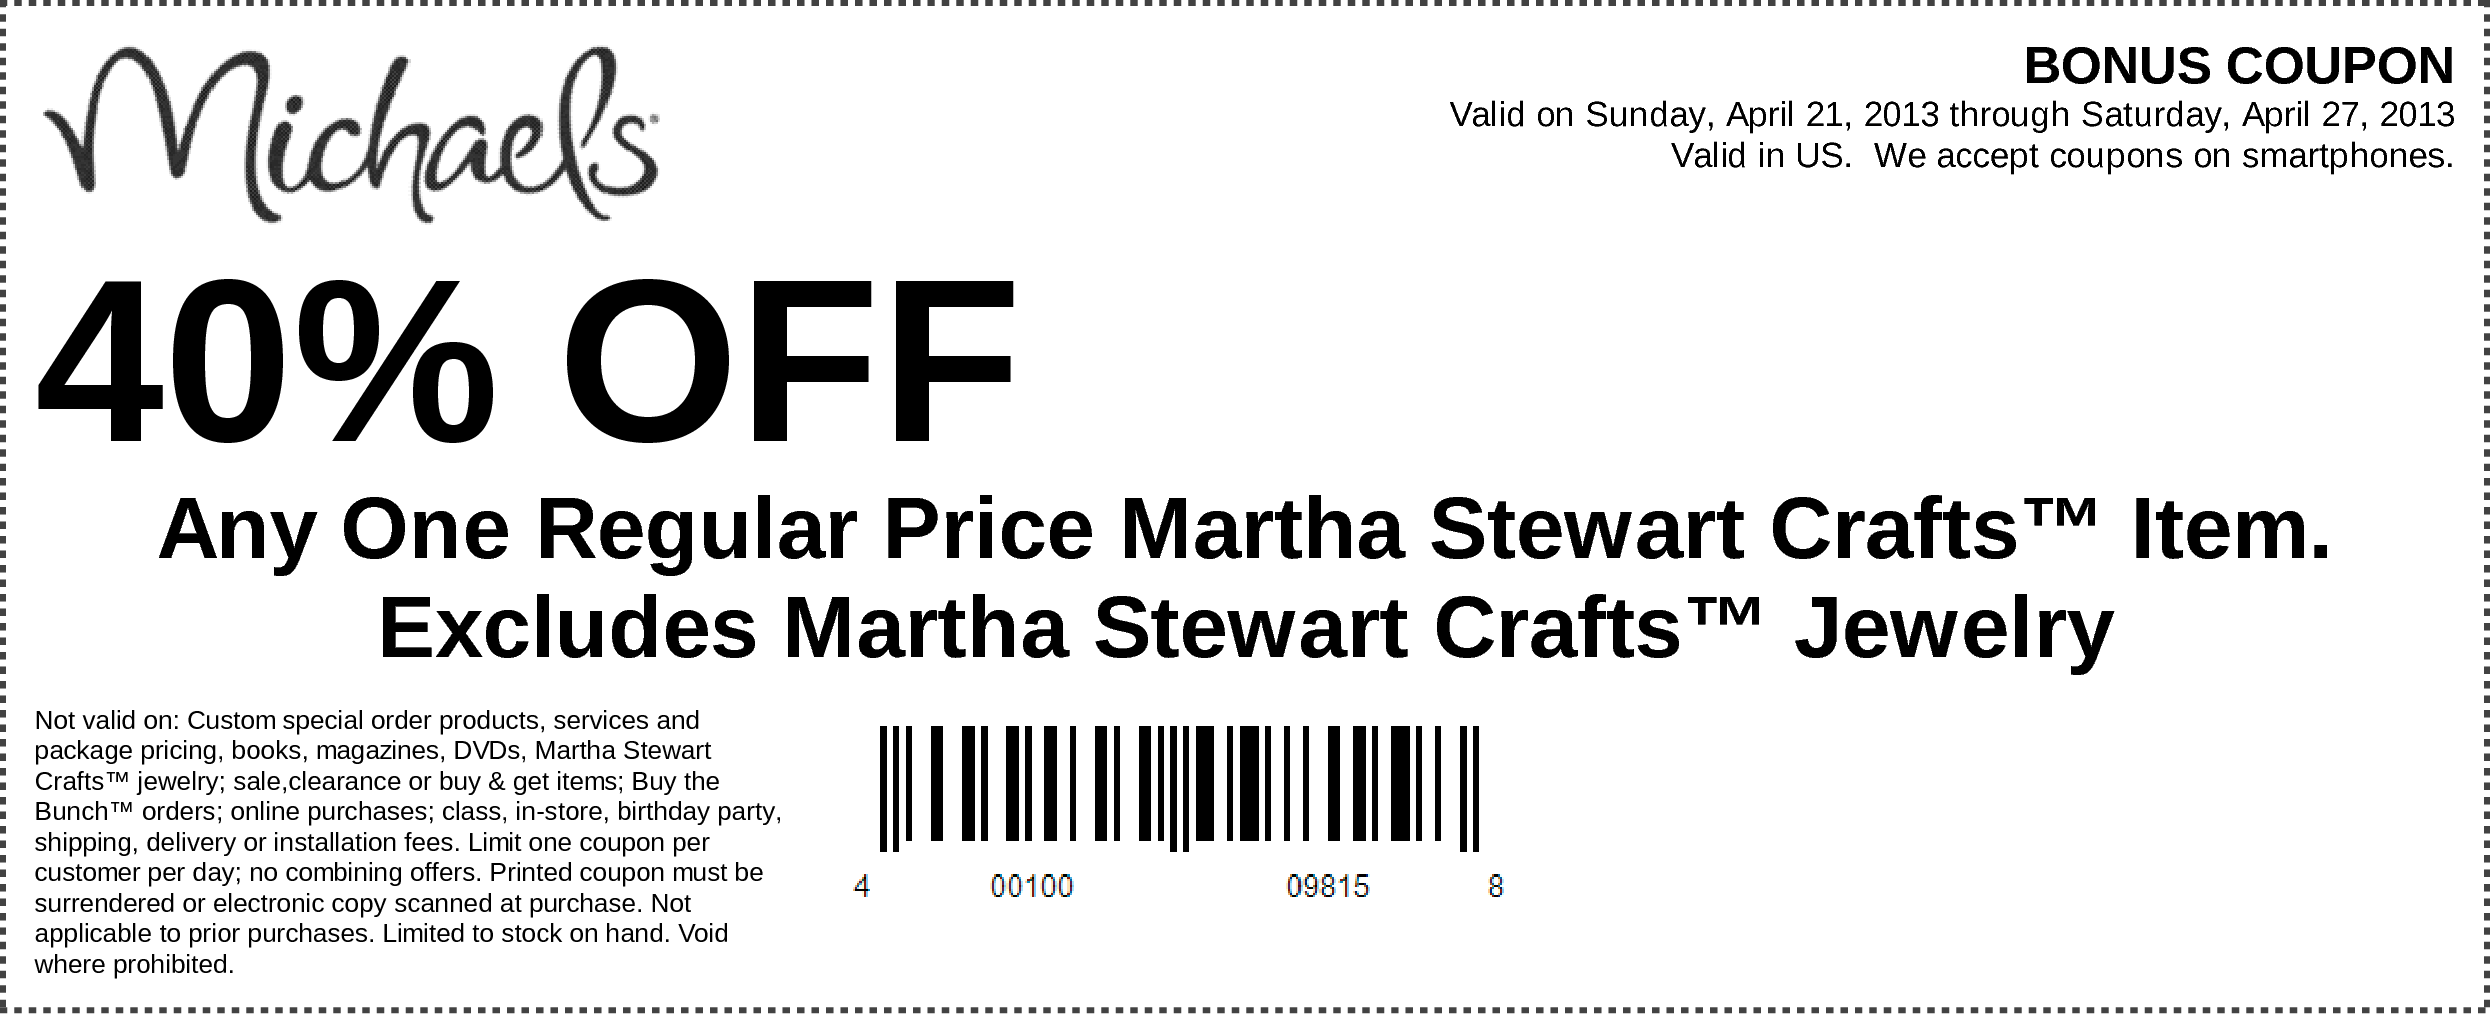
Michaels has a great coupon for US and Canada right now for 40% off a Martha Stewart Crafts Item if you need anything!

Any One Regular Price Martha Stewart Craftsâ„¢ Item. Excludes Martha Stewart Craftsâ„¢ Jewelry

Do you find it hard to decide on gifts for mom? What is one of your favorite things you have given or received as Mother’s Day gifts?

We have decided to truncate our feed to help protect against stolen content. I apologize for any inconvenience. Please love us anyway. 🙂

Mom’s Guacamole

April 23, 2013 By Michelle Barneck 1 Comment

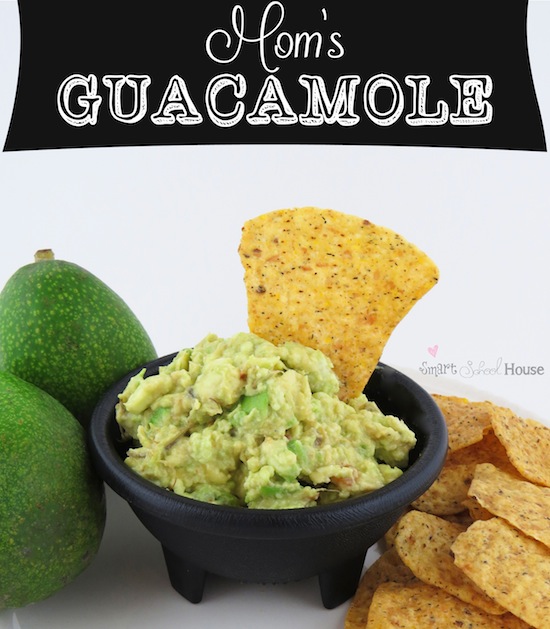
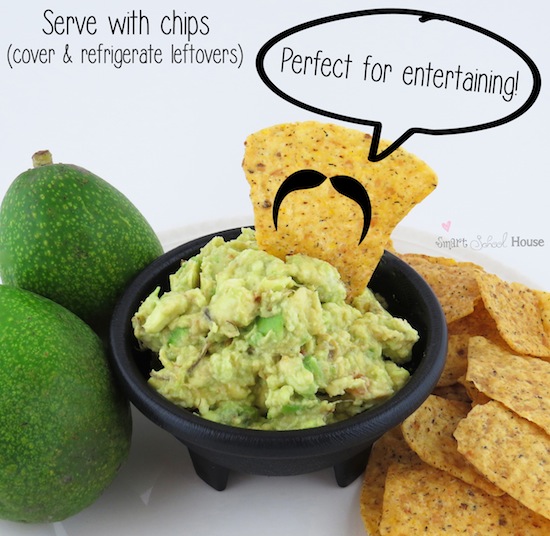
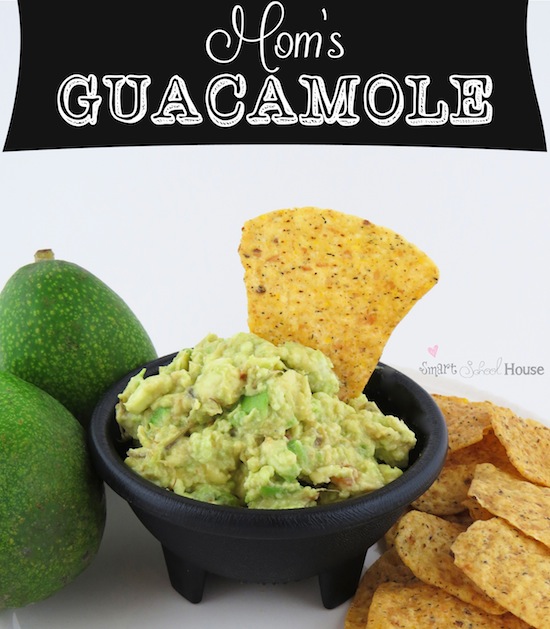
With both Cinco de Mayo and Mother’s Day approaching, I think it’s a perfect time to share one of my favorite recipes with you!
Why is it called Mom’s Guacamole? Well, the answer to that is as simple as the recipe itself. My mom taught me how to make this exact guacamole years (and years) ago, and because of the great big avocado tree I have in my front yard, I make it constantly! 

Since the recipe and ingredients are so simple and easy, I just know you’re going to love it too!
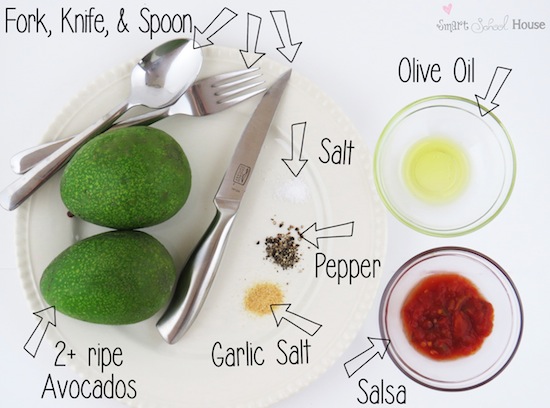
Here’s what you need: 
(Note: get this stuff together first!! Making guacamole can get a little messy, so it’s best to have everything you need right at your fingertips.)
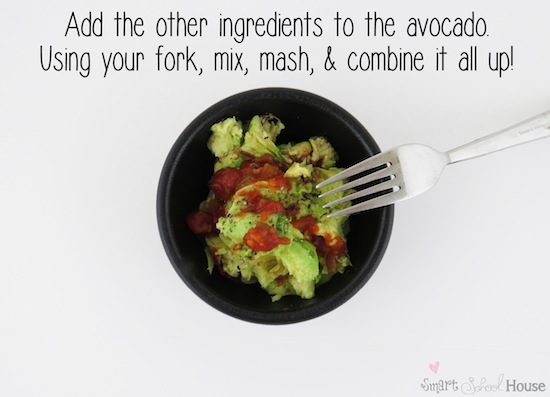
How much of each ingredient do I need, you ask? Well, in the wise words of my mom, “However much you like!” Oooohh let me tell you how much that frustrated me in the past. As a borderline perfectionist, that’s not a sufficient answer! But, she’s completely right. Using these ingredients, season it to taste just as you like. Start with a little and add more after a taste test. I find that a dash of the dry ingredients will do. I usually add a tablespoon of salsa and I find it to be just the right amount of spicy “kick”. OH- and here’s an awesome tip! The olive oil not only makes the guacamole a little creamier, it also helps prevent the leftover guacamole from turning brown! 
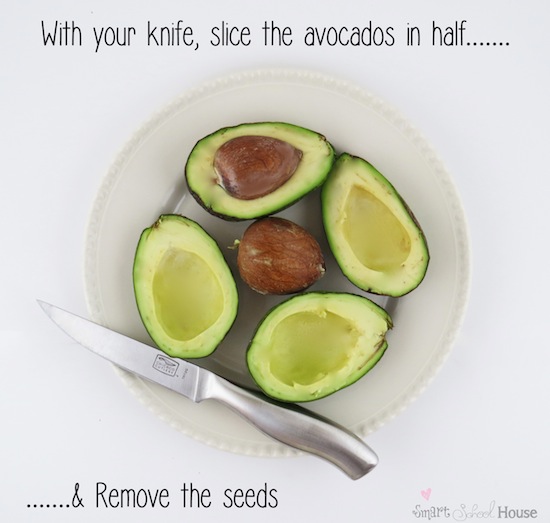
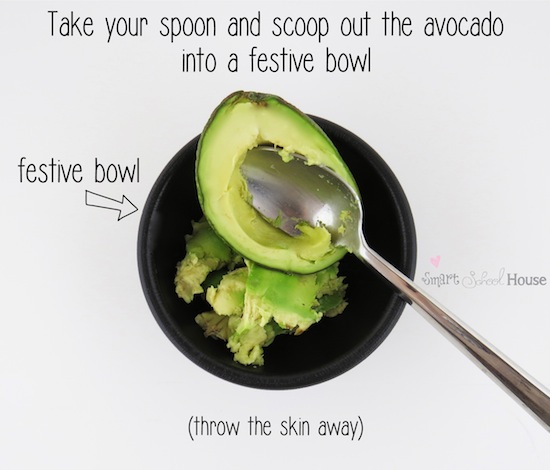
There you have it! Mom’s Guacamole is an easy recipe with simple ingredients that you most likely already have in your kitchen. Are you eager to make the guacamole but your grocery store only has unripened avocados for sale? Well, take a brown paper bag and let the avocados sit in there for a few days. The darkness helps them ripen faster! 
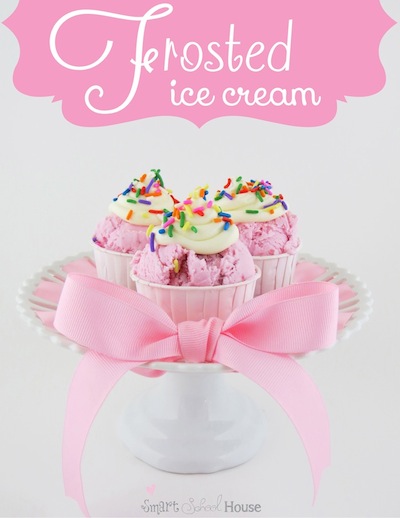
Thank you so much for having me again here at A Little Tipsy! I’d love for you to swing by my blog Smart School House to see what other crafts and treats I’ve been up to lately, like this picture perfect pink treat called Frosted Ice Cream:
Thanks Kelly! I love the tip about the olive oil! DYK if you leave the big avocado seed in the guacamole until ready to serve it keeps it green?! Can’t wait to try this recipe!
We have decided to truncate our feed to help protect against stolen content. I apologize for any inconvenience. Please love us anyway. 🙂
« Previous Page
Next Page »

  • Bloglovin
  • Facebook
  • Google+
  • Instagram
  • Pinterest
  • RSS
  • Twitter

Hi there! I'm Michelle. Mother of three little boys and one little princess. Welcome to A Little Tipsy, a place for exploring creativity and sharing inspiration.

Follow on Bloglovin


Visit Michelle Barneck {A Little Tipsy}'s profile on Pinterest.

Tutorials by Category


15 Family Reunion Games

Family Reunion Games Collage

15 Sprinkle Party Ideas

Sprinkle Birthday Party
Creative Commons License

© Copyright 2014 A Little Tipsy · Site Designed by The Fairy Blogmother · Web Hosting by RFE Hosting

This website uses cookies to improve your experience. We'll assume you're ok with this, but you can opt-out if you wish.Accept Read More
Privacy & Cookies Policy