A Little Tipsy

Creative Tips & Ideas

  • home
  • About Me
  • the tipsy top
  • press
  • projects
  • contact me
[print_thumbnail_slider]

Cocoa to Go Caddy

December 3, 2012 By Michelle Barneck 12 Comments

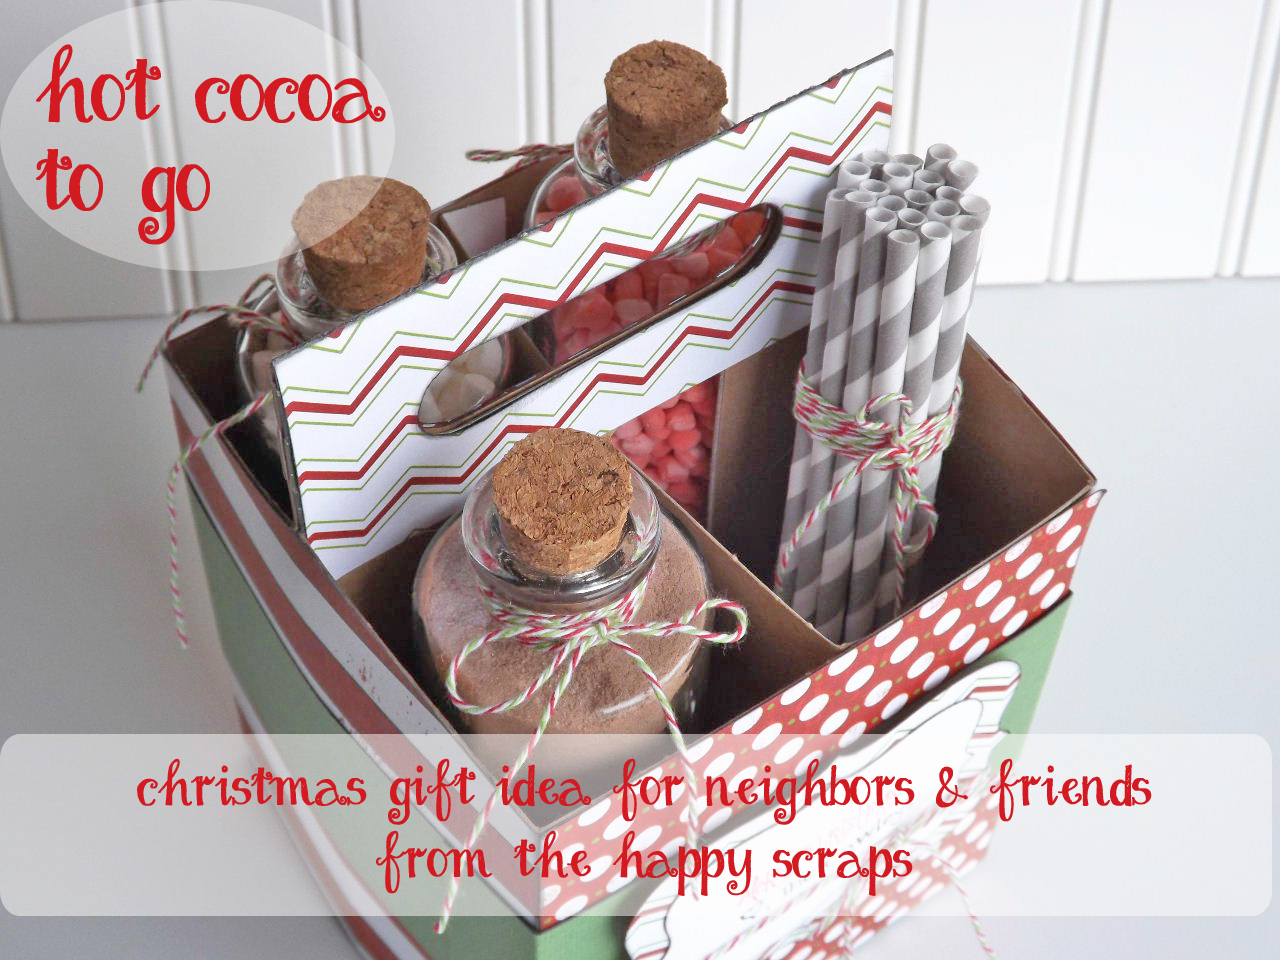
Hello to all of you A Little Tipsy friends!  I’m Amy from The Happy Scraps where I love to share paper crafting, cardmaking, scrapbooking, decor, and sewing ideas.  I’m so happy to be here today sharing a fun Christmas gift idea for a friend or neighbor.  I’m sharing this Hot Cocoa to-go caddy.
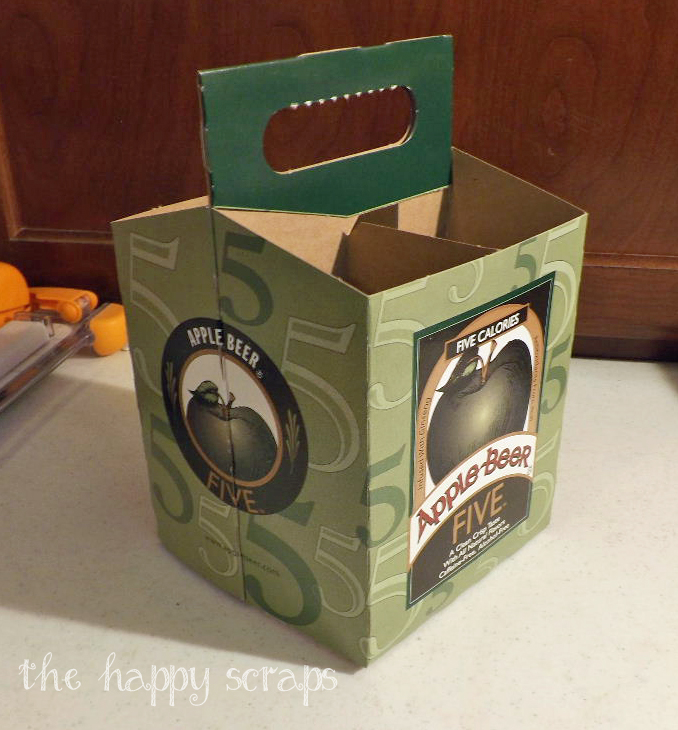
I started with an empty bottle box that I up-cycled.  I have several of these that I collected from a family party a while back.  I measured all the sides and cut paper to fit, and then adhered it to the box.
I chose a couple of different patterns of paper to add variety to the caddy.
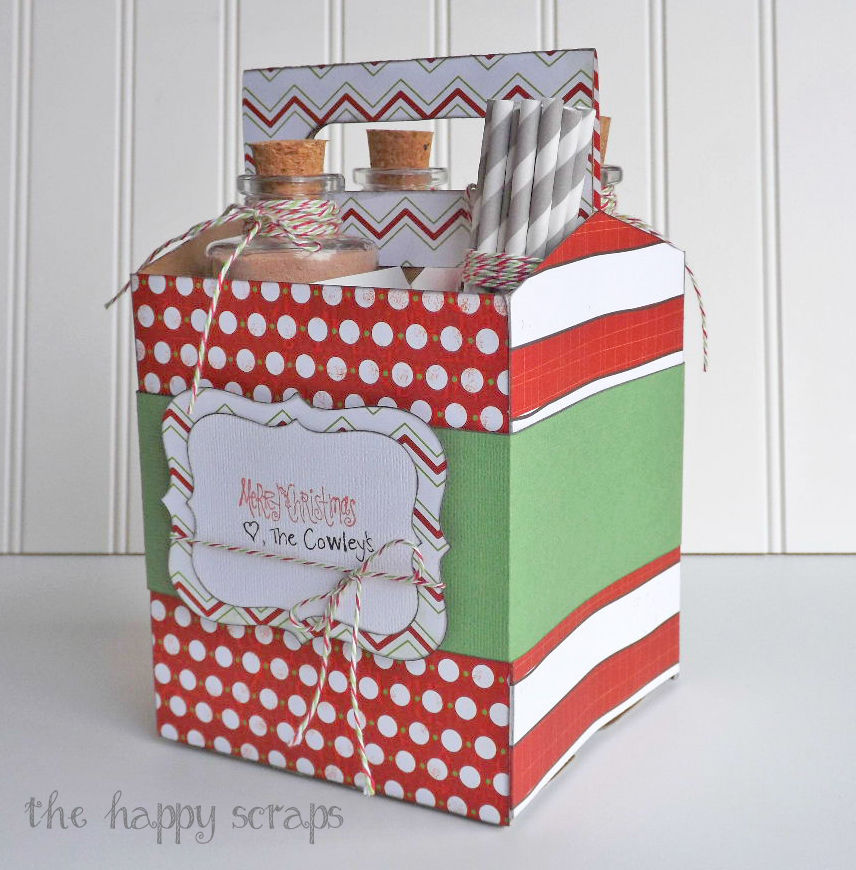
Then I cut some coordinating green cardstock to make a band around the box.
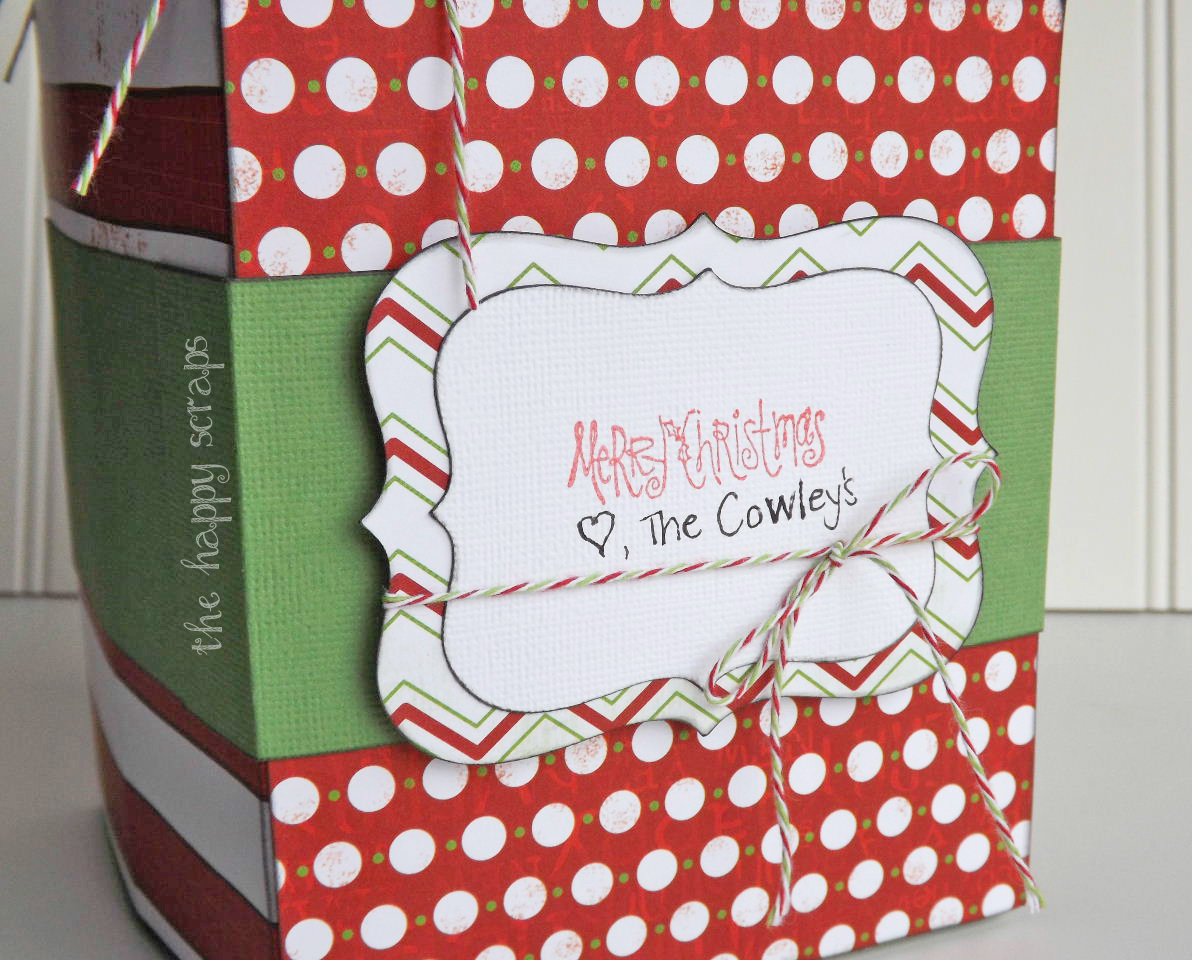
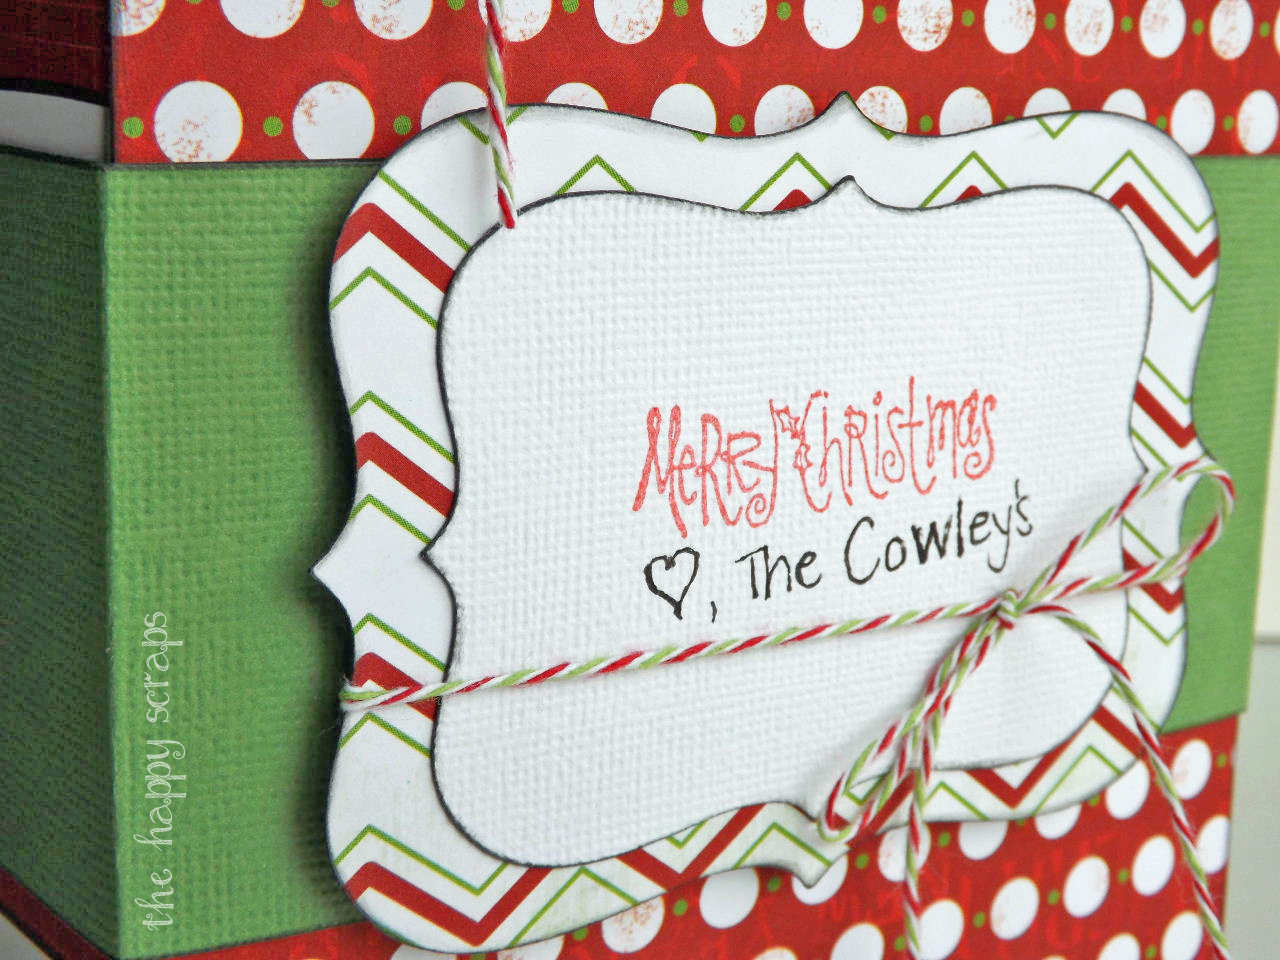
Using my Cricut and Cricut Craft Room, I cut these bracket shapes out to make my gift tag/label.  Then I just used a fun Merry Christmas stamp, and signed our name, tied it with twine, and put it on the band around the box.
These bottle are my favorite part of the whole package. 🙂  I used my Cricut again to cut out the vinyl for the bottles.  I think labels like this make anything cuter!
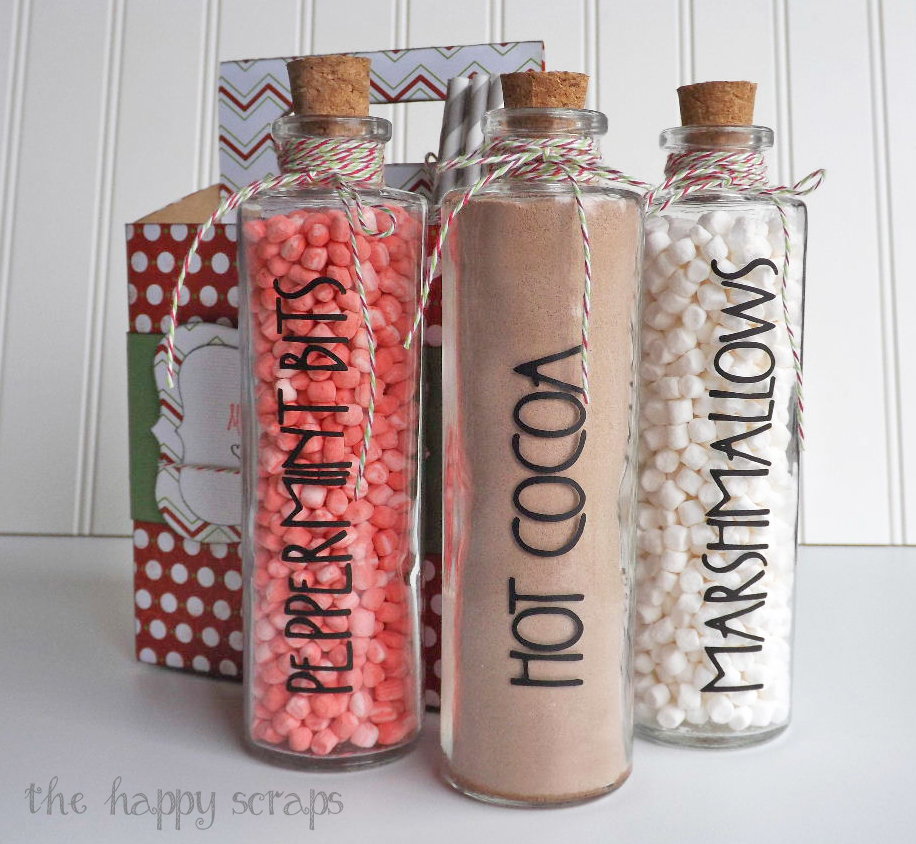
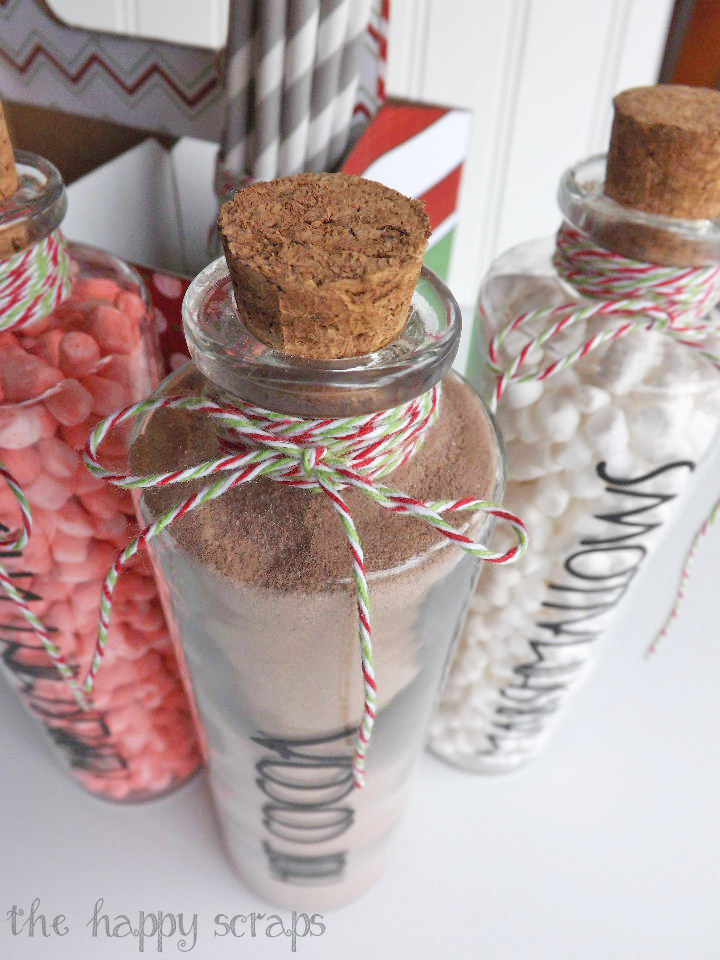
After filling the bottles up with cocoa powder, mini marshmallows, and mini peppermint marshmallow bits, I put the corks in, and I wrapped the tops with twine then tied a bow.
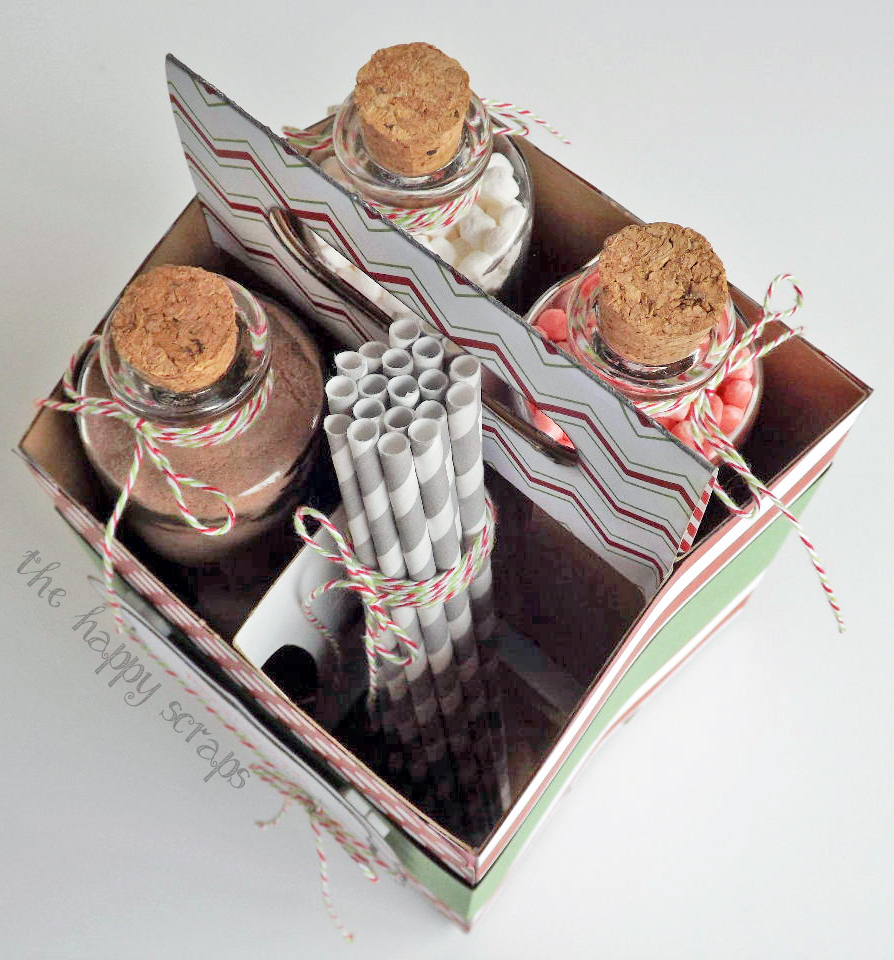
Then they were all ready to go in the caddy.  I wrapped some paper straws up with twine as well and put those in, so that when they mix up their hot cocoa, they can sip it up in style.
I hope you’ve enjoyed this fun Hot Cocoa Christmas gift idea for your friends and neighbors!

Thank you so much to Michelle for having me over today!  I hope you’ll all come by The Happy Scraps and say hi!  I’d love to have you.

—————————————————————————————
Oooh, I just love this! What a perfect neighbor gift for the holidays! A huge thanks to Amy for sharing her fun project with us!
We have decided to truncate our feed to help protect against stolen content. I apologize for any inconvenience. Please love us anyway. 🙂

DIY Ornaments {My Studio 5 Debut}

November 30, 2012 By Michelle Barneck 6 Comments

Welcome to anyone visiting from Studio 5! We had a great time on the 5 Ways 1 Day Ornament segment today! Here the clip if you missed it.


It was great to be on to share ideas for DIY Ornaments with some of my favorite bloggers! I loved seeing all the different creations from a simple glass ornament.

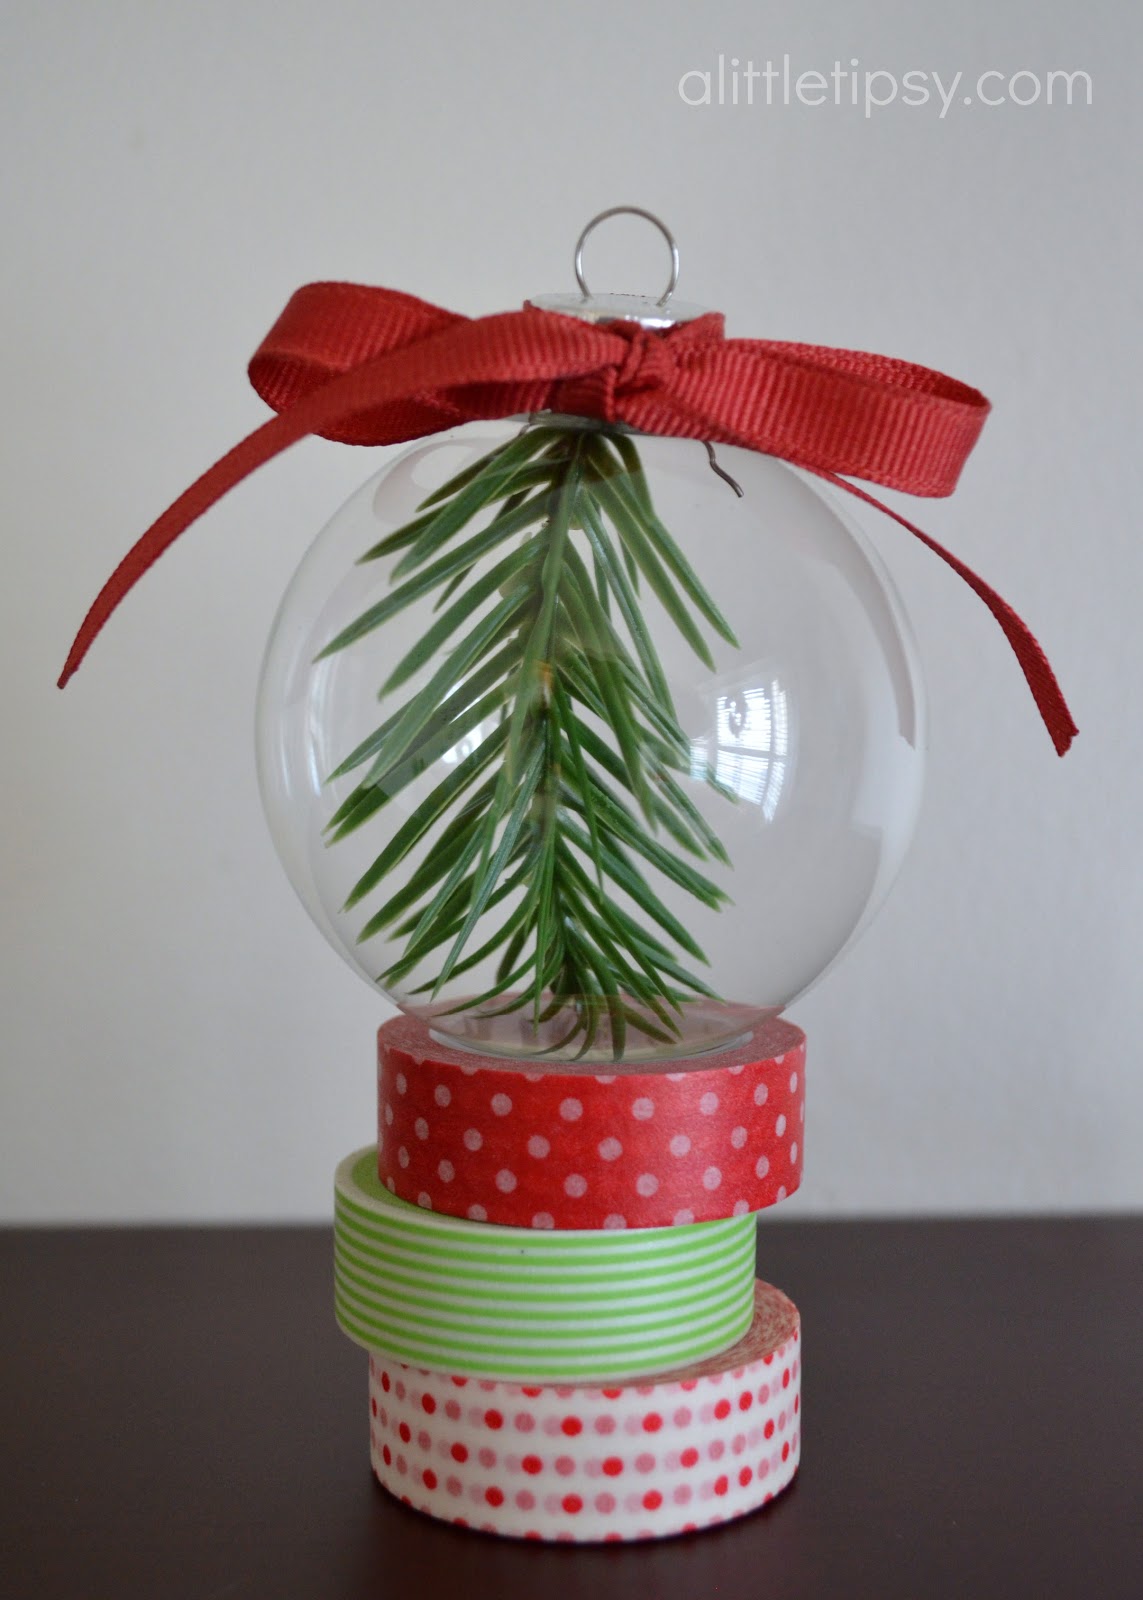
Sometimes it is the simple things that can make the biggest impact. My ornament project takes a simple green sprig and transforms it in to something interesting and beautiful. 
As you saw in the video, it is so simple to make it literally takes about a minute, but here are the instructions just in case.
All you need is a clear glass ornament, a sprig of greenery, a chopstick, and a red ribbon.
Slowly remove the metal ornament top to reveal the opening to the glass bulb. Carefully insert the greenery with the needles pointing in to the bulb. This will seem unnatural, but it is so the bare end of the sprig will be hidden. Use your chopstick to push all the needles through and in to place. Replace the metal ornament top and tie a bow around it with the red ribbon.
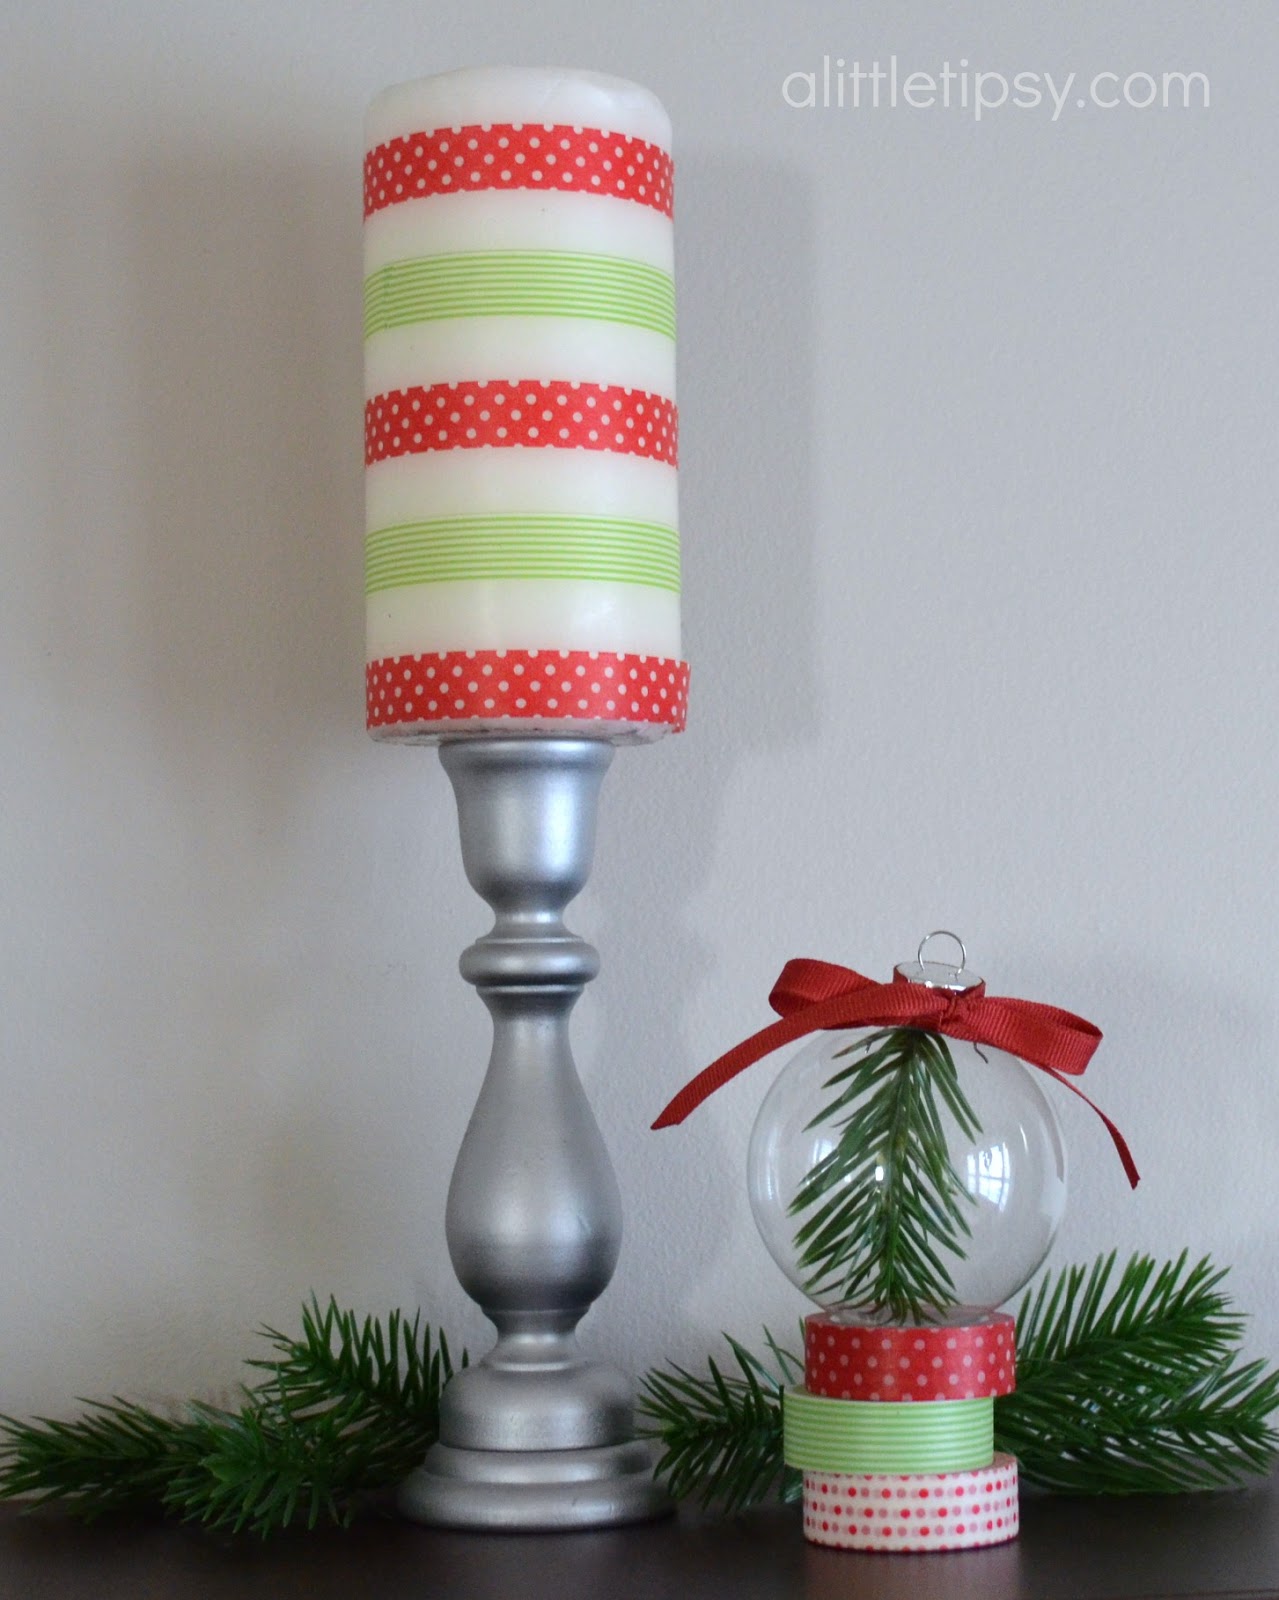
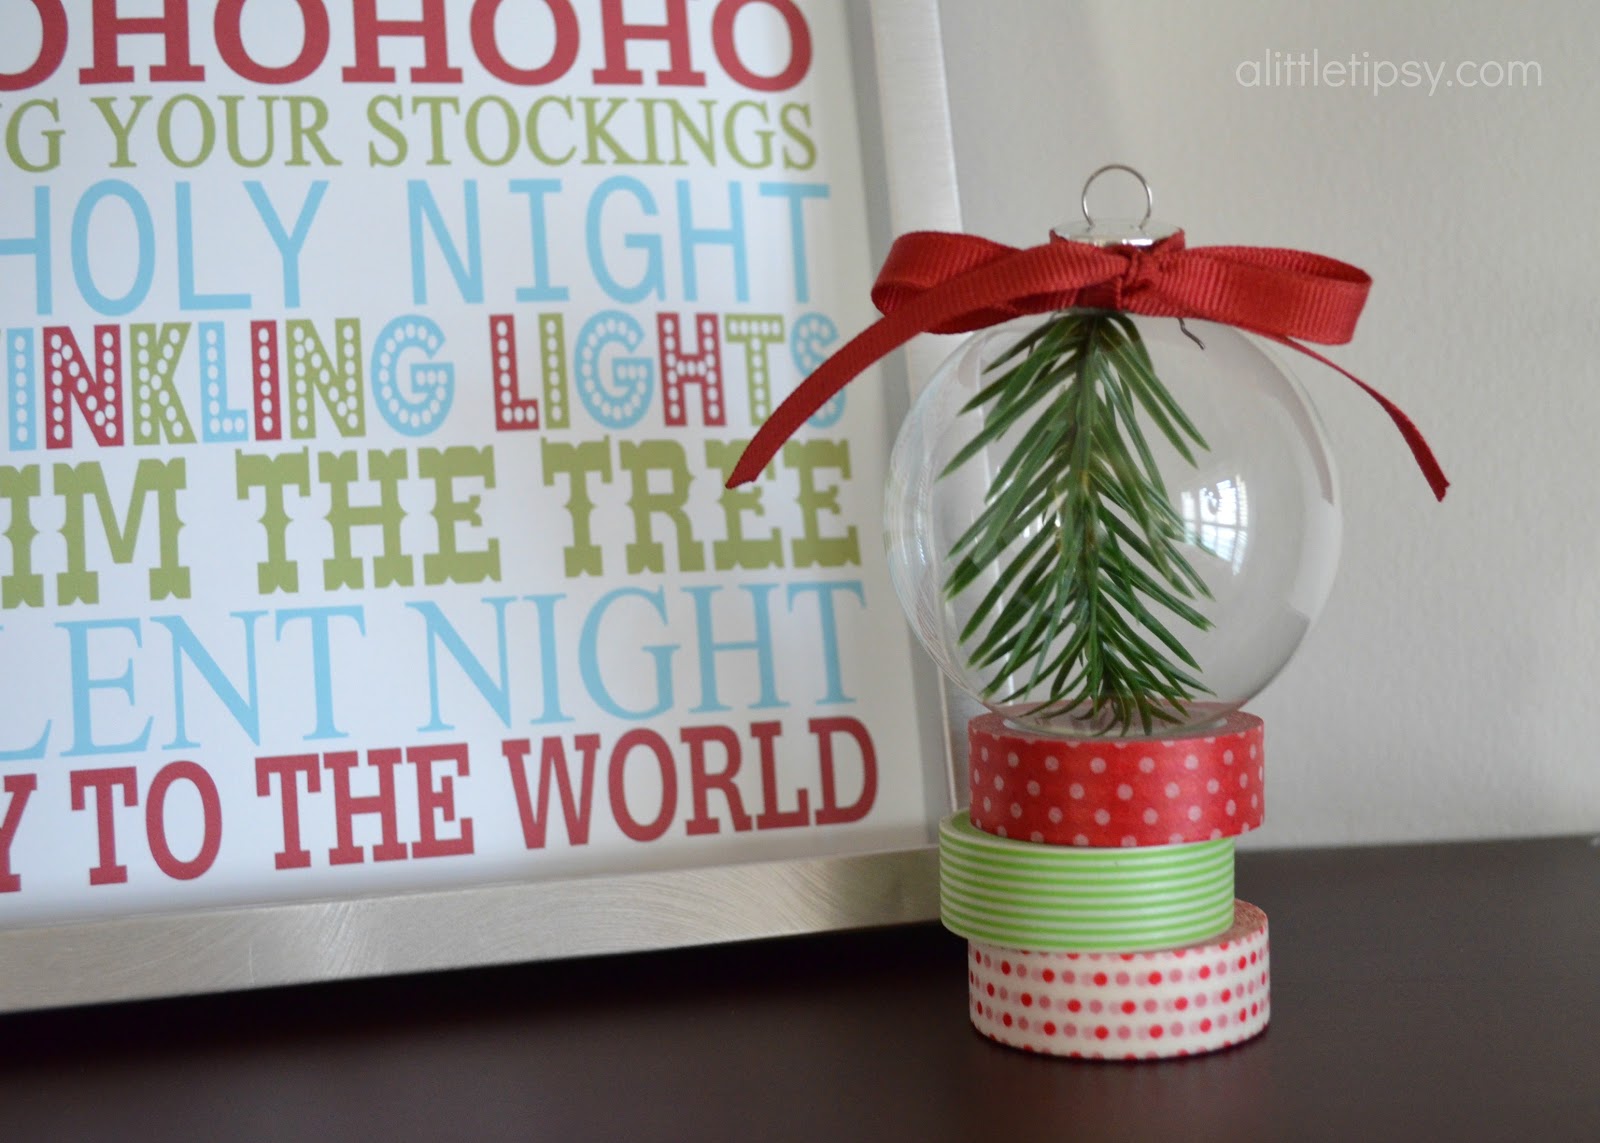
These DIY ornaments are not only great for the tree, but are also fun to hang in frames, line up on rolls of washi tape, or use as filler for a lantern or bowl.

P.S. Don’t forget to sign up for free Tipsy updates via RSS or email.

We have decided to truncate our feed to help protect against stolen content. I apologize for any inconvenience. Please love us anyway. 🙂

Downtown Tape Giveaway

November 29, 2012 By Michelle Barneck 45 Comments

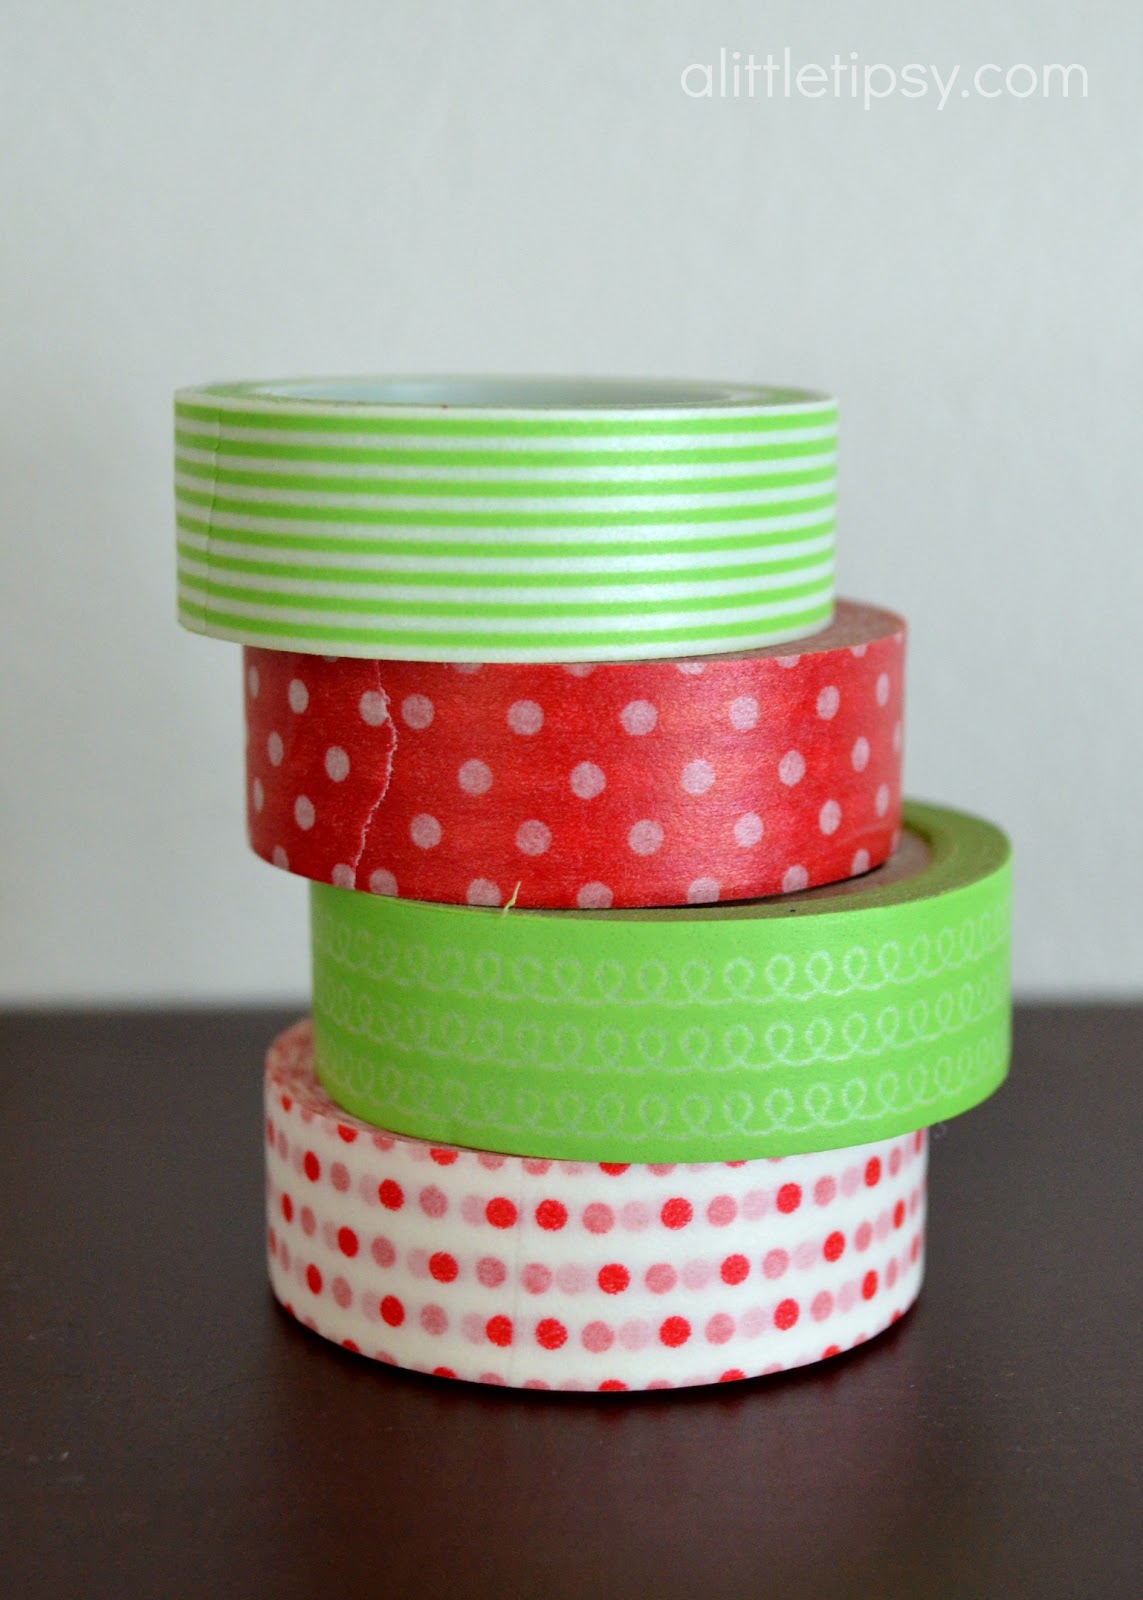
I am super excited to share today’s giveaway! Washi tape is all the rage right now and is such an easy way to dress up anything and everything. From gift wrap to decor to electronics washi tape is a fun was to give it a pop of color.

Downtown Tape sent me a few rolls to try out and they are so much fun! I love combining the patterns and colors with my Christmas decor!

They are the perfect little holders for an ornament display!

The best part is they are just $1.99 a roll so snatch up all your favorites and mix and match to your hearts content!

tag2.png
Now what kind of friend would I be if I didn’t share my fun new find? 
Downtown Tape is giving TWO lucky winners 10 rolls of tape and 25 tags!

a Rafflecopter giveaway

P.S. Don’t forget to sign up for free Tipsy updates via RSS or email.

We have decided to truncate our feed to help protect against stolen content. I apologize for any inconvenience. Please love us anyway. 🙂

DIY Christmas Decorations & Wal-Mart Card GIVEAWAY

November 26, 2012 By Michelle Barneck 33 Comments

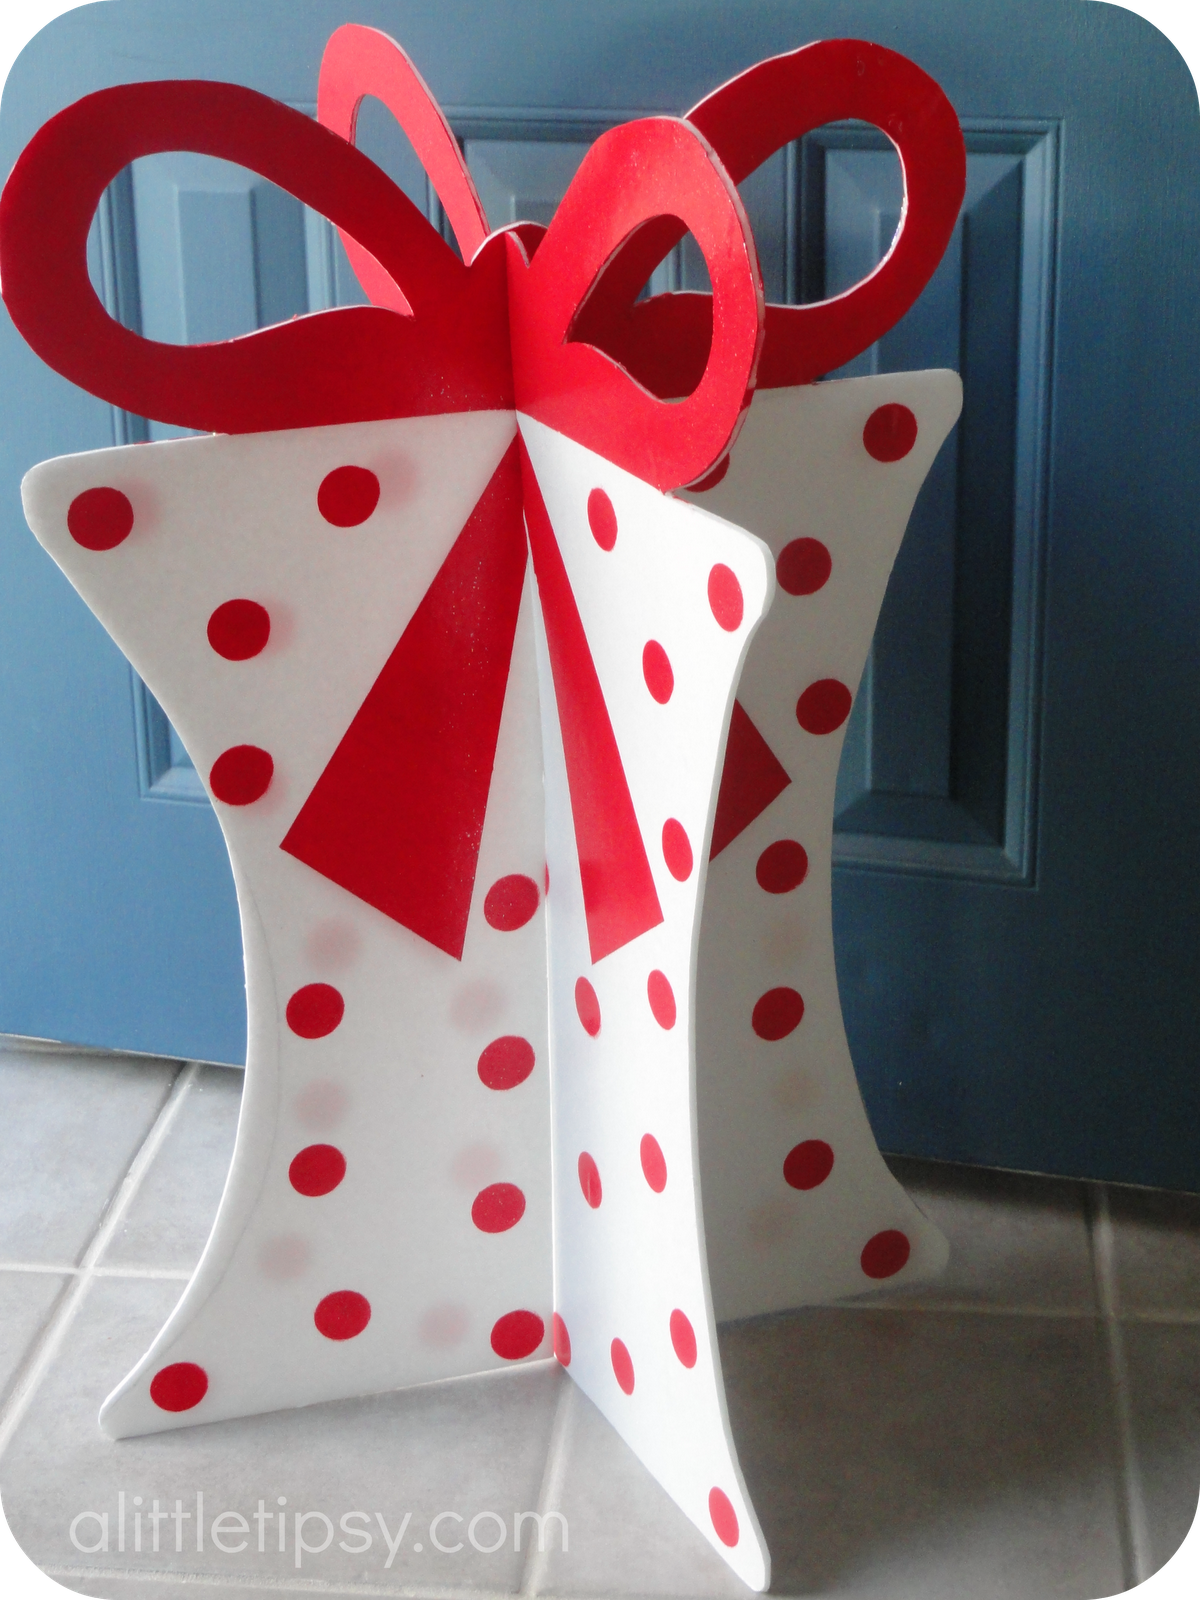
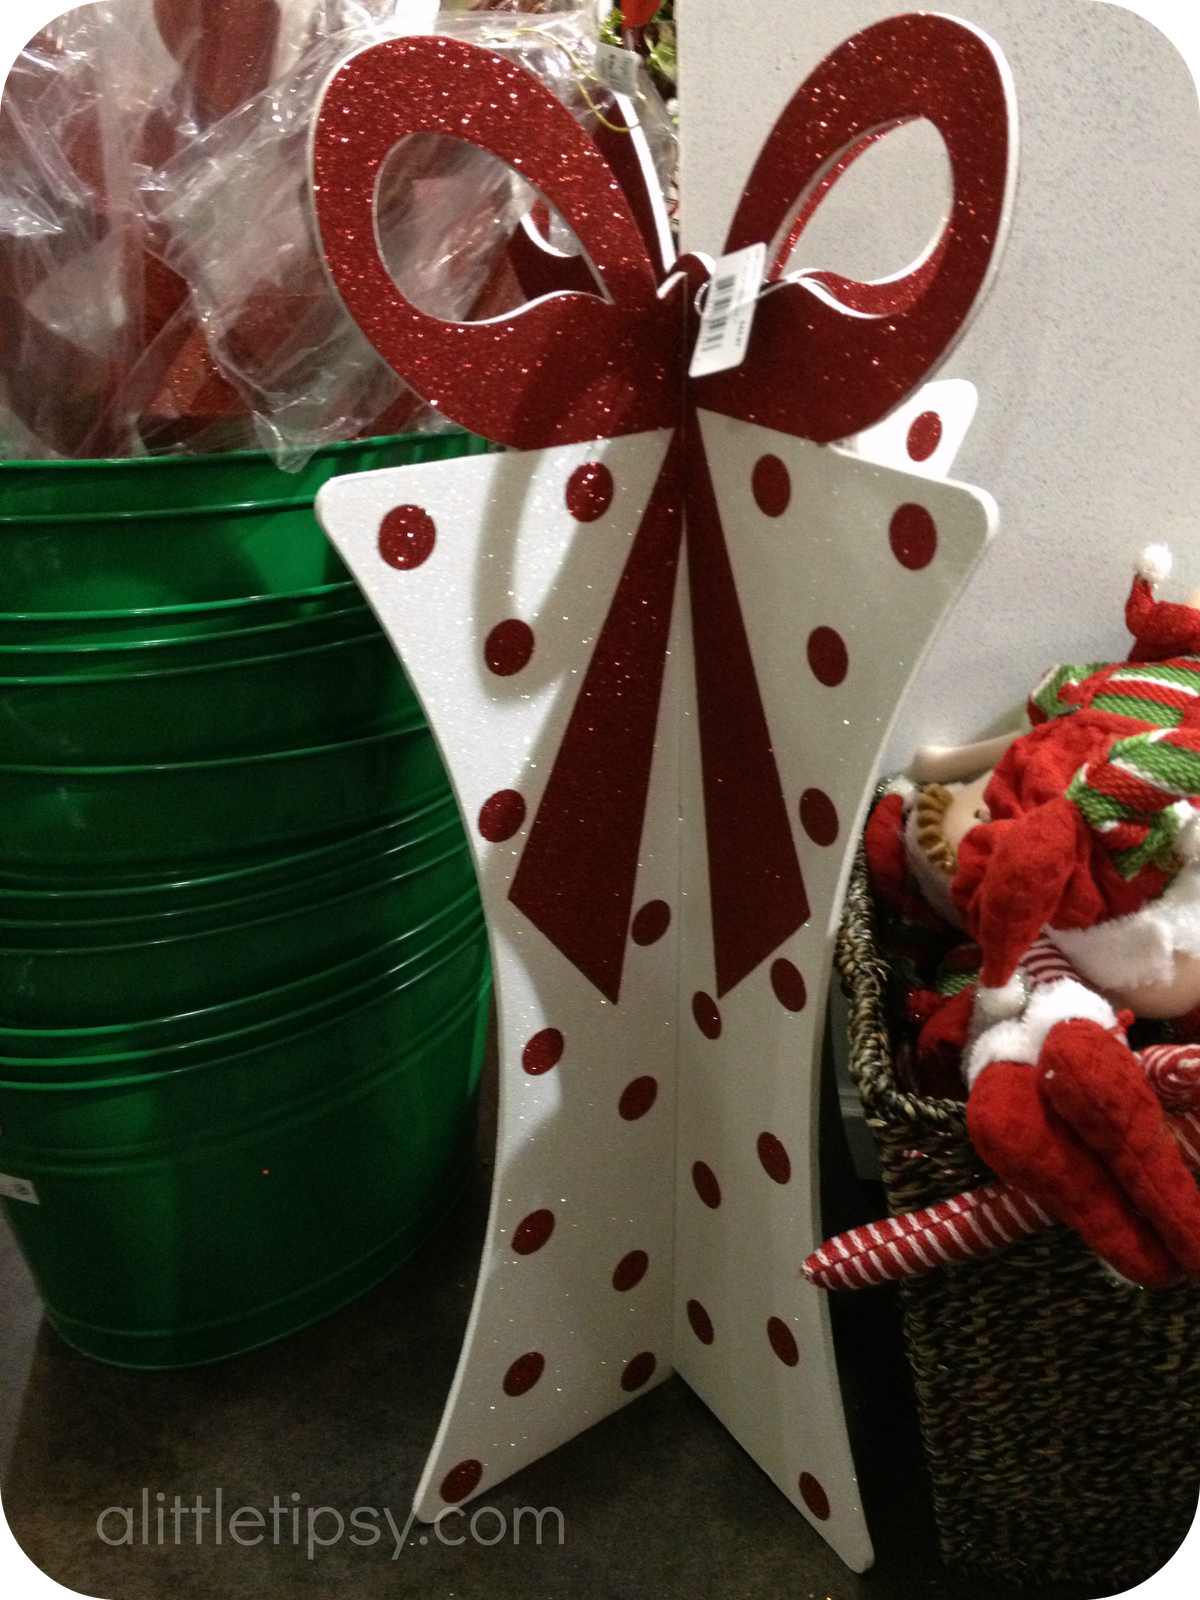
I always enjoy having DIY Christmas decorations in my holiday decor. It adds a personal touch and I love displaying things I have created. This year I saw the cutest 3D polka dot presents at Tai Pan Trading and instantly fell in love until I saw the price tag at $40. Granted they are a good 3 feet high, but $40 for foam core?! I knew then and there what my DIY Christmas decorations would be.
Our Version $10 <------------------------> Tai Pan Trading’s Version $40

SUPPLIES:
  • 2 sheets foam core (Do not buy at the dollar store! It has a paper finish and will bubble.)
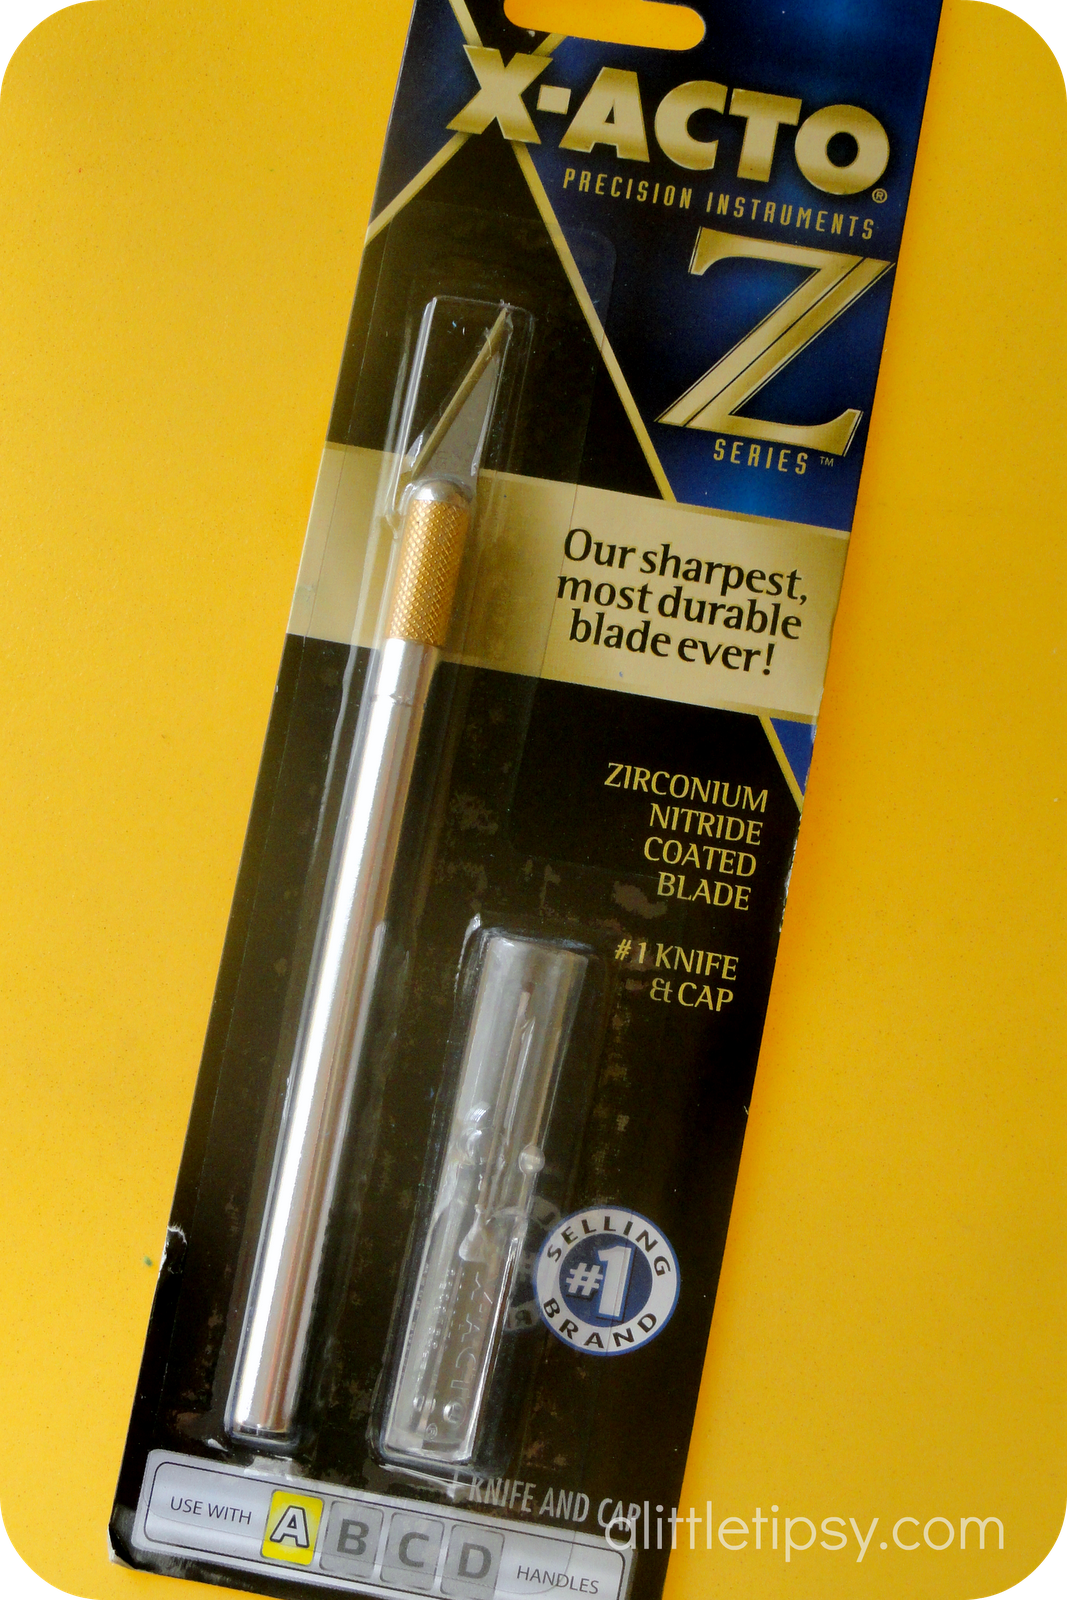
  • X-ACTO Z series blade (This baby was awesome! It cut like a charm.)
  • Pencil
  • X-ACTO Self Healing Cutting Mat
  • Painter’s tape
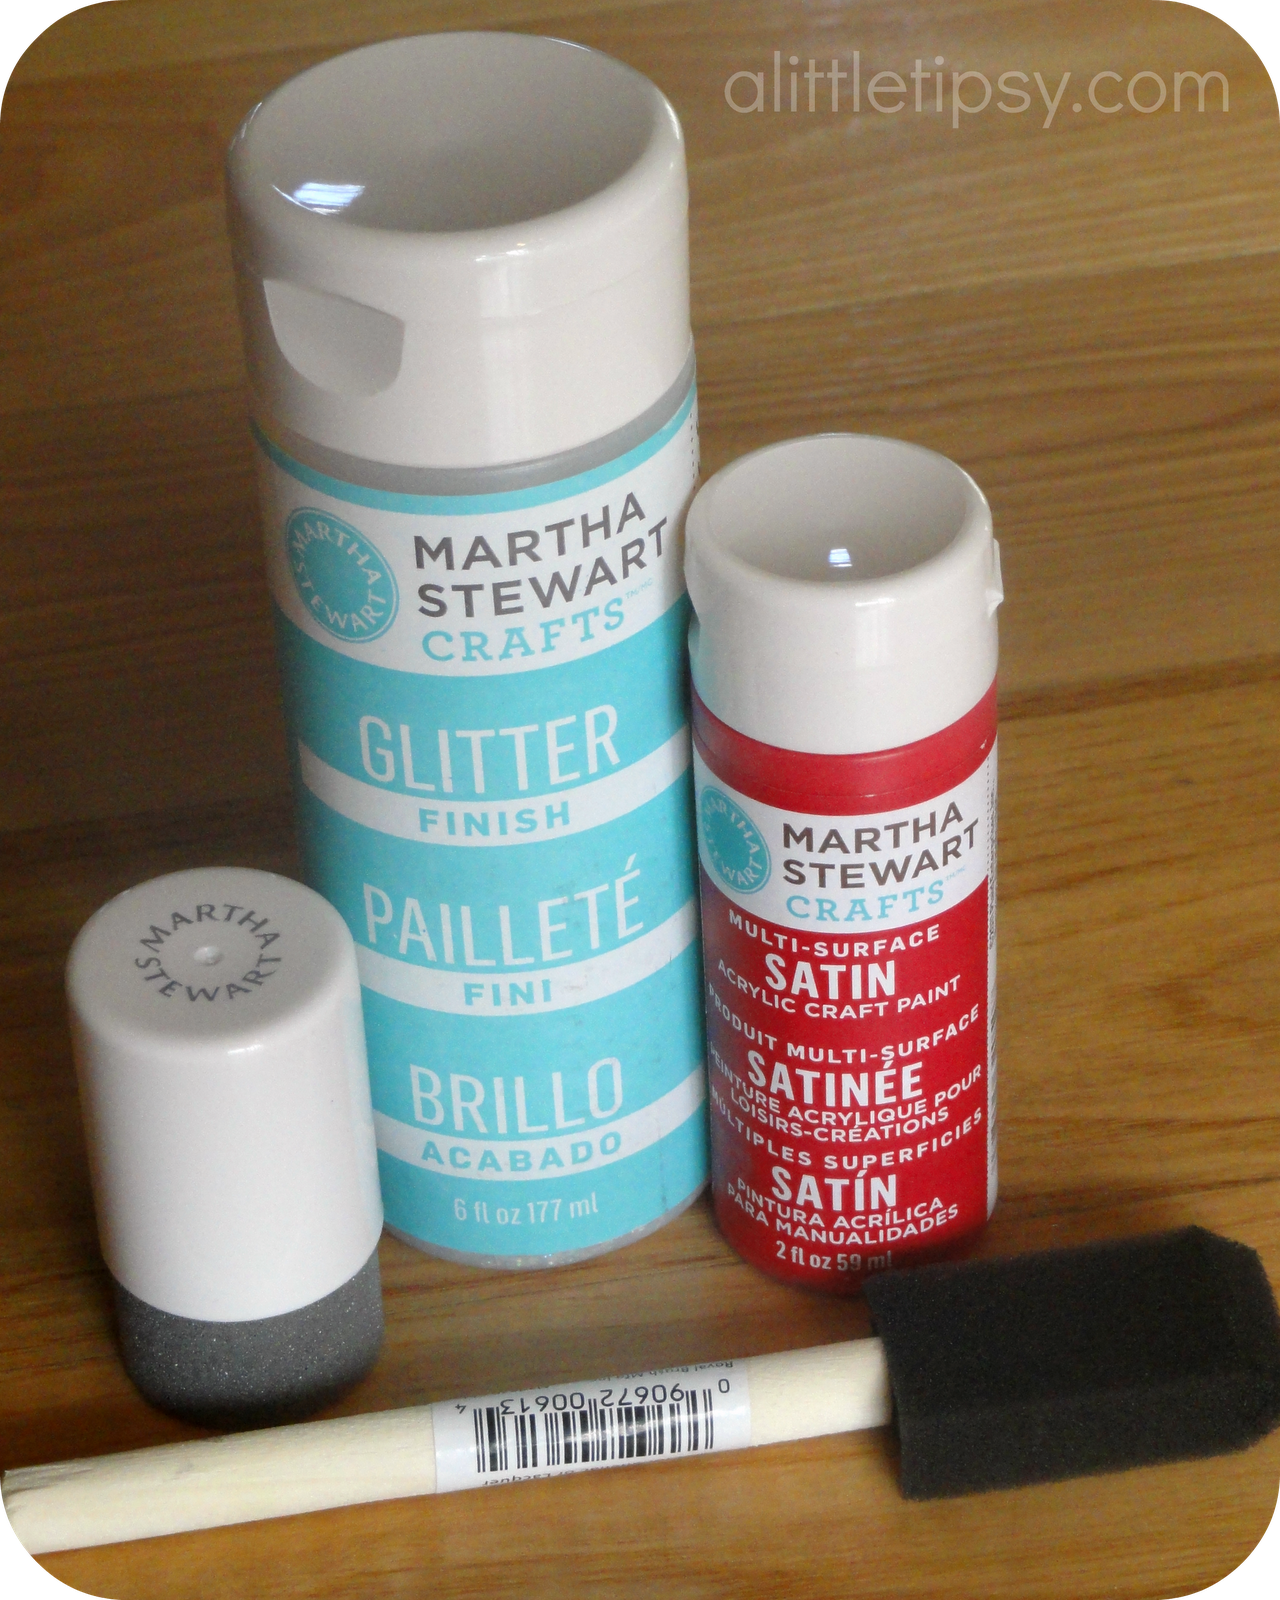
  • Red Satin Craft Paint
  • Foam Brush
  • Foam Pouncer (for polka dots)
  • Clear Glitter Finish (Martha Stewart’s is indoor/outdoor if you want to put them on the porch)
DIY Christmas Decorations

INSTRUCTIONS:
1. Lay the foam core on the cutting mat and using your pencil hand sketch the shapes from the template below. Cut along the pencil lines with the Xacto Z-series.

2. Using your pencil, draw the ribbon tails as illustrated below on both sides of the present.

3. Tape around the ribbon tails and paint the ribbon area red. 

4. While that is drying, paint red dots with the foam pouncer. Once the paint is dry turn the present over and paint the ribbon area and dots on the opposite side. Let that dry and repeat painting the ribbon area and dots with a second coat on each side. 

5. Once all the paint is dry paint the whole thing with the glitter finish. I did two coats. If you squint with all your might you may see the shimmer on the ribbon loop. It is sparkly in person I promise.

6. Once dry, slide the two pieces together and stand up. The best part is when you are one with it take it apart and it stores flat! Gotta love big impact but space smart DIY Christmas Decorations!
I also love that this can double as birthday decor, especially since my son’s birthday is in December. With a 3 foot present on the porch, people are bound to know it is the birthday party house.

OOOh, and guess what?! 

X-ACTO is giving away TWO $25 Wal-Mart Gift Cards so you can try out their new blade and pick up supplies you need for your own DIY Christmas decorations!

Enter via Rafflecopter form below.

a Rafflecopter giveaway


Disclosure: Xacto provided product to use, but the project and thoughts are all mine.
We have decided to truncate our feed to help protect against stolen content. I apologize for any inconvenience. Please love us anyway. 🙂
« Previous Page
Next Page »

  • Bloglovin
  • Facebook
  • Google+
  • Instagram
  • Pinterest
  • RSS
  • Twitter

Hi there! I'm Michelle. Mother of three little boys and one little princess. Welcome to A Little Tipsy, a place for exploring creativity and sharing inspiration.

Follow on Bloglovin


Visit Michelle Barneck {A Little Tipsy}'s profile on Pinterest.

Tutorials by Category


15 Family Reunion Games

Family Reunion Games Collage

15 Sprinkle Party Ideas

Sprinkle Birthday Party
Creative Commons License

© Copyright 2014 A Little Tipsy · Site Designed by The Fairy Blogmother · Web Hosting by RFE Hosting

This website uses cookies to improve your experience. We'll assume you're ok with this, but you can opt-out if you wish.Accept Read More
Privacy & Cookies Policy