A Little Tipsy

Creative Tips & Ideas

  • home
  • About Me
  • the tipsy top
  • press
  • projects
  • contact me
[print_thumbnail_slider]

DIY Under $5: Phone Book Wreath

May 3, 2011 By Michelle Barneck 10 Comments

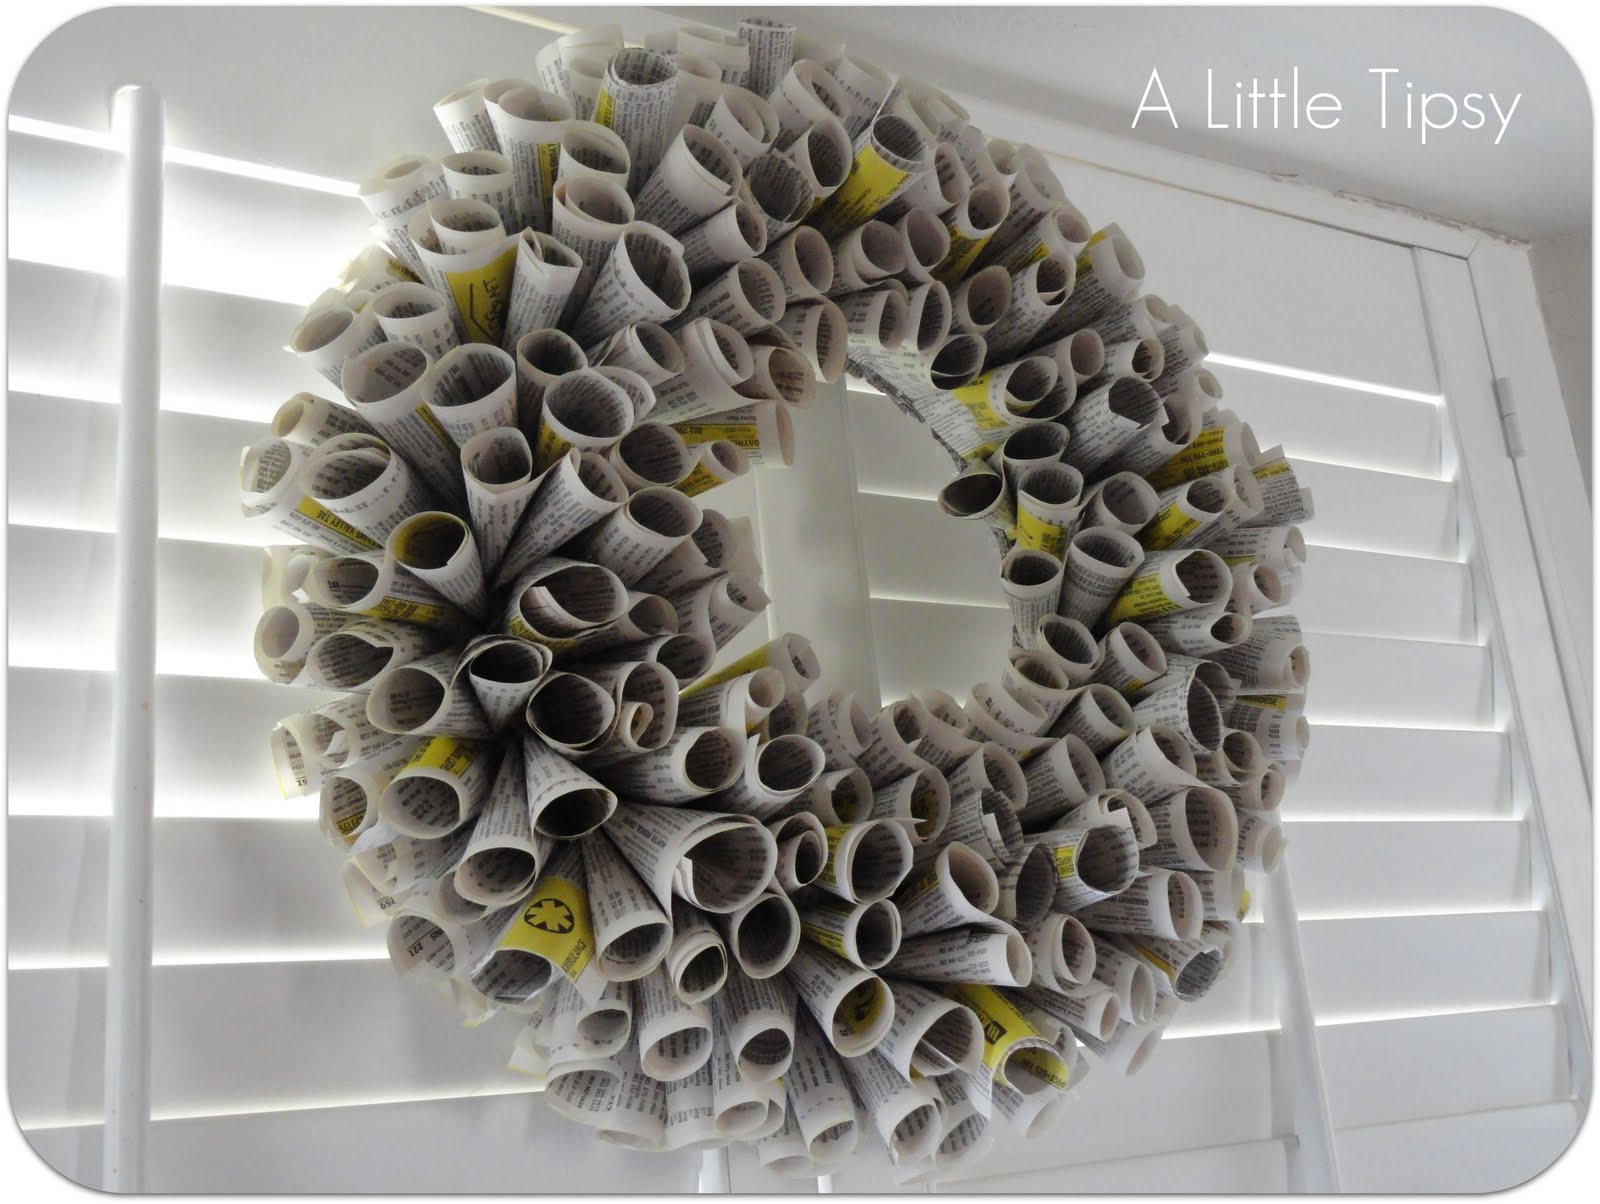
It is just taking up space in your cupboard and all the info you need is online anyway, so pull that dusty phone book off the shelf and make use of it! You’ve seen the book page wreath, but have you seen the gray and yellow loveliness of the phone book wreath?!

Phone Book Wreath Tutorial

Supplies needed:

  • Phone book
  • Yellow Marker
  • Wreath form (mine was covered in burlap from another project)
  • Hot glue
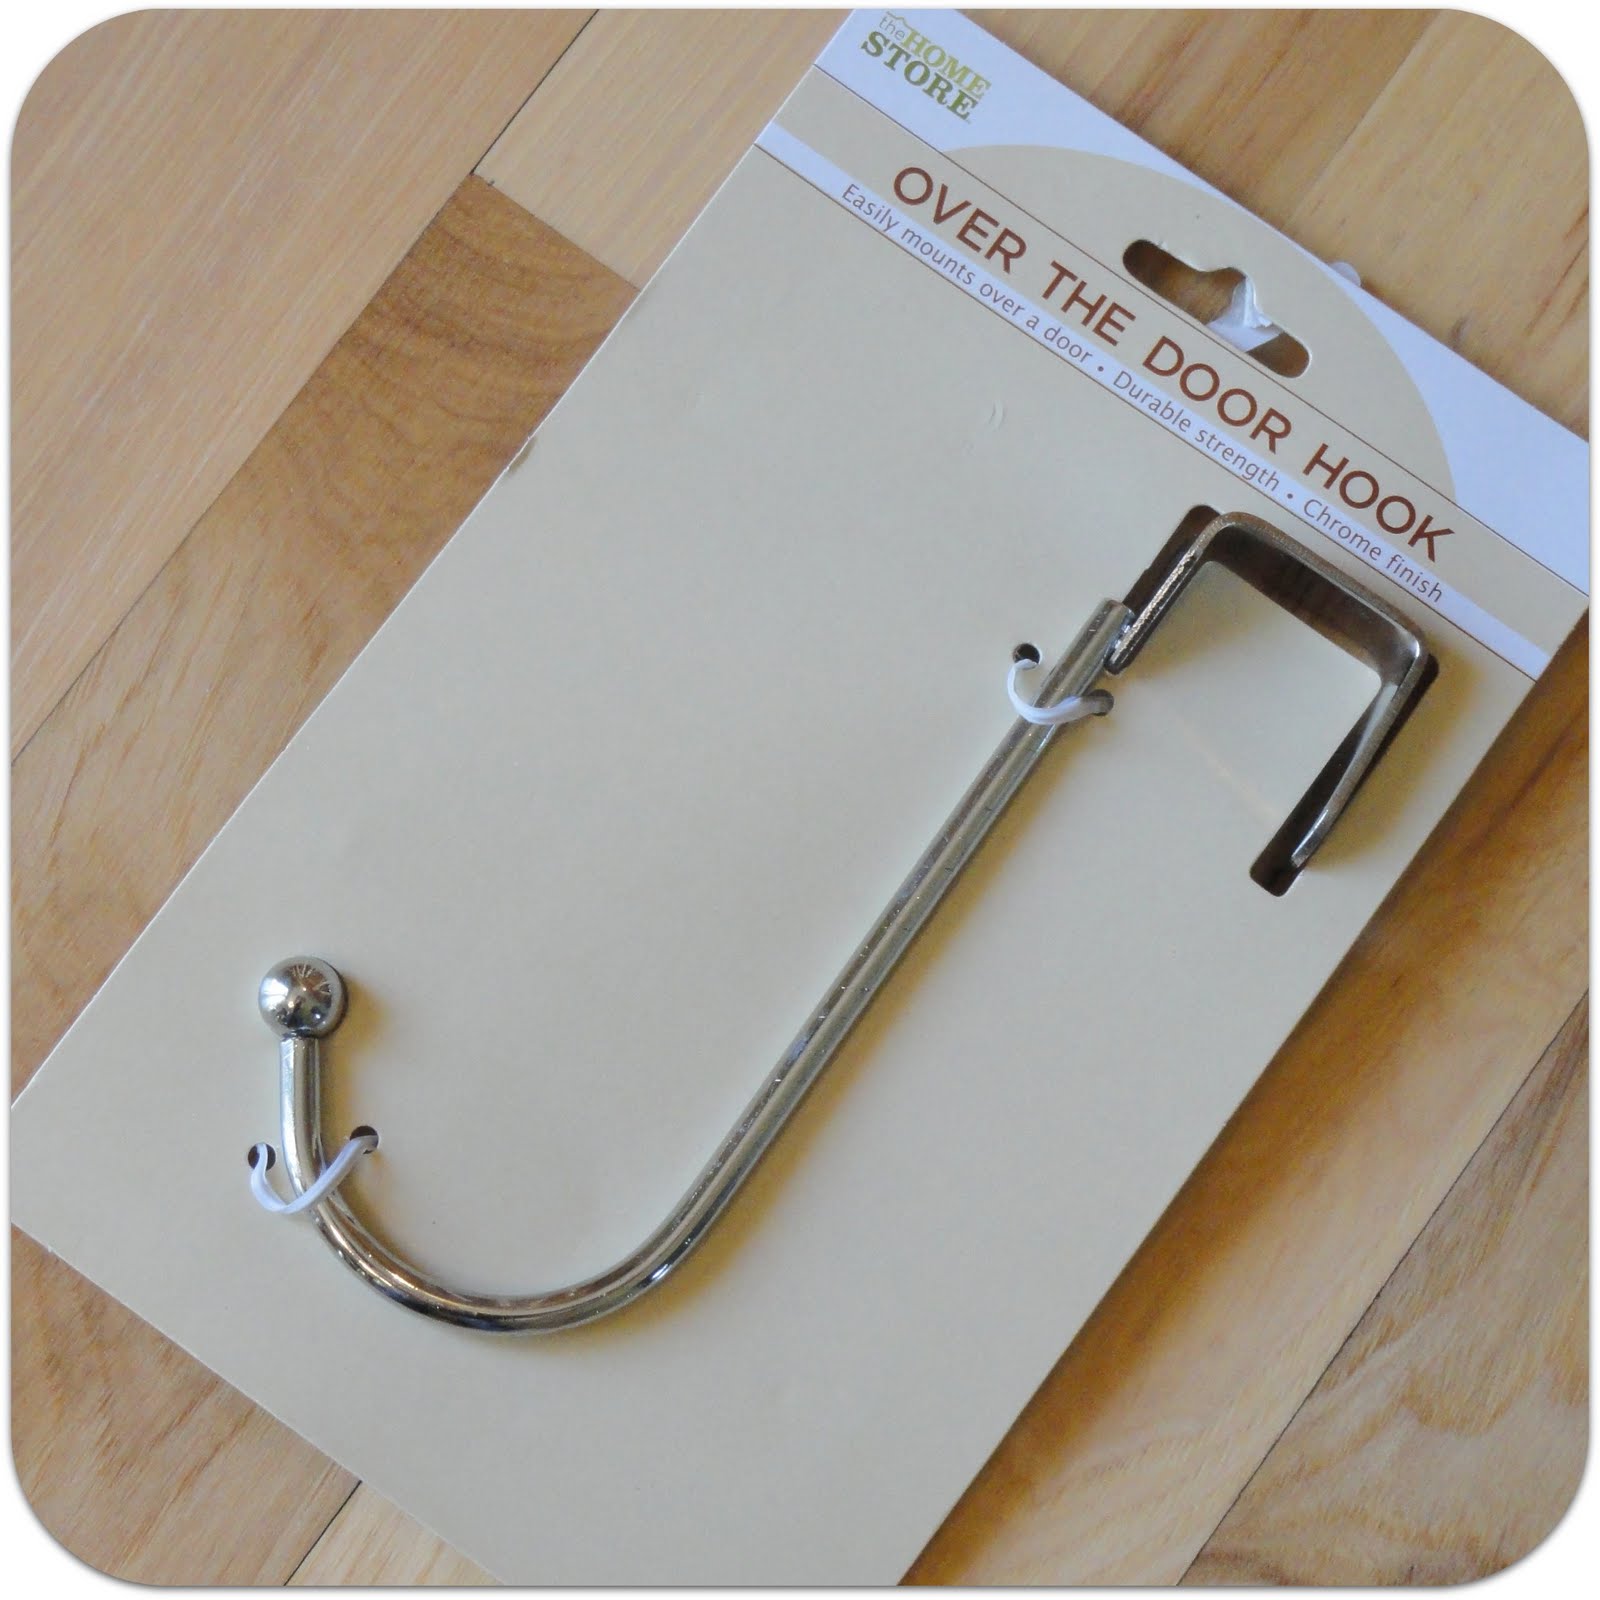
  • Door hook (optional)

Total cost for me: $1 for door hook
Total cost if you buy everything: $4

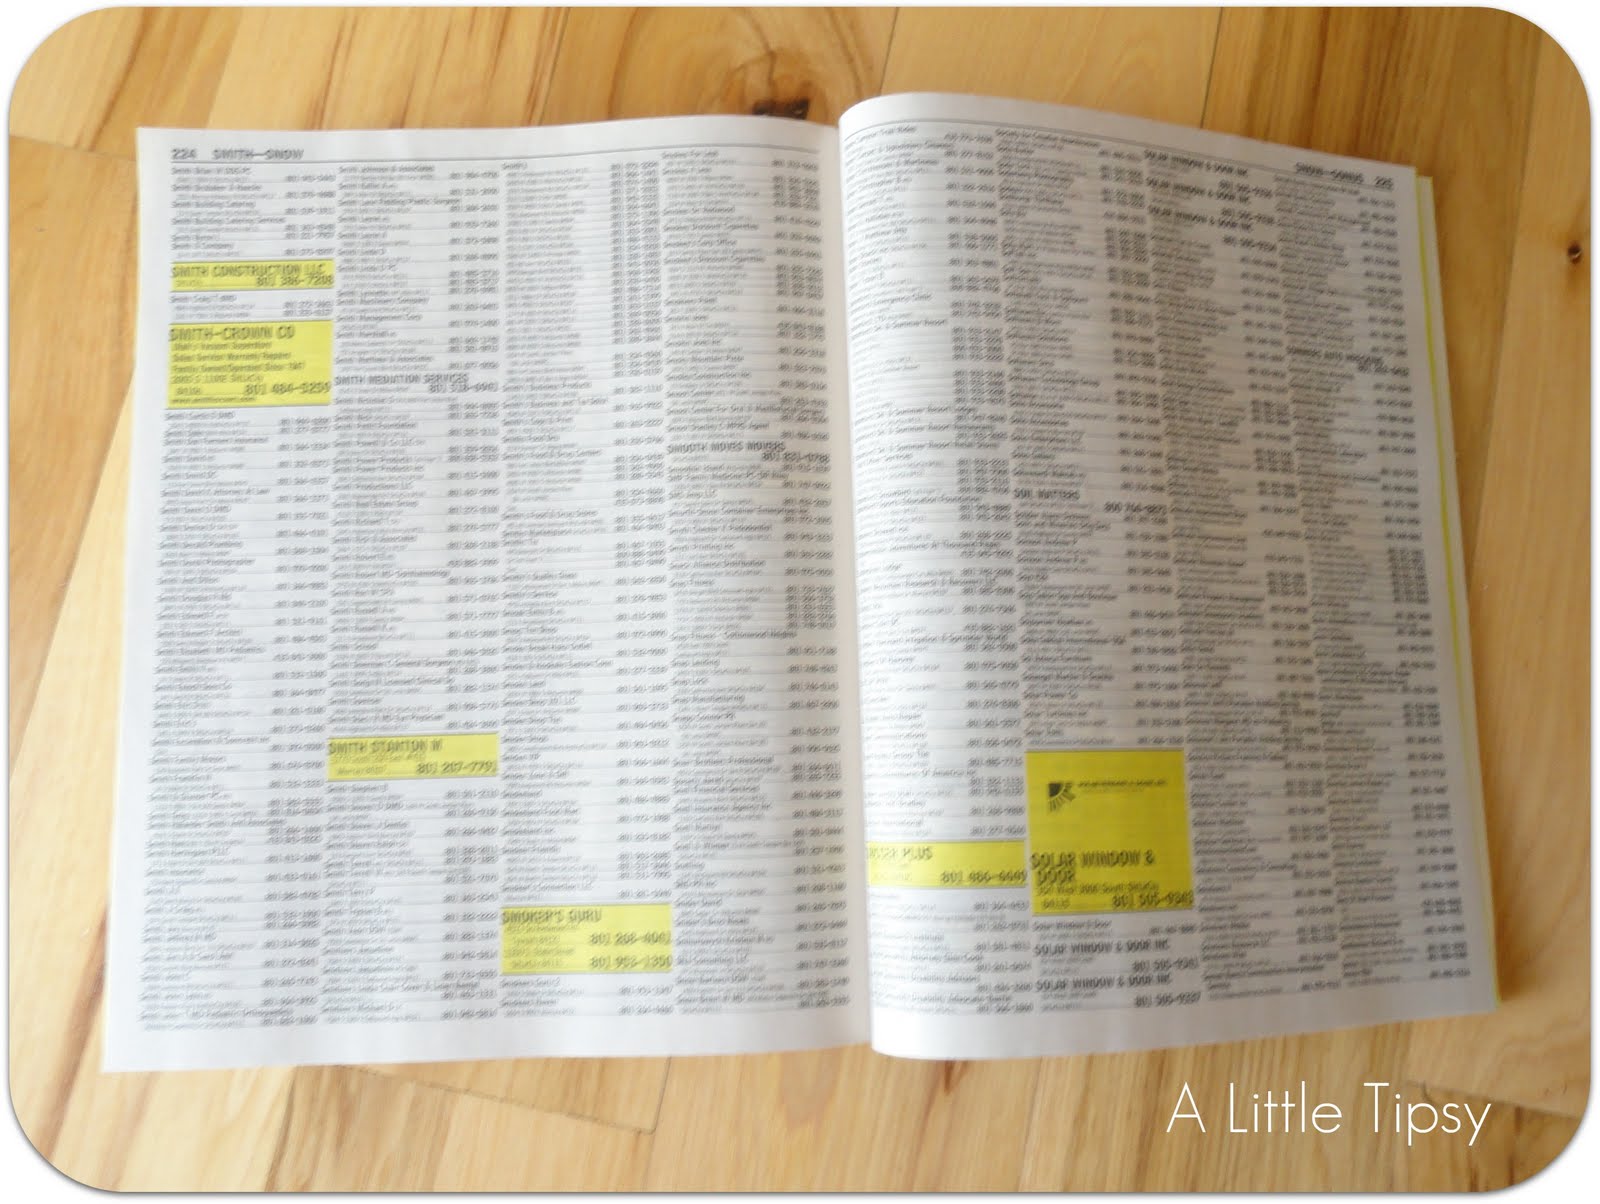
1. Find a phone book with gray pages and a few yellow highlights. (Ours was just dropped off a few days ago. I had been waiting and waiting for the right one!) Color the edge of the gray pages with a yellow marker.


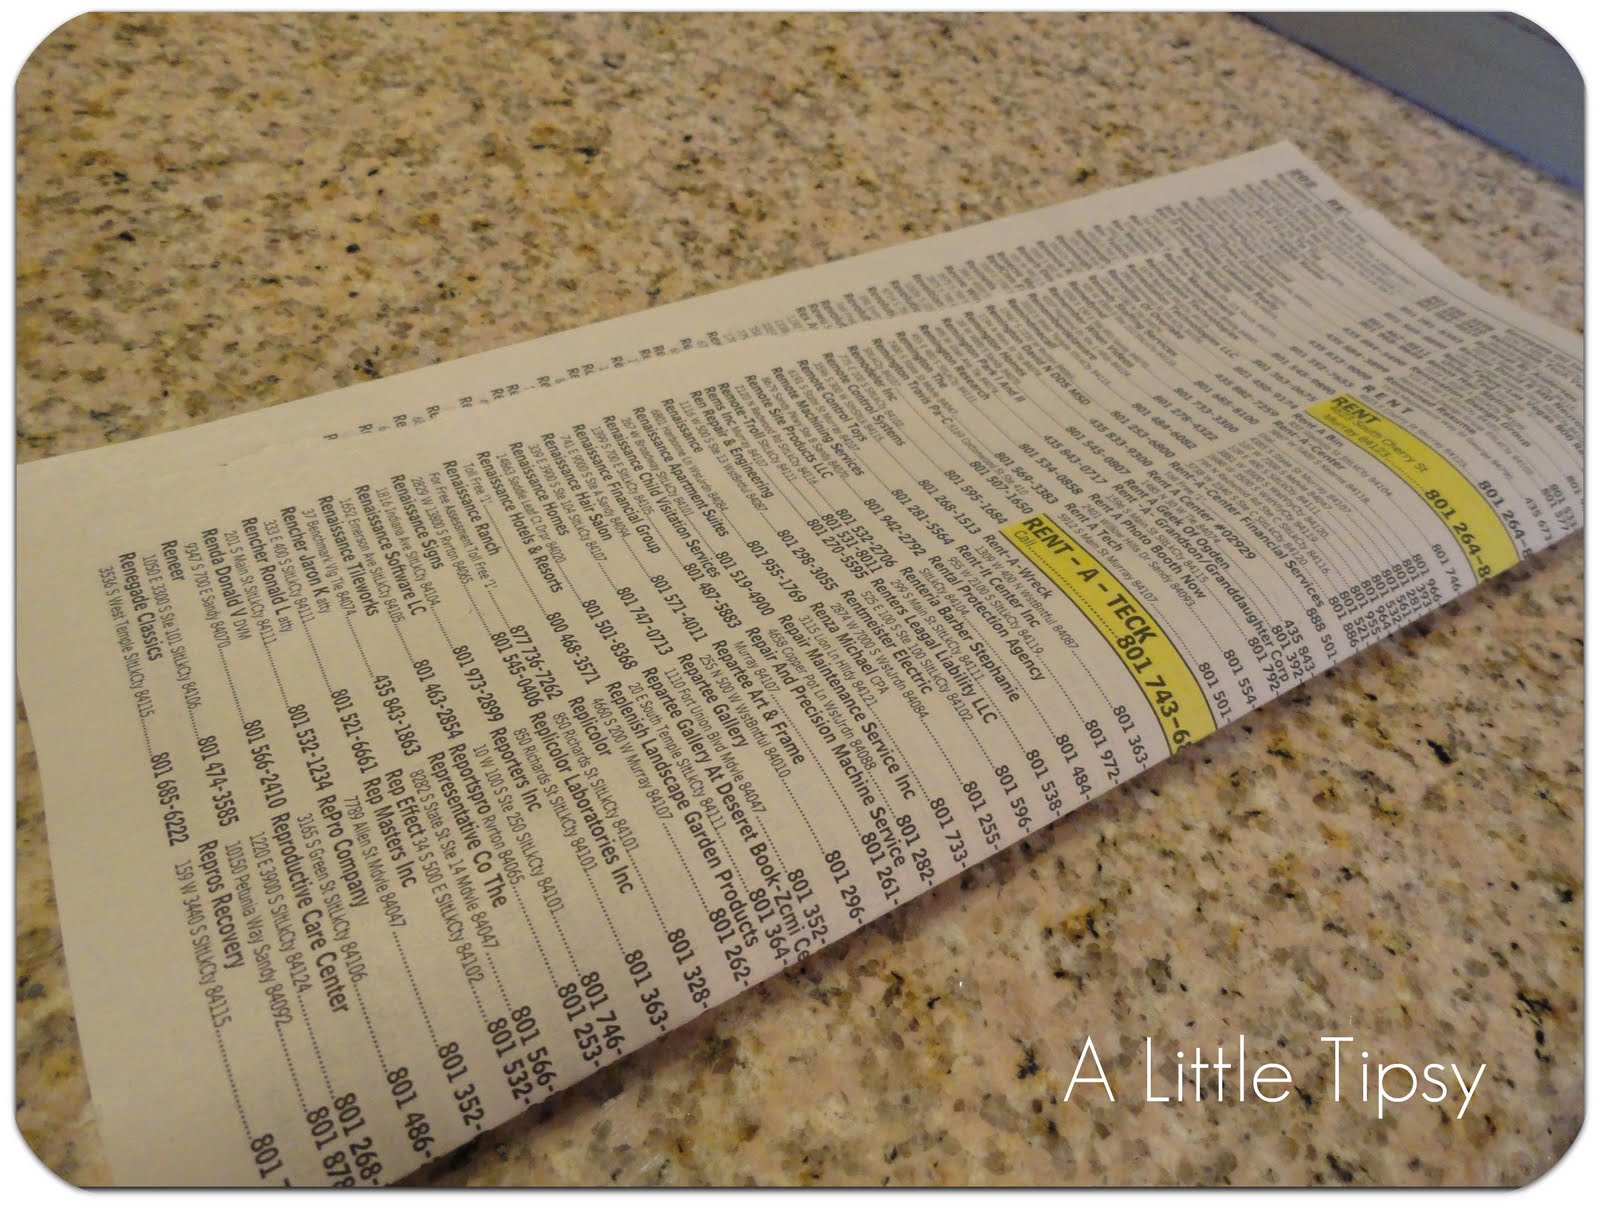
2. Start rolling the pages by ripping out a page, folding it in half and then rolling it in to two circles by rolling the ends opposite ways into the middle forming sort of an S.

Here is a video of how I did it.

Did you catch the glimpse of my massacred laptop in the background? Yep, she has been disassembled and will soon be selling in parts. Poor Bubbles, she was good to me for a while there.

3. Start with the back layer. Roll and glue them on one at a time. Just put a line of glue at the end of each roll and glue it to the form. Then, turn it over so it is the back.

4. For the next row, do the same thing, but fold the end of your roll so it is a bit shorter and glue the bottom of the fold to the wreath.

5. Continue with rows until you almost cover the whole form.

6. For the last row, do the roll as usual, but do not bend the end. Glue the bottom of the tube shut and glue them on to the middle of the wreath form like in the video.


a shout out to my fave thrift store. ๐Ÿ˜‰

7. I hung mine using this hook from the dollar store. I just hooked it right on the wreath between some of the rolls and put the door part on my shutters.

I love how my phone book wreath turned out!! All fluffy and made from recyclables. ๐Ÿ™‚


Now it’s time to link up!

Please remember:

  • Only link to your own projects that cost you $5 or less (price does not have to include items you had on hand)
  • You can link past projects that fit the dollar limit
  • Please link back so others can join the party and so you have the opportunity to be featured on Saturday!

DIY under $5

P.S. Don’t forget to sign up for free Tipsy updates via RSS or email.

We have decided to truncate our feed to help protect against stolen content. I apologize for any inconvenience. Please love us anyway. ๐Ÿ™‚

Features: Point of View & DIY Under $5

April 30, 2011 By Michelle Barneck 5 Comments

I am loving the linkies people! Just wanted to do a quick feature of a few more of the fabulous ideas you guys have linked up!

Let’s start off with a couple of my faves from the SPRING link up for Point of View.

How about this super cute Button Bracelet from Just Lu?!
There are matching earrings too!

I love that this wreath from The Joys of Life with Lucy is Interchangeable! Just snap on a new accent for an updated wreath.

As for DIY under $5…

Link with the highest clicks:

Spring Wreath from Just Enough Style
(though I’m not gonna lie, I’m partial to her yarn wreath. I love the color combo.)

My faves:

Flower pillow from This Crazy Blessed Life

Excuse me gorgeous pillow, may I adopt you?
Photobucket

Paper bag skirt Refashion from Attempting Aloha
(Nina Ricci for Nieman Marcus Knock off)

Speechless on this one!!

Button Monogrammed Umbrella from Crossing the Bugger-Dixon Line

I might actually carry my umbrella if it looked like this!

I am so loving all these affordable goodies!!

Be sure to grab your Point of View or A Little Tipsy featured button here.

P.S. Don’t forget to sign up for free Tipsy updates via RSS or email.

We have decided to truncate our feed to help protect against stolen content. I apologize for any inconvenience. Please love us anyway. ๐Ÿ™‚

DIY Under $5: Guitar Patch

April 27, 2011 By Michelle Barneck 12 Comments

Ok, I am kind of embarrassingly proud of this little project so please be kind. I give you the guitar patch. I guess technically it’s guitar and amp patches.

We LOVE hand me downs at my house! We have an awesome friend, Whitney (Hi Whit!), who has two boys and gives us (my sis and I) all of their clothes. My nephew is bigger than Aiden so he gets things first. Usually the clothes are in great shape, but once in a while we get something that, well, has been through 3 boys. ๐Ÿ˜‰ Like the knee of these poor jeans.

Now normally I might just let it go, but these fit him so nicely. It is hard to find jeans for a string bean. Long and skinny that one. So I decided to get to work and make them work. Enter the iron on patch. I think my mom and sis honestly thought I did not know they are meant to go on the inside, but I had plans in my wee little brain.

Plans that got me excited when I was searching google and found this. The Piรจce de rรฉsistance! It is exactly what I wanted.

Image source

Guitar Patch Tutorial

Let’s review what your gonna need:
  • pants
  • iron on patches
  • iron
  • embroidery floss
  • needle
  • pattern
  • patience (I don’t usually do projects that span over 3 nights, though it most likely won’t take you that long. I have backstitched one time previously in my life)

1. Holding your patch over the “pattern” aka printed out drawing, hold it up to the light and trace the outline of the guitar and the amp. Be sure to make them big enough to cover the hole.

2. Cut out the shapes and lay them in place. I put a patch on the back side of the leg with the big hole for extra durability.

3. Iron them on using the directions on the patches. Mine was cotton setting for 30 seconds.

4. Sketch the rest of the design out on the guitar patch. (I suppose you could trace it all at the beginning, but you would have to do it pretty dark to last through the ironing etc)

5. Now just backstitch over the pencil marks. It is a pain to get through the patches, so use a thimble. Trust me, I didn’t. Here is a great backstitiching tutorial if you need it.

And there you have it. Some rockin’ little patches for yer boy!!

Now it’s time to link up!

Please remember:

  • Only link to your own projects that cost you $5 or less (price does not have to include items you had on hand)
  • You can link past projects that fit the dollar limit
  • Please link back so others can join the party

DIY under $5


P.S. Don’t forget to sign up for free Tipsy updates via RSS or email.

We have decided to truncate our feed to help protect against stolen content. I apologize for any inconvenience. Please love us anyway. ๐Ÿ™‚

DIY Under $5 Features

April 23, 2011 By Michelle Barneck 6 Comments

Thanks for another great week of DIY under $5 link ups! I am totally inspired by the things you are coming up with on such a small budget! Here are my faves from this week.

Link with the highest clicks:

The Ultimate Green Greenhouse from Little Brick Ranch

Earth day is coming right up and this is a great idea to re-use those Costco salad containers.

She also uses them for shoe storage!

My faves:

Spring Skirt made from a sheet by Steph Jacobson

Mini Monogrammed Clipboard by Pocket Full of Pink

Another great use for the monogram packing tape found at Michael’s. (Here’s my Monogram flower frame if you missed it.)

DIY Nursery Mobile by Gallamore West


If you were one of the faves, be sure to snag the featured button here.

Thanks to all who linked up and I can’t wait to see what you come up with this week!! Be sure to link up again on Wednesday!

P.S. Don’t forget to sign up for free Tipsy updates via RSS or email.

We have decided to truncate our feed to help protect against stolen content. I apologize for any inconvenience. Please love us anyway. ๐Ÿ™‚
« Previous Page
Next Page »

  • Bloglovin
  • Facebook
  • Google+
  • Instagram
  • Pinterest
  • RSS
  • Twitter

Hi there! I'm Michelle. Mother of three little boys and one little princess. Welcome to A Little Tipsy, a place for exploring creativity and sharing inspiration.

Follow on Bloglovin


Visit Michelle Barneck {A Little Tipsy}'s profile on Pinterest.

Tutorials by Category


15 Family Reunion Games

Family Reunion Games Collage

15 Sprinkle Party Ideas

Sprinkle Birthday Party
Creative Commons License

© Copyright 2014 A Little Tipsy · Site Designed by The Fairy Blogmother · Web Hosting by RFE Hosting

This website uses cookies to improve your experience. We'll assume you're ok with this, but you can opt-out if you wish.Accept Read More
Privacy & Cookies Policy