A Little Tipsy

Creative Tips & Ideas

  • home
  • About Me
  • the tipsy top
  • press
  • projects
  • contact me
[print_thumbnail_slider]

Baby Week: Happiest Baby on the Block Giveaway

November 8, 2010 By Michelle Barneck 85 Comments

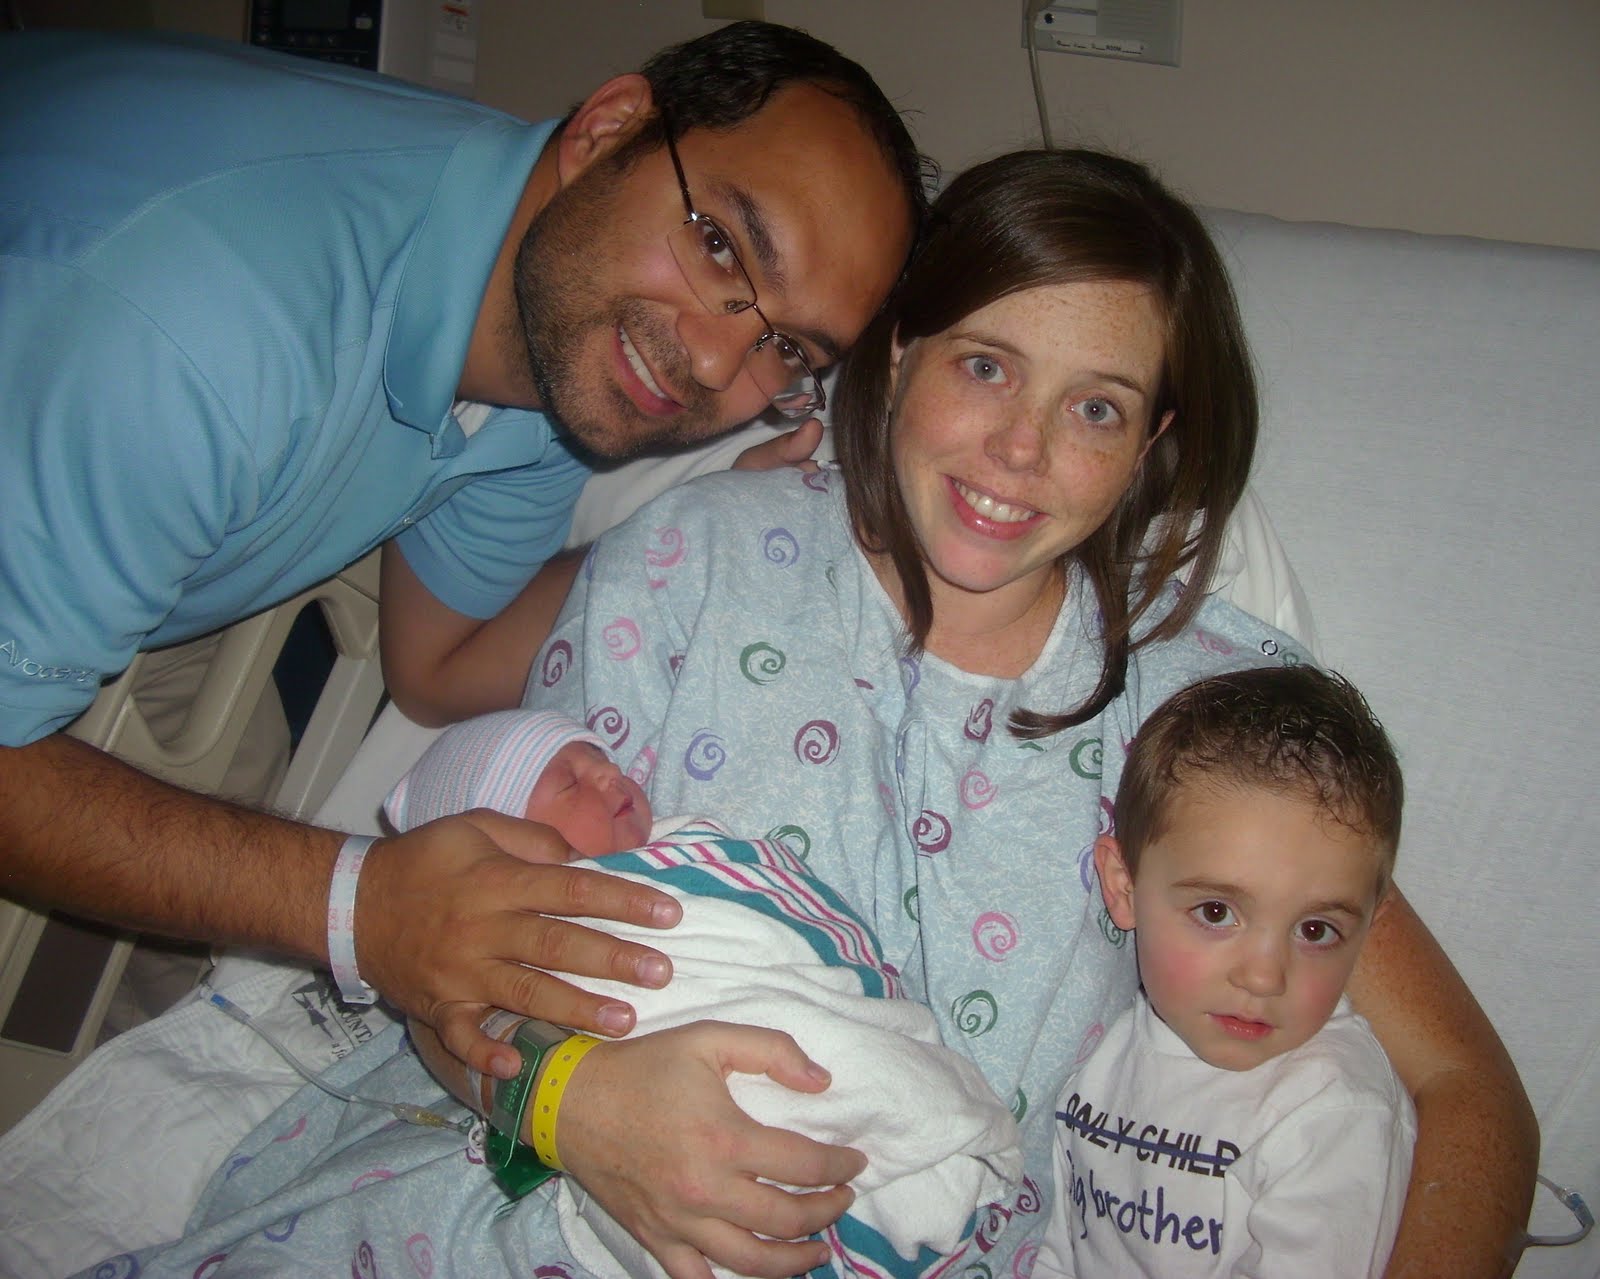
As many of you know bringing a new baby home can turn your world upside down. Our newest addition was born last Wednesday November 3rd and we just came home last night. We are still in the honeymoon phase and have not even started to begin the adjustment back in to real life.

I remember with my first little guy we read so many books and articles, took classes and watched DVDs on how to care for and prepare for our son. There were so many theories on what worked to calm babies and get them to sleep better and longer. There was one DVD/book set that really worked for us, like miracles.

A friend recommended I watch “The Happiest Baby on the Block” DVD from Dr. Harvey Karp M.D. Being the anxious nesting first time mom I was I got it from my local library and sat my husband down to watch it. I could not believe what I was seeing. Screaming babies being suddenly silenced by the 5 S’s: Swaddle, Side, Swing, Shh, Suck. The more I watched the more I was enthralled by the fact that these babies were so immediately calmed and happy. I could not wait to try it and see if it really worked or if this was the product of some really great testimonial/video editing.

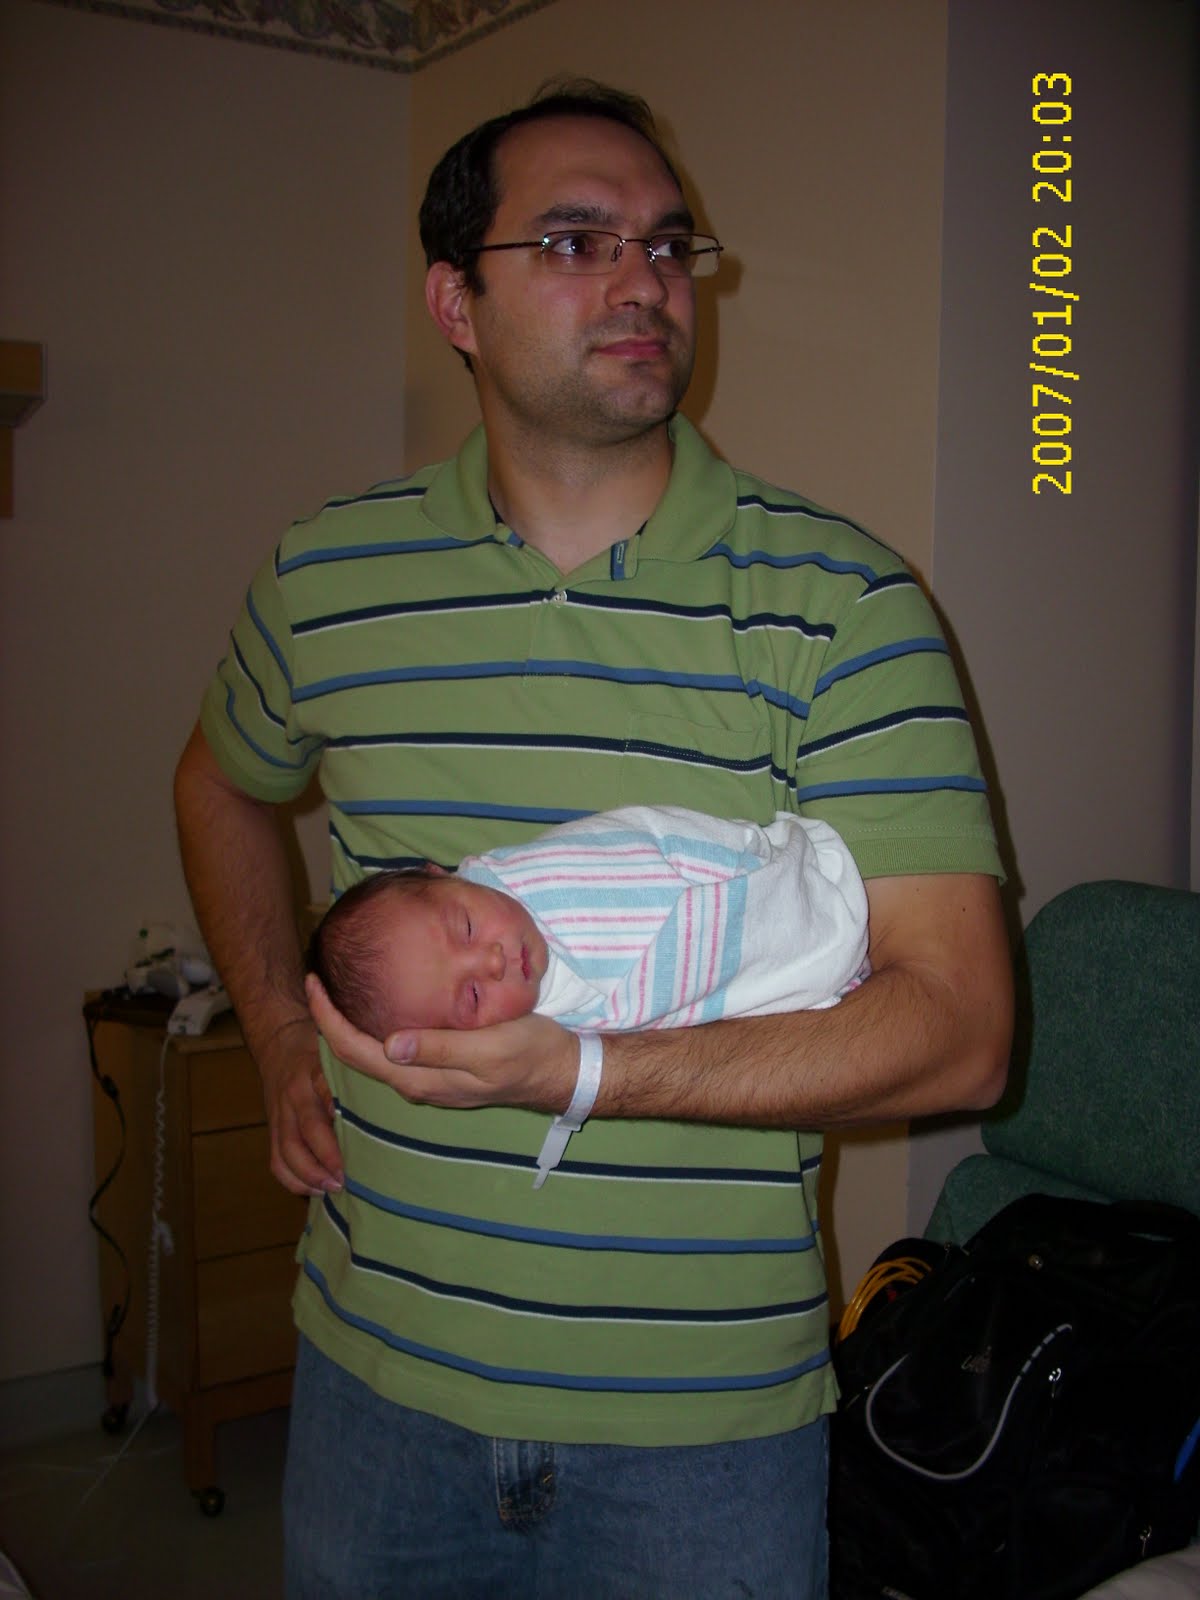
Our son came and my husband started using these techniques from day one. I can tell you from experience that they work. I was shocked. Any time my little one would begin to cry we would start with one of the techniques and continue adding S’s until he stopped. It literally took less than 30 seconds to calm him. It was amazing. My family can attest, it was common to see my husband holding him all swaddled and on his side like in this pic. He LOVED it.

I can’t wait to try these out on my brand new little son. We already know he loves to be swaddled, but honestly he has not cried enough to try out the others yet. He is an angel baby.

Now of course, since this is one of my go to techniques I want all of you to be able to try them out too! I contacted Dr. Karp’s office and we are giving away three copies of The Happiest Baby on the Block DVD!!

To enter: Become a fan of The Happiest Baby on the Block-the official page on Facebook and leave us a comment saying you did so.

Extra Entries: (leave a separate comment for each entry)

  • Follow A Little Tipsy
  • Like A Little Tipsy on Facebook
  • Tweet, facebook, or blog about this giveaway and leave us the link

Giveaway closes Monday, November 15th. Good Luck!!

P.S. Don’t forget to sign up for free Tipsy updates via RSS or email.

We have decided to truncate our feed to help protect against stolen content. I apologize for any inconvenience. Please love us anyway. 🙂

Baby Week: Bird Nursery

November 8, 2010 By Michelle Barneck 7 Comments

Hi! I’m Michelle from Through Michelle’s Lense, welcome to baby week!

I am excited to share my bird nursery with you, but first let me introduce myself. I’m a lucky wife, mommy of an 8 month old with the cutest smile, photographer, couponer and crafter.

Unfortunately, I got laid off twice while I was pregnant. Yes, twice. Needless to say, we didn’t have a lot of money for her bird nursery, so I thought I better get my craft on! I sure am glad I did, I feel like it personalized the nursery and gave it more character, especially since we rent and can’t paint the walls. I was able to make most of the nursery decor myself, thanks to the good ol’ DI. I love crafts and sewing projects that are easy, and that’s exactly what everything I did was. If I can do it, you can too! I’m going to let you in on my 2 secret weapons:

Hot glue & mod podge.

Everything I made for the nursery uses at least one of those things.

I told Michelle my story, and showed her my bird nursery pictures, and she asked me to show you too, I hope you crafting mommas can be inspired a little bit. No matter what your nursery theme is, you can tweak these crafts easily.

Bird Baby Blocks
Secret Weapon: Mod Podge

I made some baby blocks with a little sandpaper, scrapbook paper, wood stain & mod podge. I am currently using them as book ends.

Topiaries
Secret Weapon: Hot Glue

I made some topiaries out of supplies from the DI, the dollar store, and two sticks in my back yard. They also make a cute place to store my baby’s hair bows, since she doesn’t have any hair still.

Bird Plate Wall Hanging
Secret Weapon: Hot Glue

Remember those wooden bowls from the 80’s? I found plates just like them from the DI and thought I would challenge myself to use them somehow in the nursery. I love how unique they are. You could do this with anything for your back and any theme! I hot glued some extra birds I made for another project (see below) and some jute to the back and there you have it. My baby has always loved to look up at them while I change her diaper.

Name Plaque
Secret Weapon: Mod Podge & Hot Glue

This project ended up being my favorite! The wooden backs that I wanted to use from the craft store would have cost me $50, so I took a few days of searching the DI’s wood stock, and ended up spending less than $5 on the wood backs! I like it better this way too, because they are all different shapes and sizes. I did have to buy the wooden letters and tulle from WalMart, but I used the same paper from the wooden blocks to tie it all together.
All I did was sand and paint the wooden backs, mod podged the paper, hot glued the letters on, then hot glued some tulle, and it’s still hanging!

Bird Mobile
Secret Weapon: Hot Glue
Now, this ain’t your mama’s bird mobile. 🙂


First
I found a basic bird template online, then cut out my fabric from my stash of extra fabric. I sewed the wrong sides of fabric together and stuffed a little bit of quilt batting in to give the birds a little dimension. I sewed the wings the same way, then used some fabric glue to adhere the wings on.


I found 3 embroidery hoops, all different sizes, and I hot glued them to form kind of a bird cage, making sure the top holes aren’t blocked. I used some old embroidery thread that my mom had, and strung a needle through the top of the bird and up through the hole in the embroidery hoops. I simply just tied a knot at the length I wanted it to hang, then hung them from ceiling hooks (you can buy a pack of them for a few dollars at Target).


And there you have it! Have fun crafting and adding character your home!

Thanks so much, Michelle, for letting me share these fun, easy and cheap crafts! Congratulations, again on your sweet little bundle of joy!

————————————————

I just love her adorable bird nursery! Our new addition’s nursery is already decorated because he inherited it from my 3 year old, but I may just have to add one of those cute name plaques. I’m also thinking a cool airplane mobile would be a fun addition. Thanks for the cute ideas Michelle!

P.S. Don’t forget to sign up for free Tipsy updates via RSS or email.

We have decided to truncate our feed to help protect against stolen content. I apologize for any inconvenience. Please love us anyway. 🙂

Baby Shower Cupcake Gift

October 21, 2010 By Michelle Barneck 9 Comments

A giant cupcake is sure to please, especially when it is filled with baby essentials! This is a fun baby shower gift idea for those who like to skip the gift bag and be a little more creative with their gift.

I had a baby shower for my good friend, Amanda, who is having her second baby (due on the same day as me), but first girl. I wanted to give her something she needed so luckily I found she had a registry and what did I find on it but two packs of white onesies. Most boring baby shower gift in the history of man I know, but I knew she would do something adorable with them. I knew with such an exciting gift I needed to spice up the wrapping. She also had some receiving blankets on her list and I knew I had a couple I had spiced up with some ribbon, so what to do with 10 white onesies and two blankets but make a cupcake.

1. Fold your receiving blanket until it is the height of the onesies and roll securing with tape or a rubber band. Lucky for me, all the onesies were already rolled, so I just added some tape to secure. Line onesies around the blanket until you have a nice cupcake base. Secure with rubber bands.

2. Fold all the blanket edges in forming a square and place a whole bunch of plastic grocery bags in the center. Fold two of the corners in and then fold them over the bags so it looks like the pic below.

3. Then, take the two points and twist in to the center creating the puckery top. Tuck the pointy ends through the middle of the cupcake base and pulling them through the bottom, securing it on the top. This will take some practice. I had to keep altering it until it looked right.

4. Take a piece of 12×12 scrapbook paper and cut it in half. Fold the paper like a fan with about 1/2 inch slats or smaller if you are really patient. Tape the edges of the two paper halves together to form a paper cylinder. Slip the paper over the cupcake base pulling out the top so it is larger than the bottom.

5. Add embellishments like a shiny poof on top and some layered ribbons tied around the paper to secure it.

Happy Birthday baby, a cute and useful baby shower gift!

Linking Up:
Get Your Craft On
Transformation Thursday
Strut Your Stuff
Show Off Your Stuff

P.S. Don’t forget to sign up for free Tipsy updates via RSS or email.

We have decided to truncate our feed to help protect against stolen content. I apologize for any inconvenience. Please love us anyway. 🙂

Feature Friday-Blog Swap with Seven Thirty Three

May 21, 2010 By Michelle Barneck Leave a Comment


Hello to all you creative ladies! I am Kim from seven thirty three – – – a creative blog and I want to take a moment to thank Michelle for letting me take over her blog today.

Michelle sent me three questions so that you can get to know me a little better, so here you go:
  1. What is your favorite crafting tool or secret weapon? Of course my Cricut is one of my favorite tools… and could be considered a weapon with that sharp blade! But I also love my scallop paper punch! Perfect for making tags, cupcake toppers and more!

  2. What is your favorite color of eyeshadow? I like to use golden browns. I have hazel eyes that tend toward green so these shades really make my eyes pop.

  3. What was your favorite childhood game? Hmmm… I don’t know the name of it but we would make a HUGE square in the snow and then put a big X in connecting the corners of the squares. There was a safety “box” that was put on one side. There was then one person who was it and you had to stay in the lines and try not to get tagged. LOTS OF FUN, hard to explain. But I was also a big tomboy so playing touch football, baseball and soccer with the neighborhood games was right at the top of my list!

Just a bit more personal info: I am a Marketing Director by day and a mommy blogger by night. I have three gorgeous kiddos that make me smile everyday and that I like to craft for and with. I also have a wonderful husband that supports my crafting outlet addicition <– I can admit that.

So you want to know more about the BLOG, huh? OK, well let’s see…

I host a Sugar & Spice Weekly Link Party every Wednesday for all of your adorable girl crafts and Thursdays are for our little men with the What are little boys made of? Weekly Party.


I like to pass out freebies, one of my most popular being a Weekly Meal Planner.

One of my newer obsessions is Freezer Paper Stencils! It is super easy and inexpensive. Check out this Gap knock-off I made for $3.50.

Looking for some helpful blog tips? I do that too! Every Sunday I post a tip to help you personalize your blog. Send me an email if you have a question you would like answered!

When I’m not crafting, chasing my kiddos or cleaning house, I also do Blog Design. I love to help people beautify their blogs. I work with you to meet your creative needs and to personalize your blog, because let’s face it, these monsters are our babies!

OK, enough about me. Look what I have in store for you today:

Can you tell what it is made from?

Tourist maps, scrapbook paper, coffee filters and jute!

I am hosting a camping themed baby shower for my SIL in June and wanted a rustic banner to hang above the food table. As I was brainstorming I was wishing I had a map because I thought it would lend itself perfectly to the camping theme… then it hit me! I drive past a Rest Area EVERY DAY. They would have FREE maps. So I stopped on my way home from work and picked up a few maps. The rest of the items I had in my home.

I used my Cricut to cut the maps into 5.5″ circles. The brown scrapbook paper was cut into 4″ circles. I used my Make the Cut software to cut the letters on my Cricut. I punched two holes in the top of each set of circles so that they could be threaded onto the jute. Following me? All pretty standard, right?

Now onto the coffee filter “flowers”.

Flatten the coffee filter.

Fold it in half and then fold it in half again (see the arrow?). This will give you the center point of the filter.

This was hard to get a picture to describe, but basically pinch the center and push everything up, and then fluff it out into a circle shape continuing to pinch the center. I then twisted the center “nub”.

When you come over to visit you will see I do most of my crafting at night or during naps so I have limited time. I tend to use whatever is around me – so although I used a piece of pipe cleaner to secure my “nub” (ewww! I don’t like that word!) you can most certainly use tape.

Here is how it will look when you are done with it. Now punch two holes in the top so you can string it onto the jute (do this carefully so as not to tear it).

And here is the finished product:

I hope you guys were inspired today and will stop by to say hi!

You can also find me on Facebook!

—————————————————————-

I am a big fan of the little boy link up! It seems that little girl ideas are plentiful, but little boy ideas are few are far between. Thanks for swappin‘ it up Kim.

P.S. Don’t forget to sign up for free Tipsy updates via RSS or email.

We have decided to truncate our feed to help protect against stolen content. I apologize for any inconvenience. Please love us anyway. 🙂
« Previous Page
Next Page »

  • Bloglovin
  • Facebook
  • Google+
  • Instagram
  • Pinterest
  • RSS
  • Twitter

Hi there! I'm Michelle. Mother of three little boys and one little princess. Welcome to A Little Tipsy, a place for exploring creativity and sharing inspiration.

Follow on Bloglovin


Visit Michelle Barneck {A Little Tipsy}'s profile on Pinterest.

Tutorials by Category


15 Family Reunion Games

Family Reunion Games Collage

15 Sprinkle Party Ideas

Sprinkle Birthday Party
Creative Commons License

© Copyright 2014 A Little Tipsy · Site Designed by The Fairy Blogmother · Web Hosting by RFE Hosting

This website uses cookies to improve your experience. We'll assume you're ok with this, but you can opt-out if you wish.Accept Read More
Privacy & Cookies Policy