A Little Tipsy

Creative Tips & Ideas

  • home
  • About Me
  • the tipsy top
  • press
  • projects
  • contact me
[print_thumbnail_slider]

Kirstikoo Diaper Clutch Review & Giveaway

March 4, 2010 By Michelle Barneck 80 Comments

As a matter of business, the Fandangling winner is Chrissy B! Thanks to all who entered and remember you can get 20% off using code Fandangling10 until the end of June.

Now, I wanted to share this cute little etsy shop Kirstikoo. Kirsti sent me this adorable Diaperdoo diaper clutch and I am loving it.

It makes it so easy to switch from bag to bag depending on what I want to carry for the day! With my little guy being two now I don’t have to carry the full fledged diaper bag so this is a nice alternative to store the essentials.

And don’t you love how it just happened to coordinate with the other purse accessories I got in a favorite things swap! I love these colors!

<span class= Silky Superhero Cape (You pick superhero) <span class= Flowers and Dots Bibs- Set of 2 <span class=

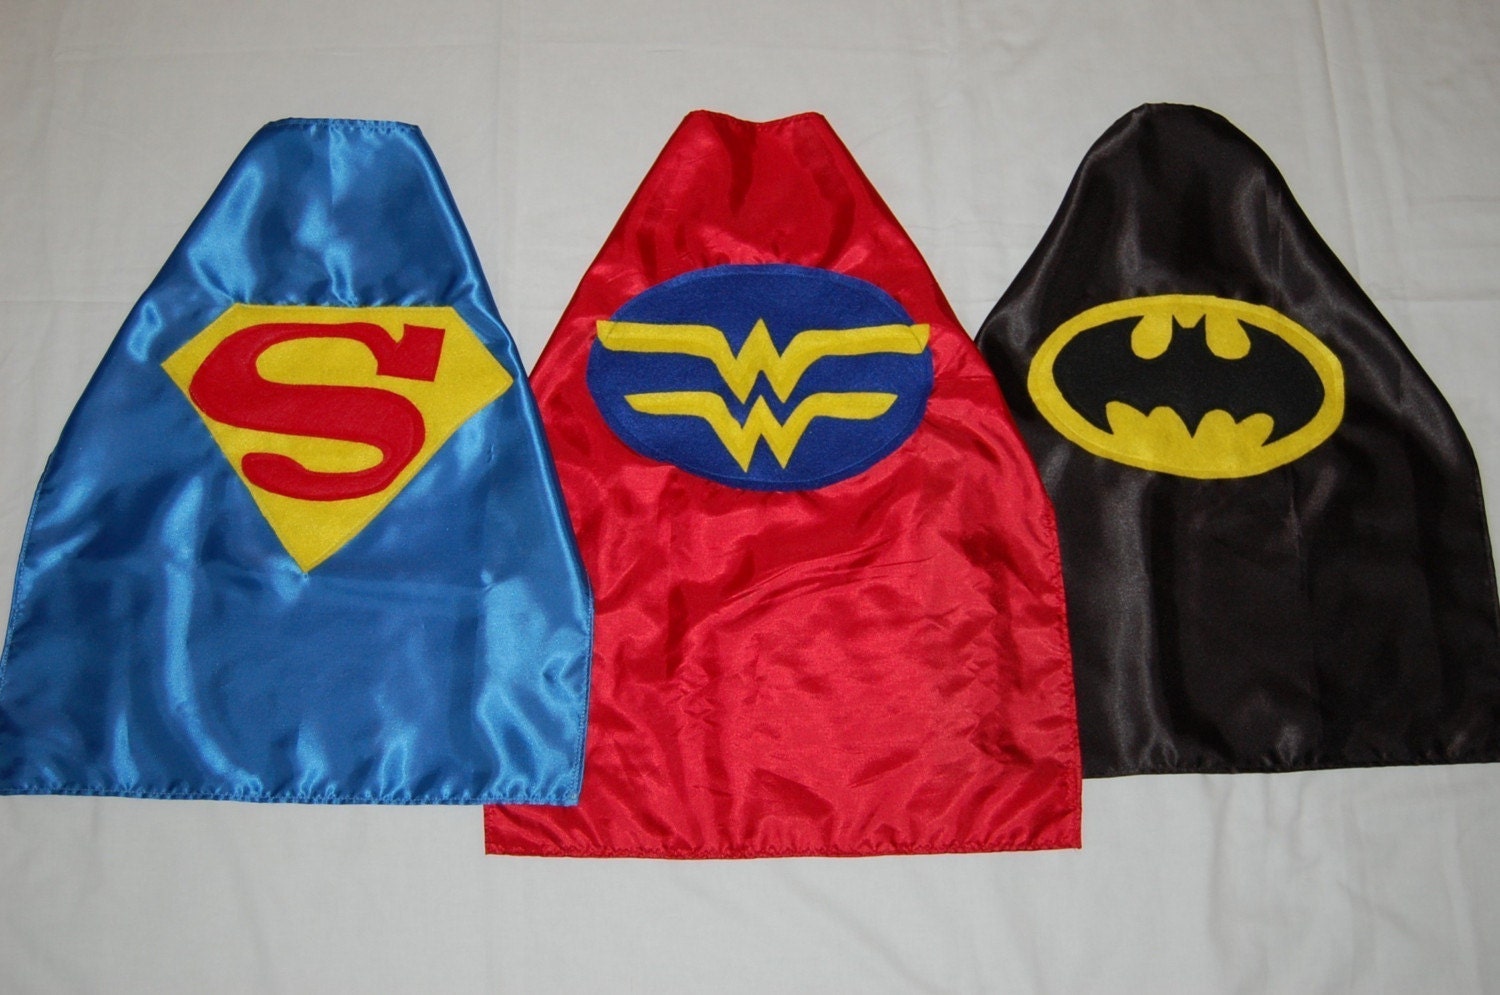
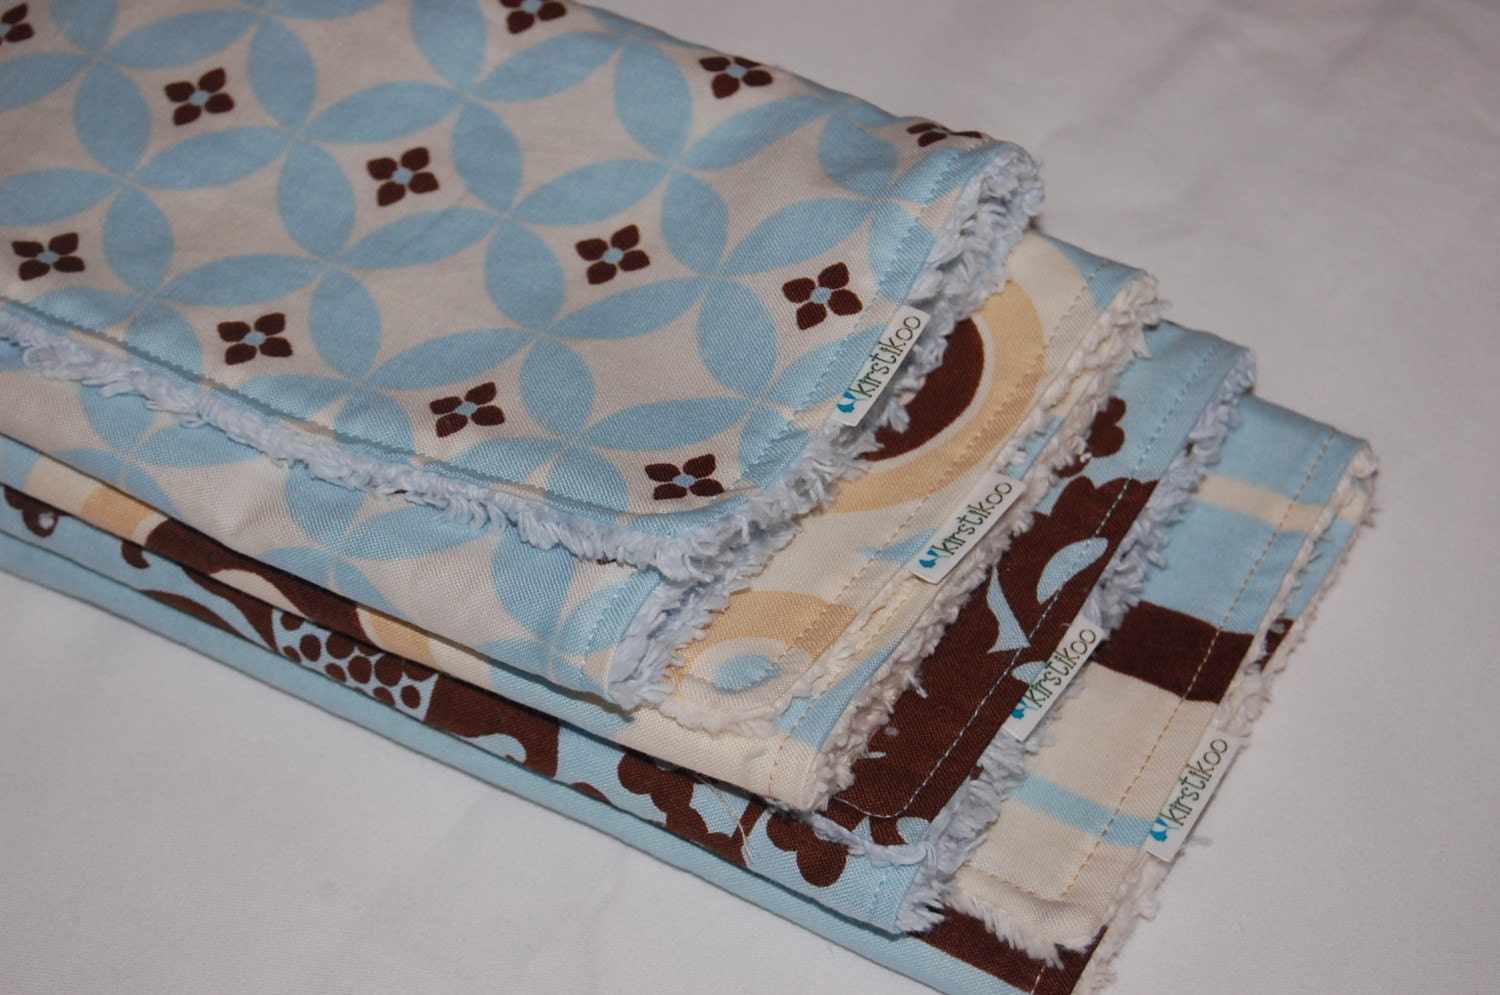
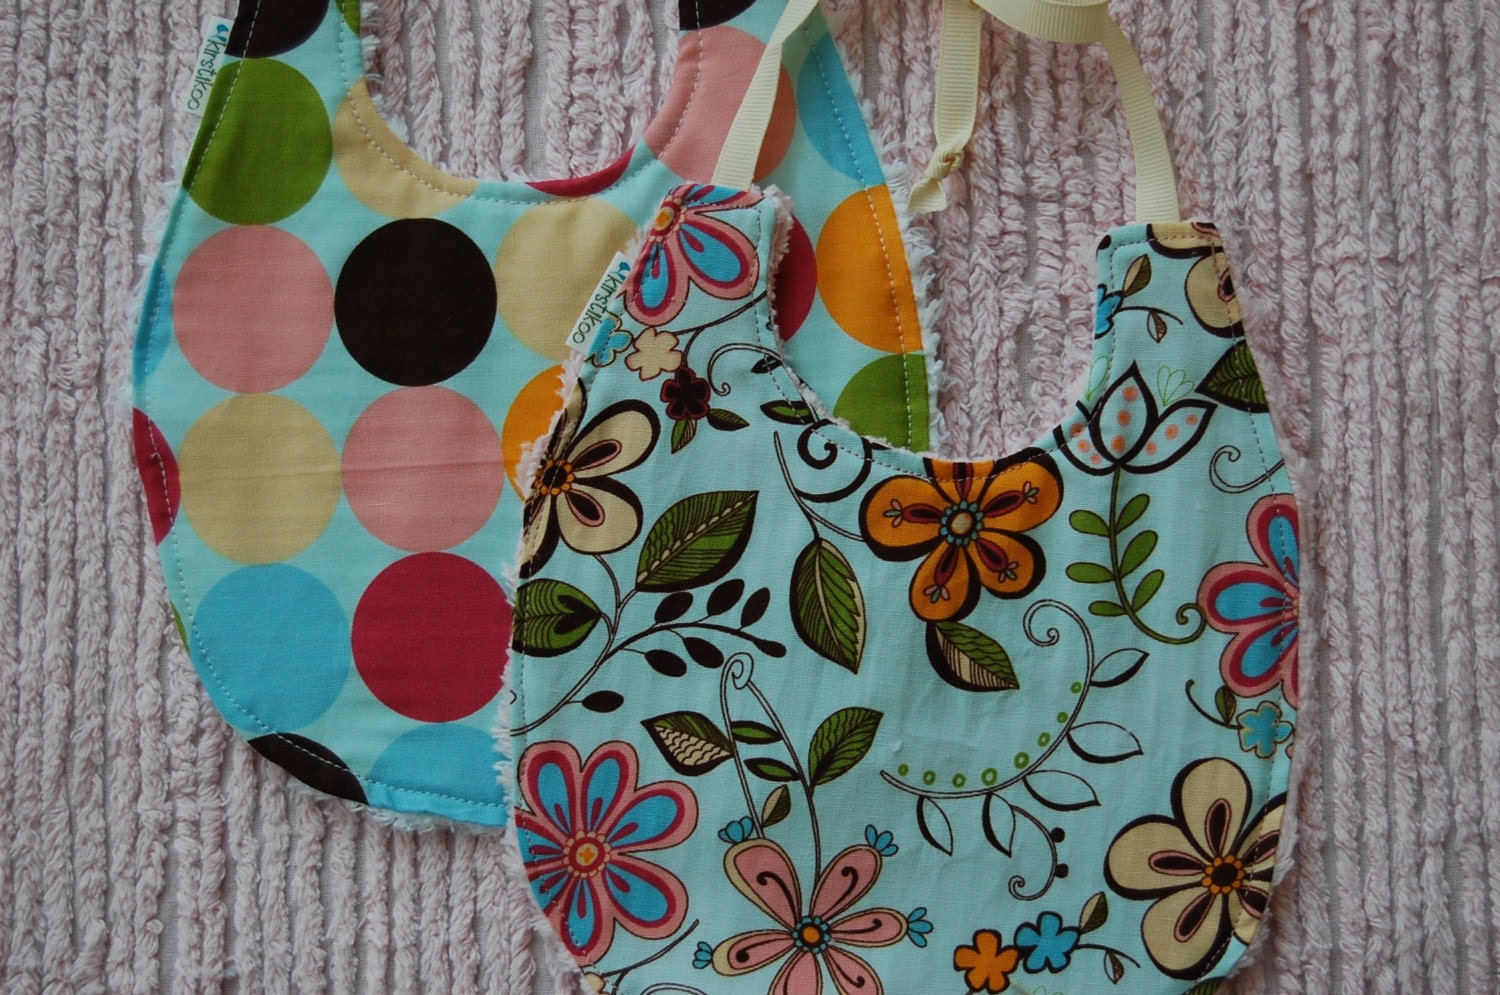
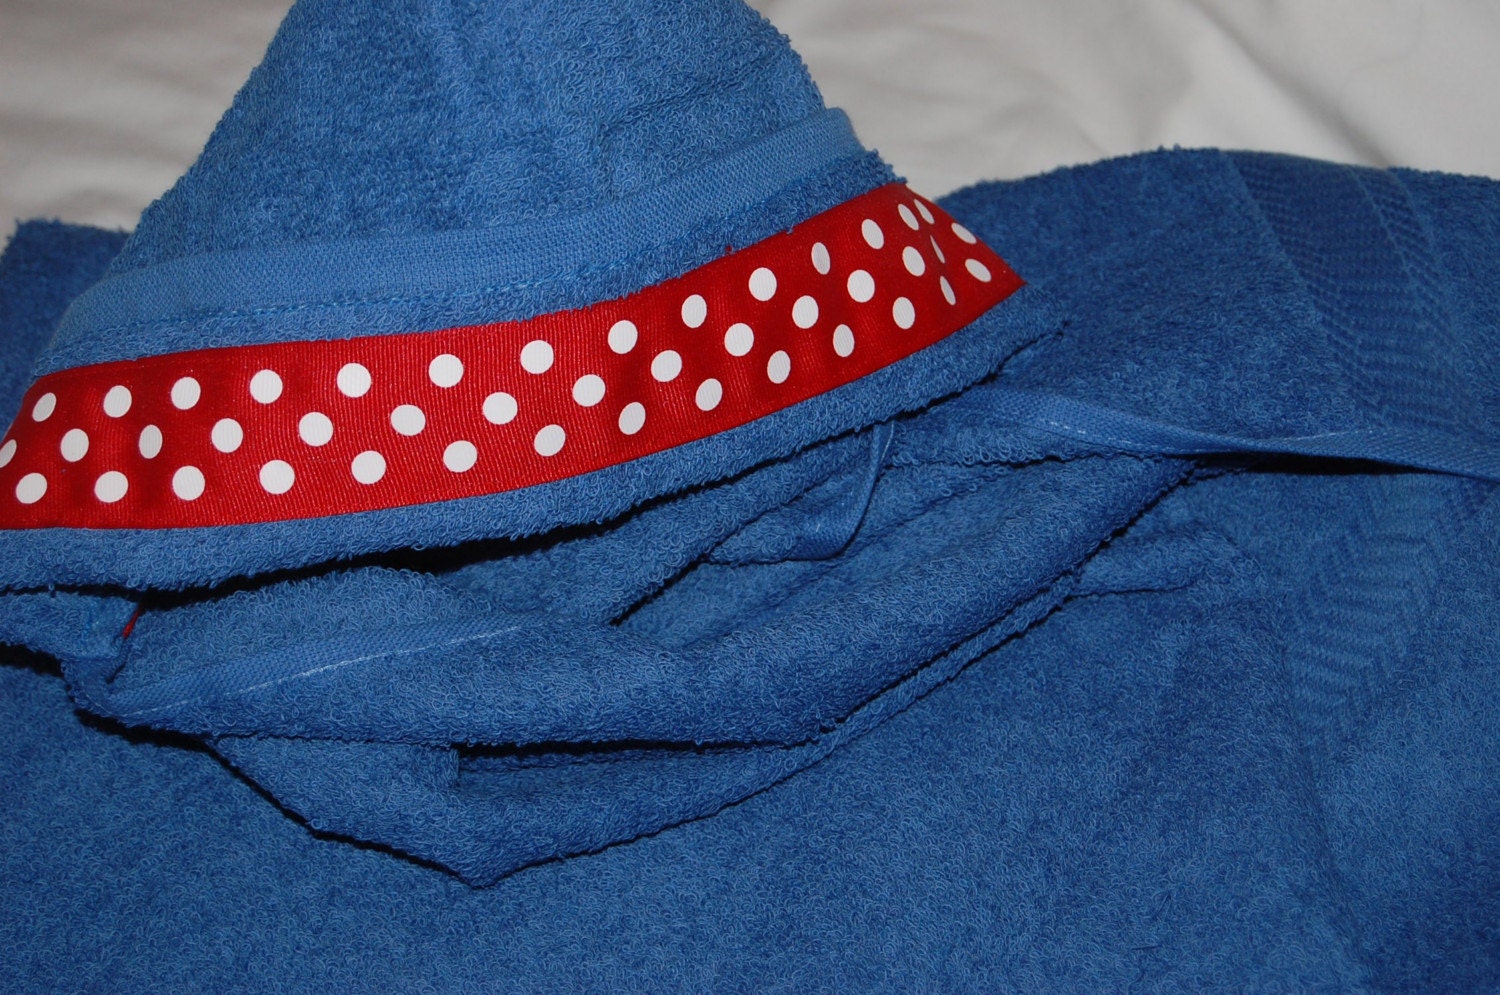
Kirstikoo has lots of other fun things too! Binky clips, Superhero Capes, Burp Cloths, Bibs, Hooded towels and more! I love the bright colors and patterns.

Now for the fun part, Kirsti is giving away a Diaperdoo Diaper Clutch of your choice!

To enter: (Leave a separate comment for each entry with your email in one of them)

Mandatory entry: Visit Kirstikoo’s blog and look at the fabric selections (I am so jealous of the new selections!). Come back and comment on this post telling us which fabric combo you would choose for your diaper clutch.

Extra Entries:

  • Follow A Little Tipsy
  • Follow me on Twitter
  • Follow Kirstikoo’s blog

Winners will be chosen Wednesday March 10th. If you do not leave your email or have it on your profile I am not going to hunt you down, I will just choose another winner. 🙂

Now for one more bonus offer! Kirstikoo is offering free shipping on any purchases from her etsy store until the giveaway closes. Enter code ‘TIPSY’ in Message to Seller at checkout. Shipping will be discounted through paypal after purchase.

P.S. Don’t forget to sign up for free Tipsy updates via RSS or email.

We have decided to truncate our feed to help protect against stolen content. I apologize for any inconvenience. Please love us anyway. 🙂

Baby Week: Friends & Readers Baby Project Feature

February 26, 2010 By Michelle Barneck 4 Comments

I can’t believe how many fabulous ideas there are out there. I can’t nearly keep up, so for Feature Friday here is a whirlwind tour of some of my baby project favorites from around the blogosphere.

Applique Onesies from Designing Moms

Ruffle Butt Onesie from Crap I’ve Made via Ucreate
Owl Onesie from Nannygoat

How to turn a regular bra in to a nursing bra from Mamas Worldwide

Nursing Covers from Every Crafty Endeavor
Nursing Covers

Teething Cuddler from Scraps n Strings

I guess that about wraps it up! If you have a fun baby project, please leave the link so we can all check it out! Happy Baby week!

P.S. Don’t forget to sign up for free Tipsy updates via RSS or email.

We have decided to truncate our feed to help protect against stolen content. I apologize for any inconvenience. Please love us anyway. 🙂

Baby Week: Cupcake Bow Tutorial

February 25, 2010 By Michelle Barneck 4 Comments

I am really excited about this! It really was the result of a craft fail. I was trying to make a rosette from the tutorial on Craft eNVy. When I finished it didn’t look much like a rose. It was pointy like a cupcake top. Then, an idea was born. I had not seen a cupcake bow and who can’t use a little more cupcake in their lives?! Here’s a tutorial for personal use only please!

1. Start by making a little rosette in your frosting color. Then take your “wrapper” ribbon and make a ruffle on your needle. Stitch the ends of the ruffle to make a little circle.

2. Pull the end of your ribbon through the hole and then go around the bottom of the rose (inside the “wrapper”)with hot glue. Squish it all together, being sure to ripple the wrapper ribbon all around.

3. I added it to a little figure 8 bow. What’s that dot on the side?

That’s velcro. Now it will stay in the finest of baby hair. I got the velcro idea from Dollar Store Crafts. Wouldn’t the ribbon cupcake be so cute on a headband?! You could put a dot of velcro on the headband and change out bows to match. Love it!

I have a thing for argyle. Yes, yes, I do. This is just a tiny button bow that is oh so fun for tiny heads and so very easy to make.

1. Get a small circle of ribbon. Squish the middle between your fingers and stitch. Then add your button on the front and your velcro on the back and stitch together.

2. I add a little circle of ribbon on the other side of the velcro so that is cute too. Singe the edges so it won’t fray.

I had to make a BYU bow. Her mommy is a Cougar! I just did a bunch of figure 8s and hot glued them together.

This one turned out a bit like a Christmas bow or a star, but I love the colors!

Here they are all together. My little Annie will have a fancy little head!

Linking up:
Fireflies & Jellybeans
Somewhat Simple

P.S. Don’t forget to sign up for free Tipsy updates via RSS or email.

We have decided to truncate our feed to help protect against stolen content. I apologize for any inconvenience. Please love us anyway. 🙂

Baby Week: No Sew Fleece Baby Cape

February 24, 2010 By Michelle Barneck 6 Comments

When talking with my sis about what she needed for her baby girl she mentioned that she had a lot of clothes, but many of them were for warm weather. So I got to work on the baby legs and this adorable no sew girly fleece cape I saw over on Ruffles and Stuff (Disney is amazing!!).

I knew many of the baby’s clothes were pink and purple and had this cute pink ribbon with brown flowers, so I went out and purchased some brown fleece. I apologize in advance for the pics! I followed the tutorial from Ruffles and Stuff for the most part, just on a smaller scale. I used a Lysol wipes container as a newborn size guide. 🙂

As you can see, I did not cut the arm slits because I was not sure where they should go for a baby so I wanted to do it once she arrived.

Once I got to the closure step of the tutorial (the little bows on the front bottom), I got confused and could figure out how to do the ties. If you can, go ahead and do that method or you can opt for what I did instead. *involves a needle and thread*

I tied two little bows for the outside and got some velcro dots for the inside to hold it closed. I stitched the bow to the outside and then stuck the velcro dots in place. Make sure they are the permanent glue velcro dots and that you stick them on really well.

And there you have it! A cute little cape to keep your bundle of joy cozy. This only took me a couple of hours one night to complete. I also made a matching hair bow that is coming up tomorrow!

Linking up:

giveaways
P.S. Don’t forget to sign up for free Tipsy updates via RSS or email.
We have decided to truncate our feed to help protect against stolen content. I apologize for any inconvenience. Please love us anyway. 🙂
« Previous Page
Next Page »

  • Bloglovin
  • Facebook
  • Google+
  • Instagram
  • Pinterest
  • RSS
  • Twitter

Hi there! I'm Michelle. Mother of three little boys and one little princess. Welcome to A Little Tipsy, a place for exploring creativity and sharing inspiration.

Follow on Bloglovin


Visit Michelle Barneck {A Little Tipsy}'s profile on Pinterest.

Tutorials by Category


15 Family Reunion Games

Family Reunion Games Collage

15 Sprinkle Party Ideas

Sprinkle Birthday Party
Creative Commons License

© Copyright 2014 A Little Tipsy · Site Designed by The Fairy Blogmother · Web Hosting by RFE Hosting

This website uses cookies to improve your experience. We'll assume you're ok with this, but you can opt-out if you wish.Accept Read More
Privacy & Cookies Policy