A Little Tipsy

Creative Tips & Ideas

  • home
  • About Me
  • the tipsy top
  • press
  • projects
  • contact me
[print_thumbnail_slider]

Baby Week: Chenille Baby Washcloths

November 11, 2010 By Michelle Barneck 4 Comments

Hello tipsy readers! I’m Kara from Creations by Kara and I’m thrilled to be here doing a guest post while cute Michelle is busy doing the new baby thing. (Man I’m jealous!)

I’m a stay at home mom to four boys. I love all things creative crafty. I guess you could say I have “Craft ADD”. I can’t stick with just one thing, I like to try everything. . .

From dollar store projects:

To hair accessories:

To trying new recipes:

To remodeling our master bathroom:

Yep, I try it all, and then I blog about it. Fun times baby!!

We are also in the process of trying to adopt a baby girl, so I was excited to come up with a baby project. I decided to do something basic that every mom needs. Baby washcloths. I was never thrilled with the kind from the store, they were always a little on the flimsy side. Plus I thought it would be nice to have a really soft side, and a side that had a little more texture. So I came up with these. Chenille backed baby washcloths.

I love how they turned out, and I can’t wait to use them. Hopefully one day very soon!

Here’s how you can make some of your own. Have fun!

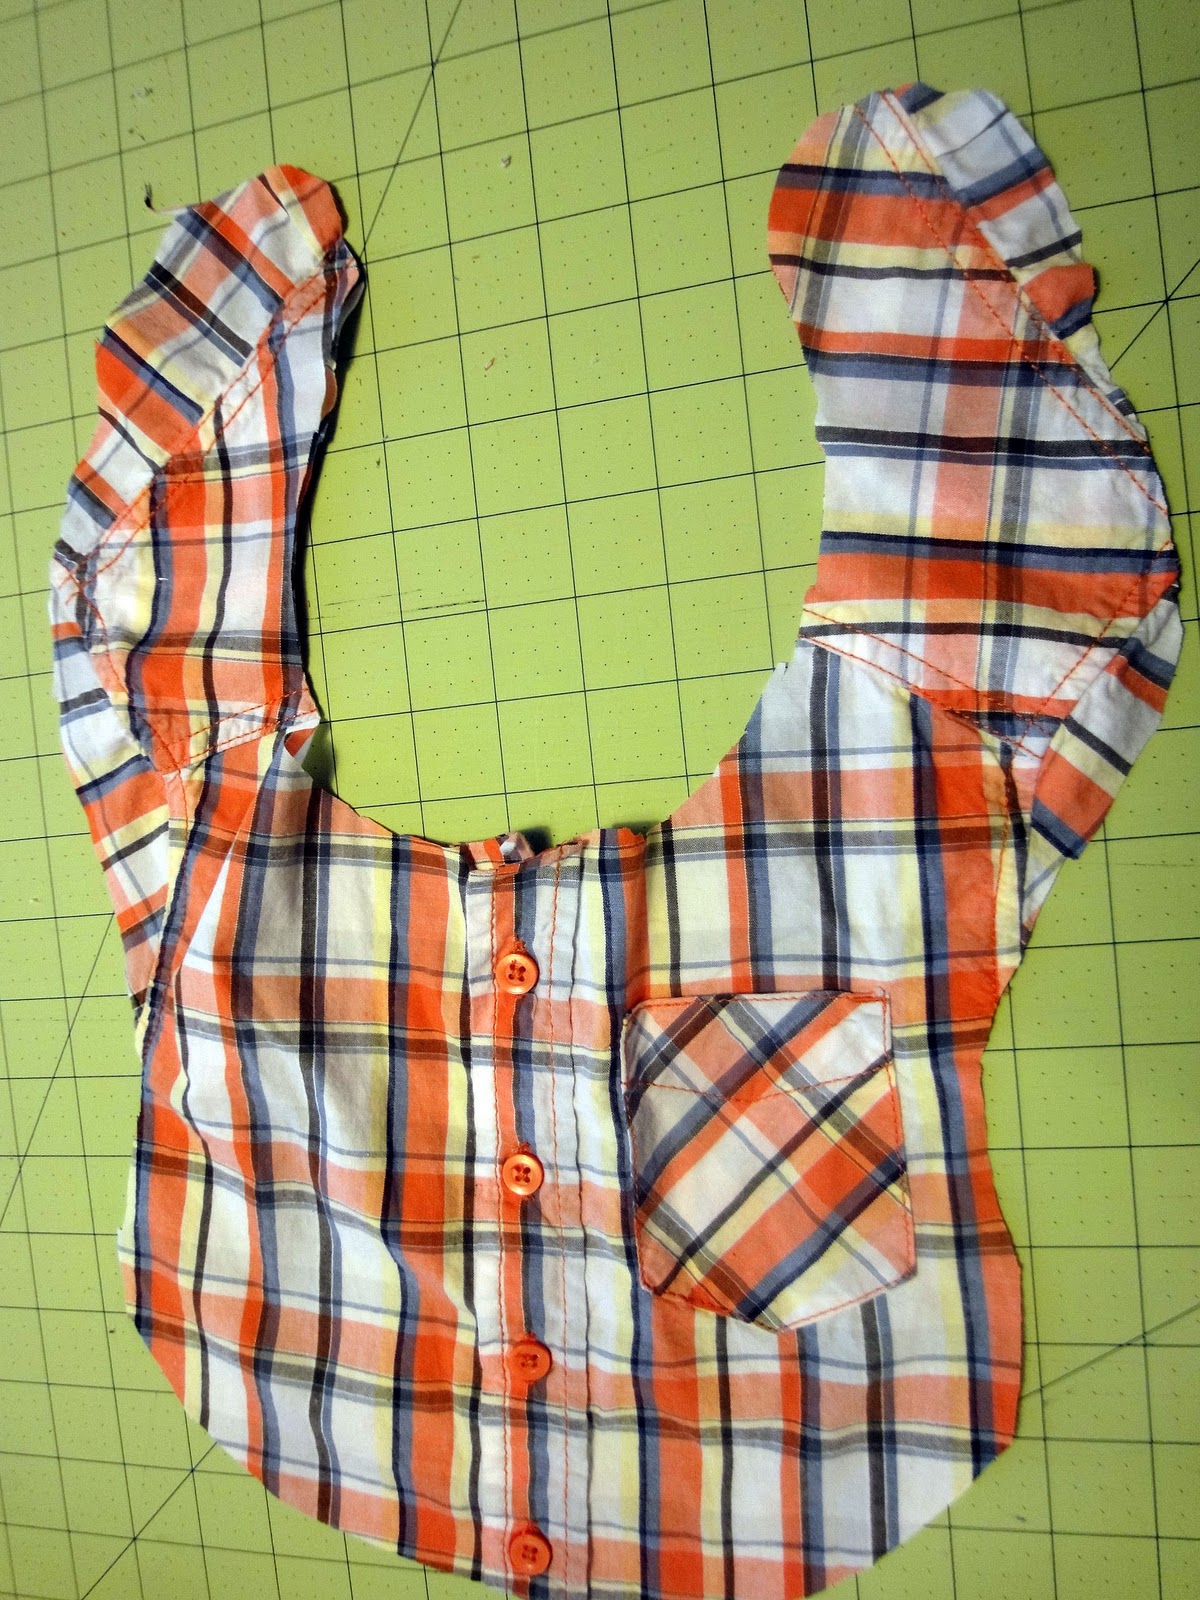
First you need to pick two coordinating fabrics. I used flannel on one side and chenille on the other.

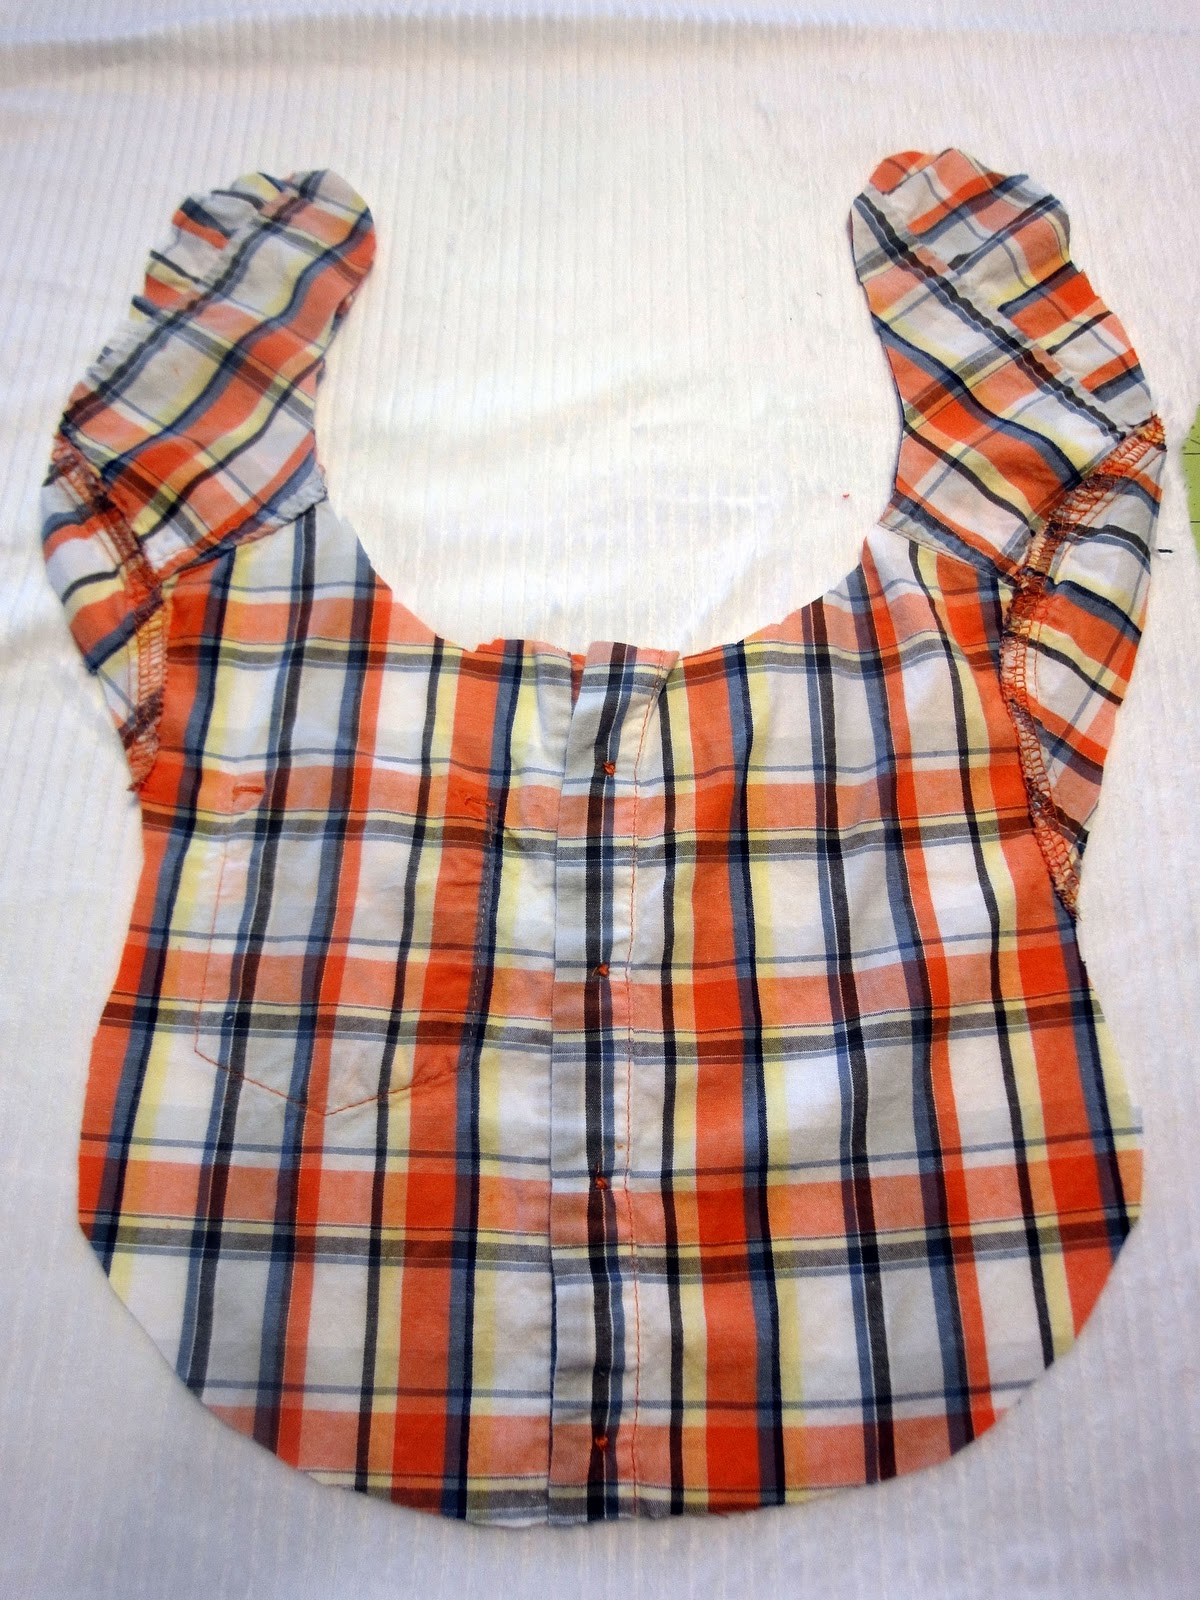
Place the two fabrics right side together and cut a square. I cute mine about 7″.

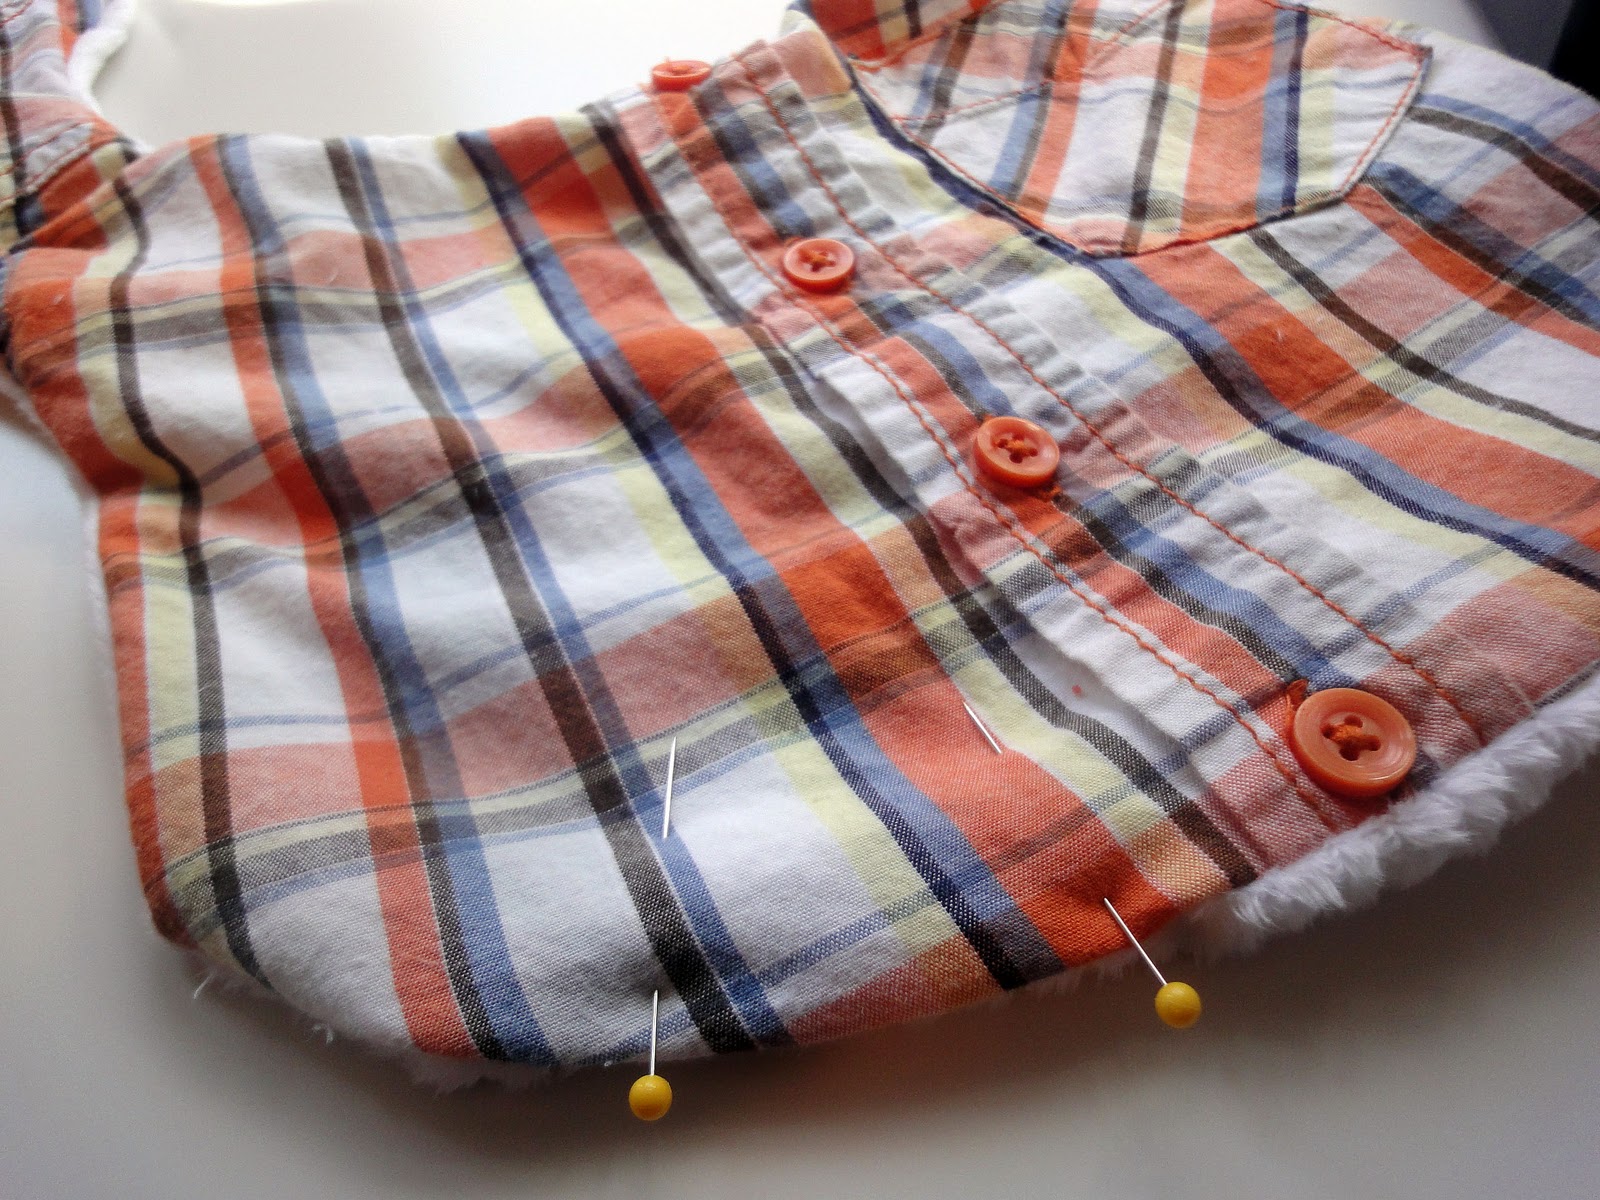
Pin the squares together. You see that space on the left in between the red and blue pins? You are going to leave that open so you can turn the washcloth right side out.

Now sew the squares together, using a 1/2″ seam allowance. Don’t forget to leave that space I talked about open! When you’re finished sewing, clip the corners.

Now turn it right side out.

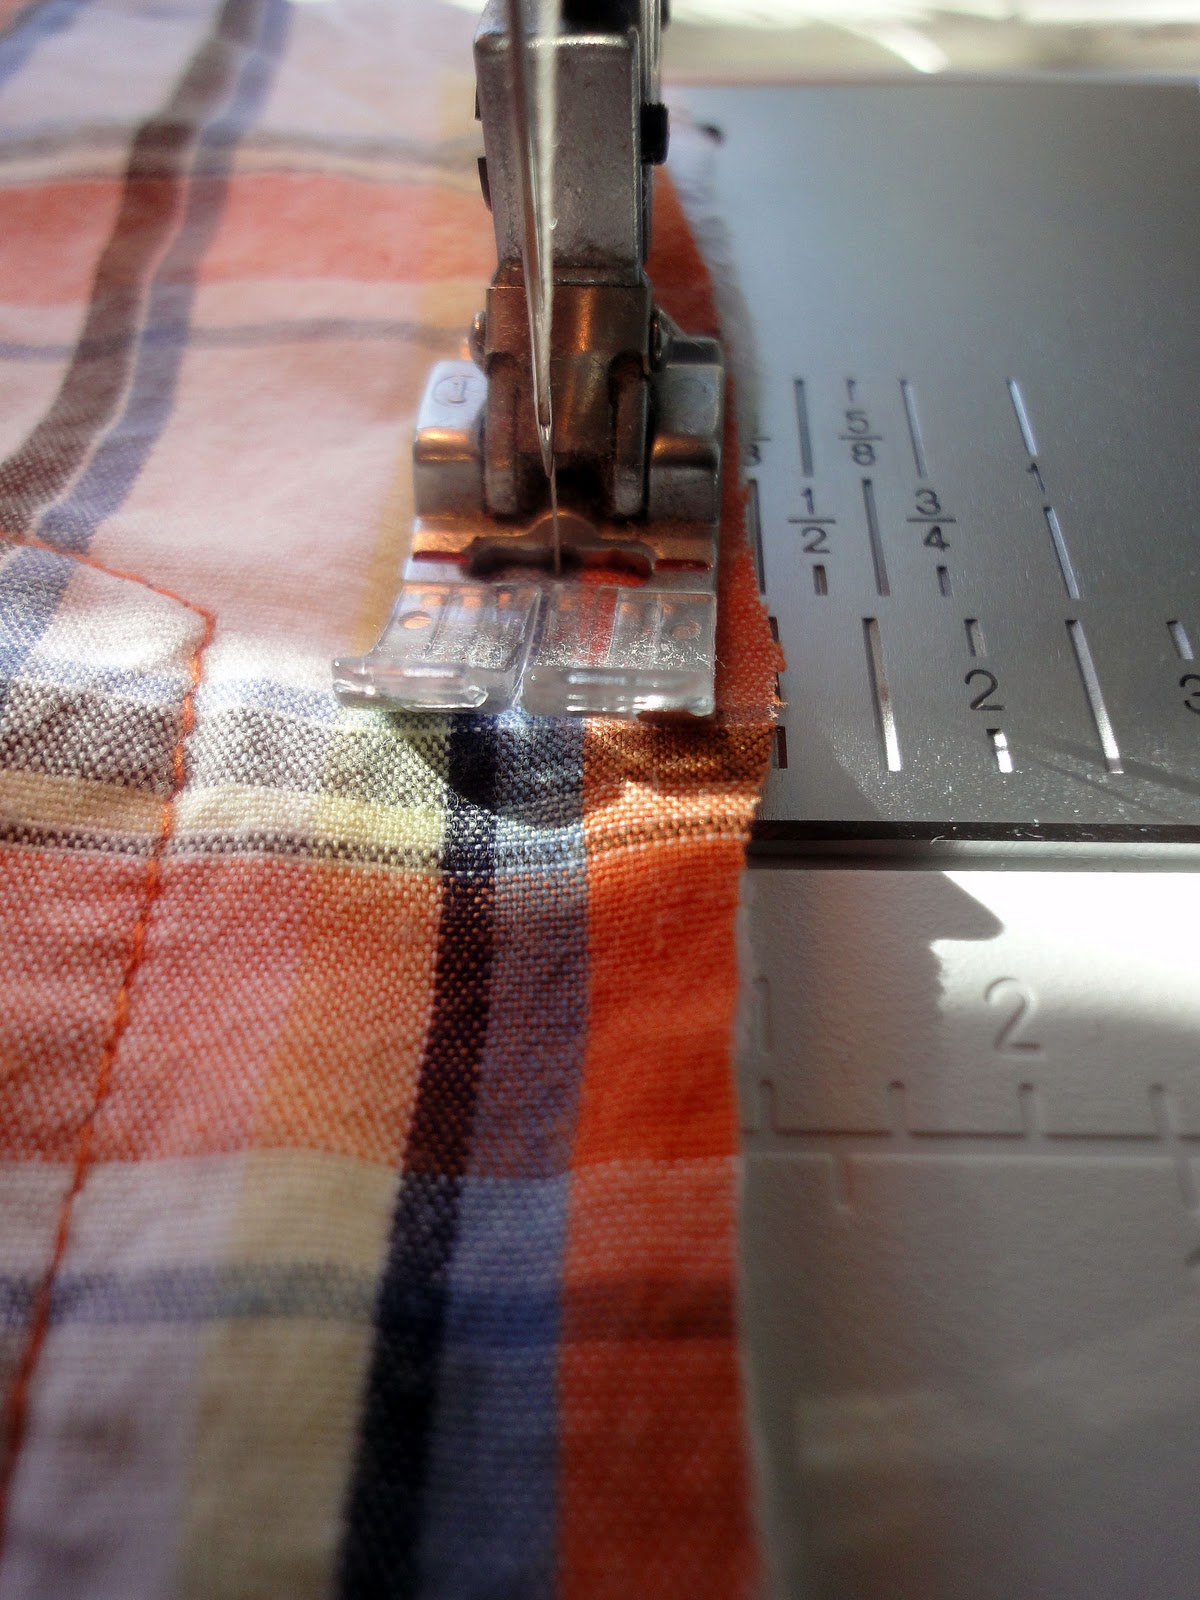
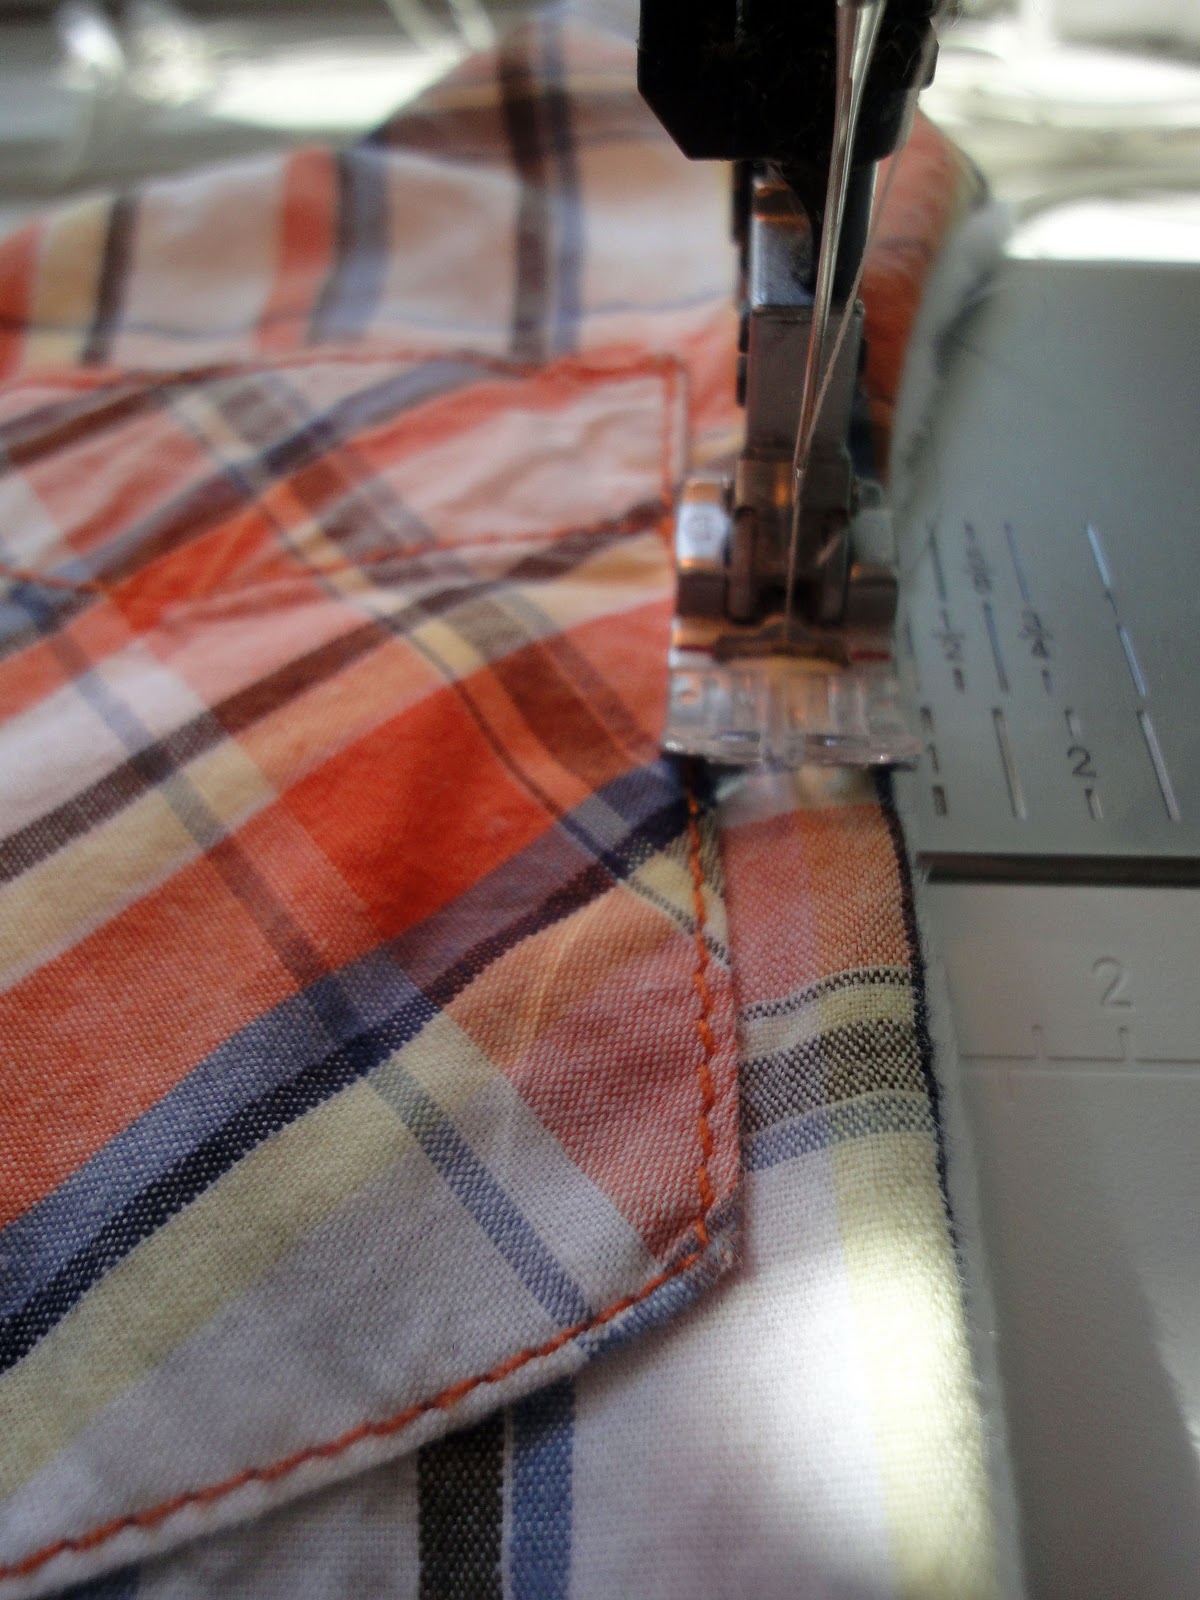
Now you’re going to sew a stitch all the way around the edge. This will not only sew the hole closed, it will make the whole thing more sturdy. Before you start stitching, make sure the pieces of fabric at the opening are tucked in to the inside evenly. You can iron the opening if you want, but you don’t have to. I sewed as close to the edge as I could get.

Stitch up a few of them and you have a great baby shower gift.

Wouldn’t they be perfect tucked in a cute basket with bath supplies?

————————————————————

Thanks so much Kara! I just bought some baby washcloths last night and was unimpressed with the softness and thickness. These are great! And I hope you get your little girl soon!

P.S. Don’t forget to sign up for free Tipsy updates via RSS or email.

We have decided to truncate our feed to help protect against stolen content. I apologize for any inconvenience. Please love us anyway. 🙂

SwaddleDesigns Ultimate Receiving Blanket Giveaway

November 11, 2010 By Michelle Barneck 43 Comments

Now for another one of my favorites. I discovered SwaddleDesigns receiving blankets when my Mother-in-law gave us one of their organic receiving blankets with our last son. We had just watched The Happiest Baby on the Block DVD and learned about how swaddling could calm our new baby so we were thrilled to have a brand new swaddle blanket.

<span class=

I loved how soft it was and that it had the swaddling instructions right on the tag. So handy, especially when people who were unfamiliar with swaddling watched our little one.

I also love that these blankets are bigger than your usual receiving blanket. There is plenty of blanket to go around if you know what I mean. With some of the others our son would break out of his swaddle within seconds because the blanket was so small and difficult to wrap around.

SwaddleDesigns exclusive 123 Swaddle tip tag helps babies sleep better.


SwaddleDesigns recently sent me one of their Ultimate Receiving blankets for my new little one. I had no idea how many adorable patterns they had available!

*BRAND NEW* SwaddleDesigns - Ultimate Receiving Blanket - Blue Puppytooth w/True Blue TrimDots & Stars, Hearts, SunsTriplets Paisleys

I chose the Pastel Brown with Blue Mod Circles you can see a peek of here in our recent newborn photo shoot. I absolutely love it and so does he. He calms right down when we get him all snuggled up in its softness.


He is all mine, isn’t he amazing?!

You know how I love a deal and SwaddleDesigns has a couple of really amazing discount sections!! The deal of the day offers items at 50% off and changes daily. I bought another organic receiving blanket on a daily deal. They also have a hot bargains section where they discount items to make room for new inventory. So go now and see what they have today!

Now for the good stuff…SwaddleDesigns is giving away an Ultimate Receiving Blanket of your choice!

To enter: (Leave a comment for each entry)

1) Follow SwaddleDesigns on Twitter and tweet about your favorite @SwaddleDesigns print or product

2) Become a Facebook Fan* and state your favorite SwaddleDesigns print or product.

3) Follow A Little Tipsy

*Facebook fans get the inside scoop, previews of new collections and Fan discounts!

Giveaway closes Monday, November 15th.


P.S. Don’t forget to sign up for free Tipsy updates via RSS or email.

We have decided to truncate our feed to help protect against stolen content. I apologize for any inconvenience. Please love us anyway. 🙂

Baby Week: Shirt Bib

November 10, 2010 By Michelle Barneck 133 Comments

Let me introduce myself.
My name is Rebecca and I blog over at Better Life Bags… the blog.

When I’m not crafting, I also run a small business creating custom diaper bags, hand bags, and accessories called Better Life Bags.

I donate 10% of every purchase to low income entrepreneurs in developing countries – which is why we are called “Better Life Bags… making lives better one purse at a time!”

The fun part is that YOU get to pick your own fabrics for the bag you want!
I hope you’ll come check things out.

Anyway…Today I have a great tutorial for you to try out.
When my son was born, I had the biggest distaste for baby bibs. I hated how “babyish” they looked, yet I knew how functional they were for drool, food, etc…


So, I came up with an alternative. Bibs made out of upcycled shirts! So much better.

baby wearing orange plaid shirt bibBaby wearing graphic tee shirt bib

You can make these with either:
adult graphic tees

Shirt bib examples: green with dandelion, blue with recycle symbol, brown with "smooth like butta"

or toddler button down shirts
{You can use an adult men’s shirt, you just won’t be able to fit the cute pocket on the bib.}

Shirt bib examples: green plaid, red plaid, and red, yellow and green plaid

Shirt Bib Instructions:

1. First, download the bib pattern here and here.

Pattern and cut steps:

2. Then, cut out the pieces.

3. Next, trace the pieces backwards onto separate sheets of paper.

4. Cut out the second pattern pieces except leave a small tab on the side of the bib piece and the bottom of the strap piece (shown below).

5. Then, tape together your bib pattern piece.

6. Cut your t-shirt down the side seams and lay it open on the table.

Do the same if you’re using a toddler shirt. I usually look for 3T or 4T at the thrift store.

7. Place your pattern piece over the graphic you want to capture.
{You will have to fudge with the strap pieces. It seems that neck holes on adult tees are too big, so the strap ends up a little thinner than the pattern piece. This is upcycling after all!}

With the toddler shirt, be sure cut around the collar.
Also, cut at least 3/4″ above and below any buttons so you don’t have to worry about sewing over them to finish the bib later.

8. Now, cut your bib out.
{Just do your best to shape the straps}

9. Next, use your shirt as the pattern piece to cut out the back of your bib.
Lay your bib upside down on top of the fabric you choose for the bib back, pin, and cut. I use the super soft minky chenille you can find at fabric stores. SO SOFT!

Sewing Steps:

10. Keeping the right sides together of your two pieces, sew with a 1/4″ seam allowance all the way around. Leave a small opening on the side of the bib to turn it inside out.

11. Turn your bib inside out and press out the seams.
Fold the opening in and pin it shut.

12. Next, sew around the entire bib with a 1/4″ seam allowance.
This is where you need to be careful of buttons getting in the way.

13. Cut a small strip of velcro and place it on the shirt side of one strap.

14. Then, sew around the edges of the velcro.

15. Place the other half of the velcro on top of the one you just sewed.

16. Overlap your straps and peel off the second piece of velcro (keeping it in place on the second strap of the bib). Sew this piece of velcro on like you did the first.

17. You’re shirt bib is done!

These make such great baby gifts!
Please use this tutorial for personal use only. Do not sell these bibs.

Come visit me to find lots of tutorials like…

Baby Week: Keepsake Frame & $25 GC Giveaway

November 9, 2010 By Michelle Barneck 42 Comments

I’m so excited to be here on A Little Tipsy today. Michelle has such a fun blog and I always find great ideas and inspiration whenever I stop by.
I am Crystal from Crystal’s Craft Spot. Its my little spot to share my current craft projects, tutorials, recipes, and ideas I want to use in the future. I host a craft challenge every Wednesday and Feature yourself Friday that I would love for you to join. I also have a fun preschool blog called Always something to Learn and a new etsy shop, A.O.kay designs.

I’ve noticed over the years that I quickly forget how little my girls use to be and I wanted a way to always remember when they were born. So I came up with this cute way to display their newborn pictures and all of their birth stats (what mother doesn’t love those two thing?)

Here’s what I came up with.

Here’s how I made it. I bought an 8×10 frame with a matte. (Matte optional but helpful.) My frame is from Walmart for $2.50

I painted the frame white

Then distressed it with sandpaper.

I picked out some scrapbook paper that matches their room. Use the matte as a template and trace around it on the back of your paper. (If you don’t have a matte you can measure and cut one out). Then cut it out.

Here’s your two pieces. Then glue your scrapbook paper on your matte.

I sanded the inside edges of my paper to make it look a little more smooth.

Now choose a picture (both of mine are from the day they came home). You can do this next part in any program you want. I used Microsoft word. I opened a new document and pasted my picture. I cropped and sized it to 5×7. Then insert a text box. Type in your information, change font, size, etc. Then remove fill in box and remove outline. Change color and move it to the spot you want it.

It will look like this

Print your photo on photo paper and cut it out.

Assemble your frame and you now have a beautiful keepsake of you sweet little one.

Here’s a close up of each

Olivia

Aubrey

Today I am also giving away a $25 gift certificate to A.O. kay Designs

Here’s a little peek at what you will find

I love custom orders (so if you need a different size, color, or design I’d love to help you) and I’m adding new things everyday so check back often.


To enter:
Visit A.O. kay Designs and tell me your favorite item.
Extra entries:

  • Follow A little Tipsy
  • Follow Crystal’s Craft Spot

Giveaway closes Monday, November 15th.

P.S. Don’t forget to sign up for free Tipsy updates via RSS or email.

We have decided to truncate our feed to help protect against stolen content. I apologize for any inconvenience. Please love us anyway. 🙂
« Previous Page
Next Page »

  • Bloglovin
  • Facebook
  • Google+
  • Instagram
  • Pinterest
  • RSS
  • Twitter

Hi there! I'm Michelle. Mother of three little boys and one little princess. Welcome to A Little Tipsy, a place for exploring creativity and sharing inspiration.

Follow on Bloglovin


Visit Michelle Barneck {A Little Tipsy}'s profile on Pinterest.

Tutorials by Category


15 Family Reunion Games

Family Reunion Games Collage

15 Sprinkle Party Ideas

Sprinkle Birthday Party
Creative Commons License

© Copyright 2014 A Little Tipsy · Site Designed by The Fairy Blogmother · Web Hosting by RFE Hosting

This website uses cookies to improve your experience. We'll assume you're ok with this, but you can opt-out if you wish.Accept Read More
Privacy & Cookies Policy