A Little Tipsy

Creative Tips & Ideas

  • home
  • About Me
  • the tipsy top
  • press
  • projects
  • contact me
[print_thumbnail_slider]

Marshmallow Pops

February 9, 2011 By Michelle Barneck 10 Comments

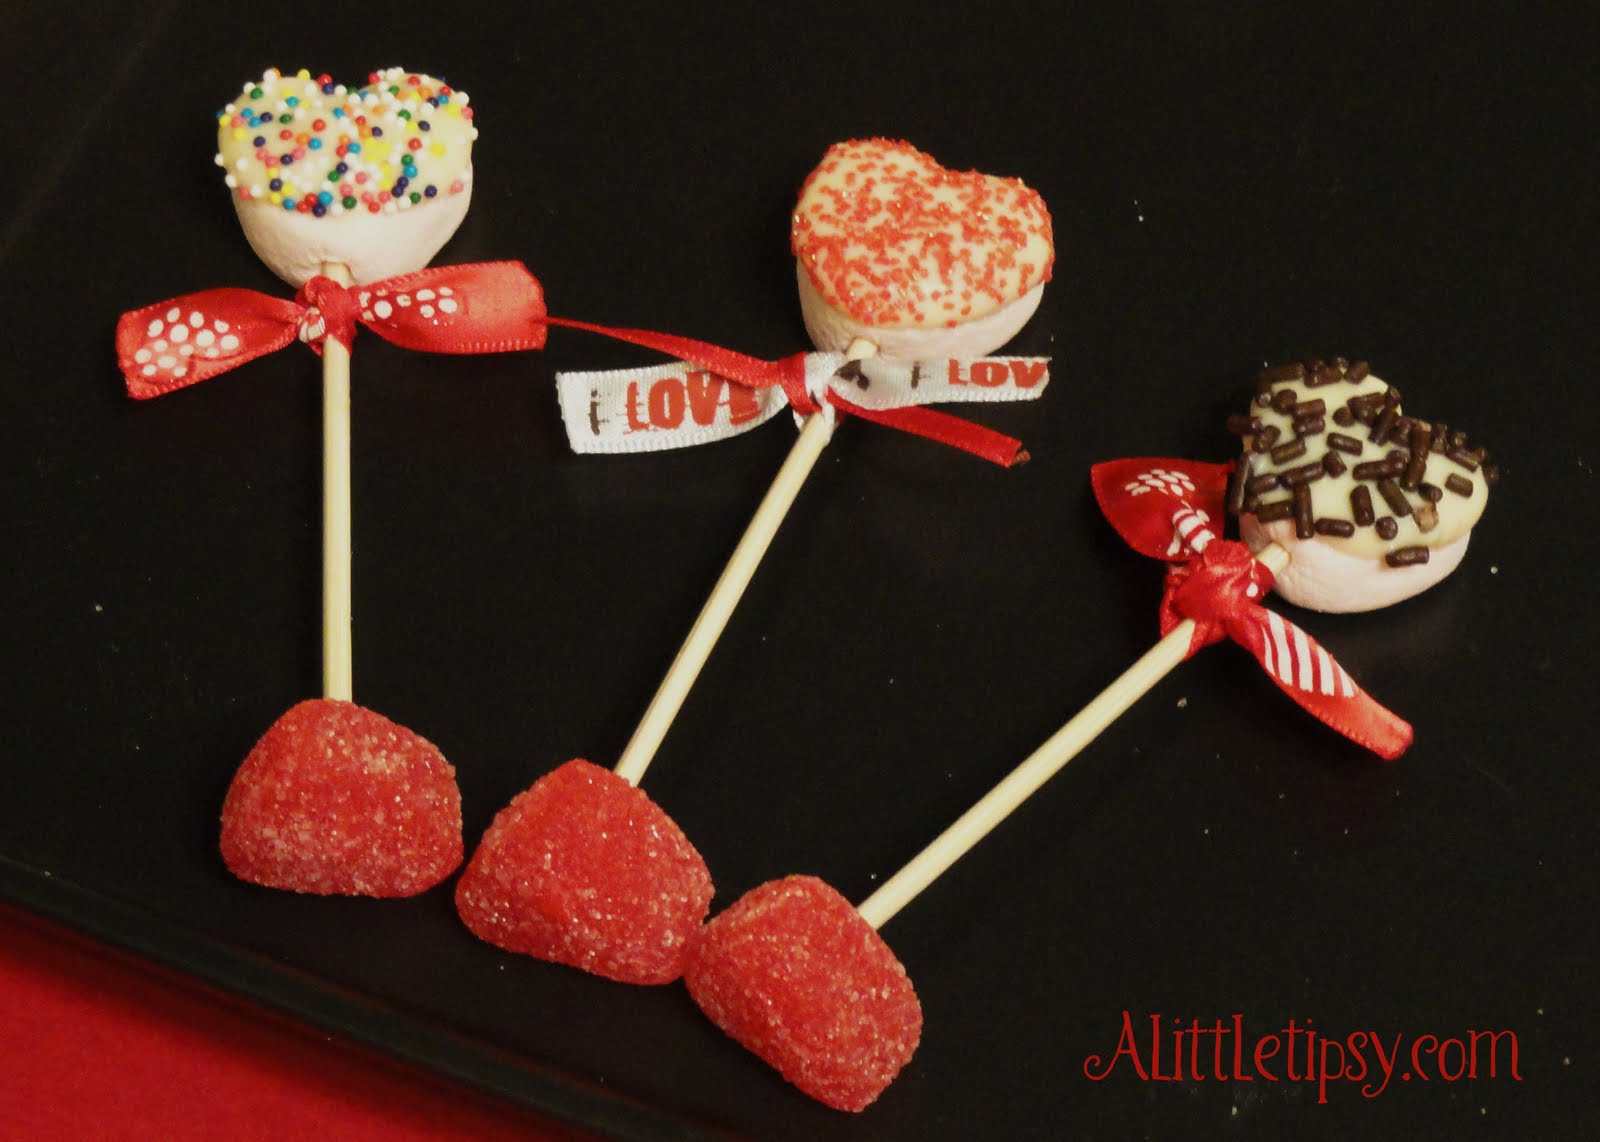
Need a fun quick Valentine treat for the kiddos? How about some cute little marshmallow pops. They are super fast and cause big smiles.

What you will need for Marshmallow Pops:

  • Heart shaped marshmallows
  • White or chocolate chips (whatever you want to dip them in)
  • Jelly Hearts
  • Sprinkles
  • Skewers or sucker sticks (cut the skewers in thirds with heavy duty shears, mine are Cutco)
  • Ribbon

Put a marshmallow on top of a stick. Dip it in melted chips. Sprinkle with sprinkles. (ha ha) Put a jelly heart on the bottom to make it stand up. Put in fridge for a minute to harden chocolate faster. Add a little flair with ribbon.

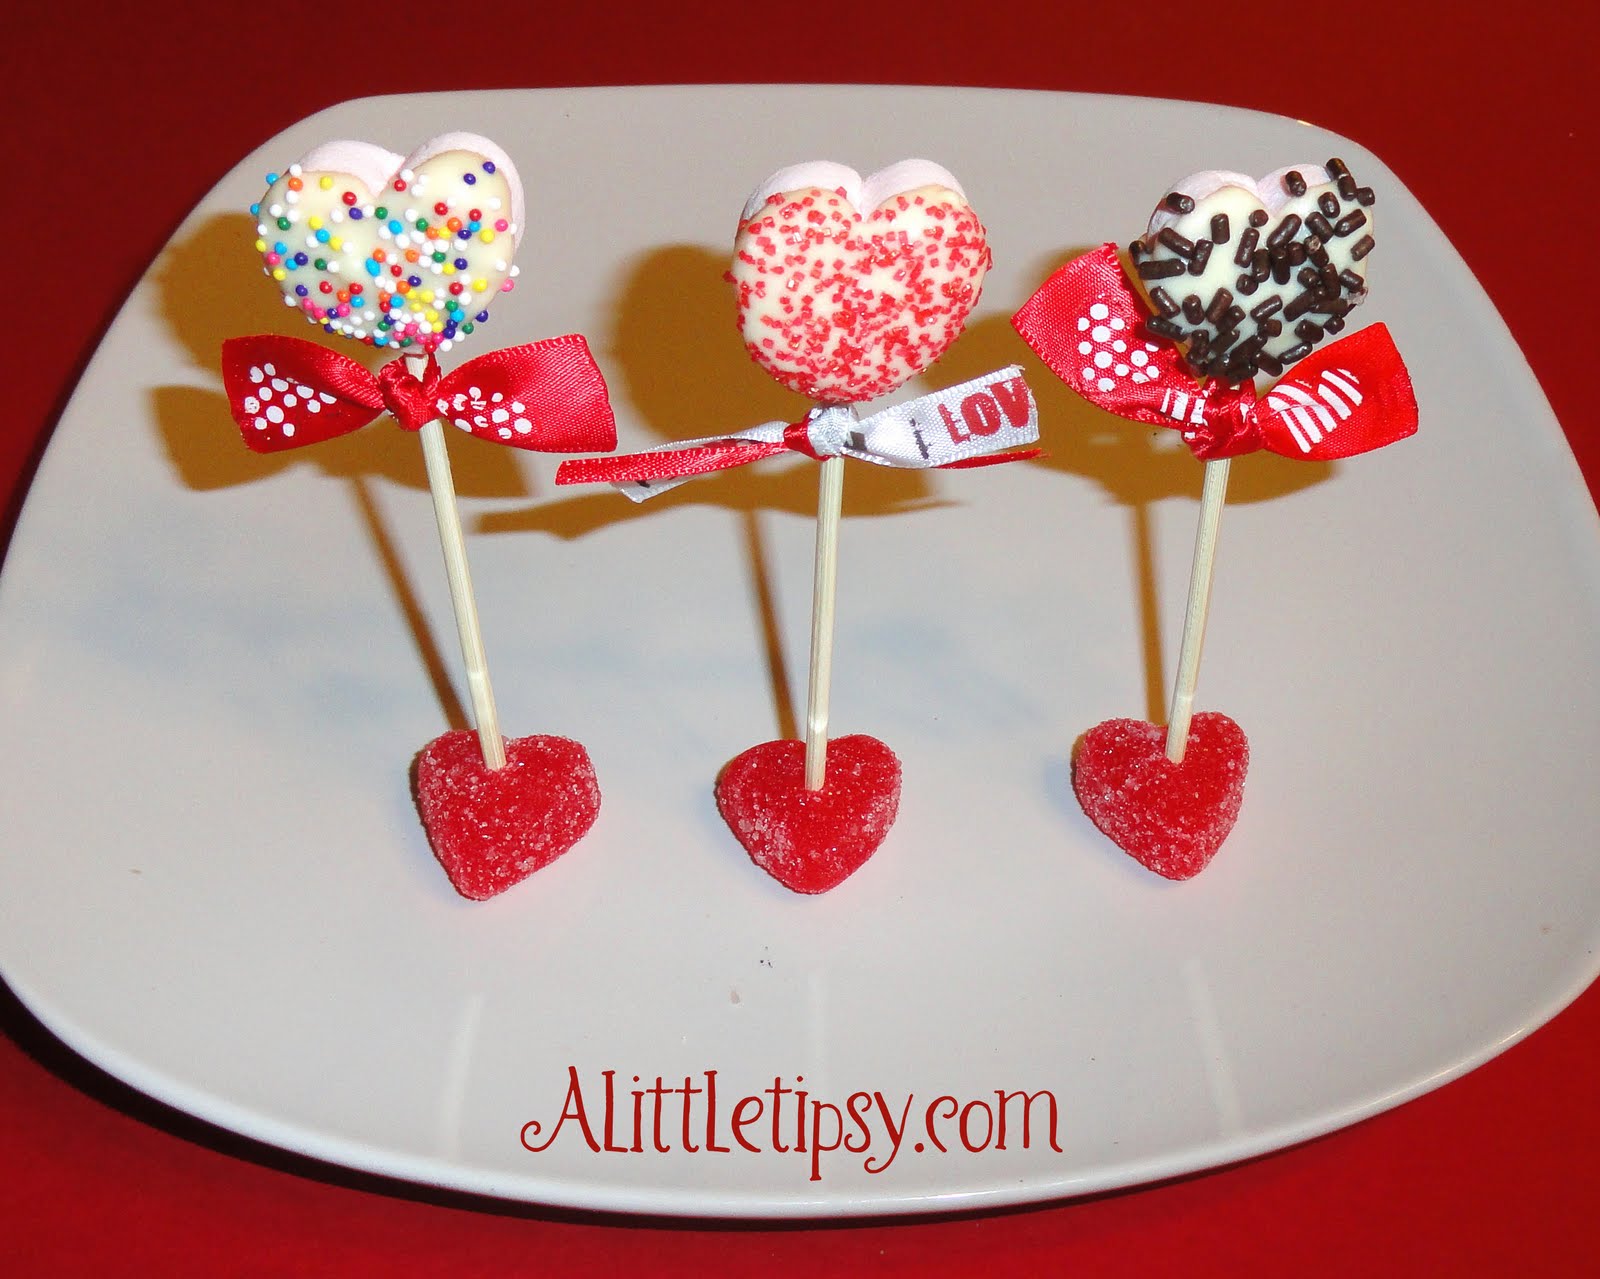
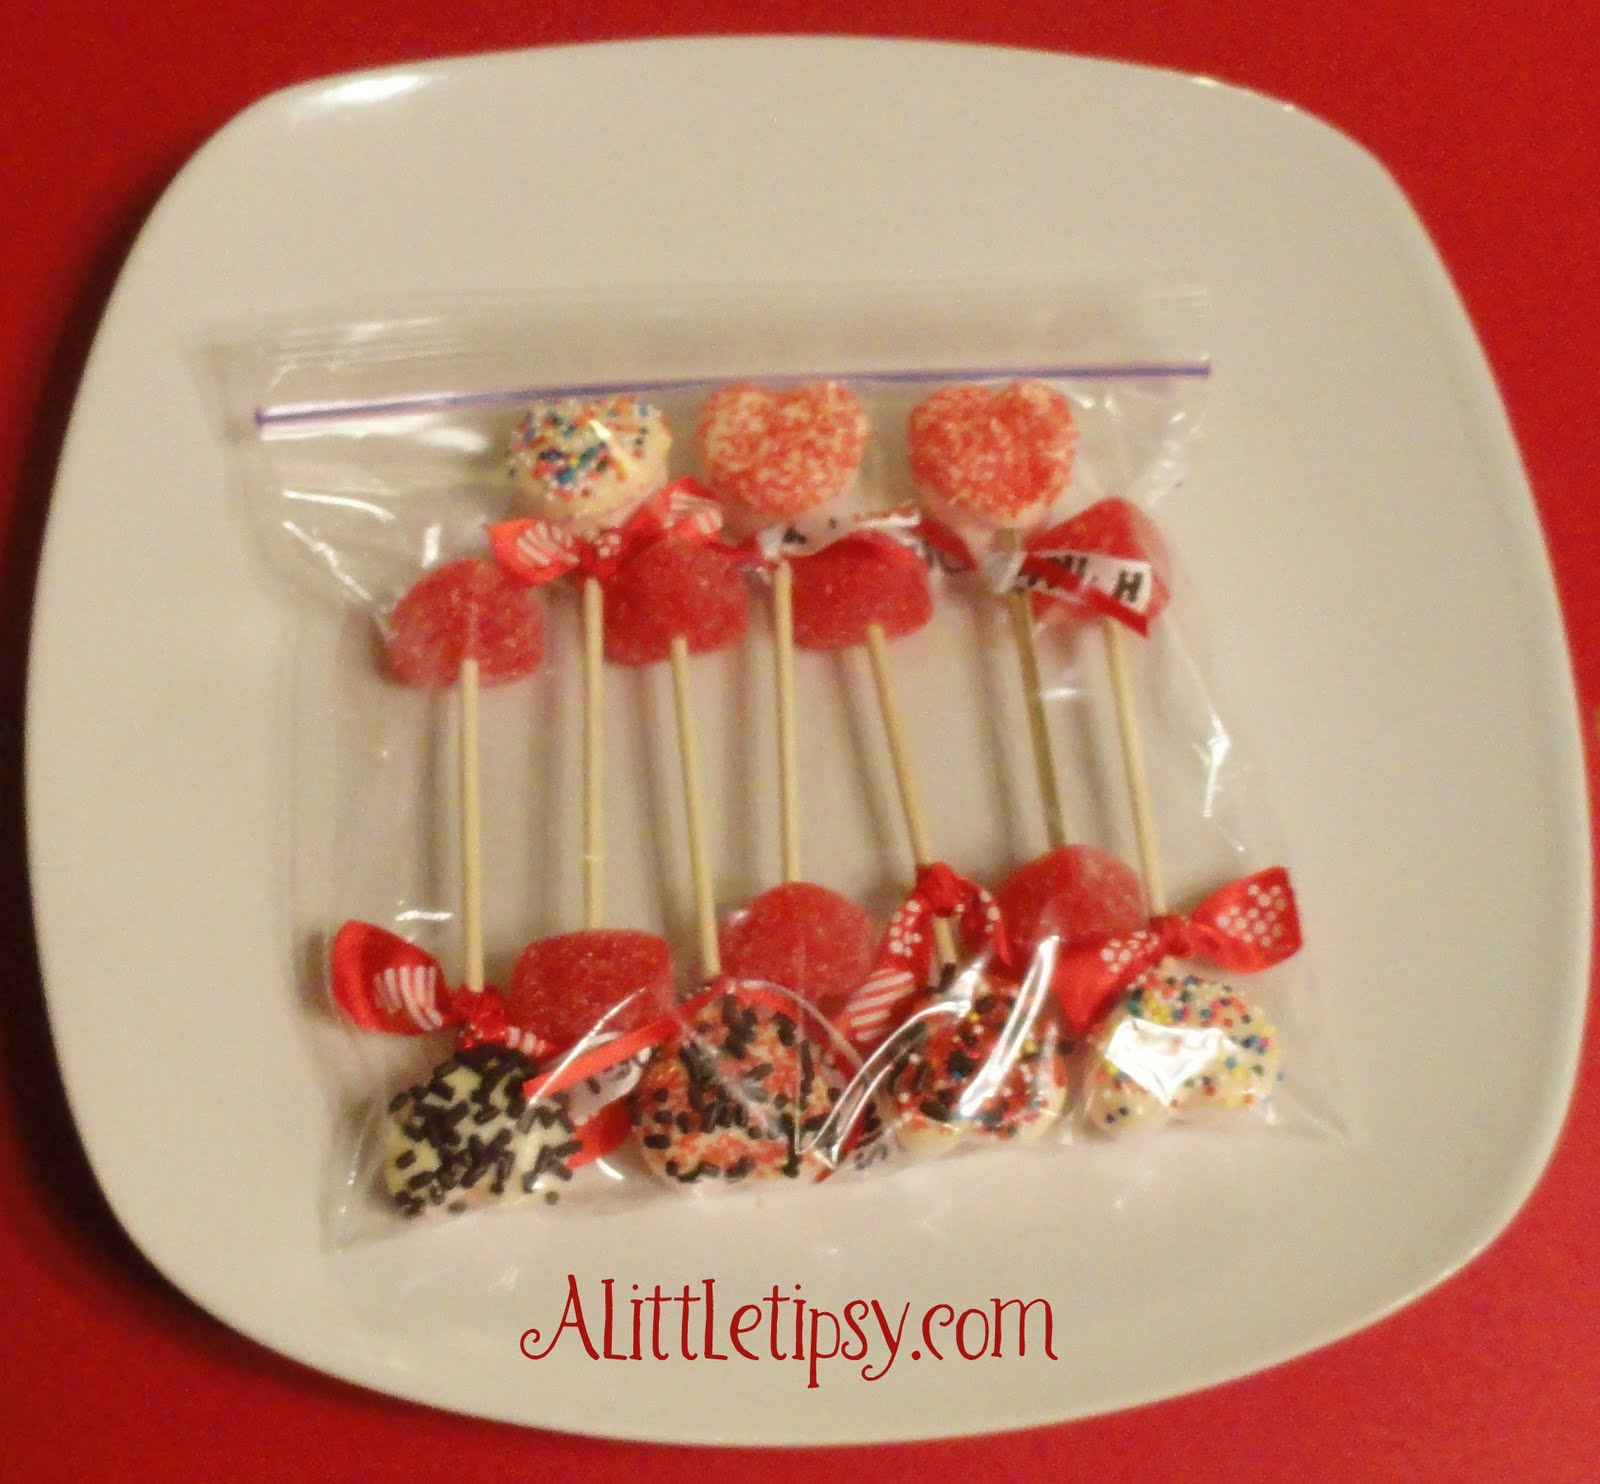
Store in a Ziploc bag so the marshmallows don’t harden.
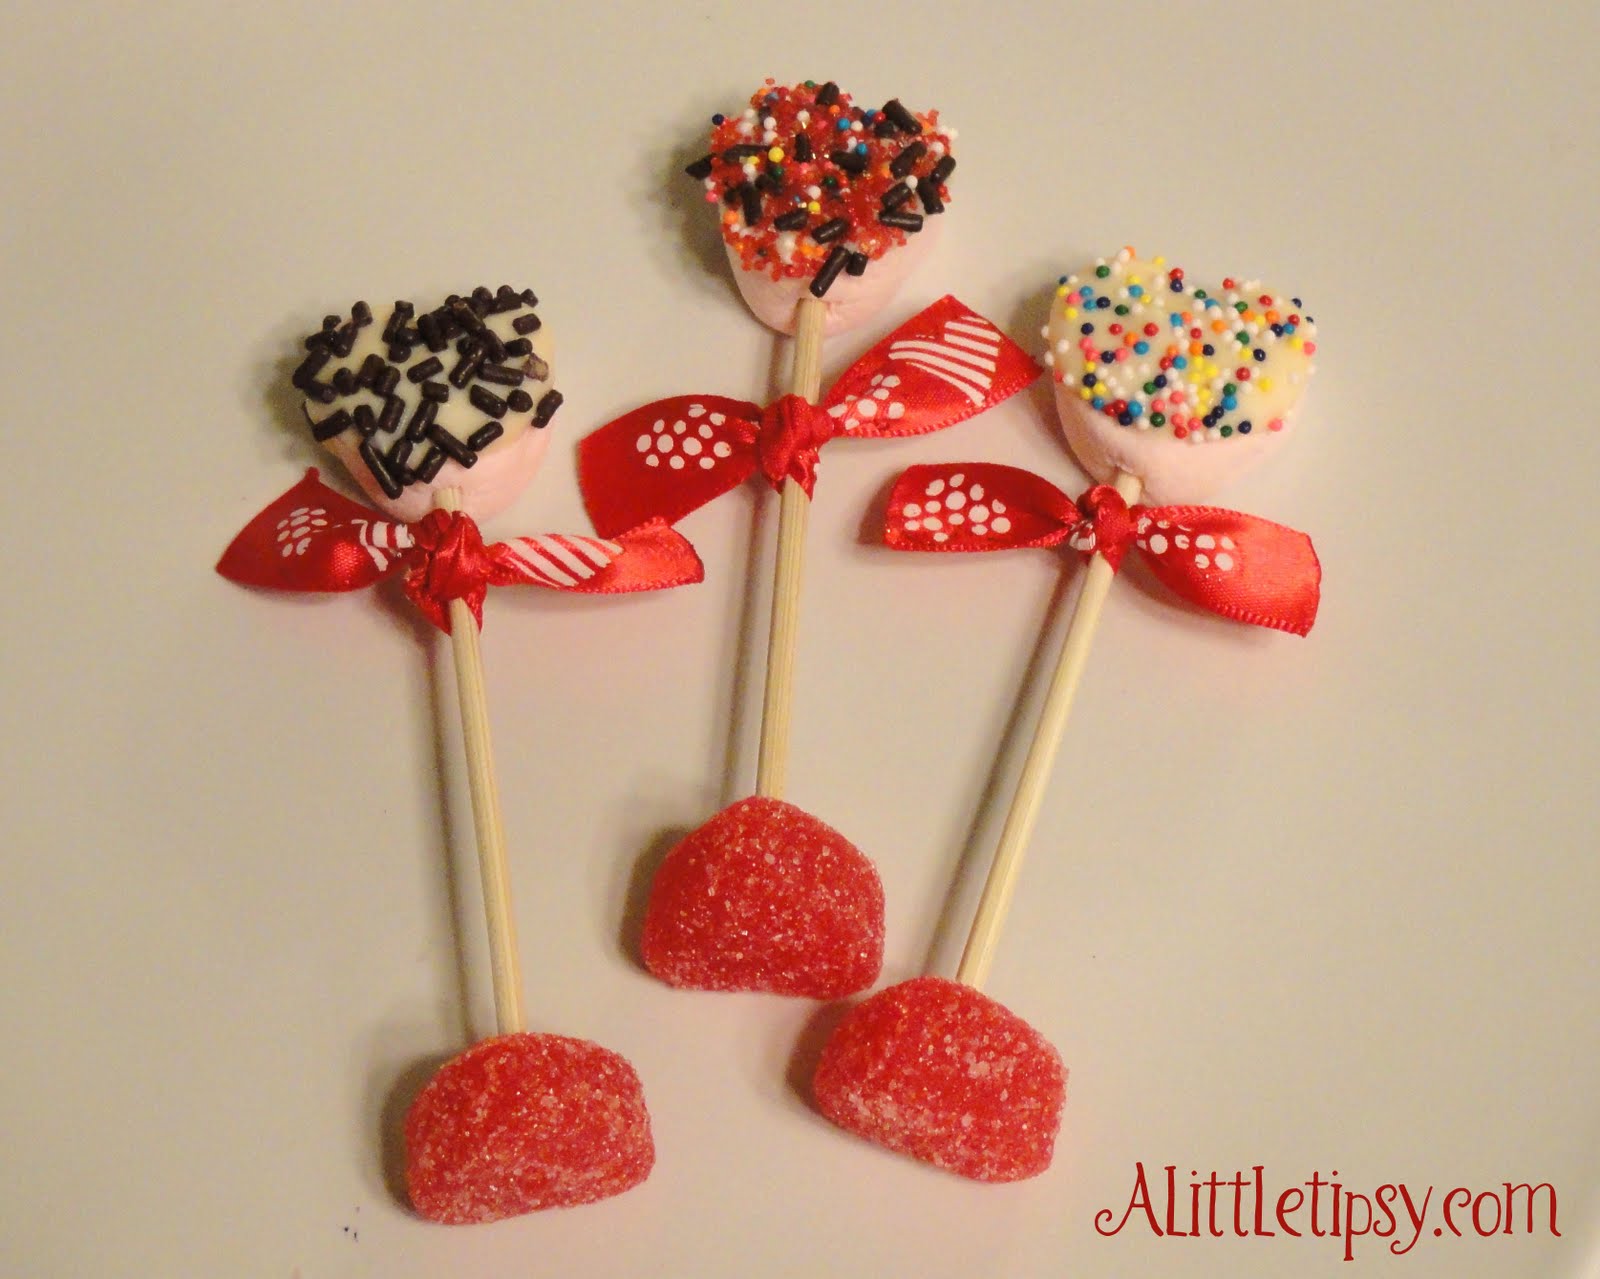
Linking Up:

Strut Your Stuff
Show Off Your Stuff
Show and Tell
Look What I Made
Whatever Goes Wednesday
Works for Me Wednesday
Sugar & Spice & Everything Nice

P.S. Don’t forget to sign up for free Tipsy updates via RSS or email.

We have decided to truncate our feed to help protect against stolen content. I apologize for any inconvenience. Please love us anyway. 🙂
Heart Wreath

January 28, 2011 By Michelle Barneck 10 Comments

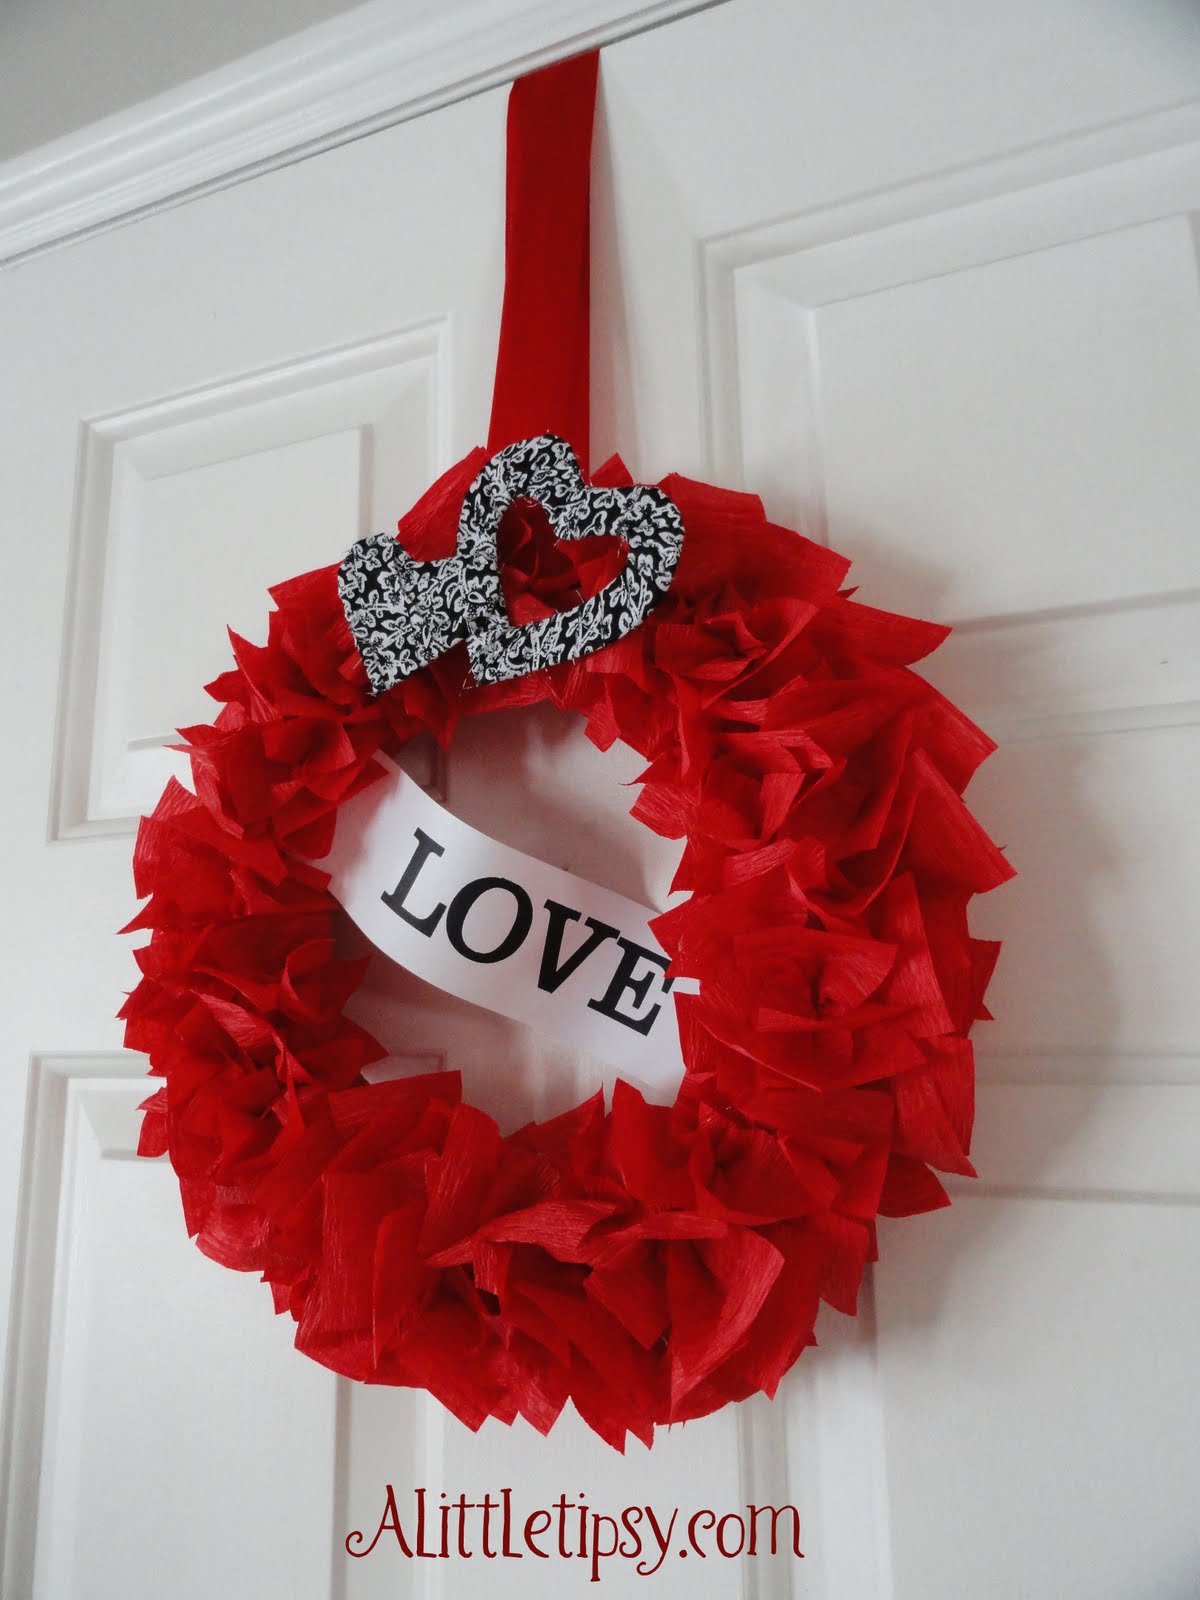
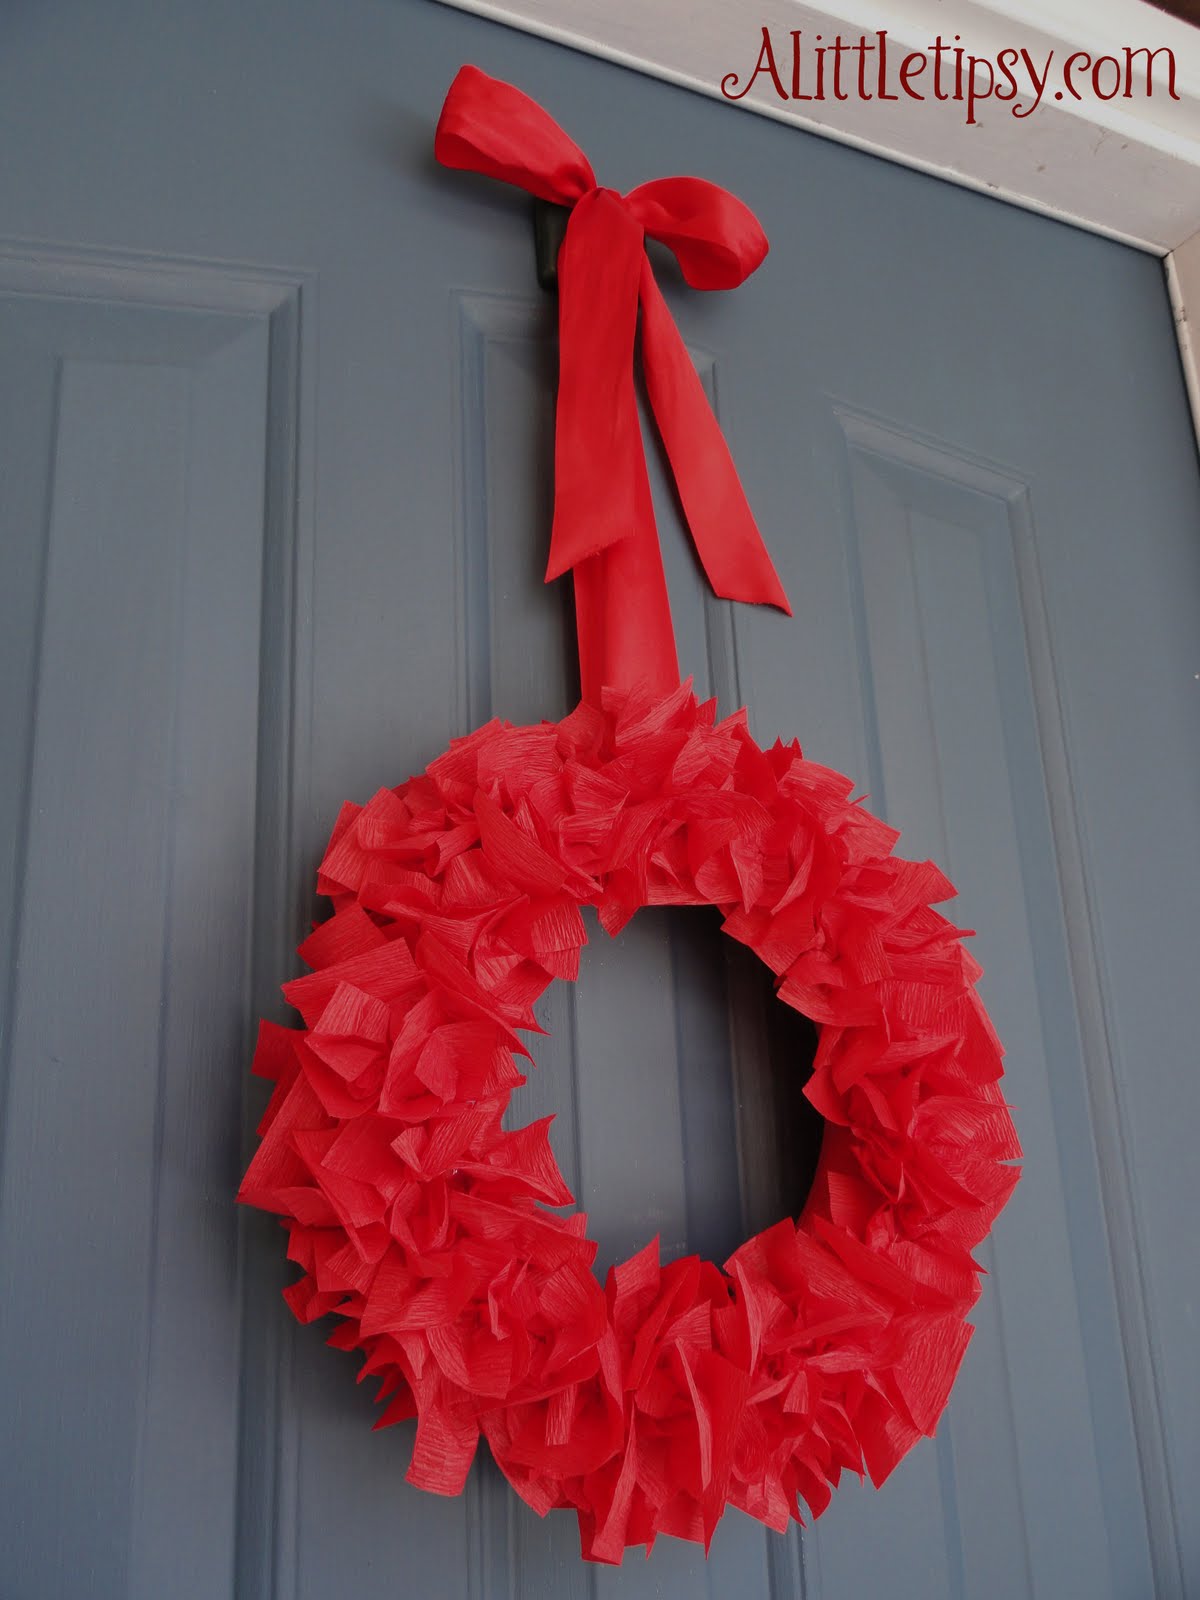
I love that this wreath is so versatile. I made it red so it would work for multiple holidays. Right now I have it all set up as a heart wreath for Valentine’s Day, but can easily swap out the accessories to sparkly stars for the 4th of July or ornaments for Christmas.

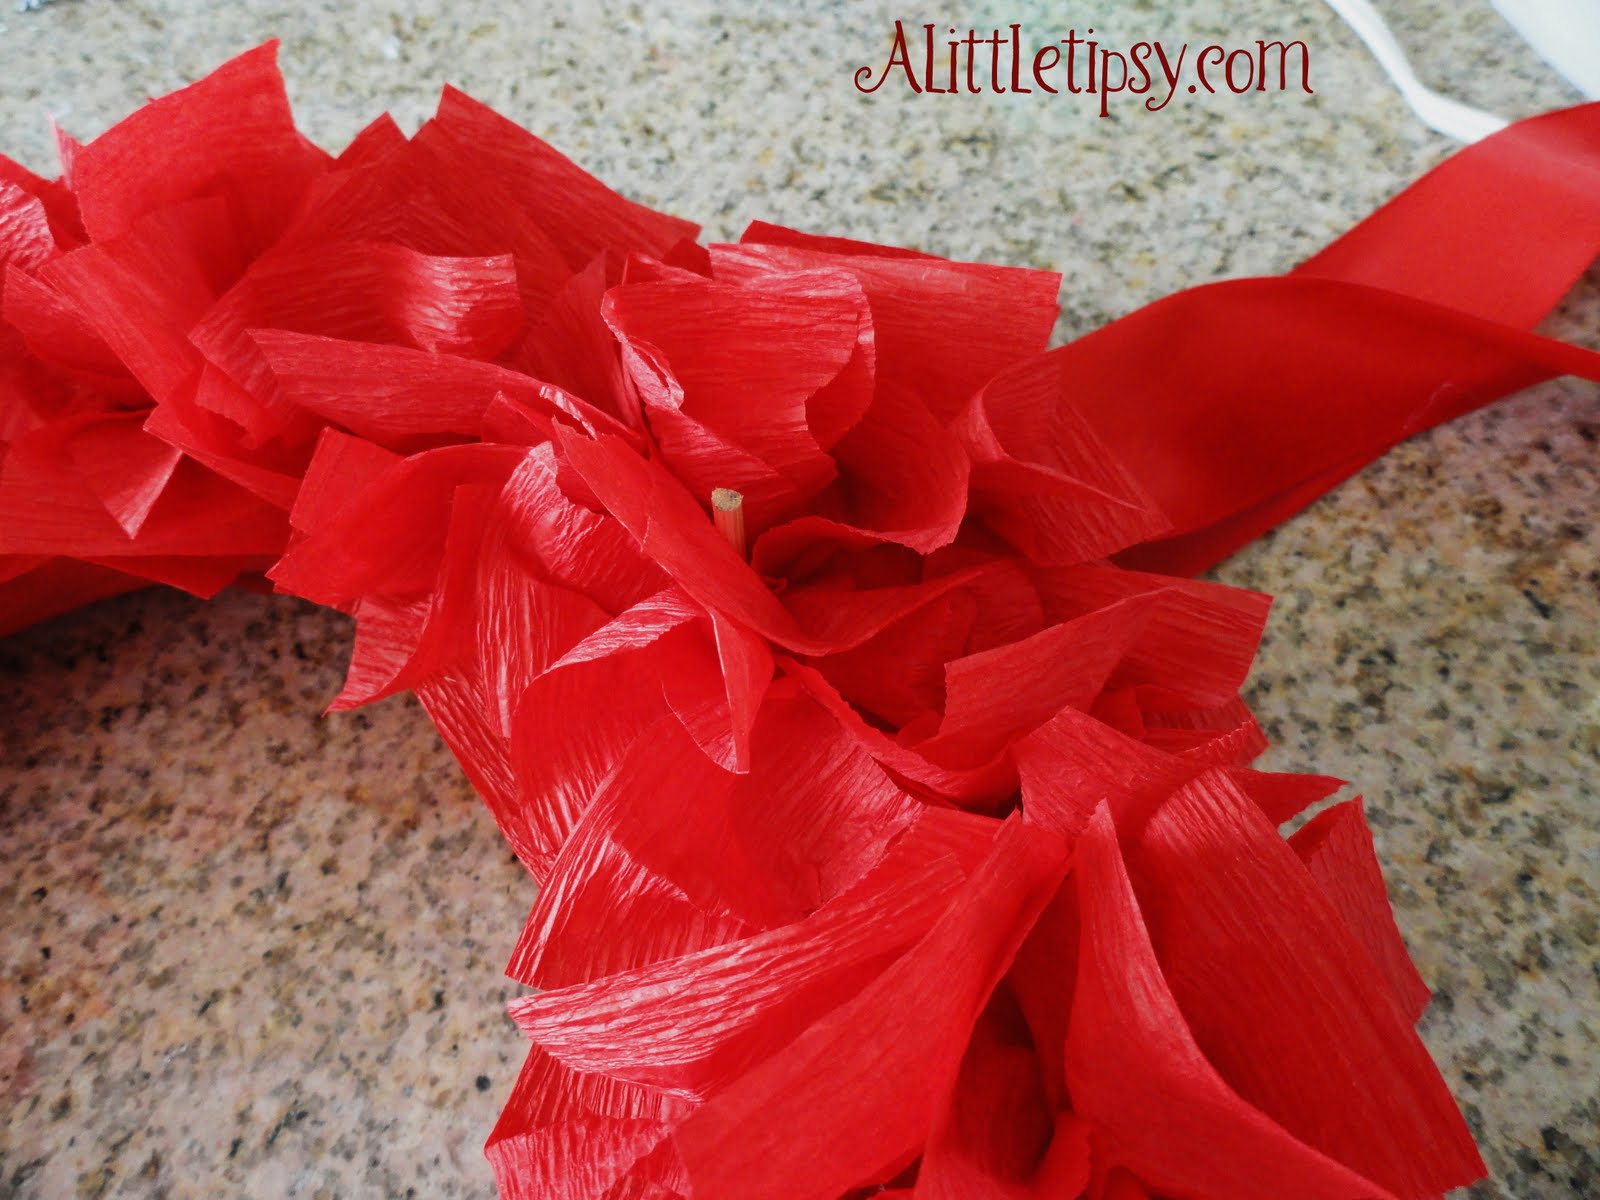
There is a great tutorial on Simple Sage Designs for this crepe paper wreath, so I won’t reinvent the wheel. But, this will give you a good clue as to how it is done.

I got it done with just the red, but it was missing something. I felt like it was just a big red blob.

So I cut a bamboo skewer to about two or three inches and inserted in the top.

Then, I added some of my fabric hearts.

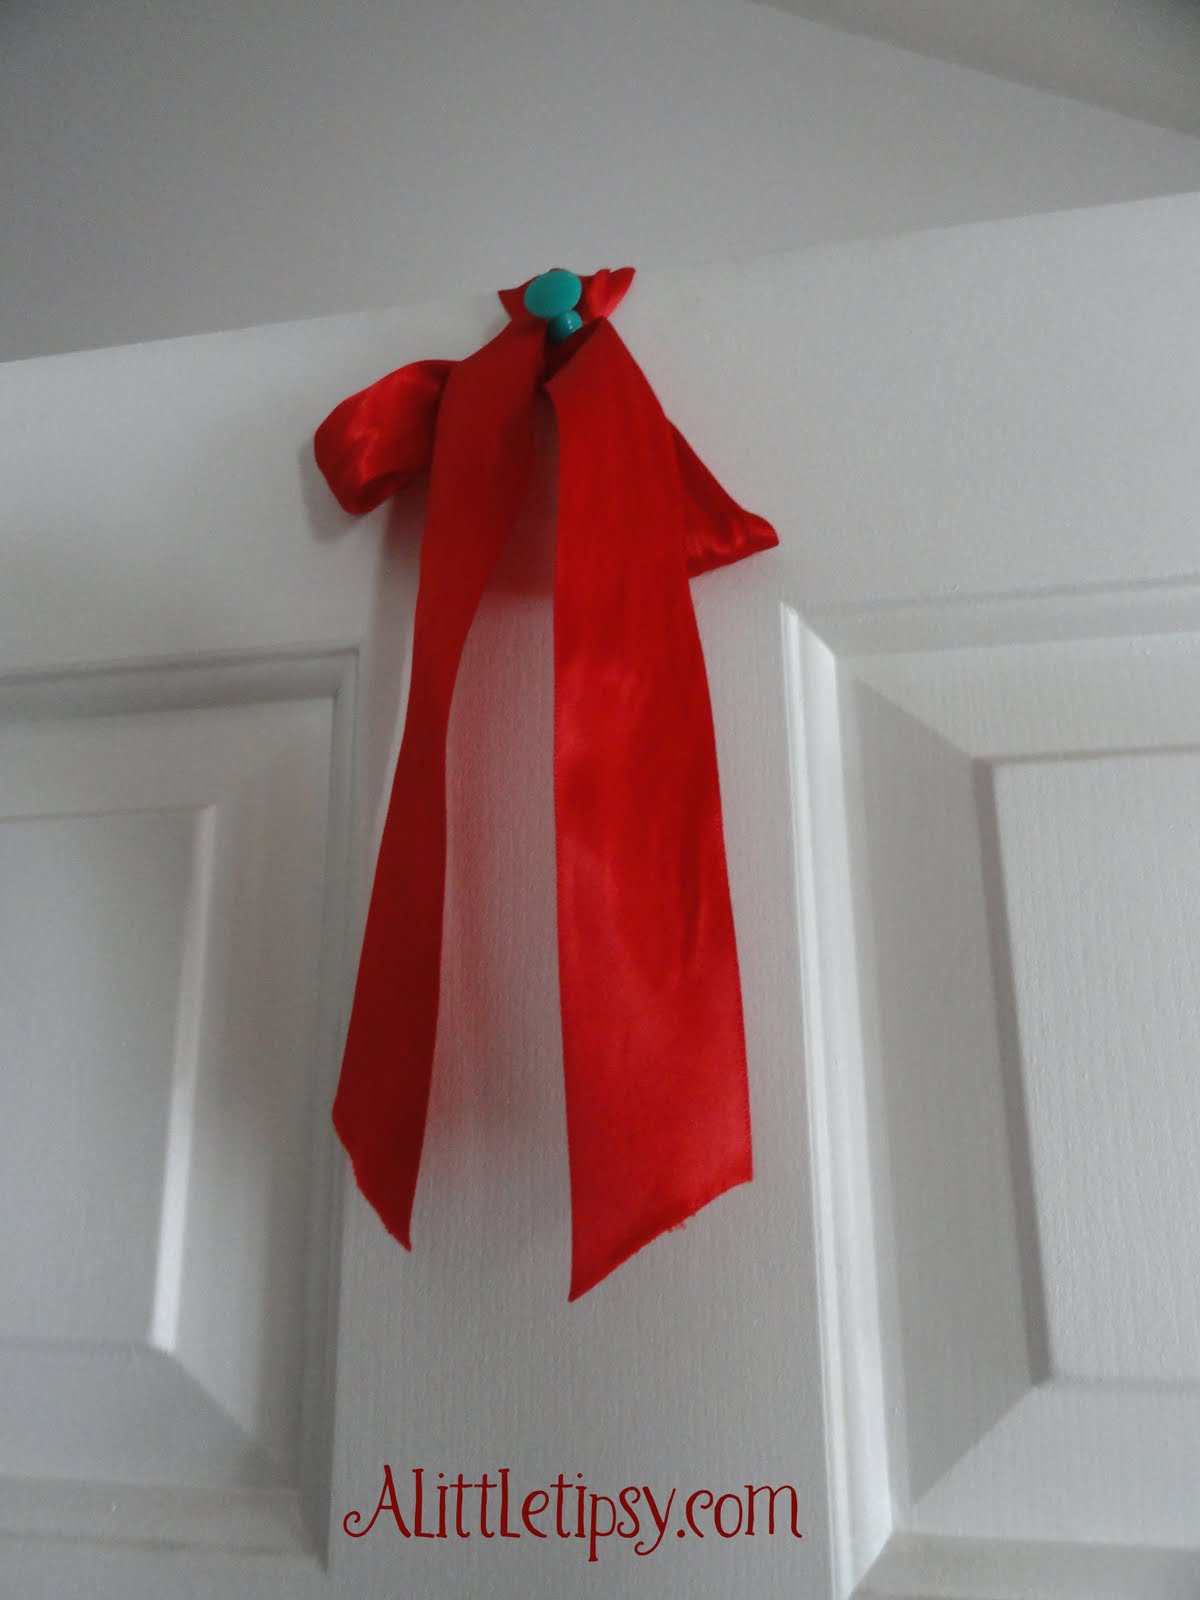
I hung it up using an over-sized push pin on the back side of the door, but it still needed something.

So I took some advice from the Beatles, “All you need is love.”

Linking Up:
Weekend Wrap Up Party
Feature Yourself Friday
Friday Fun Finds
Motivate me Monday
Market yourself Monday
Making Monday Marvelous
It’s So Very Creative
All About You Monday
Making the World Cuter
Made By You

P.S. Don’t forget to sign up for free Tipsy updates via RSS or email.

We have decided to truncate our feed to help protect against stolen content. I apologize for any inconvenience. Please love us anyway. 🙂
Valentine Banner

January 20, 2011 By Michelle Barneck 4 Comments

Mini Valentine Banner? Check. Made from candy? You know it. I had some cherry juju hearts left from my heart ball and heaven forbid I eat them, but could not let them go to waste. So, alas, the mini Valentine banner was born (or made).


Supplies:

  • Cherry juju hearts (I used 22)
  • Needle
  • Red thread
  • Sharpie
  • Ribbon

1. Turn your hearts over so the flat side is facing up. Take your Sharpie and write a letter of “Happy Valentine’s Day” on each heart.
2. Thread the needle with a LONG string of thread. Make both ends even so the candy will thread over two strings.
3. Poke the needle through each heart (through the widest part of the heart, so the weight will hold the heart the right way when hung) until you have them all strung.
4. Make space between the words and tie scraps of ribbon on to the thread as spacers.


Linking up:
Transformation Thursday
Strut Your Stuff
Show Off Your Stuff
Get Your Craft On

P.S. Don’t forget to sign up for free Tipsy updates via RSS or email.

We have decided to truncate our feed to help protect against stolen content. I apologize for any inconvenience. Please love us anyway. 🙂
Decoration Ball

January 19, 2011 By Michelle Barneck 5 Comments

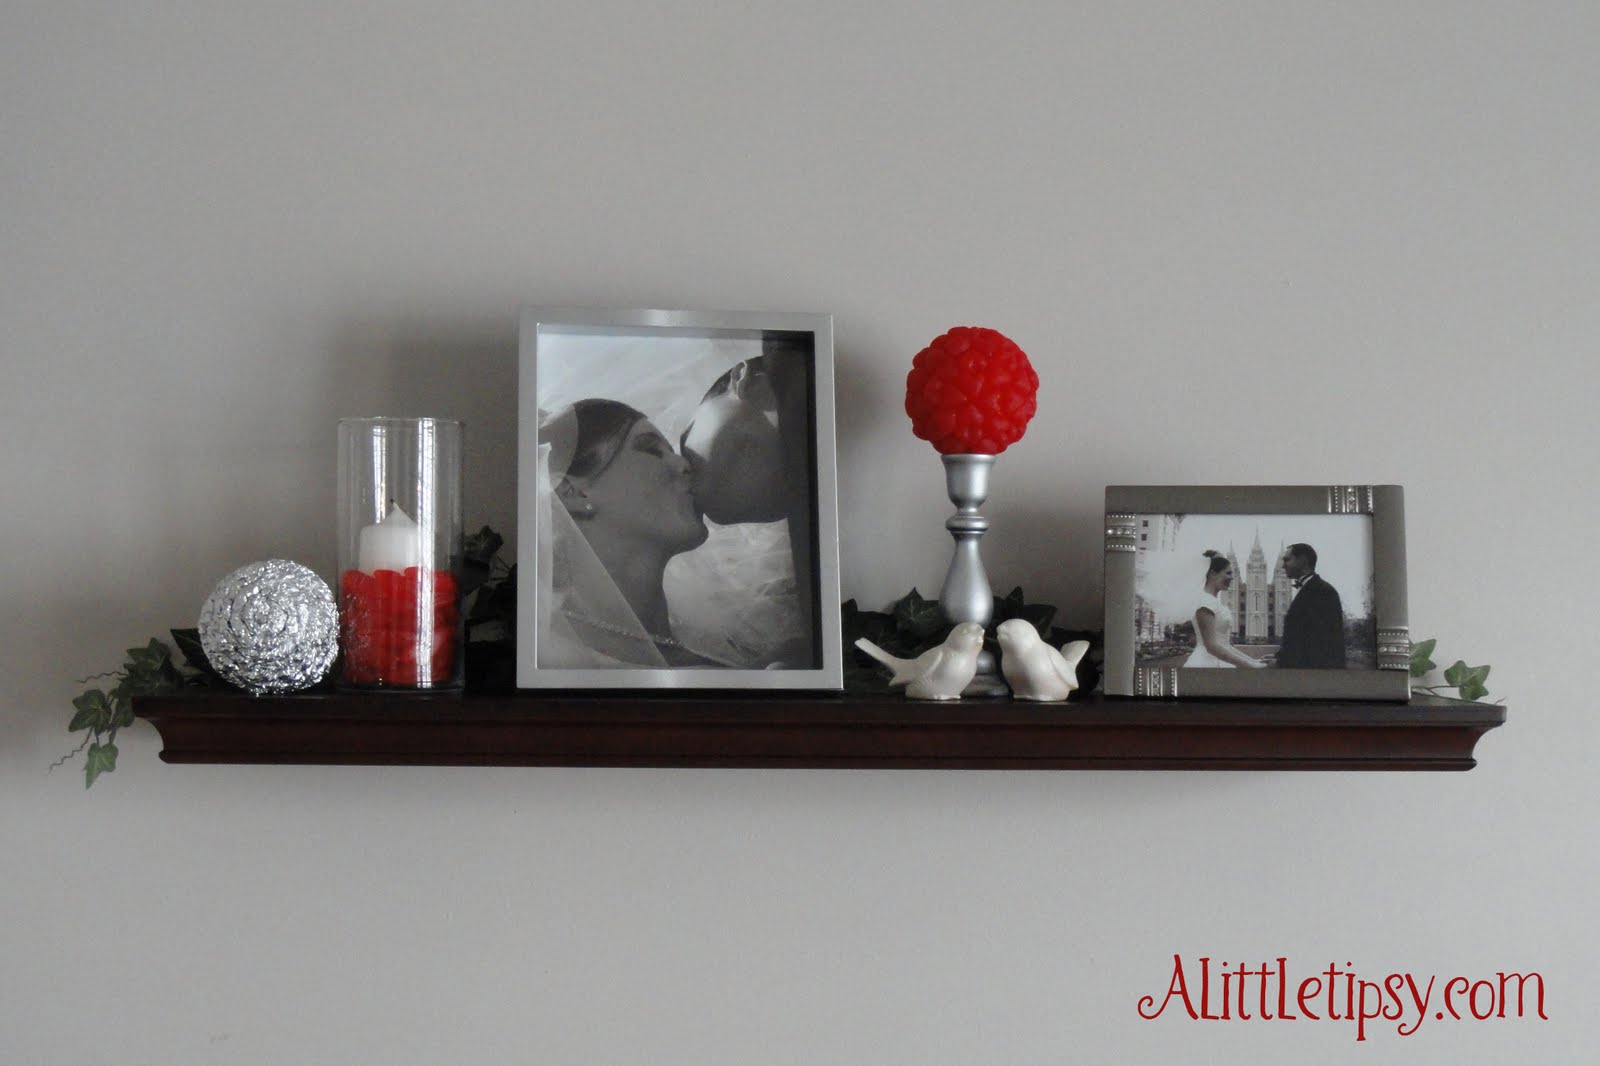
Silver bling is what was needed to finish off my Valentine decor shelf, so I challenged myself to another round of what can we make with what’s sitting around. You may get a good laugh over this decoration ball. Or should I say aluminum foil ball. 🙂

Decoration Ball

Supplies:

  • Aluminum foil
  • Styrofoam ball
  • Hot glue gun

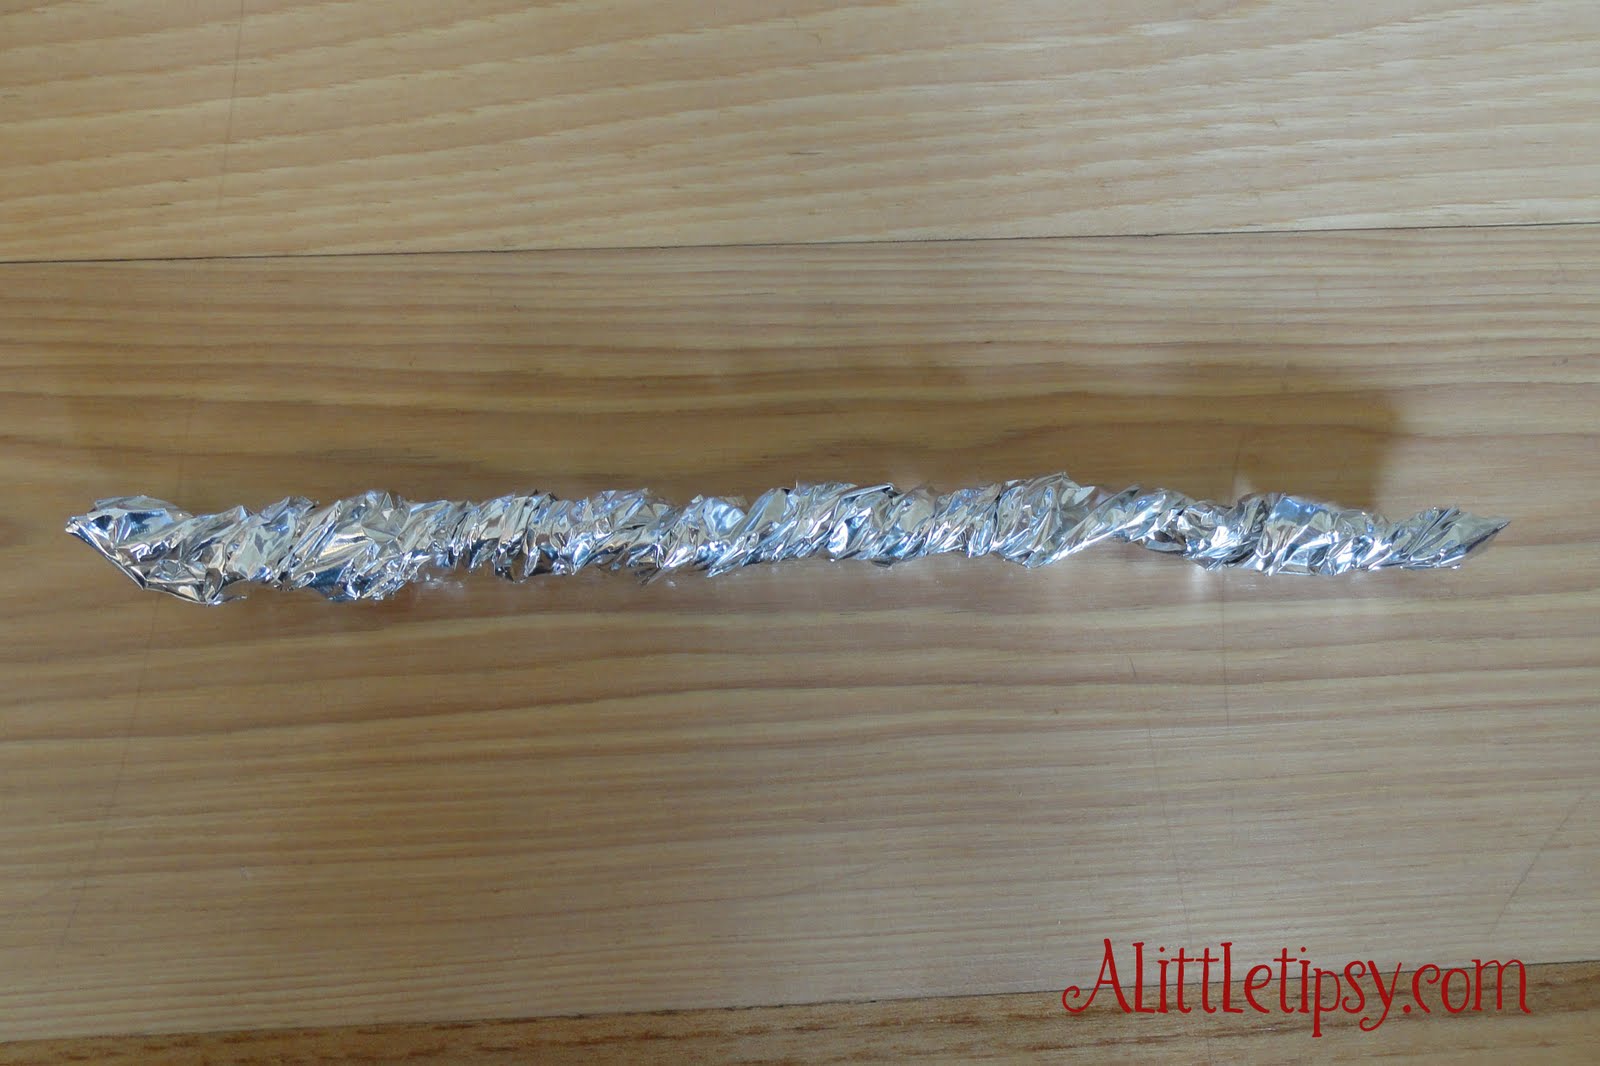
1. Rip of a 4 inch piece of foil. Fold in thirds so the shiny side is out.

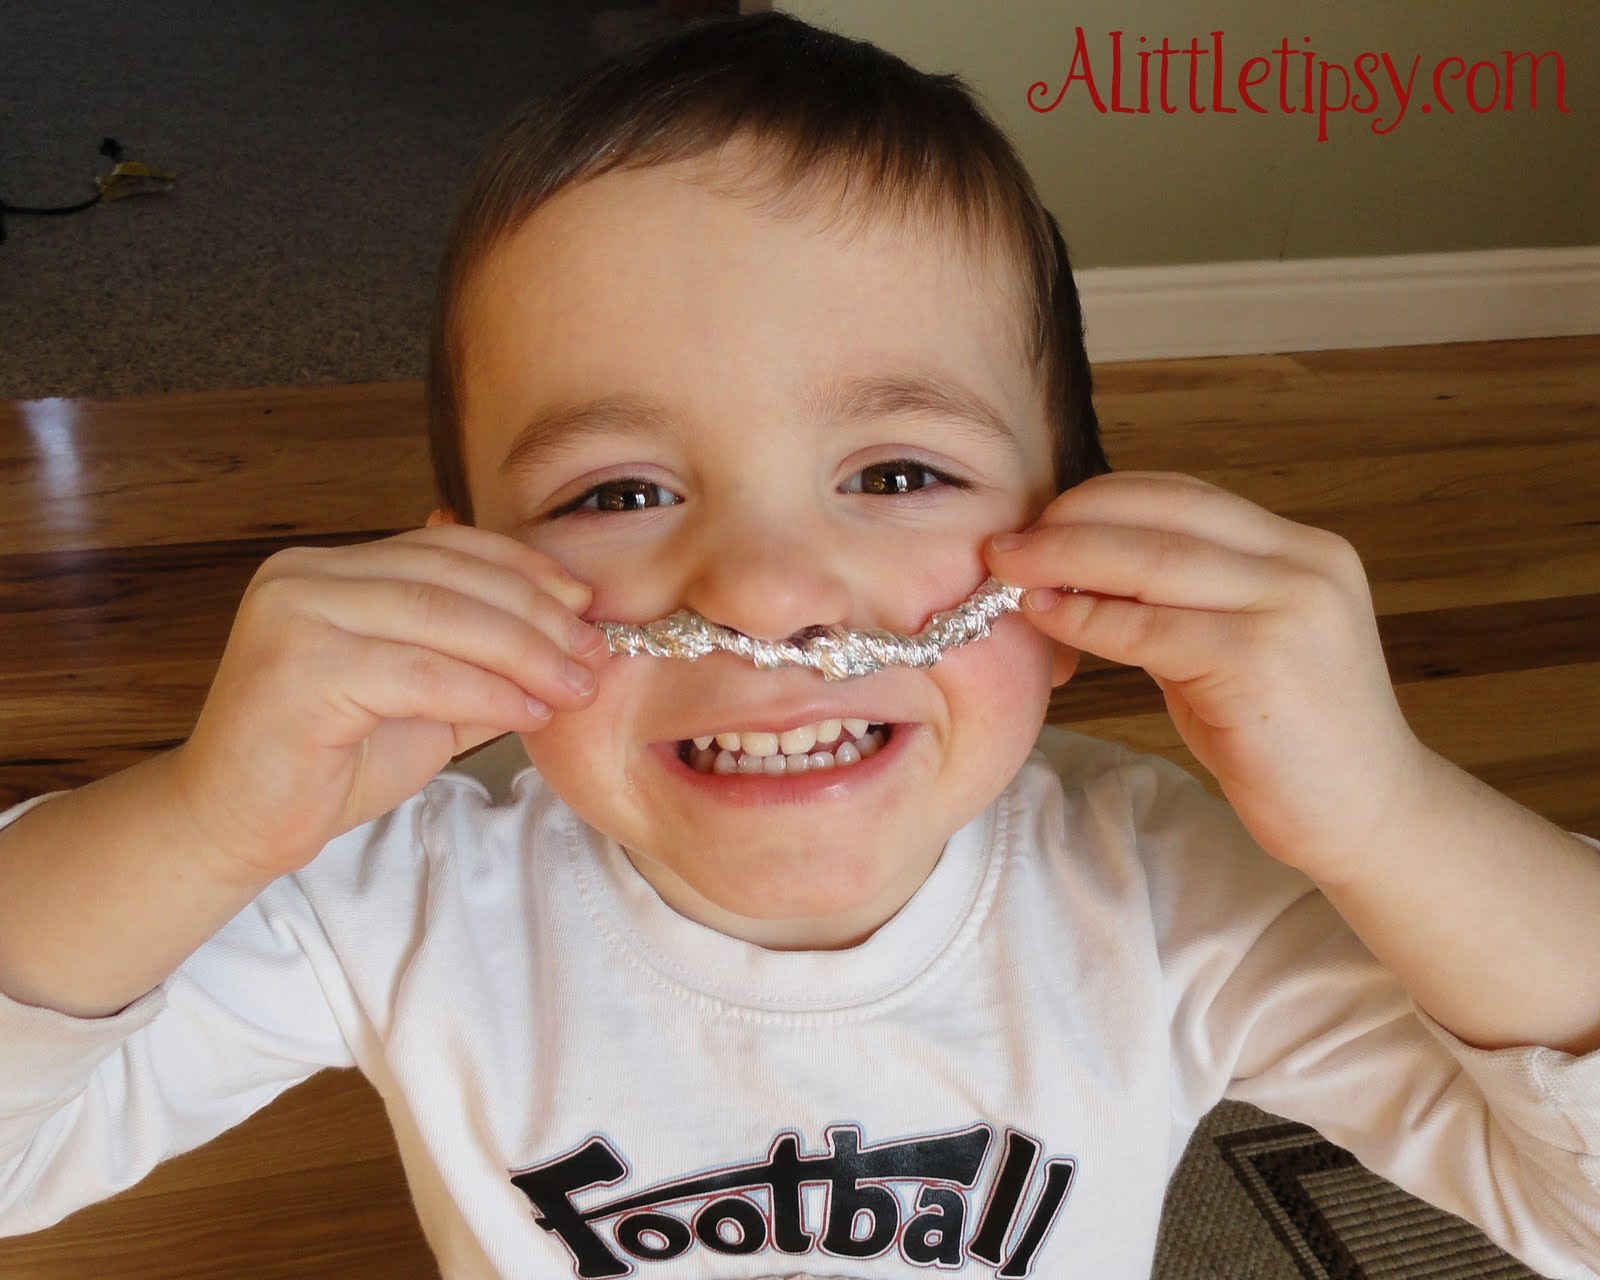
2. Twist until it’s about a half inch wide. This part is so easy a three year old can do it.

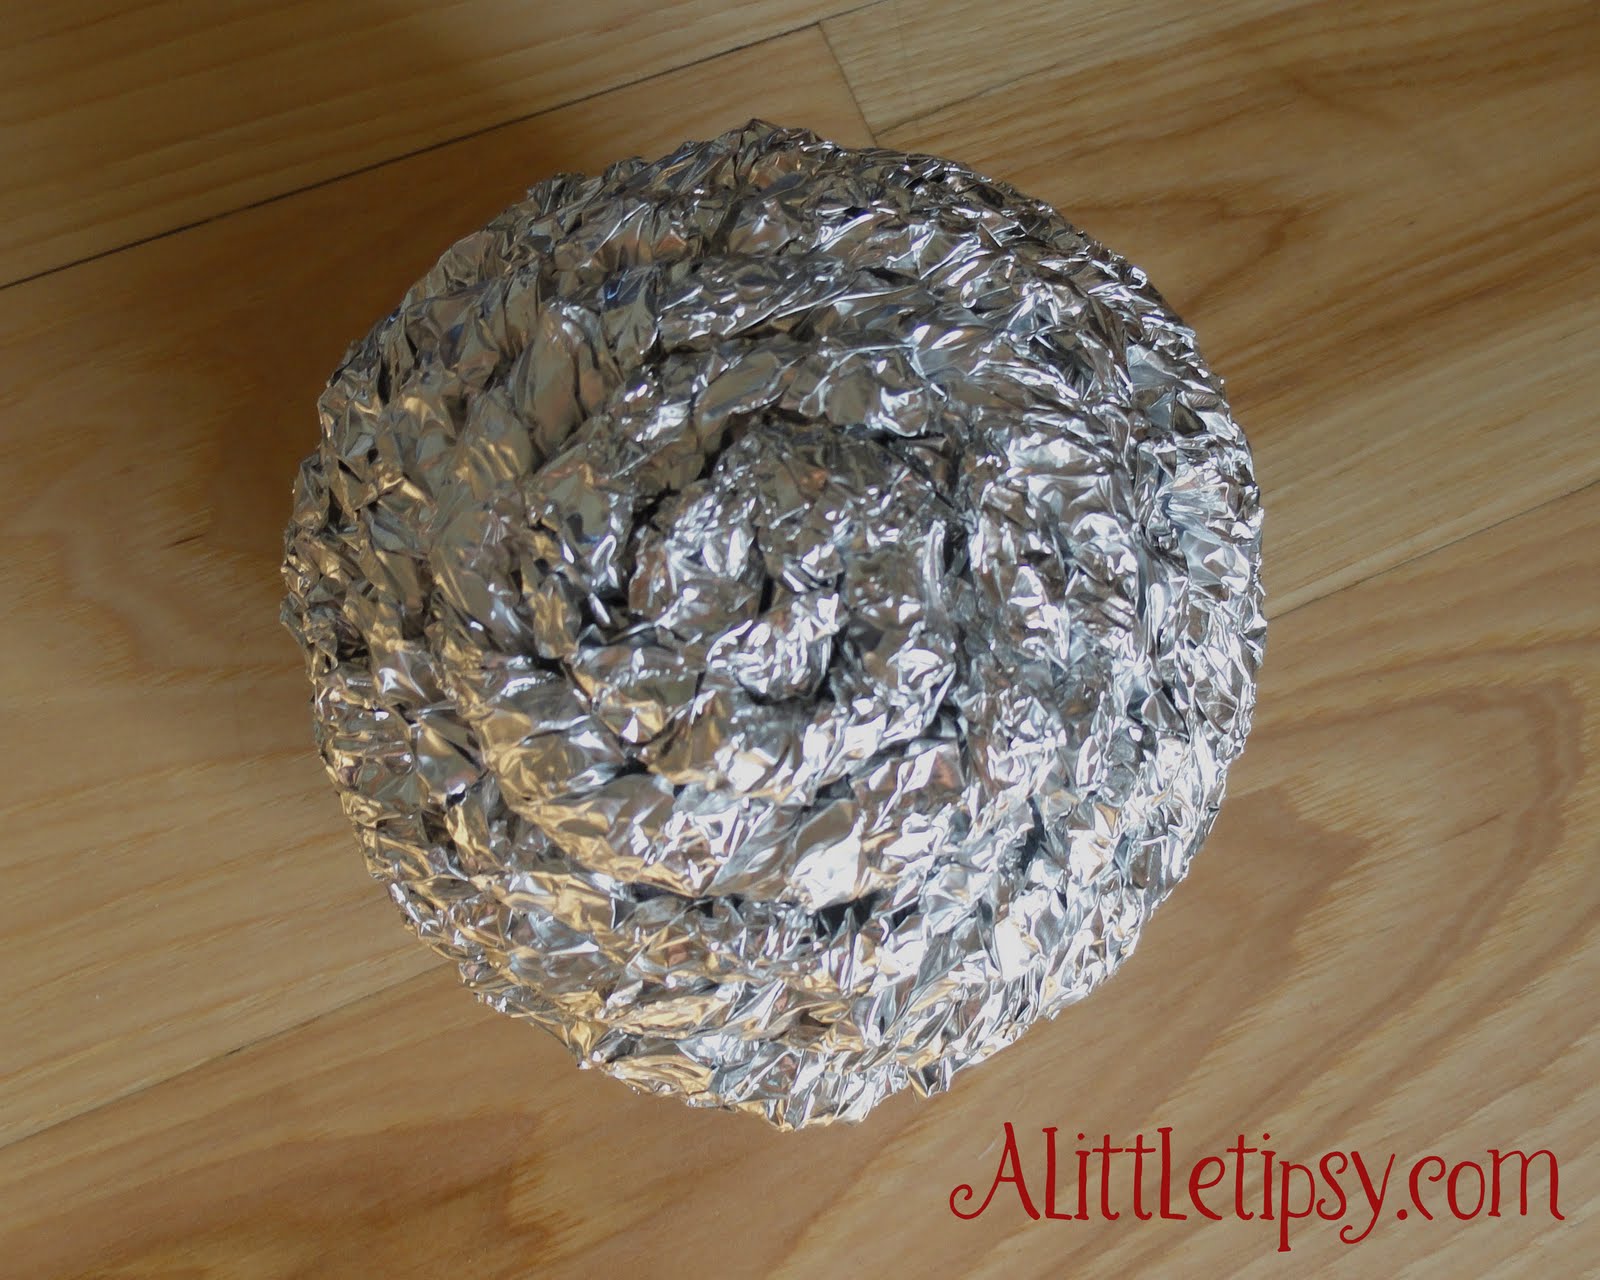
3. Wrap the first piece of twisted foil into a spiral and glue to the top of your ball.
4. Continue gluing twisted pieces around your ball until you finish with another spiral on the other side.

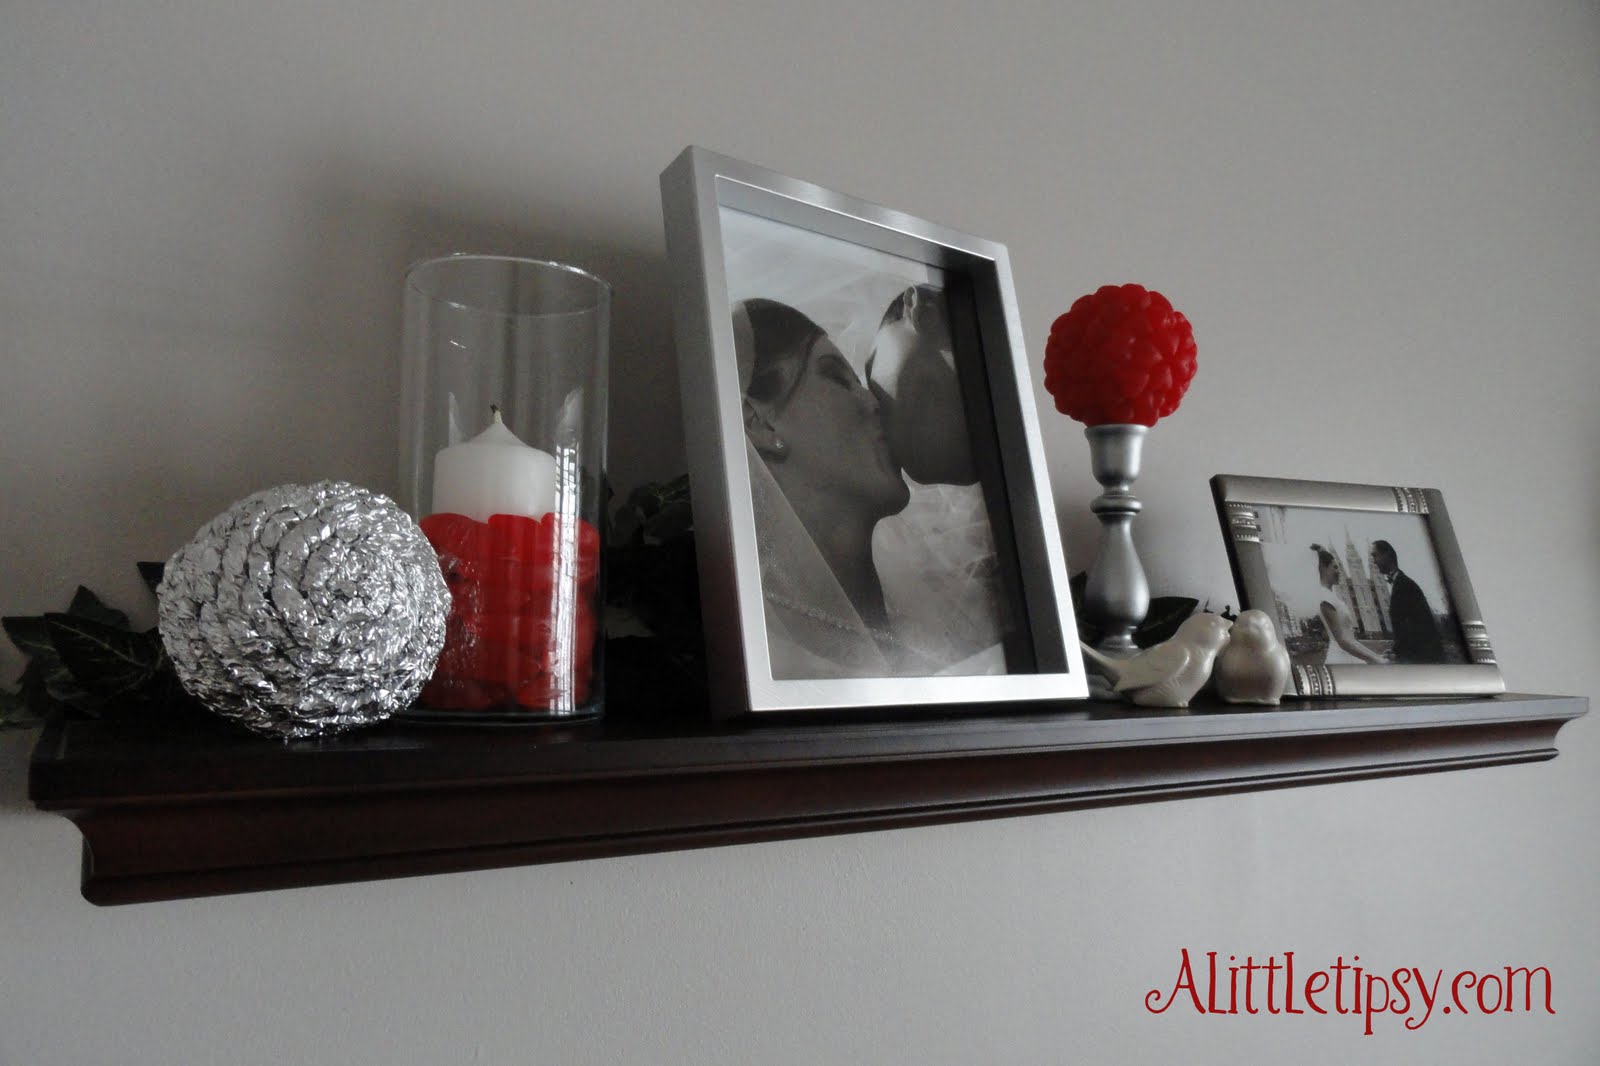
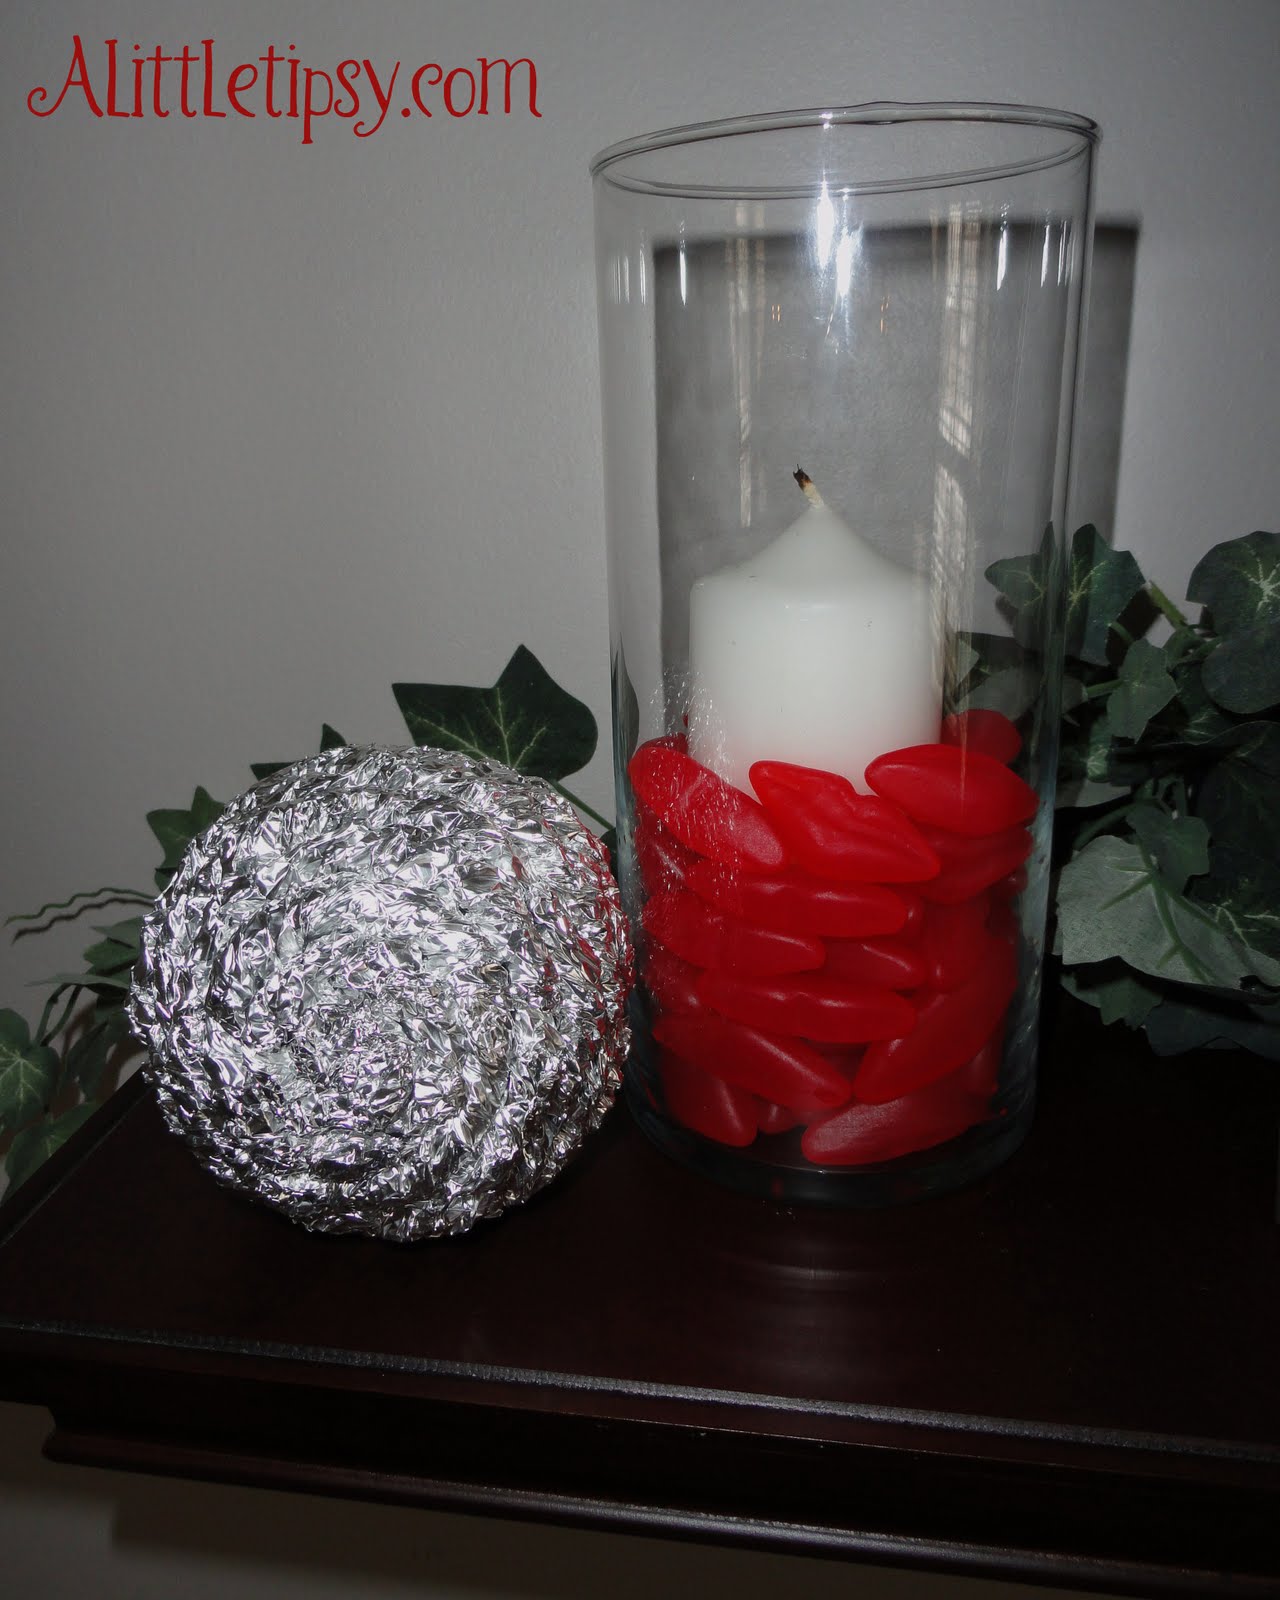
I put mine on the shelf with a hot lips candle display because you know I can’t pass up some good candy decor.

Pair that with wedding pics, a heart ball topiary and some love birds and you’ve got yourself a fun Valentine’s display for about $5!

Linking Up:
Transformation Thursday
Strut Your Stuff
Show Off Your Stuff
Get Your Craft On

P.S. Don’t forget to sign up for free Tipsy updates via RSS or email.

We have decided to truncate our feed to help protect against stolen content. I apologize for any inconvenience. Please love us anyway. 🙂
« Previous Page
Next Page »

  • Bloglovin
  • Facebook
  • Google+
  • Instagram
  • Pinterest
  • RSS
  • Twitter

Hi there! I'm Michelle. Mother of three little boys and one little princess. Welcome to A Little Tipsy, a place for exploring creativity and sharing inspiration.

Follow on Bloglovin


Visit Michelle Barneck {A Little Tipsy}'s profile on Pinterest.

Tutorials by Category


15 Family Reunion Games

Family Reunion Games Collage

15 Sprinkle Party Ideas

Sprinkle Birthday Party
Creative Commons License

© Copyright 2014 A Little Tipsy · Site Designed by The Fairy Blogmother · Web Hosting by RFE Hosting

This website uses cookies to improve your experience. We'll assume you're ok with this, but you can opt-out if you wish.Accept Read More
Privacy & Cookies Policy