A Little Tipsy

Creative Tips & Ideas

  • home
  • About Me
  • the tipsy top
  • press
  • projects
  • contact me
[print_thumbnail_slider]

Burlap Ruffle Table Runner

June 23, 2010 By Michelle Barneck 16 Comments

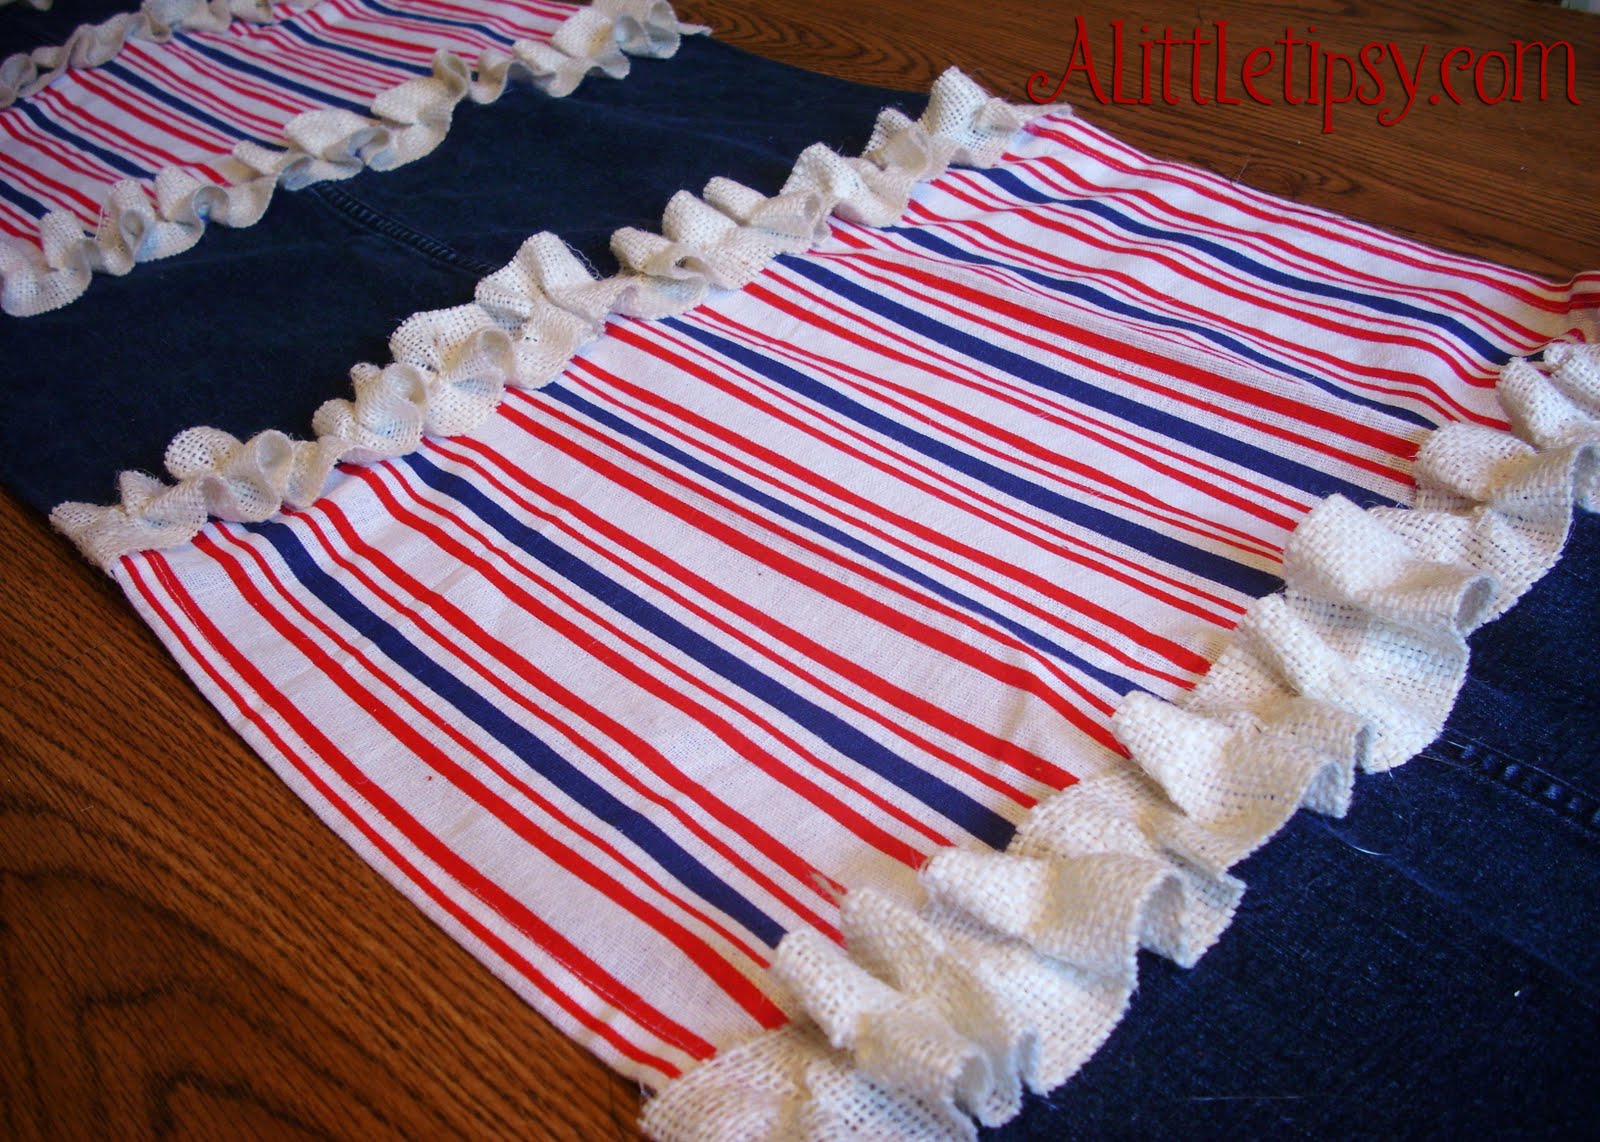
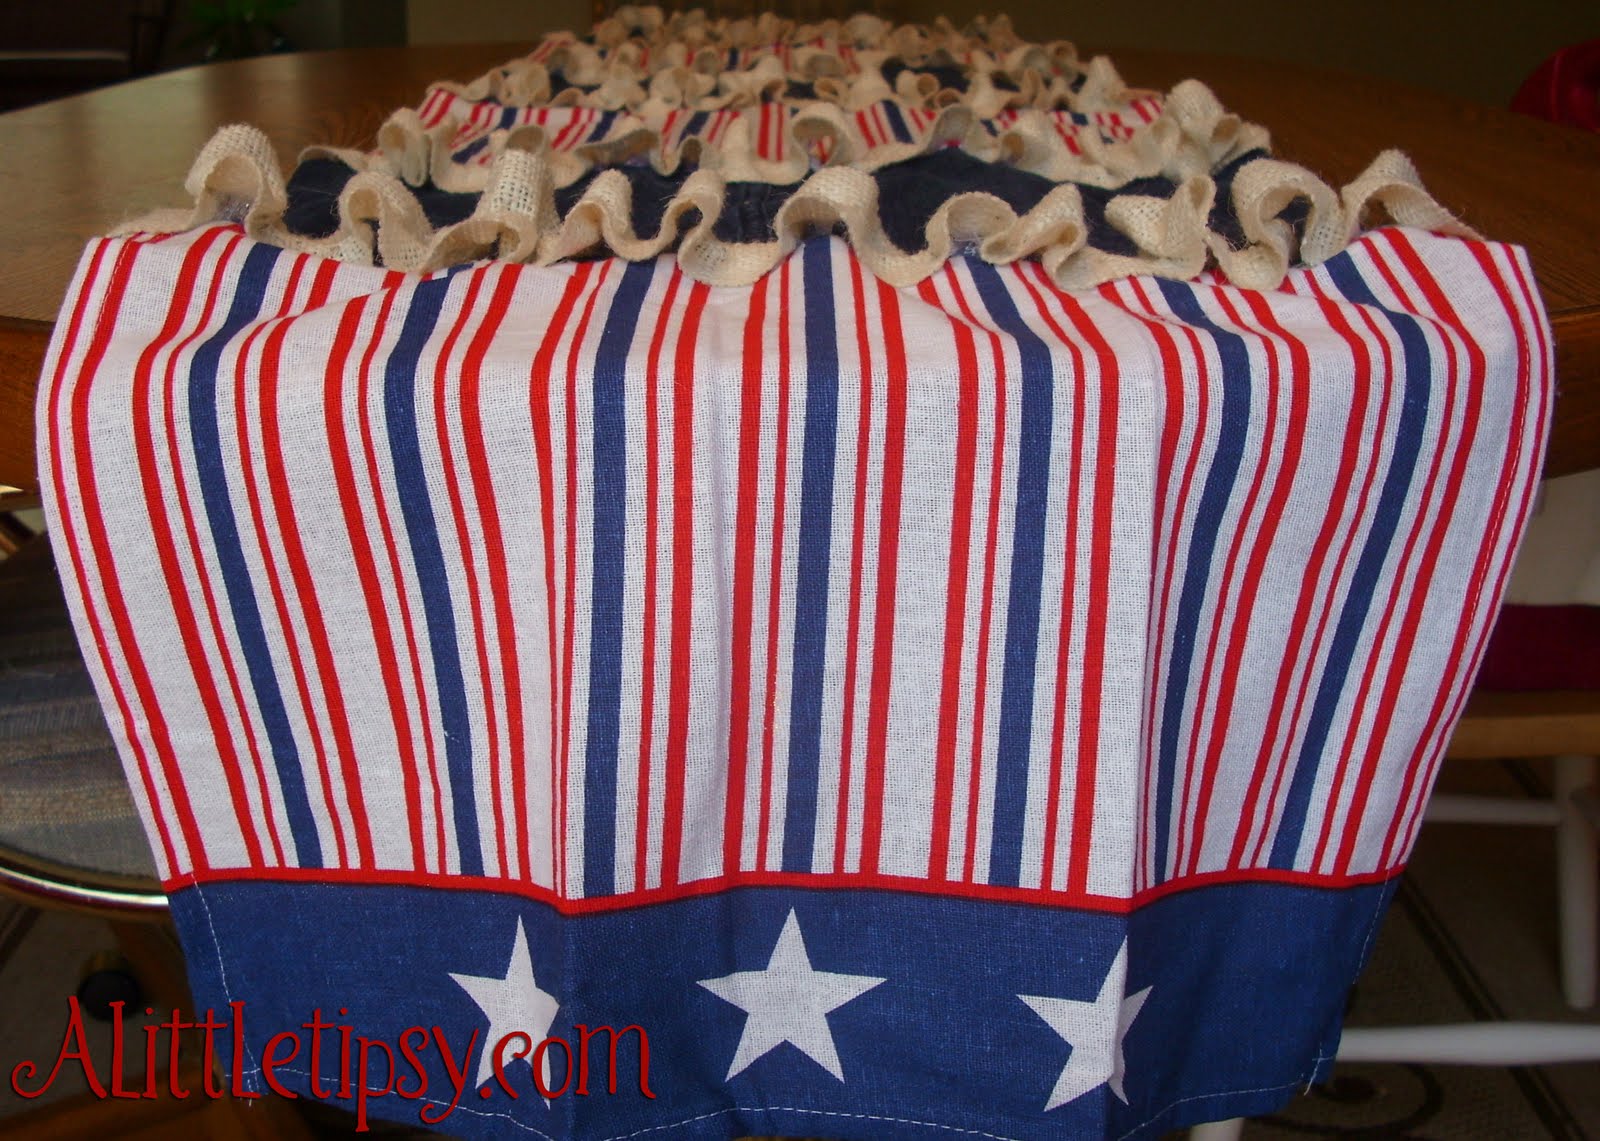
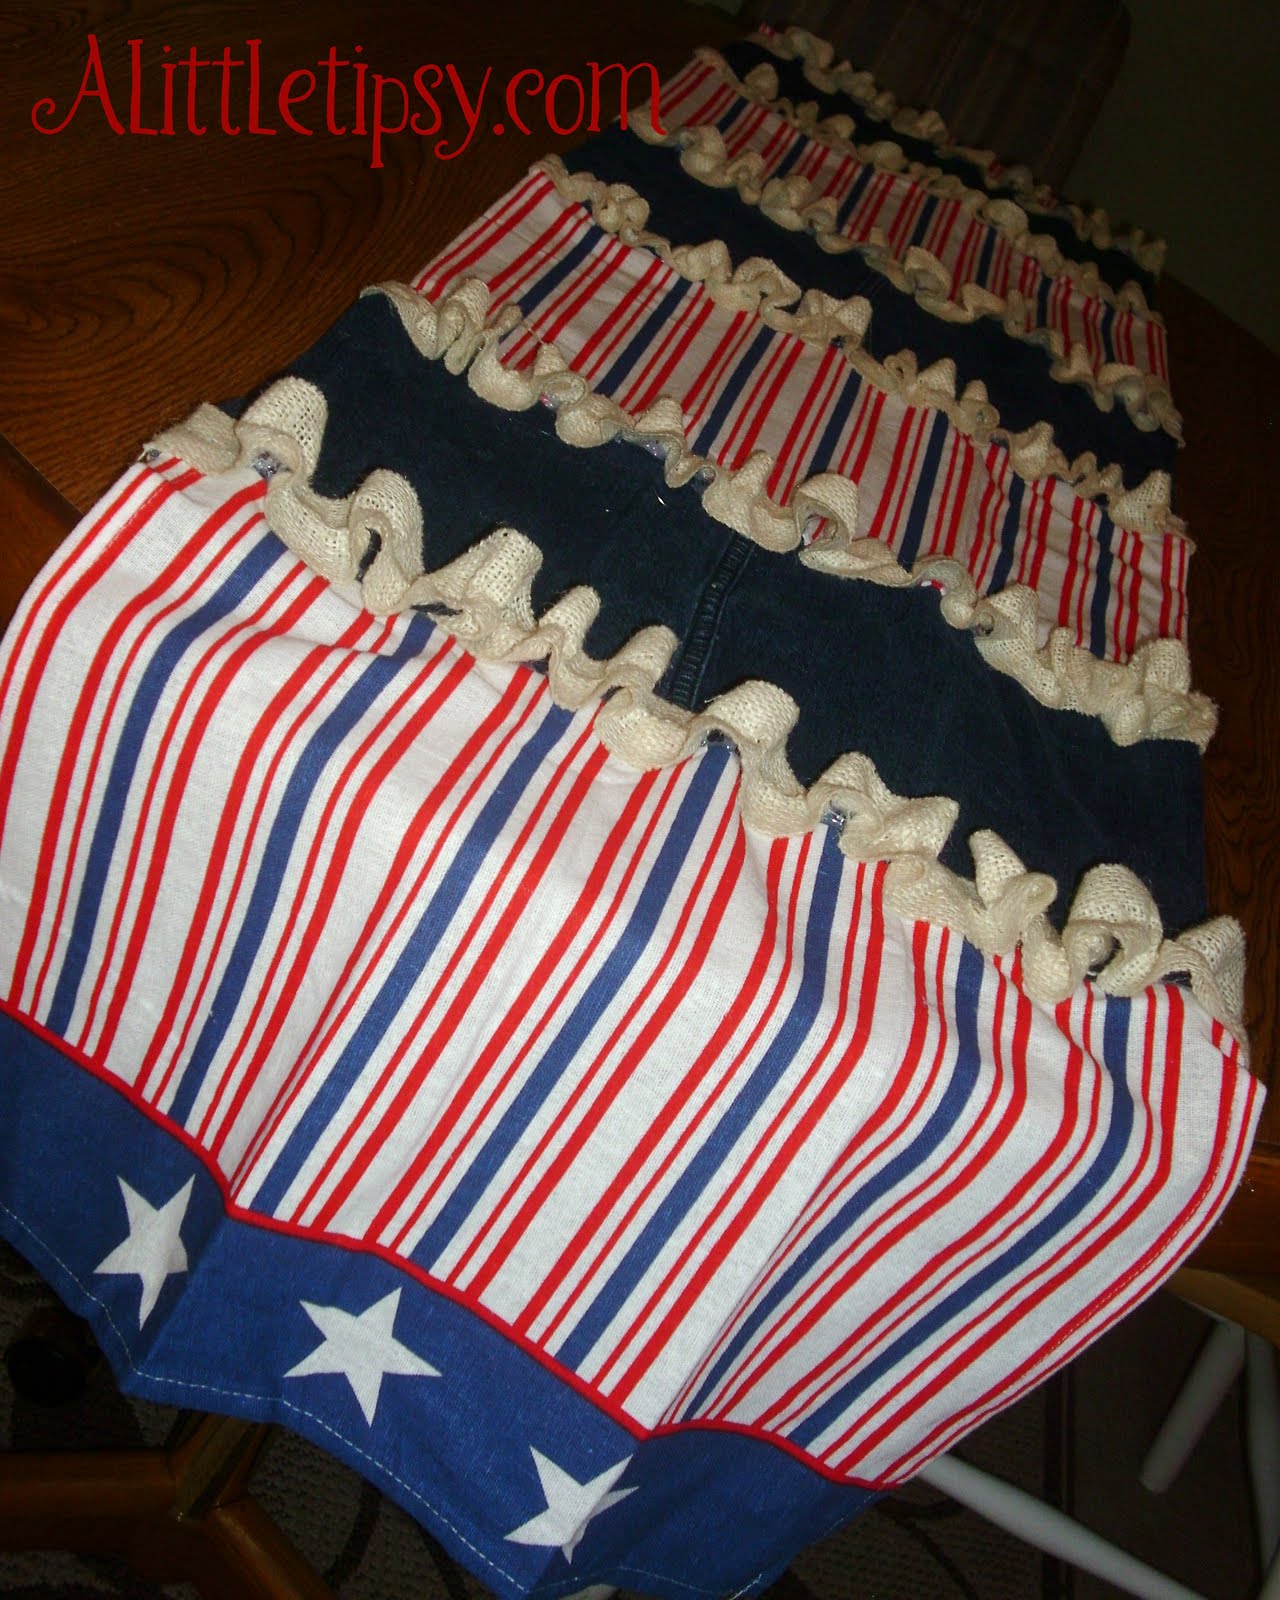
This is a fun patriotic table runner with a little burlap ruffle for added cuteness. I made it for the 4th of July, but it can easily be done with alternate fabric for any occasion.
Supplies needed:
Scissors
2 cotton towels or fabric
Denim (slightly more than 1 pant leg)
Burlap (at least 1 ft x 4 ft, preferably more)
Sewing Machine
Thread
Glue Gun
Hot Glue


My patriotic cotton towels are from Dollar Tree.

1. Cut towels in half. Measure how long your table is to see how much denim you will need to make the runner long enough. Alternate material.

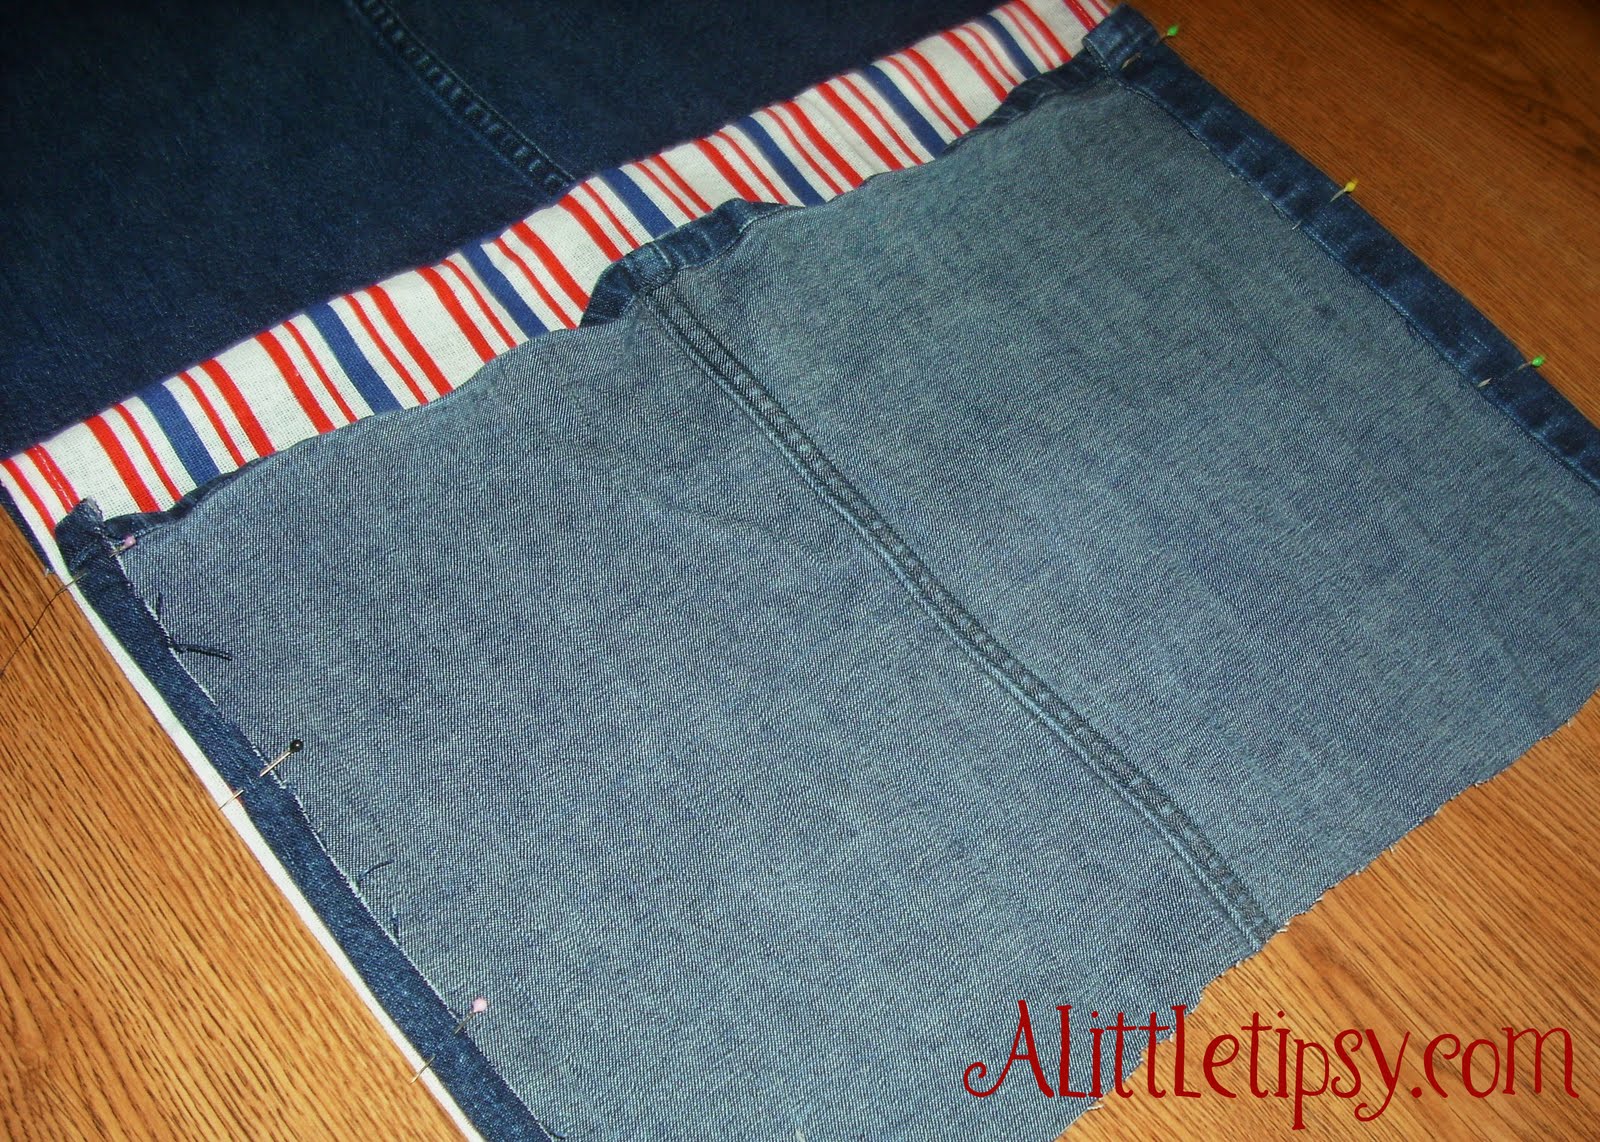
2. Pin and sew the edges of the denim to match the towel width.
3. Put the bright sides of the fabric together. Pin and sew the edge together to connect the two fabrics. Continue until all the pieces are sewn together in a strip.
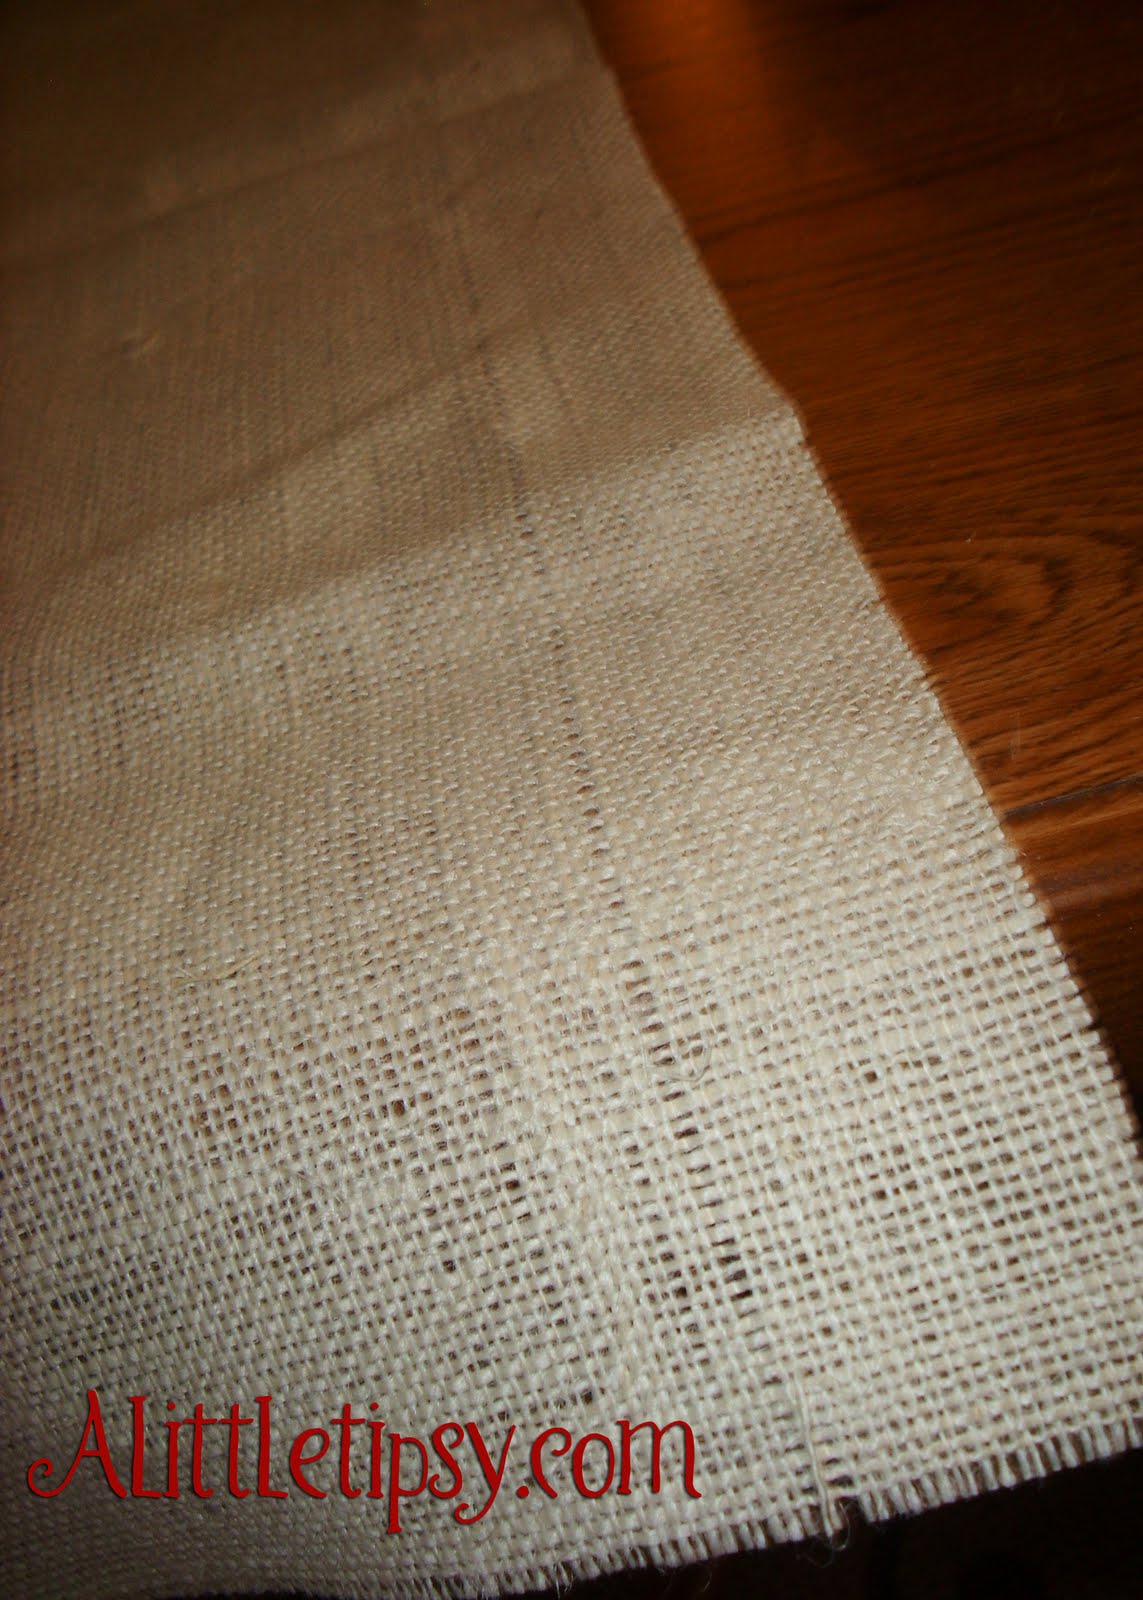
4. Cut burlap in to six 2 inch wide and about 4 foot long strips. Snip and pull out one of the burlap strands to make cutting straight a snap.
5.To make ruffles, hold on to the strand in the middle of the end a burlap strip and CAREFULLY push the material to gather. Do this from each end until the gathering meeting in the middle and you have a ruffle. Be extremely gentle with the strand. I broke mine multiple times. When you are happy with the amount of gathering, tie knots on the end of each strand to keep the ruffle in place.
6. Now hot glue your ruffles on each seam. Wrap the edges of the burlap around the runner and glue down for a finished look.
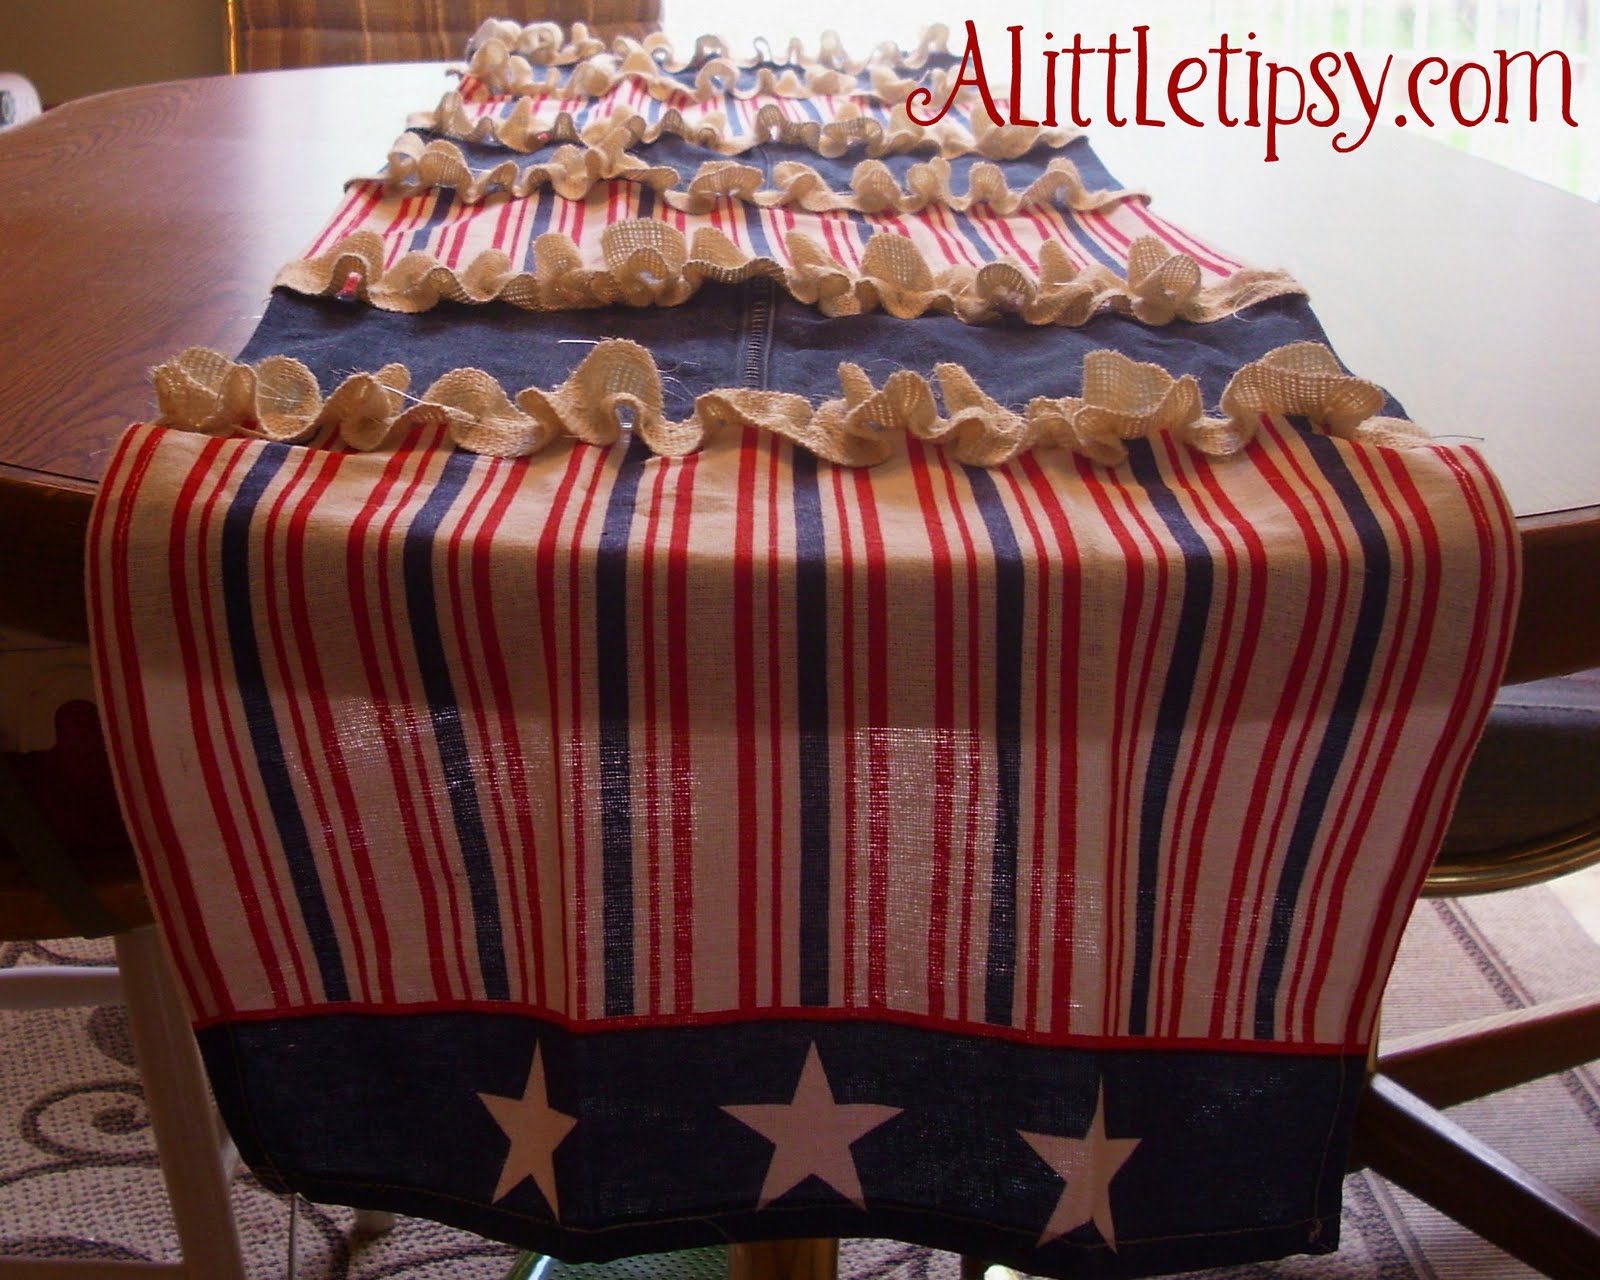
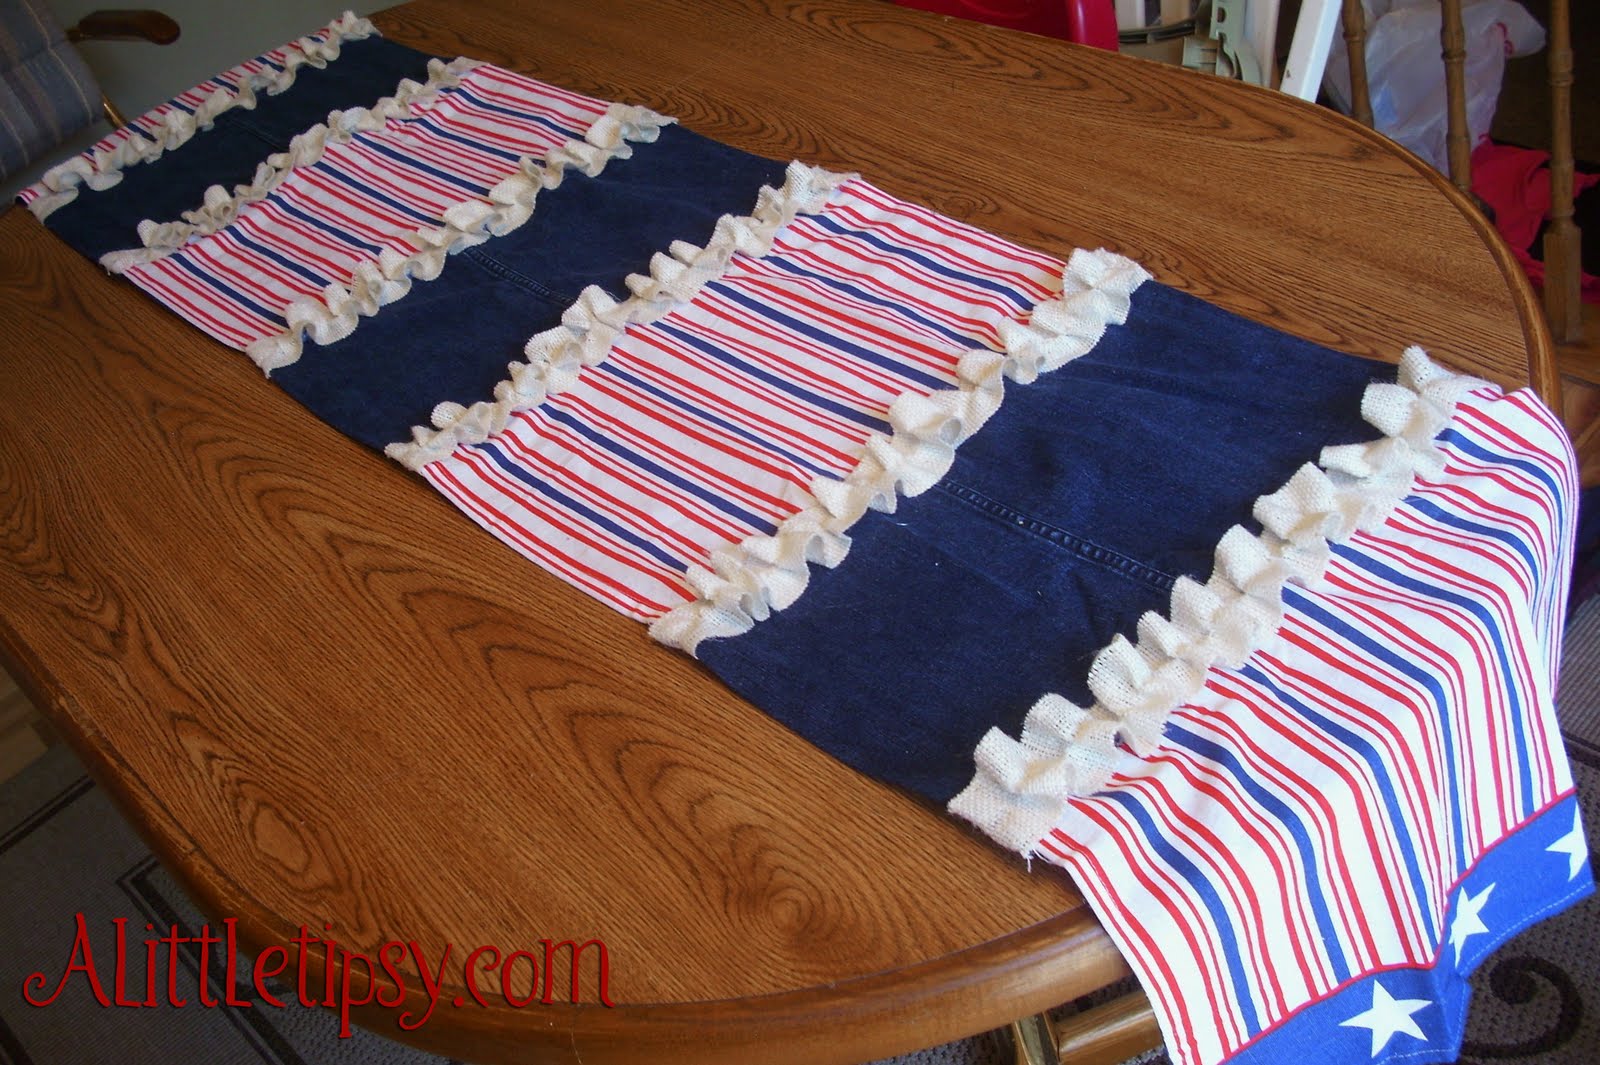
I was so proud to show off my Denim and burlap ruffle table runner to the hubs when he got home. Too bad he asked what it was and was confused. He claims he has never seen a table runner before. I know he has seen them tons of times at my moms house. Such a man.

Linking Up:
Patriotic Parade
Get Your Craft On
Transformation Thursday
Strut Your Stuff
Show Off Your Stuff
Show and Tell
Whatever Goes Wednesday
Look What I Made

P.S. Don’t forget to sign up for free Tipsy updates via RSS or email.

We have decided to truncate our feed to help protect against stolen content. I apologize for any inconvenience. Please love us anyway. πŸ™‚

Belated Birthday Gift

June 23, 2010 By Michelle Barneck 7 Comments

Anyone else feel a little behind lately? Just because you might be late doesn’t mean you aren’t thoughtful. πŸ˜‰ Here is a belated birthday gift I took to my YW adviser and friend. The card reads, “I’m so sorry I missed your birthday. I give you official permission to light this candle, blow it out, and make an extra birthday wish!”

I went with a vanilla candle since it seems to be a scent everyone likes, plus it is a neutral color that matches any decor.

P.S. Don’t forget to sign up for free Tipsy updates via RSS or email.

We have decided to truncate our feed to help protect against stolen content. I apologize for any inconvenience. Please love us anyway. πŸ™‚

Uncle Ben’s Brown Rice Review

June 23, 2010 By Michelle Barneck 2 Comments

When Mom Central invited me to review Uncle Ben’s Brown Rice, I was excited to do so! I have really been trying to find fast and easy ways to incorporate healthier foods in to our diet. Brown rice is a great source of whole grain and thus a good switch to make.

“To give home cooks the choice, Uncle Ben’s has developed a few types of whole grain brown rice – Natural Whole Grain Brown, with the traditional cook time (30 minutes), plus Fast & Natural Instant Brown Rice and Boil-In-Bag Whole Grain Brown Rice (both ready in 10 minutes) so you can decide which type of brown rice fits the type of meal you are preparing, but still know that you’re getting whole grains on the table.”

Over the last week, I have made meals using both the traditional brown rice and the fast brown rice and I have to say I was pleasantly surprised.

First, I made sirloin and rice with the Fast & Natural rice. I was running behind getting dinner on the table and it was so fast! I had dinner on the table in 20 minutes. My little one was so anxious to try it you can see him trying to snatch it away in the picture.

Here’s a little video of him eating it. Sorry about the huge bite and talking with mouth full.

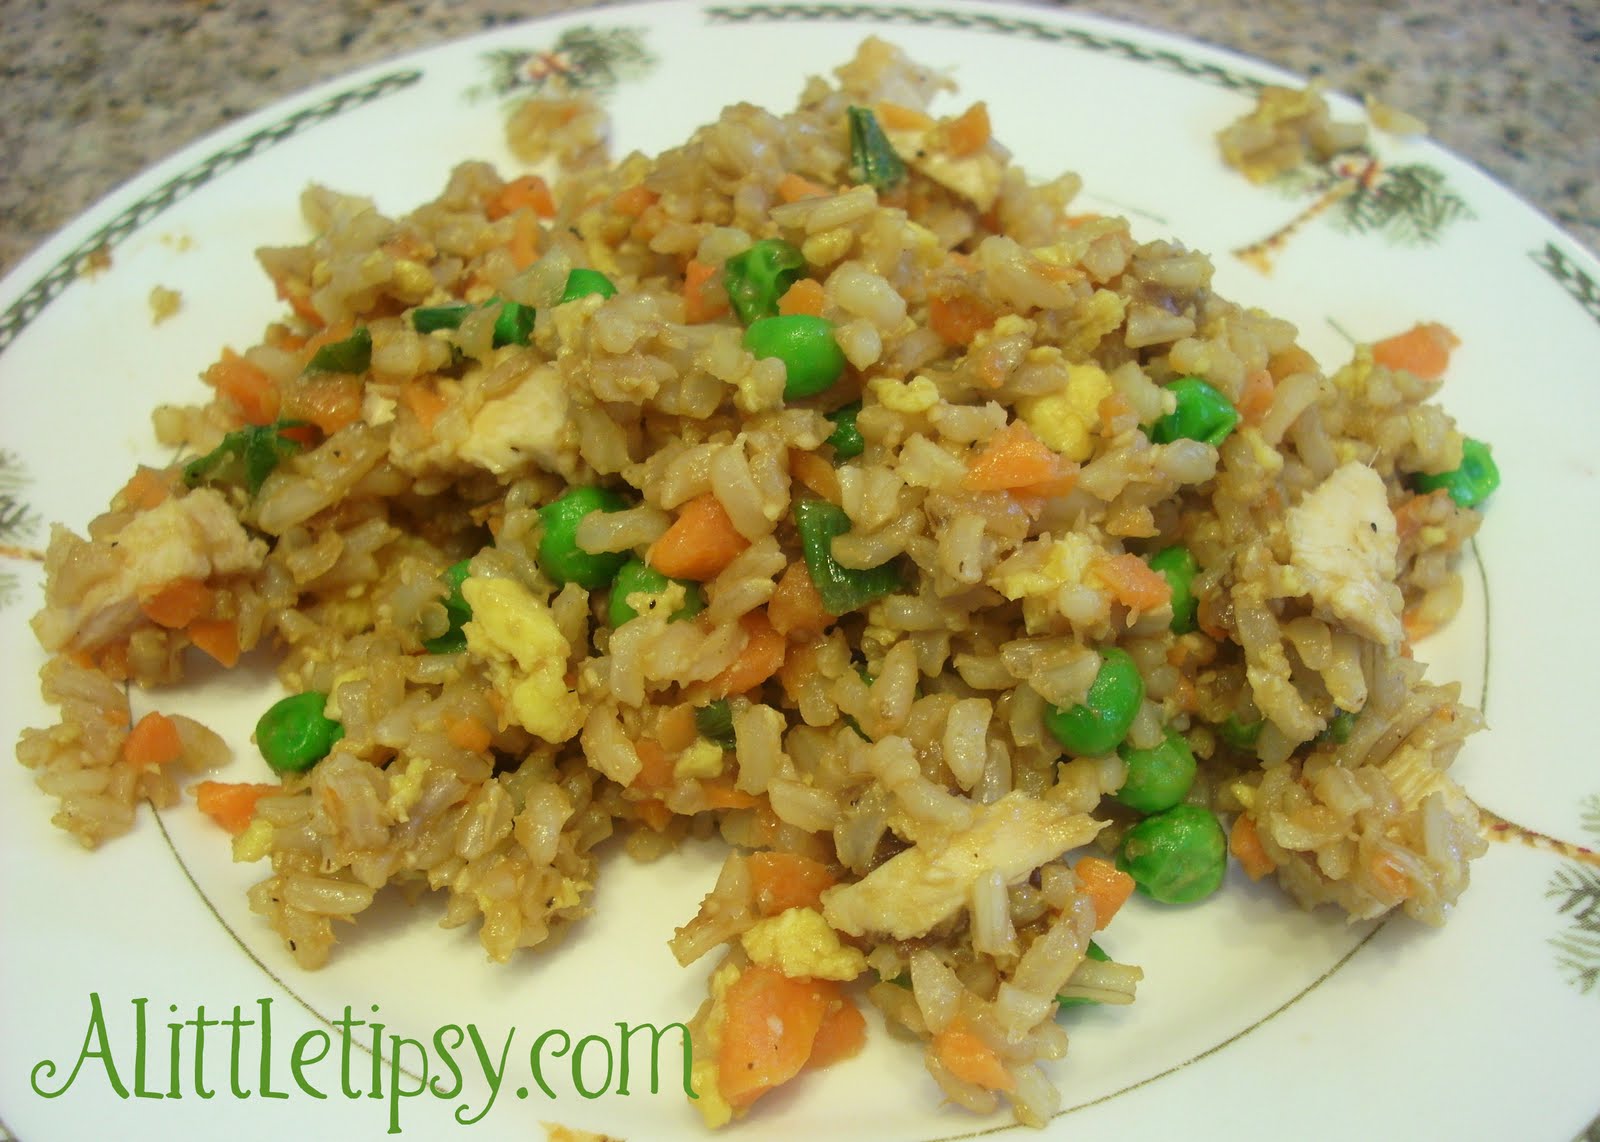
I used the traditional brown rice to make Chicken Fried Rice (one of the few ways I will eat cooked peas or scrambled eggs) which was another big hit. After the fast rice turning out so well I was worried that this one would have more of the brown rice tinge, but it was just as good as with white rice. The boys loved having Chinese night pairing the Fried rice with Egg Drop Soup.

Sometimes, picky eaters will cringe at brown rice, but the texture and taste of this rice is really great! My family could not even tell the difference. I think this will be one healthy substitution that will be seamless in our household. I would recommend giving them a try and see if you can fool your family!

FTC Disclosure: I wrote this review while participating in a blog campaign by Mom Central on behalf of Uncle Ben’s and received samples to facilitate my candid review. Mom Central sent me a gift card to thank me for taking the time to participate.

P.S. Don’t forget to sign up for free Tipsy updates via RSS or email.

We have decided to truncate our feed to help protect against stolen content. I apologize for any inconvenience. Please love us anyway. πŸ™‚

Flower Table Cloth Weights

June 21, 2010 By Michelle Barneck 19 Comments

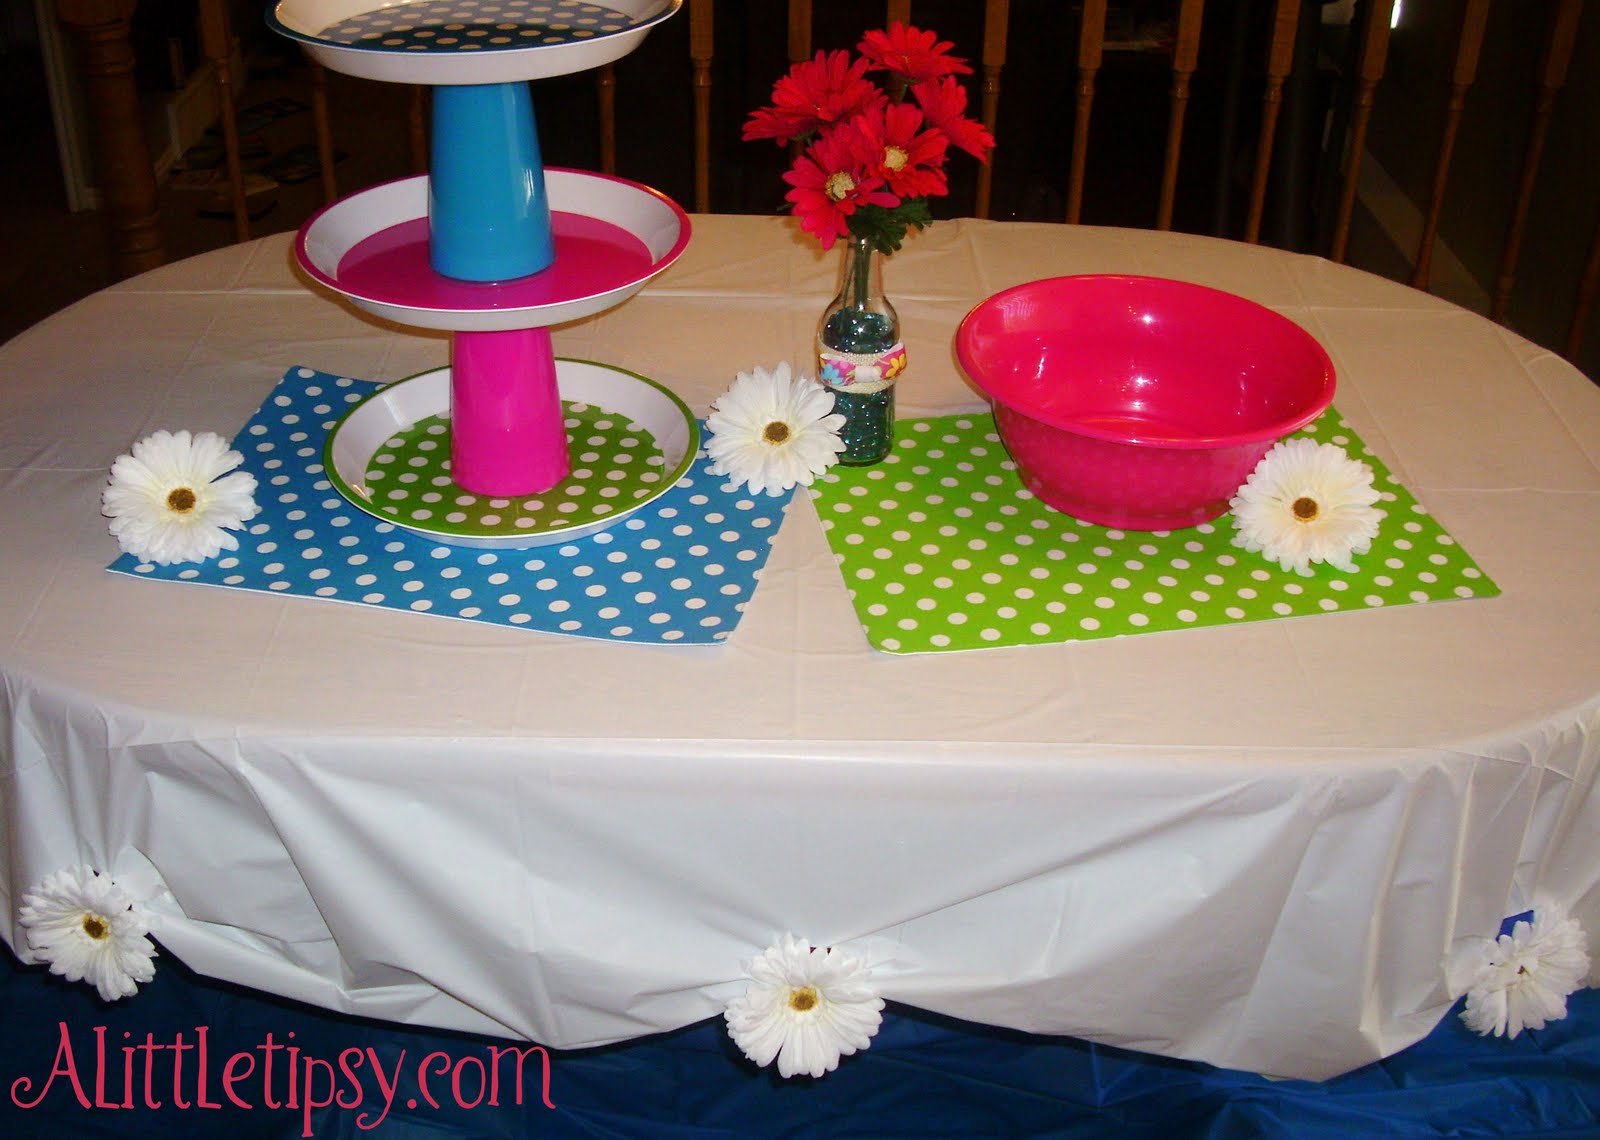
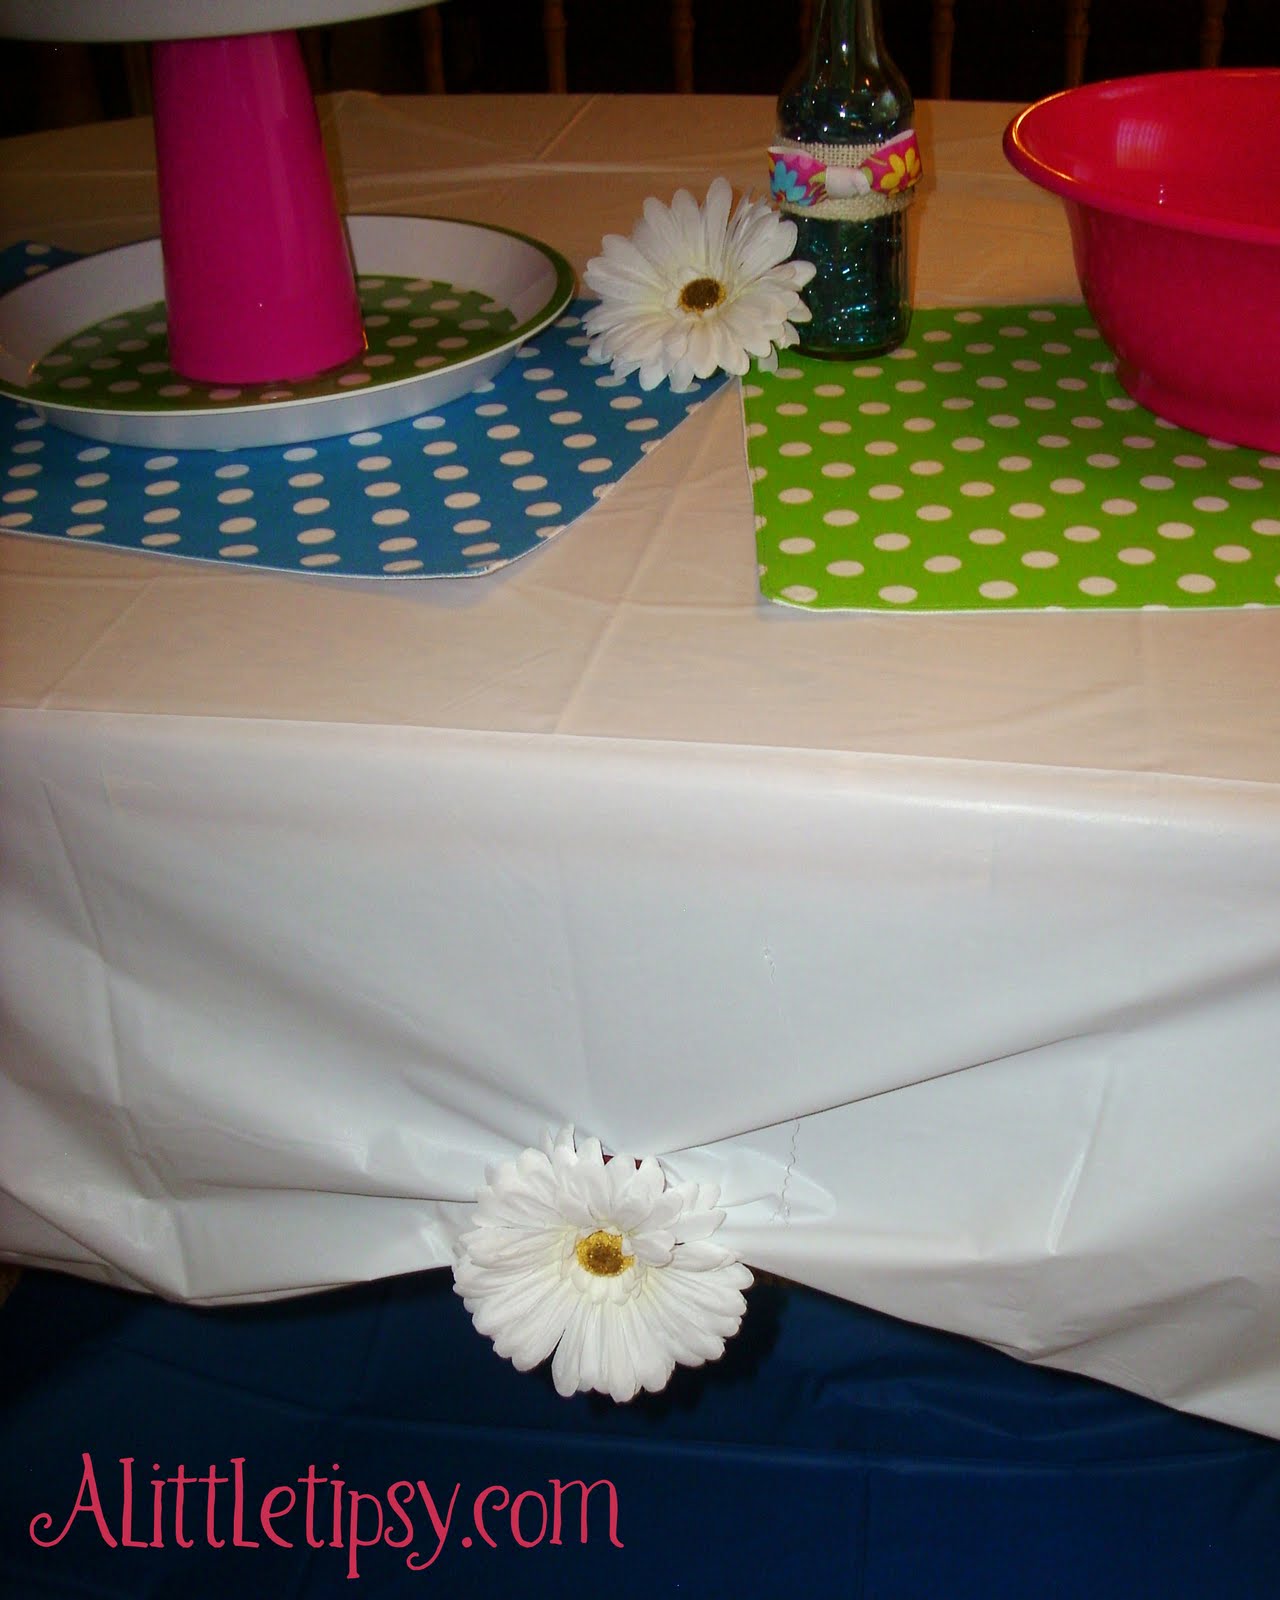
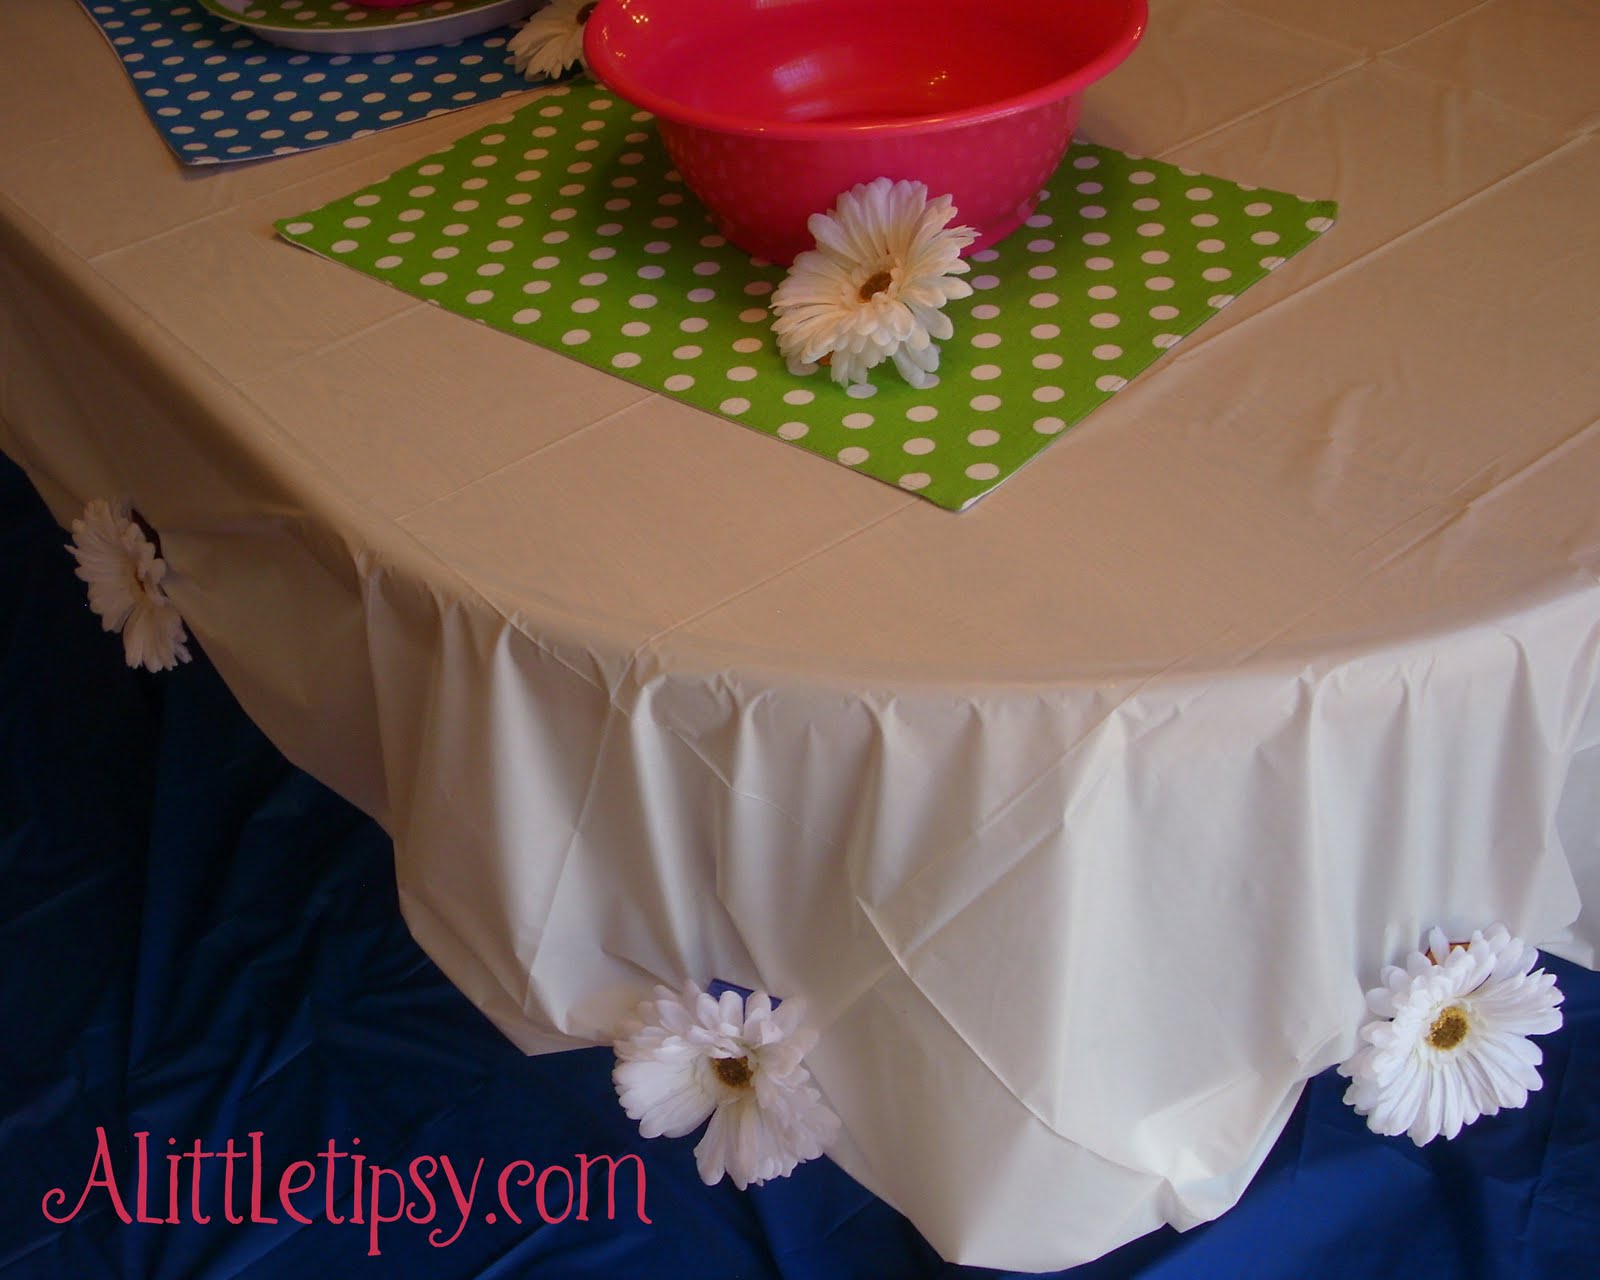
I love those disposable plastic table cloths for birthday parties and summer BBQs, but they are pretty plain and annoying in the wind. I decided to make some Flower Table Cloth Weights to keep the table cloth in place and also add a bit of flair. It is so easy to make your own and they work really well!

Supplies needed:
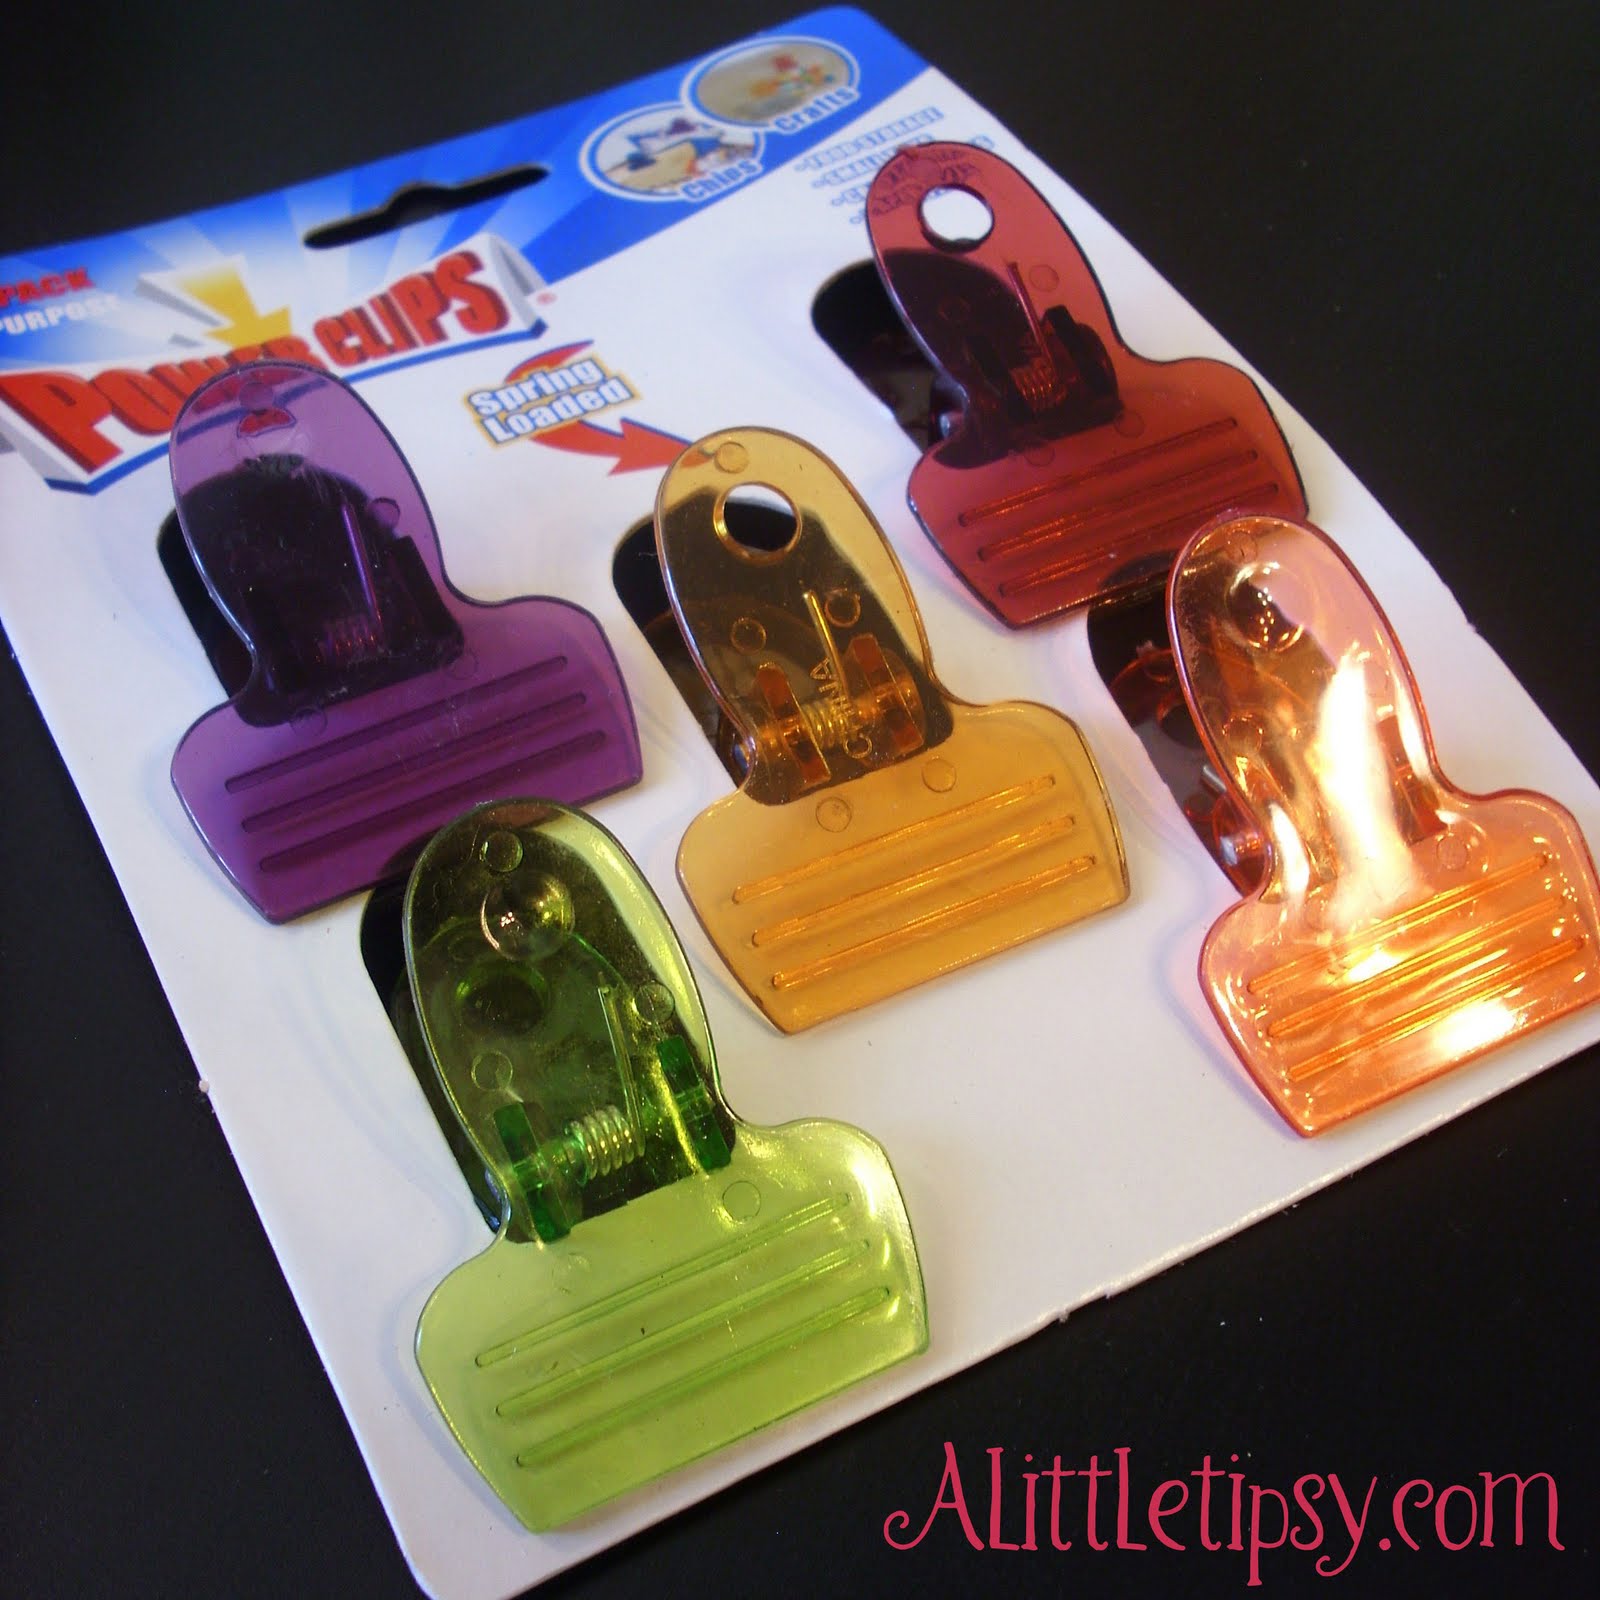
Clips with a hole in the top
Flowers
Glue Gun
Glue sticks
*all my supplies were purchased at Dollar Tree. I know big surprise. πŸ˜‰

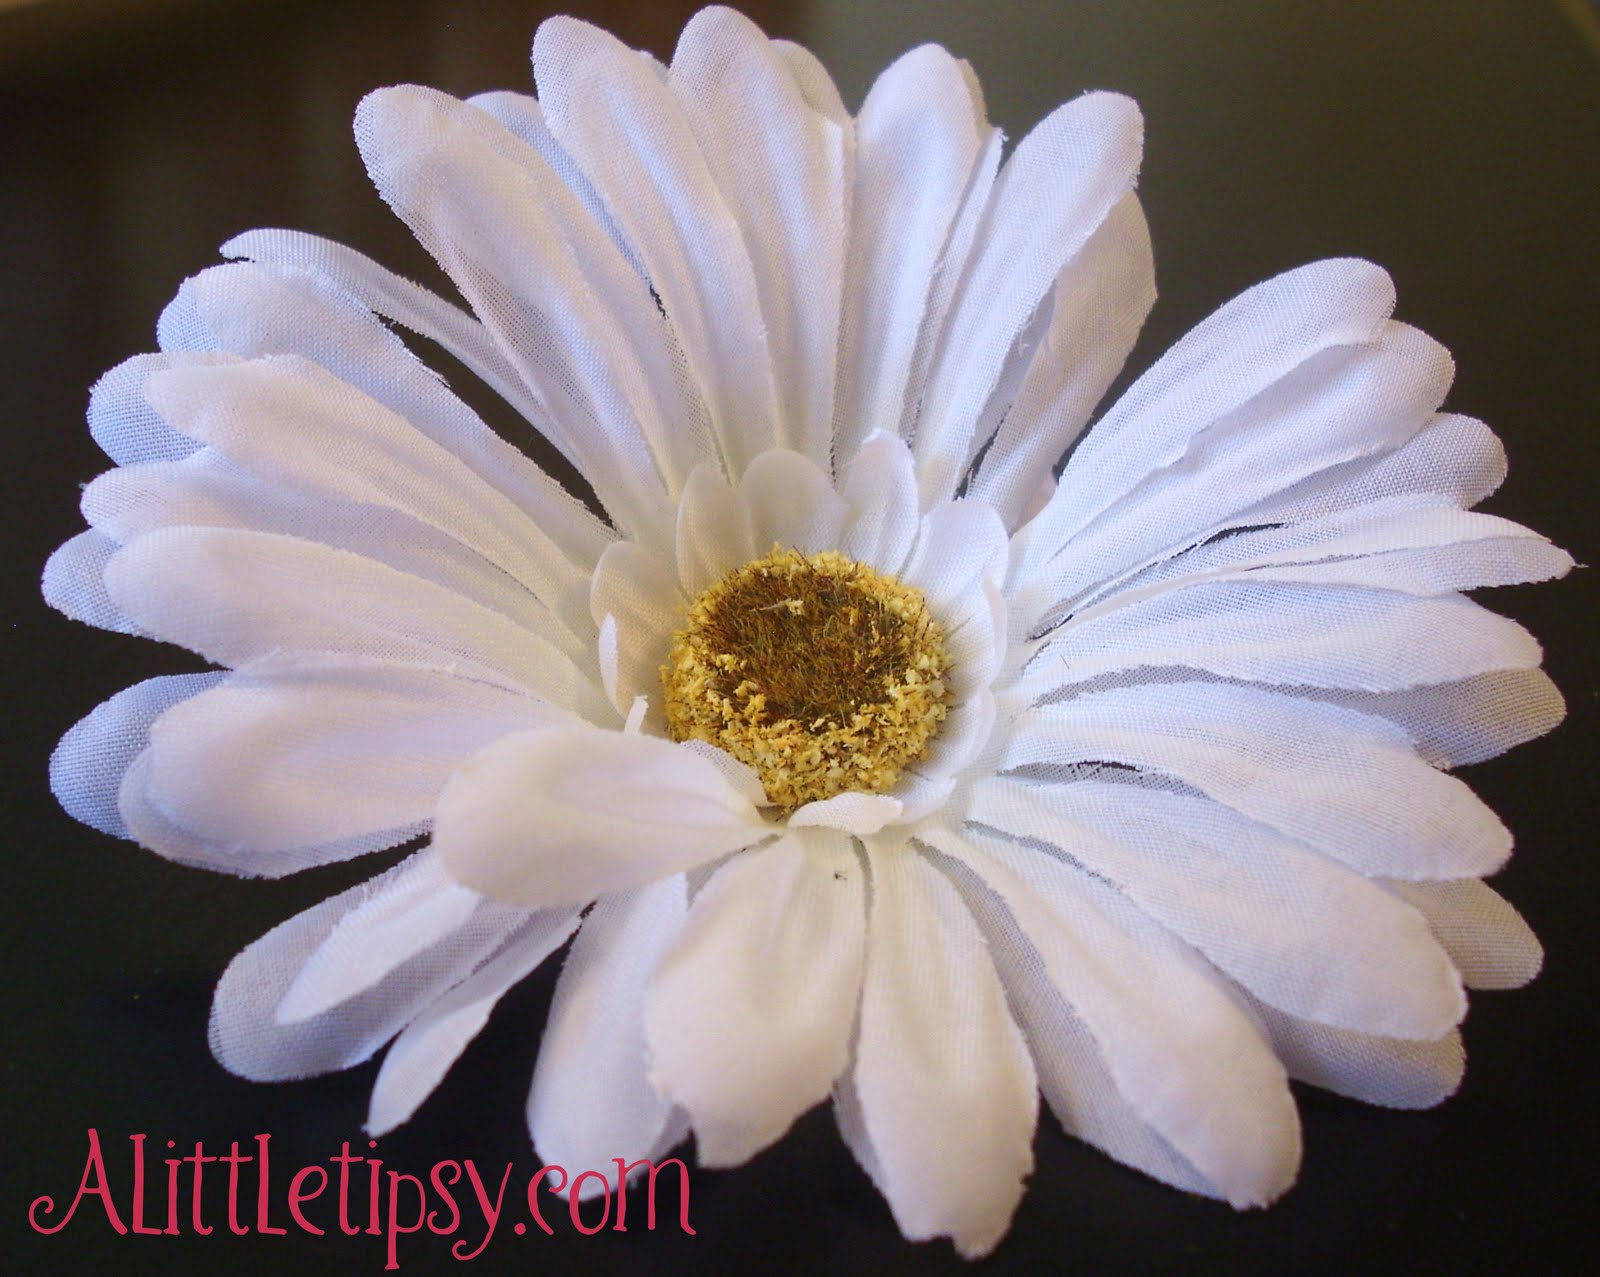
Since I bought stems of white daisies at the dollar store, they were kinda sparse. I pulled them apart and combined the petals of two flowers to make them look nice and full.

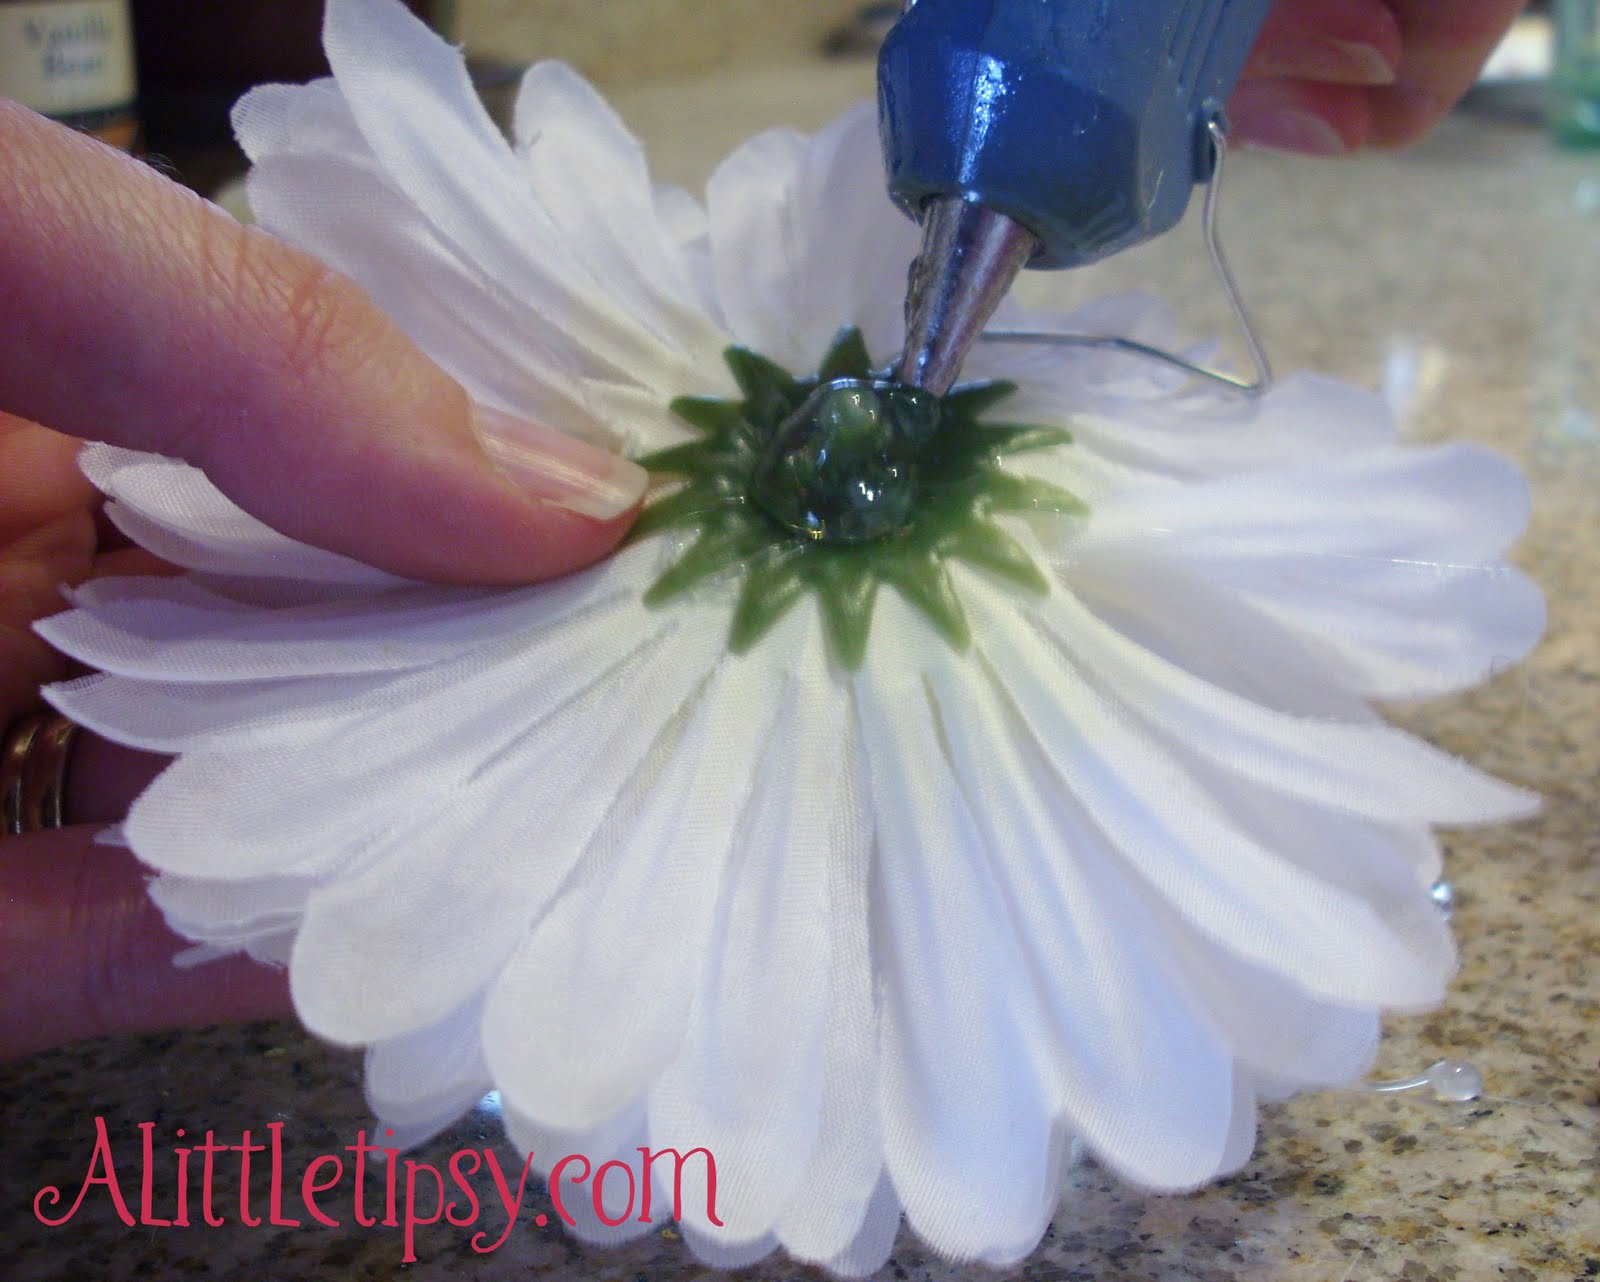
Before putting the green back on again, I added some glue to the stem to make them stay together better.

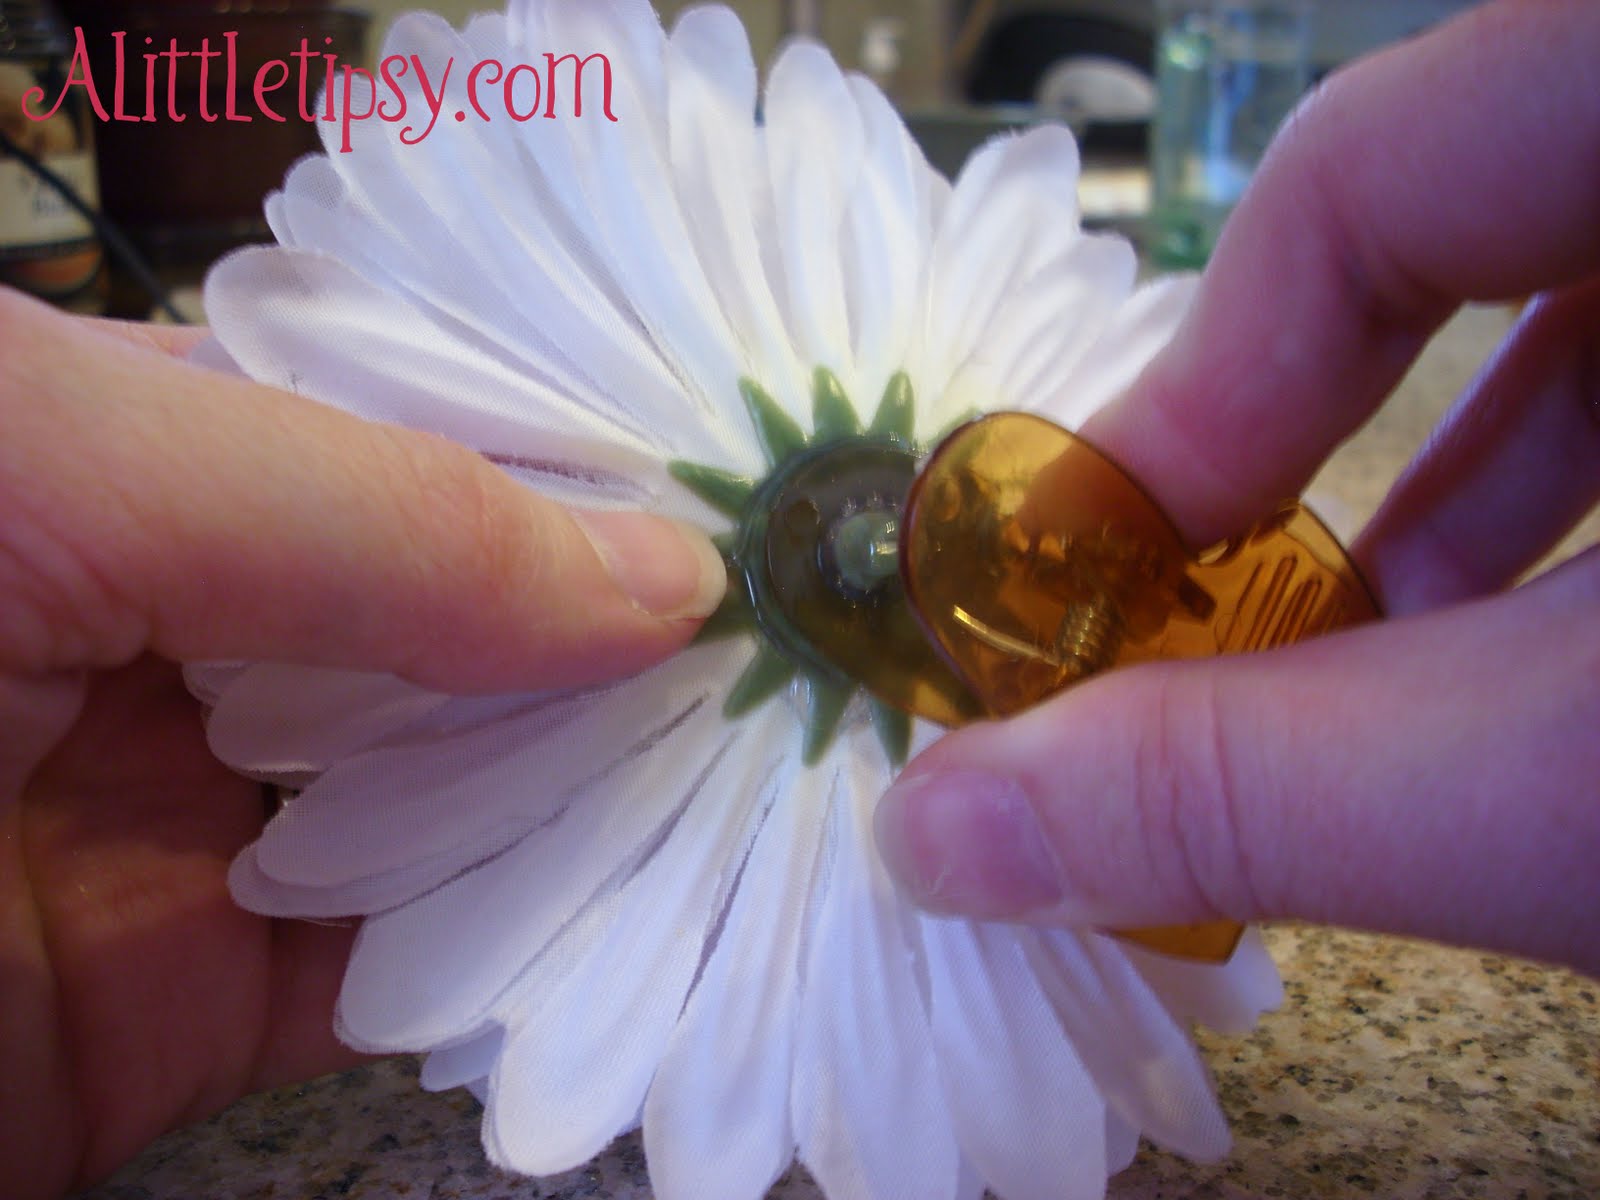
Then just add glue to the green stem and stick it through the clip hole.

It’s as easy as that! Then just scrunch up the bottom of the table cloth and clip the flower on.

To store, place flower down flat in a gallon ziploc bag.

I made 8 flower table cloth weights which used 8 clips and 16 flowers. You could make 10 weights with 2 packs of clips and 3 bunches of flowers ($5).

Linking up:
Market Yourself Monday
Just Whipped Something Up
Making the World Cuter
It’s So Very Creative
Making Monday Marvelous
Motivate Me Monday
Mad Skills

P.S. Don’t forget to sign up for free Tipsy updates via RSS or email.

We have decided to truncate our feed to help protect against stolen content. I apologize for any inconvenience. Please love us anyway. πŸ™‚
« Previous Page
Next Page »

  • Bloglovin
  • Facebook
  • Google+
  • Instagram
  • Pinterest
  • RSS
  • Twitter

Hi there! I'm Michelle. Mother of three little boys and one little princess. Welcome to A Little Tipsy, a place for exploring creativity and sharing inspiration.

Follow on Bloglovin


Visit Michelle Barneck {A Little Tipsy}'s profile on Pinterest.

Tutorials by Category


15 Family Reunion Games

Family Reunion Games Collage

15 Sprinkle Party Ideas

Sprinkle Birthday Party
Creative Commons License

© Copyright 2014 A Little Tipsy · Site Designed by The Fairy Blogmother · Web Hosting by RFE Hosting

This website uses cookies to improve your experience. We'll assume you're ok with this, but you can opt-out if you wish.Accept Read More
Privacy & Cookies Policy