A Little Tipsy

Creative Tips & Ideas

  • home
  • About Me
  • the tipsy top
  • press
  • projects
  • contact me
[print_thumbnail_slider]

August Visiting Teaching Handout-Our Responsibility to Be Worthy of Temple Worship

August 4, 2010 By Michelle Barneck 6 Comments

Here it is… the August VT Handout on Our Responsibility to Be Worthy of Temple Worship. Fitting that I renewed my temple recommend last night. 😉 I love this quote by Silvia H. Allred, it encompasses those who are striving to go and those who have been to the temple many times.

Photobucket

Click thumbnail to print 4×6

Feel free to print and use this handout as you like.

P.S. Don’t forget to sign up for free Tipsy updates via RSS or email.

We have decided to truncate our feed to help protect against stolen content. I apologize for any inconvenience. Please love us anyway. 🙂
Frosted Glass Jar Lanterns

August 3, 2010 By Michelle Barneck 9 Comments

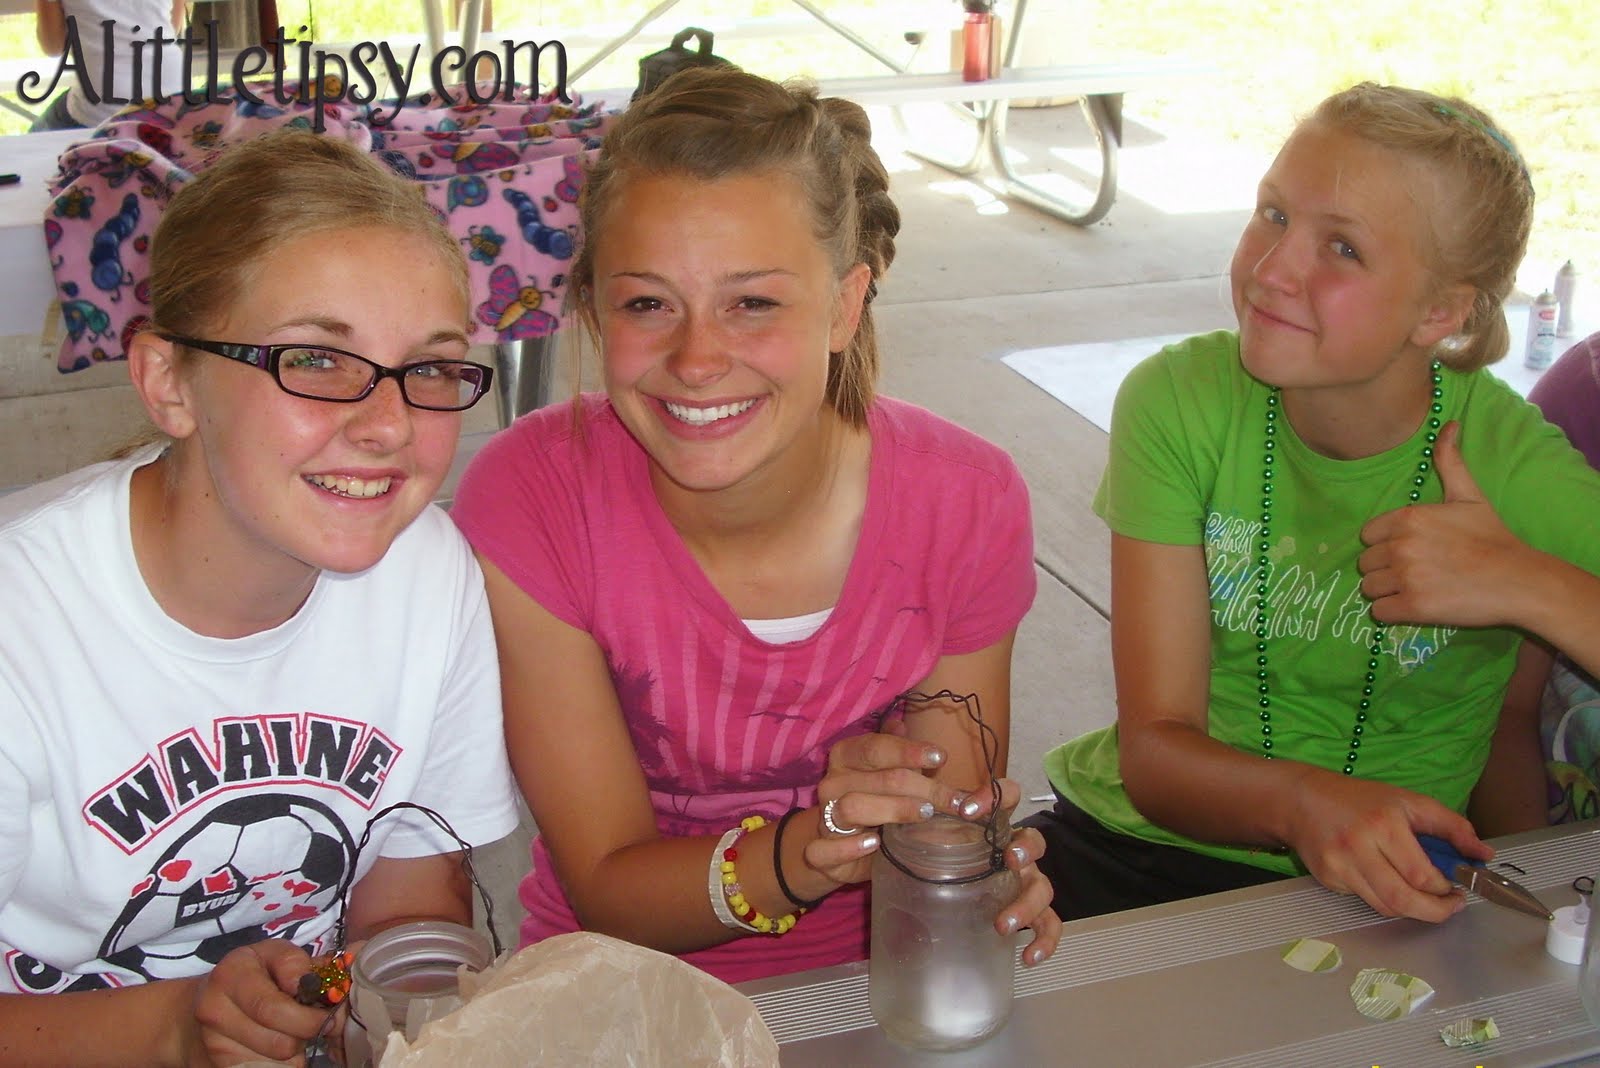
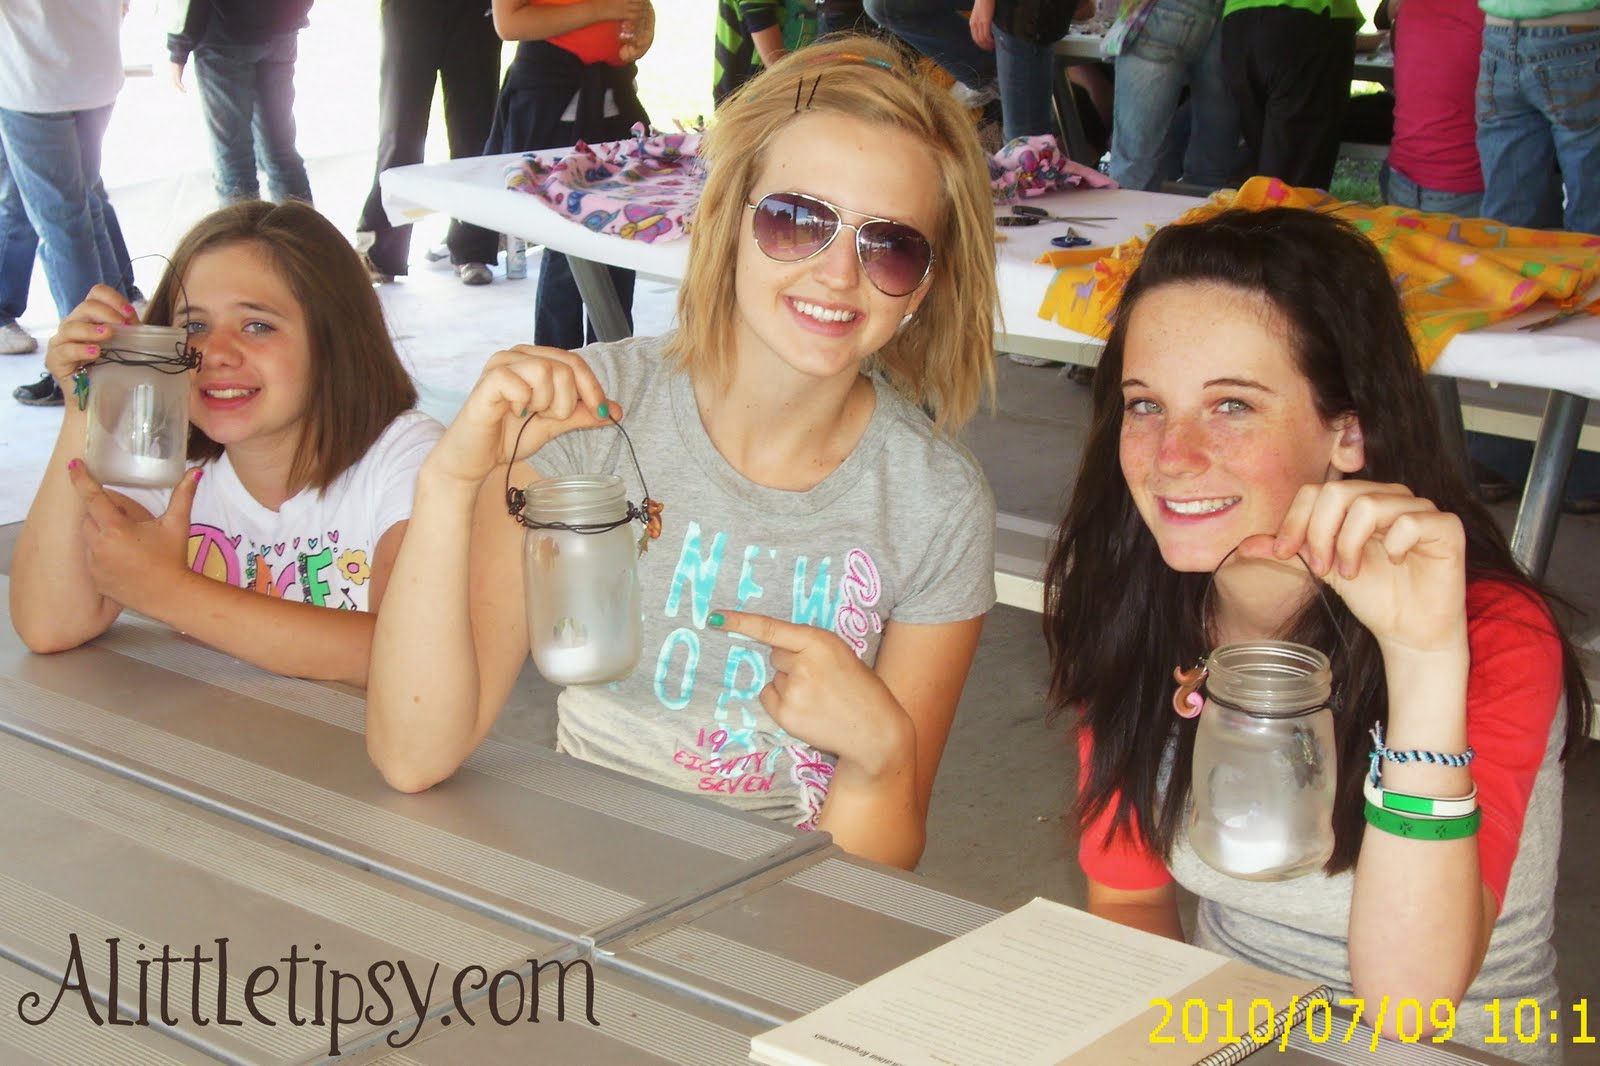
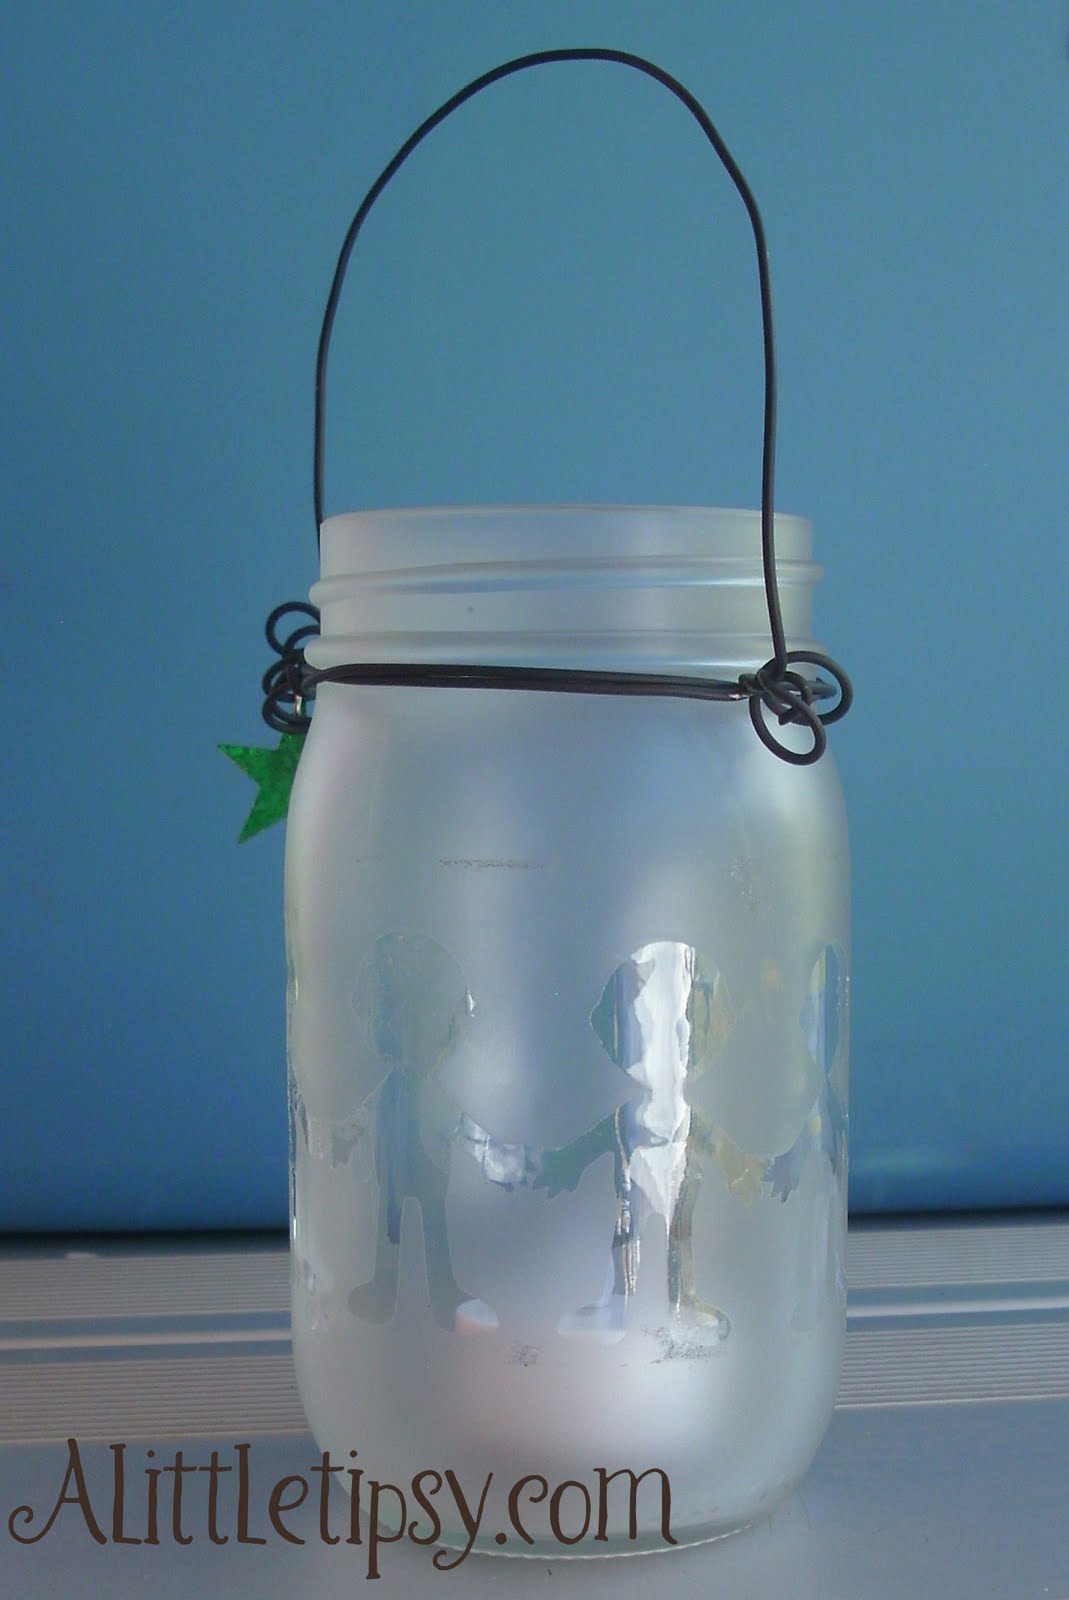
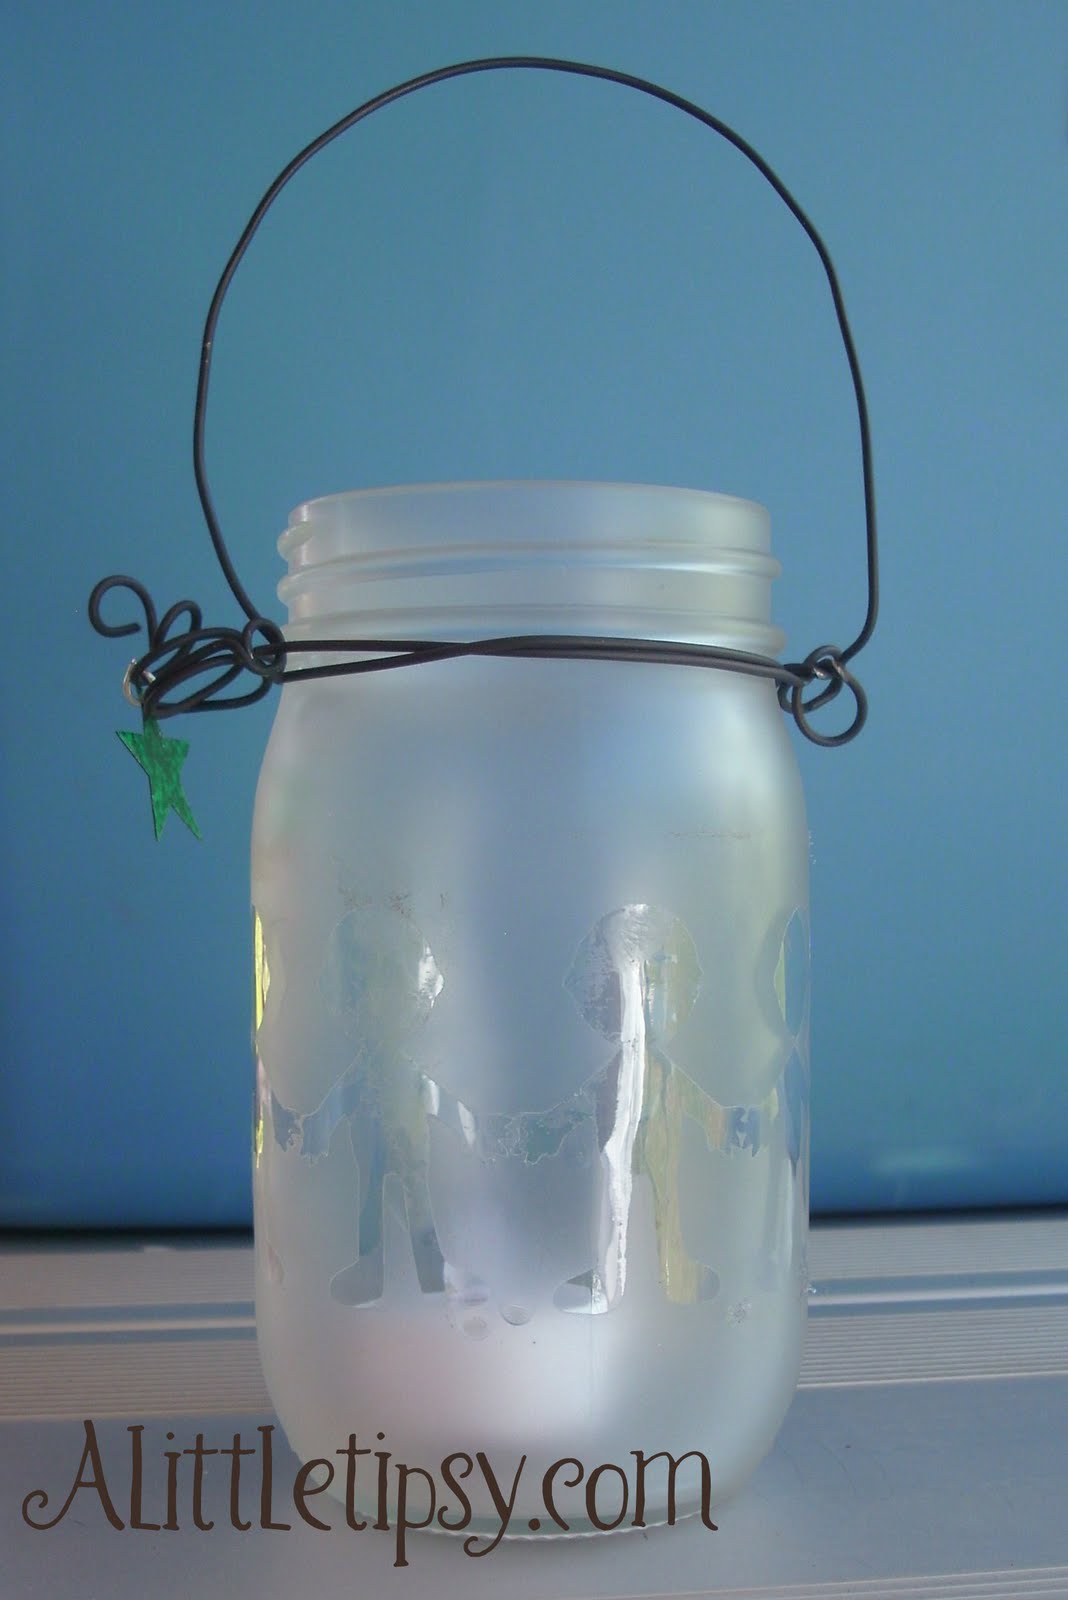
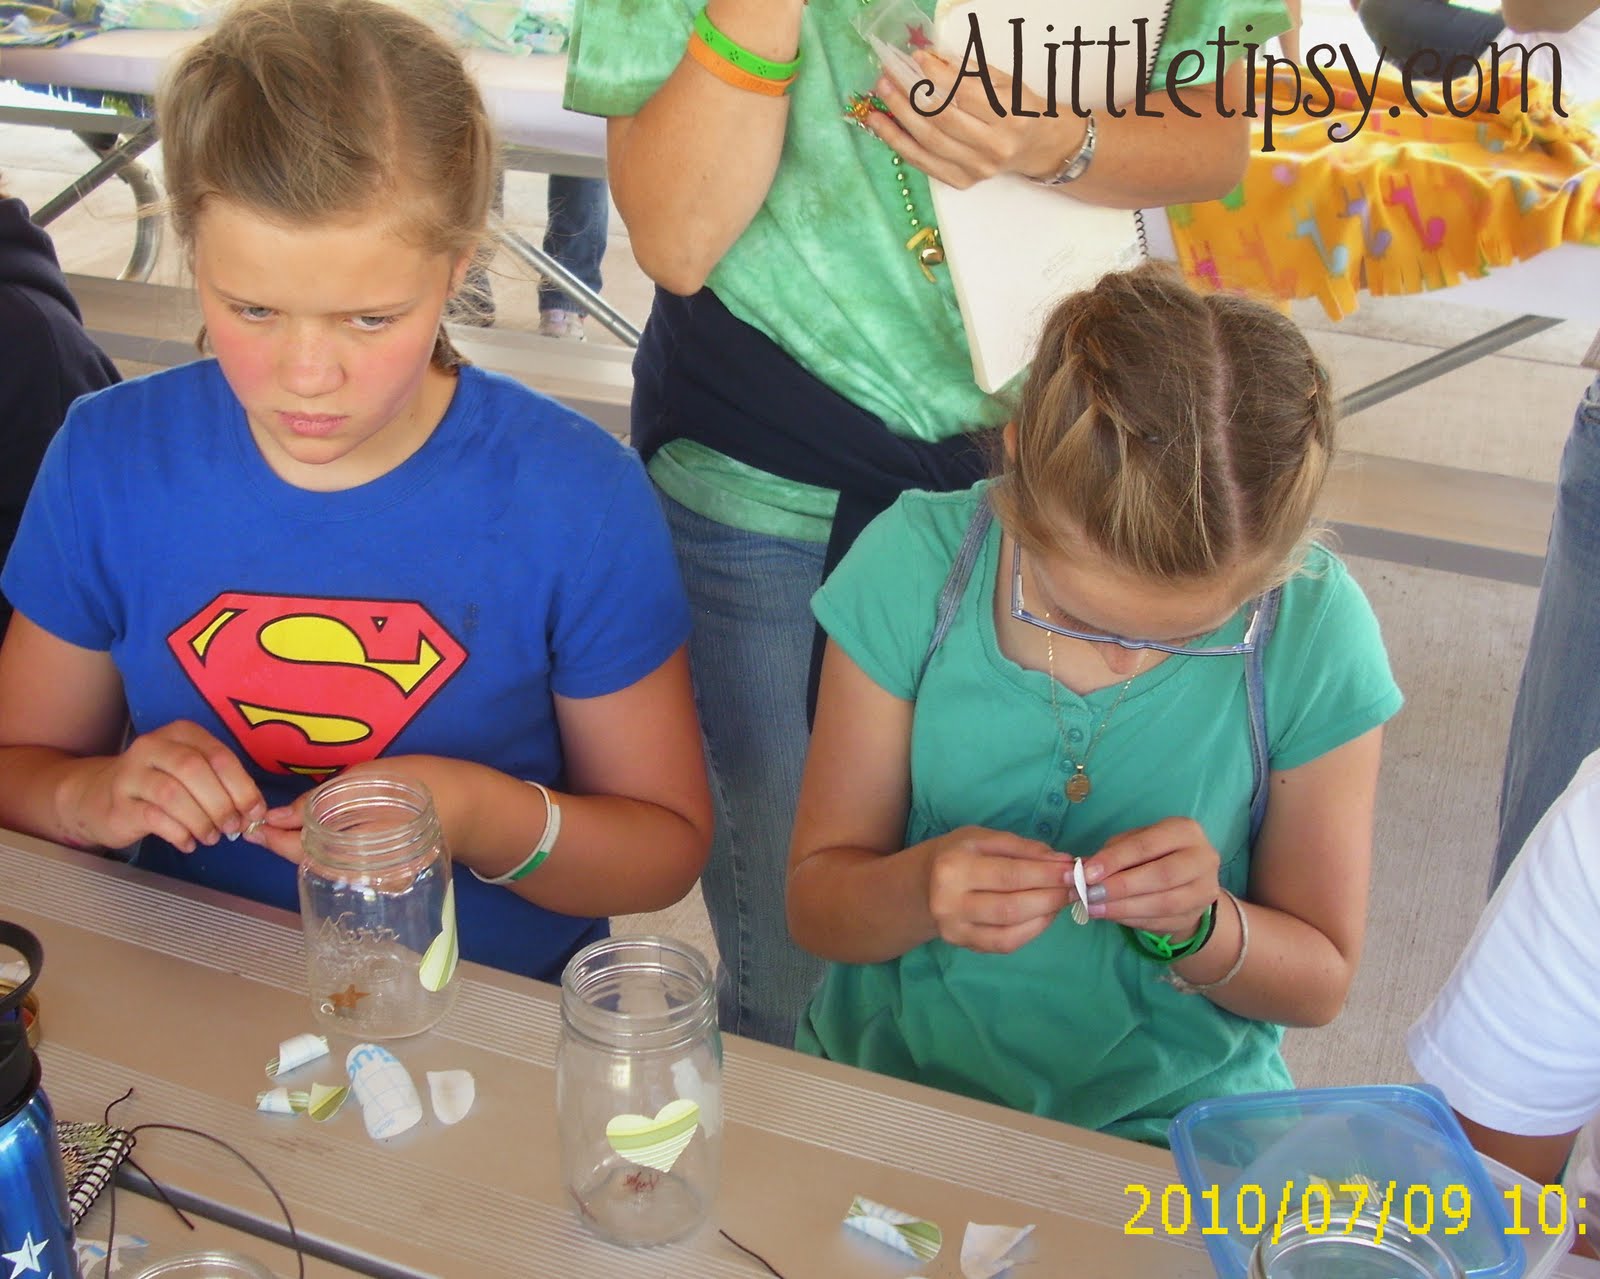
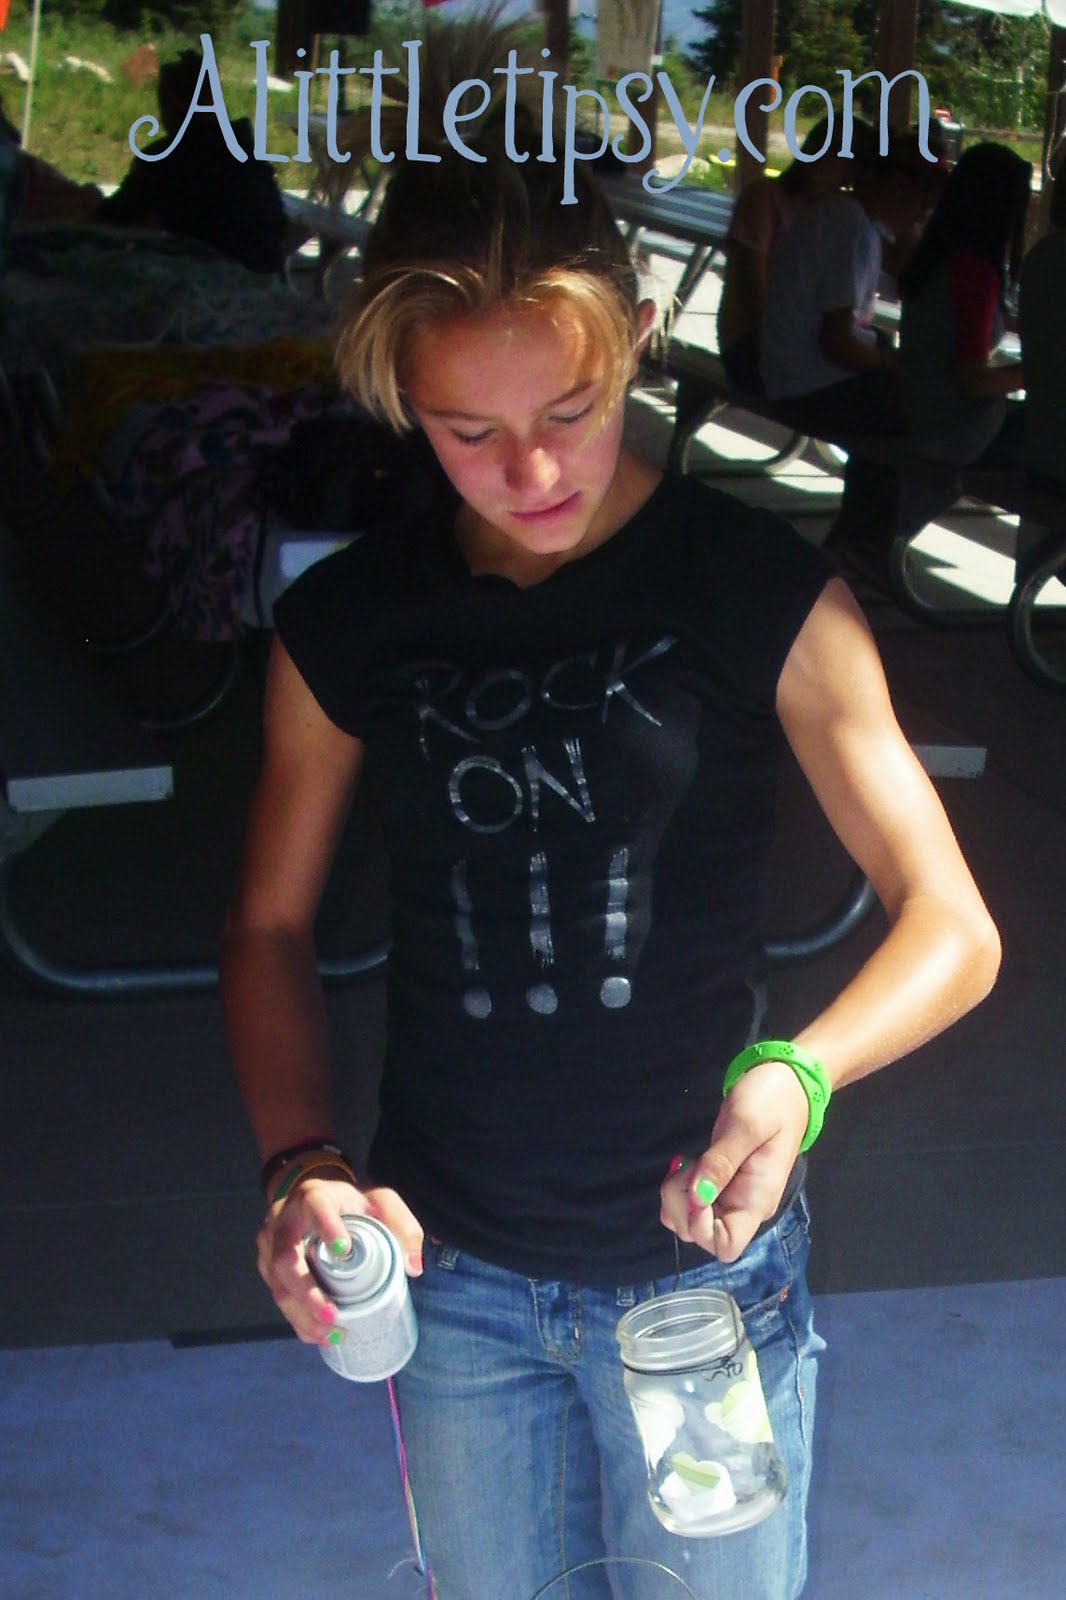
This is a craft we did at LDS Girl’s Camp that I just loved. We turned pint glass jars in to little lanterns. They turned out adorable. I am going to be putting mine in my little guy’s new paleontology room. Stay tuned for deets on that. Now for the how to on to the Frosted Glass Jar Lantern Tutorial…

Supplies needed:
Pint jar
Stickers (or contact paper cut by Cricut)
Heavy Wire
Pliers
Flat clear spray paint
Tea light (real or battery operated)

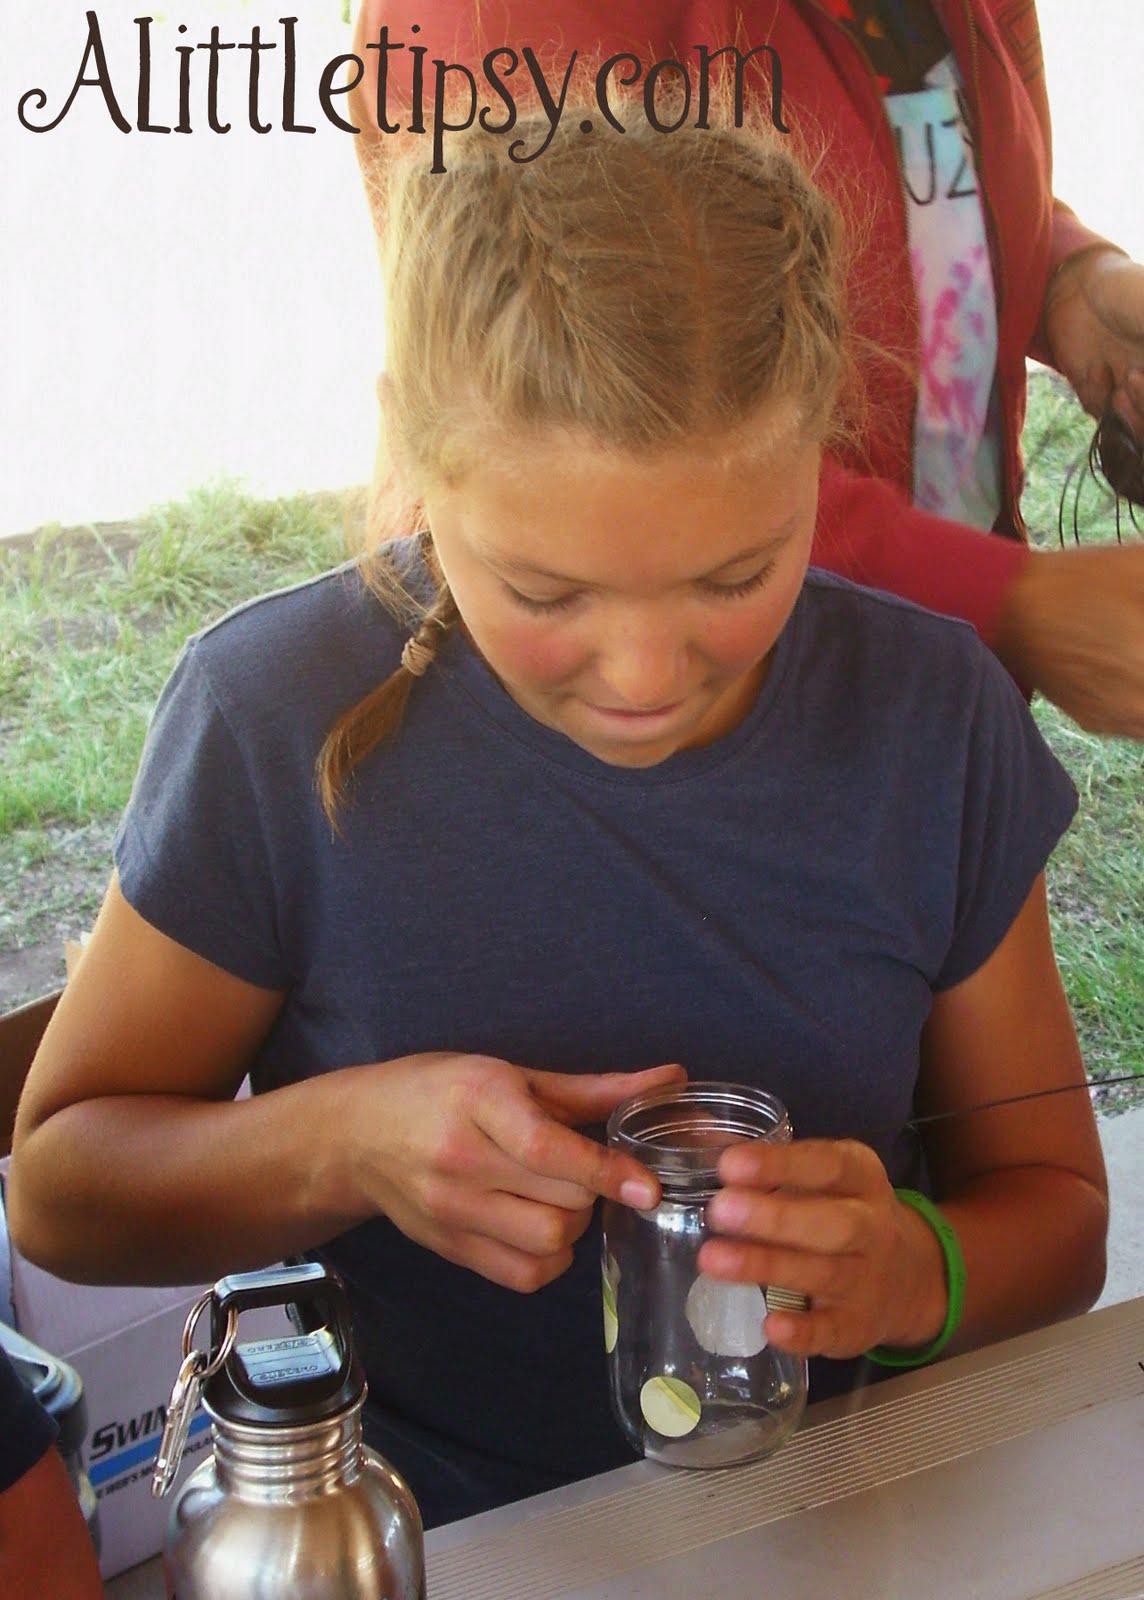
1. Choose stickers and place them on the jar. These will be the spots left clear in the end.

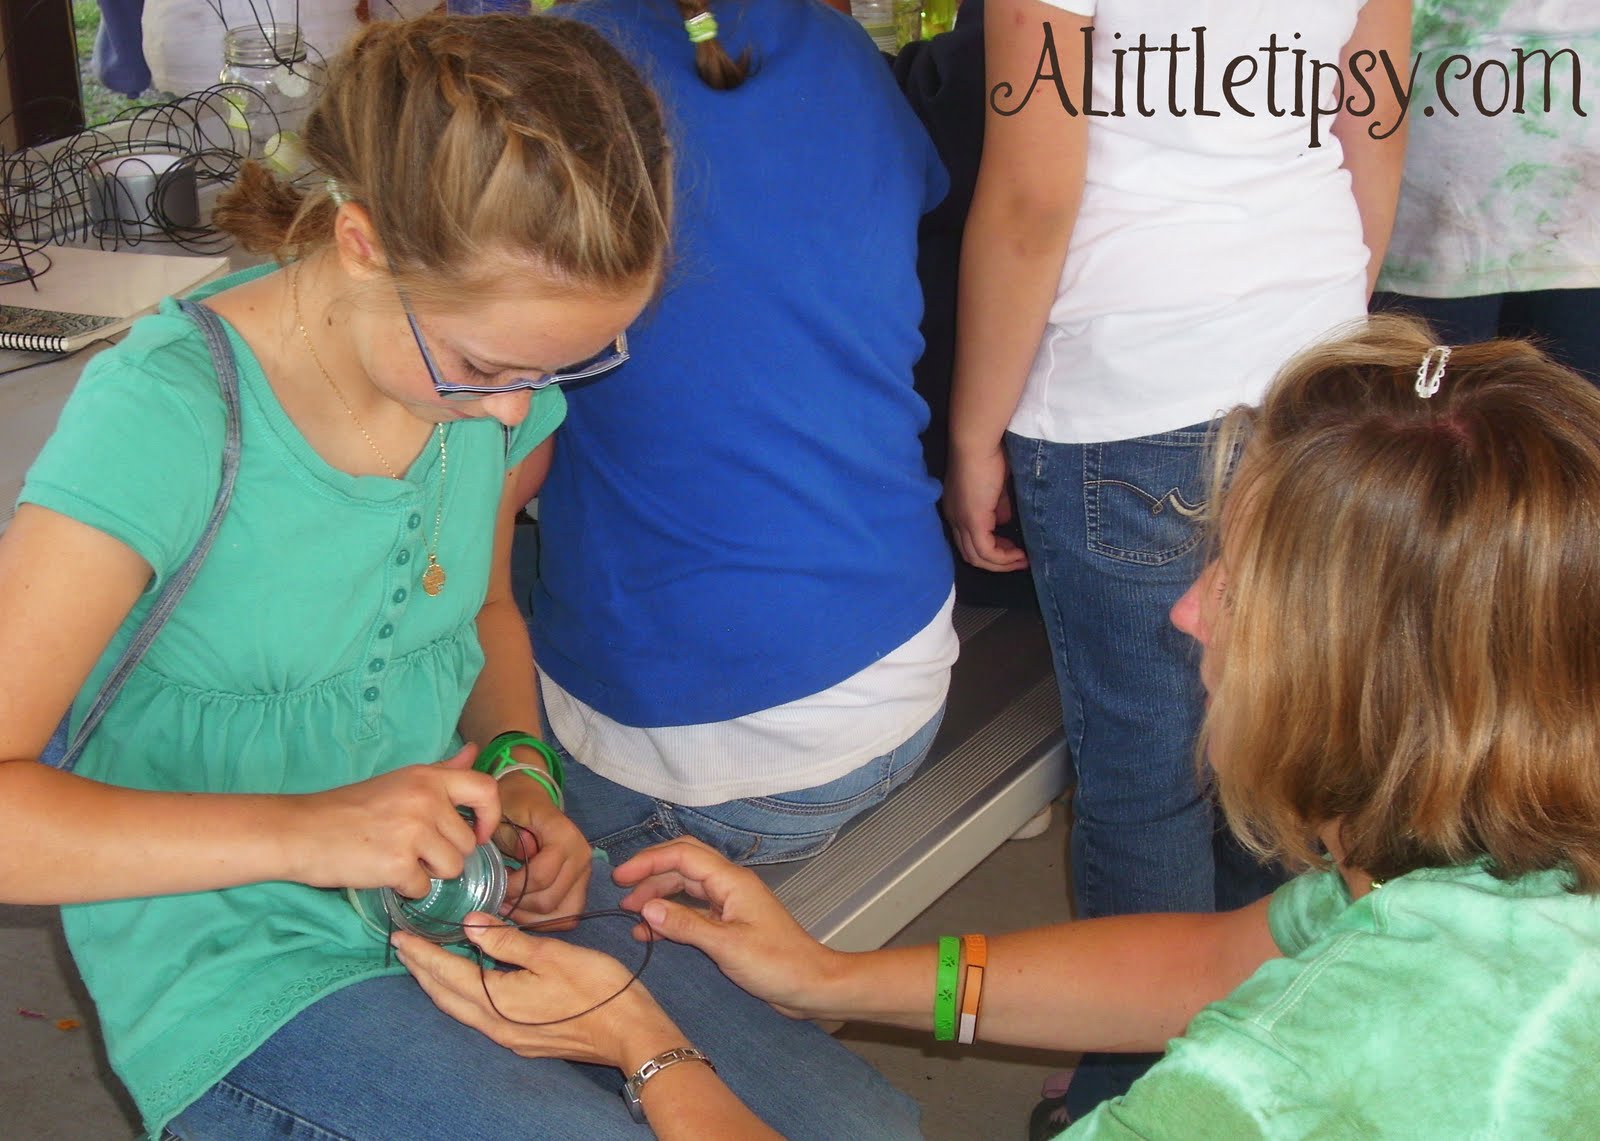
2. Take a long piece of wire (2 or 3 ft depending on how many times you want to wrap it) and wrap it around the neck of the jar under the lip where you would screw on the lid. Leave it loose enough to fit a piece of the wire through for the handle. Use the pliers to pull the remaining wire around and up through the wire around the neck to make the handle. Make an arc of wire over the jar for the handle and secure on the other side. You can make a second arc or wrap the remaining wire all around the first handle to make it thicker if you like.

3. Hold the handle and spray the jar all around with two light coats of flat clear spray paint. If you spray too much at once it will drip. It will not look frosted until it starts to dry.

4. Let the paint dry for a few minutes and spray more if you want it more frosted. If it is too hot leave it in the shade to dry or the stickers will melt and leave residue on the jar.

5. Once the paint is dry peel off the stickers and put the tea light inside. We used the battery operated kind. You can get them at Dollar Tree.

The girls also got charms from different activities they participated in to add to their lanterns.

I found out from the lady in charge of our craft at camp that the original idea came from Under My Umbrella via Sugardoodle. They have a tutorial, but their background was missing so you could see the pics but could not read the words. Thus, I made this tutorial.

Linking Up:
Toot your Horn Tuesday
Anything Related
Topsy Turvy Tuesdays

P.S. Don’t forget to sign up for free Tipsy updates via RSS or email.

We have decided to truncate our feed to help protect against stolen content. I apologize for any inconvenience. Please love us anyway. 🙂
Last Minute Gift Wrap

July 29, 2010 By Michelle Barneck 6 Comments

I found a solution for a last minute gift wrapping debacle. I like to keep brown paper gift bags (you can get them 2 for a $1 at the dollar store) on hand. They can be easily personalized using ribbon, colored tissue paper (20 colored sheets for $1 at Dollar Tree) and/or scrapbook paper, all of which I always have on hand in multiple colors. I just grab coordinating colors for the occasion whether it be for a baby girl being born, thank you gift, or Grandpa’s birthday it is easy to wrap it up quick and cute!

Happy wrapping!

P.S. Don’t forget to sign up for free Tipsy updates via RSS or email.

We have decided to truncate our feed to help protect against stolen content. I apologize for any inconvenience. Please love us anyway. 🙂
Nail Polish Glazed Washers

July 28, 2010 By Michelle Barneck 14 Comments

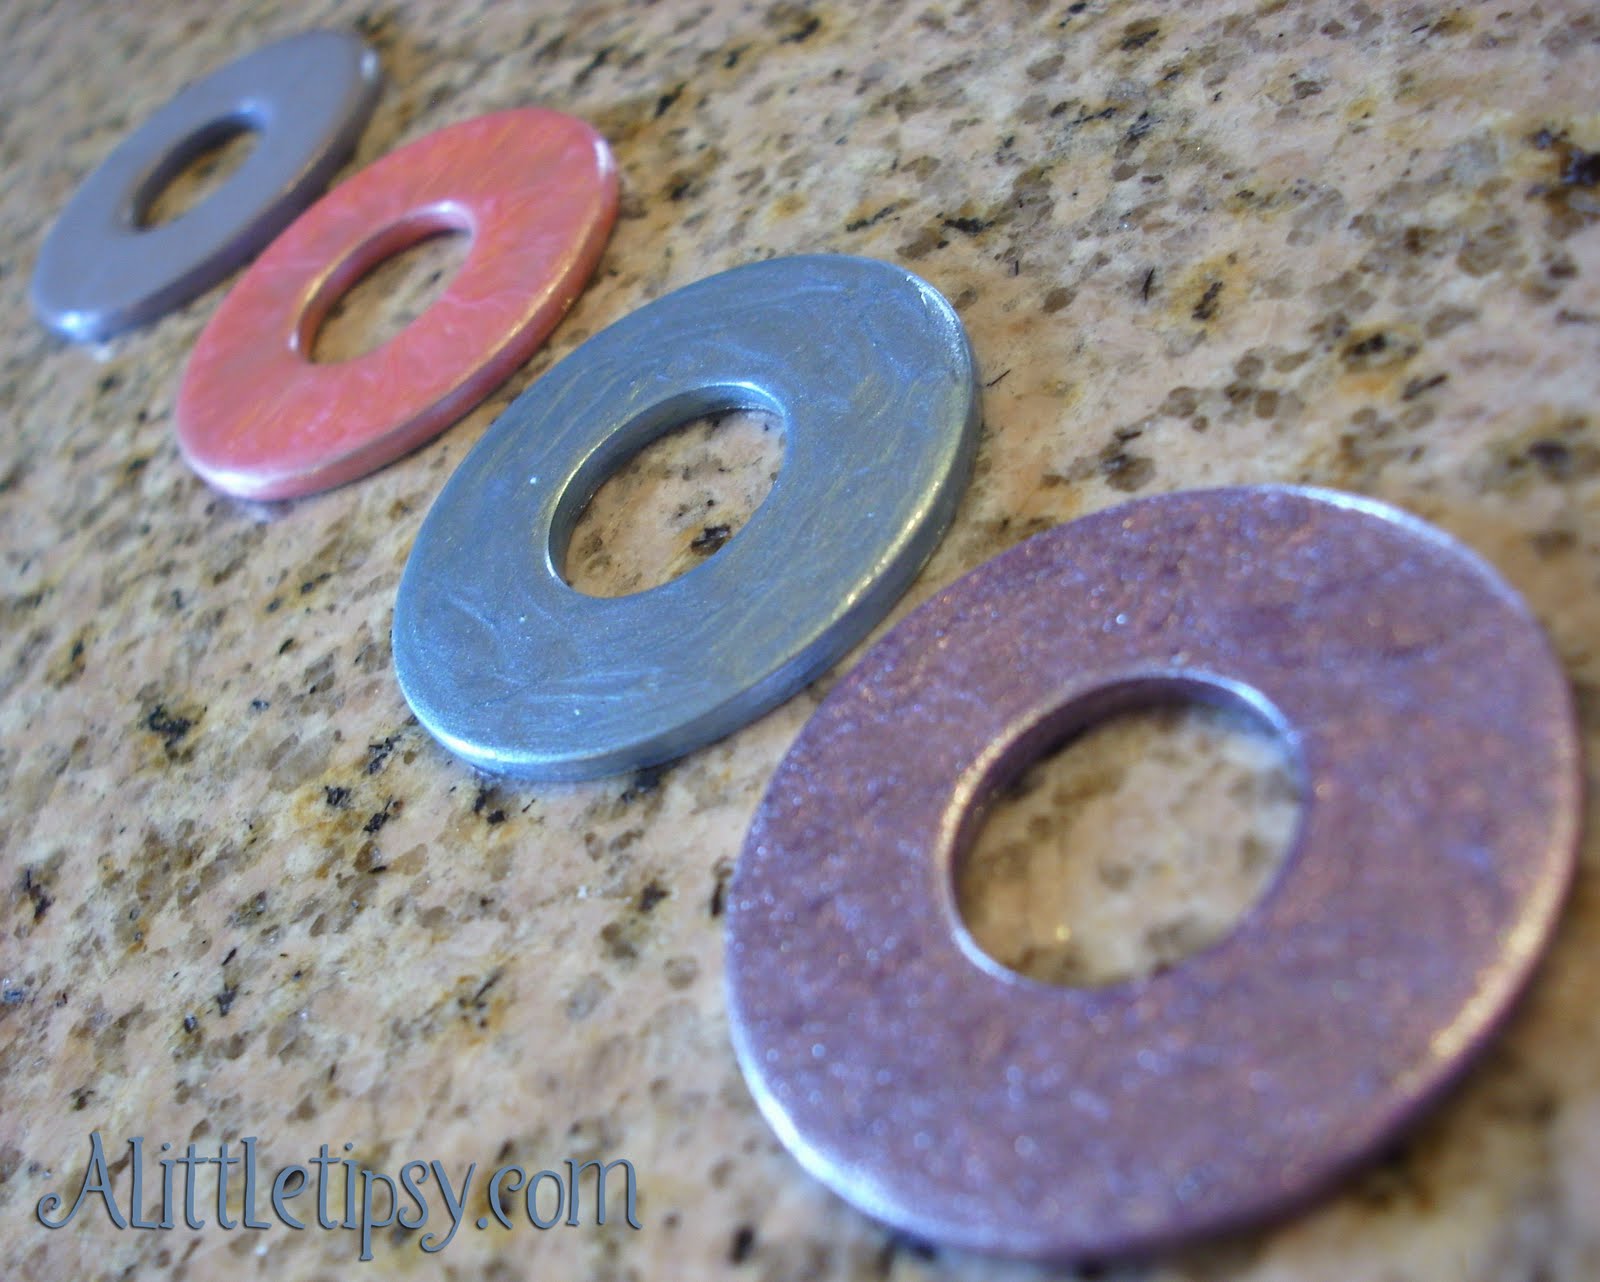
This is a nail polish glazed washer tutorial that I did for Ucreate a few weeks ago, so here is a recap if you missed it.

Nail Polish Washer Accessories

I love the glazed and stamped washers and decided to put a fun new twist on the washer. I “glazed” them using nail polish.

Supplies needed:

  • Washers
  • Nail Polish (color and clear)
  • Nails
  • Cereal Box
  • Accessory supplies: key ring, necklace, charms, clasps

(all the accessory supplies I used were 50% off at Hobby Lobby and cost $2 or less)

1. Poke the a few nails in the cereal box to hold up each washer so the paint can drip if needed.
2. Paint a light coat in the back of the washer so it will be the same color if it flips when you are wearing your necklace/bracelet.
3. Paint the edges of the washer.

4. For the top, really glop it on. There are four different techniques I used.

A. Paint small circles (I did about 10) to get a spirally effect.
B. Drag your brush from the inside to the outside all the way around to make it look like the iris of an eye. Next time I would do this in blue or green. 🙂

C. Stipple with your brush to get a hammered type look.
D. Drag your brush in circles around the whole washer.

5. Let dry until hardened. Add a clear coat to protect and add shine.

Ta da!

Now embellish however you like.

Add a clasp and a charm for a fun key chain.

Play with chains (mine was a 60 in. that I wrapped), clasps, and charms for a super versatile necklace. Click any of the images to see them up close.

Or rock it as a bracelet.

The possibilities are truly endless!

Linking Up:
Whatever Goes Wednesday
Look What I Made
Sugar & Spice & Everything Nice
Show Off Your Stuff
Strut Your Stuff

We have decided to truncate our feed to help protect against stolen content. I apologize for any inconvenience. Please love us anyway. 🙂
« Previous Page
Next Page »

  • Bloglovin
  • Facebook
  • Google+
  • Instagram
  • Pinterest
  • RSS
  • Twitter

Hi there! I'm Michelle. Mother of three little boys and one little princess. Welcome to A Little Tipsy, a place for exploring creativity and sharing inspiration.

Follow on Bloglovin


Visit Michelle Barneck {A Little Tipsy}'s profile on Pinterest.

Tutorials by Category


15 Family Reunion Games

Family Reunion Games Collage

15 Sprinkle Party Ideas

Sprinkle Birthday Party
Creative Commons License

© Copyright 2014 A Little Tipsy · Site Designed by The Fairy Blogmother · Web Hosting by RFE Hosting

This website uses cookies to improve your experience. We'll assume you're ok with this, but you can opt-out if you wish.Accept Read More
Privacy & Cookies Policy