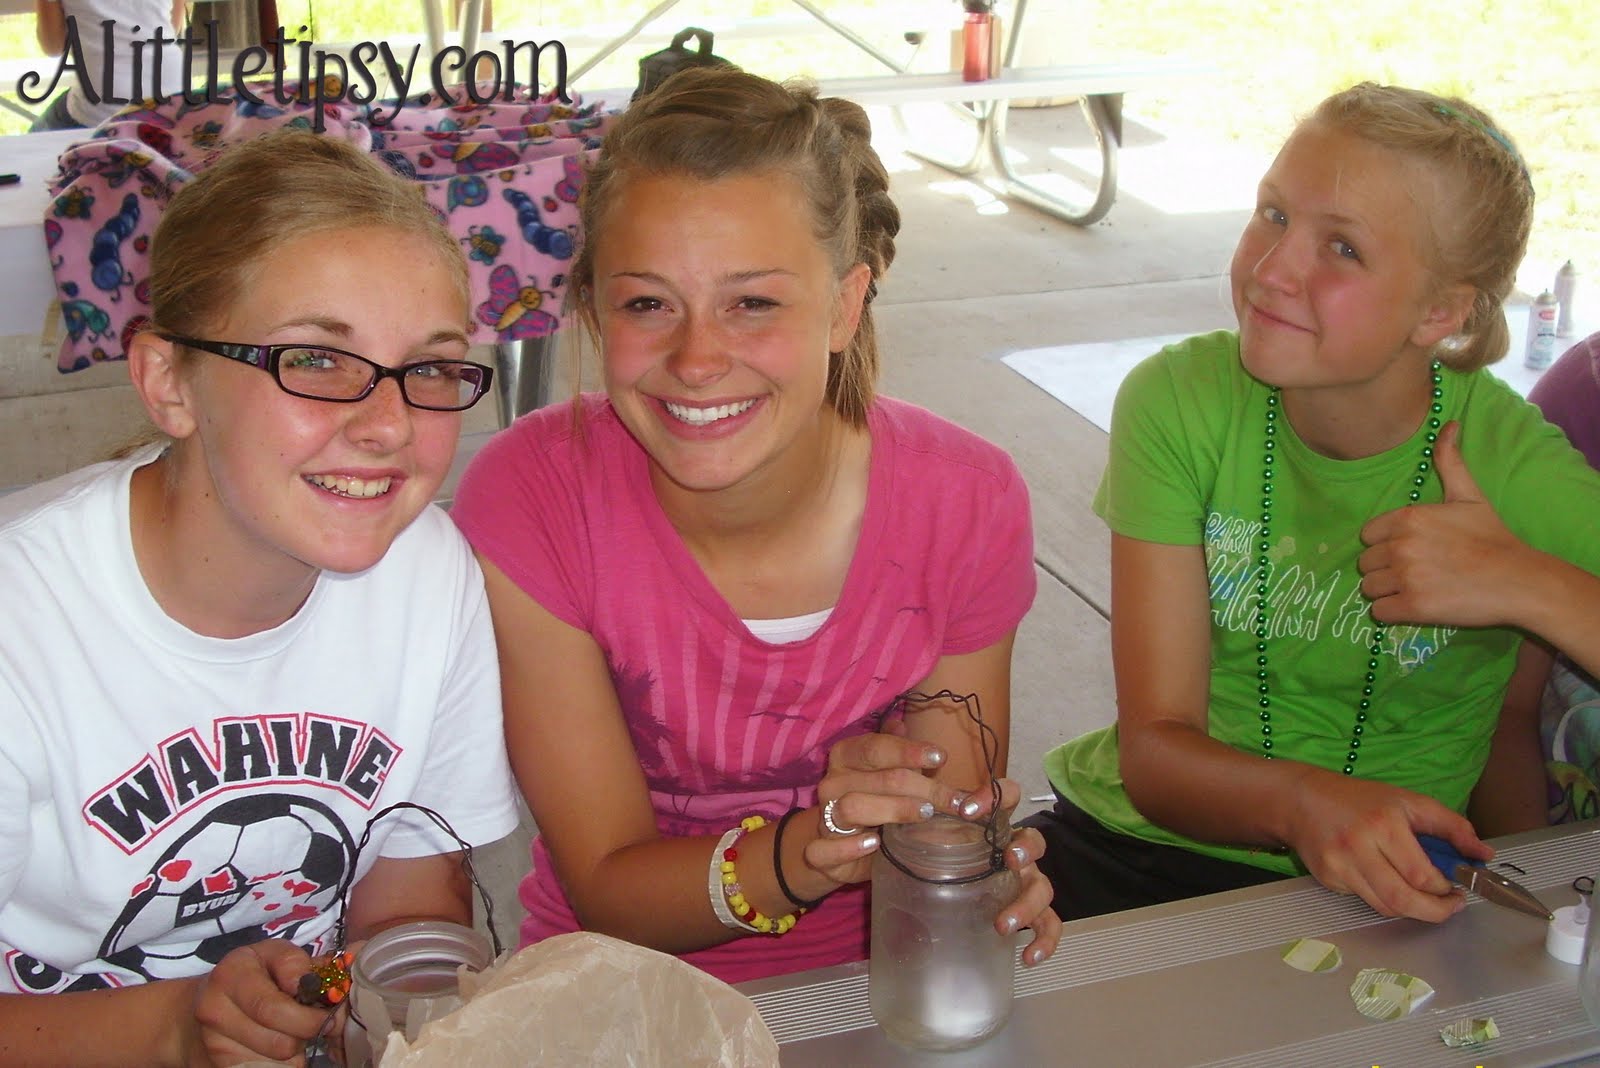
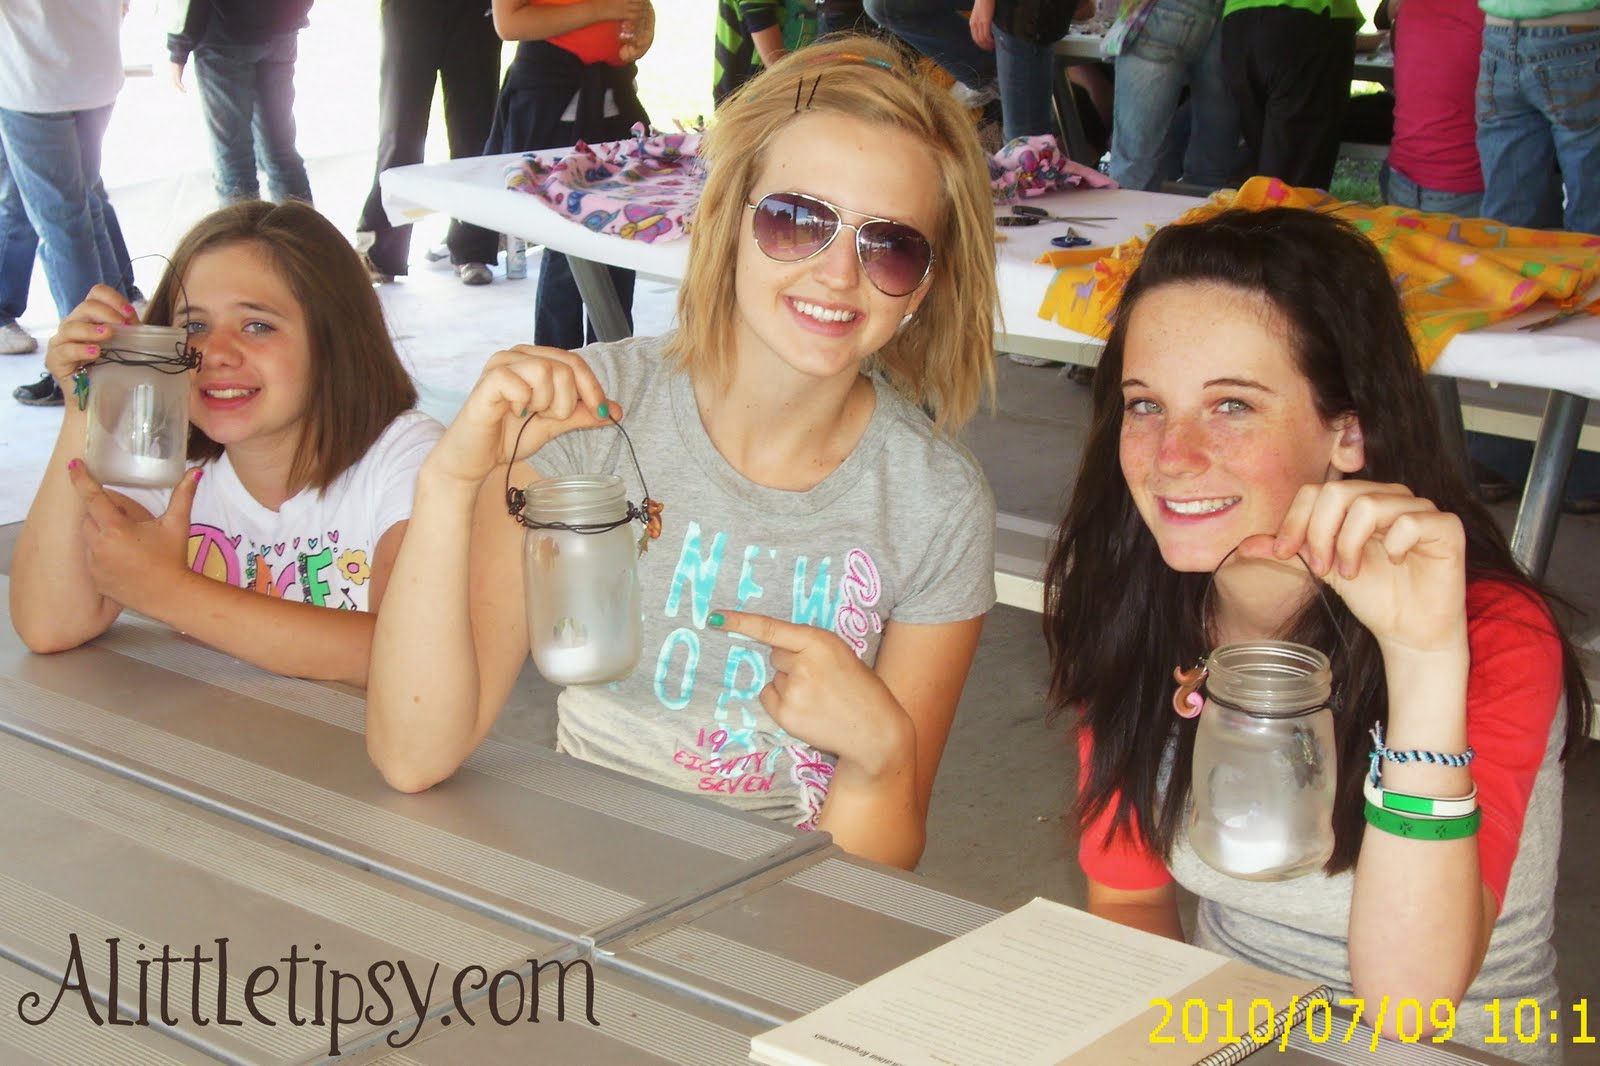
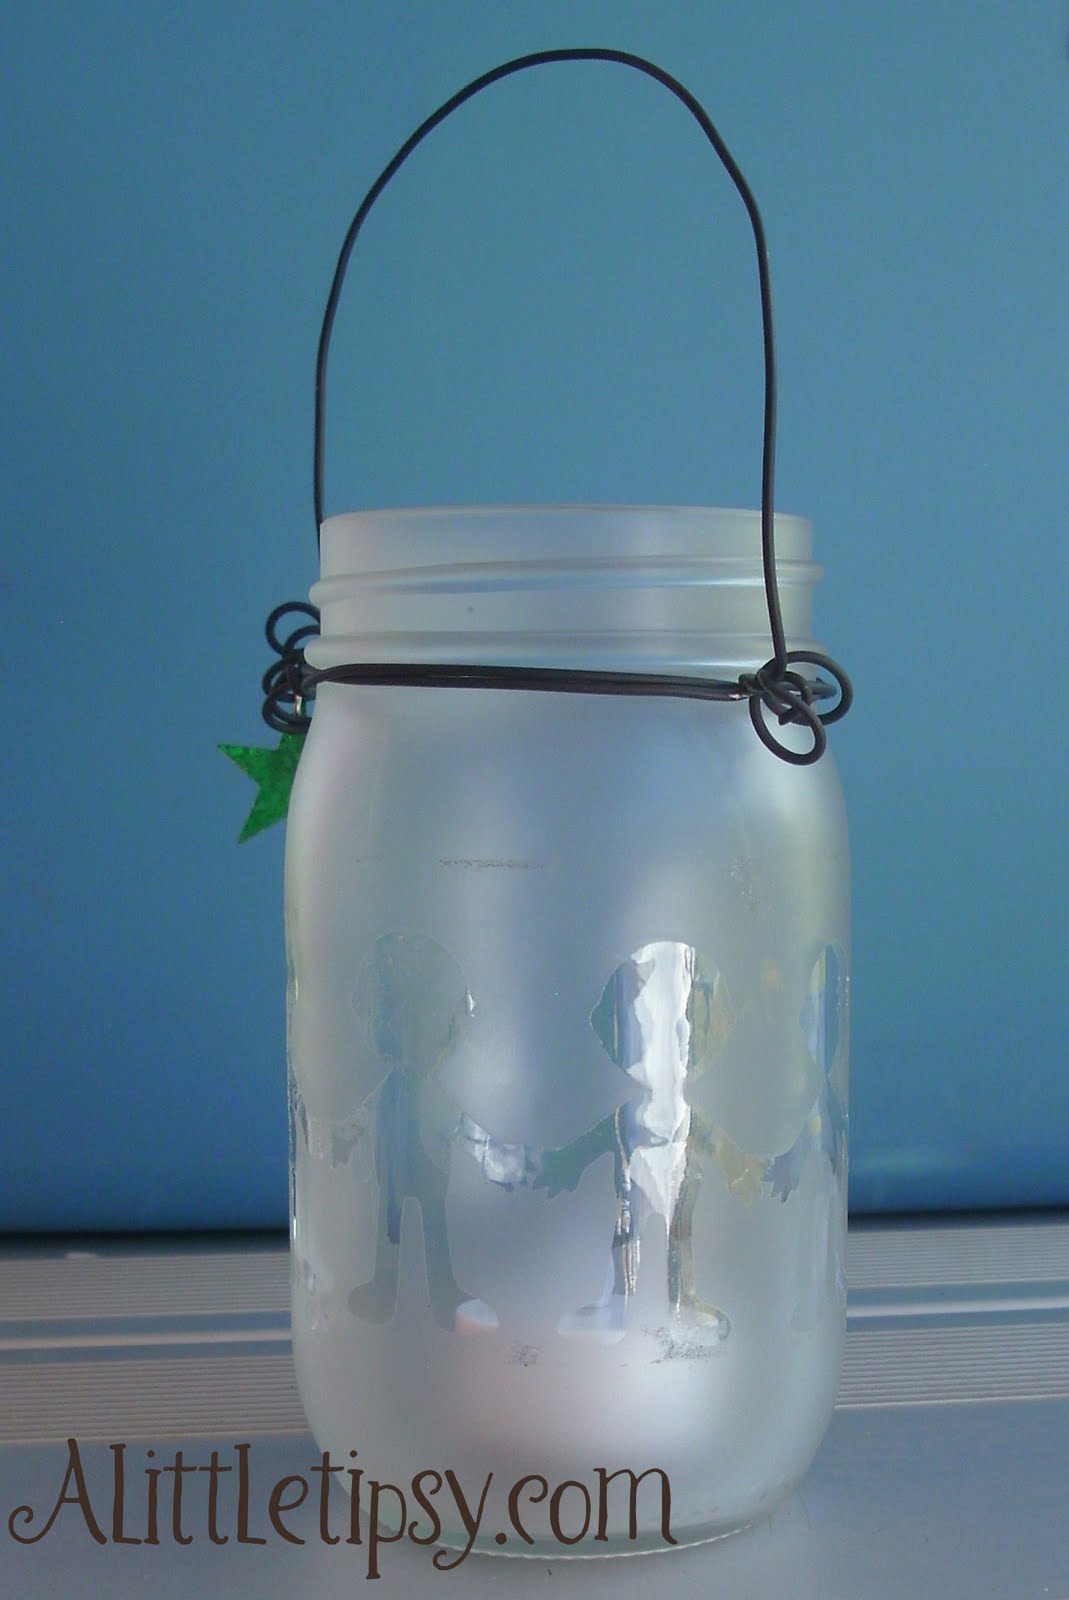
This is a craft we did at LDS Girl’s Camp that I just loved. We turned pint glass jars in to little lanterns. They turned out adorable. I am going to be putting mine in my little guy’s new paleontology room. Stay tuned for deets on that. Now for the how to on to the Frosted Glass Jar Lantern Tutorial…
Supplies needed:
Pint jar
Stickers (or contact paper cut by Cricut)
Heavy Wire
Pliers
Flat clear spray paint
Tea light (real or battery operated)
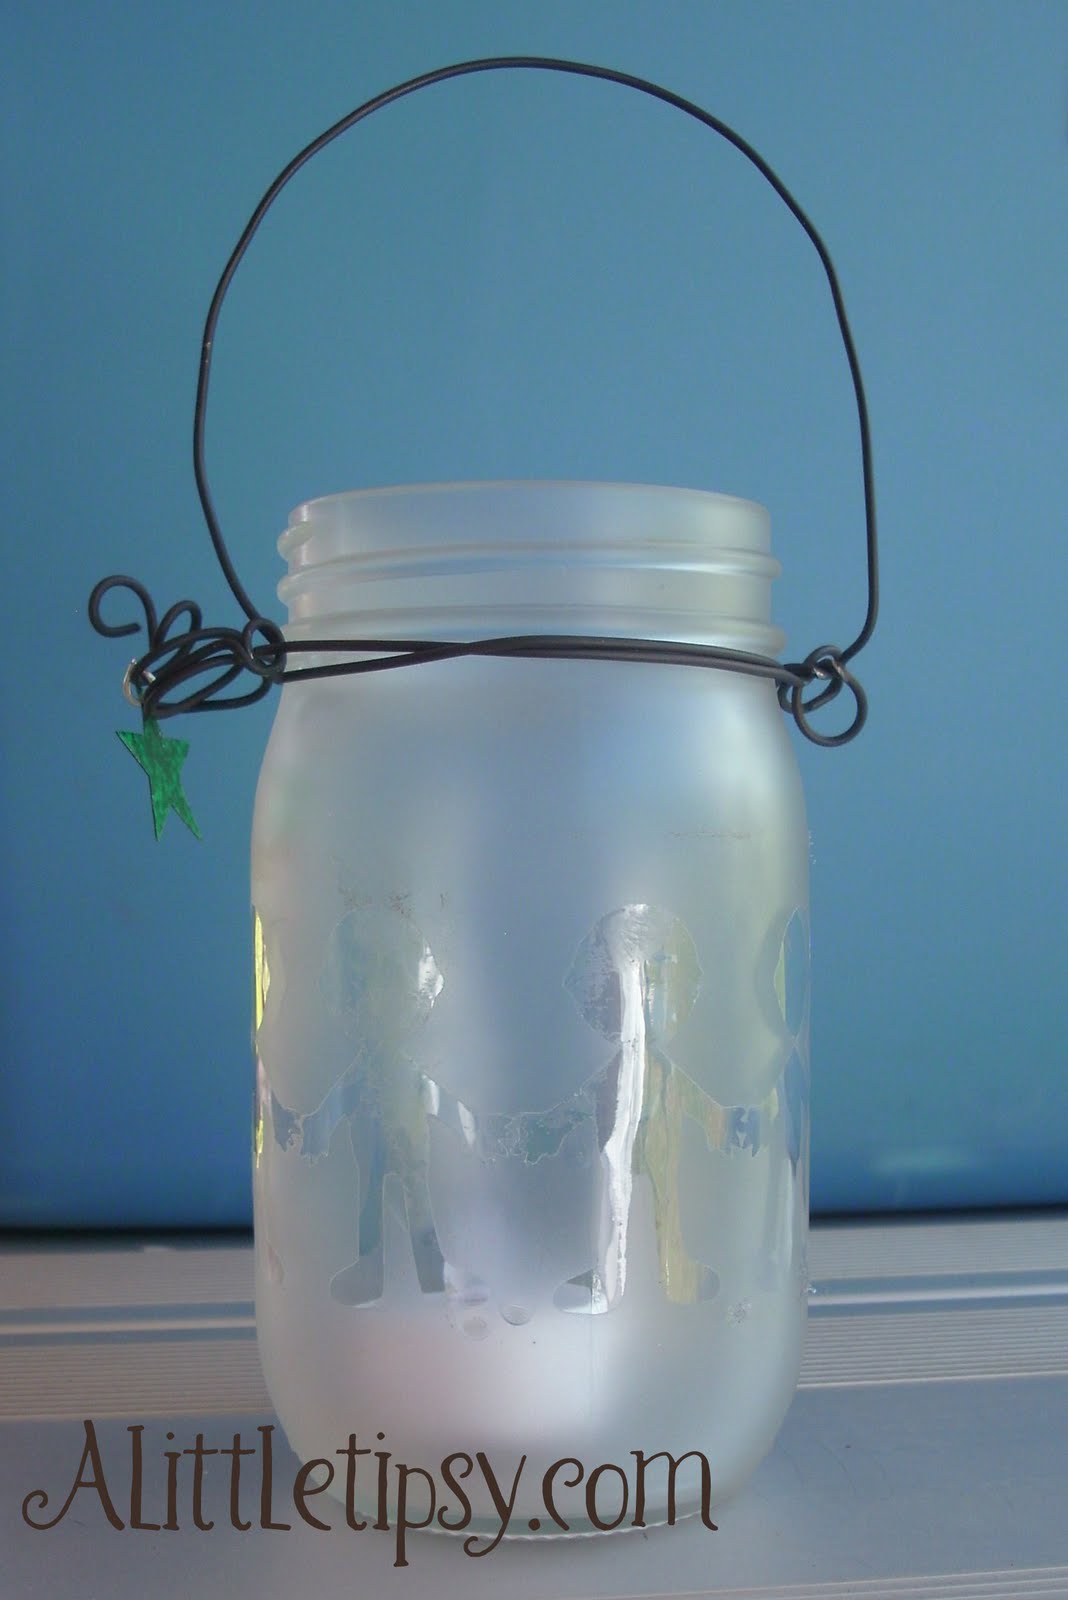
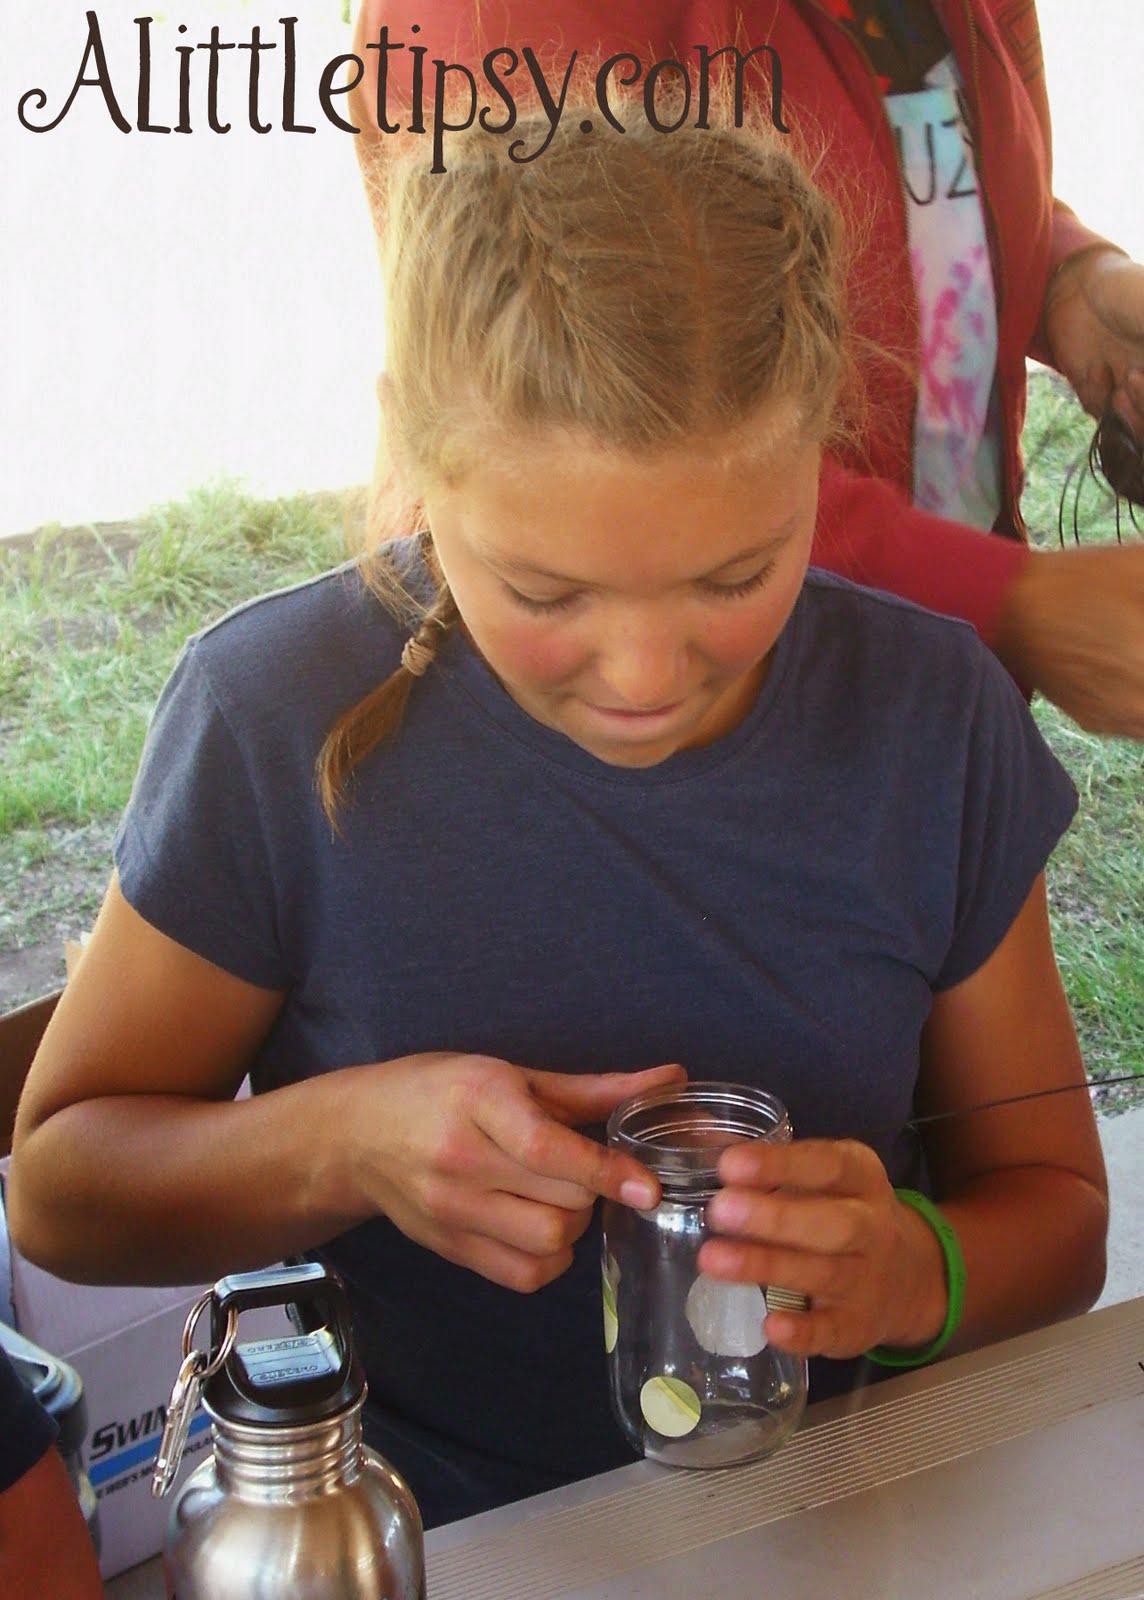
1. Choose stickers and place them on the jar. These will be the spots left clear in the end.
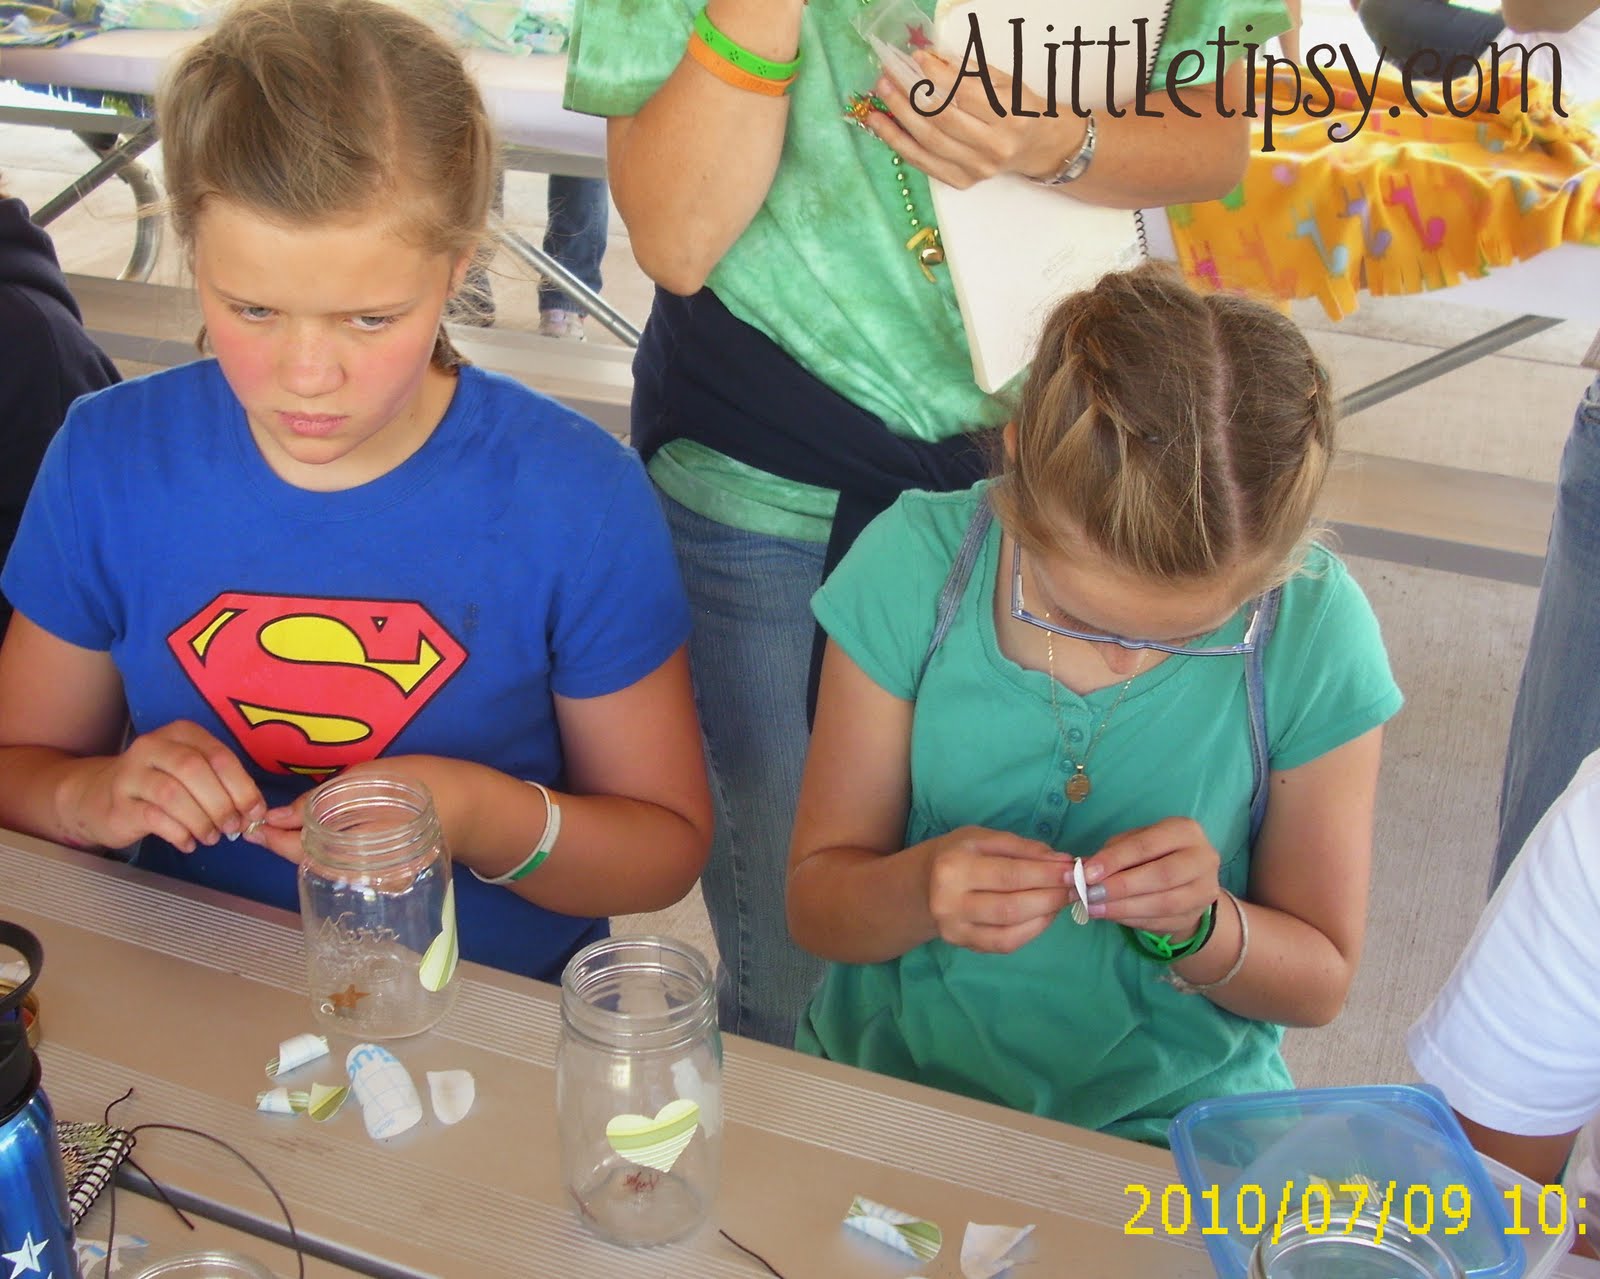
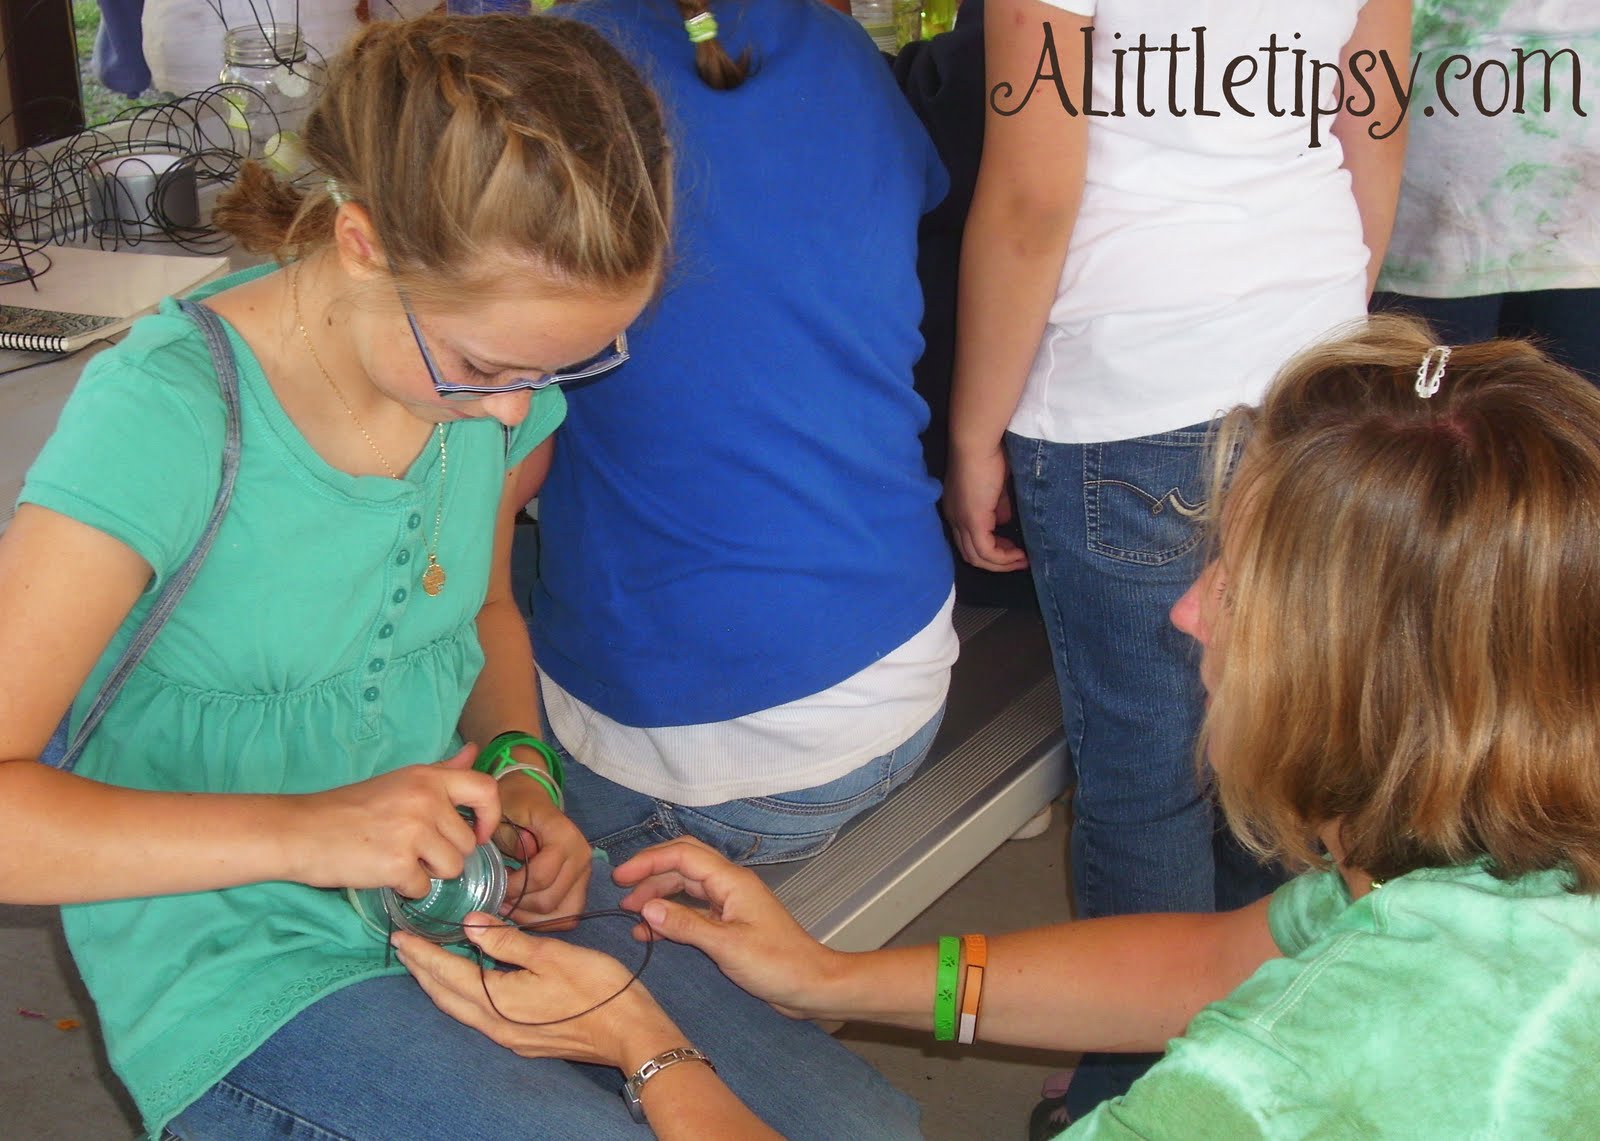
2. Take a long piece of wire (2 or 3 ft depending on how many times you want to wrap it) and wrap it around the neck of the jar under the lip where you would screw on the lid. Leave it loose enough to fit a piece of the wire through for the handle. Use the pliers to pull the remaining wire around and up through the wire around the neck to make the handle. Make an arc of wire over the jar for the handle and secure on the other side. You can make a second arc or wrap the remaining wire all around the first handle to make it thicker if you like.


I found out from the lady in charge of our craft at camp that the original idea came from Under My Umbrella via Sugardoodle. They have a tutorial, but their background was missing so you could see the pics but could not read the words. Thus, I made this tutorial.
P.S. Don’t forget to sign up for free Tipsy updates via RSS or email.
We did this for our girls’ camp too. We got the flickering battery tealights, and as the girls came up the hill to Testimony Meeting we passed them their lanterns while singing different hymns. As the sun went down it really set the mood. I want to make Halloween versions for the house this year:)
Thanks for this idea. We go camping a lot with our friends and there are always a bunch of kids. This could be a fun craft to do!
Thanks! I am a YW leader. This might be fun for our girls to do this summer. Love your blog!
cute! great idea!!
So you better come link over to my party too! This is just ADORABLE! what a fun idea!
Thanks for linking up! You are so cute and such a doll! I just love how cute these turned out! What a fun craft for Girls Camp.
Funny story. No one I’m related to (blood or in law) read’s my blog. So last week at my husbands family reunion his cousin comes up to me and says “I saw you on my favorite blog a few weeks ago, a little tipsy? how did you get on there?” Funny! And a small world! I felt pretty cool that I KNOW you!
Nice to have you join us for another great Anything Related! ~Bridgette
these are awesome
cool tutorial
just use our paint to create decorative colored glass, industrial colored glass, architectural colored glass, and more.