A Little Tipsy

Creative Tips & Ideas

  • home
  • About Me
  • the tipsy top
  • press
  • projects
  • contact me
[print_thumbnail_slider]

You Were ‘Mint’ for Me-Kix Prize Pack Giveaway

January 3, 2011 By Michelle Barneck 99 Comments

I have never been a big cereal eater. My day usually begins with a glass of Ovaltine or a granola bar when I am on the go, but my boys love cereal. They eat in in the morning, they’ll eat is as a snack, they have even been known to coat ice cream with it. Knowing this, it was no surprise that when Kix sent me a couple of boxes to try, the box of Honey Kix was gone almost immediately after removing it from the shipping box.

Being an advertising major in college, I knew that Kix is “Kid tested-Mother Approved” but there are some interesting breakfast facts I was unaware of. For instance, a new survey from Kix found that 84 percent of parents turn to cereal with milk for a quick and healthy breakfast. I suppose I am a minority. Did you know that ready-to-eat cereal has fewer calories than almost any other common breakfast option? I didn’t. In addition, cereal eaters consume less cholesterol and more fiber than non-cereal eaters. I may be converted to cereal after all.

But, anyone who knows me knows I am a treat girl. So, naturally I took the remaining box of Kix and kicked it up a notch. We’re talking a super treat that is totally “Mother Approved.” Not for breakfast of course, but I chose to show the versatility of the cute little corn balls that have been around for oh, 70 years or so.

Let’s go with a Valentines recipes theme using one of my favorite combos of Mint and Chocolate I like to lovingly call (cue the Jewel song)
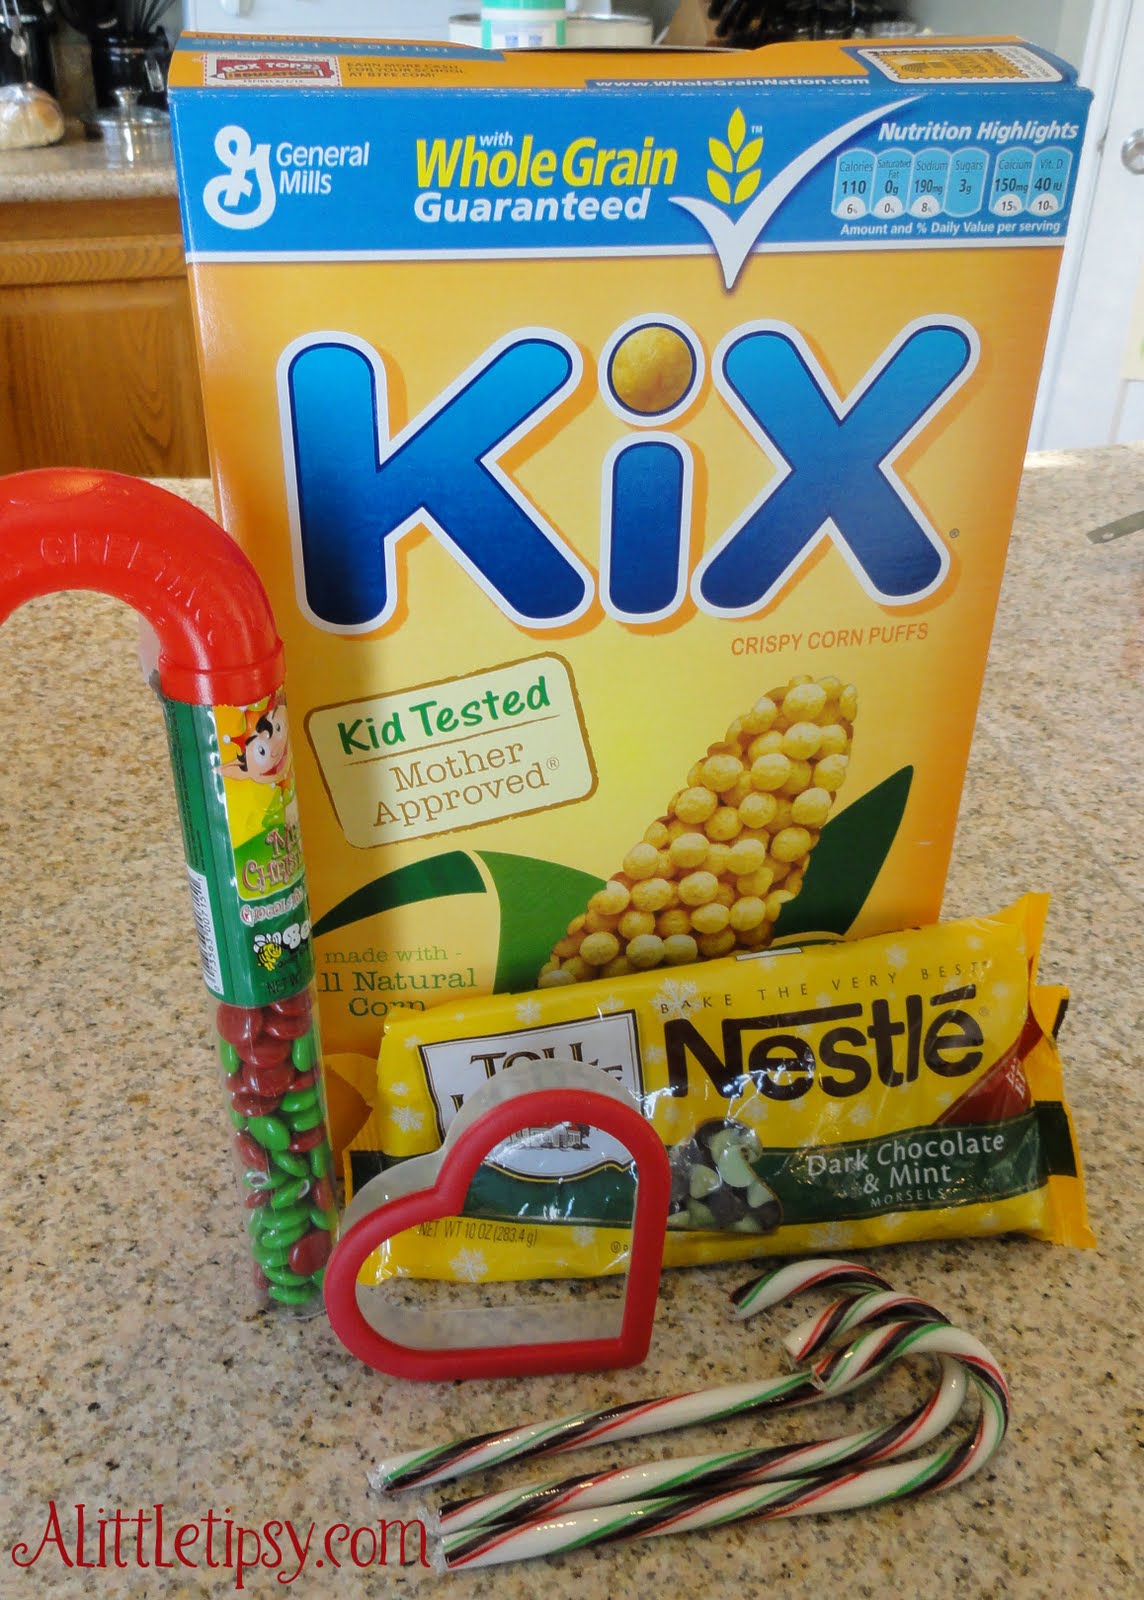
You Were “Mint” for Me and I was meant for you 😉

Ingredients: (makes one heart)

  • 1/2 cup Dark Chocolate with Mint Morsels or Andes Mints
  • 1/2 cup Kix cereal
  • A few red M&Ms crushed
  • Hershey’s Chocolate Mint candy cane or any candy stick

1. Microwave the morsels stirring often until smooth.
2. Stir Kix into chocolate.
3. Put mixture into heart mold on wax paper covered plate.
4. Put in fridge for a few of minutes until it will hold the heart shape, but is still soft.
5. Break crook of cane so you just have a stick and carefully insert it in to the bottom of the heart. Put something under the stick to hold it in place.
6. Put back in fridge for at least 15 minutes to set.
7. Turn on broiler and hold the heart under it melting the chocolate on the side that was on the wax paper.
8. Sprinkle with crushed red M&Ms.
9. Put back in fridge to set.
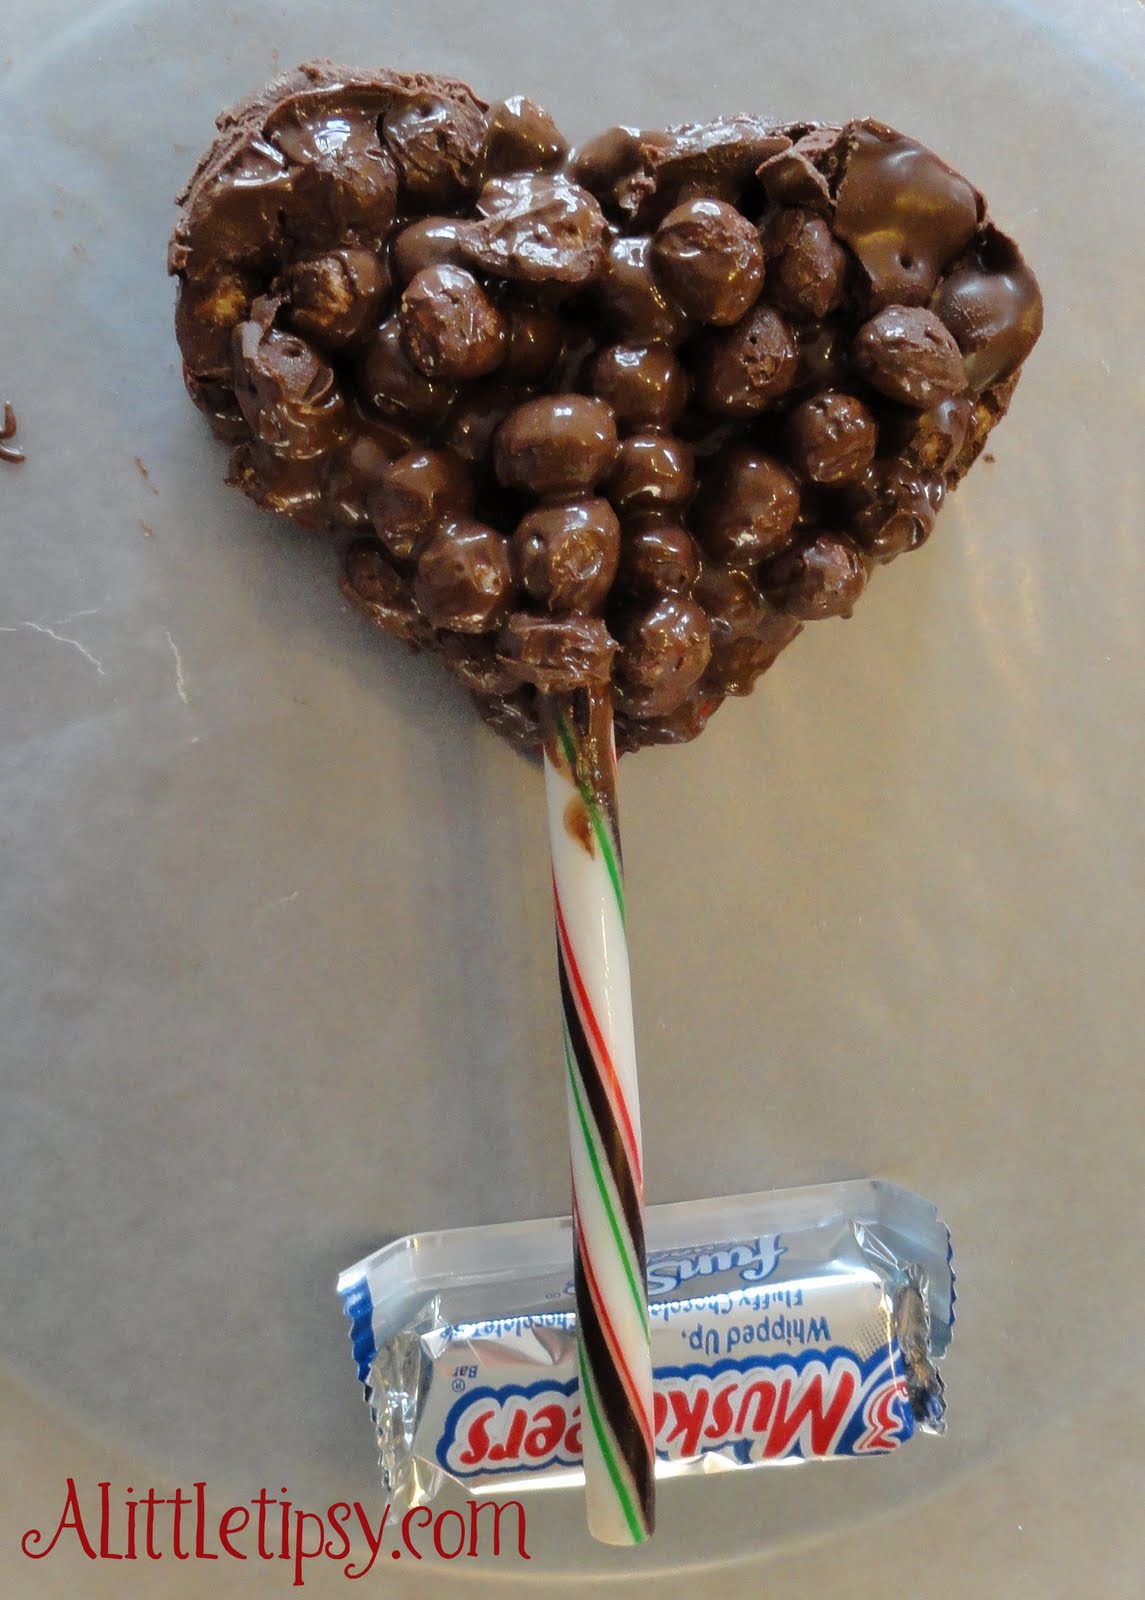
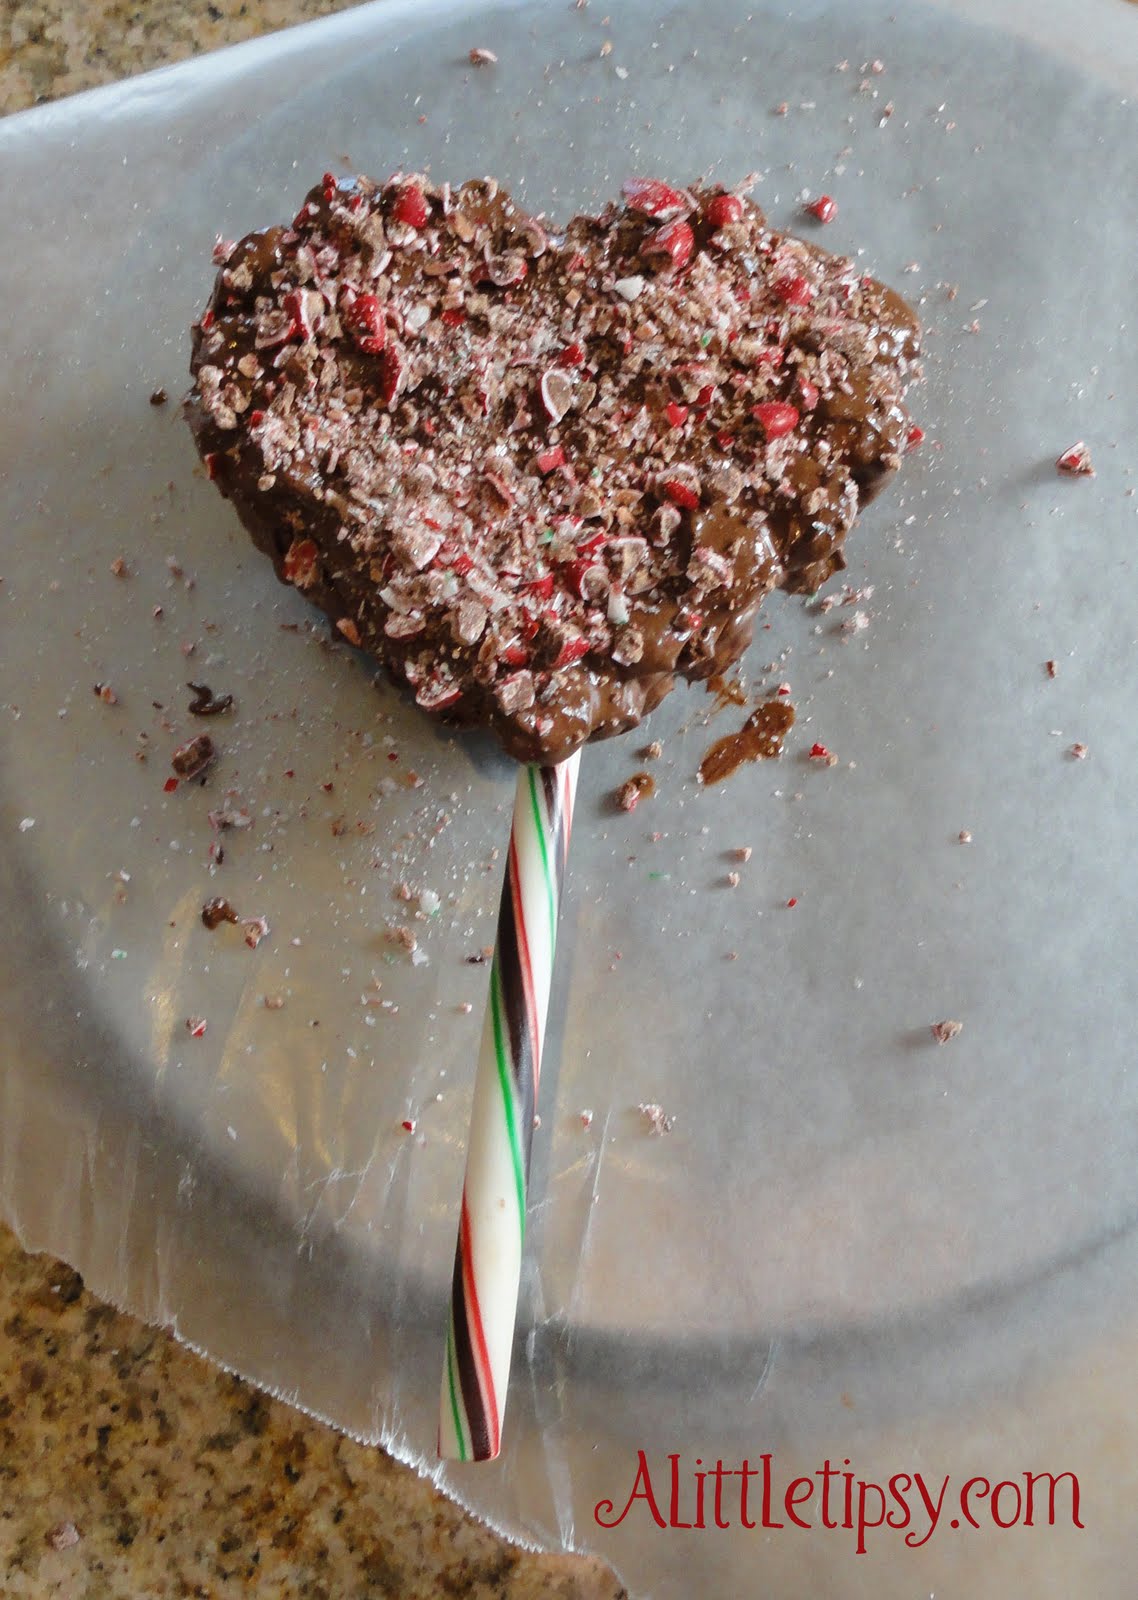
Back…………………………………………Front

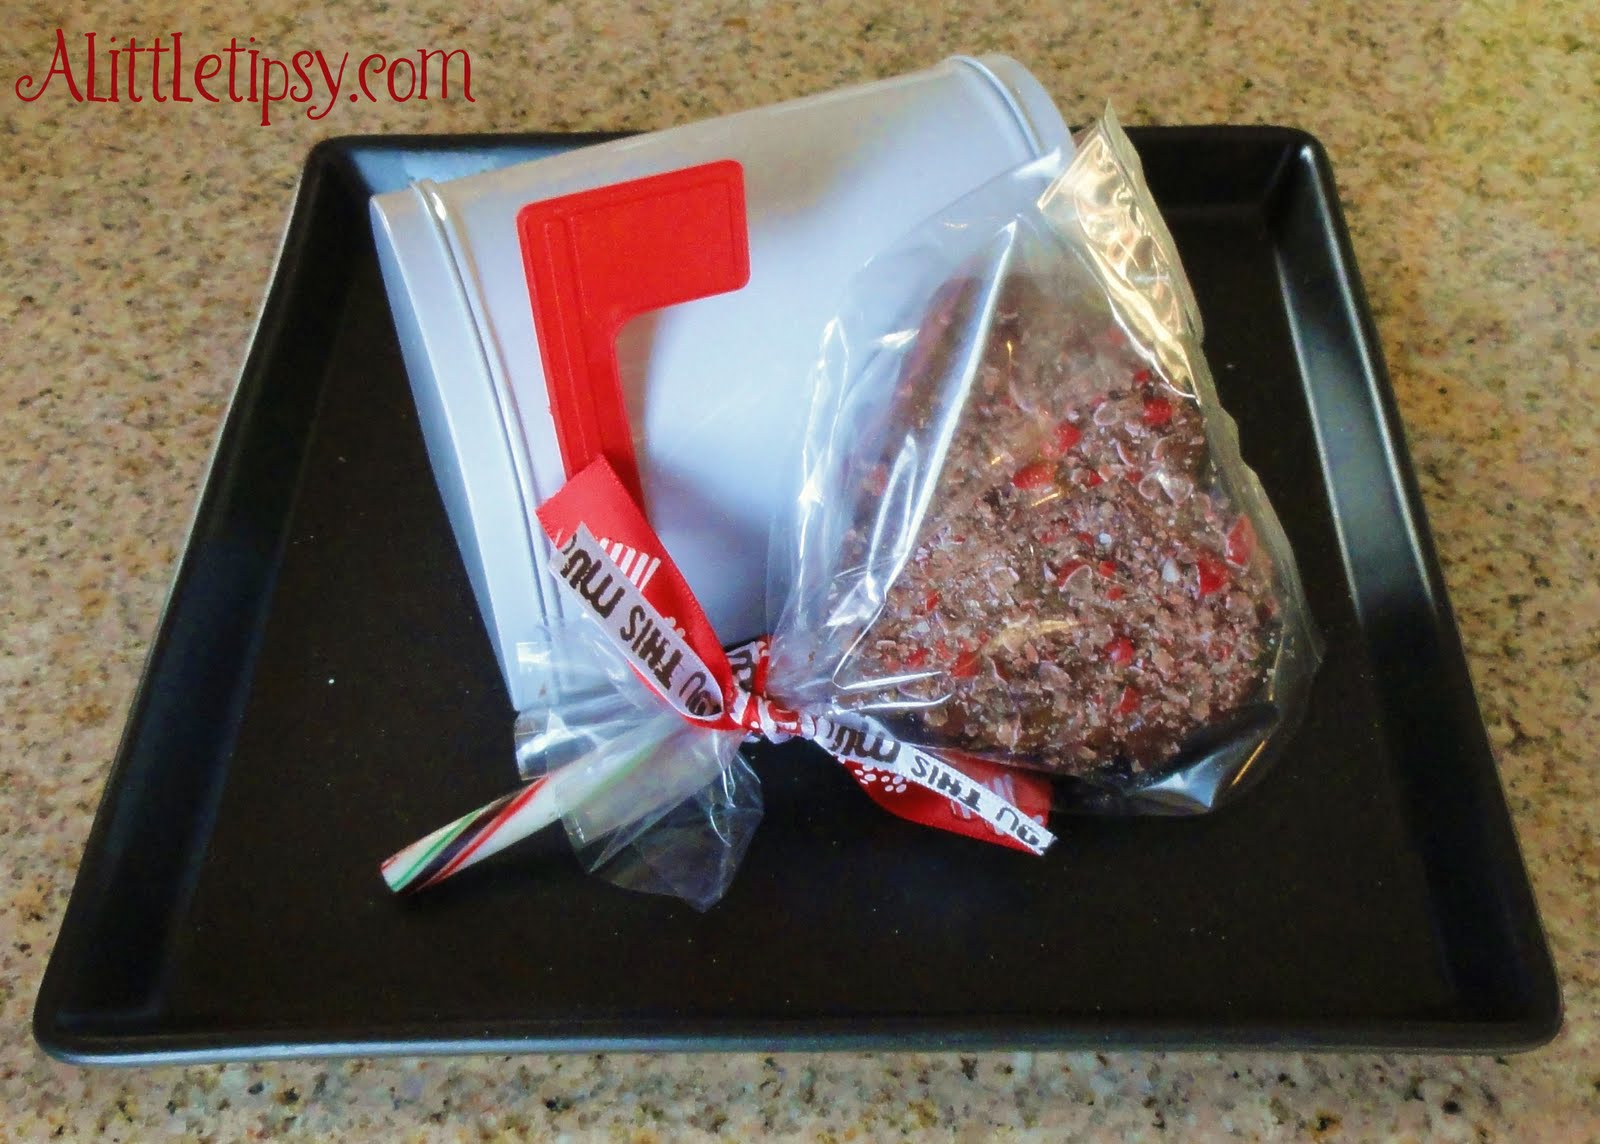
10. Dress it up however you like. I used a clear treat bag and some Valentine ribbon. Then, I put it by their love note mailbox with a note that said, “You were ‘mint’ for me!”

Little guy was super excited about this Valentine treat!
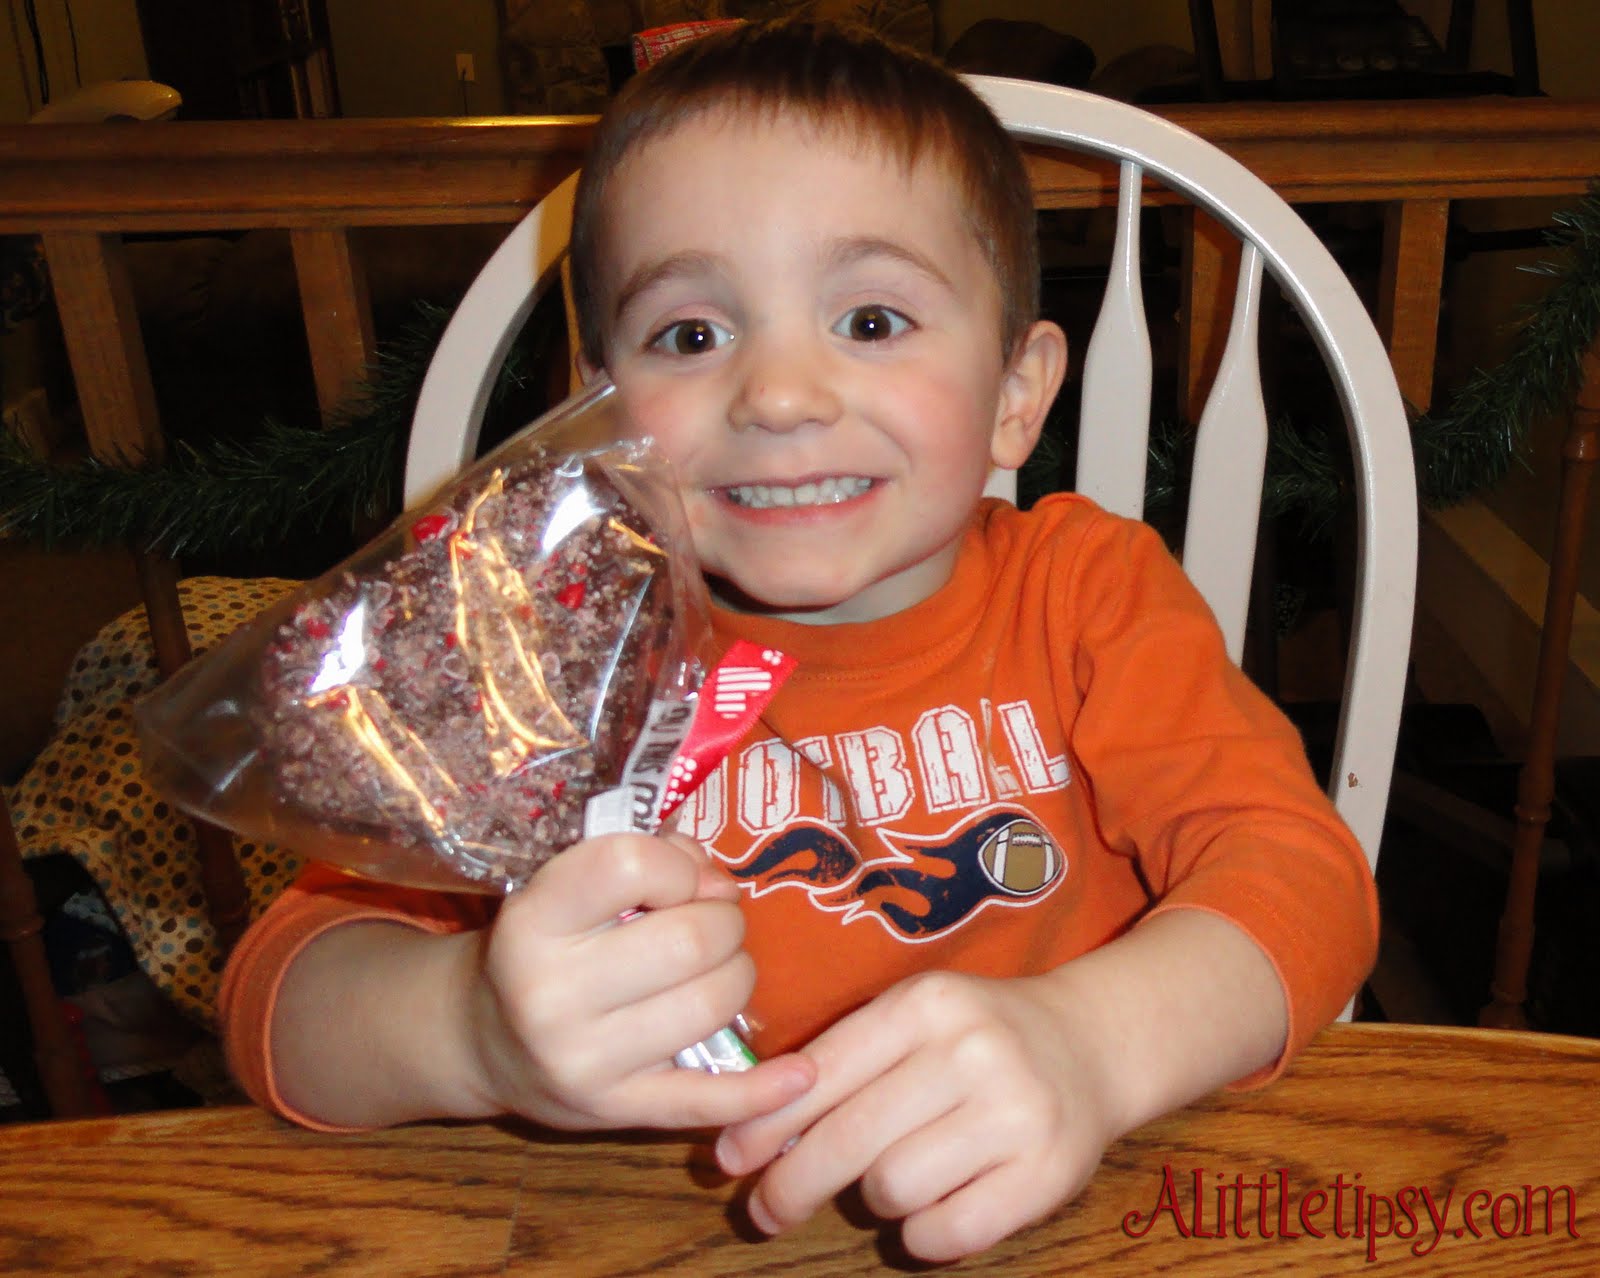
I’d say it was a success! And I can feel good about it because it had wholesome cereal in it right? 😉
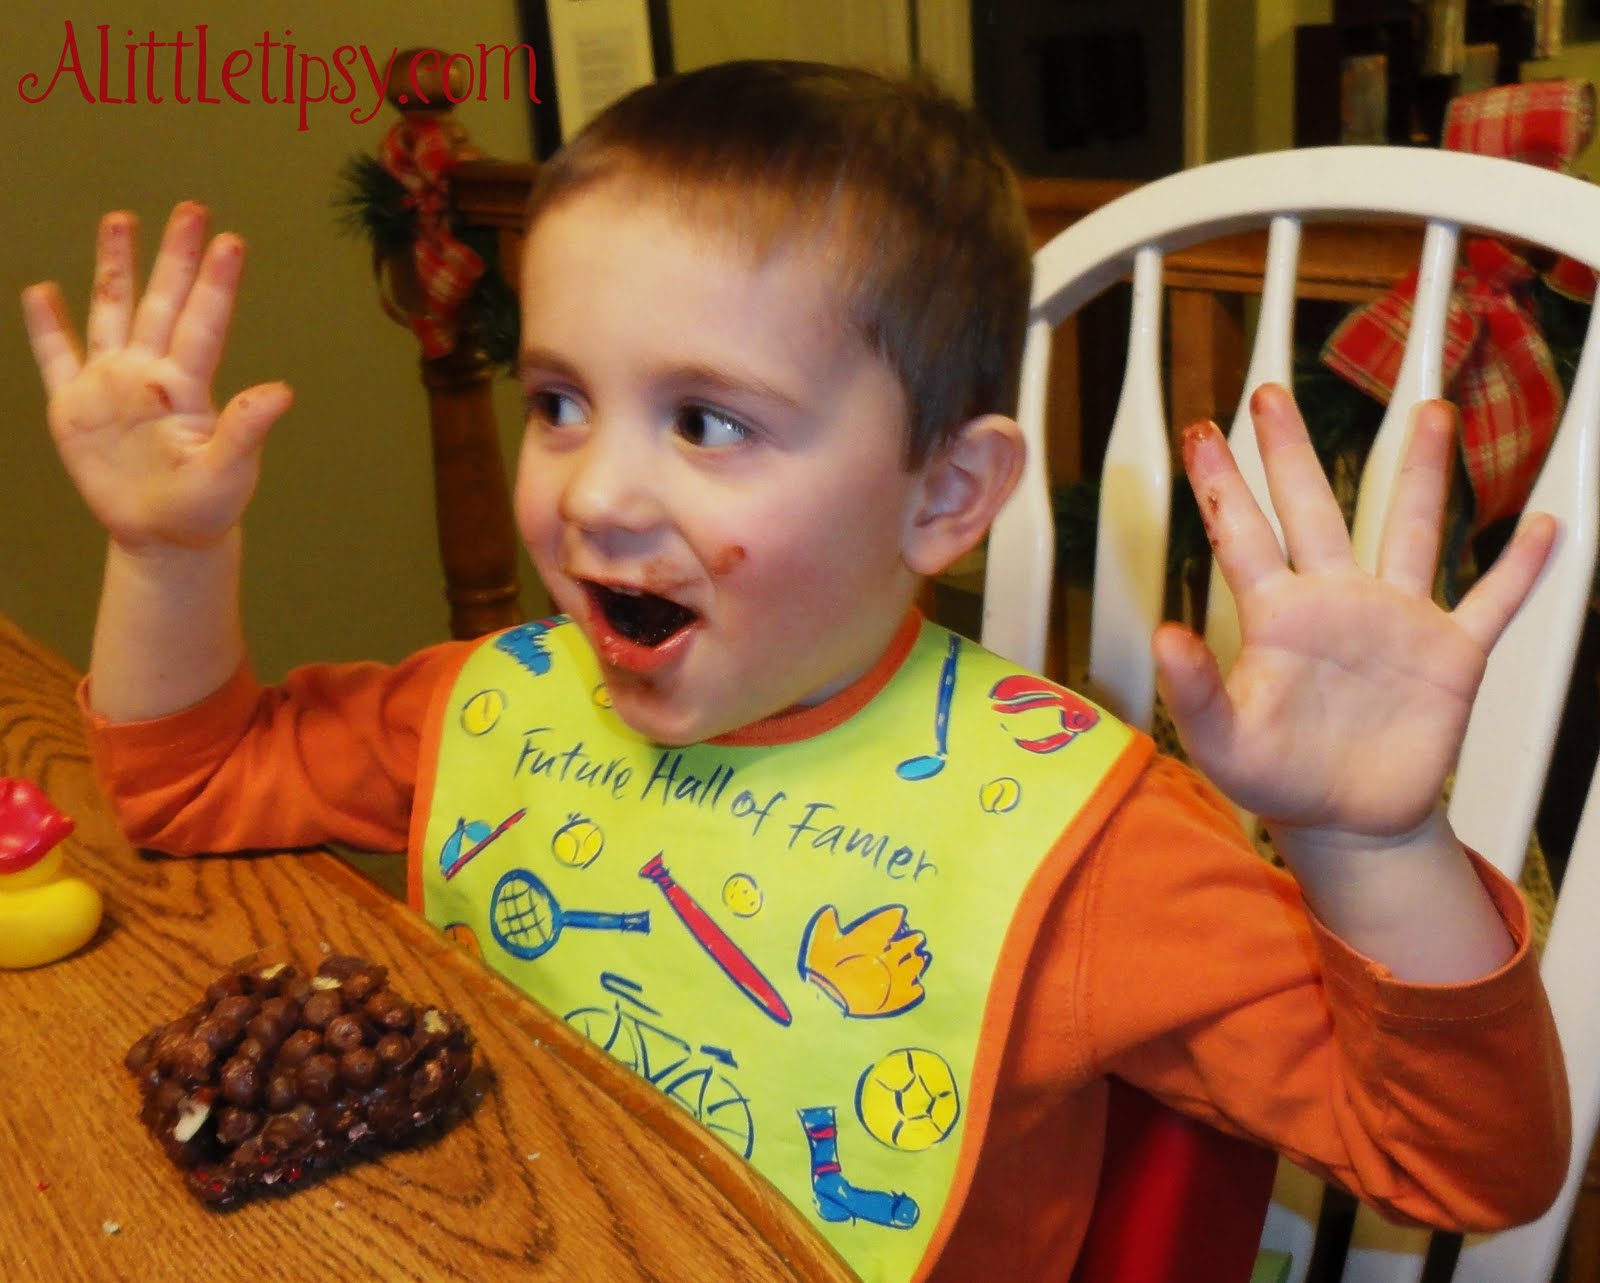
Now, because it is the season of love and here at A Little Tipsy we like to

Kix is giving away a “Kid-Tested, Mother-Approved” prize pack including a floor puzzle, fun learn-to-count flashcards, a sippy cup, a portable snack container and a box each of Original Kix and Honey Kix cereals.


Speaking of love, little guy loves all the fun things in this prize pack!

To enter: Leave a comment telling us if you eat cereal for breakfast like most of the world or mostly save it for treats like me.

Extra entries: leave a separate comment for each entry

  • Follow A Little Tipsy
  • Like A Little Tipsy on Facebook

Don’t forget to leave your email in a comment if you don’t have it on your profile!

Giveaway closes Friday, January 7th. Good Luck!

Disclosure: Kix provided the prize packs and information through MyBlogSpark.

P.S. Don’t forget to sign up for free Tipsy updates via RSS or email.

We have decided to truncate our feed to help protect against stolen content. I apologize for any inconvenience. Please love us anyway. 🙂

Feature Friday-Blog Swap with Just Between Friends

December 31, 2010 By Michelle Barneck 3 Comments

I’m so excited to be here at A Little Tipsy, and I’m even more excited that Michelle is taking over my blog! I love Michelle’s fun dating ideas and her caramel apples look like something straight from the Rocky Mountain Chocolate Factory. YUMMY!!!

Now, if you don’t mind, Michelle, I am going to take over your blog.

Let’s get down to the nitty gritty…..

I’m Jonie from Just Between Friends. I am married to a man that loves to fish and we have a 17 month old little girl that seems to always keep us busy. I am pretty new to blogging. I started my blog just this last August, and I love it! It has been such a great motivator for me as well as a creative outlet.

Some of my favorite projects I’ve done are:

#1. Scrap Wood Shelves My daughter loves to read and I wanted a way that I could store her books without her needing to throw them off the shelf to see the cover. That is how I came up with this idea.

She still seems to need to throw her books everywhere, but at least she knows what book she is grabbing before she throws it.

#2. Fireplace Mantel When we moved into our house, there was no mantel above the fireplace. Talk about bor-ing! I decided to take a stab at it using just some 2X4s and some other various wood. I LOVE the way it turned out and I am having so much fun decorating it for the holidays.

Some day I am going to try putting up brick or stone or something like that in the space between the fireplace and the mantel. One thing at a time.

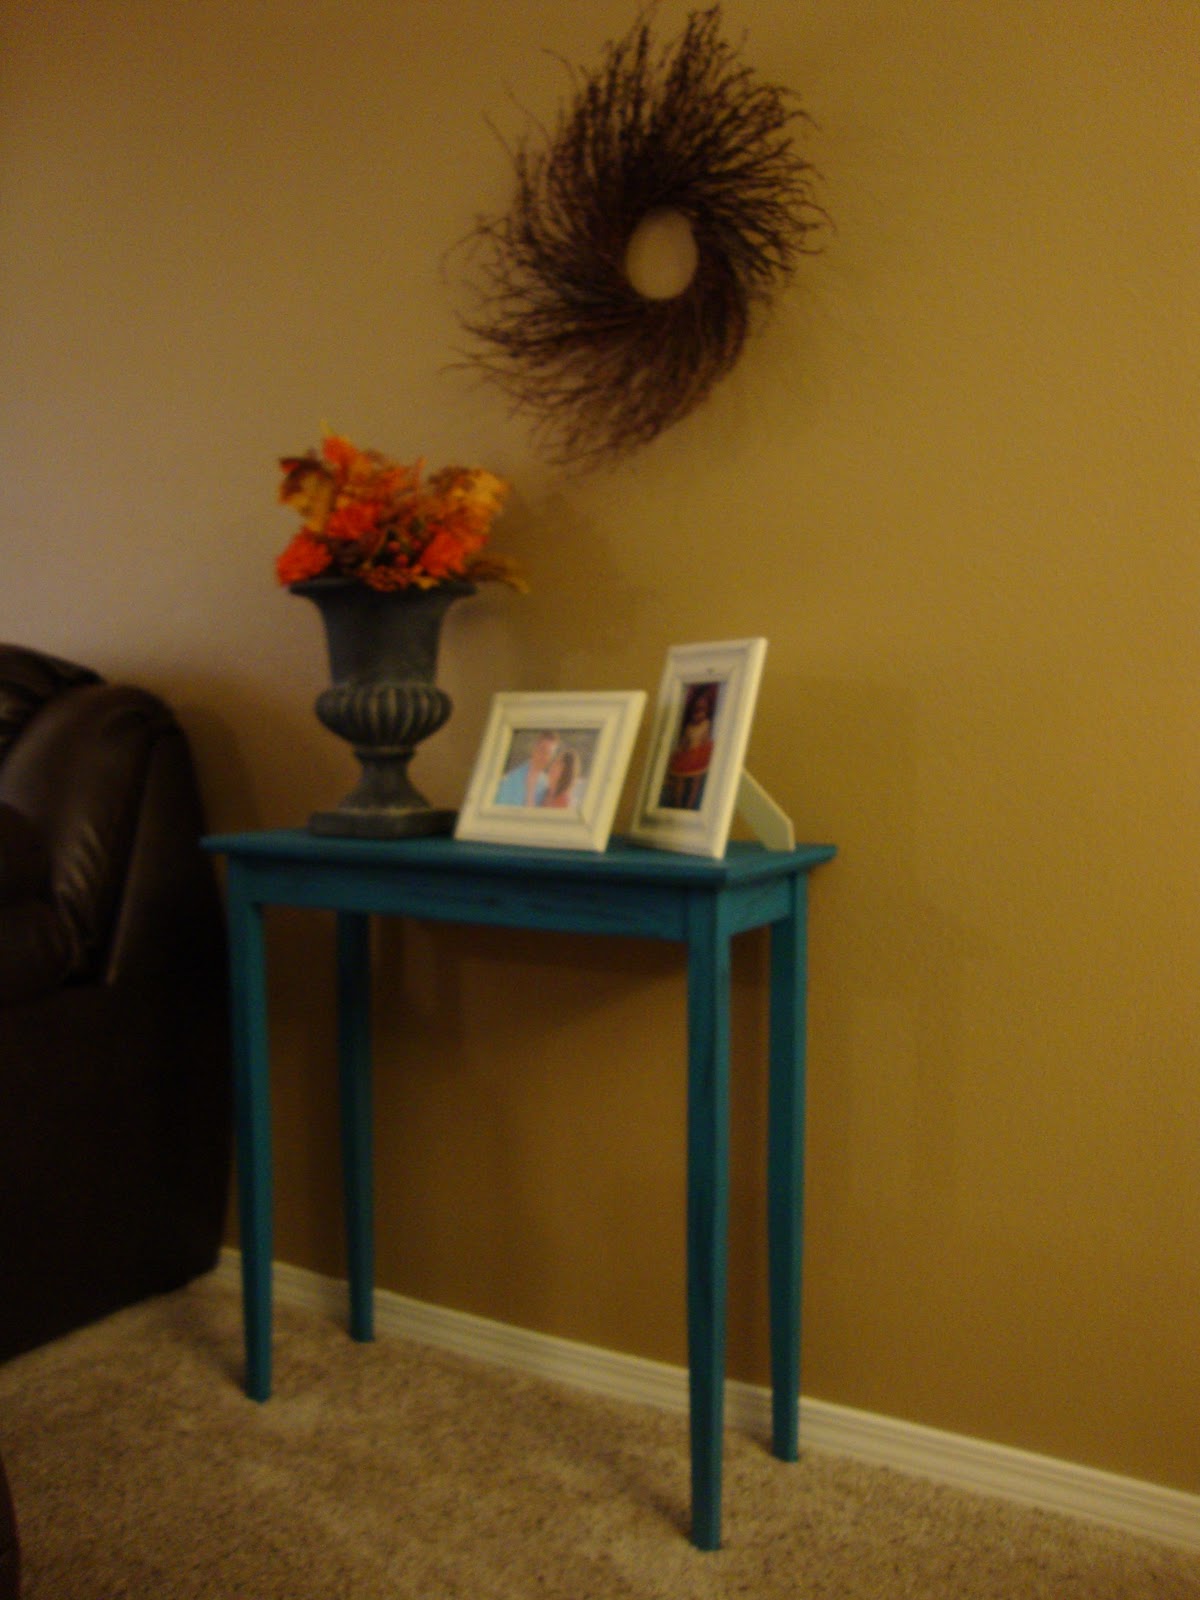
#3. Front Room Makeover I wanted to surprise my husband with a room makeover while he was out of town. I am pretty sure that when I told my husband I had a surprise for him he didn’t imagine this. He of course likes the way it looks. (I don’t think he would dare tell me otherwise)

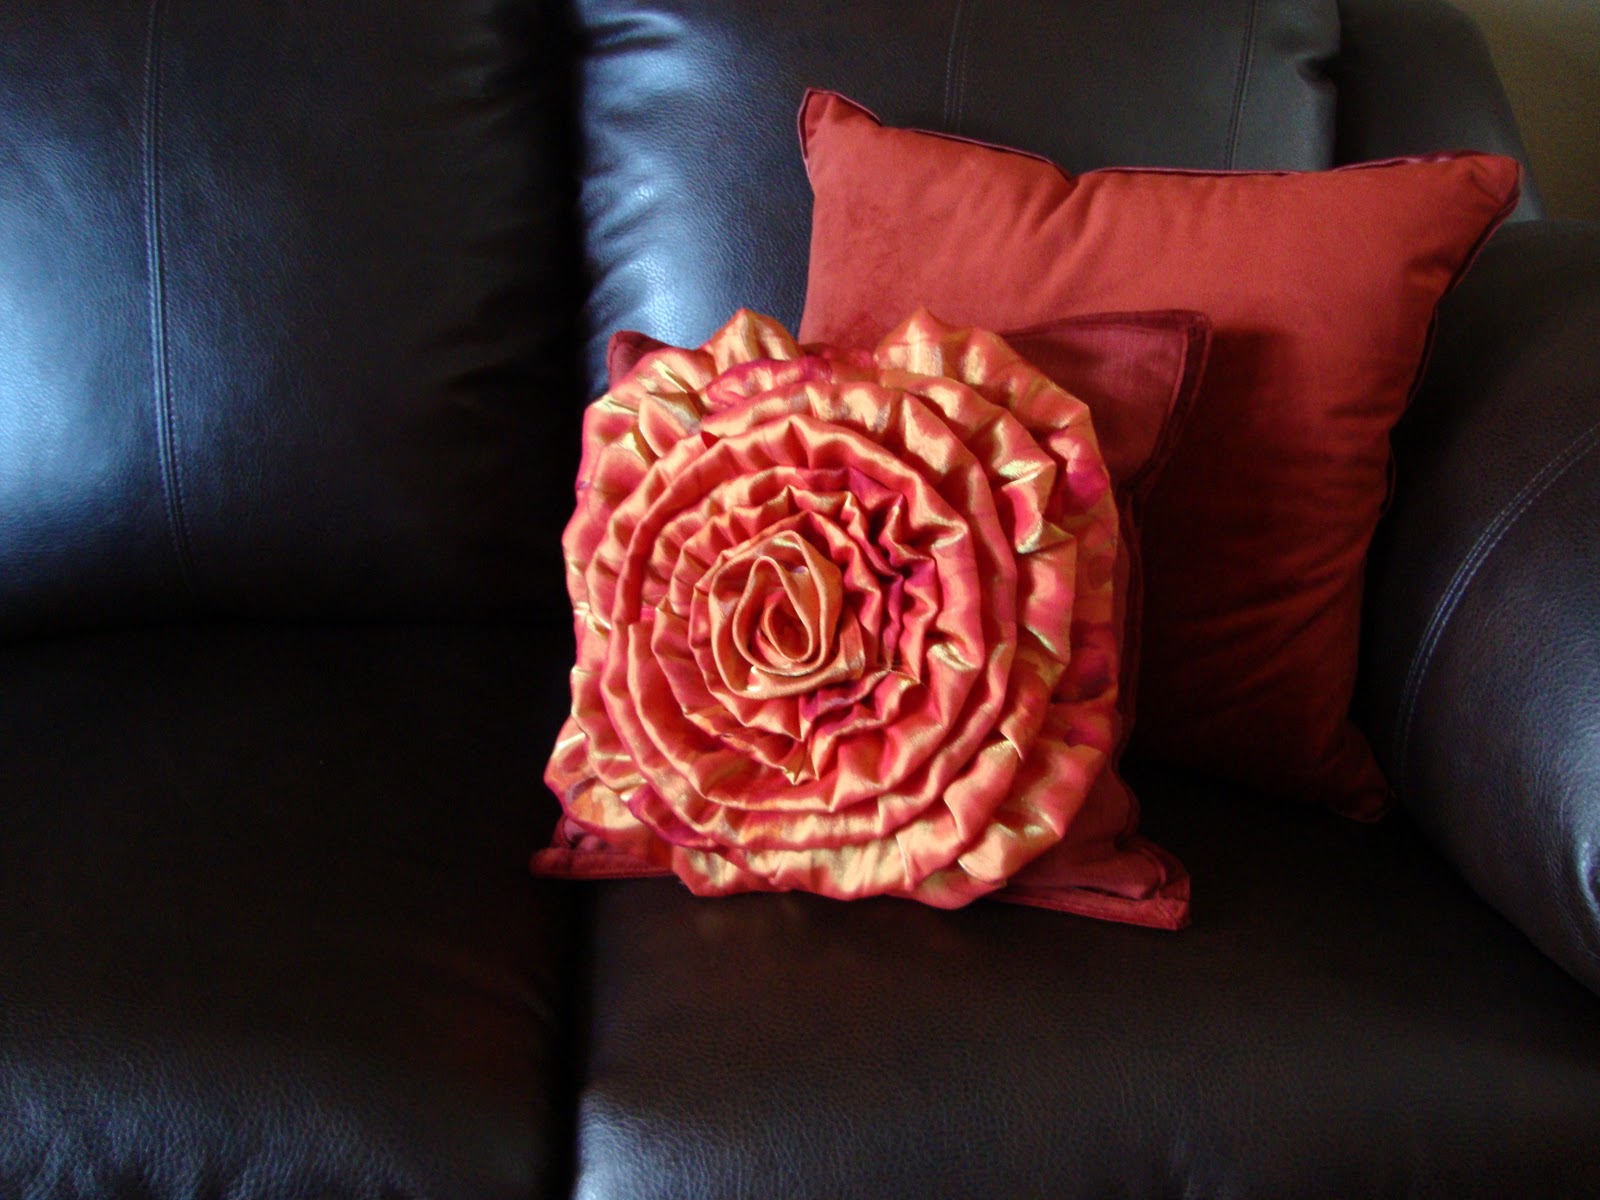
One of my favorite parts about this room is this pillow. I made it from the skirt my sister wore at my wedding. You can read all about how I made the pillows here.

I think that is enough to get you started in my blog. I really would love for you to stop by and follow along in my many crafting adventures.

Thanks so much Michelle for having me over! You can have your blog back now 🙂

————————————————————————

Be sure to check out her awesome ribbon holder too! Thanks for swappin’ it up Jonie!

P.S. Don’t forget to sign up for free Tipsy updates via RSS or email.

We have decided to truncate our feed to help protect against stolen content. I apologize for any inconvenience. Please love us anyway. 🙂

A New Twist on New Year’s Eve

December 30, 2010 By Michelle Barneck 1 Comment

After having kids, it is inevitable that every New Year’s Eve won’t be the all-night bash it once was. Instead of thinking about how that sassy little party dress is just hanging in the back of your closet, why not have a celebration with your children? Help your kids make a few party accessories and create some memories together. Sure, it isn’t the same as sipping bubbly at the hottest new club downtown, but I guarantee you will ring in the new year with a smile. Roll up your sleeves and dig in!

Times Square Ball

Image source

The Countdown Ball

Your kids may not be able to stay awake long enough to see the infamous Times Square ball drop at the stroke of midnight, so what better than having them make their own? You can find everything you need at your local craft supply store. Take a single, metallic chenille stem (known in my day as a “pipe cleaner”) and push it into a simple 2-3” Styrofoam ball. You will want about 1-1/2” of the chenille stem stuck into the foam. Then, have your child cover the entire surface of the foam ball with sequins, using either craft glue or stick pins to attach them. If you use glue, allow the glue time to dry.

Crown

A plain, foam crown can typically be purchased from any local craft store. But, you can also fashion one from a piece of poster board if you feel comfortable drawing the shape and cutting it out. If you go the poster board route, you will just need to use a stapler or glue to attach the two ends together. Using sticky foam letters or perhaps some glitter paint, help your child write “Happy New Year” or “2011” on the front of the crown. Your child can decorate it however he or she wants to make it their own.

Shakers

Have some empty water bottles in your recycling bin? Take them out, wash and rinse them, then remove the label. Use construction, wrapping or scrapbook paper to cover the exterior. Let your child get creative with stickers, paint, markers, crayons, sequins, ribbon and any other supplies you may have to personalize their shaker. Once the shaker is decorated, fill it with simple dried beans, then screw the lid on very tight.

Noisemaker Horns

No New Year’s Eve is complete without noisemakers. Now, I know what you’re thinking. You’re thinking, “Are you kidding me? My kids are loud by themselves and they already have a zillion toys with lights, buzzers and whatever else that give me a headache.” As a mother, I can attest with every ounce of my being that my children are indeed noisemakers on their own, without the assistance of a novelty toy. Trust me. However, on this one special night, I think making noisemakers is mandatory. Take a piece of poster board and shape it into a cone. Glue or staple it into place. Then, take shiny wrapping paper and cover the outside of the cone, attaching it with glue or double-sided tape. If you have curling ribbon on-hand, cut a few pieces and curl them with scissors (parents, please do that part!). Then take some glue or double-sided tape and attach the ends of the curled ribbon to the inside of the wider end of the cone. Voila! A simple “horn” the kids can yell or blow through, but nowhere near as noisy as the store-bought kind. Perfect.

Click here and scroll down to print image as coloring page.

You don’t have to be Martha Stewart to make some fabulous New Year’s Eve crafts with your children. Simple ideas, familiar supplies and a little creativity will go a long way to make precious memories. And, if you are lucky, your kids will have so much fun during their little party that they will wear themselves out and fall asleep early, leaving you and your significant other with some peace and quiet to sip champagne and toast to the New Year!

Bio: Maria Rainier is a freelance writer and blog junkie. She is currently a resident blogger at First in Education, where recently she’s been researching online mechanical engineering degrees and blogging about student life. In her spare time, she enjoys square-foot gardening, swimming, and avoiding her laptop.

———————————————————————————————

Thanks to Maria for some fun ideas to do with the kiddos! I love the idea of making your own countdown ball. Many times we let the kids watch the ball drop in NY (10 o’clock our time) and then get them off to bed. 🙂


P.S. Don’t forget to sign up for free Tipsy updates via RSS or email.

We have decided to truncate our feed to help protect against stolen content. I apologize for any inconvenience. Please love us anyway. 🙂

Vacating for the Holidays

December 22, 2010 By Michelle Barneck 5 Comments

Hello all! Just wanted to say I will be sparse around these parts the next week or so. I am taking a break to enjoy the holidays with my family computer free. Woo hoo!

I’ll be sewing some of these…

and making some of these…

http://farm1.static.flickr.com/39/74621550_44bb79776f.jpg

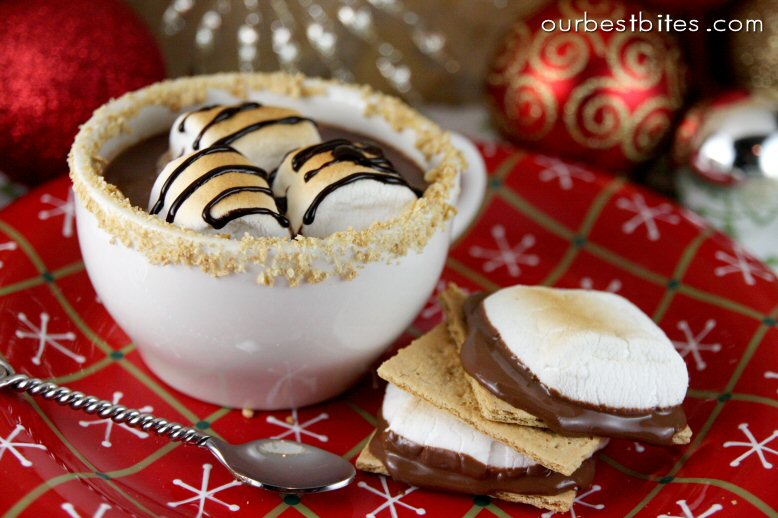
drinking some of this…

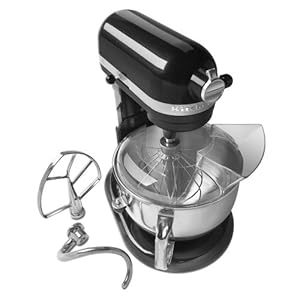
opening one of these…

KitchenAid Professional 600 Series 6-Quart Stand Mixer

and the baby will be playing Jesus in our Christmas Eve family production of this…

http://www.pretendtobee.co.uk/images/ww/side%20bar%20images/nativity-new.jpg

We’ll start fresh in January. Until then, Happy holidays!

Oh, and in case you were wondering…;)

The winner of the Babybjorn Synergy carrier is…

Jacob And Angie Ward said… I am a follower!

Congrats!

Merry Christmas!!

P.S. Don’t forget to sign up for free Tipsy updates via RSS or email.
We have decided to truncate our feed to help protect against stolen content. I apologize for any inconvenience. Please love us anyway. 🙂
« Previous Page
Next Page »

  • Bloglovin
  • Facebook
  • Google+
  • Instagram
  • Pinterest
  • RSS
  • Twitter

Hi there! I'm Michelle. Mother of three little boys and one little princess. Welcome to A Little Tipsy, a place for exploring creativity and sharing inspiration.

Follow on Bloglovin


Visit Michelle Barneck {A Little Tipsy}'s profile on Pinterest.

Tutorials by Category


15 Family Reunion Games

Family Reunion Games Collage

15 Sprinkle Party Ideas

Sprinkle Birthday Party
Creative Commons License

© Copyright 2014 A Little Tipsy · Site Designed by The Fairy Blogmother · Web Hosting by RFE Hosting

This website uses cookies to improve your experience. We'll assume you're ok with this, but you can opt-out if you wish.Accept Read More
Privacy & Cookies Policy