A Little Tipsy

Creative Tips & Ideas

  • home
  • About Me
  • the tipsy top
  • press
  • projects
  • contact me
[print_thumbnail_slider]

Blogoversary coming up..

January 20, 2011 By Michelle Barneck 5 Comments

One month from today is my 2nd blogoversary. I can’t believe I have been doing this almost 2 years! So, I am making myself a little goal and a goal not written down (or typed on your blog for all to see) is only a wish. I want to have 2000 public Google friend connect followers, 1000 facebook likes and 1000 twitter followers by February 20th. Doesn’t that have a nice ring to it 2000 public followers for my 2 year anniversary. If I make it, there will be something fantastical in store. Not sure what it will be yet, but remember last time I made a promise like this? My one and only vlog. Gee, wonder why I didn’t continue on with that. 😉

And now for the obligatory blog post pic because let’s face it a post without a pic is like peanut butter without the peanuts.

No worries my peanut butter contains peanuts! “No, seriously, there are peanuts in this?!” Thank you Captain Obvious!

Oh, and happy bday to my big bro Josh. Not that he will ever see this message. 😉

P.S. Don’t forget to sign up for free Tipsy updates via RSS or email.

We have decided to truncate our feed to help protect against stolen content. I apologize for any inconvenience. Please love us anyway. 🙂

Valentine Banner

January 20, 2011 By Michelle Barneck 4 Comments

Mini Valentine Banner? Check. Made from candy? You know it. I had some cherry juju hearts left from my heart ball and heaven forbid I eat them, but could not let them go to waste. So, alas, the mini Valentine banner was born (or made).


Supplies:

  • Cherry juju hearts (I used 22)
  • Needle
  • Red thread
  • Sharpie
  • Ribbon

1. Turn your hearts over so the flat side is facing up. Take your Sharpie and write a letter of “Happy Valentine’s Day” on each heart.
2. Thread the needle with a LONG string of thread. Make both ends even so the candy will thread over two strings.
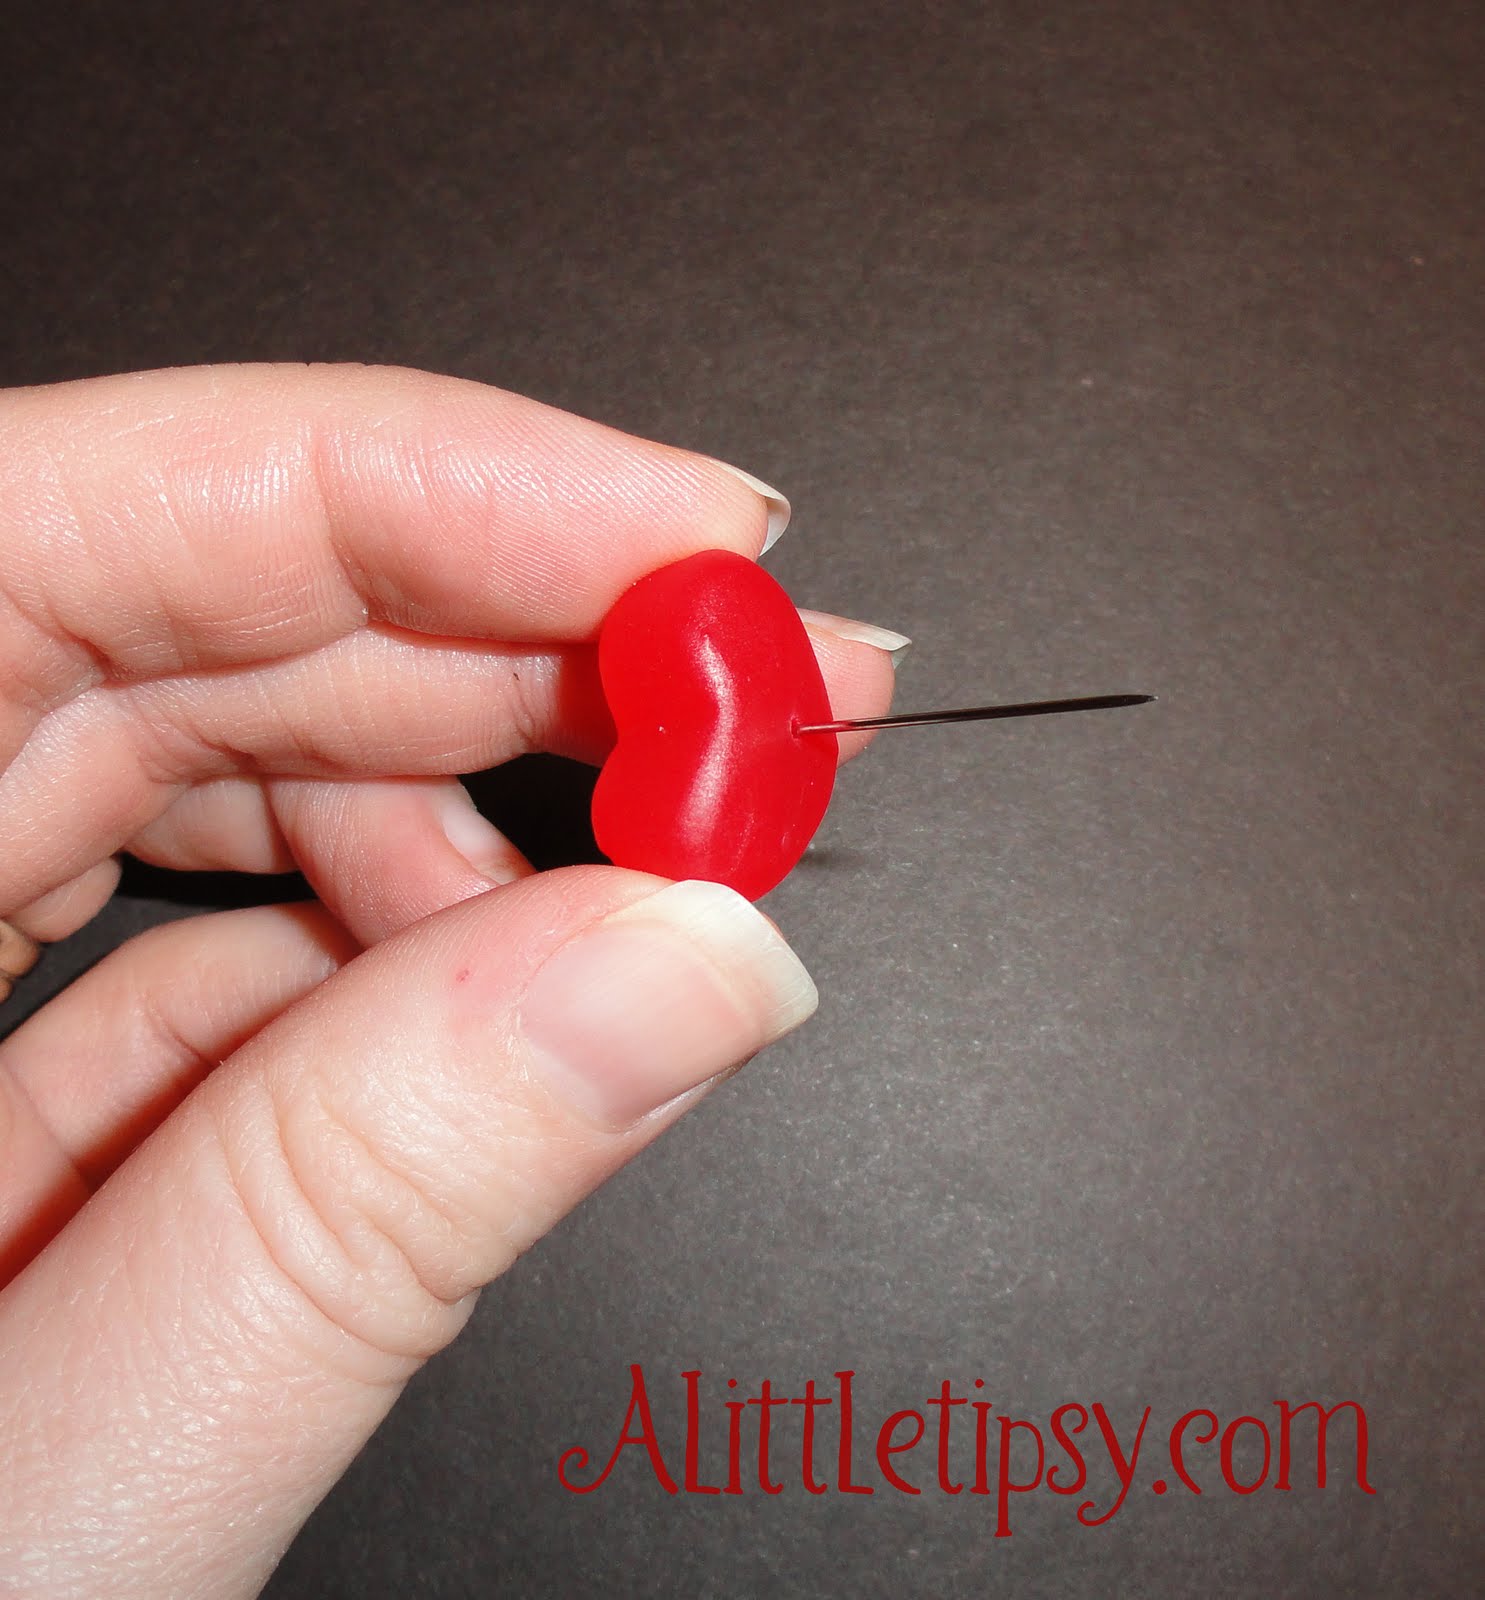
3. Poke the needle through each heart (through the widest part of the heart, so the weight will hold the heart the right way when hung) until you have them all strung.
4. Make space between the words and tie scraps of ribbon on to the thread as spacers.


Linking up:
Transformation Thursday
Strut Your Stuff
Show Off Your Stuff
Get Your Craft On

P.S. Don’t forget to sign up for free Tipsy updates via RSS or email.

We have decided to truncate our feed to help protect against stolen content. I apologize for any inconvenience. Please love us anyway. 🙂

Decoration Ball

January 19, 2011 By Michelle Barneck 5 Comments

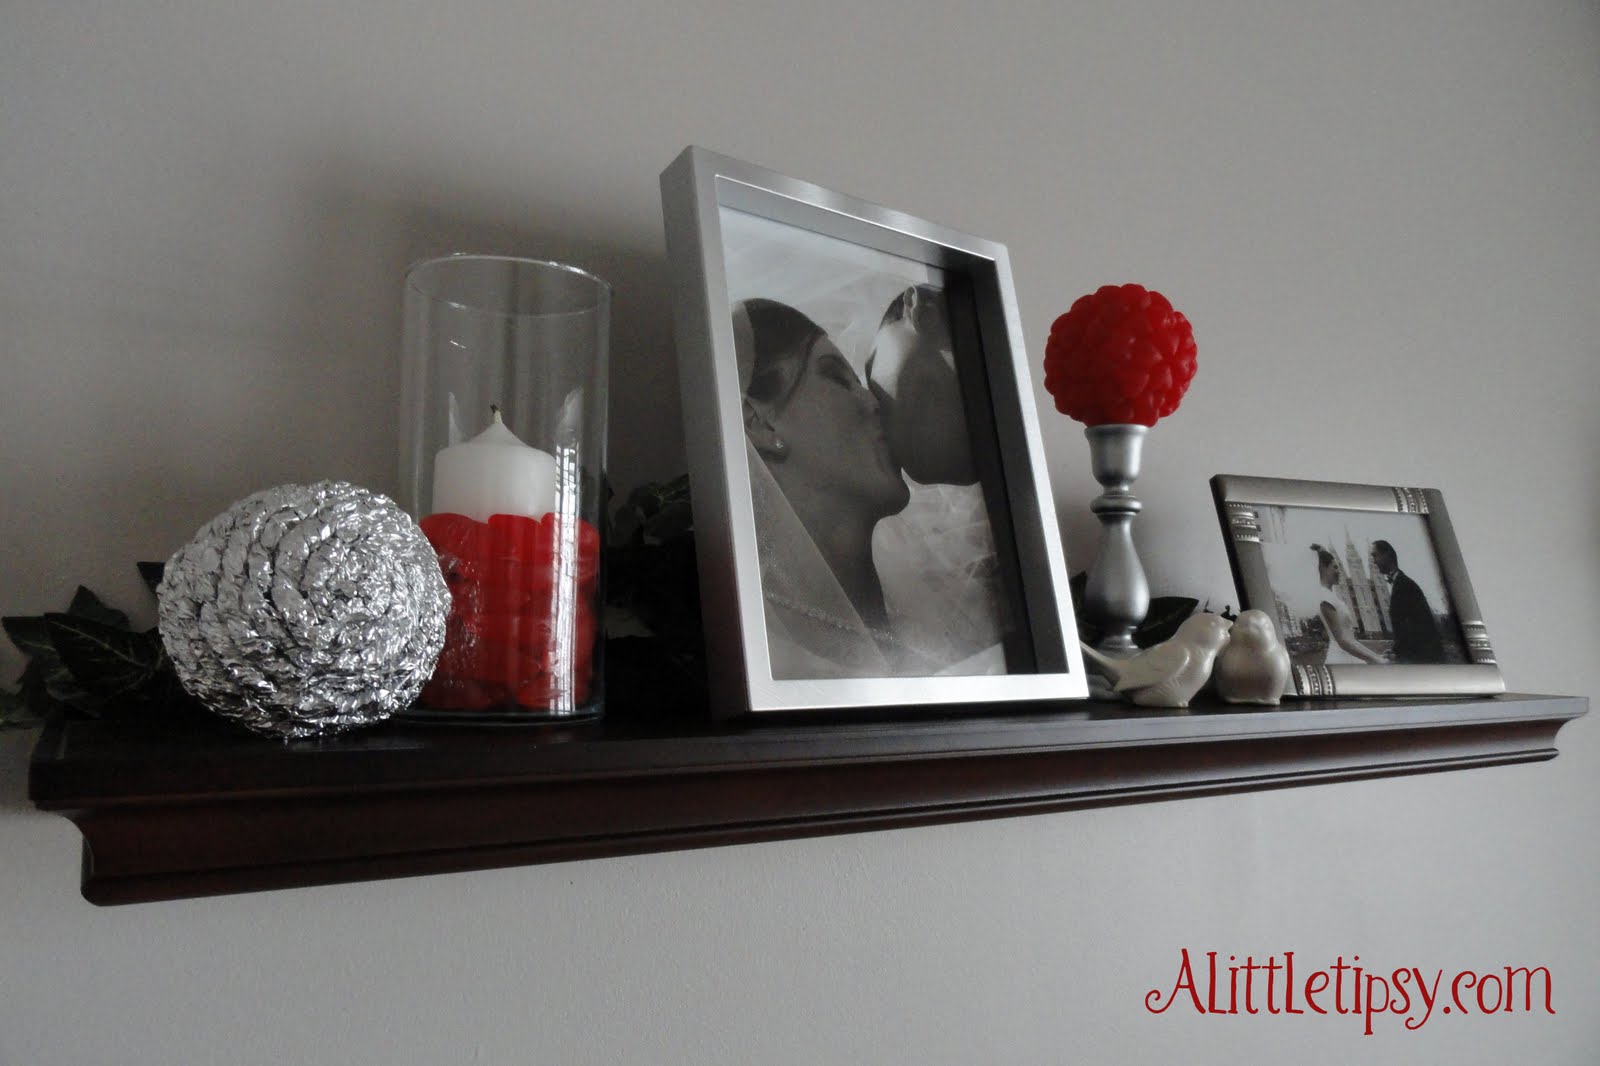
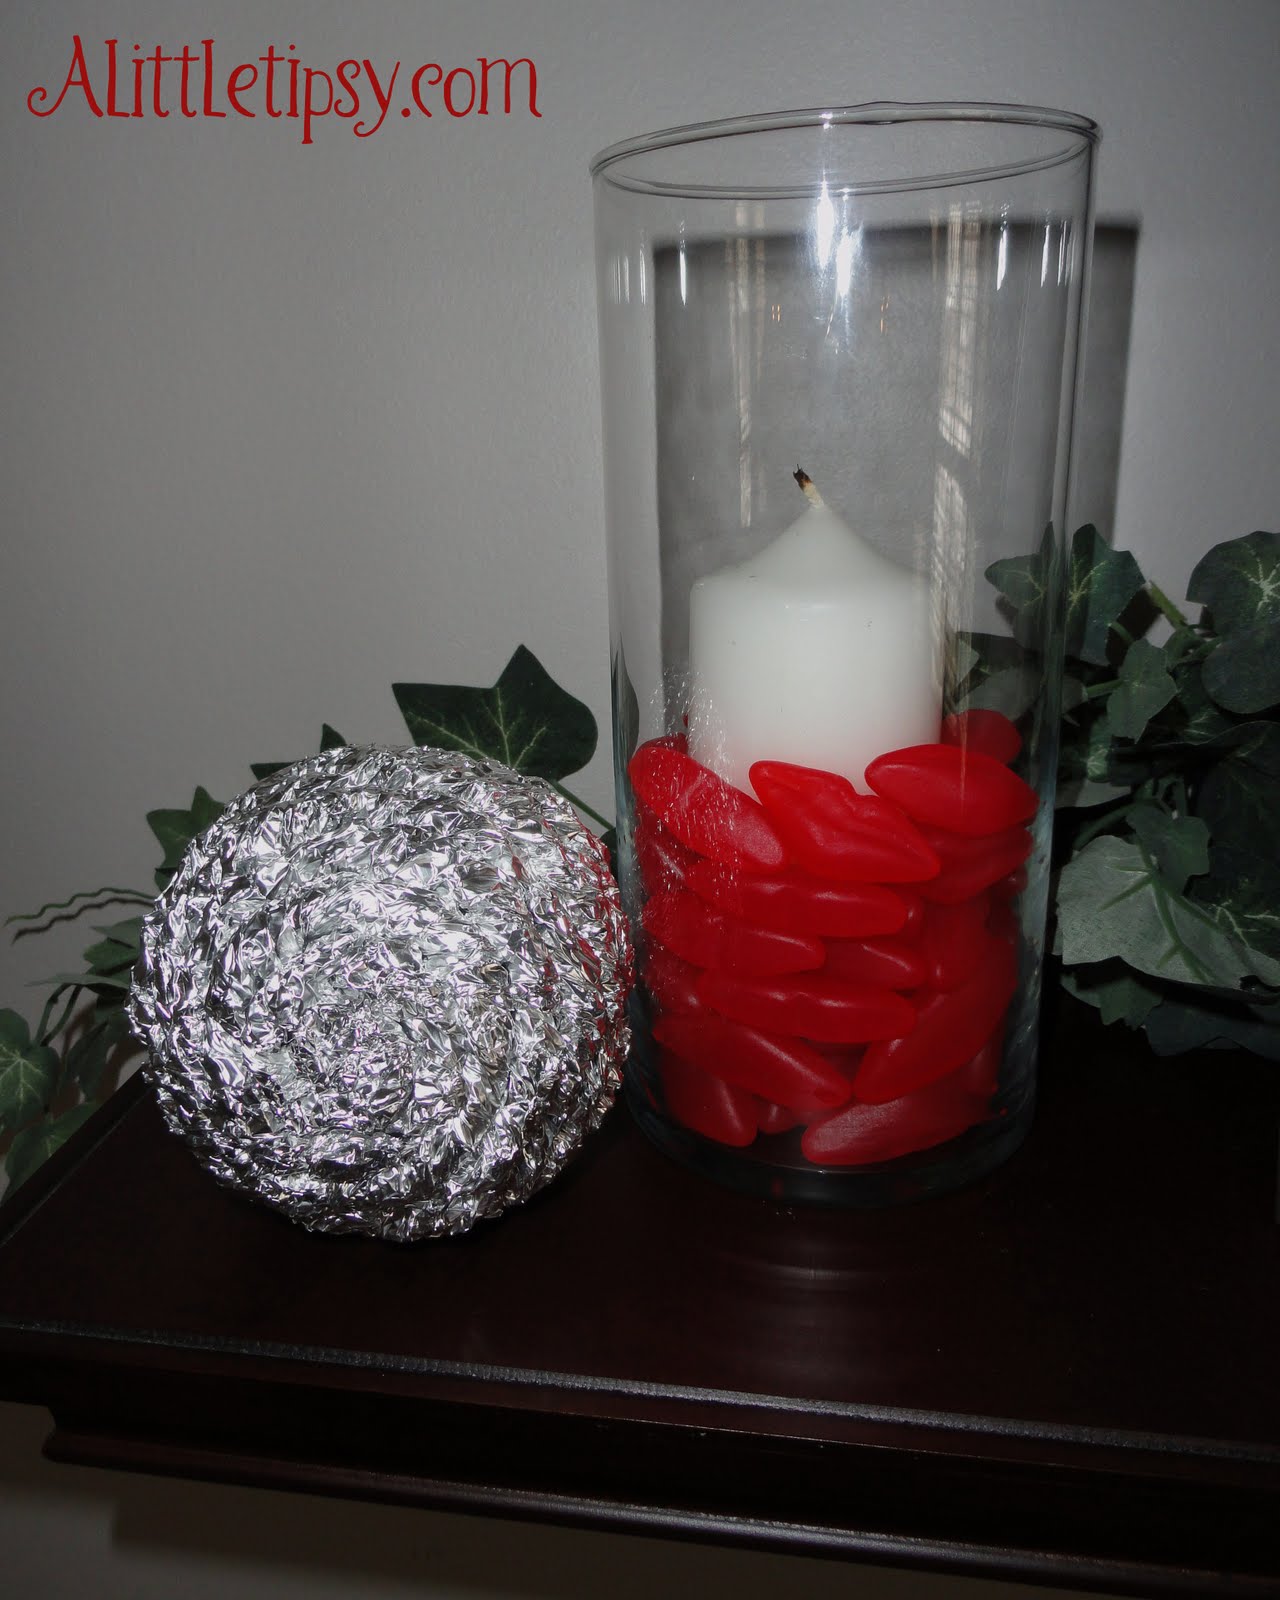
Silver bling is what was needed to finish off my Valentine decor shelf, so I challenged myself to another round of what can we make with what’s sitting around. You may get a good laugh over this decoration ball. Or should I say aluminum foil ball. 🙂

Decoration Ball

Supplies:

  • Aluminum foil
  • Styrofoam ball
  • Hot glue gun

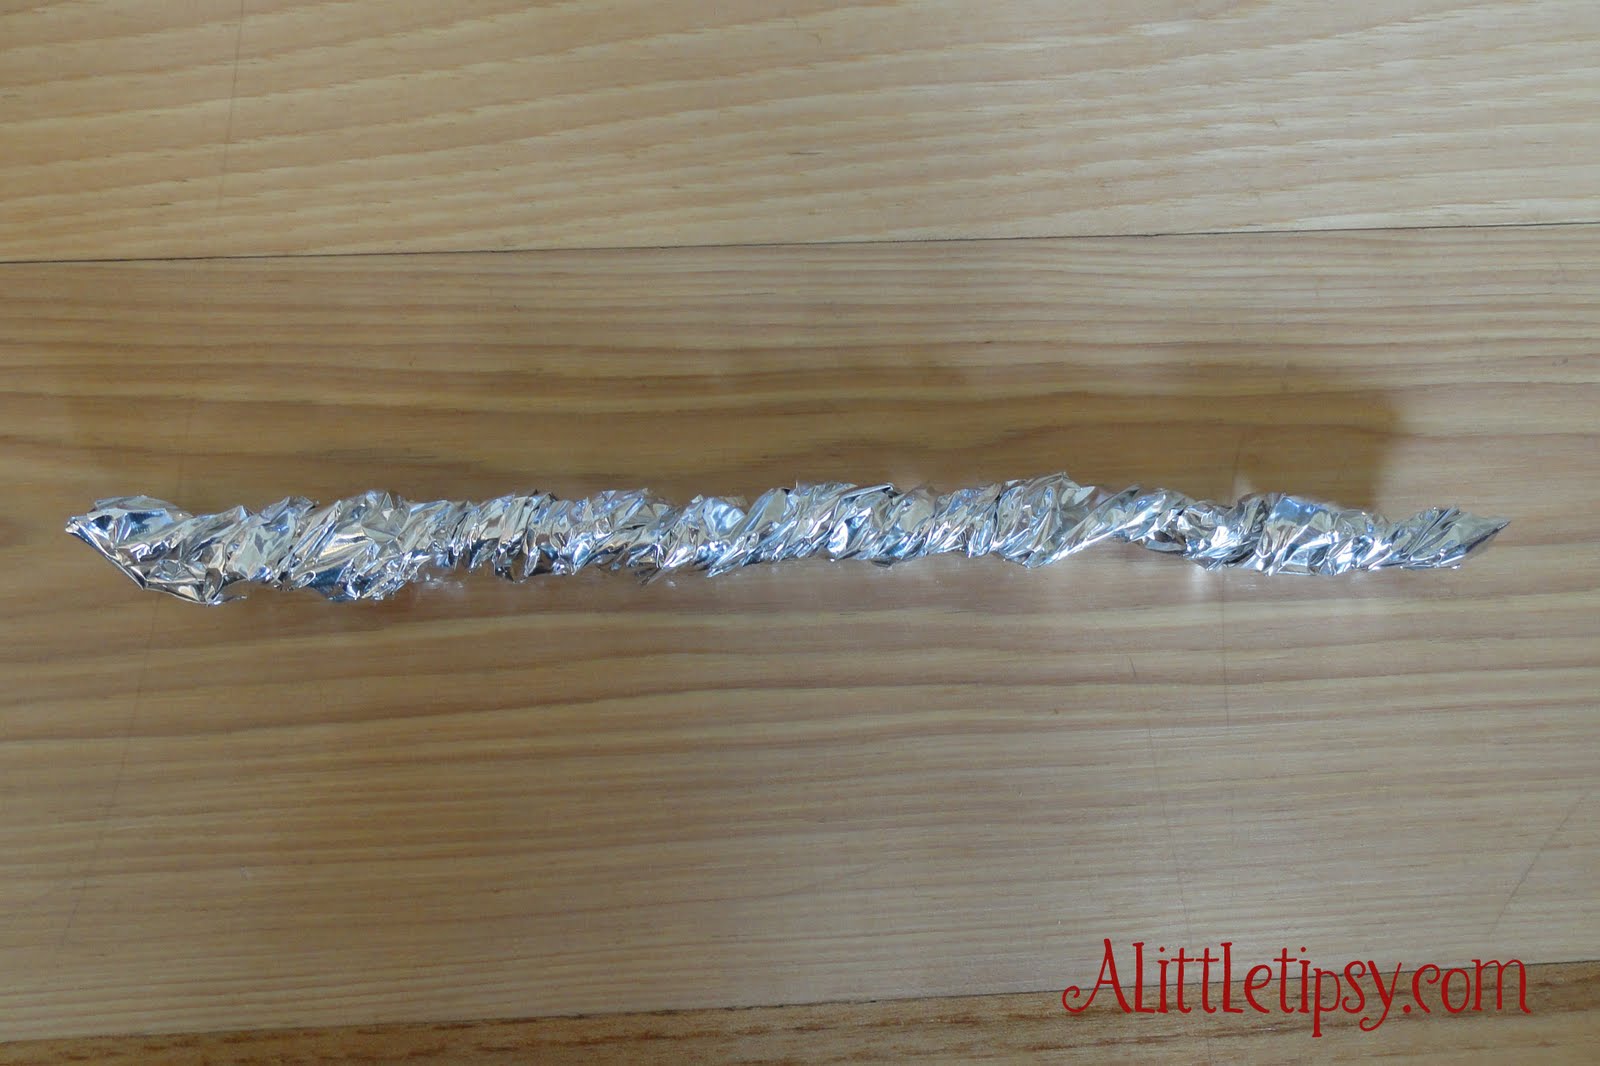
1. Rip of a 4 inch piece of foil. Fold in thirds so the shiny side is out.

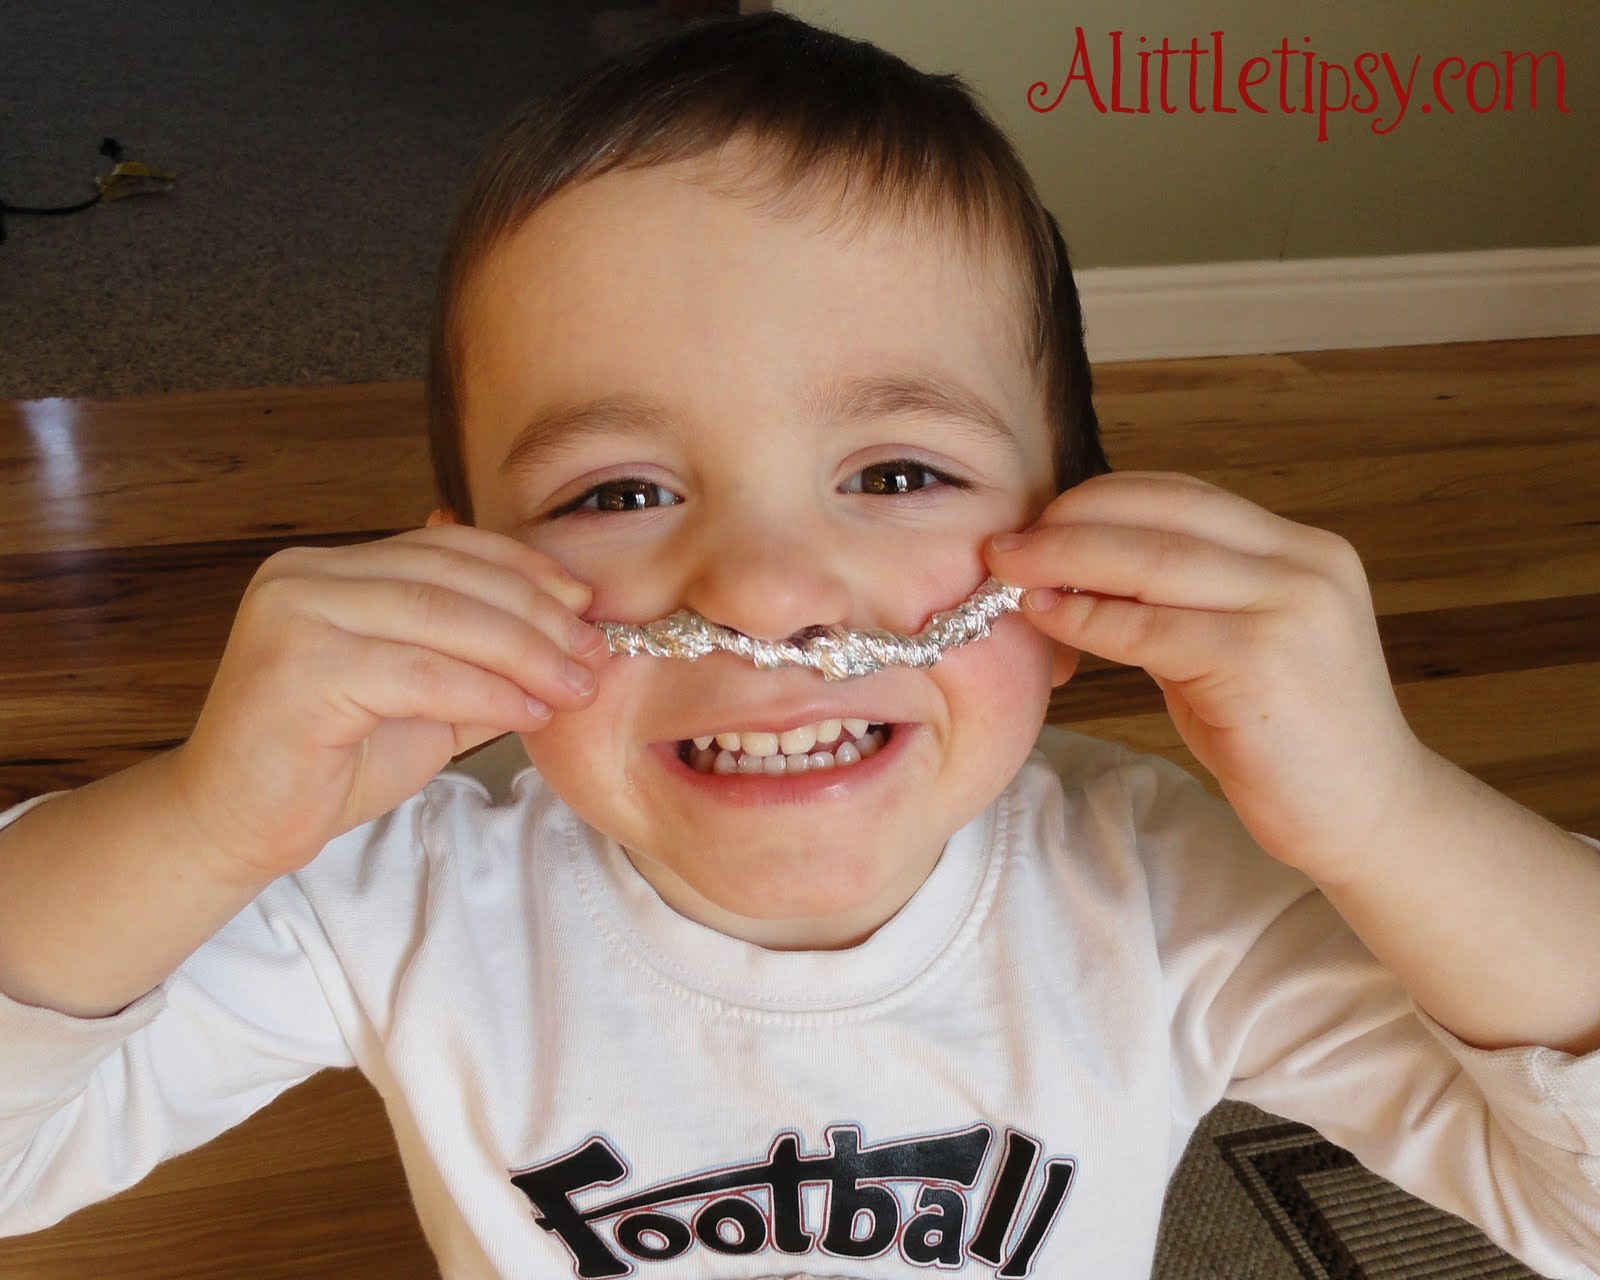
2. Twist until it’s about a half inch wide. This part is so easy a three year old can do it.

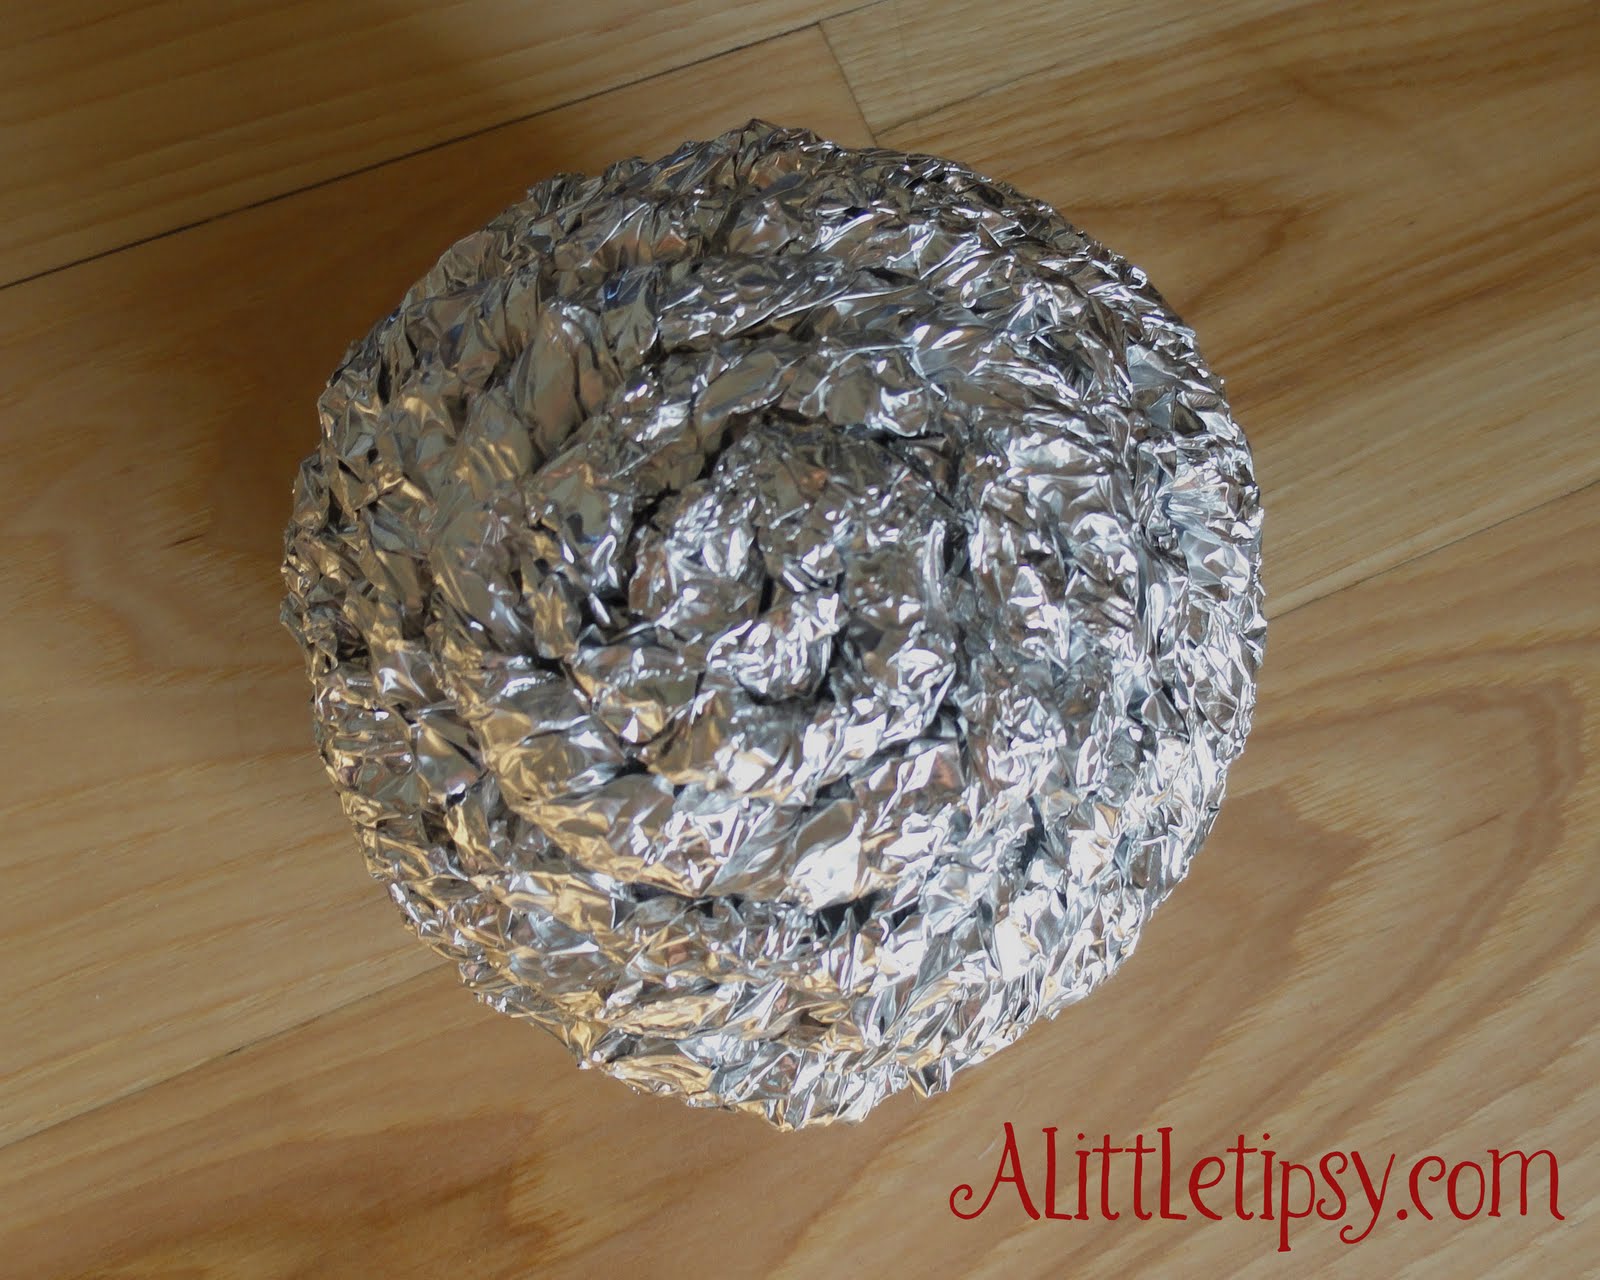
3. Wrap the first piece of twisted foil into a spiral and glue to the top of your ball.
4. Continue gluing twisted pieces around your ball until you finish with another spiral on the other side.

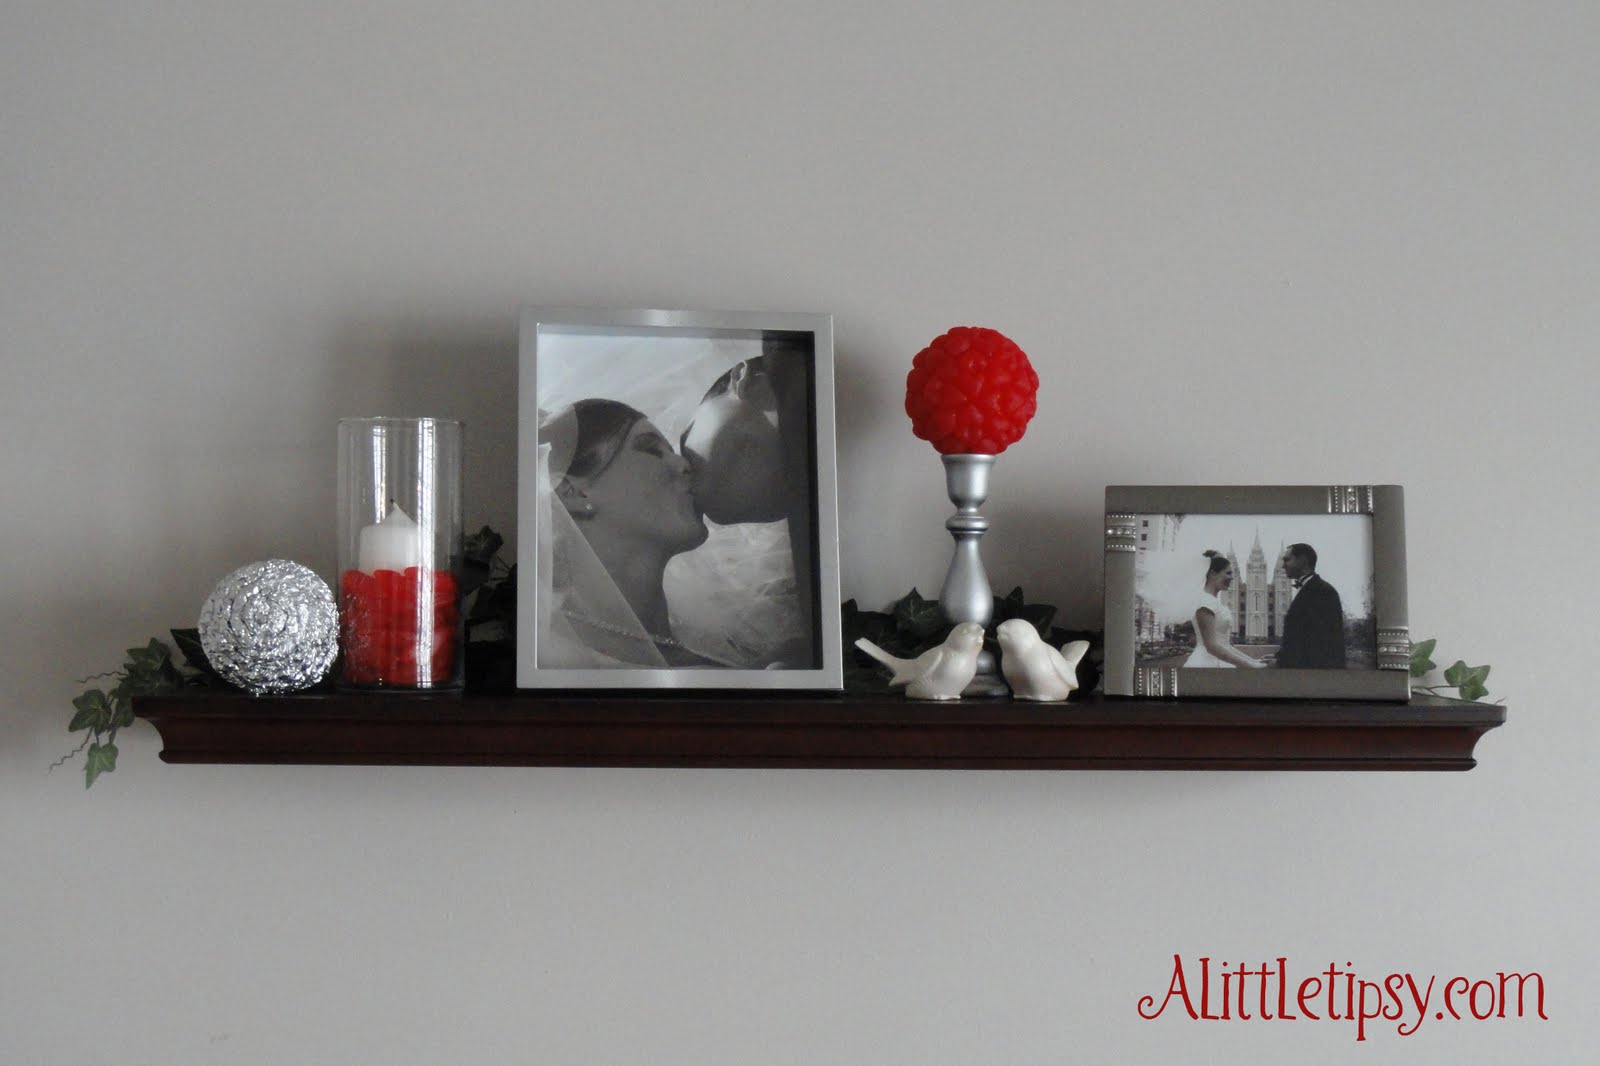
I put mine on the shelf with a hot lips candle display because you know I can’t pass up some good candy decor.

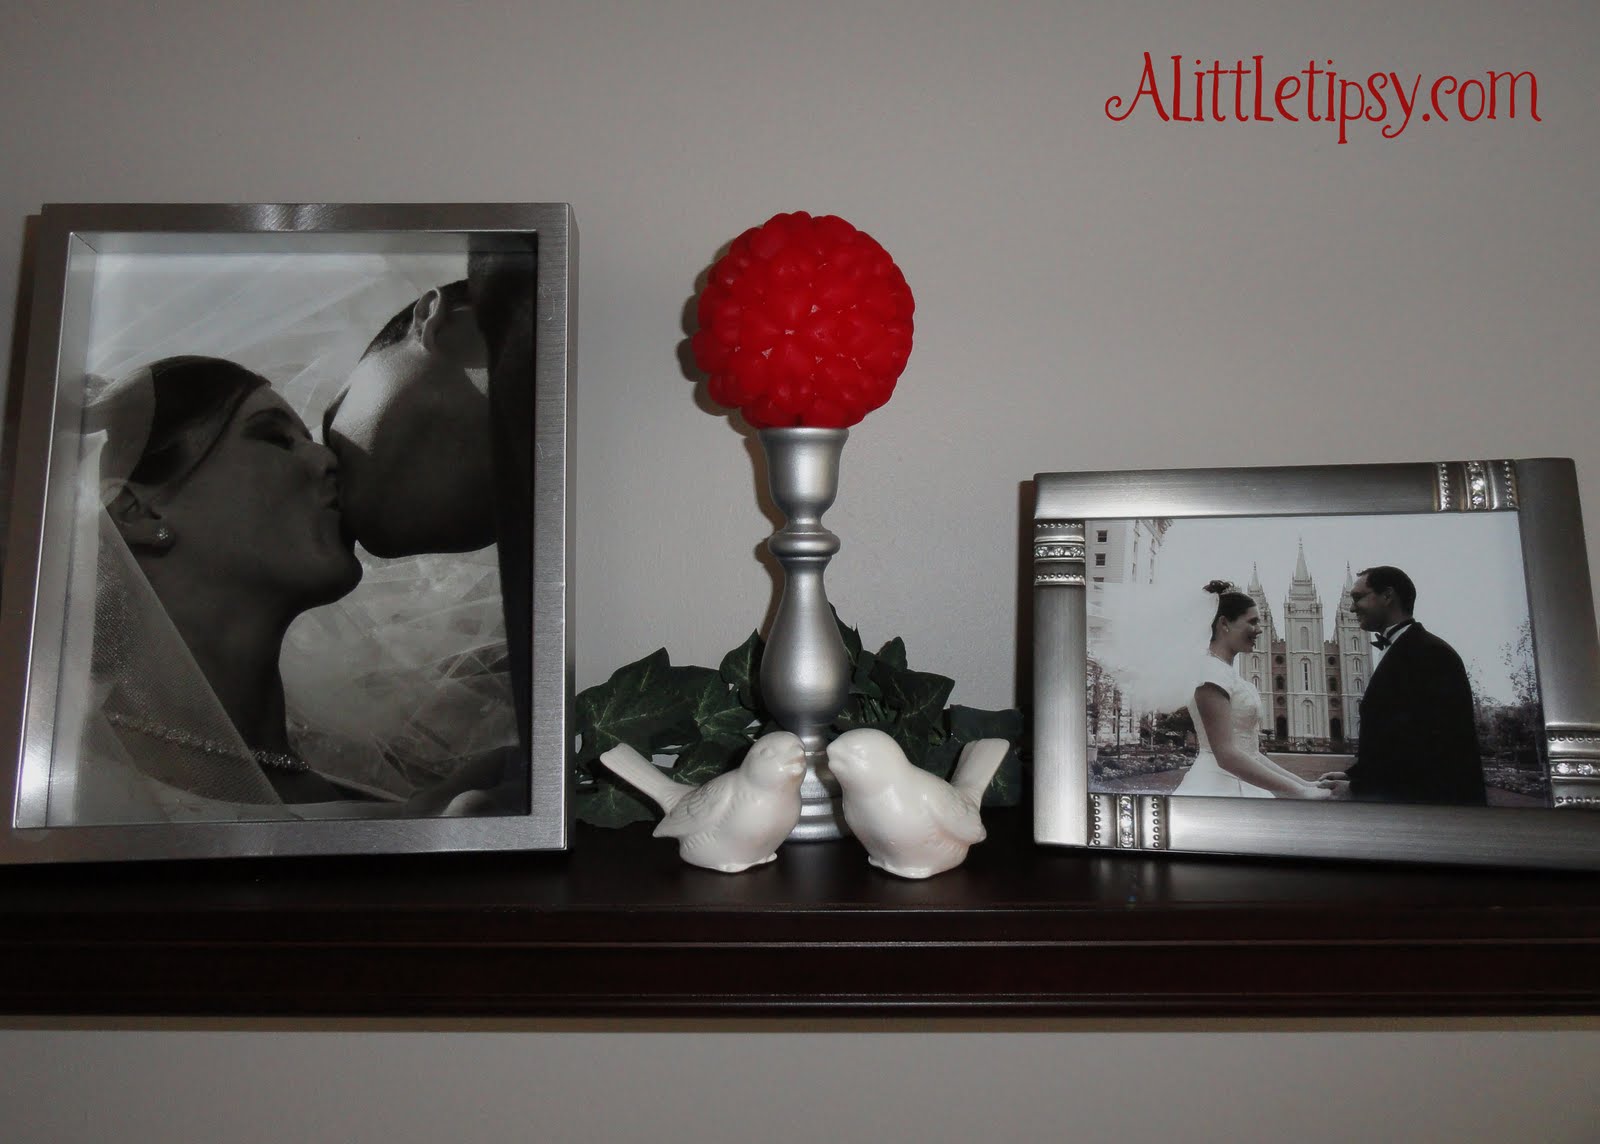
Pair that with wedding pics, a heart ball topiary and some love birds and you’ve got yourself a fun Valentine’s display for about $5!

Linking Up:
Transformation Thursday
Strut Your Stuff
Show Off Your Stuff
Get Your Craft On

P.S. Don’t forget to sign up for free Tipsy updates via RSS or email.

We have decided to truncate our feed to help protect against stolen content. I apologize for any inconvenience. Please love us anyway. 🙂

Heart Ball

January 18, 2011 By Michelle Barneck 12 Comments

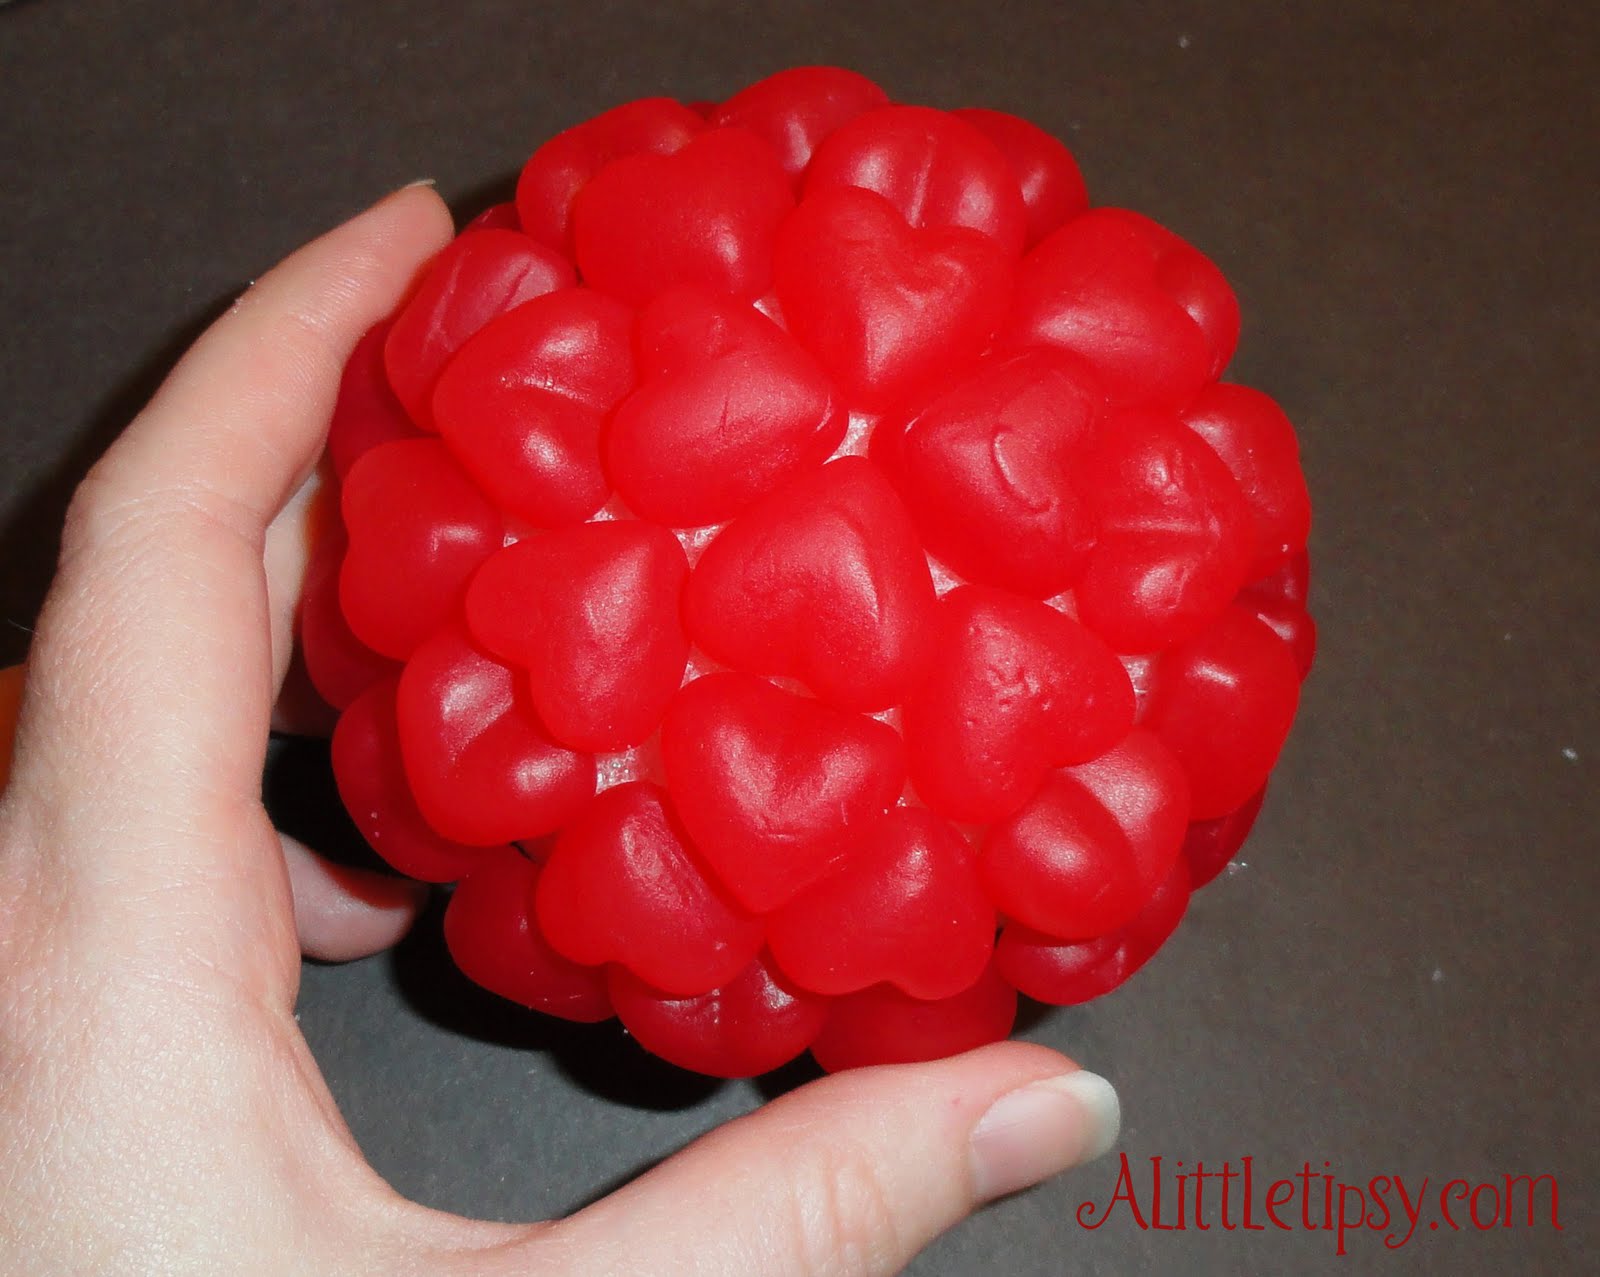
I love candy so instead of just eating it, why not include it in my decor as well. I found a pack of these juju hearts for $1 at Smith’s (Kroger) and knew they would be perfect for my heart ball. Ready for another super easy project?! Here we go…

Heart Ball

Supplies:

  • Juju hearts (I got cherry because if they were cinnamon I would eat them all)
  • Styrofoam ball (got it at the thrift store, about 3 inches)
  • Pins
  • White glue

1. Stick a pin half way in to the back of a heart, then insert the pin in the Styrofoam ball. **I would recommend dipping the pin in glue to make it hold better. I did not do this, but some of my hearts fell out when I was putting my display together. The glue will make them more secure.

2. I started with a clover leaf shape with all the heart points in and then alternated directions on the next row with the points in the spaces between the hearts.
3. Next, do a row with two with points up and one with bumps up. Line them up so the two with points up are on either side of a heart from the row above with the point down. The heart with the bumps up should align with the hearts from the row above with the bumps down.
4. Next row just alternates every other one again.

Thanks goodness for pictures!!

5. Turn the ball over and start steps 1-4 on the other side of the ball. You will have to get a little creative on that last row and just kind of put the hearts where they fit.

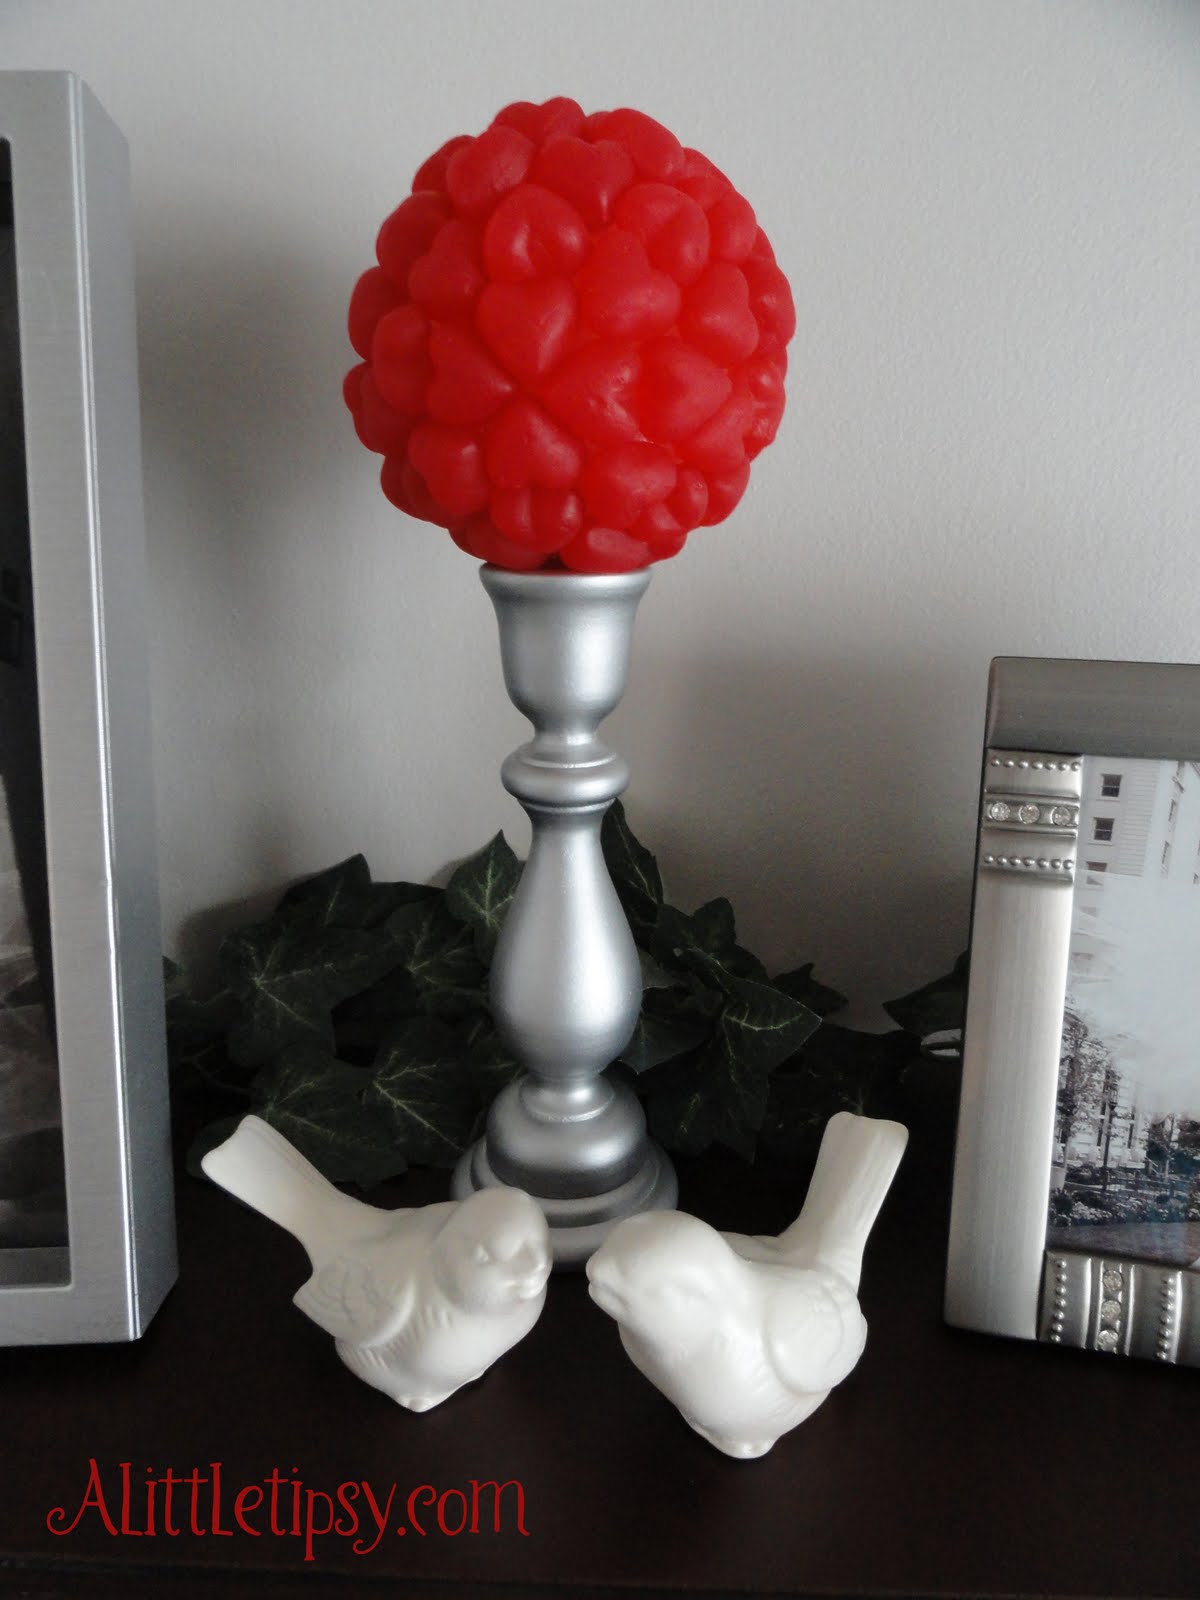
Now style that baby! It would be cute in a bowl with a couple of other balls.
I chose to use these treasures I found at D.I. I think it was a dollar for all of it. Spray it will a couple coats of magic…

and BAM!! Two little love birds and a little romance for your shelf.

Total spent: about $2.50

Cha ching!

Linking Up:
Get Your Craft On
Anything Related
Topsy Turvy Tuesday
Take-A-Look Tuesday
2nd Time Around Tuesday

——————————————————————–
The winner of the $100 Tea Designer Clothing Giveaway is…

The Taylors said… I love the Painter’s Overalls for girls. My daughter LOVES overalls and I can’t find them very easily in her size!

Congrats!

P.S. Don’t forget to sign up for free Tipsy updates via RSS or email.

We have decided to truncate our feed to help protect against stolen content. I apologize for any inconvenience. Please love us anyway. 🙂
« Previous Page
Next Page »

  • Bloglovin
  • Facebook
  • Google+
  • Instagram
  • Pinterest
  • RSS
  • Twitter

Hi there! I'm Michelle. Mother of three little boys and one little princess. Welcome to A Little Tipsy, a place for exploring creativity and sharing inspiration.

Follow on Bloglovin


Visit Michelle Barneck {A Little Tipsy}'s profile on Pinterest.

Tutorials by Category


15 Family Reunion Games

Family Reunion Games Collage

15 Sprinkle Party Ideas

Sprinkle Birthday Party
Creative Commons License

© Copyright 2014 A Little Tipsy · Site Designed by The Fairy Blogmother · Web Hosting by RFE Hosting

This website uses cookies to improve your experience. We'll assume you're ok with this, but you can opt-out if you wish.Accept Read More
Privacy & Cookies Policy