A Little Tipsy

Creative Tips & Ideas

  • home
  • About Me
  • the tipsy top
  • press
  • projects
  • contact me
[print_thumbnail_slider]

Share Your Tipsy Inspired Projects

April 11, 2011 By Michelle Barneck 1 Comment

I would love to see any projects you’ve made using or inspired by A Little Tipsy tutorials and projects. Link them up by clicking the button below!

Can’t wait to see what you’ve made!

P.S. Don’t forget to sign up for free Tipsy updates via RSS or email.

We have decided to truncate our feed to help protect against stolen content. I apologize for any inconvenience. Please love us anyway. 🙂

Paper Mache Eggs

April 8, 2011 By Michelle Barneck 16 Comments

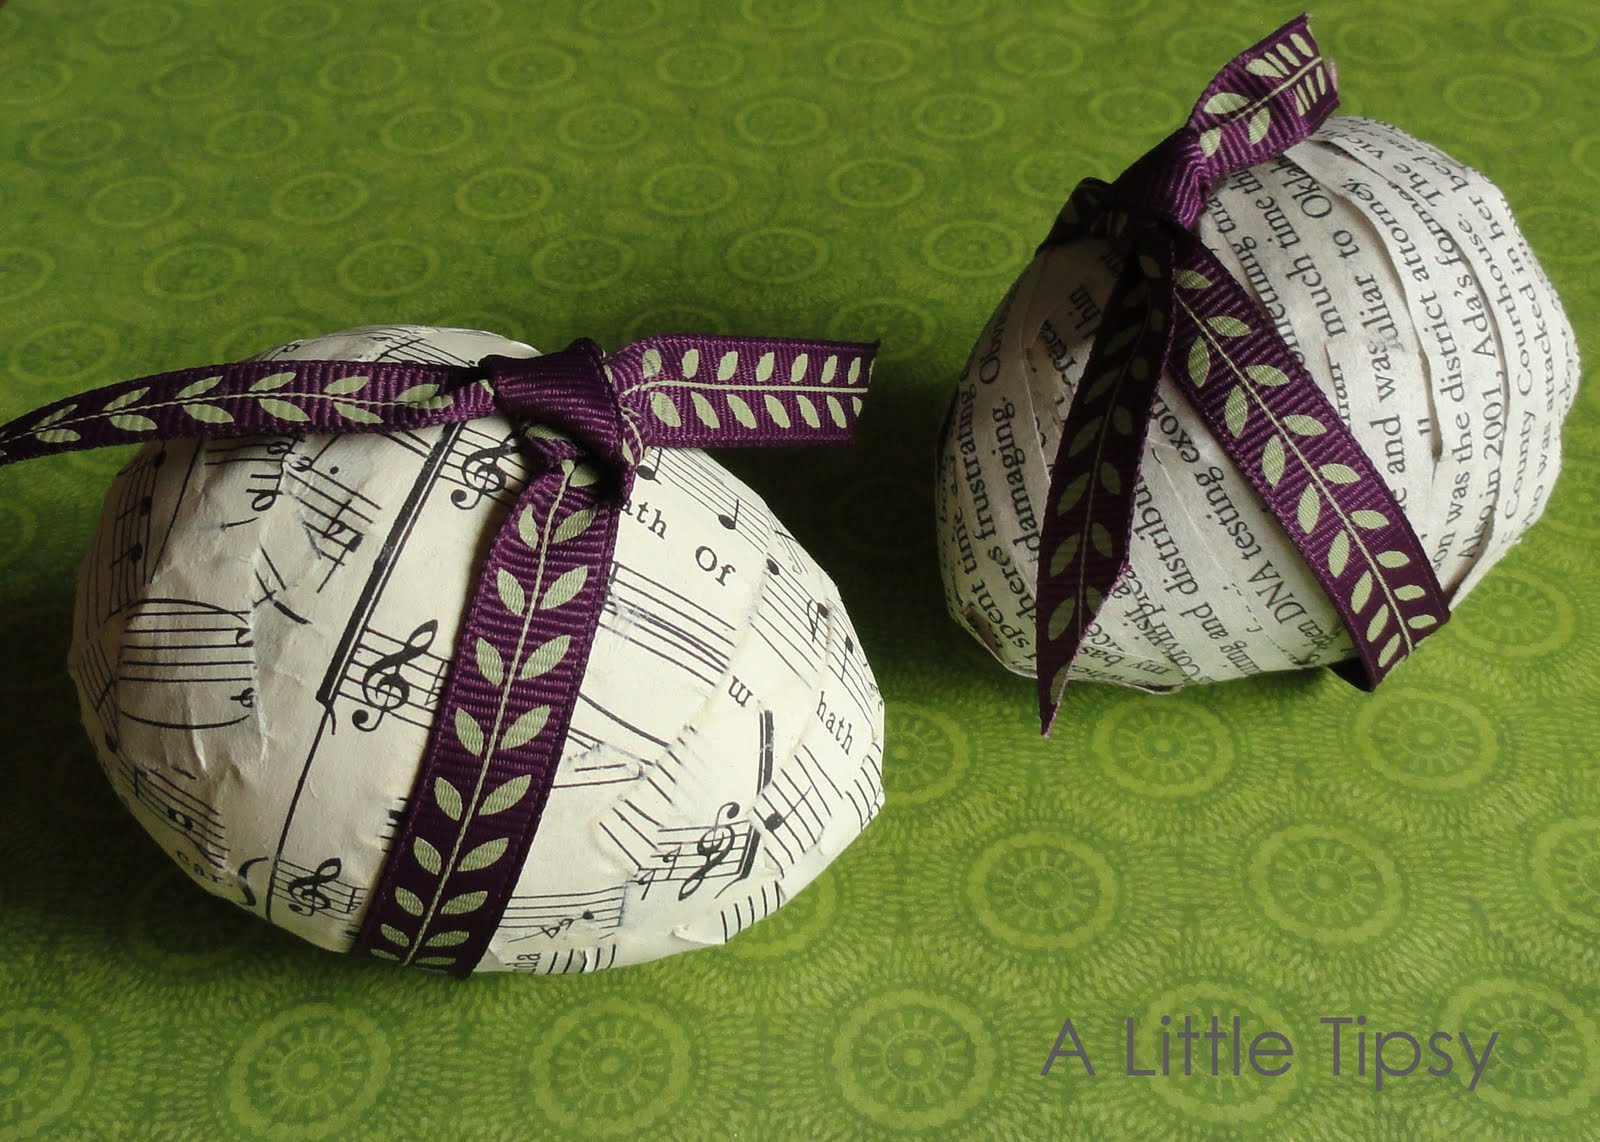
Today, I am sharing my Paper Mache Eggs which were born from a craft cabinet full of random stuff and a quickly approaching guest post deadline. 😉 Gotta love a good de-stash project. Welcome to anyone visiting from Kiki Creates!

I wanted an Easter display minus the pastel color scheme, so I went with a dark purple, silver, and green.

Wanna know the secret ingredient? Water balloons. You heard me.

Supplies Needed:
  • Small water balloons
  • Book or music pages
  • Elmer’s glue
  • Water
  • Ribbon
  • 3 little wood candlesticks
  • E-6000
  • Silver metallic spray paint
  • Hot glue
  • Moss

1. Blow the water balloons up to the size of a large plastic egg (I had to use one of those things you use to blow up the long skinny balloons for balloon animals), tie a knot and cut off the tail.
2. Then, mix one part Elmer’s with two parts water.
3. Rip your paper into 1/2 inch by 3 inch strips. Dip your paper strips in the the glue mixture, cover your “egg”and dry overnight. (I ripped the music sheets and cut the book pages with scissors. The ripped paper adhered a lot better and was more smooth)
4. Tie some ribbon around the eggs.

5. To make the pedestals take tiny wooden candlesticks, glue the tops of two together, and let dry.
6. Spray the candlesticks silver and let dry.

7. Hot glue a bit of moss to the top of the candlesticks and hot glue the eggs to the moss.

That is all my friends!

Click if you want the “I Know my Redeemer Lives” Easter printable.

Linking up:
Visit thecsiproject.com
Get Your Craft On
Motivate me Monday
Market yourself Monday
Making Monday Marvelous
Making the World Cuter
Take a Look Tuesday

P.S. Don’t forget to sign up for free Tipsy updates via RSS or email.

We have decided to truncate our feed to help protect against stolen content. I apologize for any inconvenience. Please love us anyway. 🙂
DIY Under $5 Features

April 7, 2011 By Michelle Barneck 2 Comments

I am loving all the fun projects you guys are linking up!! What a treasure trove of ideas! Here are a few that I was particularly fond of this week.

Foil Dresser from Sugar Bee Craft Edition

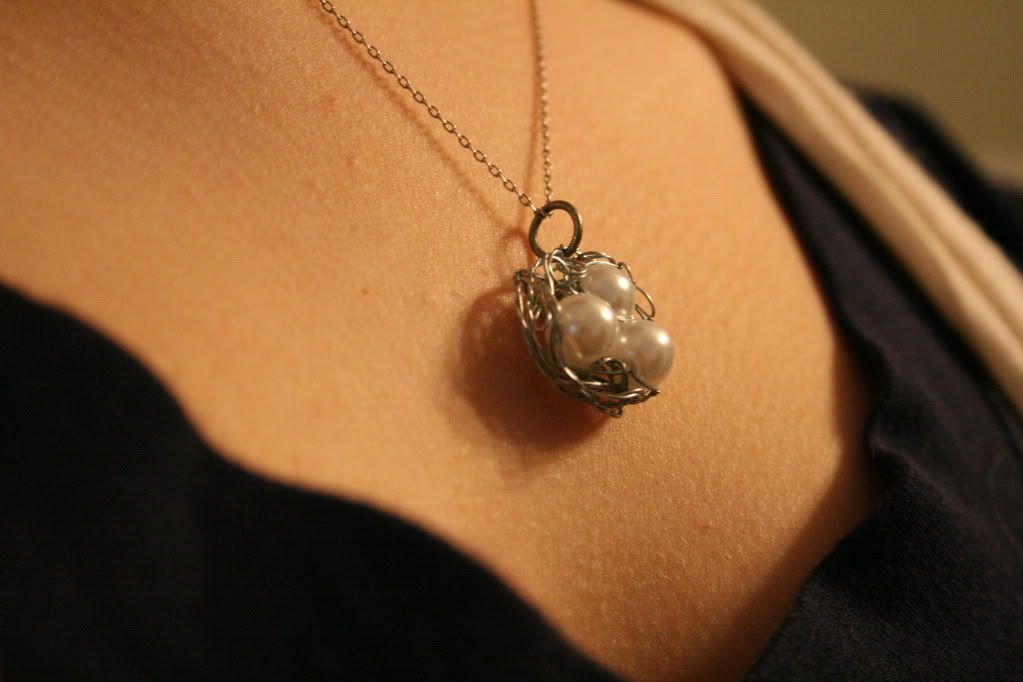
Twisty tie wire bird’s nest from A Law Student’s Journey

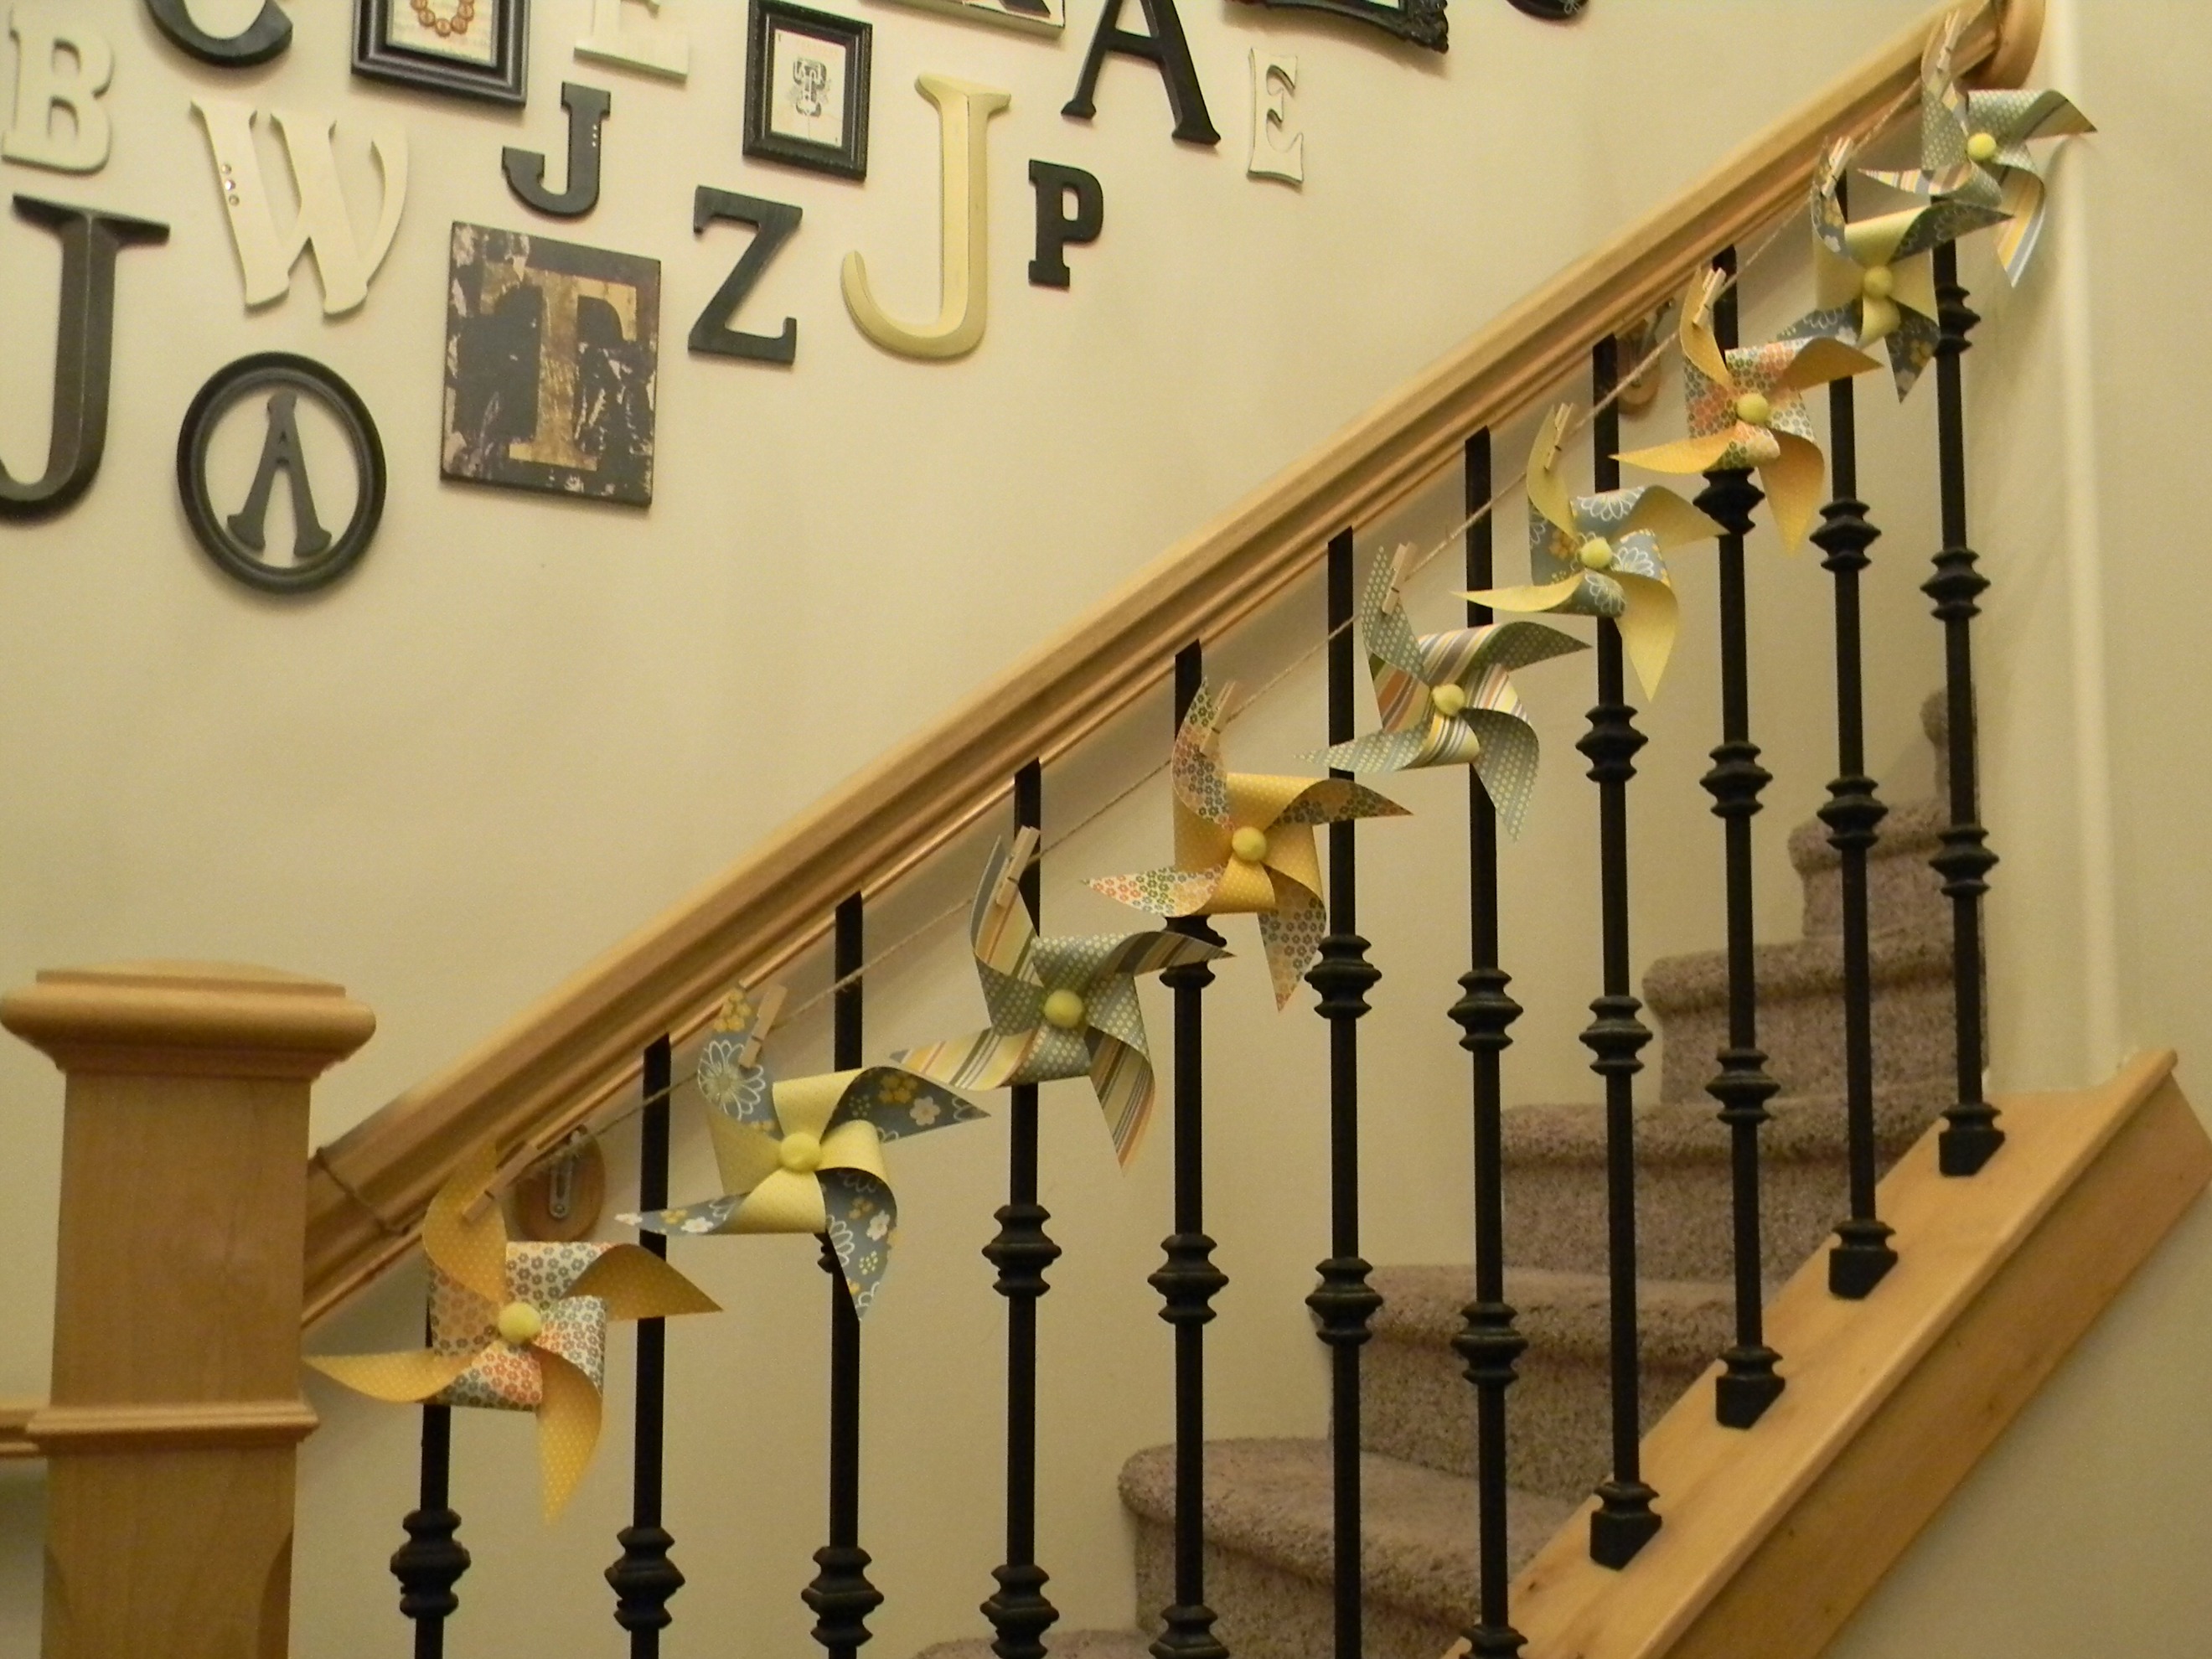
Pin wheel banner from Organize and Decorate Everything (Love, love the wall behind it too!)

You ladies are seriously creative and talented!

Be sure to snag the featured button here.

P.S. Don’t forget to sign up for free Tipsy updates via RSS or email.

We have decided to truncate our feed to help protect against stolen content. I apologize for any inconvenience. Please love us anyway. 🙂

DIY Under $5: Ruching Shirt Refashion in 10 Minutes

April 6, 2011 By Michelle Barneck 21 Comments

Do you have a shirt that is a little too big, too long, or just needs a little flavor? You are gonna love this little 10 minute shirt ruching refashion.

Did I mention that it will cost you $1.50?!

Supplies:
  • shirt
  • coordinating thread
  • elastic thread ($1.50)
  • sewing machine

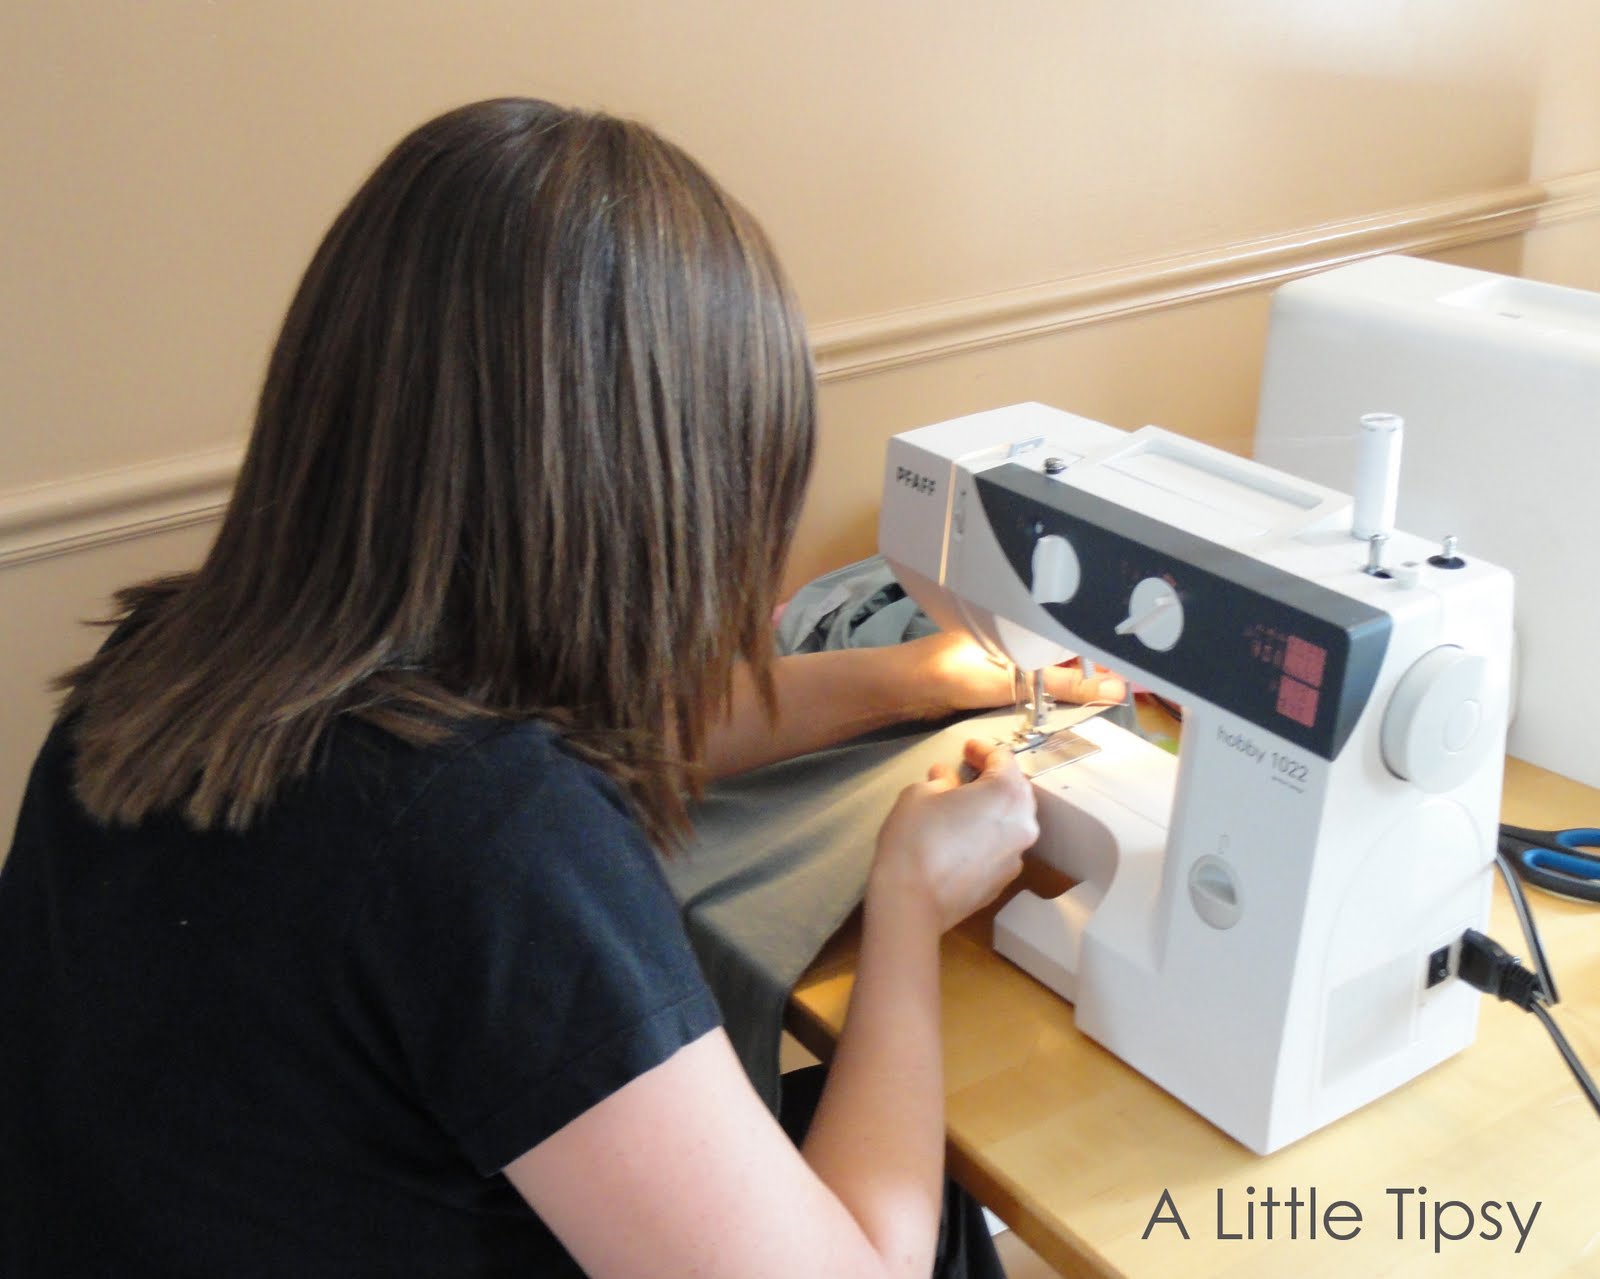
All you do is hand wind the elastic thread on the bobbin. Put the coordinating thread on the machine and through the needle as usual, turn your shirt inside out and sew using a large baste stitch along the existing seams. I stitched from 4 inches down from the arm pit to the bottom. Be sure to back stitch at the top and bottom to keep it more secure. It is sooo easy!

I got the elastic thread idea from my friend Amanda, who was awesome enough to let me borrow hers. She has a more detailed tutorial on how to use it to make a cute ruffly scarf.


My sweet sis Jen sewing away. 🙂

Before<————————–> After

It made it a few inches shorter and more fitted. I love that it hides the things I don’t want to display (namely post baby bulges and that odd poker from my jeans’s waistband that makes me look like I have an outie belly button.) and made my super long shirt a more flattering length (look at my elbows in both pics for a reference point on how much shorter). I’ll totally be debuting this baby at the Creative Estates conference this weekend.

I have not washed it yet, so I’m not sure how that will go, but this shirt is hand wash only so I’m sure it will be fine.

So now it’s time to link up!

Please remember:

  • Only link to your own projects that cost you $5 or less (price does not have to include items you had on hand)
  • You can link past projects that fit the dollar limit
  • Please link back so others can join the party

DIY under $5

P.S. Don’t forget to sign up for free Tipsy updates via RSS or email.

We have decided to truncate our feed to help protect against stolen content. I apologize for any inconvenience. Please love us anyway. 🙂

« Previous Page
Next Page »

  • Bloglovin
  • Facebook
  • Google+
  • Instagram
  • Pinterest
  • RSS
  • Twitter

Hi there! I'm Michelle. Mother of three little boys and one little princess. Welcome to A Little Tipsy, a place for exploring creativity and sharing inspiration.

Follow on Bloglovin


Visit Michelle Barneck {A Little Tipsy}'s profile on Pinterest.

Tutorials by Category


15 Family Reunion Games

Family Reunion Games Collage

15 Sprinkle Party Ideas

Sprinkle Birthday Party
Creative Commons License

© Copyright 2014 A Little Tipsy · Site Designed by The Fairy Blogmother · Web Hosting by RFE Hosting

This website uses cookies to improve your experience. We'll assume you're ok with this, but you can opt-out if you wish.Accept Read More
Privacy & Cookies Policy