Hi there, A Little Tipsy readers! I’m Terra from mama says sew and I’m excited to be here to share a sewing project with you today.
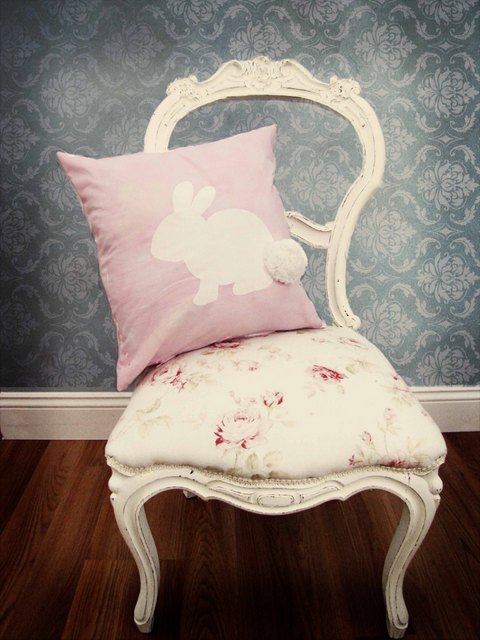
I’ve seen some Easter decor that have a bunny with a pom pom for a tail {see here and here}. I decided to take that idea and turn it into a bunny pillow cover.

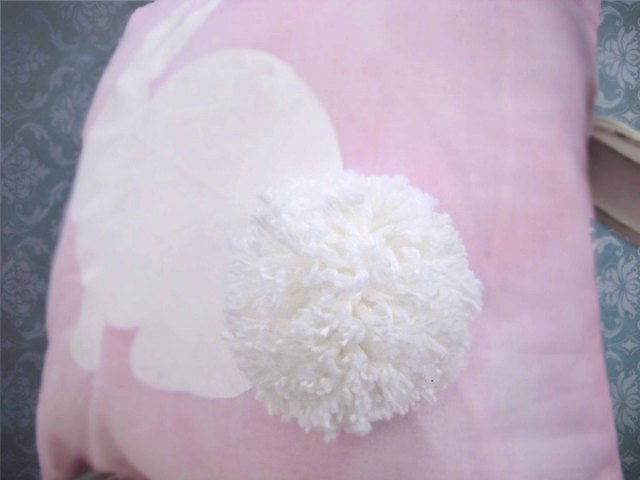
I love his fluffy little tail.
I’ll show you how to stencil the bunny on your fabric, and then insert a zipper as you make your pillow cover. That way, you can easily change out your decor when Easter is over {and you don’t have to store an entire pillow}! Another great thing about zippered pillow covers is you don’t have to do any hand stitching to finish up.
Here’s how to make the bunny pillow.
You will need:
- About 1 yard of fabric
- Pillow Form
- Freezer Paper
- Fabric Paint or Acrylic Paint
- Zipper
- Sewing supplies, ie, thread, scissors, sewing machine
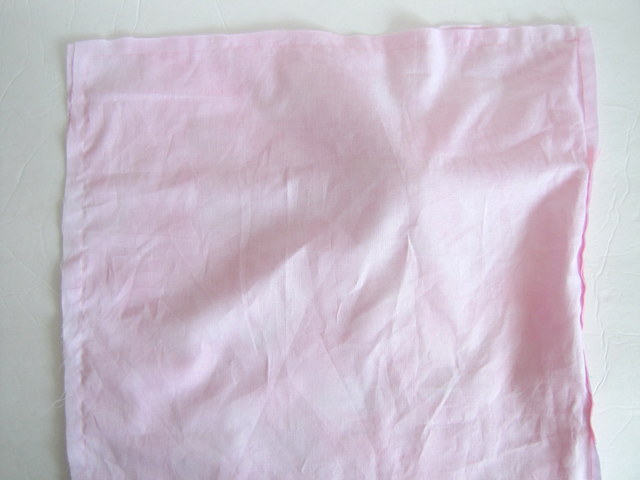
First, cut out two squares of fabric, the size of your pillow form, plus 1 inch. For example, if you have an 18 x 18 inch pillow form, cut out two 19 X 19 inch squares.
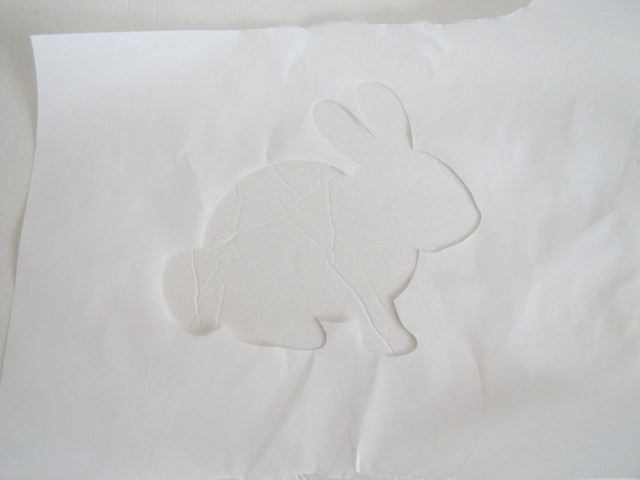
First, draw or trace a stencil onto freezer paper. I found the stencil I used here and enlarged it.
Cut out the stencil and iron the freezer paper onto the right side of one of your pillow squares.
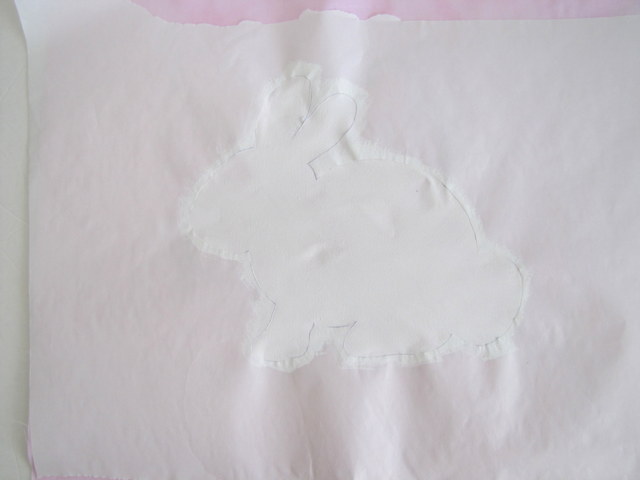
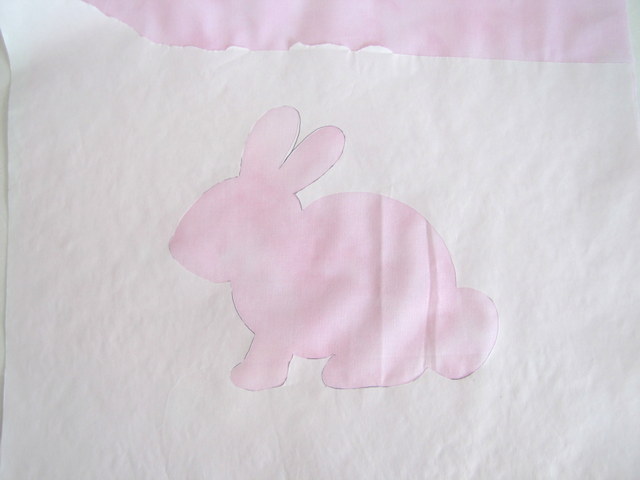
Fill in the stencil with paint and allow to dry.
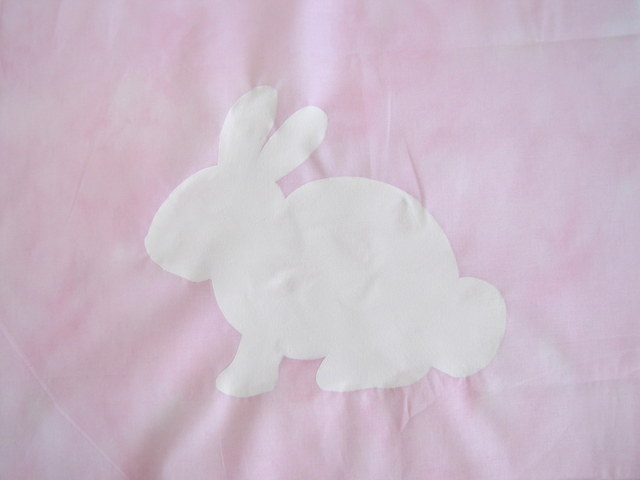
Peel off the stencil.

Sew your two squares right sides together along the bottom edge of what will be your pillow. This is important. Make sure the bottom of the bunny is closest to the seam.
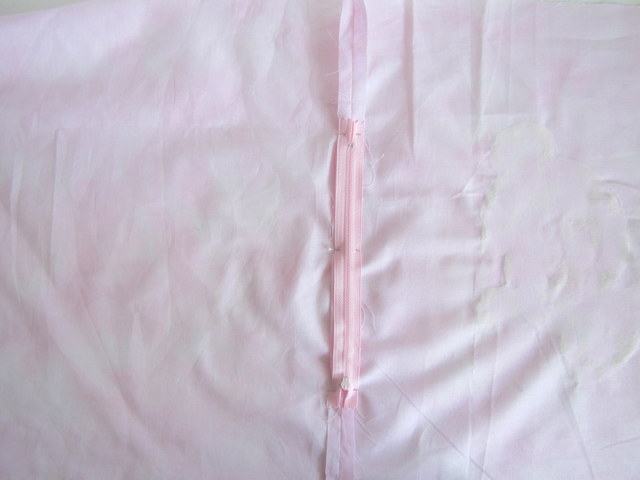
Press the seam open and center the zipper over the wrong side of the seam with the zipper pull on the bottom, as shown. The size of your zipper isn’t a big deal, as long as it opens wide enough to insert your pillow through and is shorter than your pillow form.
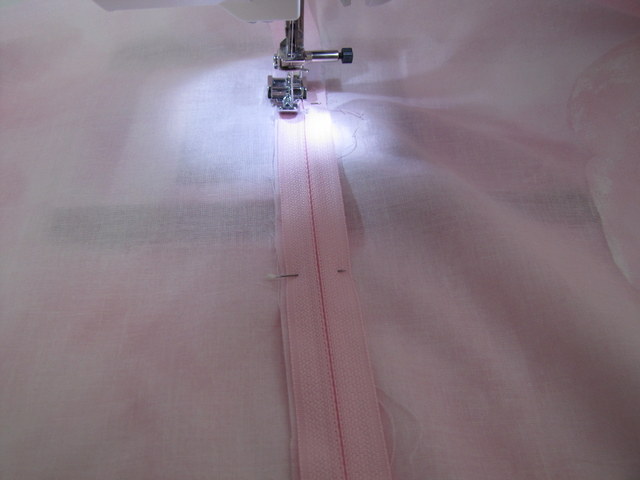
Using your zipper foot, stitch up one side of the zipper.
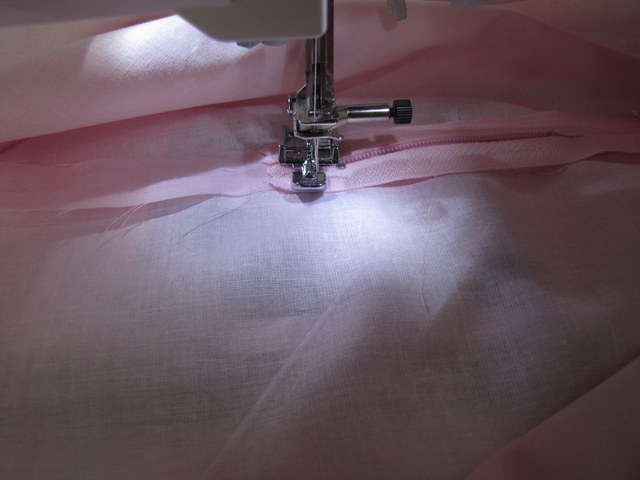
When you get to the top of the zipper, leave the needle inside the fabric and pivot. Sew across the top of the zipper. Go back and forth a couple of times to make sure your zipper is secure. Then pivot again and go back down the other side. Pivot and go back and forth to secure the bottom of the zipper. You may find it helpful to stop and move the zipper pull as you sew, so that it is out of your way.
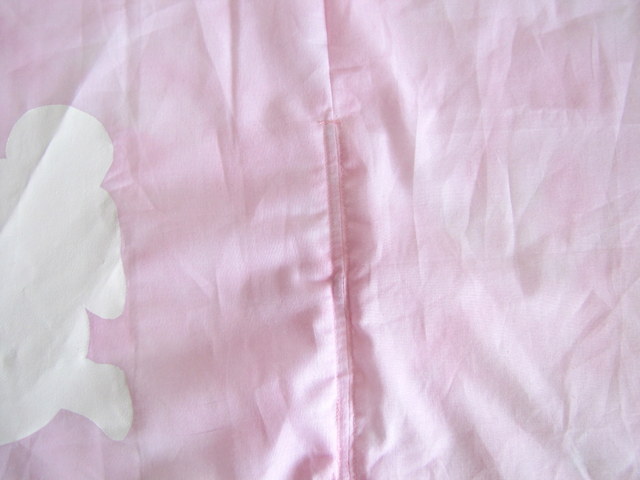
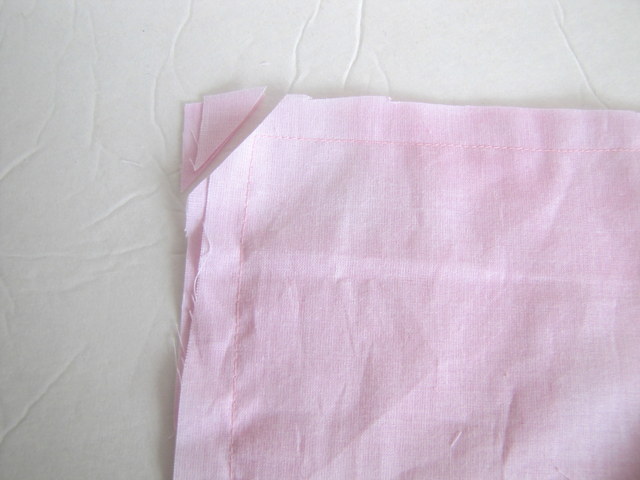
When you’re done, you should have something like this.
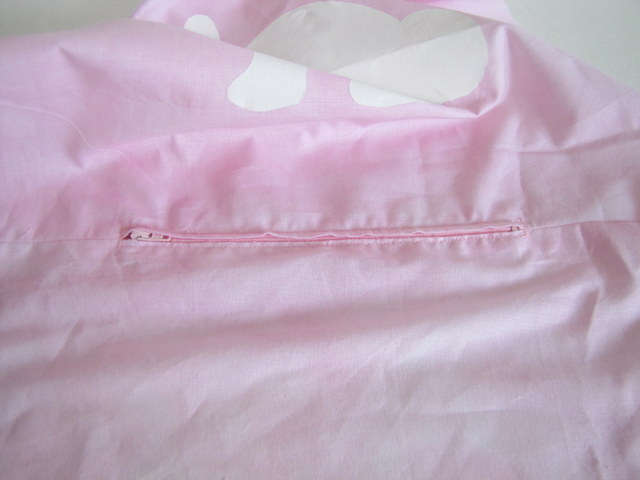
Use your seam ripper to open up the stitches on top of the zipper.
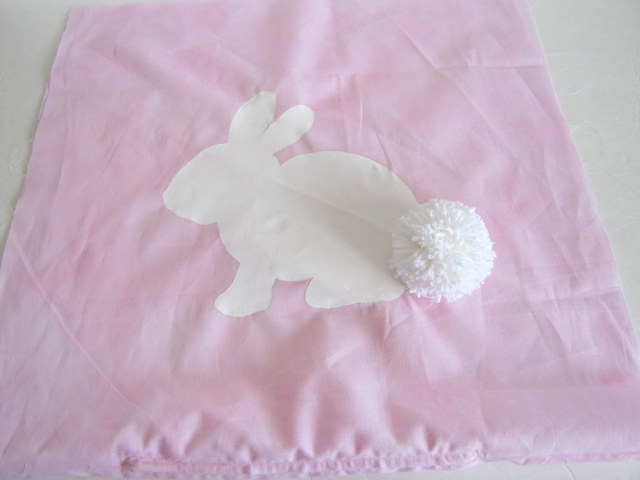
Make a pom pom and stitch it to the tail of the bunny.
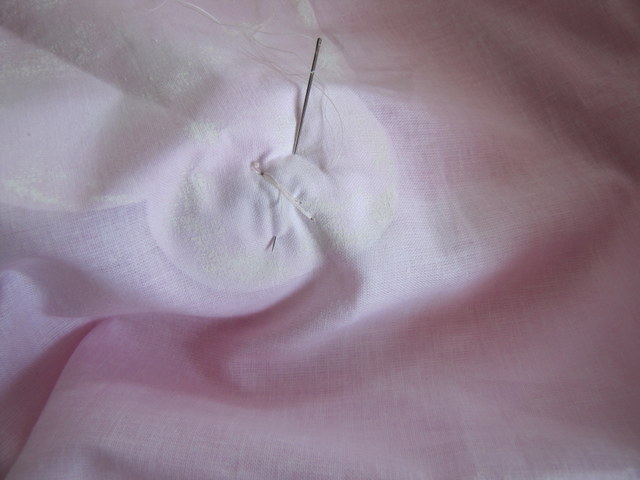
I used a needle to make big stitches underneath the pom pom to hold it securely.
Match up the pillow squares right sides together and stitch around the rest of the pillowcase 1/2 inch from the edges. Make sure to unzip the zipper before you do this!
Clip your corners and turn right side out.
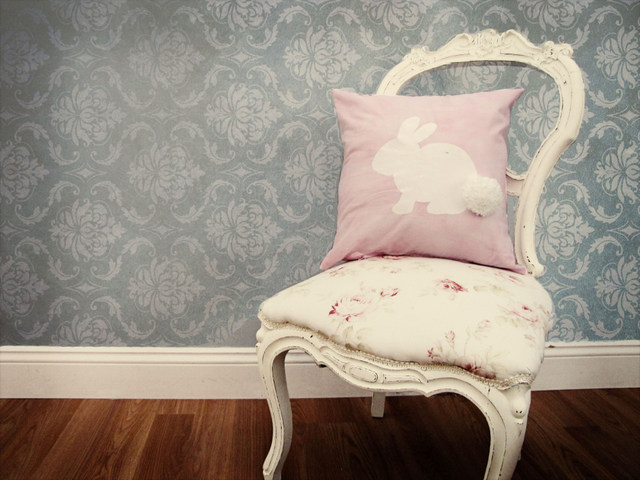
Insert your pillow into your new pillowcase and viola! Instant decor.

Thanks Terra for such a cute Easter project! I have seen pom poms popping up everywhere and this bunny pillow is such a fun way to try out the trend!
We have decided to truncate our feed to help protect against stolen content. I apologize for any inconvenience. Please love us anyway. 🙂
So cute and you made the zipper look easy…I just might have to try it!
Thanks so much,
Denise
(I Pinned it to my sewing board) 🙂
Great project…love the Pom Pom tail!
What a cute pillow! I love that pom pom tail. So adorable!
Super cute. I love it!
Terra, this is DARLING. And I have also fallen in love with the chair that it is on!