A Little Tipsy

Creative Tips & Ideas

  • home
  • About Me
  • the tipsy top
  • press
  • projects
  • contact me
[print_thumbnail_slider]

DIY Under $5: Make Earring Holder

April 20, 2011 By Michelle Barneck 18 Comments

Ever wondered how to make an earring holder? No? 😉

Well, today’s your lucky day. I’m gonna show you how to can organize all your ear adornments for under $5.

Cost me: $1 (probably $4 if you bought everything)

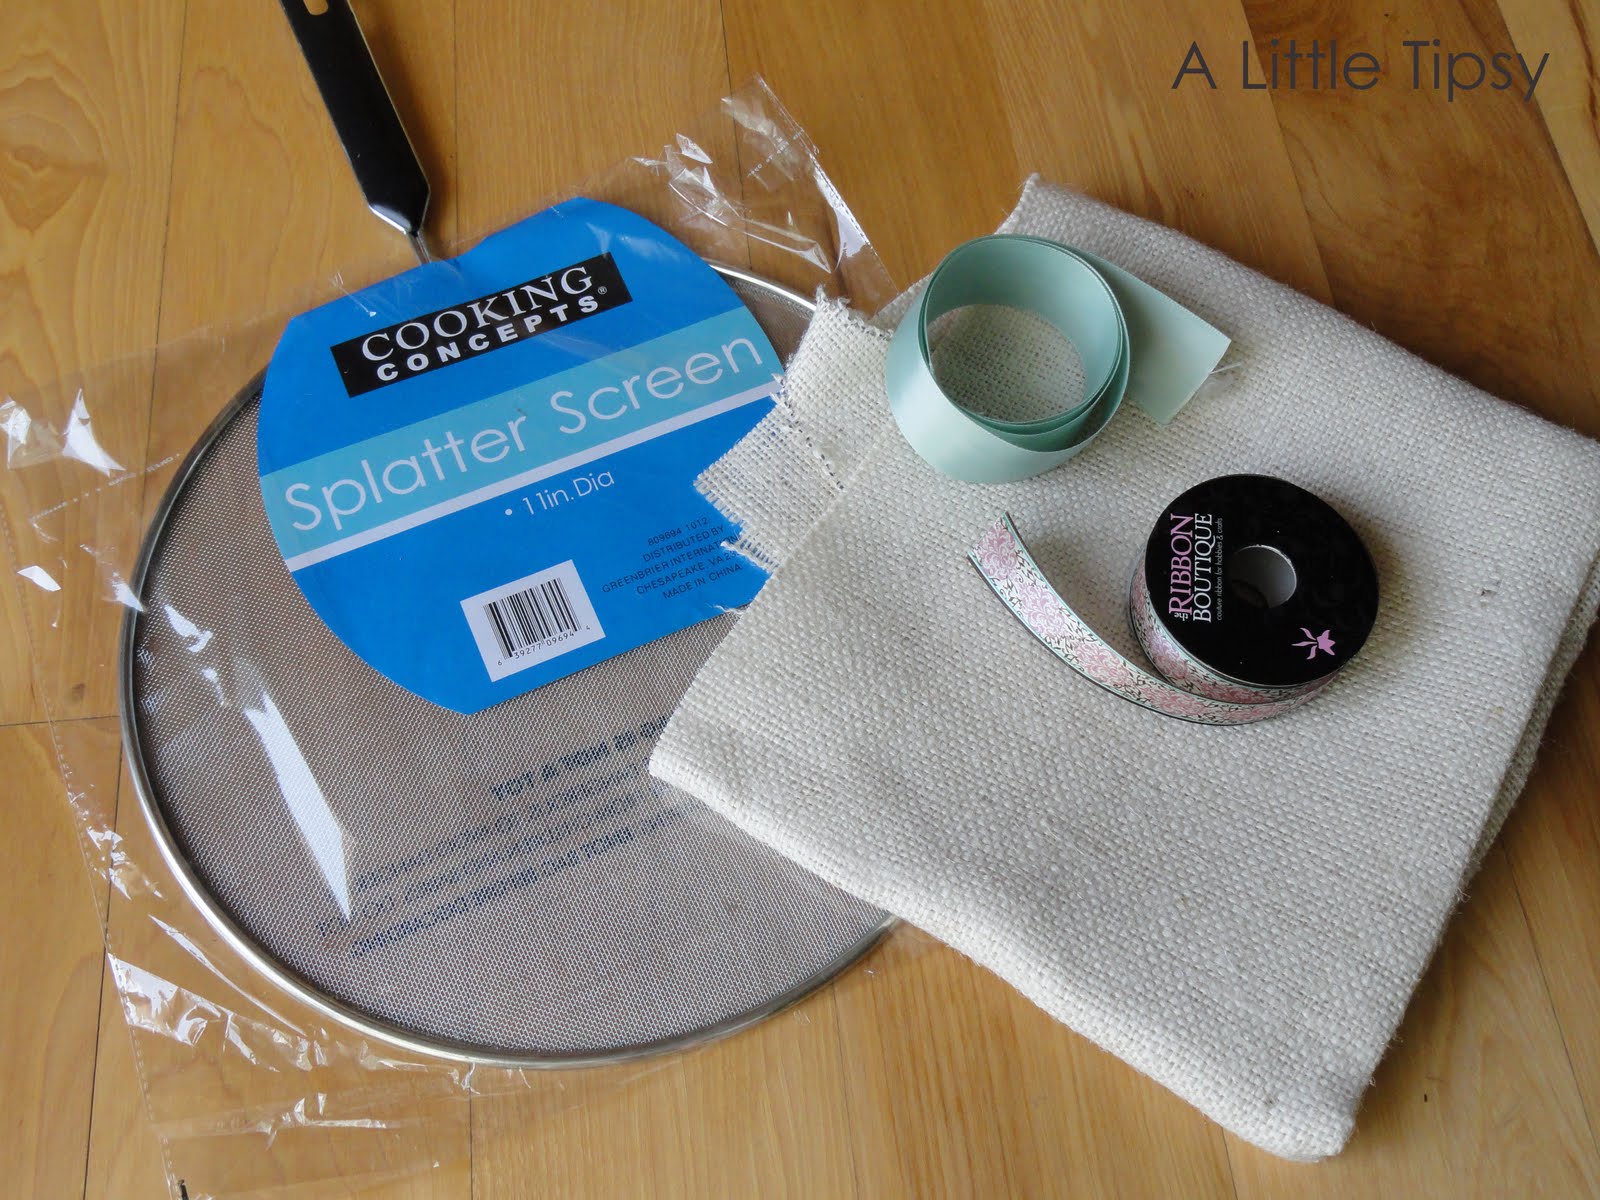
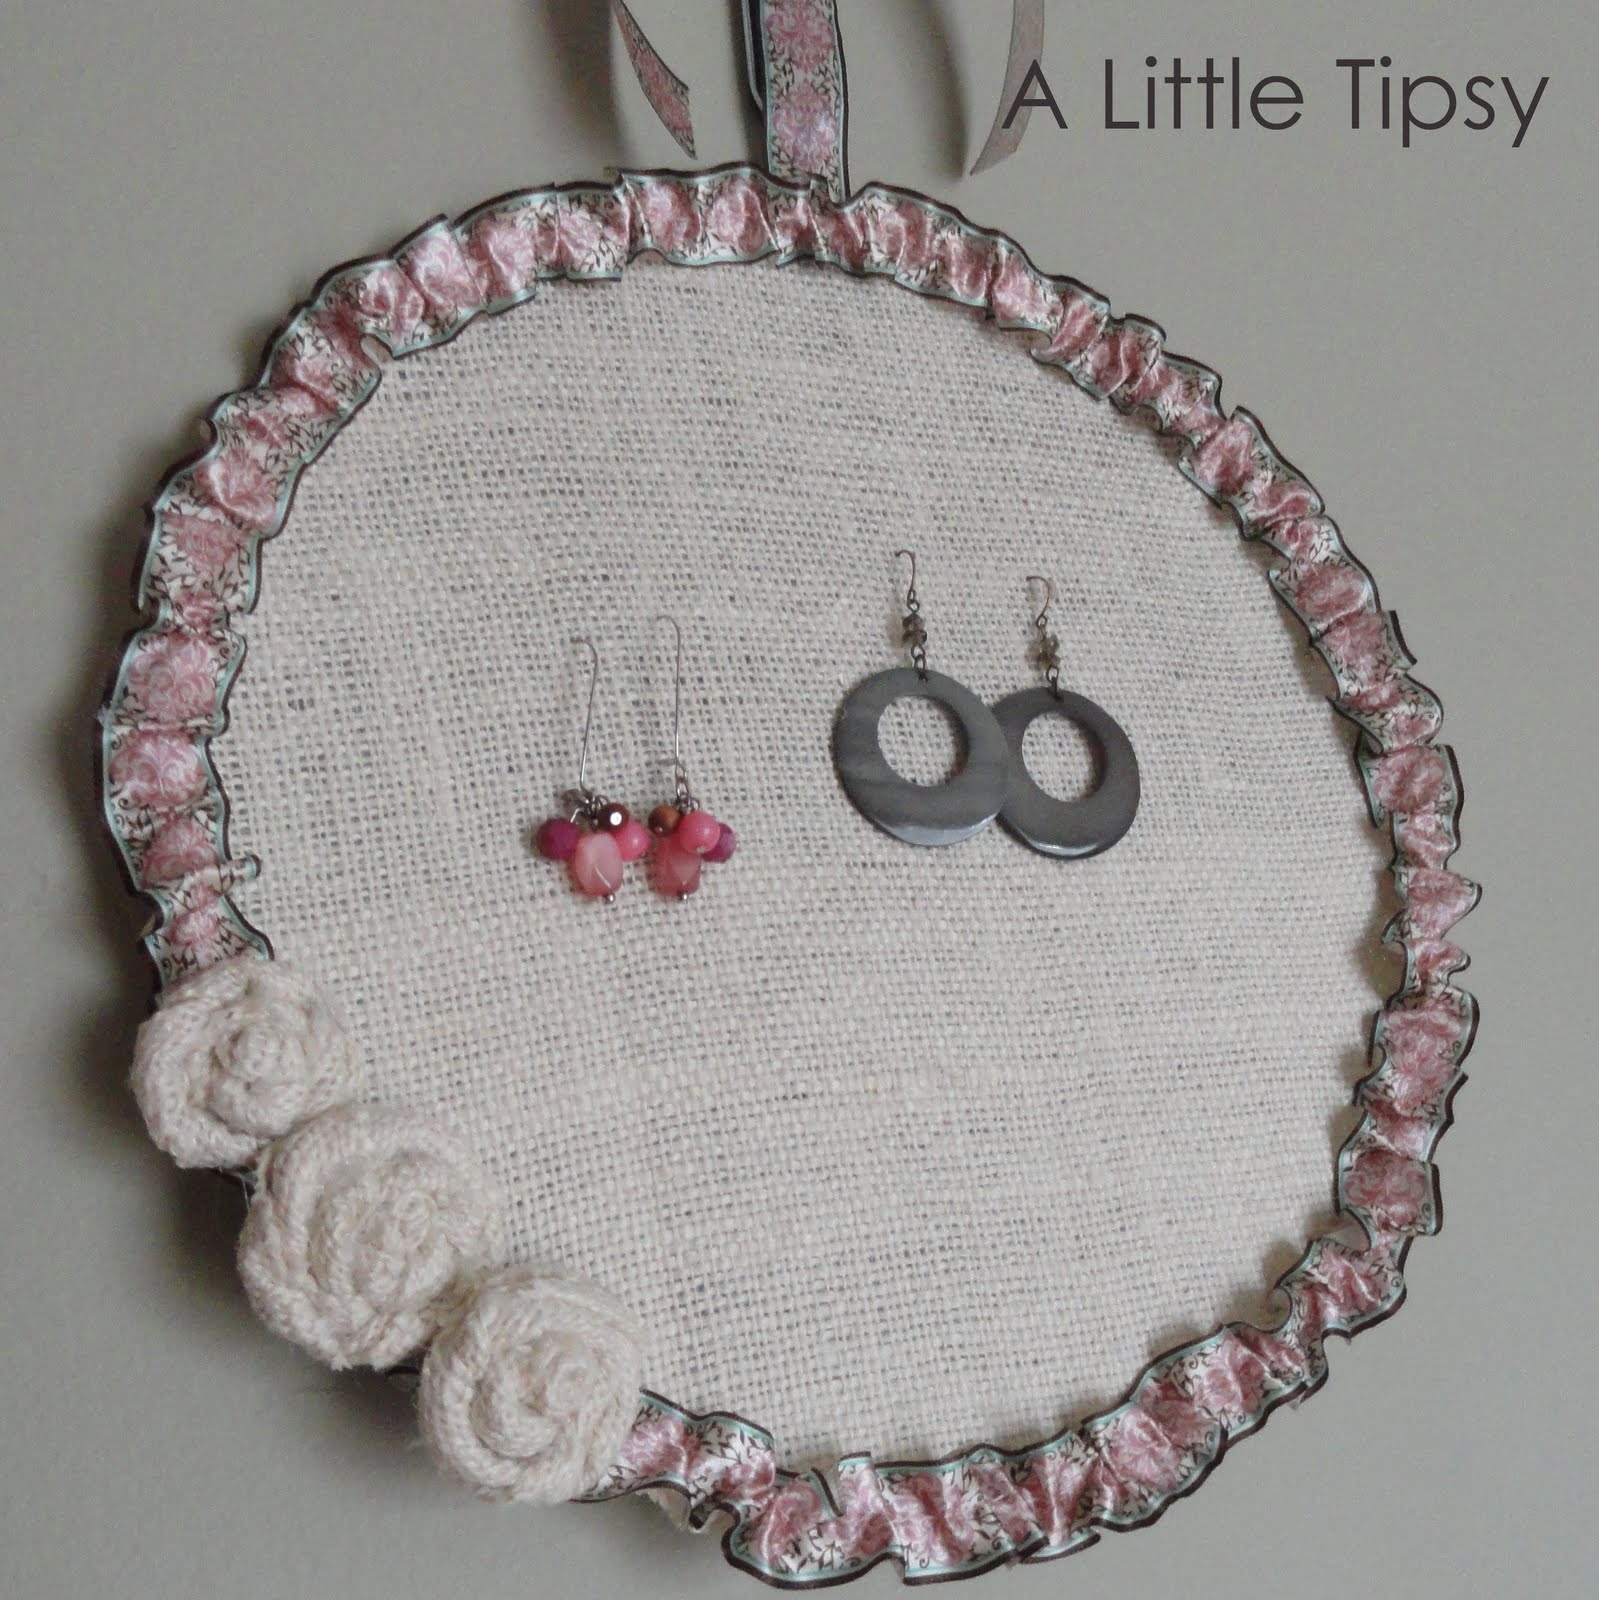
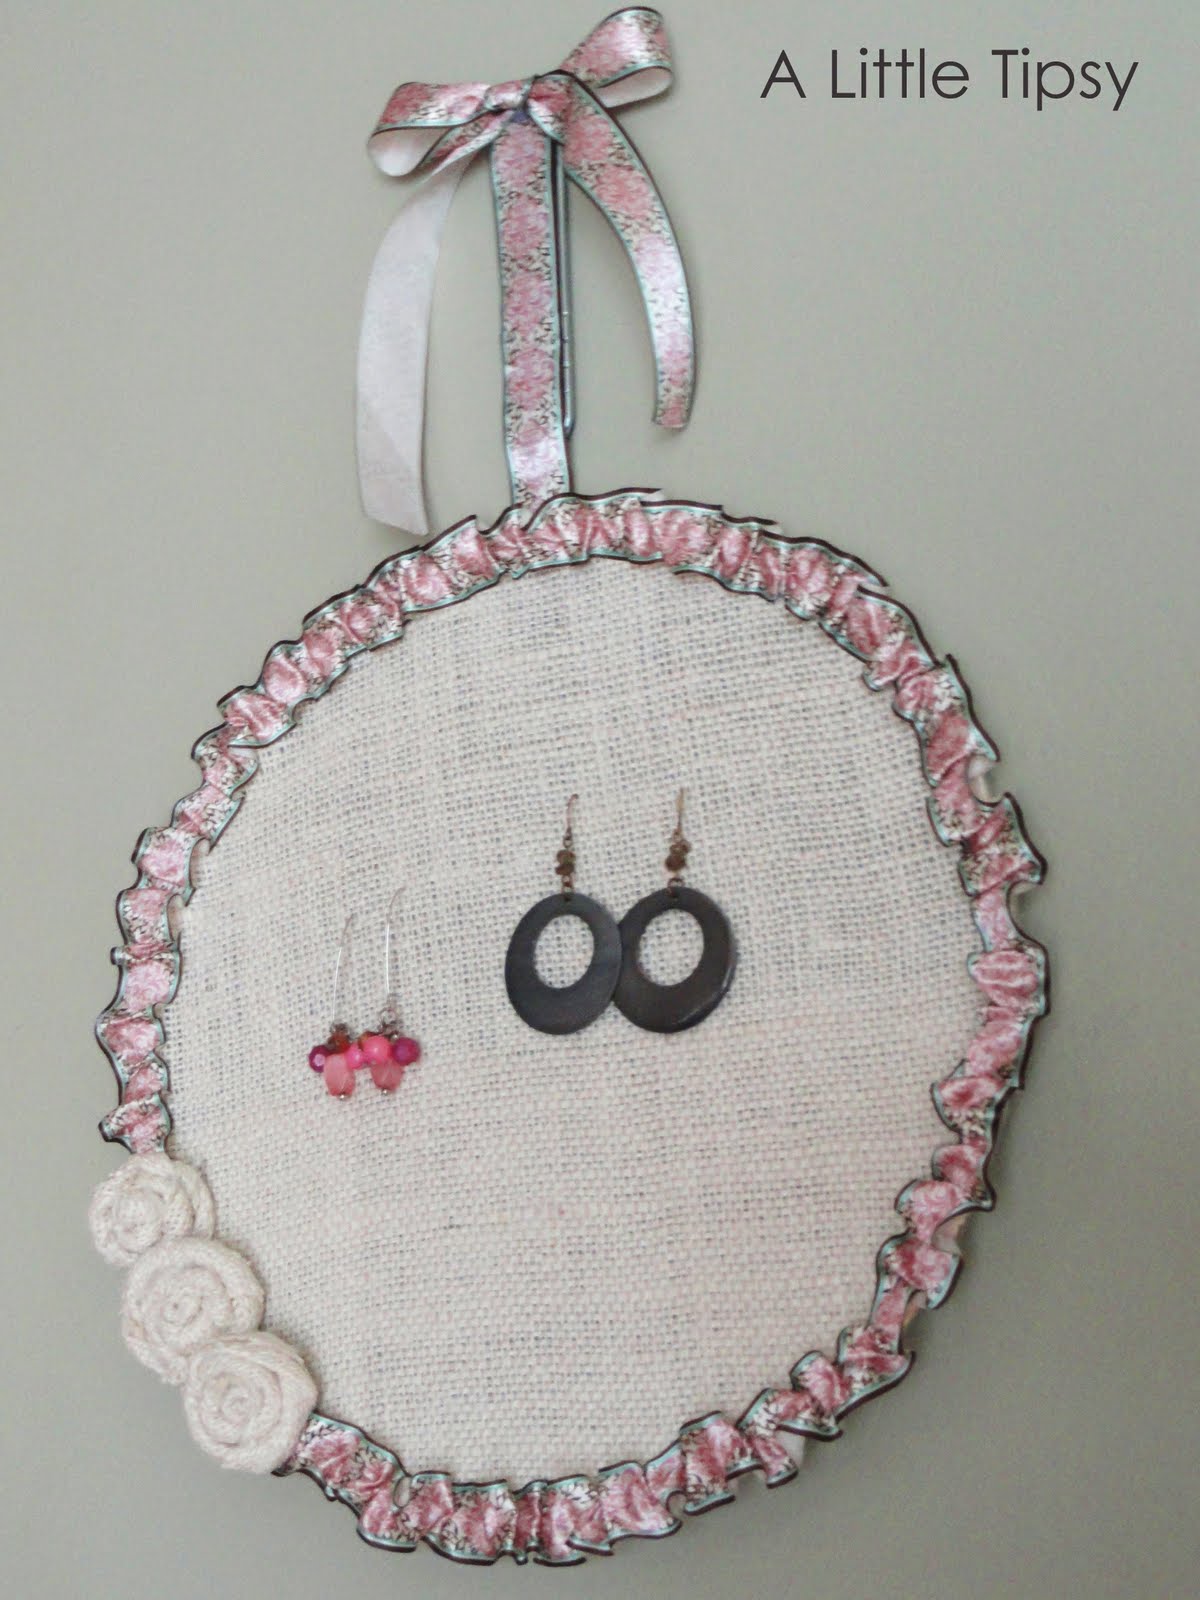
How to make an earring holder

Supplies Needed:

  • Splatter Screen (Dollar Tree)
  • Burlap
  • Hot Glue
  • Ribbon
  • Needle & thread

I had the splatter screen to make this and was toying with the idea of lace, but was inspired by the lovely Amy from Positively Splendid to use burlap instead.

1. Lay burlap over splatter screen and trim to make a circle. Glue burlap taut by laying a line of glue around the edge of the screen and gluing down a bit a a time. I used the handle of a knife to push it down tight without burning myself. (ok so I still burnt myself multiple times) Do not put glue in the middle of the screen or your earring will not go through!

2. Glue ribbon over the handle of the screen leaving the hole on the back of the end uncovered so you can hang it easily.

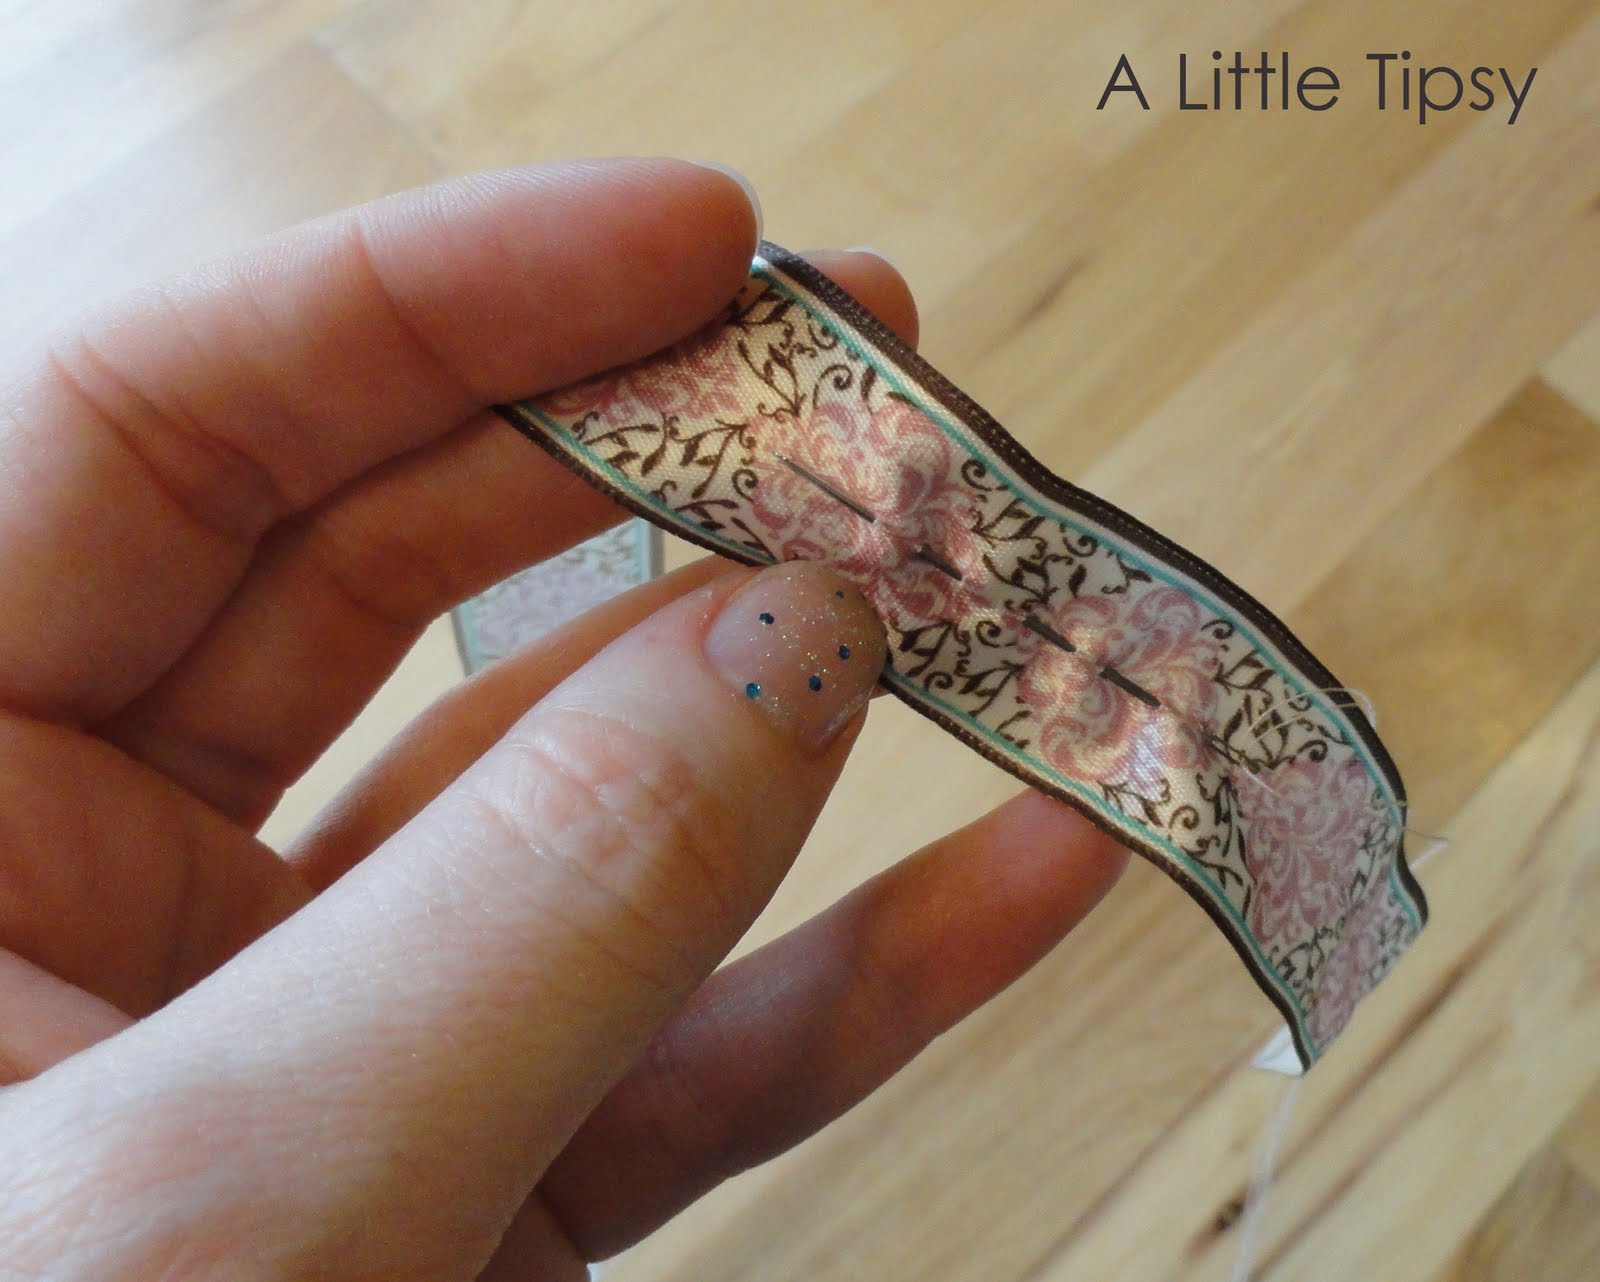
3. Thread your needle with enough thread to go around the circumference of the circle. Tie a knot in the end of the two strings so it does not pull through. Go back and forth through the ribbon every 1/4 inch or so and scrunch as you go along so the ribbon ruffles.

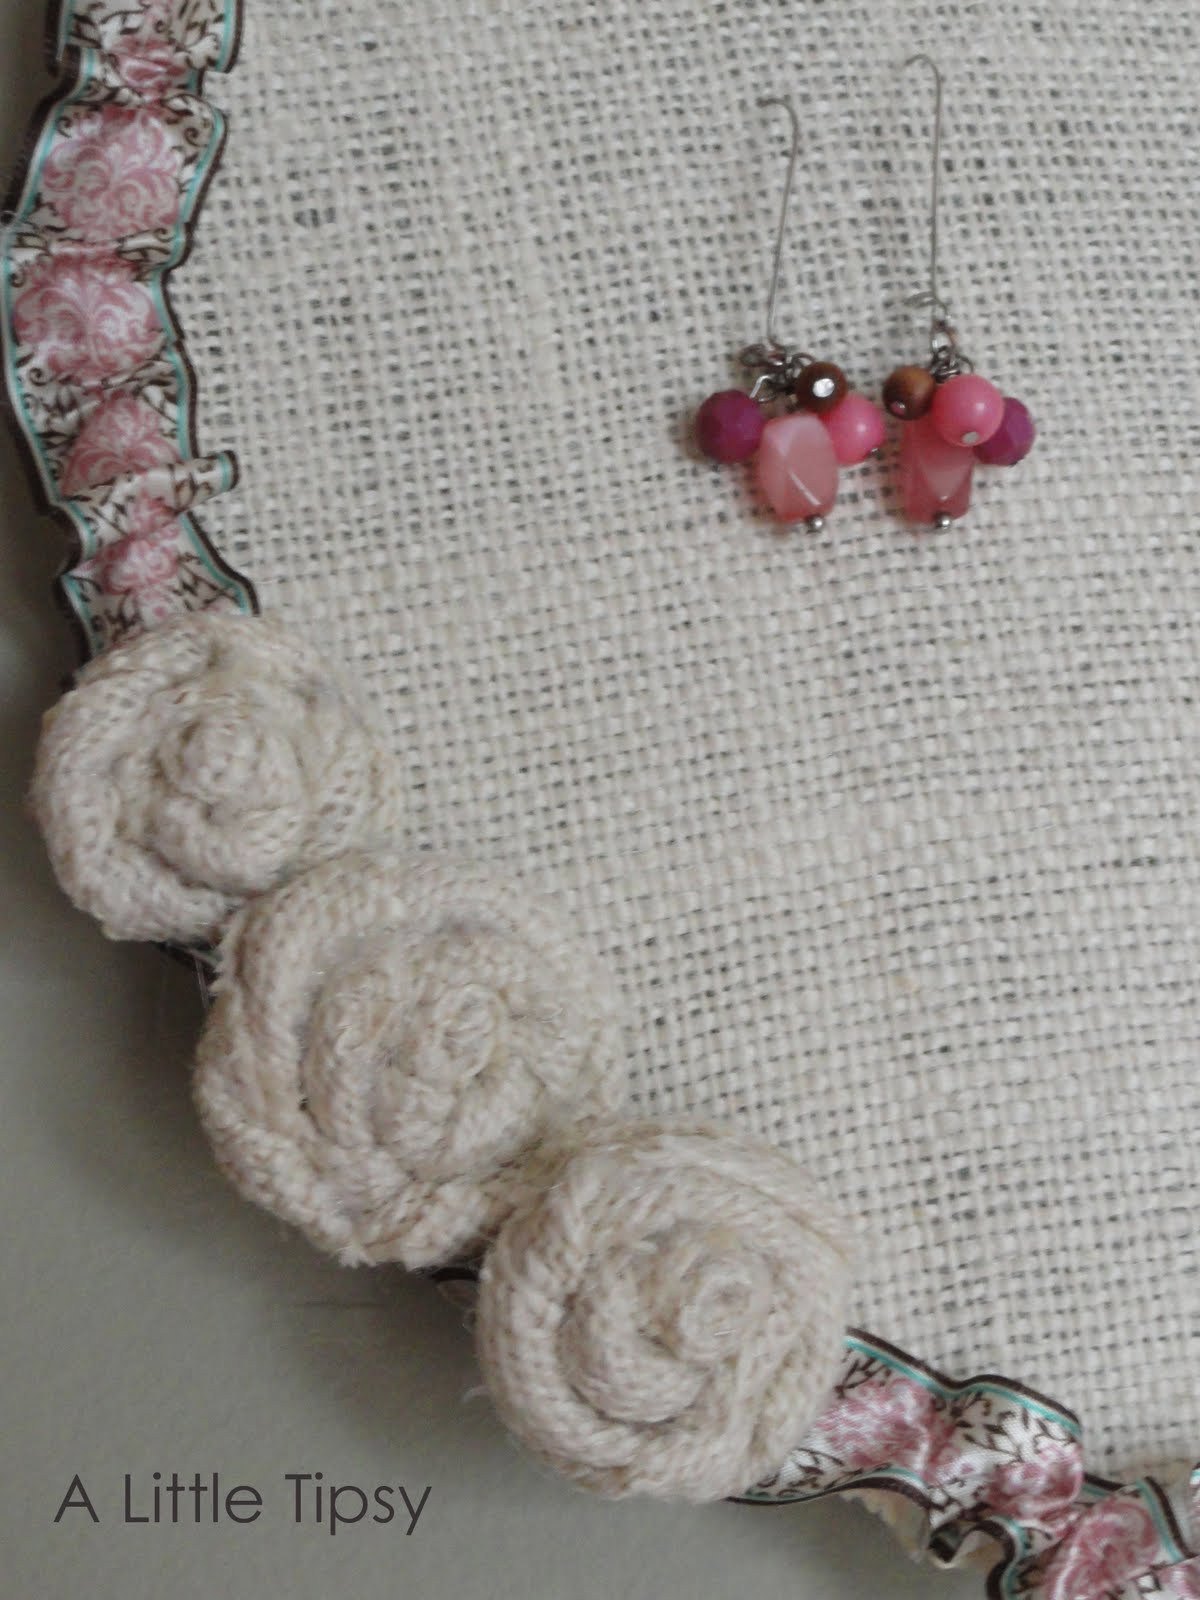
4. Glue your ruffled ribbon around the circle leaving the ribbon break on the bottom left.
5. Make some burlap rosettes and glue those on to cover the break in the ribbon. (there are a million rosette tutorials out there if you need one)

6. Hang your earrings by pushing the posts through the burlap and the screen. Using both layers gives it strength so the burlap won’t get wonky spacing from things hanging on it.

Now just find a great space to hang it.

Confession:the ribbon ruffles turned out a little more “Grandma’s fabric covered photo album” than I wanted, but what do you do.

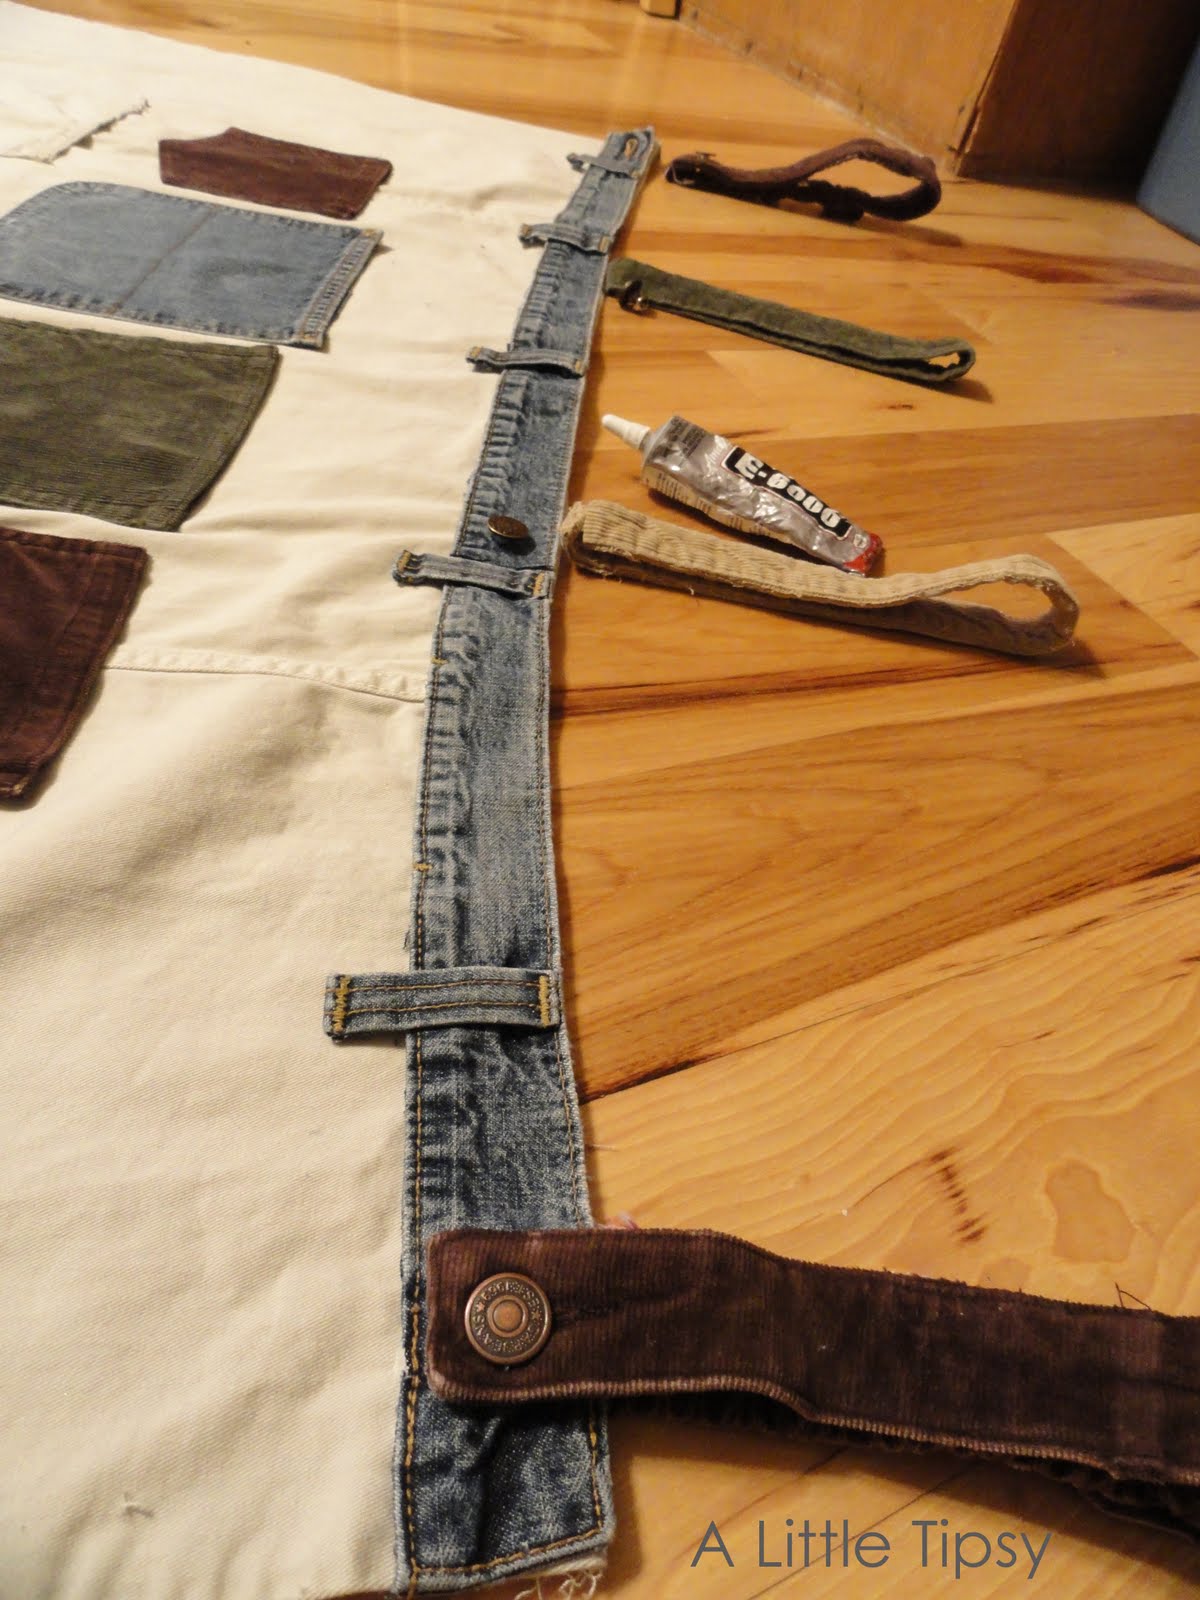
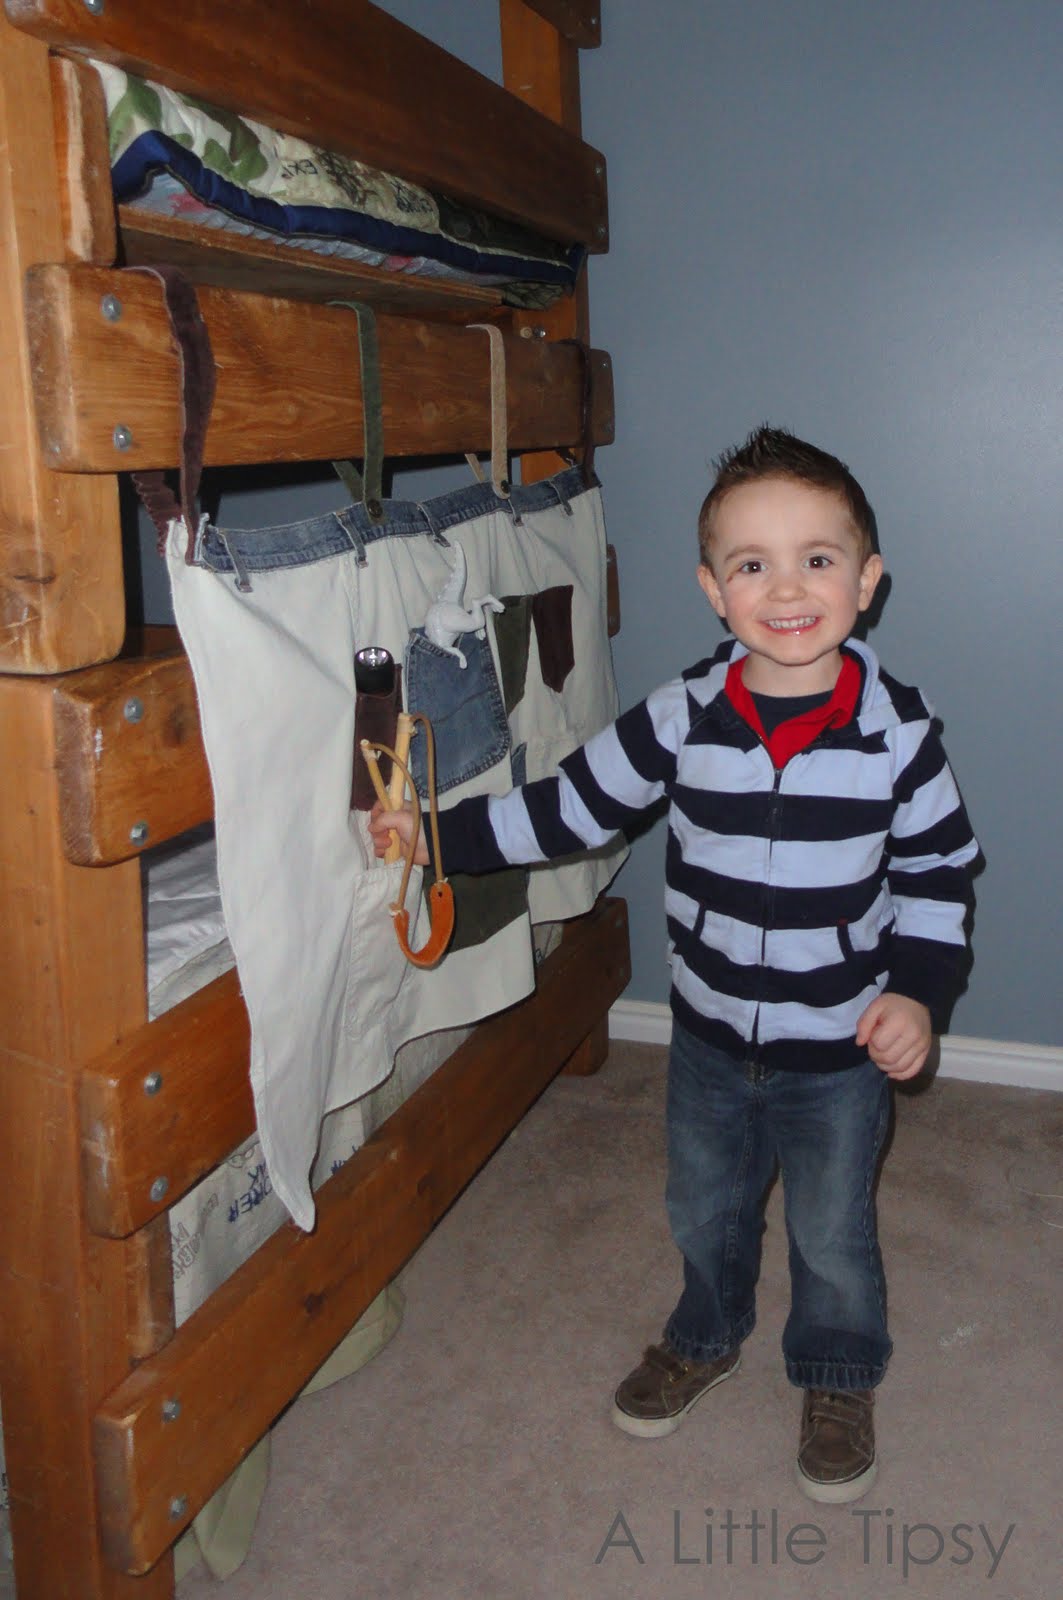
If you like this, you may also like my DIY Jewelry Organizer for the back of a door.

Now it’s time to link up!

Please remember:

  • Only link to your own projects that cost you $5 or less (price does not have to include items you had on hand)
  • You can link past projects that fit the dollar limit
  • Please link back so others can join the party

DIY under $5

P.S. Don’t forget to sign up for free Tipsy updates via RSS or email.

We have decided to truncate our feed to help protect against stolen content. I apologize for any inconvenience. Please love us anyway. 🙂

Paper Mache Eggs

April 8, 2011 By Michelle Barneck 16 Comments

Today, I am sharing my Paper Mache Eggs which were born from a craft cabinet full of random stuff and a quickly approaching guest post deadline. 😉 Gotta love a good de-stash project. Welcome to anyone visiting from Kiki Creates!

I wanted an Easter display minus the pastel color scheme, so I went with a dark purple, silver, and green.

Wanna know the secret ingredient? Water balloons. You heard me.

Supplies Needed:
  • Small water balloons
  • Book or music pages
  • Elmer’s glue
  • Water
  • Ribbon
  • 3 little wood candlesticks
  • E-6000
  • Silver metallic spray paint
  • Hot glue
  • Moss

1. Blow the water balloons up to the size of a large plastic egg (I had to use one of those things you use to blow up the long skinny balloons for balloon animals), tie a knot and cut off the tail.
2. Then, mix one part Elmer’s with two parts water.
3. Rip your paper into 1/2 inch by 3 inch strips. Dip your paper strips in the the glue mixture, cover your “egg”and dry overnight. (I ripped the music sheets and cut the book pages with scissors. The ripped paper adhered a lot better and was more smooth)
4. Tie some ribbon around the eggs.

5. To make the pedestals take tiny wooden candlesticks, glue the tops of two together, and let dry.
6. Spray the candlesticks silver and let dry.

7. Hot glue a bit of moss to the top of the candlesticks and hot glue the eggs to the moss.

That is all my friends!

Click if you want the “I Know my Redeemer Lives” Easter printable.

Linking up:
Visit thecsiproject.com
Get Your Craft On
Motivate me Monday
Market yourself Monday
Making Monday Marvelous
Making the World Cuter
Take a Look Tuesday

P.S. Don’t forget to sign up for free Tipsy updates via RSS or email.

We have decided to truncate our feed to help protect against stolen content. I apologize for any inconvenience. Please love us anyway. 🙂

DIY Under $5: Ruching Shirt Refashion in 10 Minutes

April 6, 2011 By Michelle Barneck 21 Comments

Do you have a shirt that is a little too big, too long, or just needs a little flavor? You are gonna love this little 10 minute shirt ruching refashion.

Did I mention that it will cost you $1.50?!

Supplies:
  • shirt
  • coordinating thread
  • elastic thread ($1.50)
  • sewing machine

All you do is hand wind the elastic thread on the bobbin. Put the coordinating thread on the machine and through the needle as usual, turn your shirt inside out and sew using a large baste stitch along the existing seams. I stitched from 4 inches down from the arm pit to the bottom. Be sure to back stitch at the top and bottom to keep it more secure. It is sooo easy!

I got the elastic thread idea from my friend Amanda, who was awesome enough to let me borrow hers. She has a more detailed tutorial on how to use it to make a cute ruffly scarf.


My sweet sis Jen sewing away. 🙂

Before<————————–> After

It made it a few inches shorter and more fitted. I love that it hides the things I don’t want to display (namely post baby bulges and that odd poker from my jeans’s waistband that makes me look like I have an outie belly button.) and made my super long shirt a more flattering length (look at my elbows in both pics for a reference point on how much shorter). I’ll totally be debuting this baby at the Creative Estates conference this weekend.

I have not washed it yet, so I’m not sure how that will go, but this shirt is hand wash only so I’m sure it will be fine.

So now it’s time to link up!

Please remember:

  • Only link to your own projects that cost you $5 or less (price does not have to include items you had on hand)
  • You can link past projects that fit the dollar limit
  • Please link back so others can join the party

DIY under $5

P.S. Don’t forget to sign up for free Tipsy updates via RSS or email.

We have decided to truncate our feed to help protect against stolen content. I apologize for any inconvenience. Please love us anyway. 🙂

Making a Bedskirt and DIY Toy Storage Pockets

March 25, 2011 By Michelle Barneck 16 Comments

Remember a while back when I told you I was part of a fun new group called Point of View who would be showing you our takes based on a theme? Well, it’s time!! Today is the day. The reveal if you will. This month’s theme was SKIRT. So take a look around, see which point of view matches yours and even link up your own! But, first, take a look at mine cause I am like a proud project parent just waiting to show what I have been working on.

One of these things is not like the other…

1. Amy {Ameroonie Designs}
2. ME & here you are for the tutorial!
3. Camilla {Rosy Red Buttons}
4. Gwen {Gwenny Penny}
5. Stacy {Not Just a Housewife}
6. Jonie {Just Between Friends}

You can link up your point of view on the skirt theme over on Stacy’s page!

Being the lack lustre seamstress in a house full of boys, here is my point of view on the skirt theme. Enter the no-sew bedSKIRT and DIY toy storage pockets upcycled from an old cargo SKIRT for my 3 year old’s room! See how I worked the theme in there. 😉

Let’s start off with making a bedskirt. Seriously, this is a no-brainer people. It took me all of 5 minutes and was, in true Tipsy fashion, FREE!

We have this bunkbed that my father-in law built and my husband grew up sleeping on. Sentimental, yet fun and rustic, perfect for the developing Paleontology theme (see more on that soon). There is always a collection of junk under there, some from my latest Costco run and some from the little guy hiding when I catch him awake during nap time. Either way, not pretty and full of clutter.

So here’s the kicker, grab the flat sheet (which my son refuses to sleep with anyway) drape it over the bed frame so it ripples a bit with the edges hanging to the floor.

Plop the mattress and other bedding on and ta da, you’ve got a matching set!

And now it’s an even cooler hiding spot.

Now for the bare stair. My son always climbs the other side of the bed, so I thought it would be fun to make some DIY toy storage for him to keep all his little treasures. And get this, this project was free too! My husband is going to shout for joy!

It all started with this fantastical box of a cargo skirt that I have had for years and have not worn in well, years. Add to it the pair of hubs jeans that bit the dust recently (pretty sure he wore those in our engagement pics). Then, just for kicks take the pockets from a couple of corduroy maternity pants that were hand me downs from someone much shorter than myself.

Slice and dice that baby right down the back seam so it’s a big open rectangle. Cut the pockets off the pants including the back fabric so it is a little envelope. This way the pocket is more durable


Grab your pockets and waistbands (used for hanging on to the steps) and play around with them until you get a placement that you like.

I wanted to keep it as no-sew as possible so I attached all the pockets with fabric craft glue.

I wanted each of the loops to have a button and be removable so I could take the toy storage pockets off the bed. I glued the back of each loop between the denim waistband and the cargo skirt to secure it. Since I used waist bands from pants, I automatically had a button on one end and a button hole on the other. So I used the button hole on the loop’s waistband and the button on the other half of the waistband to make the two end loops.

In the middle, I glued a random denim button on and used velcro for the re-usable closure. On the other one I used a denim button pin (in a pack of pant waist extenders) I had from the Dollar Tree.

Let it all dry overnight so it is secure and then roll the edges of the skirt back to have a clean edge and zig zag stitch with coordinating thread.

Hang your DIY toy storage pockets and let your little one fill them with their treasures!

The unveiling…

Now that you’ve seen my point of view on the SKIRT, go check out some of the others and link up your skirt if you have one! We’d love to see it!

P.S. Don’t forget to sign up for free Tipsy updates via RSS or email.

We have decided to truncate our feed to help protect against stolen content. I apologize for any inconvenience. Please love us anyway. 🙂
« Previous Page
Next Page »

  • Bloglovin
  • Facebook
  • Google+
  • Instagram
  • Pinterest
  • RSS
  • Twitter

Hi there! I'm Michelle. Mother of three little boys and one little princess. Welcome to A Little Tipsy, a place for exploring creativity and sharing inspiration.

Follow on Bloglovin


Visit Michelle Barneck {A Little Tipsy}'s profile on Pinterest.

Tutorials by Category


15 Family Reunion Games

Family Reunion Games Collage

15 Sprinkle Party Ideas

Sprinkle Birthday Party
Creative Commons License

© Copyright 2014 A Little Tipsy · Site Designed by The Fairy Blogmother · Web Hosting by RFE Hosting

This website uses cookies to improve your experience. We'll assume you're ok with this, but you can opt-out if you wish.Accept Read More
Privacy & Cookies Policy