A Little Tipsy

Creative Tips & Ideas

  • home
  • About Me
  • the tipsy top
  • press
  • projects
  • contact me
[print_thumbnail_slider]

Mistle-toe

November 15, 2011 By Michelle Barneck 7 Comments

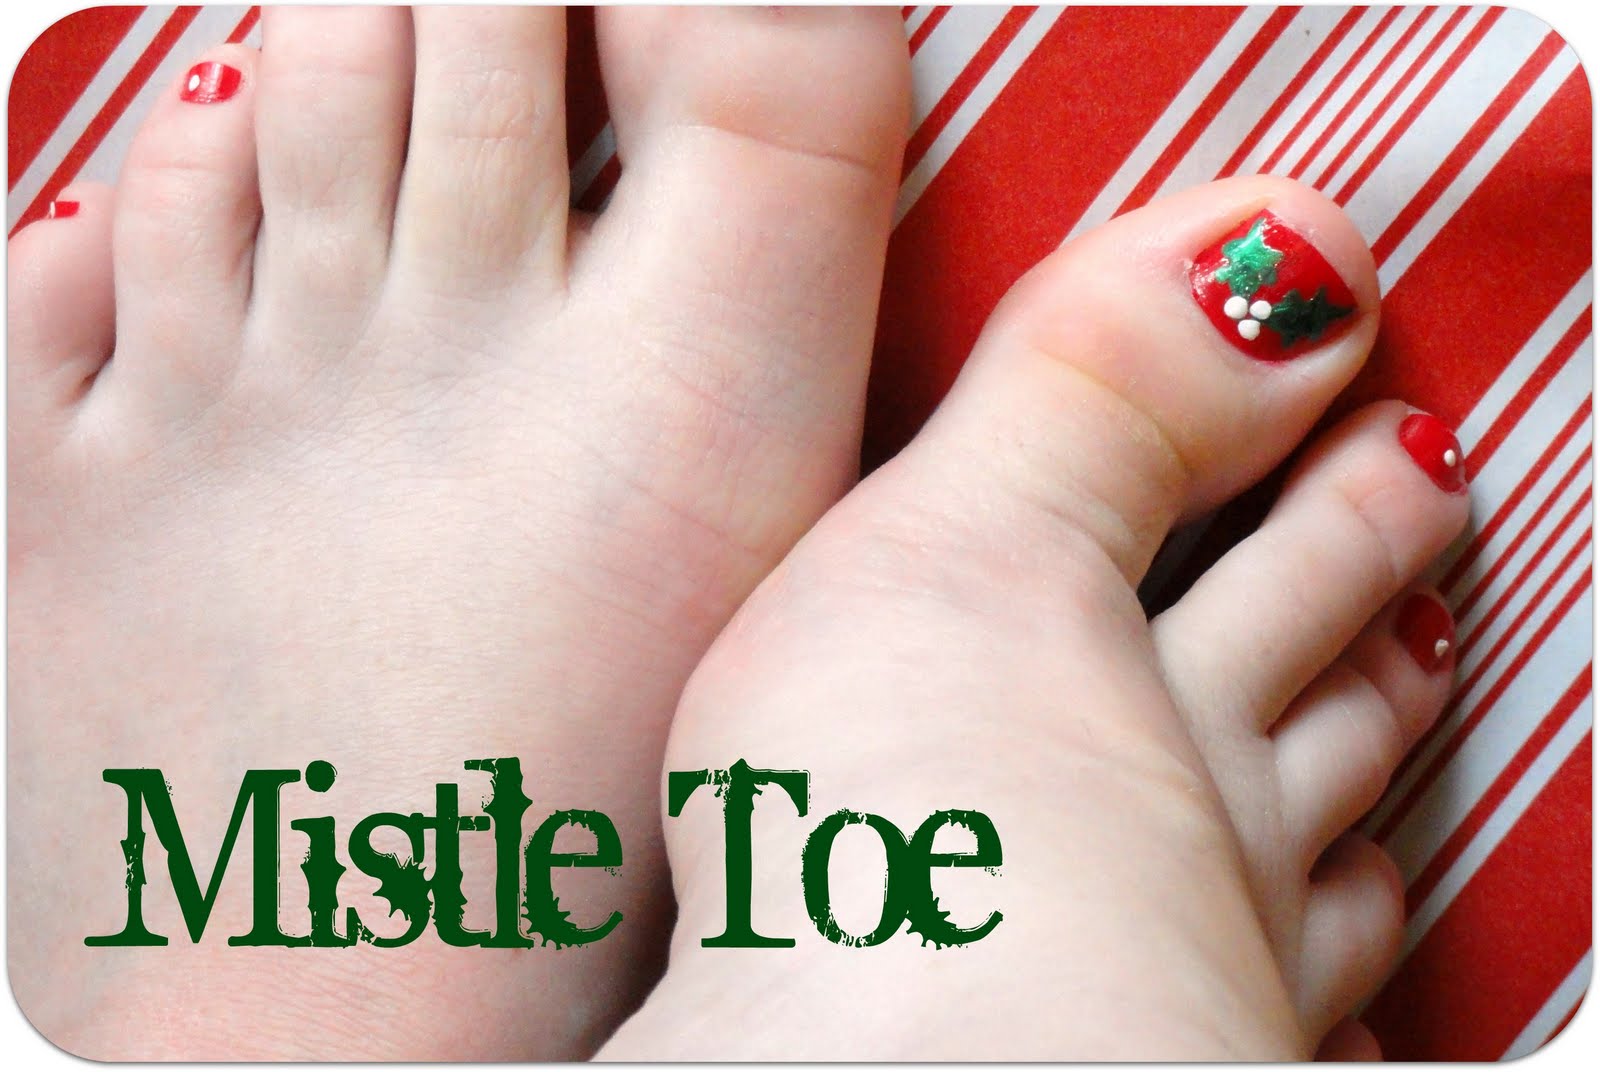
Time to spread a little holiday cheer…to your toes with a festive Mistle-toe pedicure!
p.s. I am well aware they are holly leaves, but mistletoe leaves are boring and I still wanted to use the cute name.
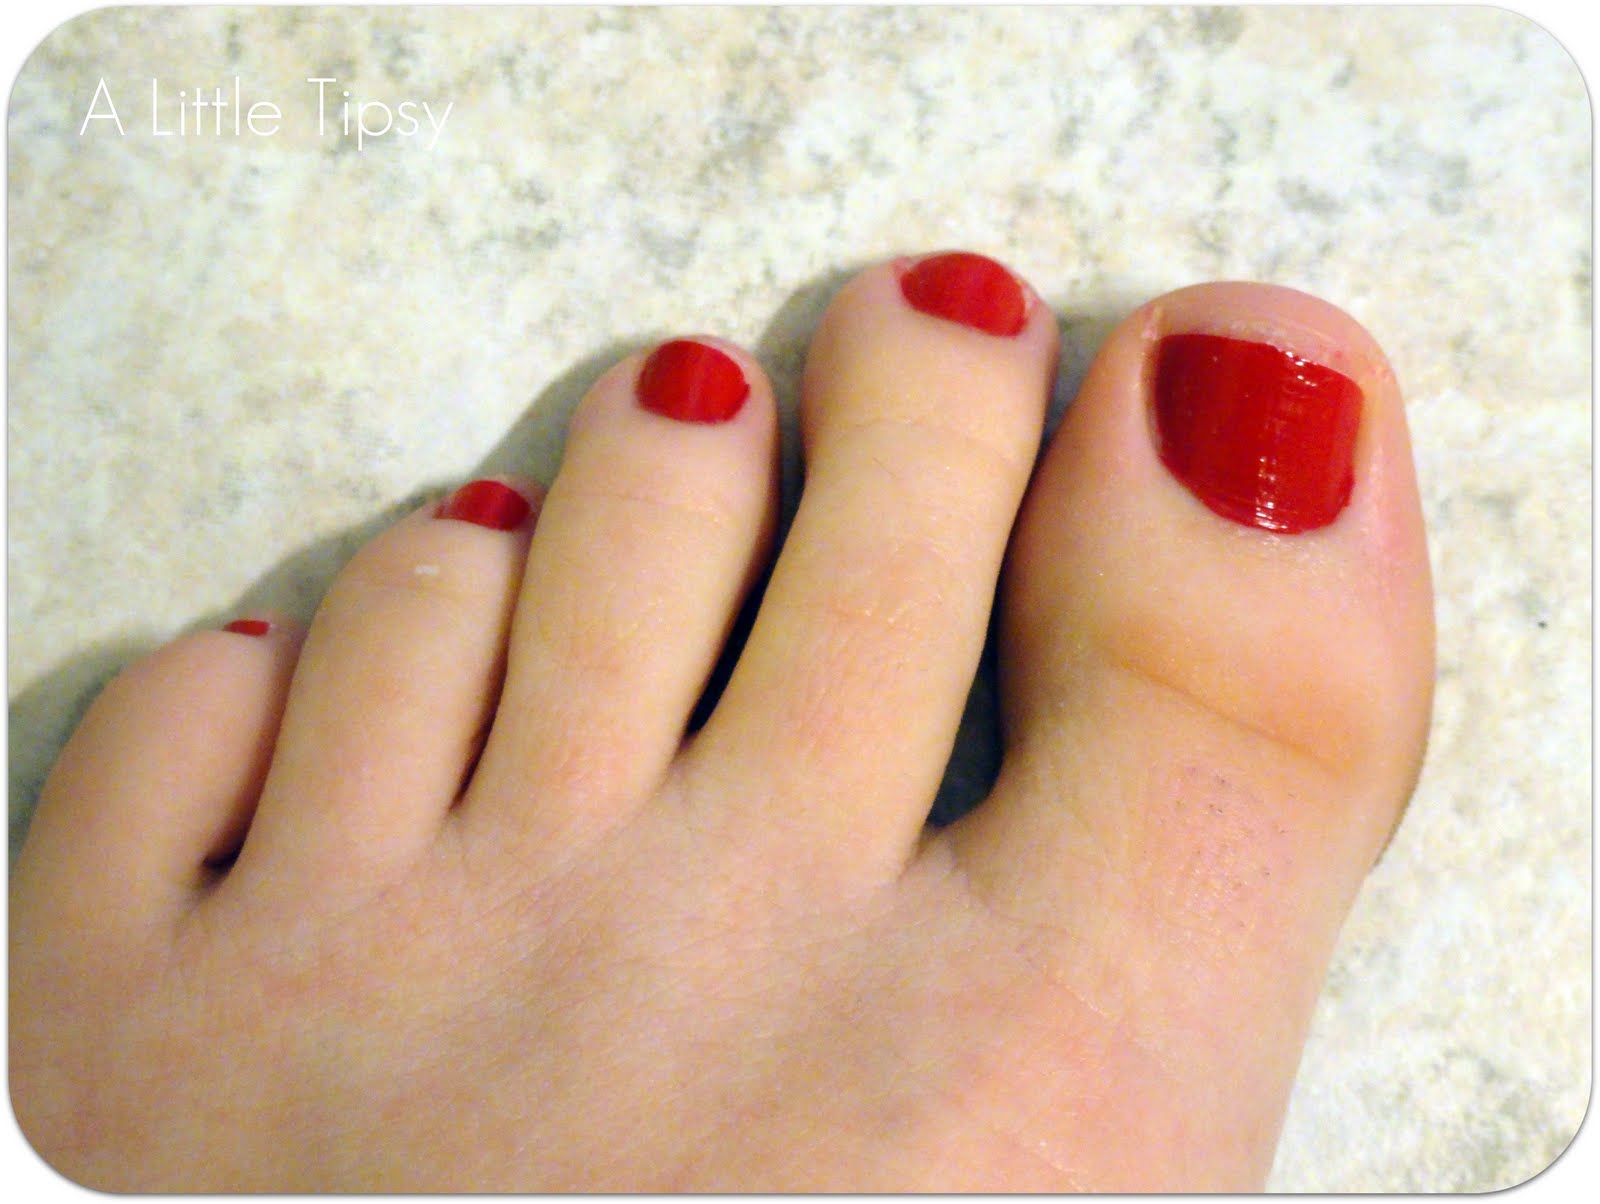
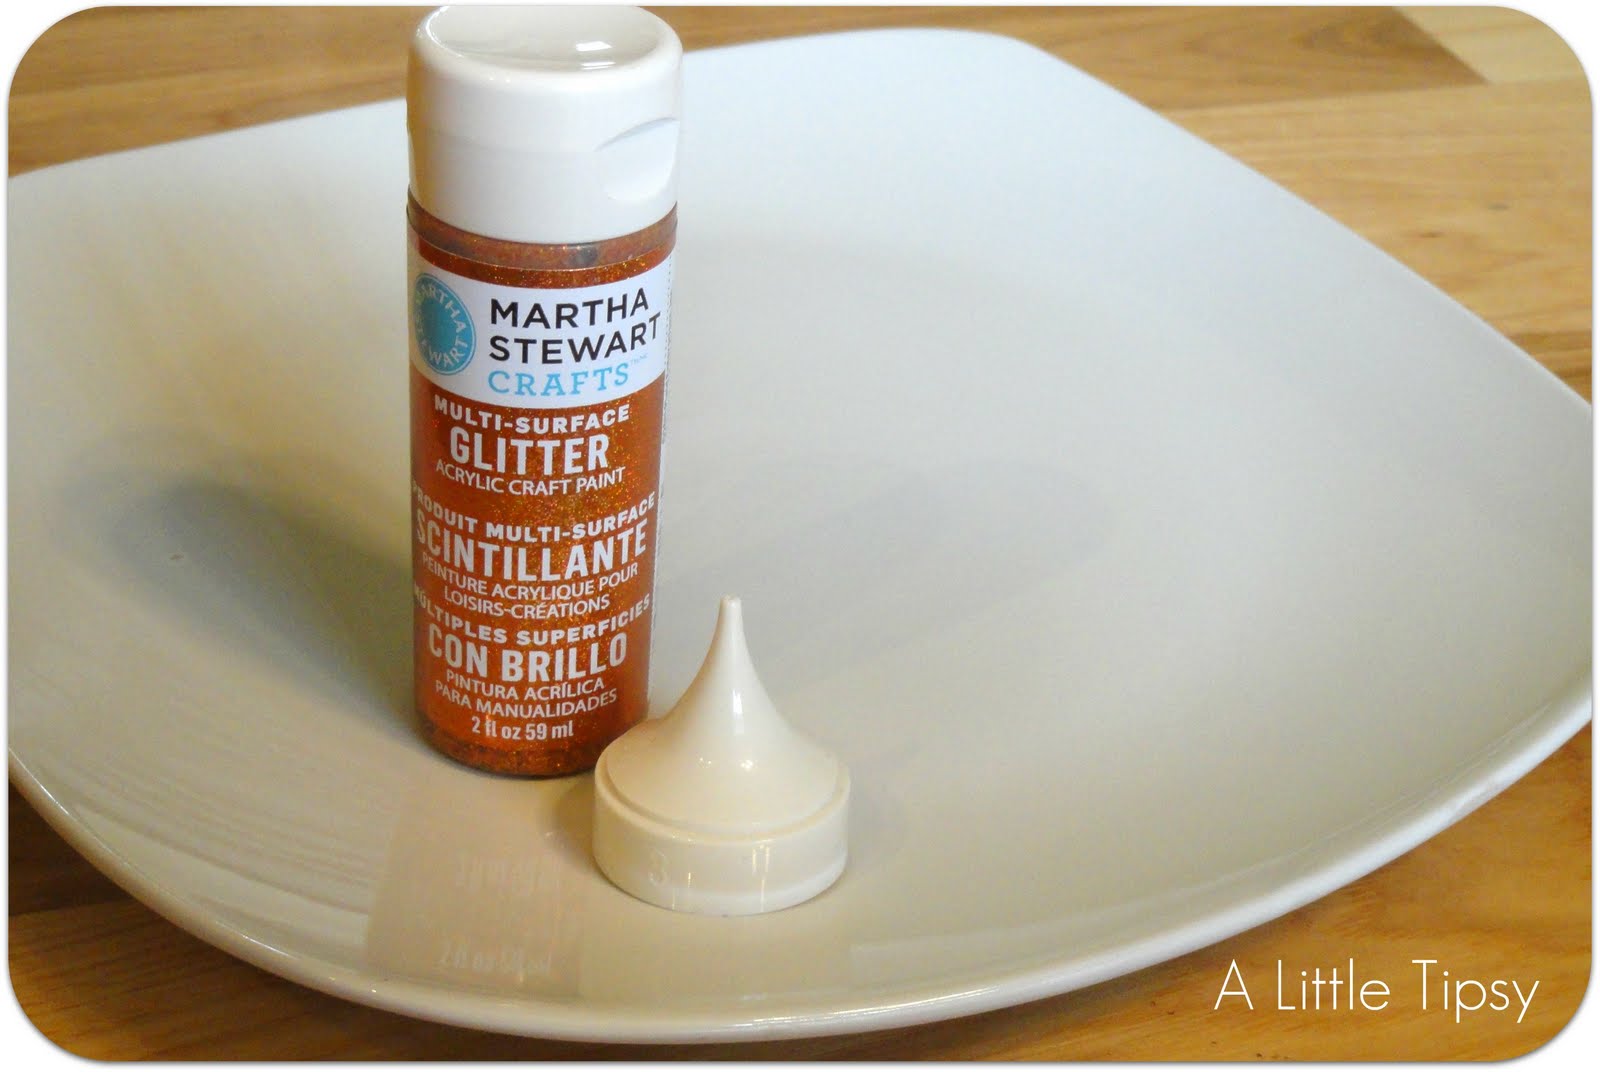
It’s pretty simple. Take a little bit of this…
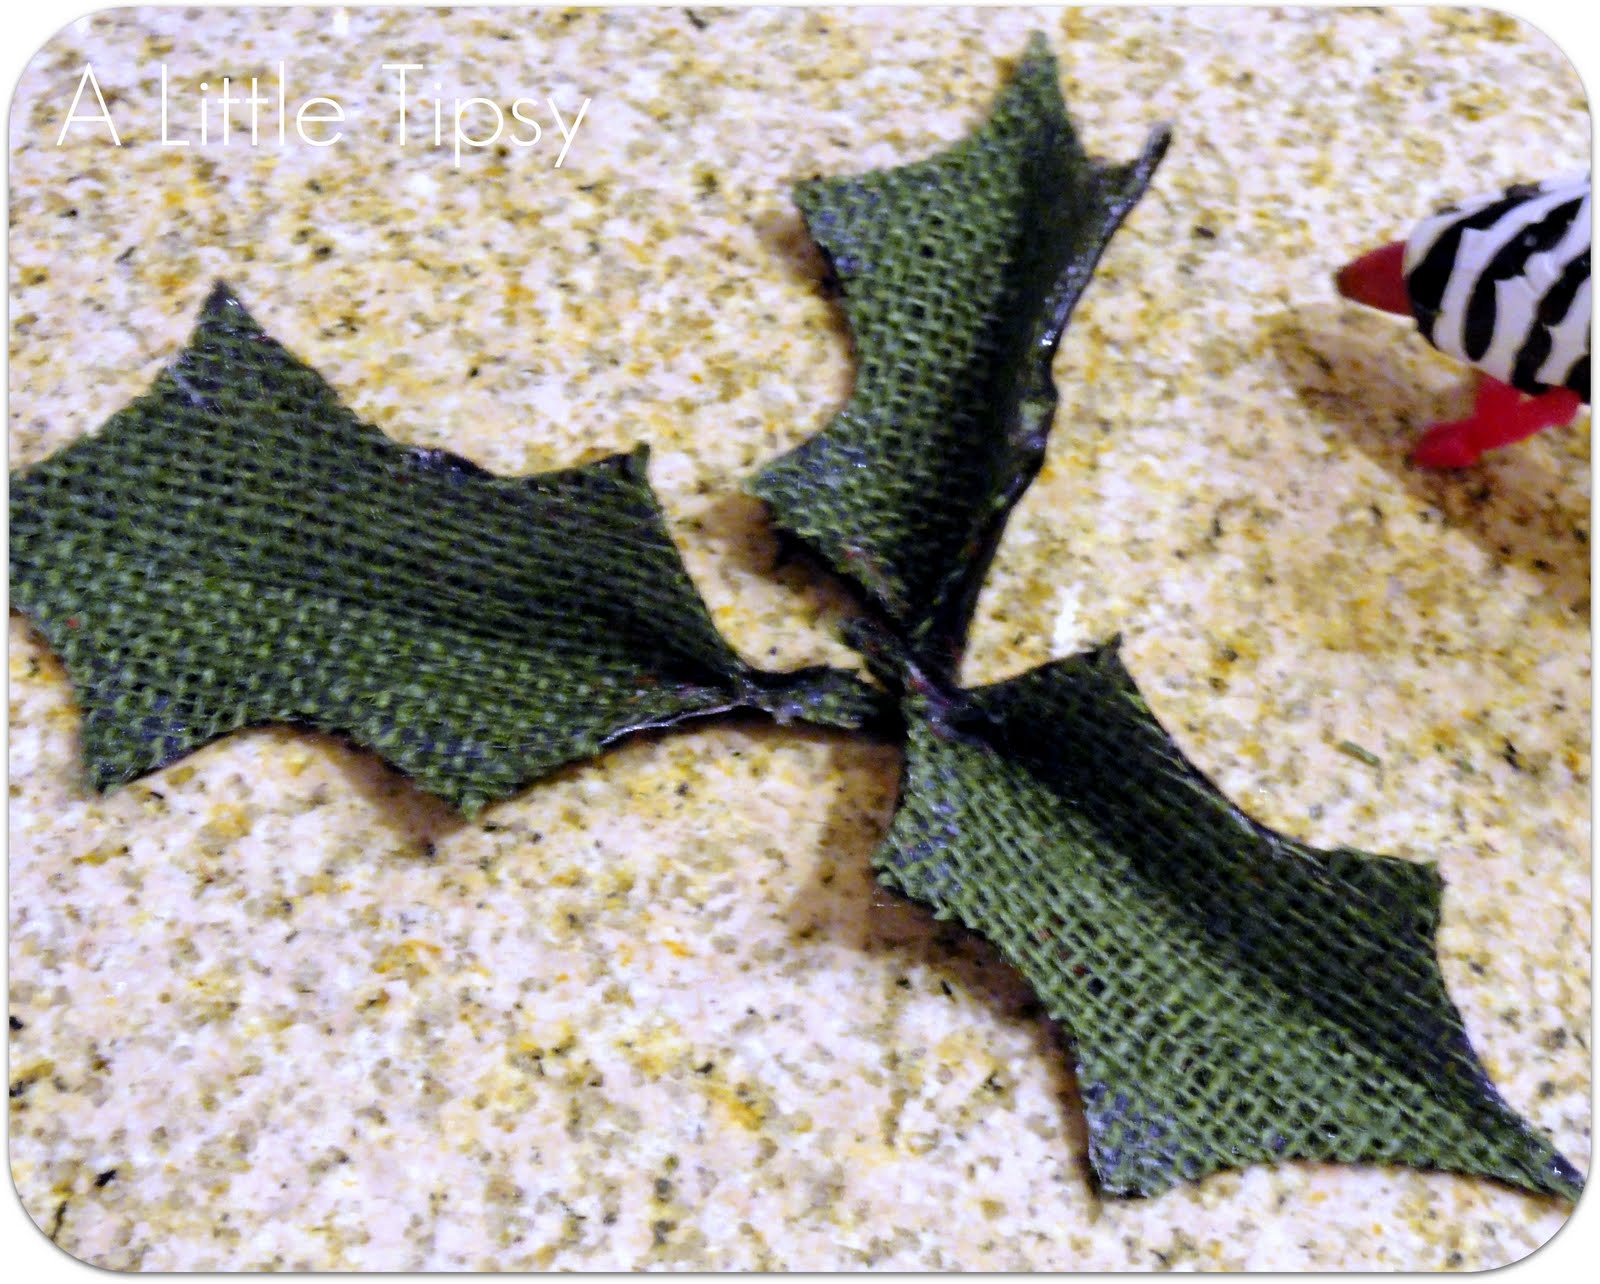
and turn it in to this!
Step-by-step Mistle-toe:
Red coat.
Two green dots.
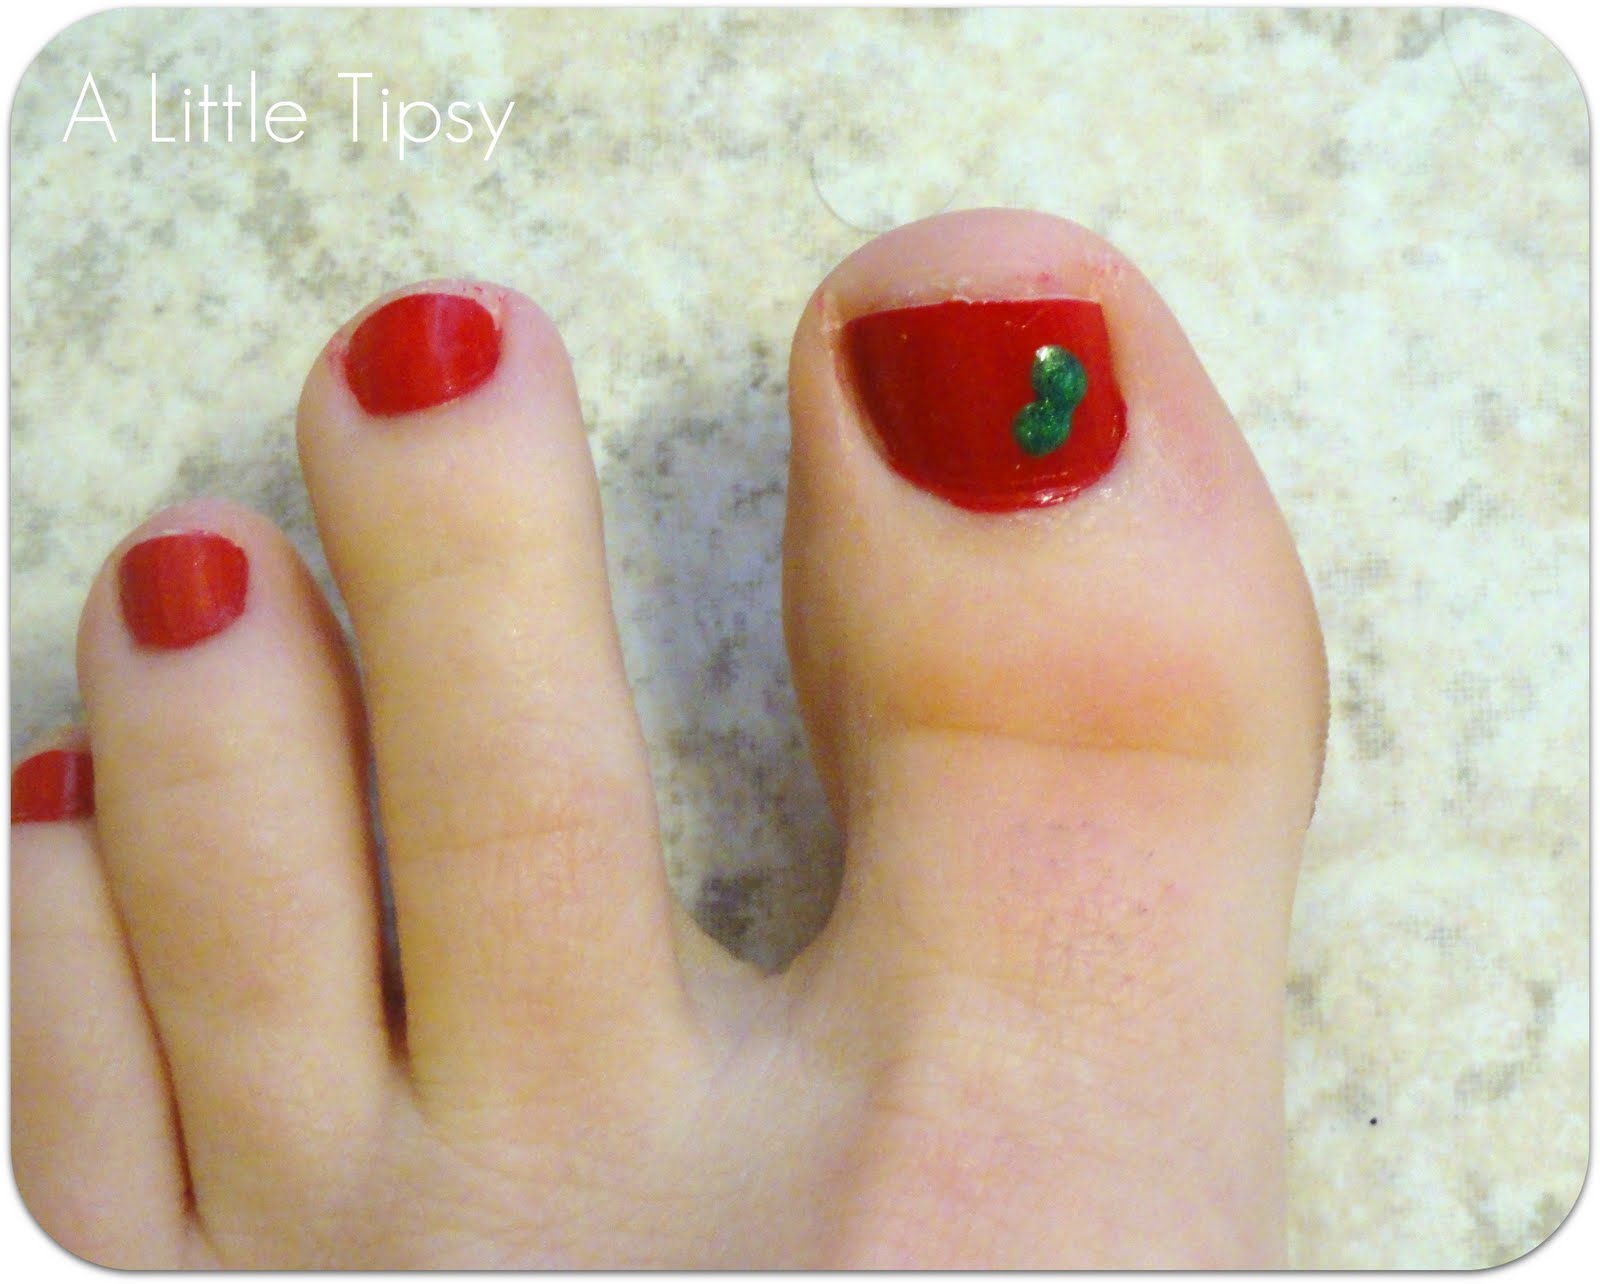
Use a toothpick to pull the polish to make 6 points. Move the polish around with the toothpick as needed to make it look right.

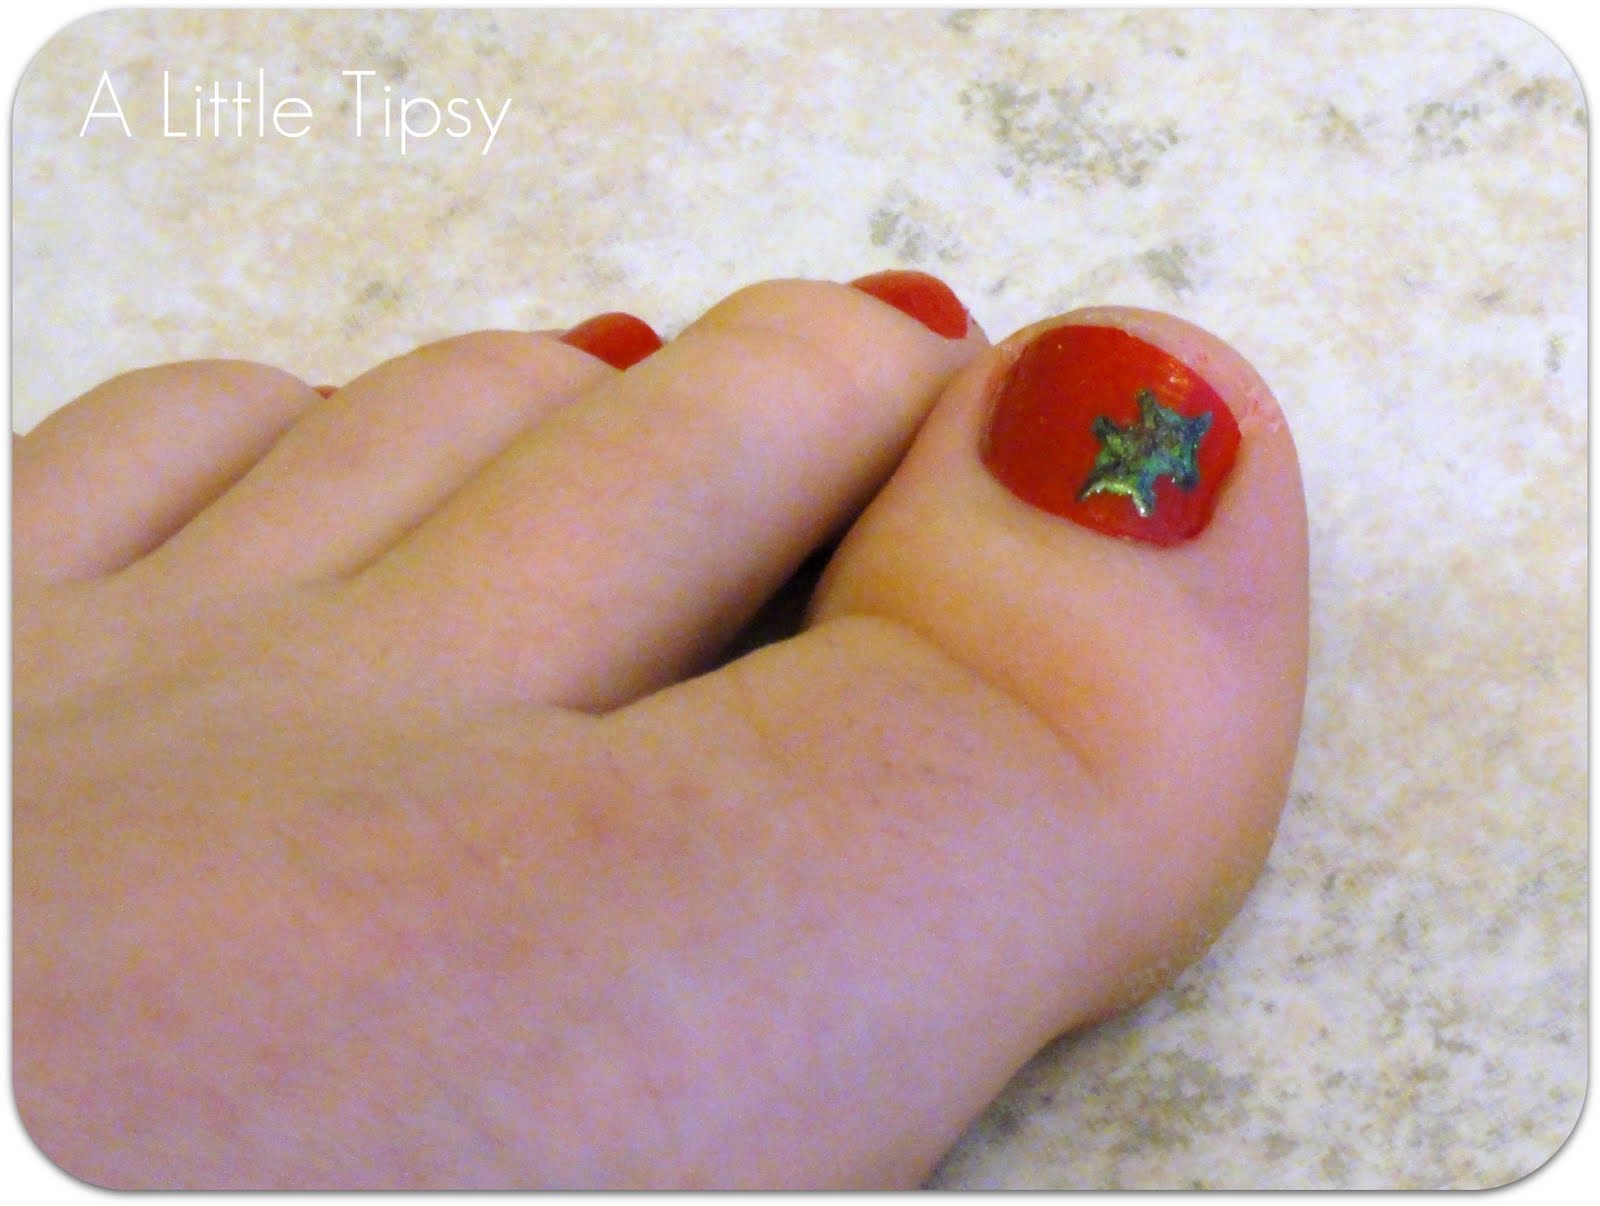
Two more green dots.
Make points with toothpick.
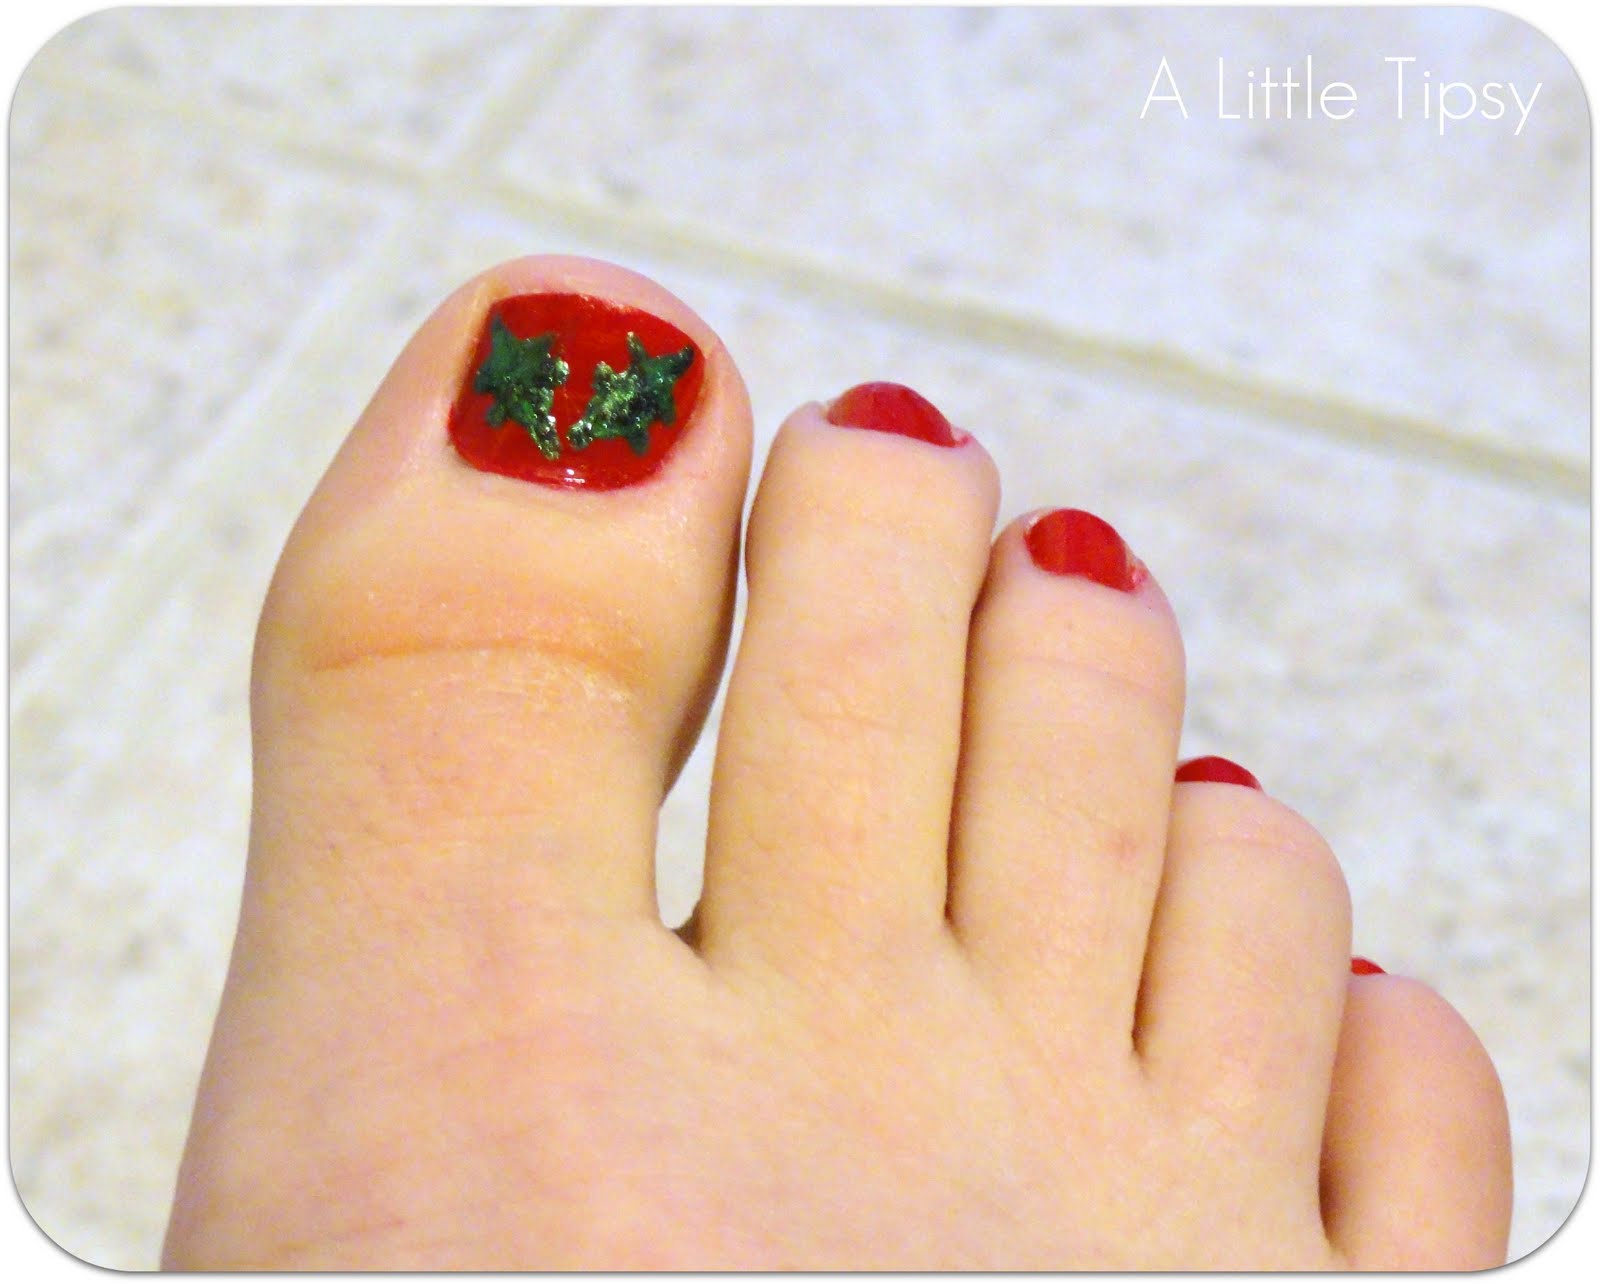
Dip toothpick in white and make three dots to complete your mistle-toe. Add a single dot to all other nails.
Cover with a clear coat and BAM. Super jolly Mistle-toe pedi!
P.S. Don’t forget to sign up for free Tipsy updates via RSS or email.
We have decided to truncate our feed to help protect against stolen content. I apologize for any inconvenience. Please love us anyway. 🙂

Thanksgiving Craft: Gather Plate

November 1, 2011 By Michelle Barneck 8 Comments

Lately, I am finding myself drawn to the simple things. This is the time of year when the hustle and bustle begins and there just seems to be a lot of “noise.” Halloween has passed and I needed something to fill the Holiday decor void so I came up with this simple Thanksgiving craft. I have lots of decor items that refer to giving thanks, being grateful, remembering our blessings, etc. I wanted a simple word that represents Thanksgiving to me. I think I found the perfect one.

Between all the craziness of travelling and food prep there is one thing about Thanksgiving that means the most to me and that is the gathering. Bringing family and friends together to express our gratitude, bask in memories, and create new.

Easy Thanksgiving Craft: Gather Plate

Did I mention that you only need three things?

White plate
Martha Stewart Fire Opal Glitter Paint
Martha Stewart Fine Tip Top #3
Screw the tip on to your paint bottle and write on the plate.
Let dry overnight.
Add your cute new Thanksgiving craft to your decor.

P.S. Don’t forget to sign up for free Tipsy updates via RSS or email.

We have decided to truncate our feed to help protect against stolen content. I apologize for any inconvenience. Please love us anyway. 🙂

Point of View: Burlap Ideas

October 28, 2011 By Michelle Barneck 9 Comments

Each month is a fun new theme and this month is no different! We’re talking burlap ideas with the Point of View Girls.

I am loving how different things can be with one medium!
Leanne (Organize and Decorate Everything)
Camilla (Rosy Red Buttons)
Gwen (Gwenny Penny)
Amy (Ameroonie Designs)
Angie (Country Chic Cottage-POV guest)
Michelle (Stay right here!)
& YOU!!

We want to see your burlap ideas! Link up down below and you may be featured by one of the Point of View girls! Be sure to go visit these ladies and see their point of view on burlap, but first, let’s talk holly!

I went shopping for burlap and when I saw the red and green it spoke to me. Such vibrant happy holiday colors! I have always had a thing for holly, so I figured why not give it a shot.

Perfect for a gift topper or to spruce up some decor…

Burlap Holly

Supplies:
  • Red Burlap
  • Green Burlap
  • Sharpie
  • Scissors
  • Felt
  • Hot Glue
1. Take a 6 inch by 1 inch piece of red burlap and fold over one of the long edges. Roll the burlap keeping the folded edge out. Hot glue the end of the roll to secure and trim off excess from the bottom so it is about 1/2 inch thick.
2. Draw a holly leaf onto some green burlap and cut out.
3. Hot glue round the edges of the holly leaf and back with some felt to strengthen and keep from fraying. I chose black because my green felt was too bright.
4. Place a dab of hot glue in the middle of one of the end point and pinch to give the leaf some dimension. Once you have three leaves, lay them how you want them and hot glue together. Hot glue 3 berries on top of your leaves.
5. Flip over your holly and cover the back junction of the leaves with hot glue to make it even stronger. Cover your glue with a circle of felt.
6. Now decide where you want to put it. I added it to a raffia bow and put it on top of a gift and decorated a thrift store container with a strip of red burlap and added the holly for a fun place to store logs by the fireplace.
I love the texture and holiday spirit! Now, I just have to put it away for a month. 😉
Now it’s time to link up your burlap ideas! I can’t wait to see all your projects!

Be sure to link back so others can join the party!

P.S. Don’t forget to sign up for free Tipsy updates via RSS or email.

We have decided to truncate our feed to help protect against stolen content. I apologize for any inconvenience. Please love us anyway. 🙂

Make a Headband with Maybe Matilda

October 17, 2011 By Michelle Barneck 7 Comments

Hi there! I’m Rachel, from the blog and etsy shop Maybe Matilda! I love to crochet, sew, and refashion clothing and share my projects on my blog. I wanted to share a clothing refashion project with you today–oh, the ideas I had!–but my sewing machine seems to be going through a bit of a rebellious phase at the moment (I actually hit the poor thing during our last disastrous sewing session . . . don’t feel bad for it, though, it was behaving very poorly). The inability to sew is driving me up the wall, but it at least forced me to be a bit resourceful in coming up with a fun no-sew refashion to share on A Little Tipsy today!

My husband left a few t-shirt sleeves lying around the other day after cutting them off to make tank tops for working out (yes, he’s that guy at the gym . . . I’m sorry), and I remembered a quick craft I used to do as a teenager:

Turn a cut off t-shirt sleeve into a headband! I remember making these when I was in a pinch in high school . . . headed to school, but suffering an awful hair day? Cut off a sleeve. Bam. Bad hair hidden. Going for a jog and need to keep your bangs off your face? Sleeve. Boom. Problem solved. I used to leave them plain and just wear them as simple knit headbands, but now that I’ve grown a little craftier (and am armed with a glue gun), I like to add a little embellishment to this simple headband.

And the best part is, there’s no sewing involved (take that, ornery sewing machine!). There is one teensy stitch that you can feel free to skip if you don’t want to bother with any sewing, and no one’s the wiser. Since knit fabrics don’t really fray, you don’t have to worry about any hemming at all. Just cut and go!

Want to make one yourself?

Make a Headband

Start with a sleeve cut off from one of the many big, worn out t-shirts you probably have in your closet. Make sure the sleeve isn’t from a smaller size t-shirt, or it won’t fit over your head. My sleeve was from a men’s large shirt, and it’s a perfect fit for me. Just cut it away from the body:

Then cut off the hemmed cuff of the sleeve and the end that was connected to the body of the shirt, leaving a 2-4 inch loop with straight edges:

Since the sleeve is sewn at an angle (which you can see at the bottom of the sleeve in the picture above), you may want to trim the point down a bit–just open up the loop and trim off any odd points or straggly ends. It doesn’t have to be perfect–the ends will curl in and hide any imperfections, so don’t worry about making it exactly right.

Now for the optional sewing–you can certainly skip this part, but it’s very quick and easy and, I think, adds a little extra interest to your headband. Thread a needle (with thread that matches your sleeve–I used pink so you can see the stitches better), tie a knot in one end, and sew a few loose, wide stitches across the headband. Don’t tie off the end just yet.

Cinch up the sleeve fabric by pulling snugly on the thread. You can decide how loose or tight you want your fabric to be cinched . . . when you like the look, just tie a knot and trim the thread.

You could also stop here and sport your simple cinched headband. I wanted a little extra embellishment (I can hardly help myself), so I got out my glue gun and made a few little felt flowers (there are quite a few tutorials to make these out there, so I’m not going to repeat one here . . . but here’s a great example) and a few little leaves:

Just hot glue the embellishments right over the cinched portion of the headband:

And there you have it! A super quick and easy–not to mention really cute–headband.

You can also make sleeve headbands from a smaller size t-shirt for younger girls . . . bet you never thought you’d have a use for your husband’s icky discarded gym shirt sleeves, did you?

Thanks so much for having me, Michelle, and I hope you’ll stop by and visit me at Maybe Matilda!

————————————————————————

Isn’t she great?! I love making something out of what appears to be nothing and how easy it is to make a headband. And how cute is her short hair?! She has a ton of awesome things over on Maybe Matilda so go check her out!


P.S. Don’t forget to sign up for free Tipsy updates via RSS or email.

We have decided to truncate our feed to help protect against stolen content. I apologize for any inconvenience. Please love us anyway. 🙂
« Previous Page
Next Page »

  • Bloglovin
  • Facebook
  • Google+
  • Instagram
  • Pinterest
  • RSS
  • Twitter

Hi there! I'm Michelle. Mother of three little boys and one little princess. Welcome to A Little Tipsy, a place for exploring creativity and sharing inspiration.

Follow on Bloglovin


Visit Michelle Barneck {A Little Tipsy}'s profile on Pinterest.

Tutorials by Category


15 Family Reunion Games

Family Reunion Games Collage

15 Sprinkle Party Ideas

Sprinkle Birthday Party
Creative Commons License

© Copyright 2014 A Little Tipsy · Site Designed by The Fairy Blogmother · Web Hosting by RFE Hosting

This website uses cookies to improve your experience. We'll assume you're ok with this, but you can opt-out if you wish.Accept Read More
Privacy & Cookies Policy