My poor sweet refrigerator has been around the block. It was a hand me down from grandma and has worn the eye sore title in my kitchen for far too long. Don’t tell her, but I even went out looking for a new one. But, to my dismay found that they don’t even make those french doored beauties to fit my space. I didn’t realize how freakishly small my fridge space is. Alas, I decided that until I get the motivation to move two sets of cabinets to fit my dream fridge I may as well make the best of old Gerta and give her a makeover of sorts. Had I known how easy it would be I would have done this long ago! I present the chalkboard refrigerator.
I had seen a lot of refrigerator makeovers using epoxy or paint, etc. But, knowing that poor Gerta is on her last leg I did not want to spend hours moving her outside, doing multiple coats, and letting her dry for days. I needed something quick and this took me about 30 minutes. The secret ingredient? Vinyl.
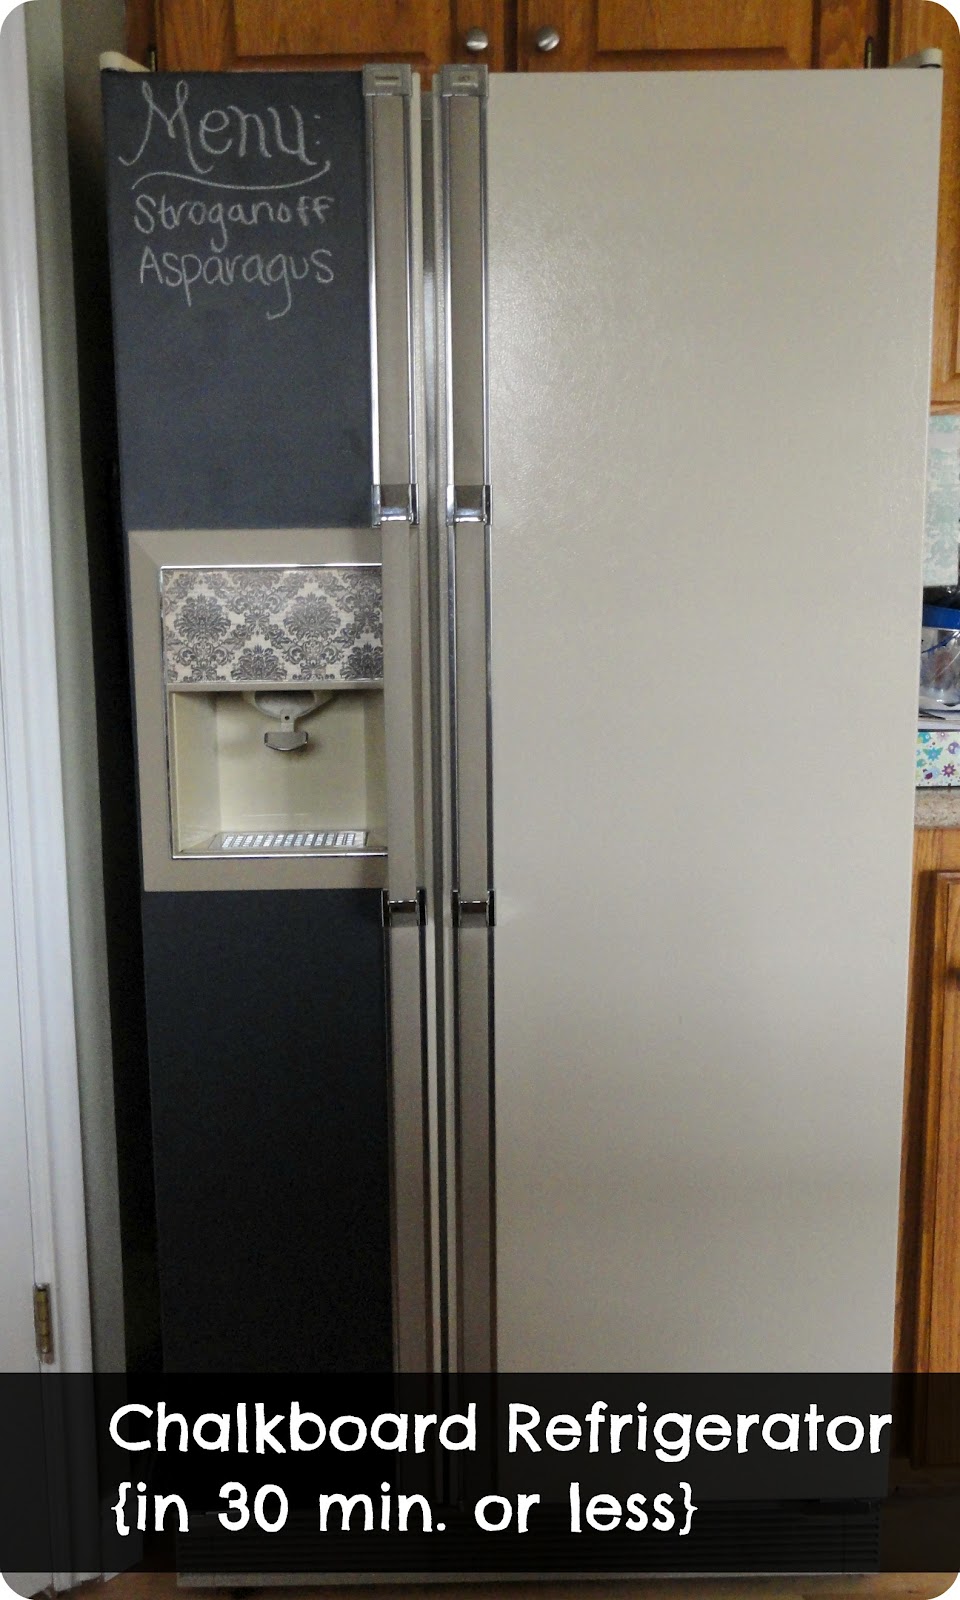
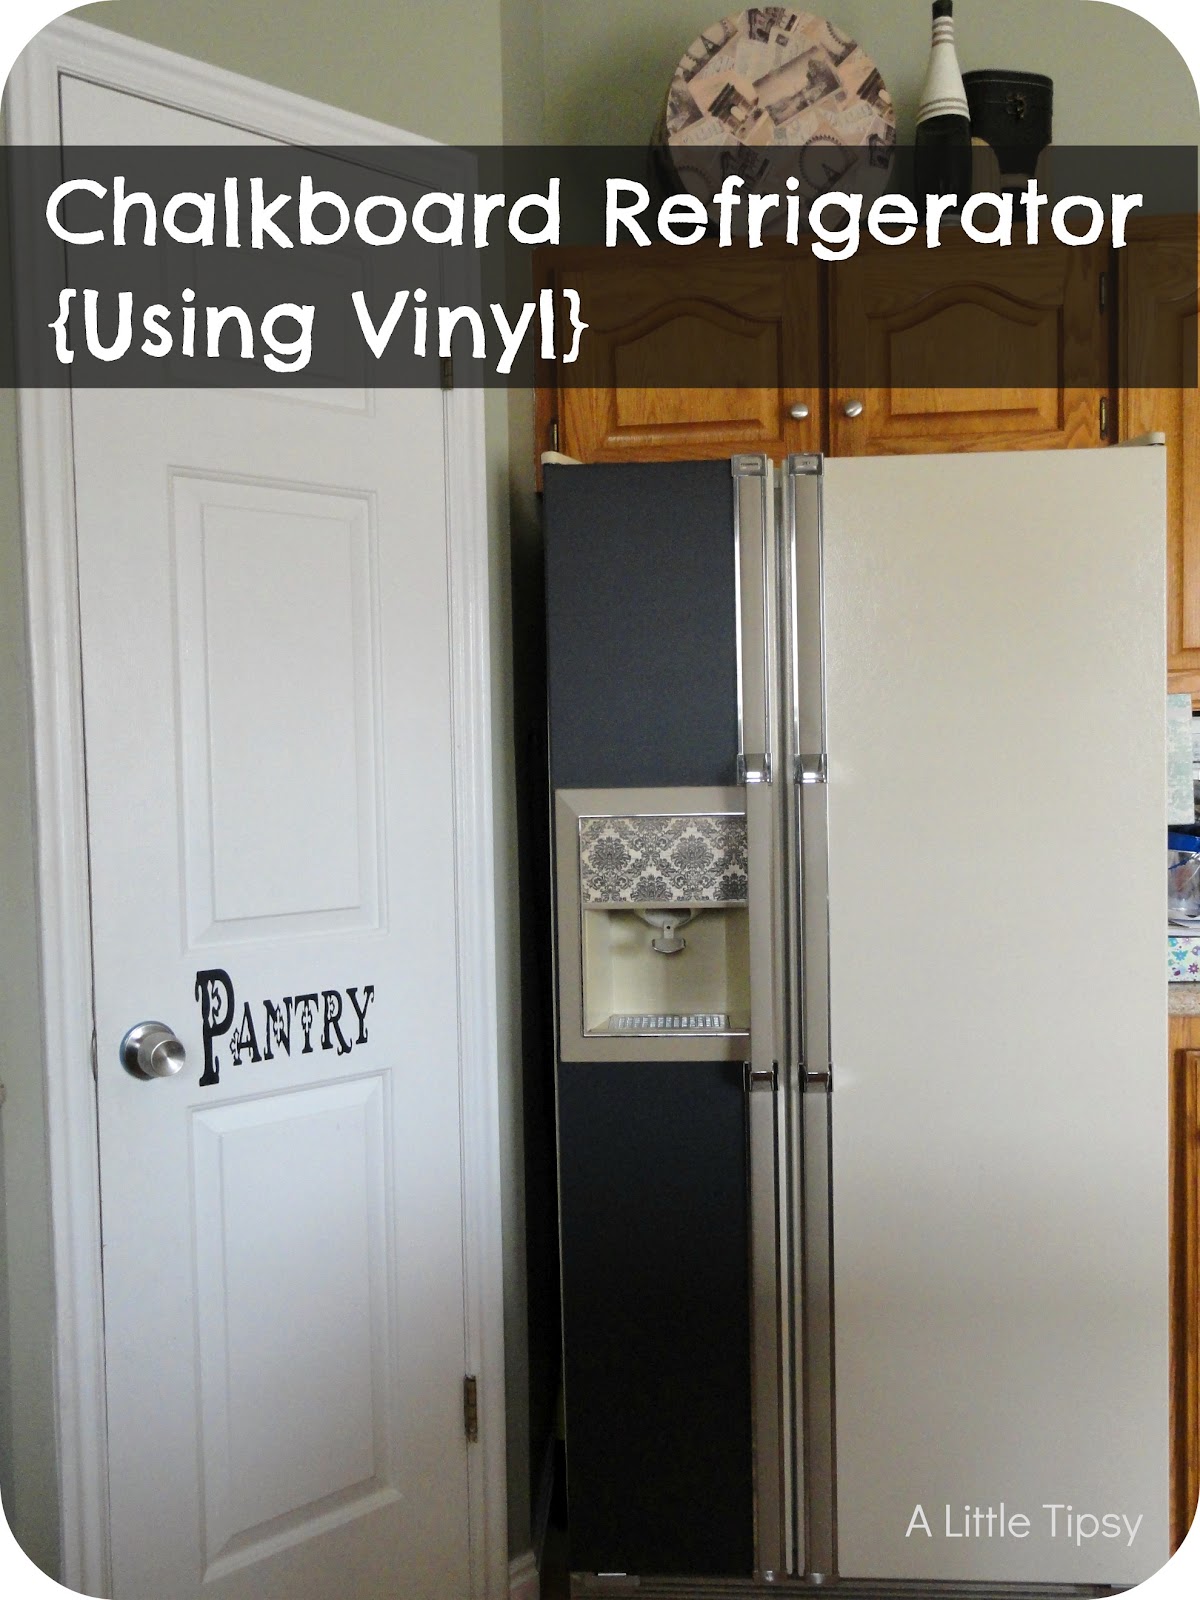
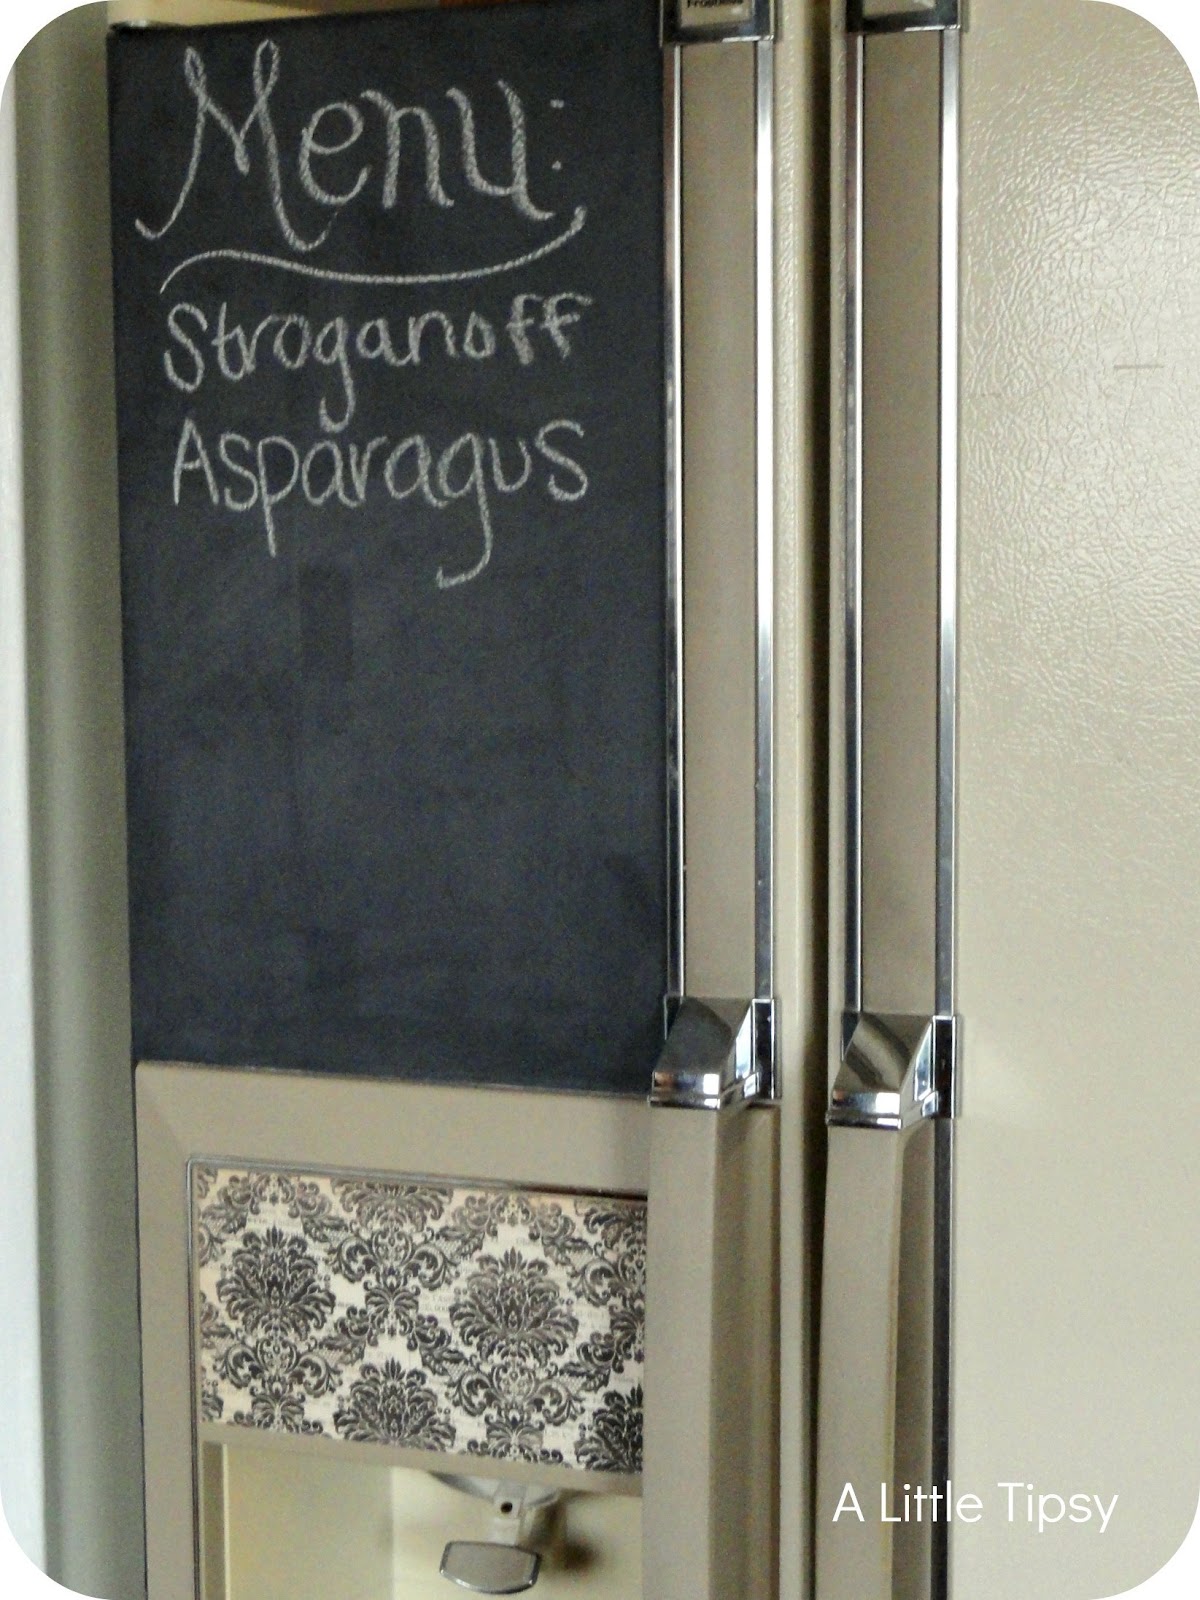
Chalkboard Refrigerator
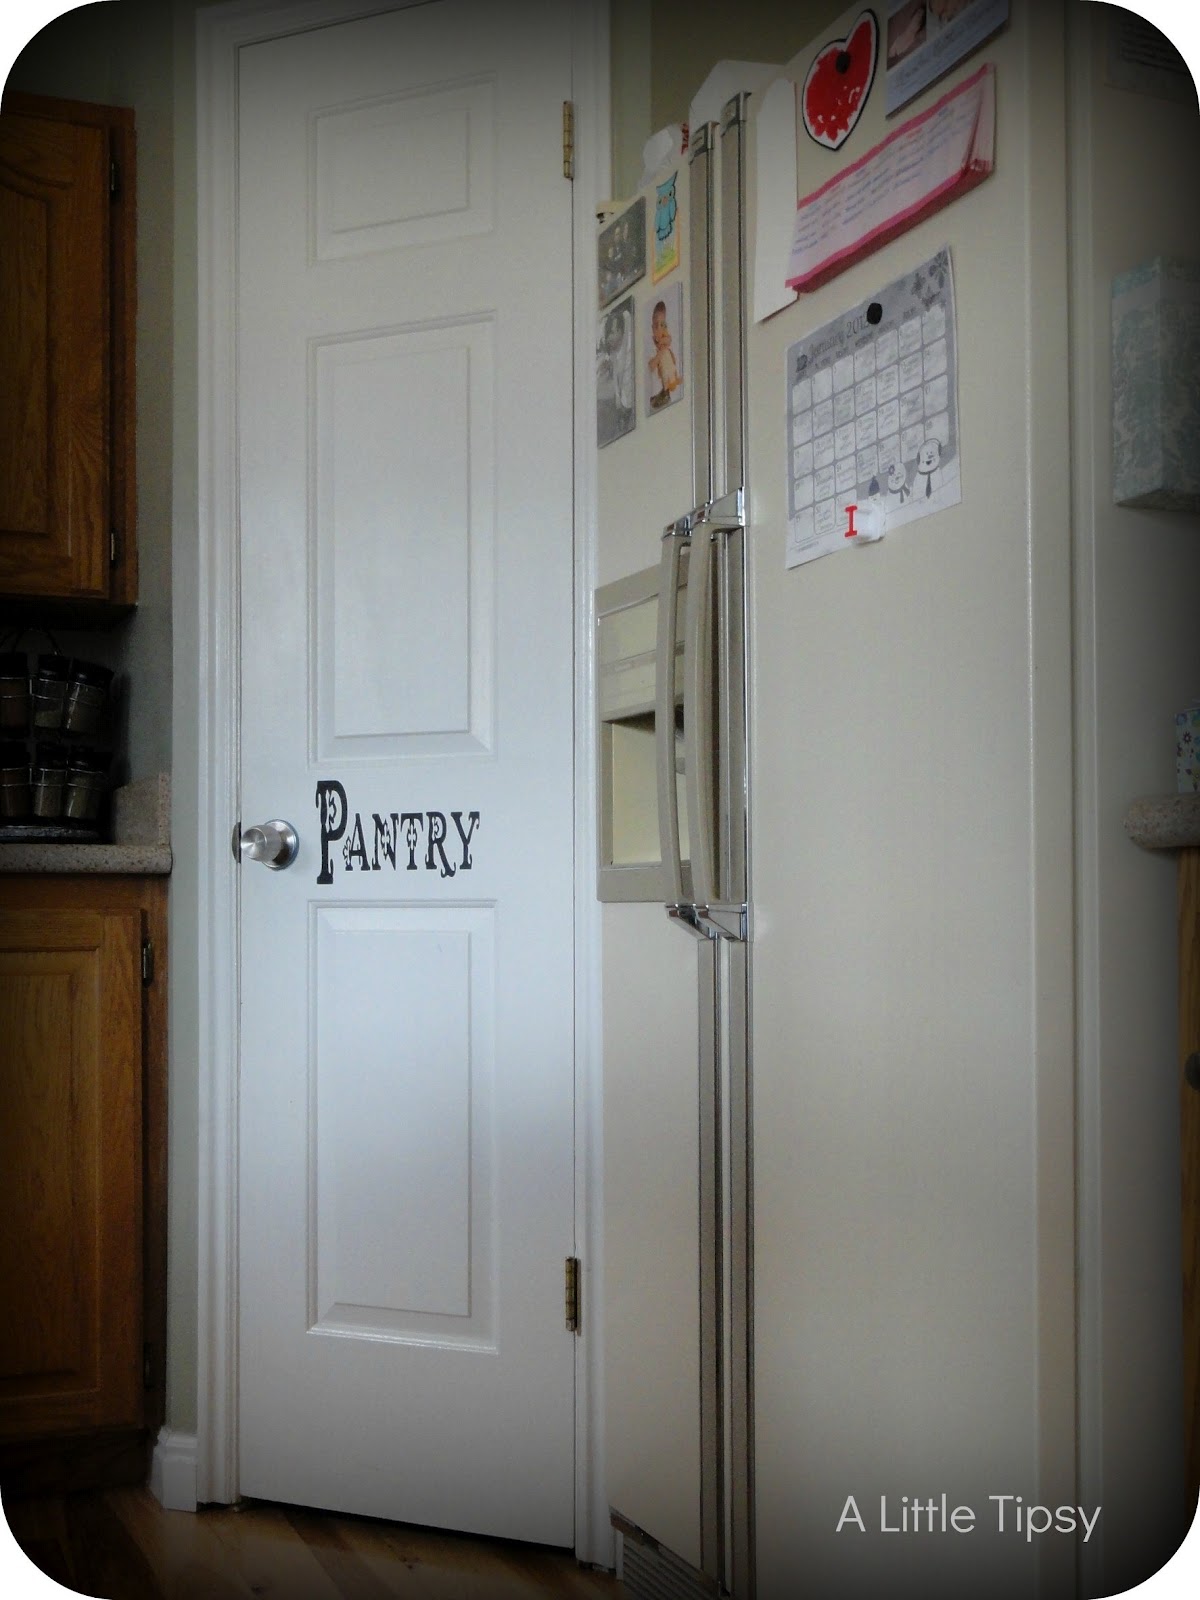
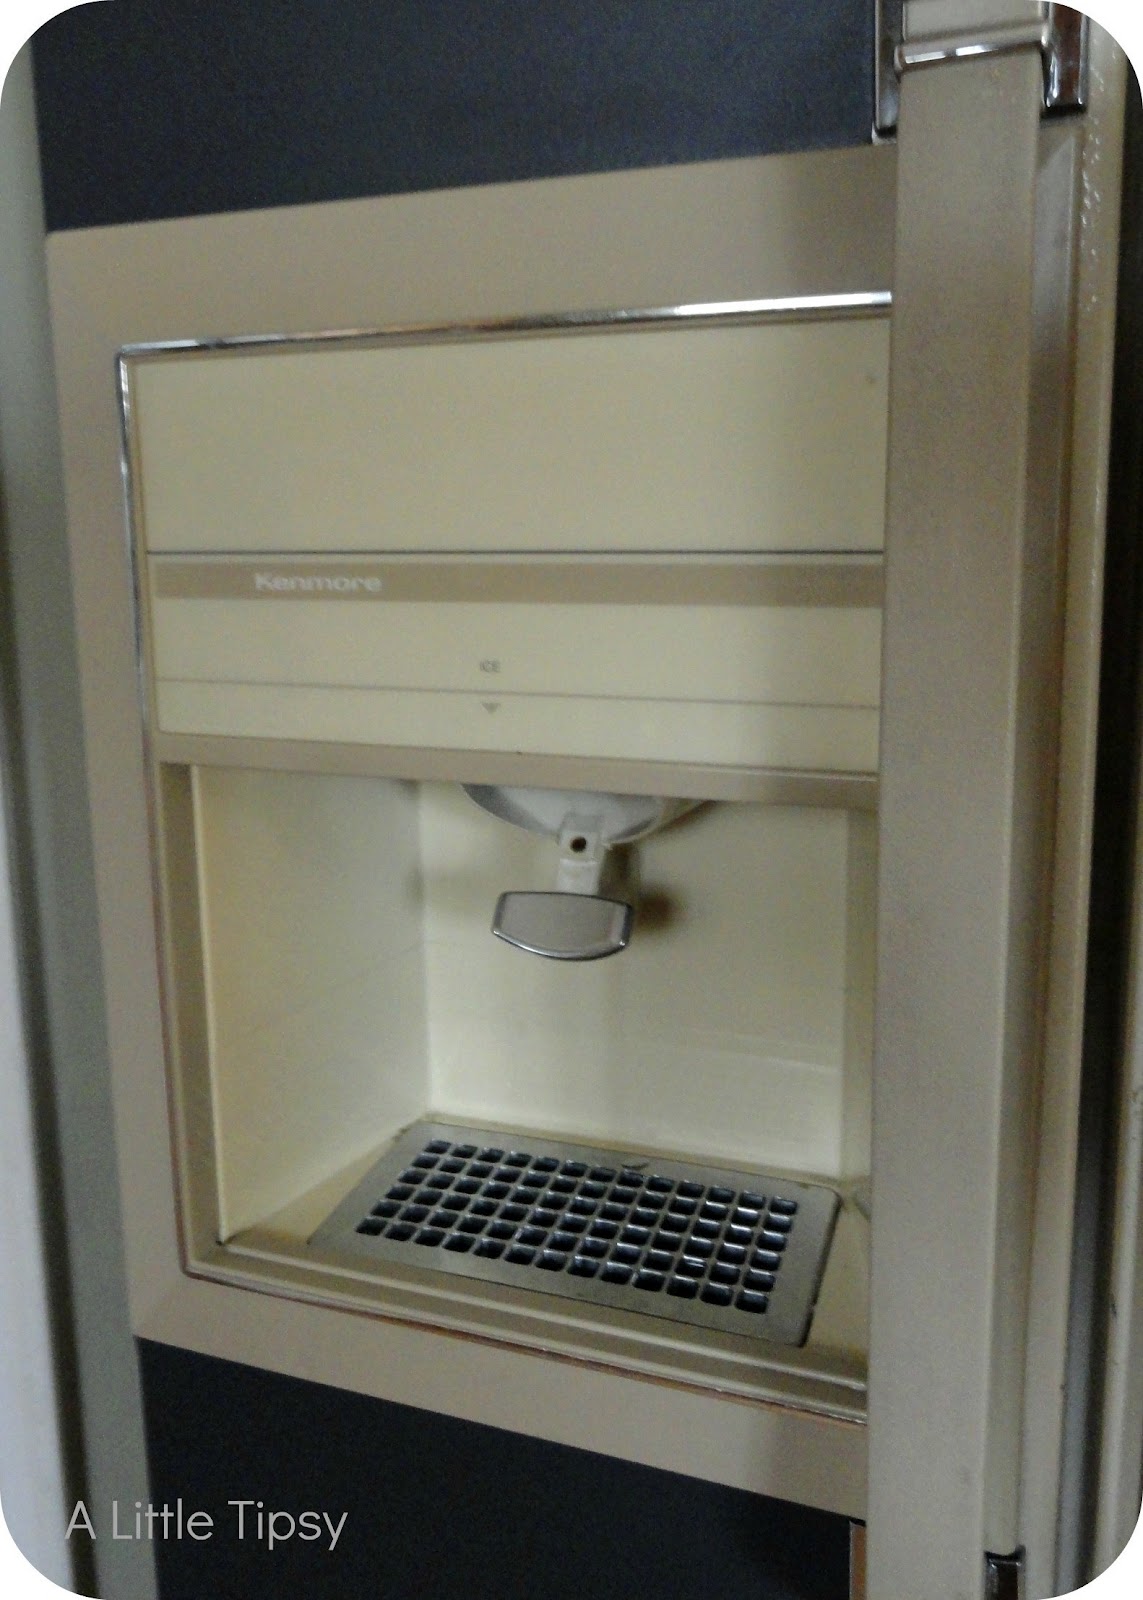
Here she is in her original almond colored glory.
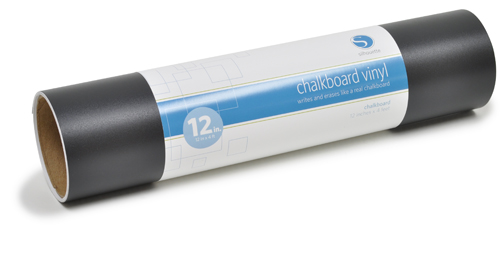 I used the 12 inch Silhouette Chalkboard Vinyl. It was the perfect size to go on the front and wrap around the side of my refrigerator door.
| 1. Measure how big your vinyl pieces need to be. Cut your vinyl accordingly leaving a little wiggle room. It’s better to trim a bit than have it be too small. |
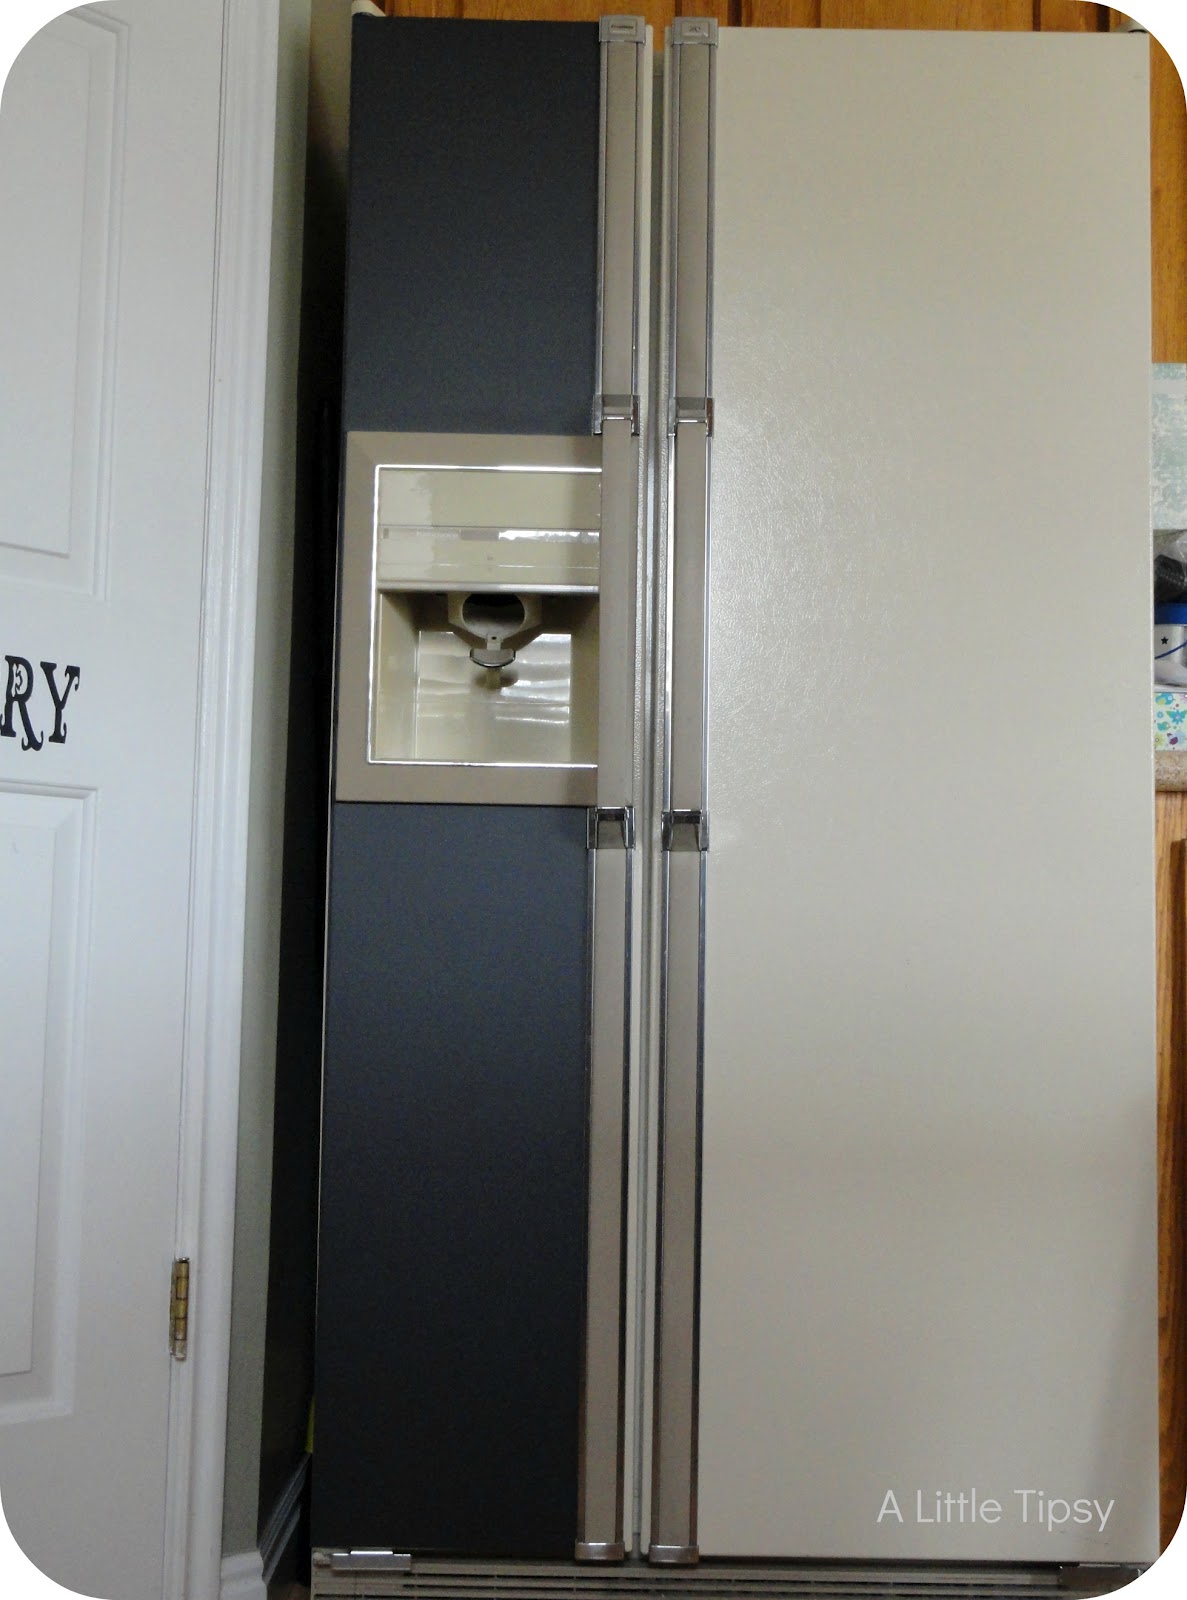
2. Align the vinyl so it will reach the top and bottom, but also be flush to the door handle. Press it down by the handle first and work your way out smoothing out bubbles as you go. Wrap the vinyl around the side of the door by the hinges and trim off any excess.
At this point Gerta was a little reminiscent of Cruella, wouldn’t you say?
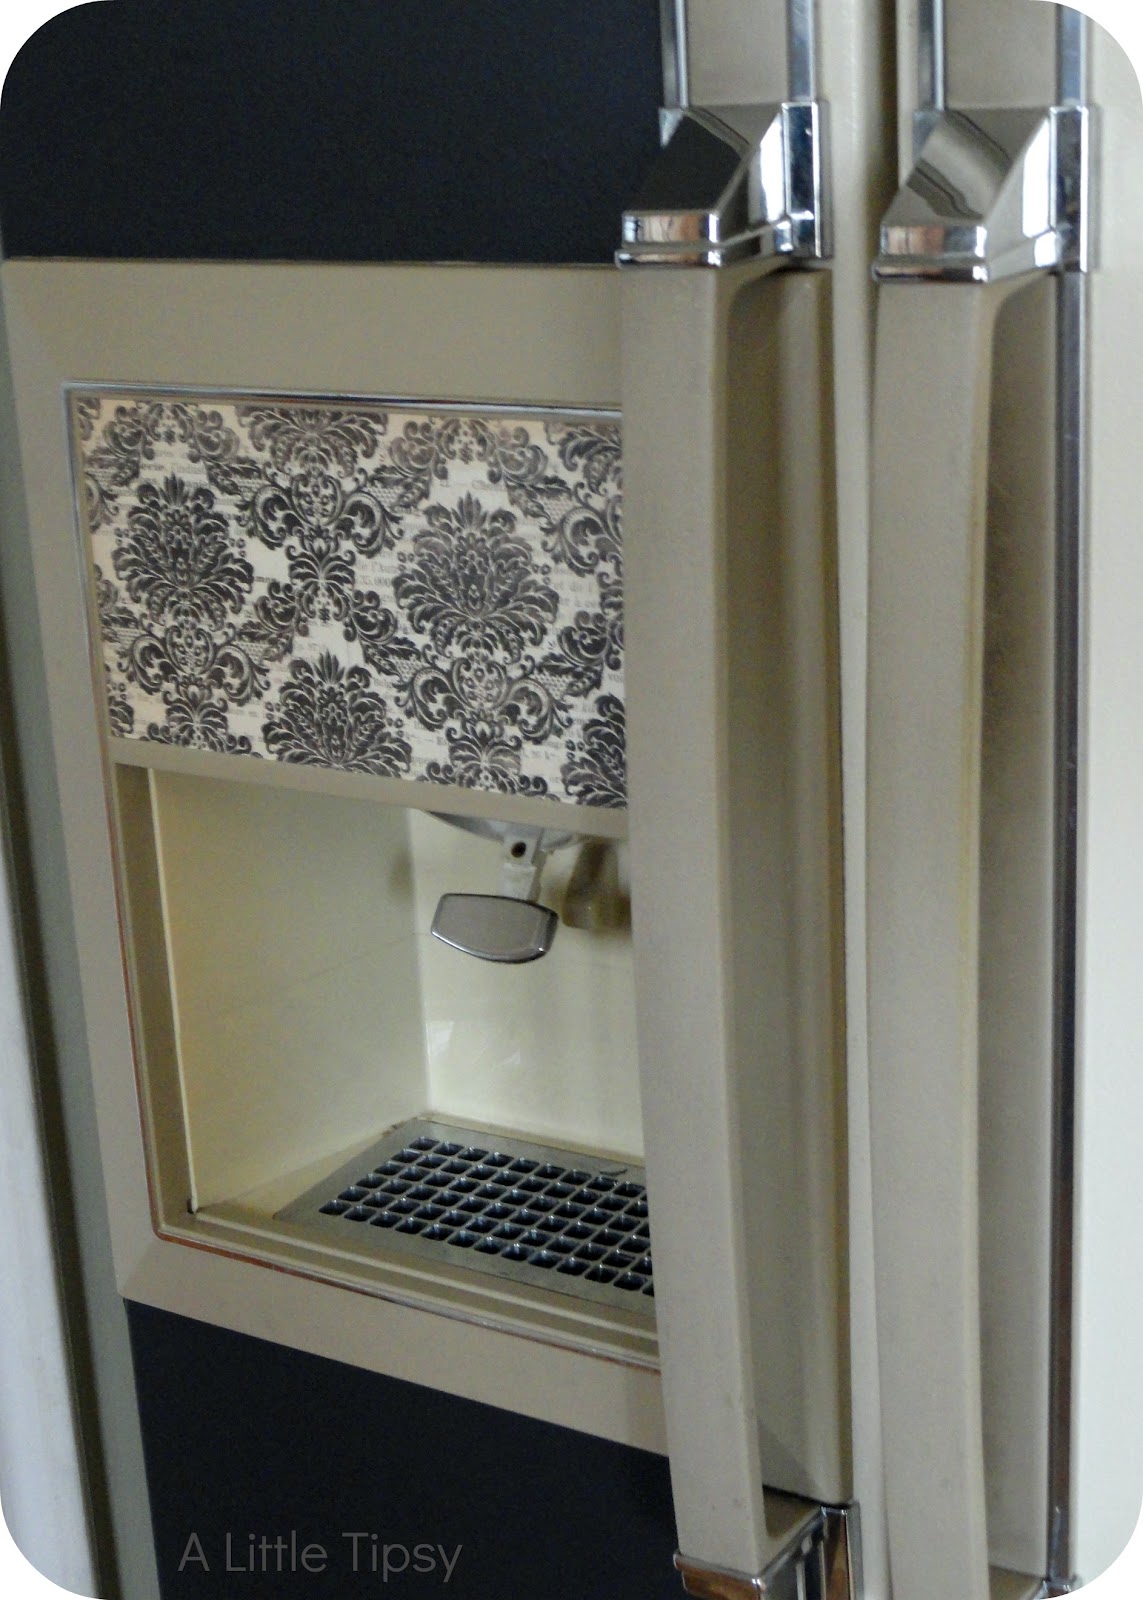
3. Grab a piece of patterned cardstock that will tie your two colors together. Cut it to the size of the ice panel, cover with clear contact paper to protect it and place with double sided sticky tape.
Ah, she’s already looking better!
4. Now finish it off priming the chalkboard by rubbing it all over with the side of a piece of chalk and erasing the excess. That way your first message won’t be everlasting. Now you’re ready to add your menu, message board, or whatever you want to say!
It’s amazing what you can do with 30 minutes and some vinyl!
Disclosure: Silhouette provided the vinyl for this post.
P.S. Don’t forget to sign up for free Tipsy updates via RSS or email.
We have decided to truncate our feed to help protect against stolen content. I apologize for any inconvenience. Please love us anyway. 🙂