A Little Tipsy

Creative Tips & Ideas

  • home
  • About Me
  • the tipsy top
  • press
  • projects
  • contact me
[print_thumbnail_slider]

Super Simple Photo Tips for Food or Crafts

August 23, 2010 By Michelle Barneck 8 Comments

I learned most of these tips from my fantastic friend Quinn’s segment on Studio 5. She is a food photog genius and does classes that I would highly recommend. These photo tips are for the super beginner and can be done with the $99 point and shoot model.

Photography Tips for Food or Crafts

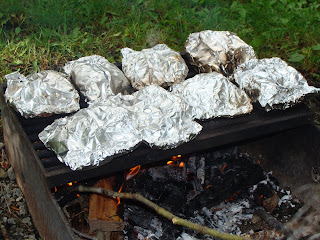
  • Place the object just outside natural light. This will give it good light without the harshness of direct sun.
  • Use the timer on your camera to avoid shaking while taking the picture.
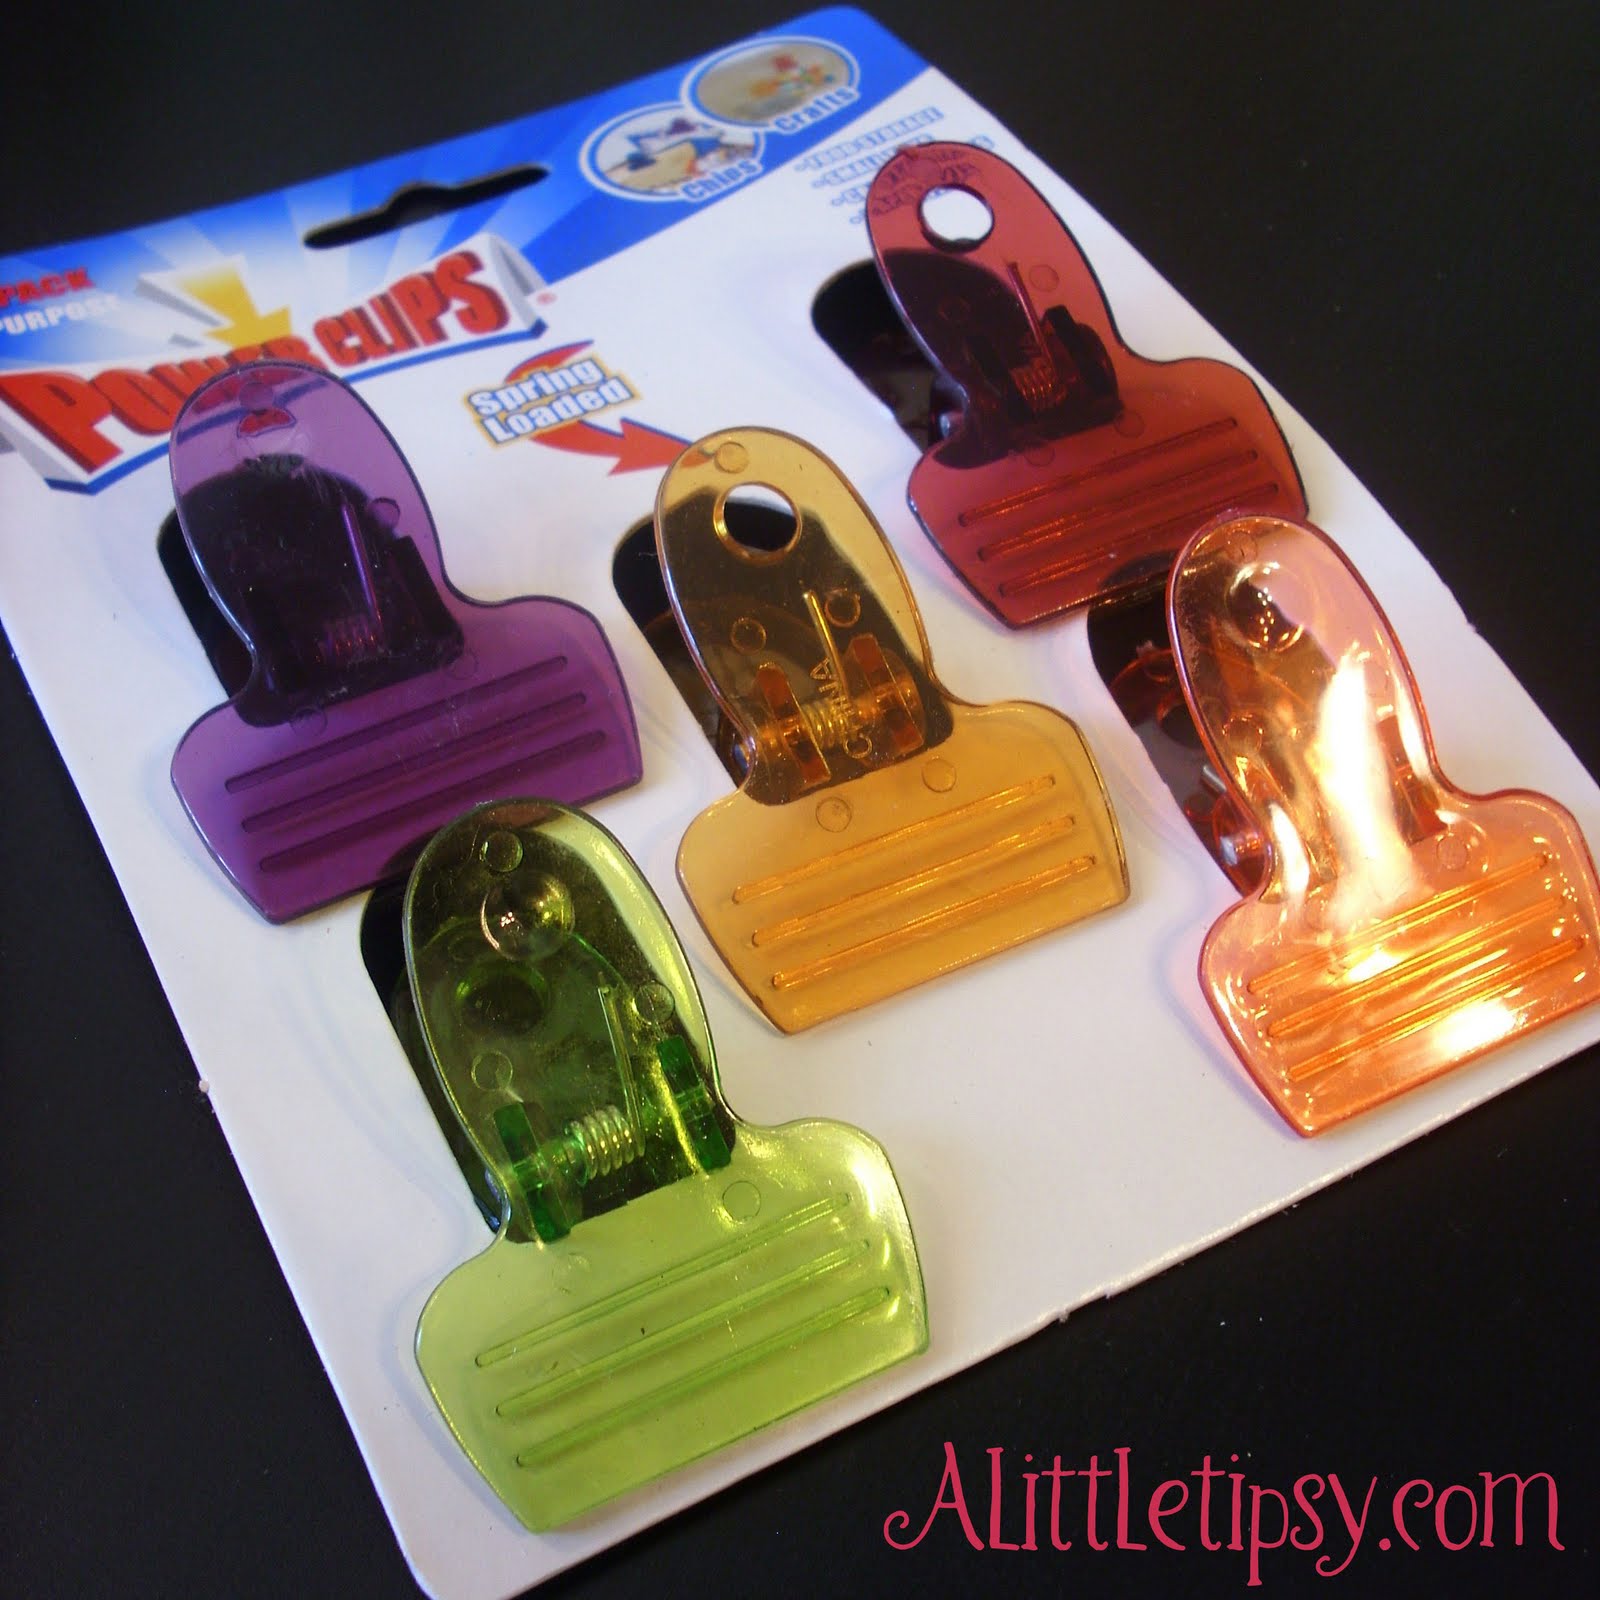
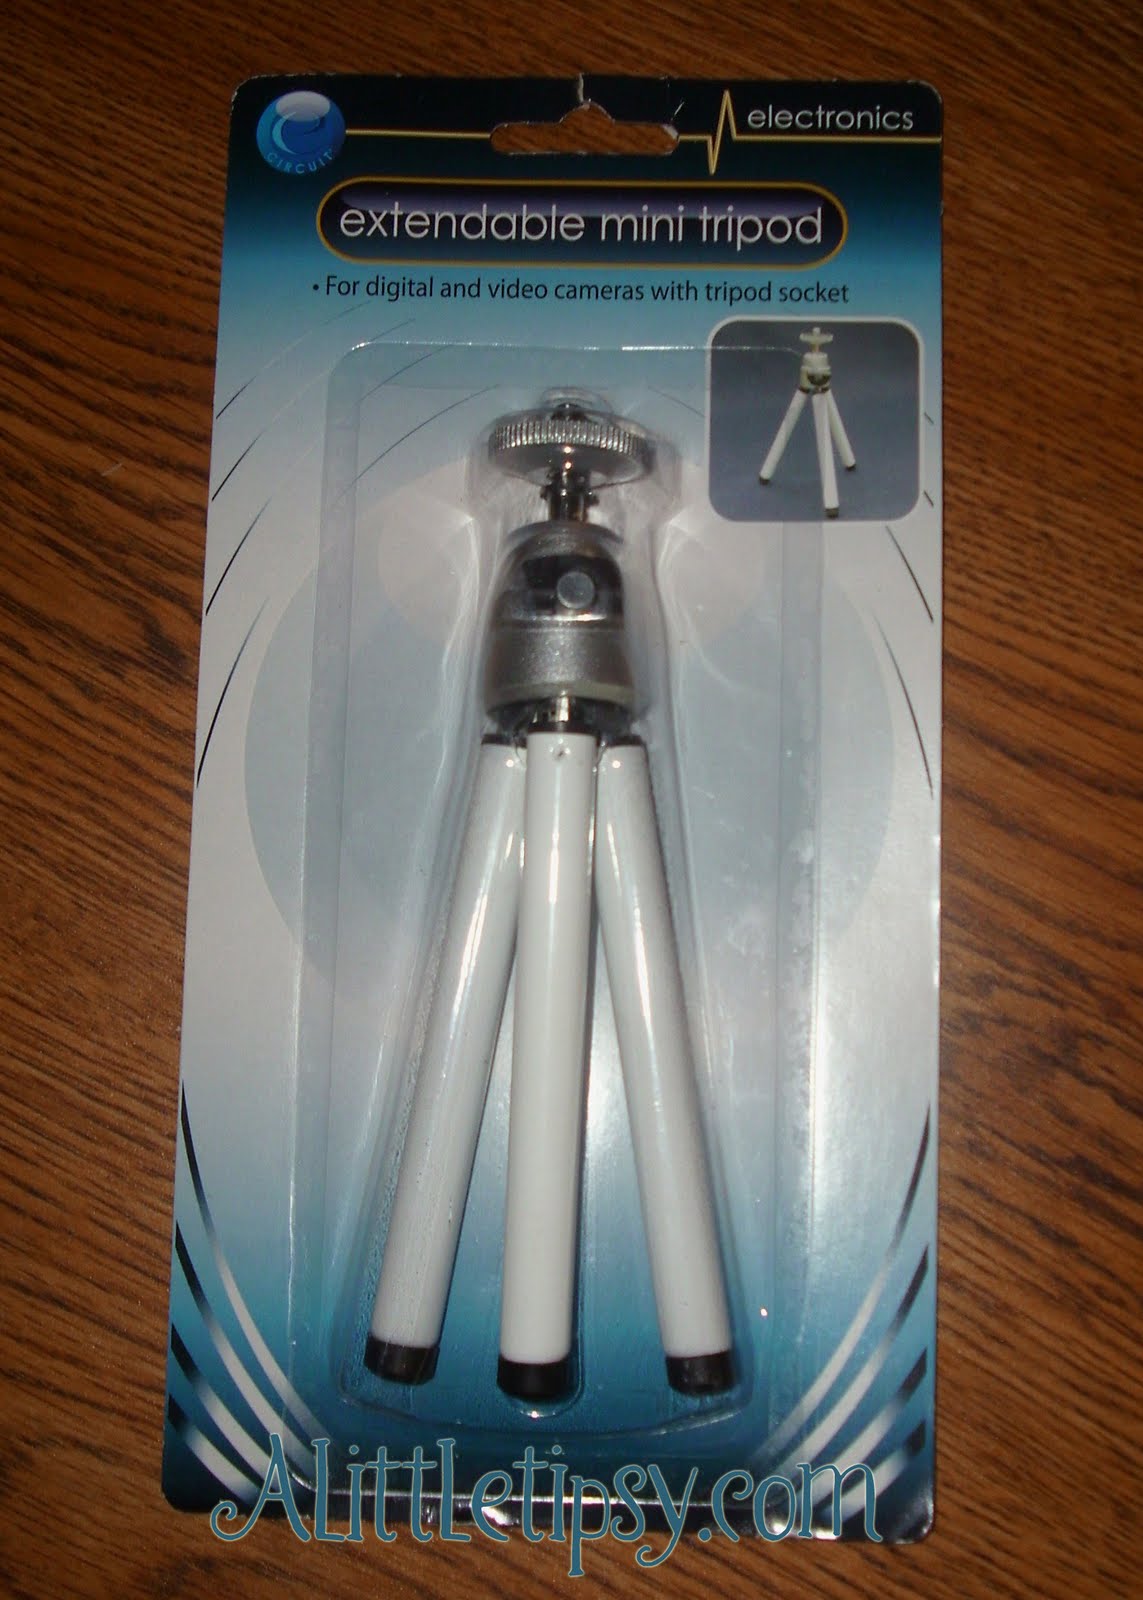
  • Look for helpful items in unexpected places. I found this mini tripod on the right at Dollar Tree. It is small enough to fit in a purse as it only extends to about 6 or 7 inches tall, but works wonders for keeping pictures still so they aren’t blurry.
  • If you don’t have a tripod, place the camera on 
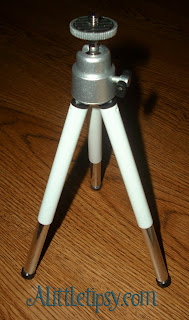
a box with a bag of rice or beans on top to keep it steady. (I love this tip and used it regularly with 3 boxes of rice-a-roni topped with a bag of pinto beans before I found my tripod.)
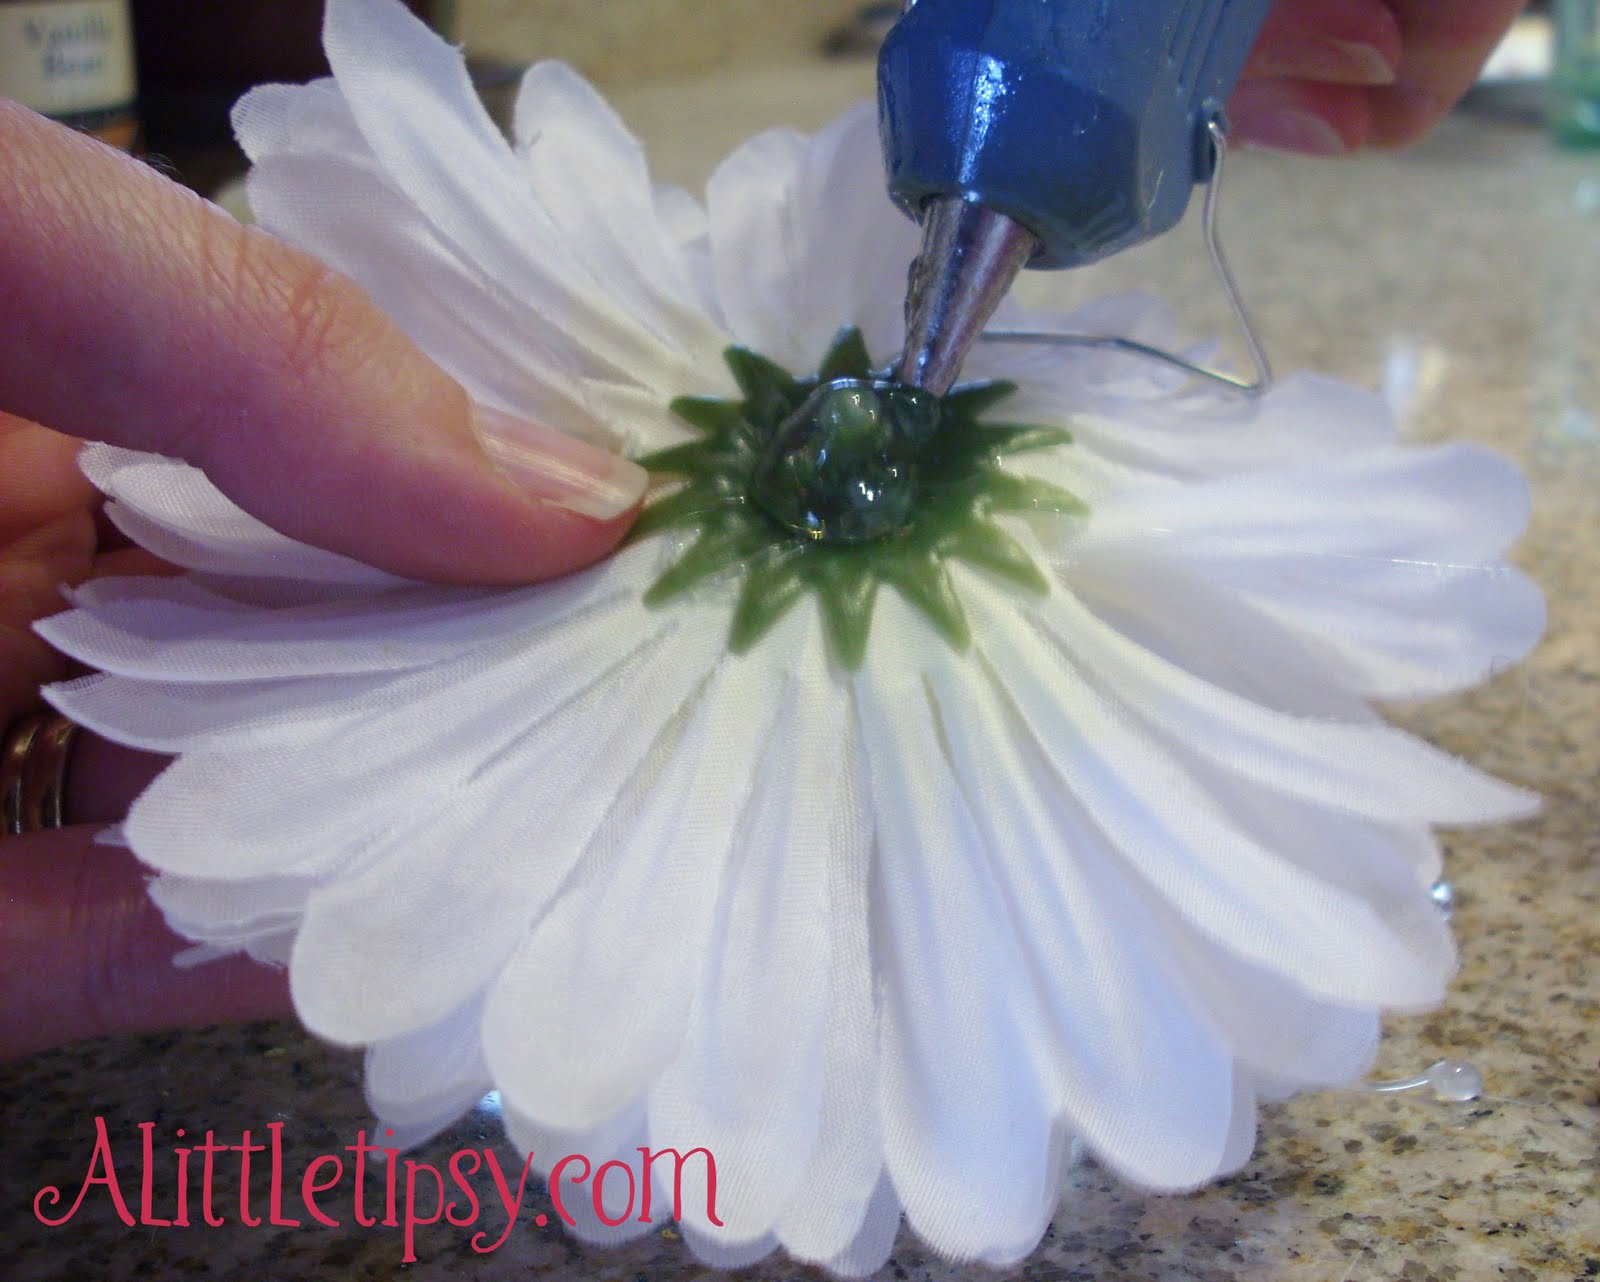
  • Use a reflector to brighten dark areas. Quinn suggests a silver car window screen or tin foil scrunched up for those who don’t have a reflector. I brought home on of the cardboard lids with the shiny side from Cafe Rio to try out as a reflector.
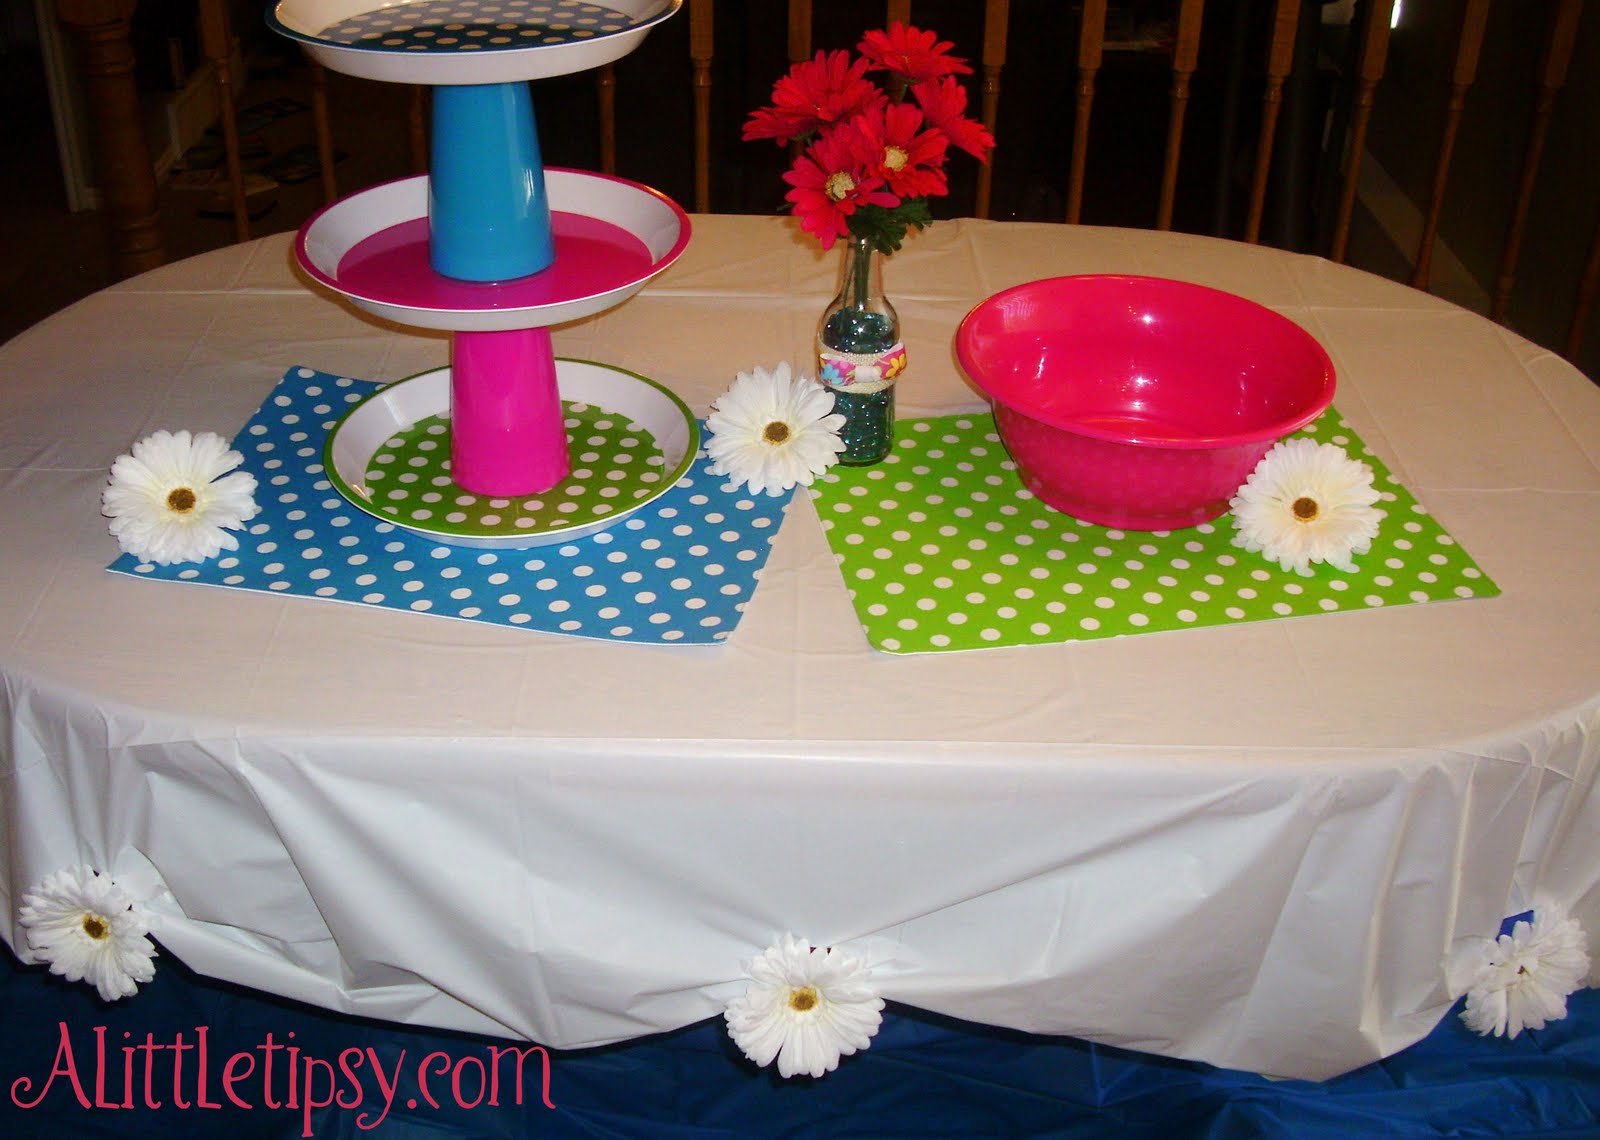
  • Don’t be afraid to get close.
  • Try out different settings on your camera and lots of different angles.
I hope these tips help you as they have helped me!

P.S. Don’t forget to sign up for free Tipsy updates via RSS or email.

We have decided to truncate our feed to help protect against stolen content. I apologize for any inconvenience. Please love us anyway. 🙂

Foil Dinner Tips

July 27, 2010 By Michelle Barneck 10 Comments

With summer winding down I thought I would share a thing or two we have learned about foil dinners and how to make them the very best.


Image source
  • Line the foil with a leaf of cabbage to keep your dinner from burning.
  • Use tater tots instead of plain potatoes to cook faster and add more flavor
  • Ingredients we like to use: Hamburger patty, tater tots, onion, any other veggie we have around (Broccoli, Cauliflower, Zucchini, carrots, snow or sugar snap peas, etc)
  • Add onion to flavor even if you don’t like to eat it
  • Add salt and pepper over the whole thing
  • Use two layers of regular foil or one layer of heavy duty, roll the edges to form a pouch.
  • If customizing the dinners to people’s preferences, use a sharpie to mark with initials

There’s nothing like unwrapping a pouch full of fire cooked goodness just when the air starts to get a little cool at night.

What are your favorite tips for foil dinners?

P.S. Don’t forget to sign up for free Tipsy updates via RSS or email.

We have decided to truncate our feed to help protect against stolen content. I apologize for any inconvenience. Please love us anyway. 🙂

Flower Table Cloth Weights

June 21, 2010 By Michelle Barneck 19 Comments

I love those disposable plastic table cloths for birthday parties and summer BBQs, but they are pretty plain and annoying in the wind. I decided to make some Flower Table Cloth Weights to keep the table cloth in place and also add a bit of flair. It is so easy to make your own and they work really well!

Supplies needed:
Clips with a hole in the top
Flowers
Glue Gun
Glue sticks
*all my supplies were purchased at Dollar Tree. I know big surprise. 😉

Since I bought stems of white daisies at the dollar store, they were kinda sparse. I pulled them apart and combined the petals of two flowers to make them look nice and full.

Before putting the green back on again, I added some glue to the stem to make them stay together better.

Then just add glue to the green stem and stick it through the clip hole.

It’s as easy as that! Then just scrunch up the bottom of the table cloth and clip the flower on.

To store, place flower down flat in a gallon ziploc bag.

I made 8 flower table cloth weights which used 8 clips and 16 flowers. You could make 10 weights with 2 packs of clips and 3 bunches of flowers ($5).

Linking up:
Market Yourself Monday
Just Whipped Something Up
Making the World Cuter
It’s So Very Creative
Making Monday Marvelous
Motivate Me Monday
Mad Skills

P.S. Don’t forget to sign up for free Tipsy updates via RSS or email.

We have decided to truncate our feed to help protect against stolen content. I apologize for any inconvenience. Please love us anyway. 🙂

DIY Interchangeable Butterfly Headband

April 21, 2010 By Michelle Barneck 9 Comments

Do you want to join the headband craze, but not for $25 a pop?! Me too. I am loving all the adorable headbands you find everywhere and decided to try one out for myself. Enter the DIY Interchangeable Butterfly headband!

Isn’t she a doll?! I saw this adorable headband (below, sorry it’s hard to see, it’s the only pic I could find because cute Quinn is always behind the camera!)on my friend Quinn a few months ago and thought, I bet I could make one of those!

<span class=

I went on my quest and found this dandy three pack of headbands at the Dollar Tree. I am good with 33 cents!!


Next, I headed over to Hobby Lobby and found these little beauties for $1.99! I did a little dance in the aisle. I love the colors and the little wings are made out of stiff feathers which gives them a cool texture.

You could easily glue the butterflies right to the headband, but I wanted to be able to switch out colors. The butterflies came with a wire sticking out of them, so I just secured the wire in the butterfly better with some glue and wired it right on to the headband.

Now, I can wear them and change them around as I please!

I think I might go get some of those permanent stick black velcro dots and attach the butterflies with those so they are easier to change out.

Oh, and nothing like wearing a bug on your head for Earth Day!;)

Linking up with:

Show and Tell @ Blue Cricket Design

Look What I Made @ Creations By Kara

Works for Me Wednesday

Whatever Goes Wednesday

Bring Spring @ Scraps n Strings

P.S. Don’t forget to sign up for free Tipsy updates via RSS or email.

We have decided to truncate our feed to help protect against stolen content. I apologize for any inconvenience. Please love us anyway. 🙂
« Previous Page
Next Page »

  • Bloglovin
  • Facebook
  • Google+
  • Instagram
  • Pinterest
  • RSS
  • Twitter

Hi there! I'm Michelle. Mother of three little boys and one little princess. Welcome to A Little Tipsy, a place for exploring creativity and sharing inspiration.

Follow on Bloglovin


Visit Michelle Barneck {A Little Tipsy}'s profile on Pinterest.

Tutorials by Category


15 Family Reunion Games

Family Reunion Games Collage

15 Sprinkle Party Ideas

Sprinkle Birthday Party
Creative Commons License

© Copyright 2014 A Little Tipsy · Site Designed by The Fairy Blogmother · Web Hosting by RFE Hosting

This website uses cookies to improve your experience. We'll assume you're ok with this, but you can opt-out if you wish.Accept Read More
Privacy & Cookies Policy