A Little Tipsy

Creative Tips & Ideas

  • home
  • About Me
  • the tipsy top
  • press
  • projects
  • contact me
[print_thumbnail_slider]

Decoration Ball

January 19, 2011 By Michelle Barneck 5 Comments

Silver bling is what was needed to finish off my Valentine decor shelf, so I challenged myself to another round of what can we make with what’s sitting around. You may get a good laugh over this decoration ball. Or should I say aluminum foil ball. 🙂

Decoration Ball

Supplies:

  • Aluminum foil
  • Styrofoam ball
  • Hot glue gun

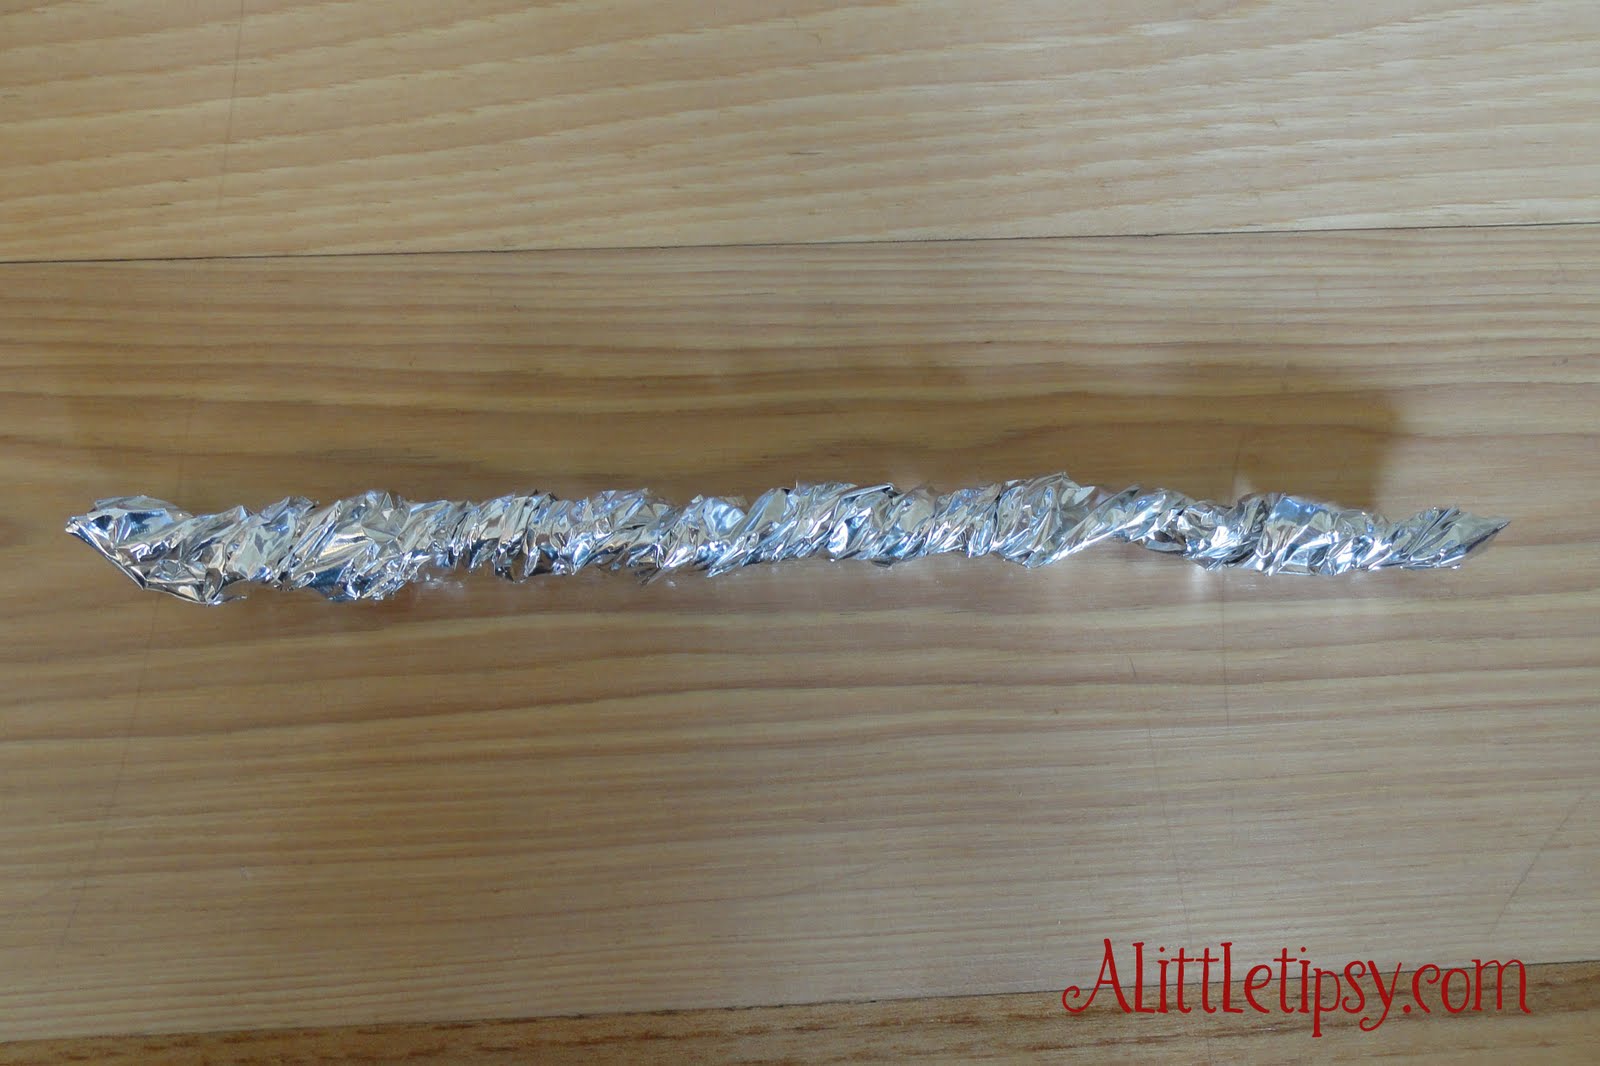
1. Rip of a 4 inch piece of foil. Fold in thirds so the shiny side is out.

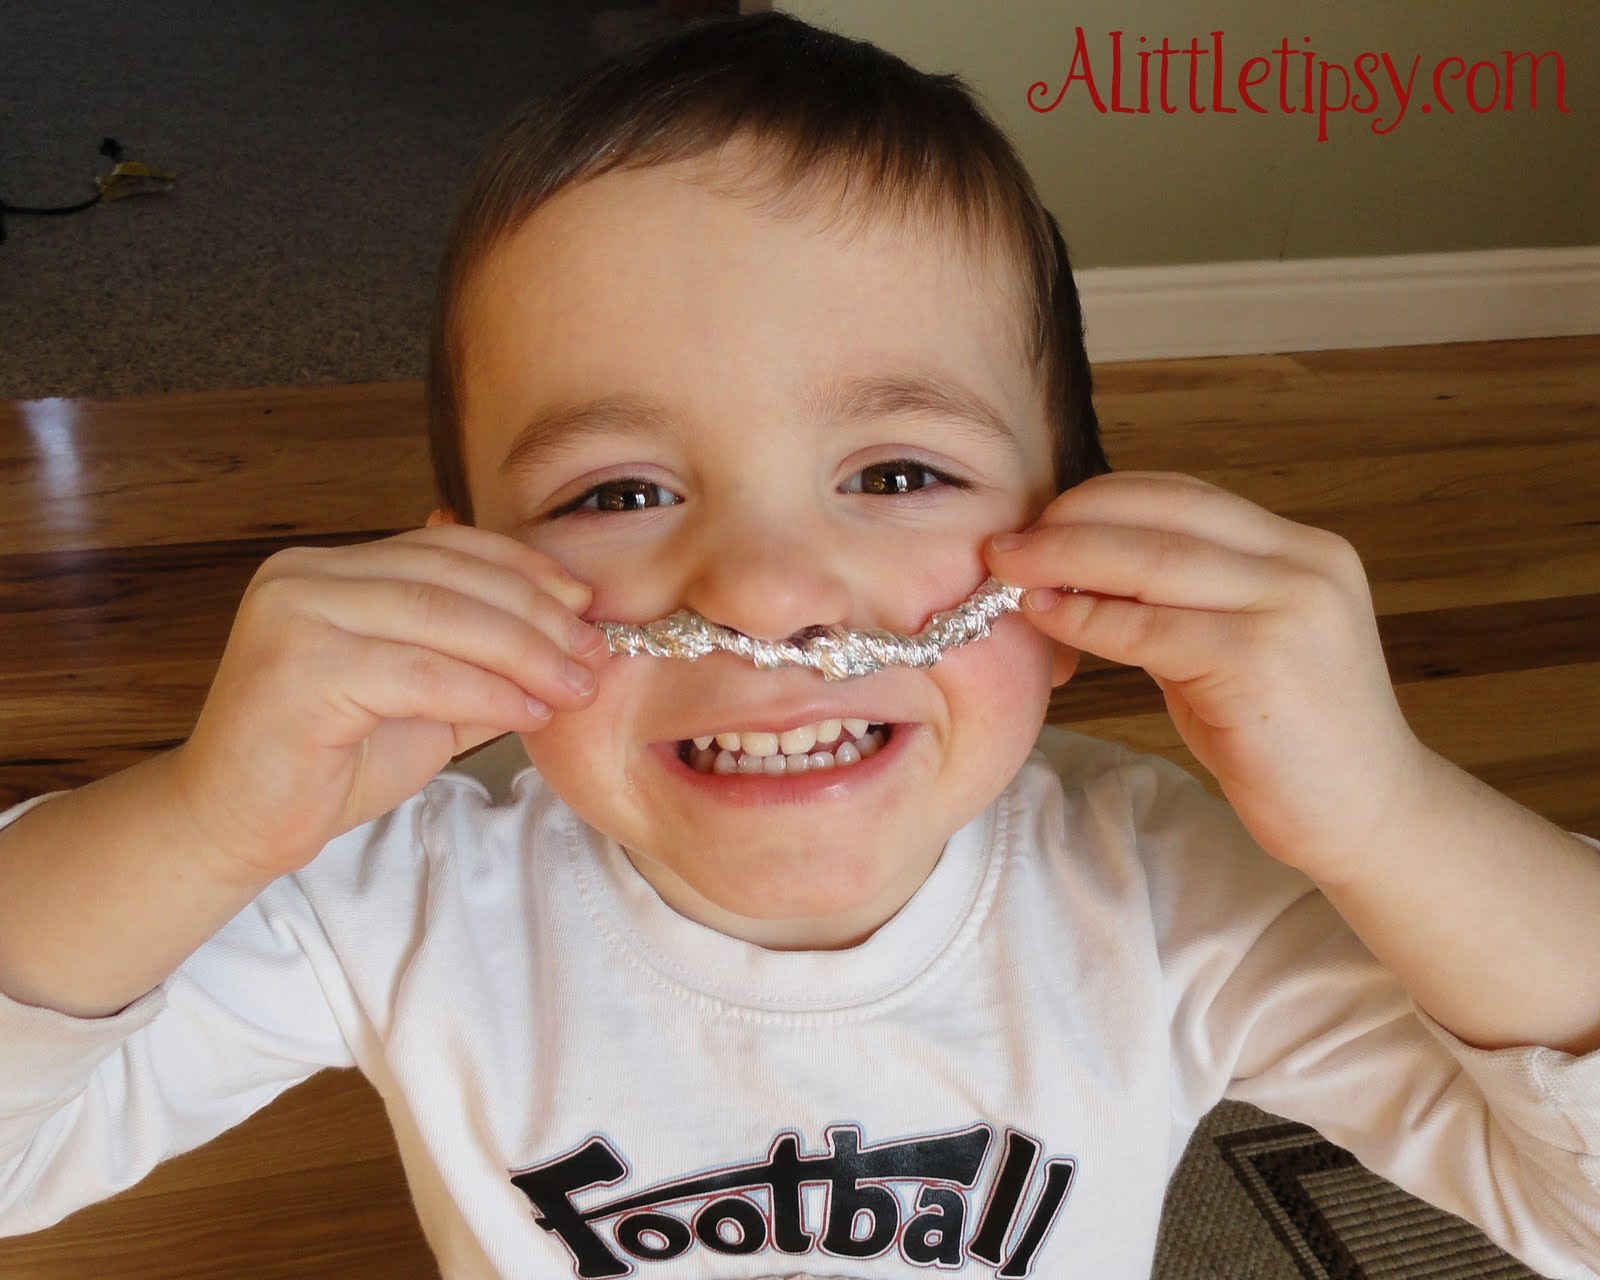
2. Twist until it’s about a half inch wide. This part is so easy a three year old can do it.

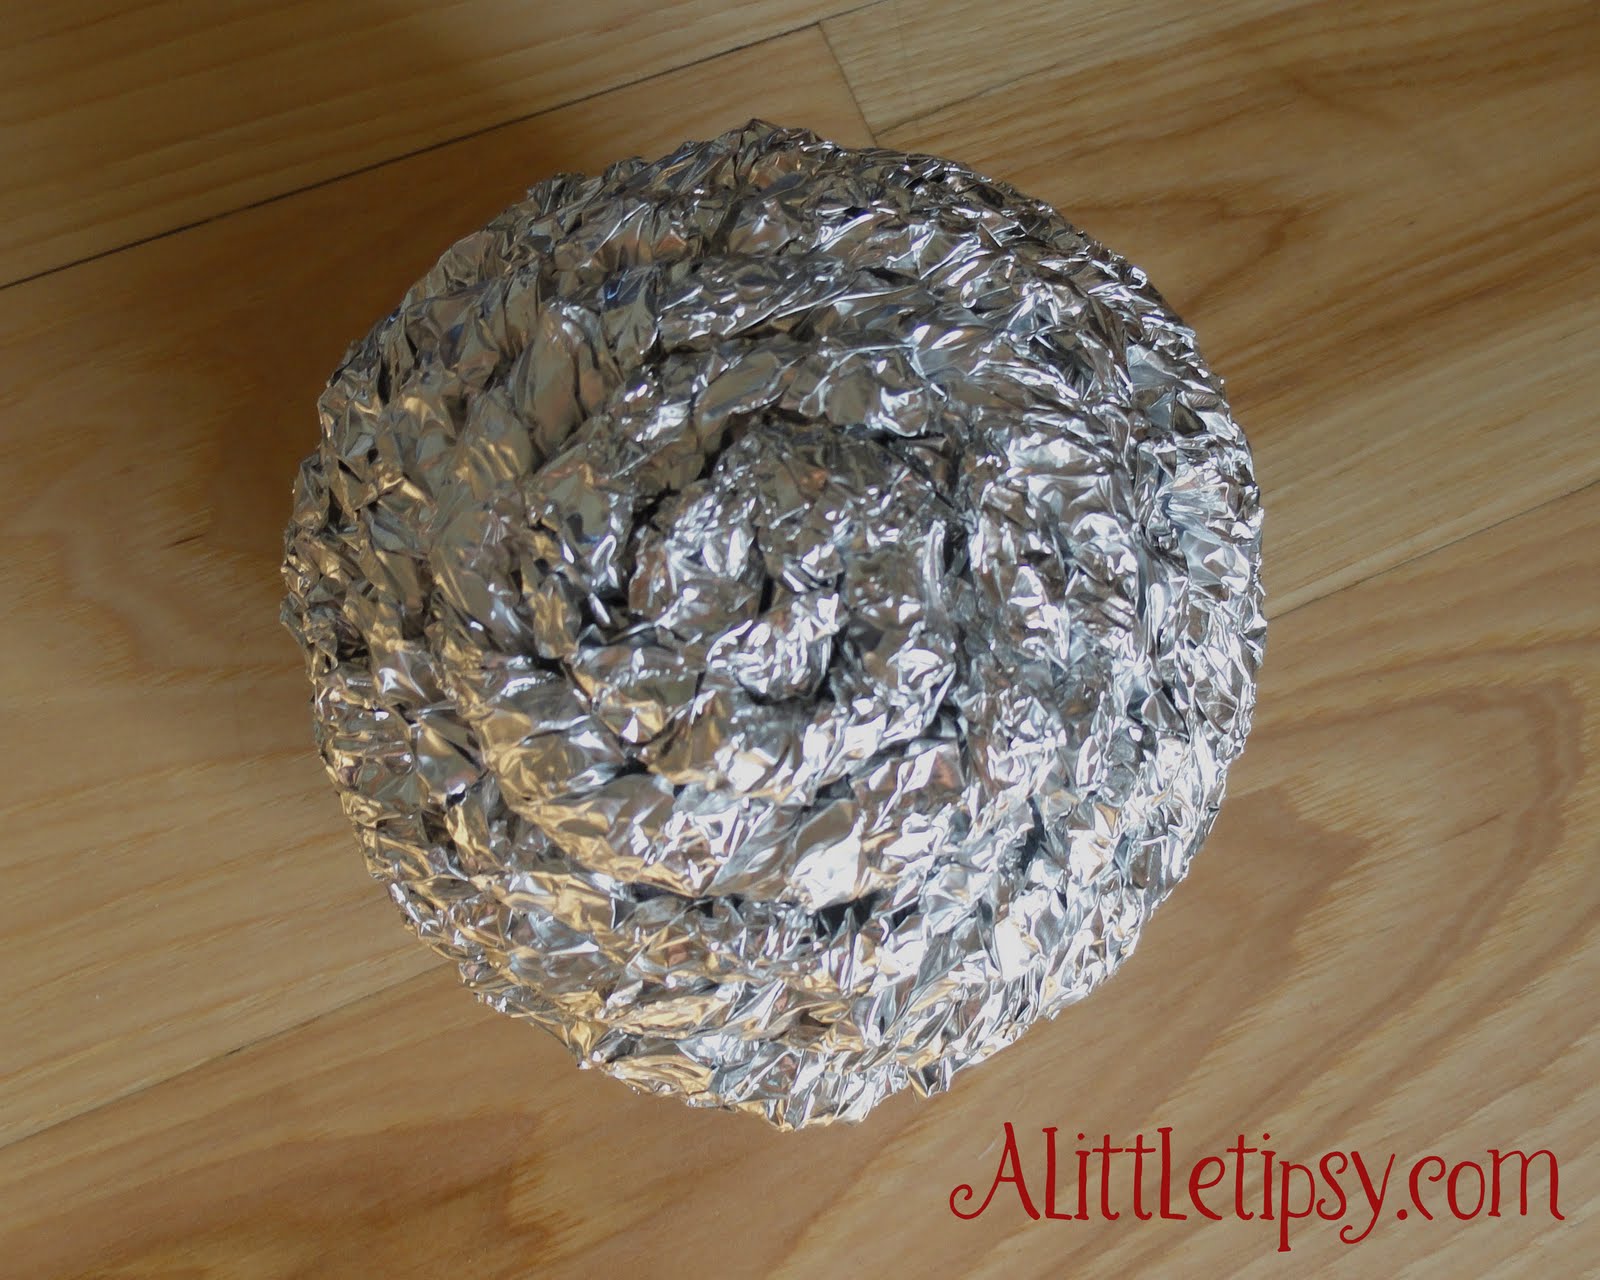
3. Wrap the first piece of twisted foil into a spiral and glue to the top of your ball.
4. Continue gluing twisted pieces around your ball until you finish with another spiral on the other side.

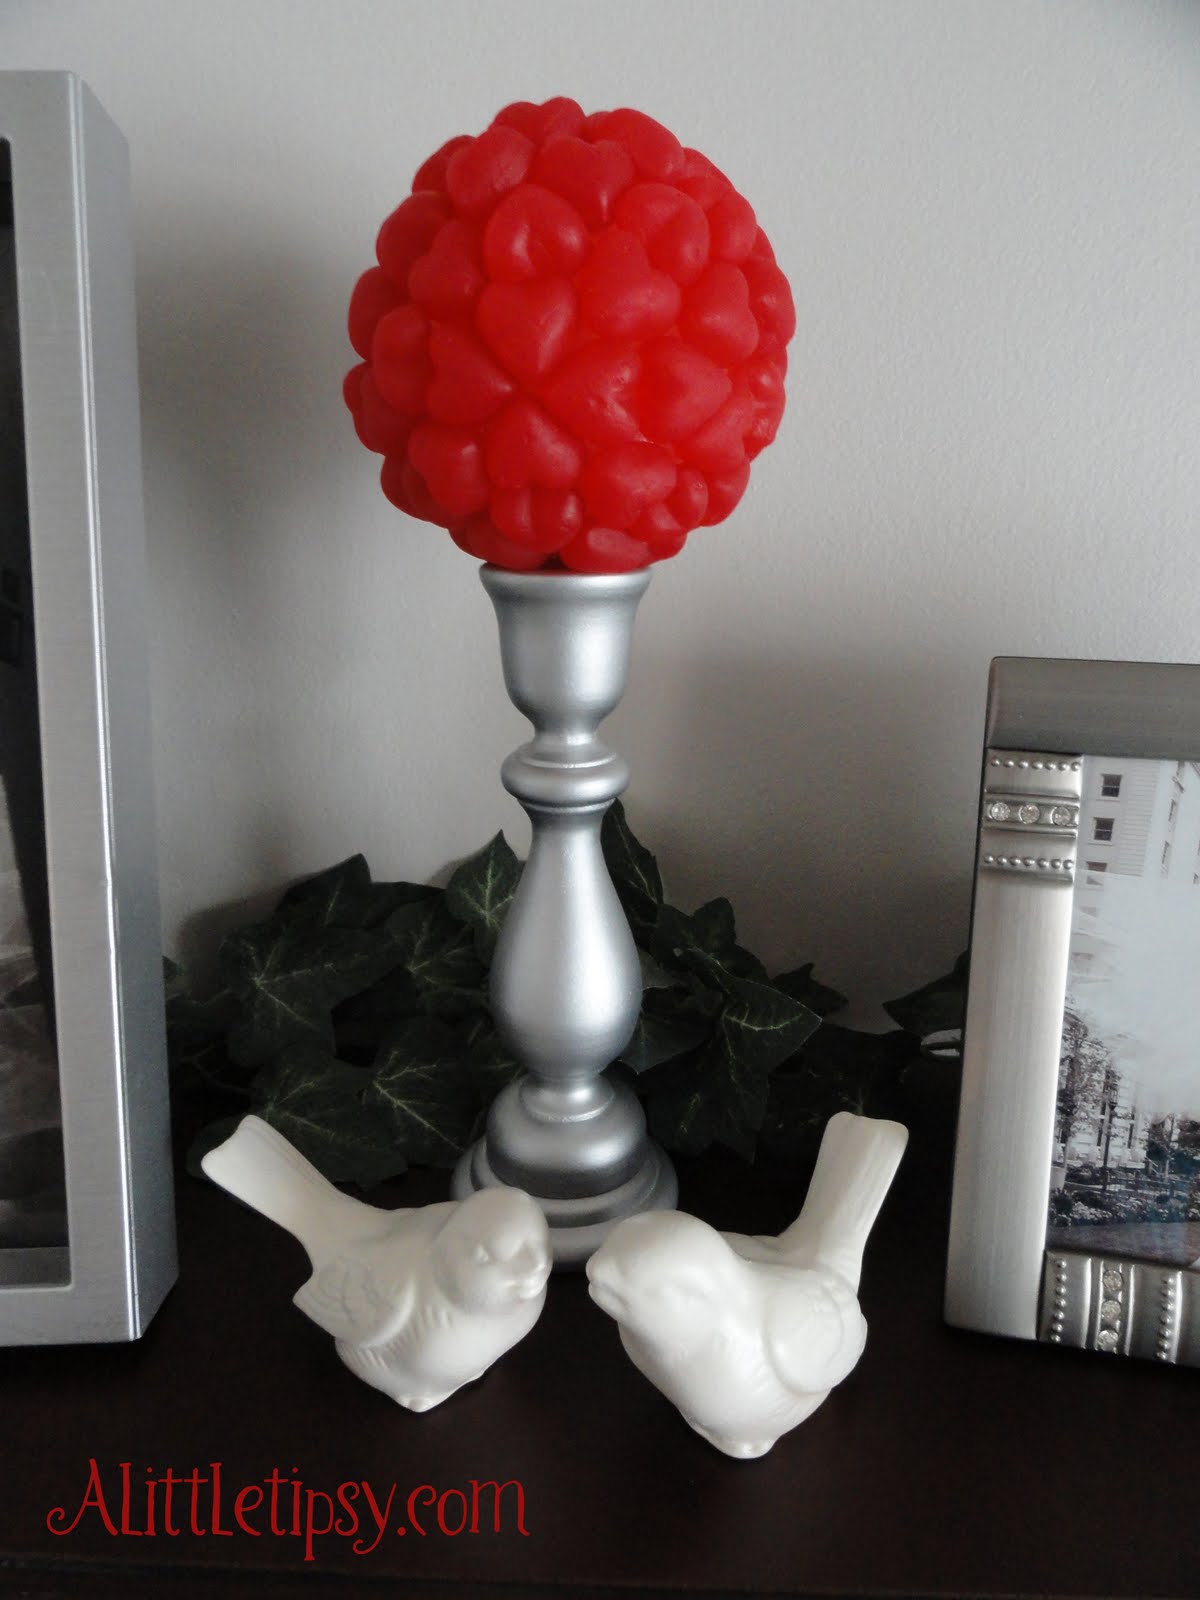
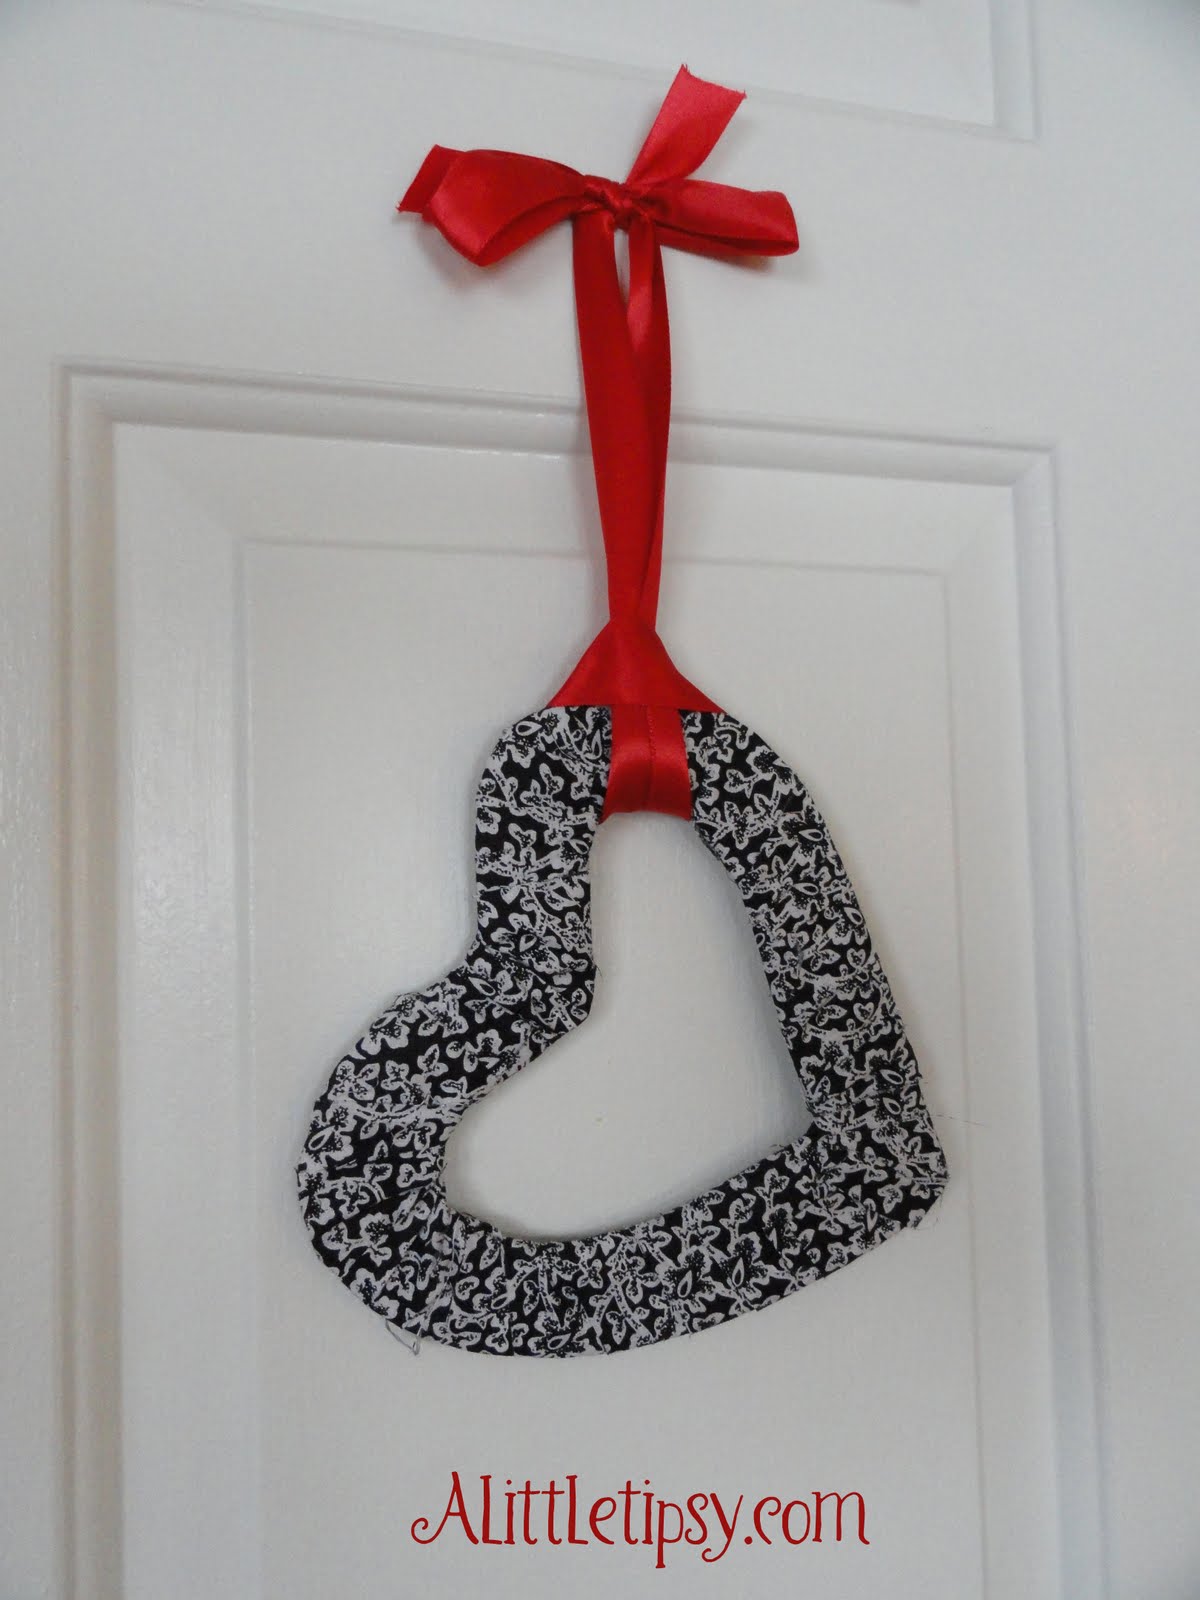
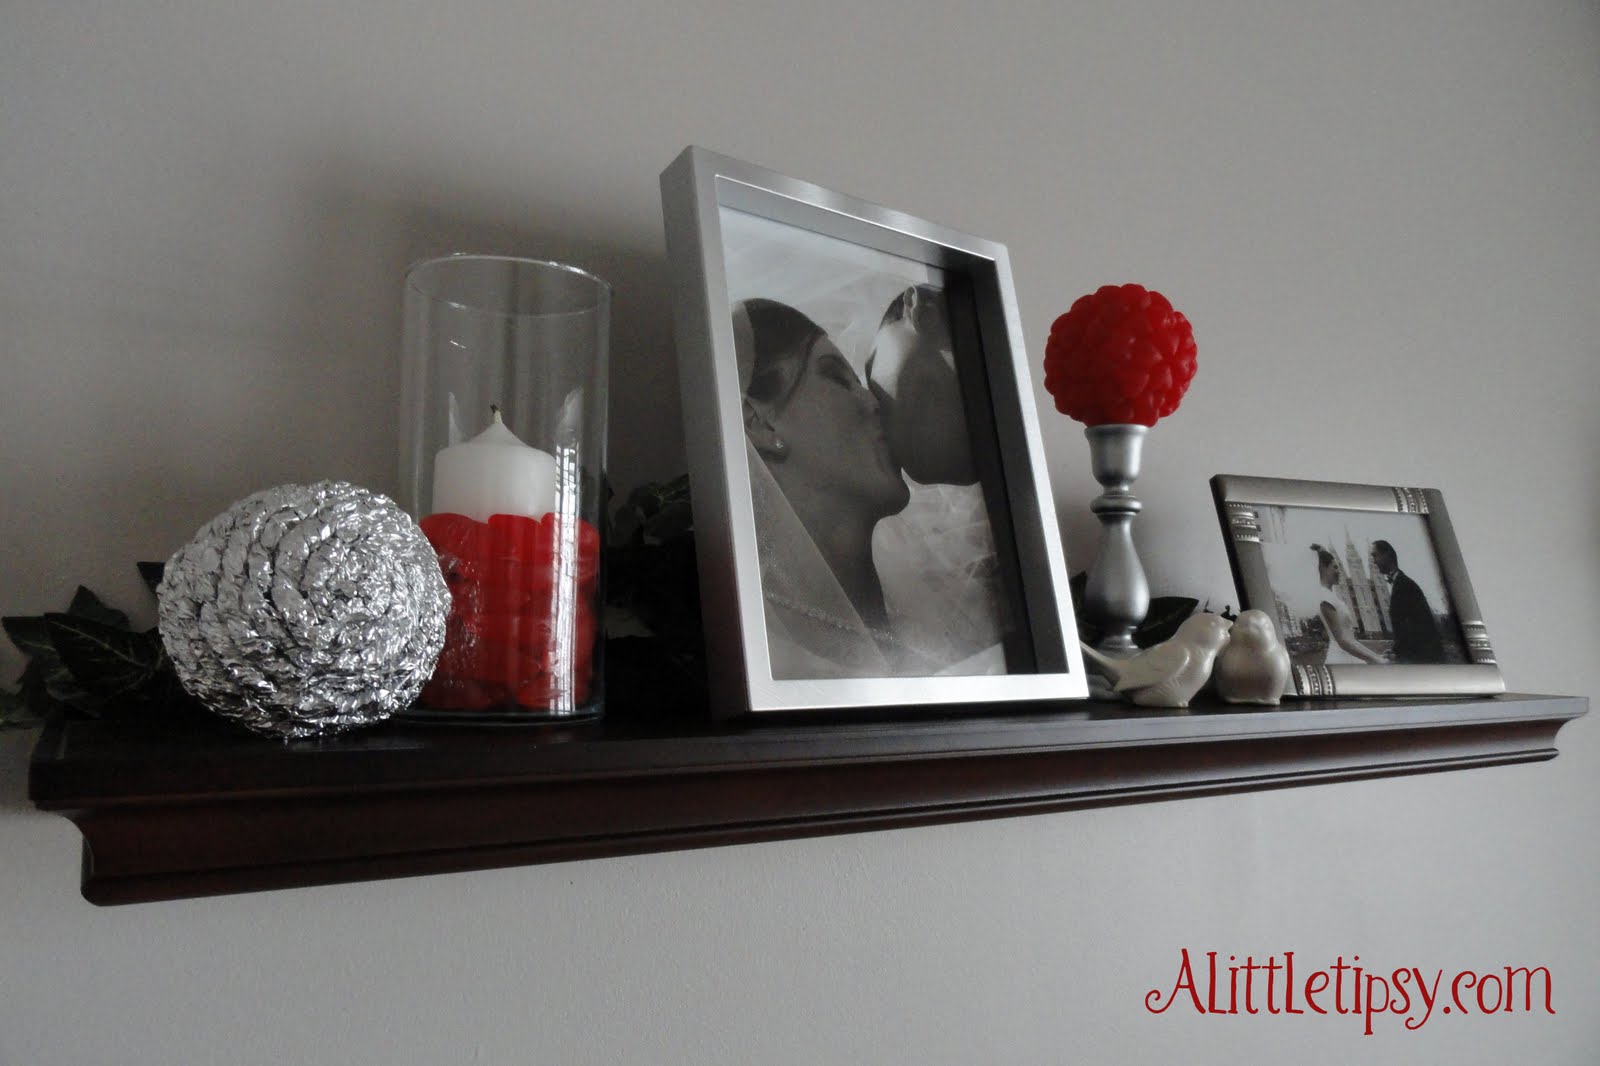
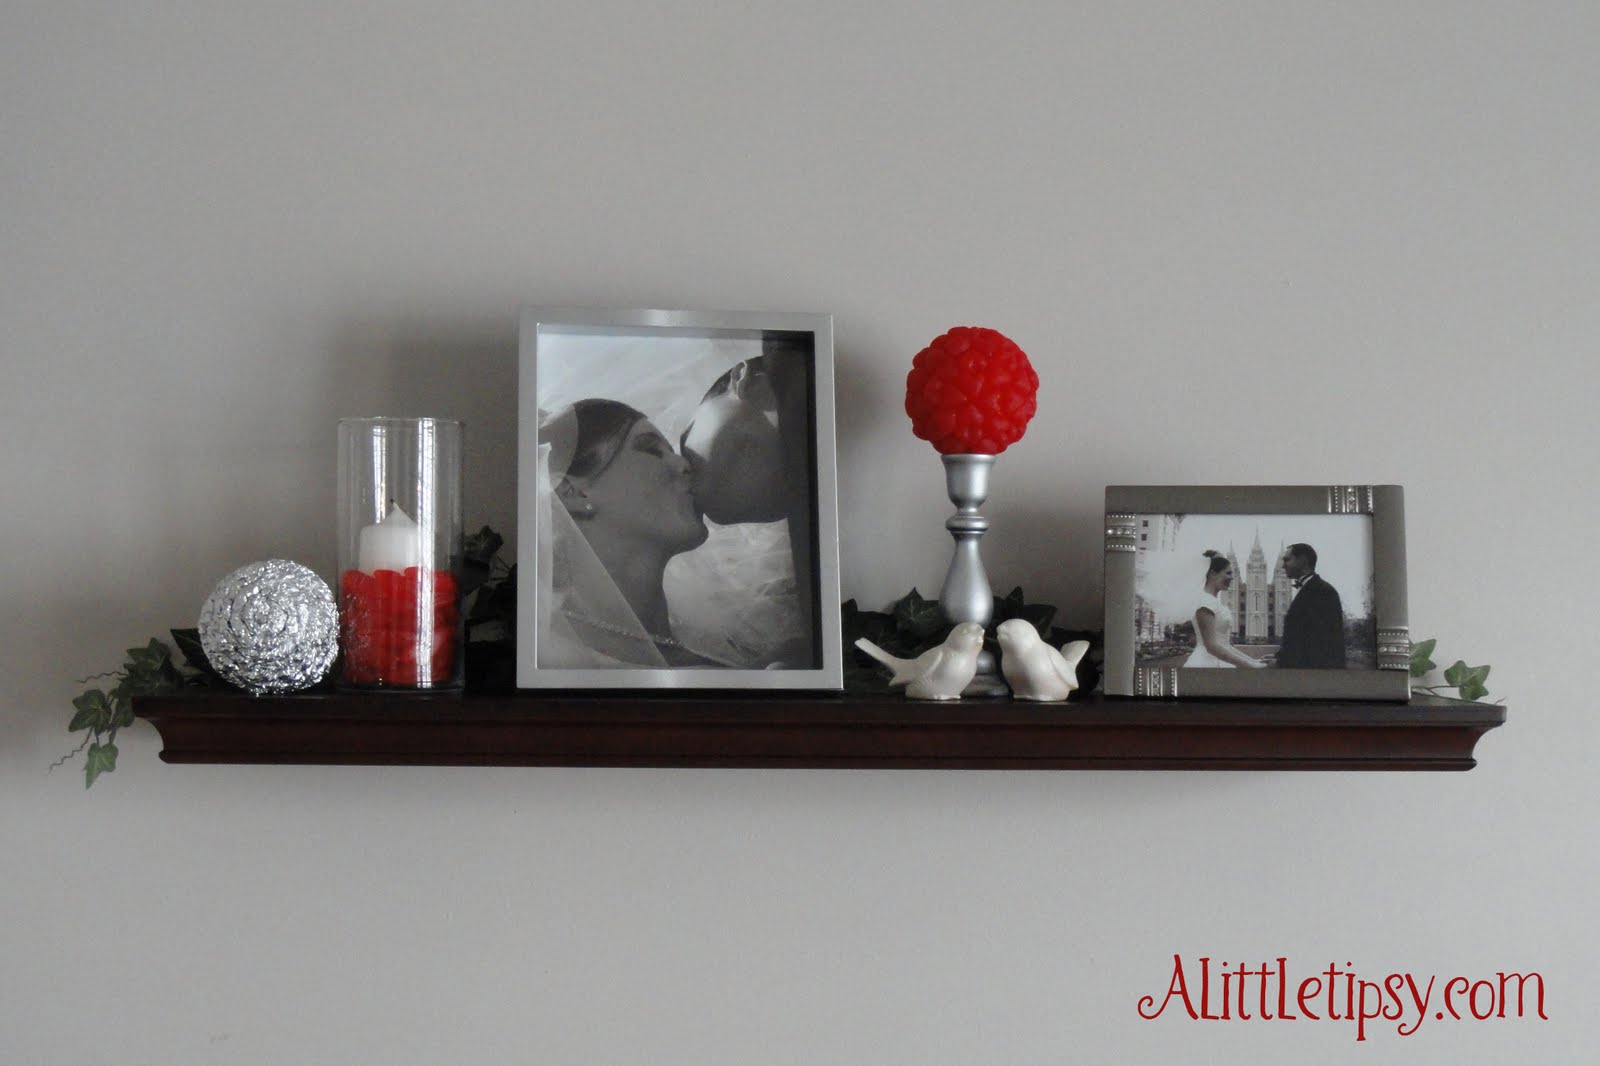
I put mine on the shelf with a hot lips candle display because you know I can’t pass up some good candy decor.

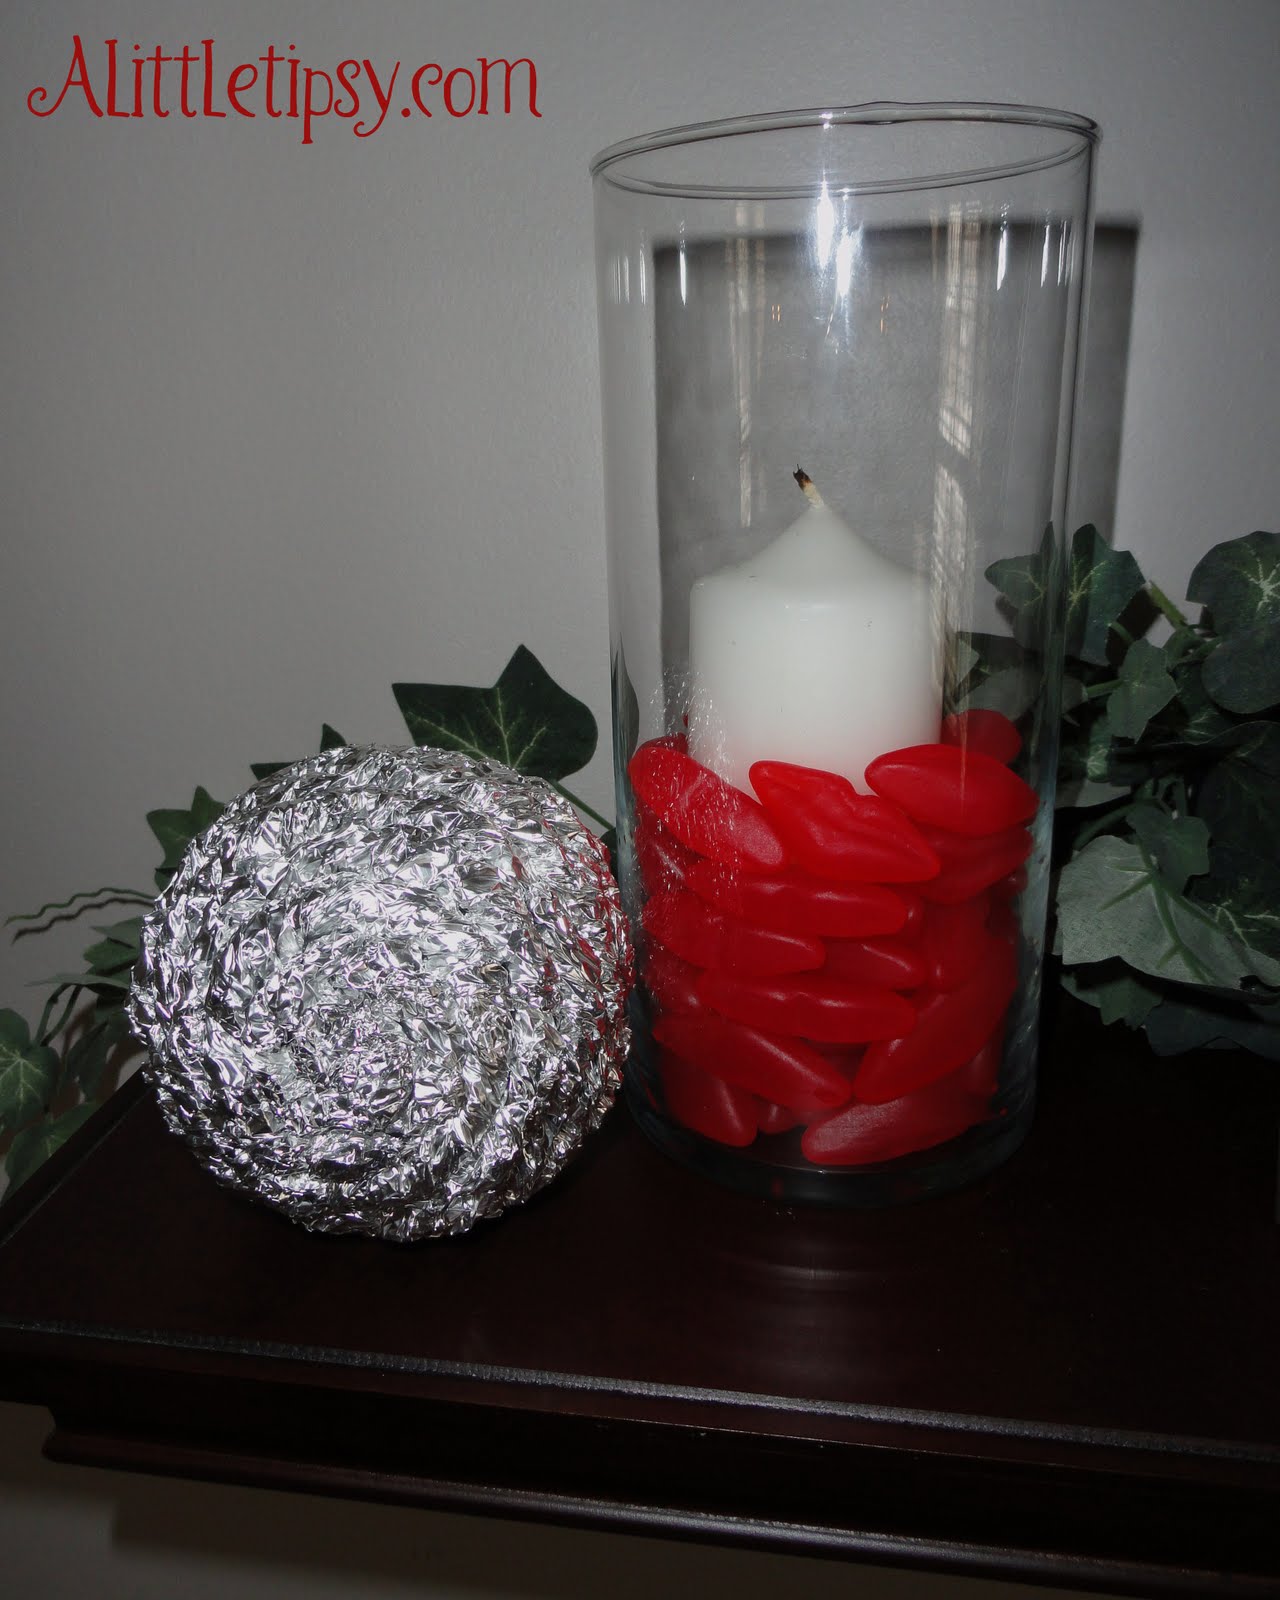
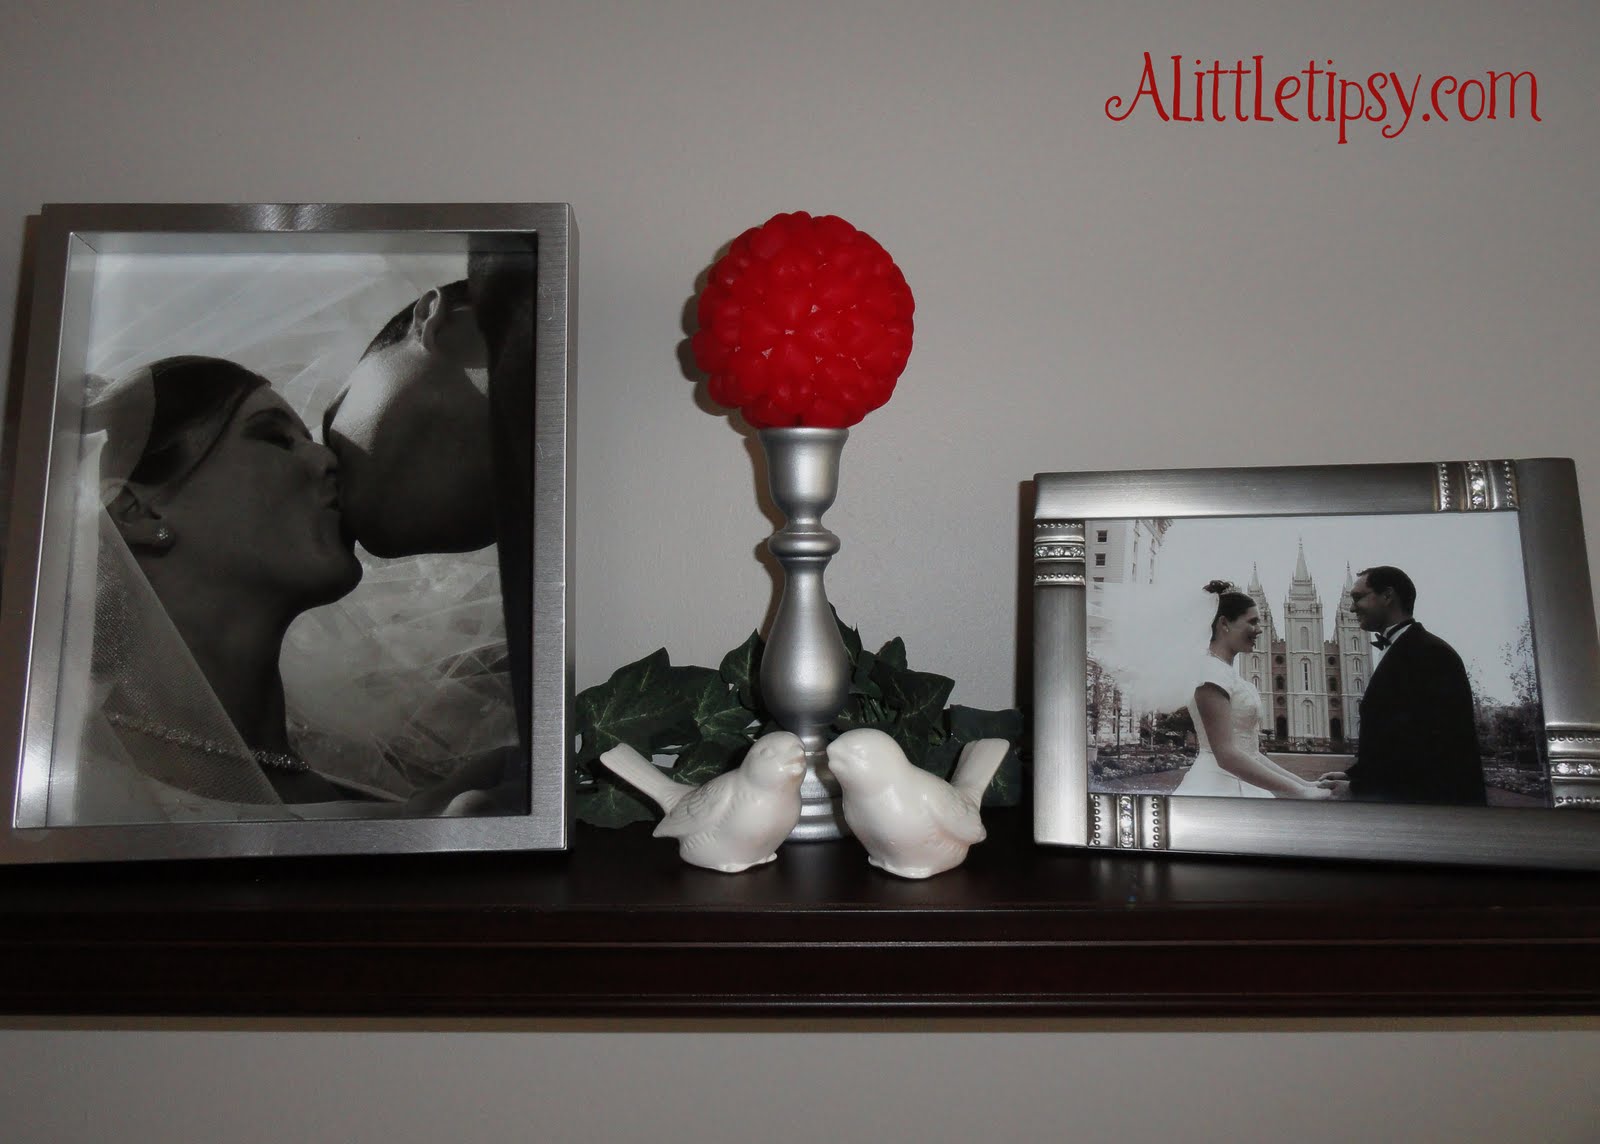
Pair that with wedding pics, a heart ball topiary and some love birds and you’ve got yourself a fun Valentine’s display for about $5!

Linking Up:
Transformation Thursday
Strut Your Stuff
Show Off Your Stuff
Get Your Craft On

P.S. Don’t forget to sign up for free Tipsy updates via RSS or email.

We have decided to truncate our feed to help protect against stolen content. I apologize for any inconvenience. Please love us anyway. 🙂

Heart Ball

January 18, 2011 By Michelle Barneck 12 Comments

I love candy so instead of just eating it, why not include it in my decor as well. I found a pack of these juju hearts for $1 at Smith’s (Kroger) and knew they would be perfect for my heart ball. Ready for another super easy project?! Here we go…

Heart Ball

Supplies:

  • Juju hearts (I got cherry because if they were cinnamon I would eat them all)
  • Styrofoam ball (got it at the thrift store, about 3 inches)
  • Pins
  • White glue

1. Stick a pin half way in to the back of a heart, then insert the pin in the Styrofoam ball. **I would recommend dipping the pin in glue to make it hold better. I did not do this, but some of my hearts fell out when I was putting my display together. The glue will make them more secure.

2. I started with a clover leaf shape with all the heart points in and then alternated directions on the next row with the points in the spaces between the hearts.
3. Next, do a row with two with points up and one with bumps up. Line them up so the two with points up are on either side of a heart from the row above with the point down. The heart with the bumps up should align with the hearts from the row above with the bumps down.
4. Next row just alternates every other one again.

Thanks goodness for pictures!!

5. Turn the ball over and start steps 1-4 on the other side of the ball. You will have to get a little creative on that last row and just kind of put the hearts where they fit.

Now style that baby! It would be cute in a bowl with a couple of other balls.
I chose to use these treasures I found at D.I. I think it was a dollar for all of it. Spray it will a couple coats of magic…

and BAM!! Two little love birds and a little romance for your shelf.

Total spent: about $2.50

Cha ching!

Linking Up:
Get Your Craft On
Anything Related
Topsy Turvy Tuesday
Take-A-Look Tuesday
2nd Time Around Tuesday

——————————————————————–
The winner of the $100 Tea Designer Clothing Giveaway is…

The Taylors said… I love the Painter’s Overalls for girls. My daughter LOVES overalls and I can’t find them very easily in her size!

Congrats!

P.S. Don’t forget to sign up for free Tipsy updates via RSS or email.

We have decided to truncate our feed to help protect against stolen content. I apologize for any inconvenience. Please love us anyway. 🙂

Fabric Heart

January 17, 2011 By Michelle Barneck 16 Comments

I am in the Valentine mood. I have a whole bunch of fun things to share over the next few days, but let’s start with one you can do with stuff you probably have sitting around.

Fabric Heart

Supplies needed:
  • cardboard
  • scissors
  • fabric scraps
  • hot glue gun
  • ribbon
1. Draw a big heart on your cardboard with a smaller heart inside.
2. Cut it out.

3. Get your scraps. Mine were cut into about 1.5 inch by 6 inch strips.

4. Wrap your strips gluing the ends down as you go along.

5. Tie your ribbon on your fabric heart and hang. It is super light so I just hung mine on my pantry door using double sided tape.

Linking Up:
Get Your Craft On
Take-A-Look Tuesday
Motivate me Monday
Market yourself Monday
Making Monday Marvelous
It’s So Very Creative
All About You Monday
Making the World Cuter
Made By You

P.S. Don’t forget to sign up for free Tipsy updates via RSS or email.

We have decided to truncate our feed to help protect against stolen content. I apologize for any inconvenience. Please love us anyway. 🙂

My Vinyl Designer Giveaway

January 6, 2011 By Michelle Barneck 177 Comments

My Vinyl Designer has over 1500 pre-made, ready-to-cut vinyl designs, tips, how-to’s, and finished project ideas being used in home decor. They’re all about personalizing your living spaces with inspiring phrases of life. They offer vinyl designs for you to use on your own machine right at home. Man, I need a vinyl cutter!! Once I got started looking at their designs I couldn’t stop! Here are a few of my favorites:

B001CT022SUPERHEROLO016BA002BA015FA030KR014SE018

Here’s a little about the girls behind the design:

Deb and I are sisters, active members of the LDS Church, and SAHM’s who simply just have a lot of fun creating meaningful artwork for the home.
We are inspired by family, life, things of the spirit, and the beautiful world we live in. We come from a military family with eight children who spent most of our life living abroad. We enjoy being mothers and created this business so that we could stay at home with our children (why our work and correspondence is often done in the middle of the night!) We also enjoy our interaction with people from around the world and think we have the best customers in the world!

We help people learn how to cut vinyl, and offer tips, tools, and how-to’s for those wishing to make a little money on the side doing vinyl. Our design formats work on all crafting machines and vinyl cutters, including the popular Cricut machine. Here’s a little more about who we are as a business: http://www.myvinyldesigner.com/aboutus.aspx

———————————————————————————————————–


Need a little more info on how it all works? Check out their YouTube channel.

And now for a few more of my favorites because like I said, I could not stop! These designs are just too cute!

CL045C010C045C070HO032SP008SS005SS006GC004

They also have a gallery of finished projects to inspire you. There are fabric, wood, metal, vehicle and many more projects.

Okay, okay! What? You want some. Of course you do and for good reason. Well, lucky for you My Vinyl Designer is giving away a New Year Prize Package ($179 value) with over 700 images!

https://mail.google.com/mail/?ui=2&ik=9f43e60d7f&view=att&th=12d4feb33cadc553&attid=0.1&disp=inline&zw


To enter: (be sure to leave an email and a separate comment for each entry)

  • Visit My Vinyl Designer and tell me your favorite design
  • Like My Vinyl Designer on Facebook
  • Follow A little Tipsy
  • Like A Little Tipsy on Facebook
  • Tweet, blog or Facebook about this giveaway and leave the link.

Giveaway closes Thursday, January 13th. Good luck!

P.S. Don’t forget to sign up for free Tipsy updates via RSS or email.

We have decided to truncate our feed to help protect against stolen content. I apologize for any inconvenience. Please love us anyway. 🙂
« Previous Page
Next Page »

  • Bloglovin
  • Facebook
  • Google+
  • Instagram
  • Pinterest
  • RSS
  • Twitter

Hi there! I'm Michelle. Mother of three little boys and one little princess. Welcome to A Little Tipsy, a place for exploring creativity and sharing inspiration.

Follow on Bloglovin


Visit Michelle Barneck {A Little Tipsy}'s profile on Pinterest.

Tutorials by Category


15 Family Reunion Games

Family Reunion Games Collage

15 Sprinkle Party Ideas

Sprinkle Birthday Party
Creative Commons License

© Copyright 2014 A Little Tipsy · Site Designed by The Fairy Blogmother · Web Hosting by RFE Hosting

This website uses cookies to improve your experience. We'll assume you're ok with this, but you can opt-out if you wish.Accept Read More
Privacy & Cookies Policy