A Little Tipsy

Creative Tips & Ideas

  • home
  • About Me
  • the tipsy top
  • press
  • projects
  • contact me
[print_thumbnail_slider]

Shamrock Wreath & Lucky Blocks {from the archives}

February 28, 2011 By Michelle Barneck 11 Comments

For anyone who may have missed it last year, here is my Scrappy St. Patrick’s Day Shamrock Wreath. It is still one of my fave things I’ve made, so here we go…

——————————————————

I wanted to have a cute St. Patrick’s Shamrock wreath. I am part Irish for heaven’s sake. Did you know that my ancestor was the one who kidnapped St. Patrick?! Anyway, I saw Char’s great idea for using hearts to make a shamrock shape, but I decided I am way too lazy to cut out that many felt circles. So, I combined that idea with this fabric scrap wreath idea and we had a winner!

Here’s my adorable Scrappy St. Patrick’s Shamrock Wreath…

Why scrappy? Well for one thing it uses fabric scraps, but I also used a scrap of styrofoam packaging to make my hearts. So, ya wanna know how I did it? Here ya go!

Supplies needed: (lots of supplies but you probably have most of them at home)

  • Styrofoam packaging (or 4 hearts from a craft store)
  • Serrated knife
  • Piece of paper for heart template
  • Marker or pen
  • Measuring device
  • Scissors
  • Two colors Green Fabric (I think I used about 1/2 yard total)
  • White Glue
  • Pen or pencil
  • Hot glue
  • Ribbon
  • Embellishments

1. Measure 4 equal parts of foam and cut in to pieces. Use paper template and trace edges on foam with marker lid. I just dented the foam with the lid around the template so marker would not show.

2. Cut the foam with your knife. Cut your fabric in to 2 inch squares.

3. Put some glue in a bowl. Put a fabric square over the tip of your pen and dip in the glue. Then, stab the pen in to the styrofoam. This will make a little “flower” out of the fabric square. Repeat, alternating colors to give it more dimension.

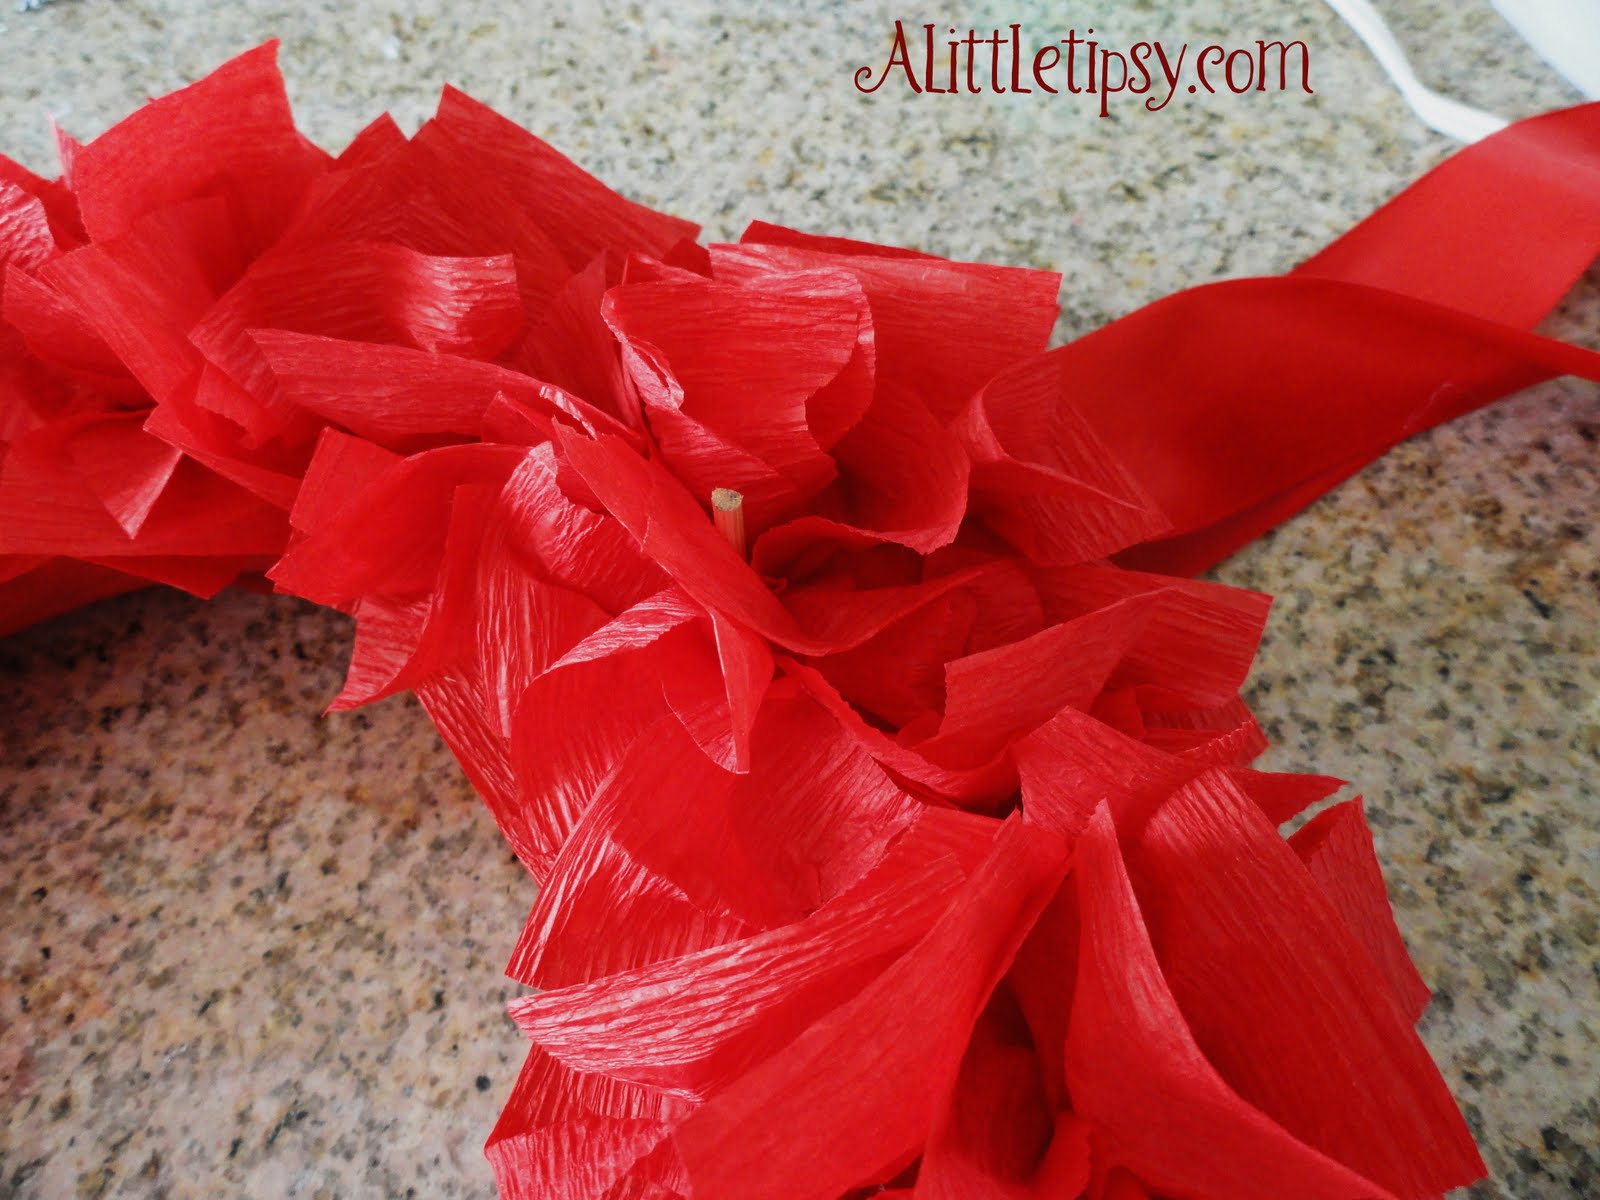
4. Once all your hearts are covered hot glue the edges together. I thought it looked kind of like a blob at this point, so I added a little stem.

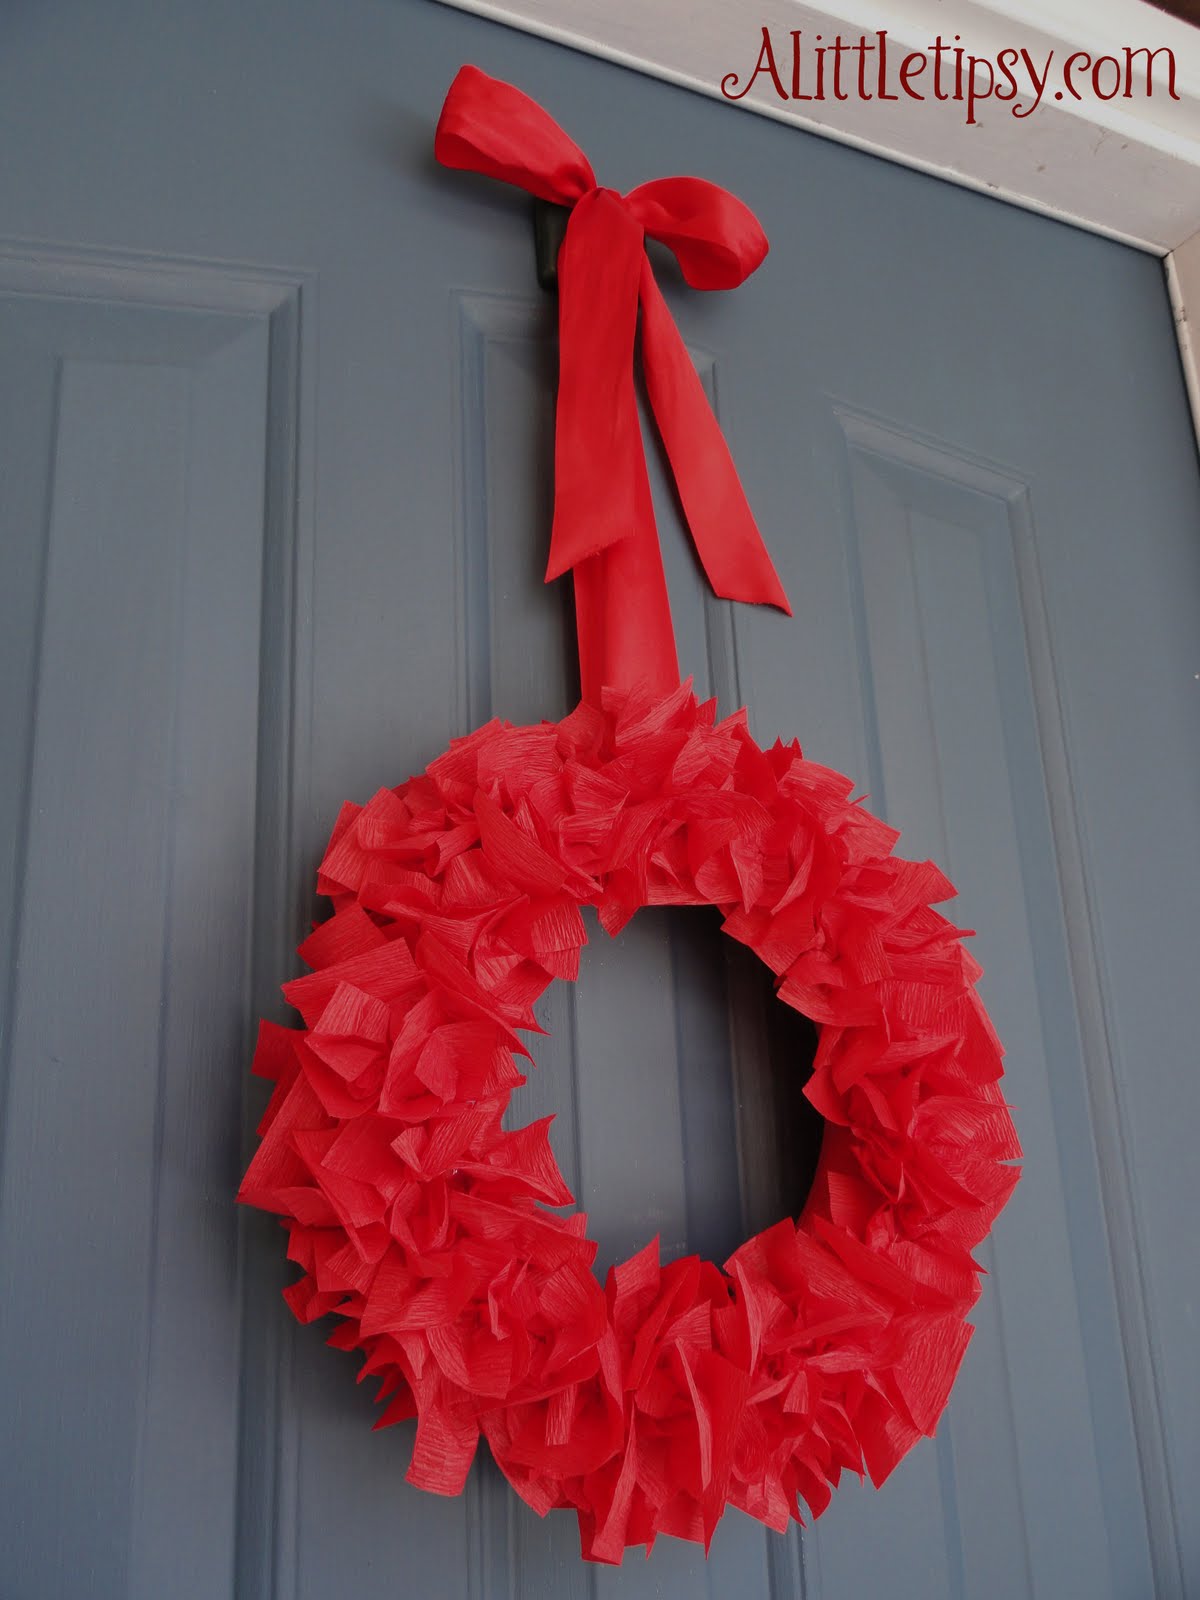
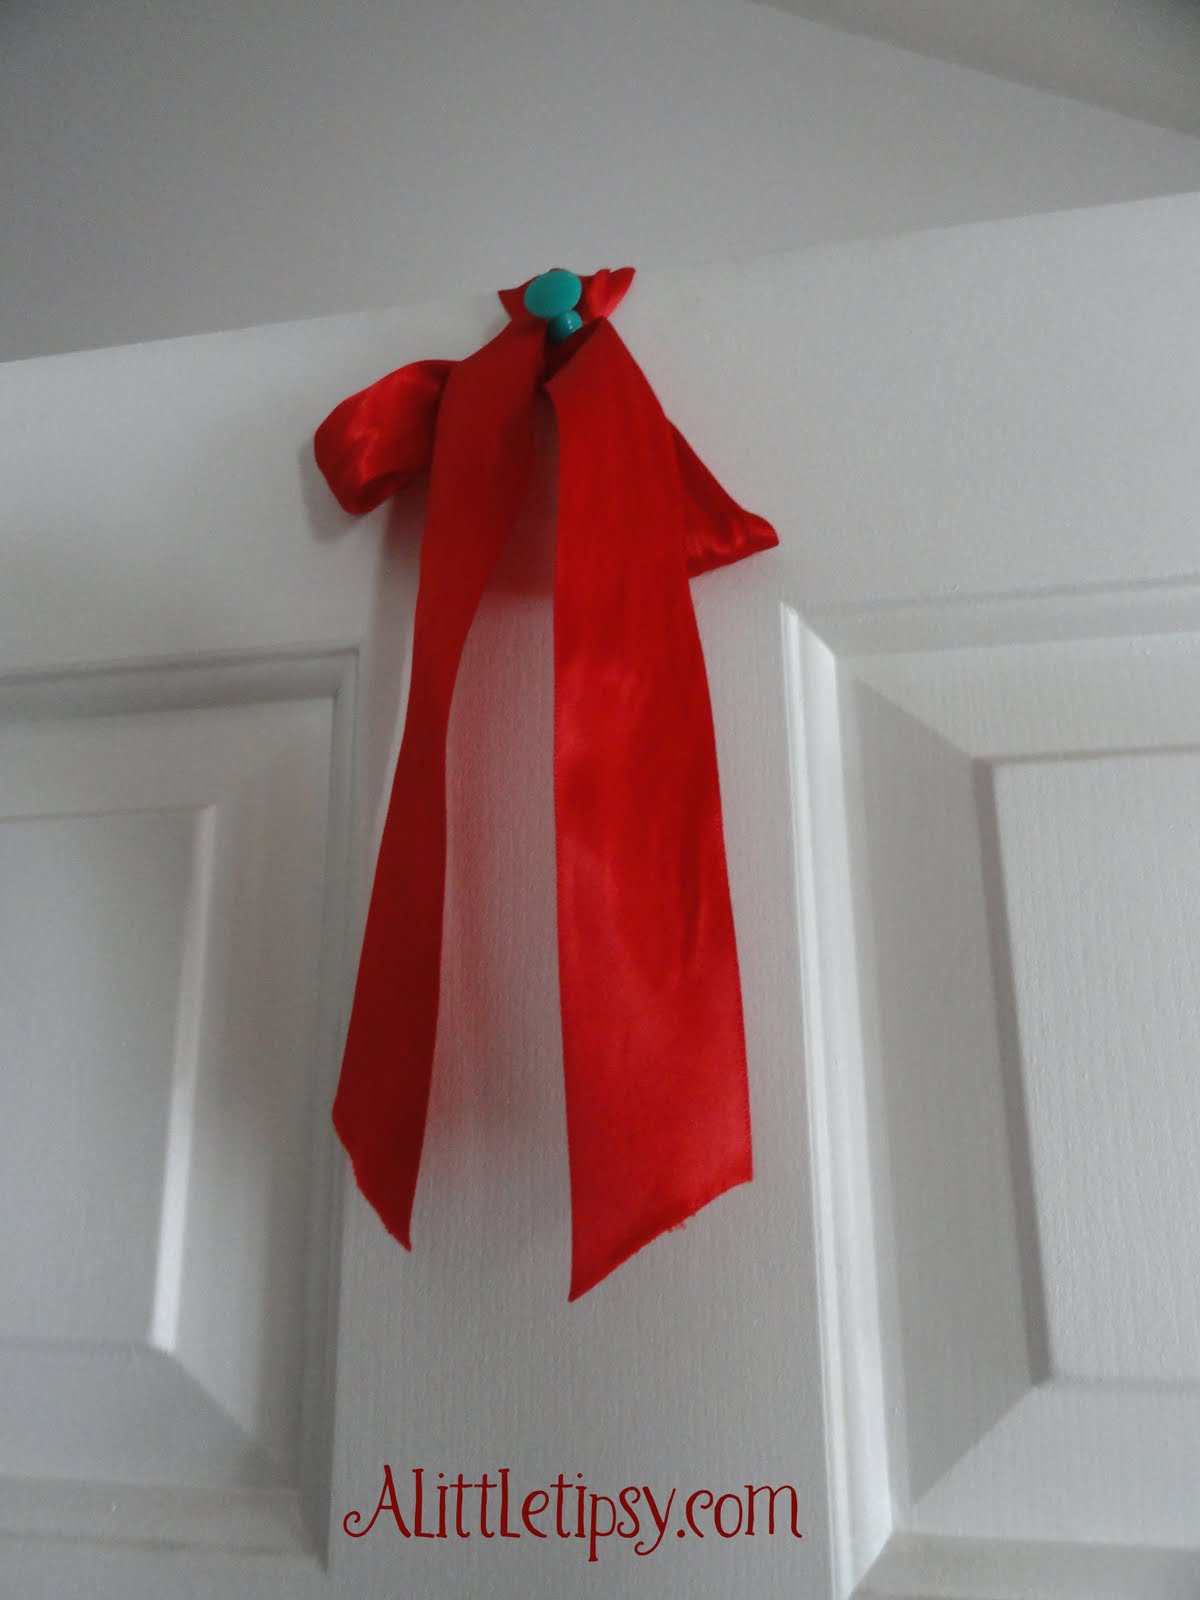
5. I did not like the white edges showing, so I hot glued some ribbon around the edges. Then, I tied a bow and hot glued it to the back to hang the wreath from.

6. I added an embellishment from the scrapbook section that says “Lucky you” to break up the green blob.

I couldn’t let the St. Patty’s Day decor stop at the door. I made these adorable Lucky wood blocks at Amanda’s craft night. I’m so lucky to have awesome friends!


Goodbye February…Hello March!

Linking up:
Kirstikoo Green Link-Up

P.S. Don’t forget to sign up for free Tipsy updates via RSS or email.

We have decided to truncate our feed to help protect against stolen content. I apologize for any inconvenience. Please love us anyway. 🙂

Purse Organization, Applying Vinyl, & a Door Prize

February 16, 2011 By Michelle Barneck 15 Comments

There’s a super cute blogiversary freebie door prize at the end of the post, so stick around! Now on to my latest project…

I had a bunch of bags sitting around since I am back on diaper bag duty. I hated having them in piles and needed another option. Lucky for me I have a totally odd space in my coat closet that was such a wasted space. I got some hooks, borrowed my handy husband and that was that. My bags are empty so they are light enough to hang straight in the drywall. If they were full, I would need to attach my hooks to studs.


I had a vision to add some “purseonality” with vinyl. My vision came to life with the help of My Vinyl Designer. I told them what I was thinking and they came up with the most adorable design! You got a sneak peek in the pic up top. I absolutely love how it turned out!

Purse-onality 2Purse-onality 1

Remember how I mentioned the door prize? You can download either of these adorable purseonality designs from my fabulous sponsor My Vinyl Designer for FREE to cut with your cricut, silhouette, or other fabulous tool. You heard it free! Just one more reason why they totally rock! Click over to My Vinyl Designer to get one.

My Vinyl Designer is also giving away one of the swirly purseonality designs in dark gray vinyl, like mine.

To enter:

  • Leave a comment on this post with your email saying you want it.

I’m sure you have all used vinyl before, but if you have not, here is the how to for applying vinyl to a wall.

Linking up:
We’re Organized Wednesday
Look What I Made
Whatever Goes Wednesday
Sugar & Spice & Everything Nice
Transformation Thursday
Strut Your Stuff
Show Off Your Stuff

P.S. Don’t forget to sign up for free Tipsy updates via RSS or email.

We have decided to truncate our feed to help protect against stolen content. I apologize for any inconvenience. Please love us anyway. 🙂

Heart Wreath

January 28, 2011 By Michelle Barneck 10 Comments

I love that this wreath is so versatile. I made it red so it would work for multiple holidays. Right now I have it all set up as a heart wreath for Valentine’s Day, but can easily swap out the accessories to sparkly stars for the 4th of July or ornaments for Christmas.

There is a great tutorial on Simple Sage Designs for this crepe paper wreath, so I won’t reinvent the wheel. But, this will give you a good clue as to how it is done.

I got it done with just the red, but it was missing something. I felt like it was just a big red blob.

So I cut a bamboo skewer to about two or three inches and inserted in the top.

Then, I added some of my fabric hearts.

I hung it up using an over-sized push pin on the back side of the door, but it still needed something.

So I took some advice from the Beatles, “All you need is love.”

Linking Up:
Weekend Wrap Up Party
Feature Yourself Friday
Friday Fun Finds
Motivate me Monday
Market yourself Monday
Making Monday Marvelous
It’s So Very Creative
All About You Monday
Making the World Cuter
Made By You

P.S. Don’t forget to sign up for free Tipsy updates via RSS or email.

We have decided to truncate our feed to help protect against stolen content. I apologize for any inconvenience. Please love us anyway. 🙂

Valentine Banner

January 20, 2011 By Michelle Barneck 4 Comments

Mini Valentine Banner? Check. Made from candy? You know it. I had some cherry juju hearts left from my heart ball and heaven forbid I eat them, but could not let them go to waste. So, alas, the mini Valentine banner was born (or made).


Supplies:

  • Cherry juju hearts (I used 22)
  • Needle
  • Red thread
  • Sharpie
  • Ribbon

1. Turn your hearts over so the flat side is facing up. Take your Sharpie and write a letter of “Happy Valentine’s Day” on each heart.
2. Thread the needle with a LONG string of thread. Make both ends even so the candy will thread over two strings.
3. Poke the needle through each heart (through the widest part of the heart, so the weight will hold the heart the right way when hung) until you have them all strung.
4. Make space between the words and tie scraps of ribbon on to the thread as spacers.


Linking up:
Transformation Thursday
Strut Your Stuff
Show Off Your Stuff
Get Your Craft On

P.S. Don’t forget to sign up for free Tipsy updates via RSS or email.

We have decided to truncate our feed to help protect against stolen content. I apologize for any inconvenience. Please love us anyway. 🙂
« Previous Page
Next Page »

  • Bloglovin
  • Facebook
  • Google+
  • Instagram
  • Pinterest
  • RSS
  • Twitter

Hi there! I'm Michelle. Mother of three little boys and one little princess. Welcome to A Little Tipsy, a place for exploring creativity and sharing inspiration.

Follow on Bloglovin


Visit Michelle Barneck {A Little Tipsy}'s profile on Pinterest.

Tutorials by Category


15 Family Reunion Games

Family Reunion Games Collage

15 Sprinkle Party Ideas

Sprinkle Birthday Party
Creative Commons License

© Copyright 2014 A Little Tipsy · Site Designed by The Fairy Blogmother · Web Hosting by RFE Hosting

This website uses cookies to improve your experience. We'll assume you're ok with this, but you can opt-out if you wish.Accept Read More
Privacy & Cookies Policy