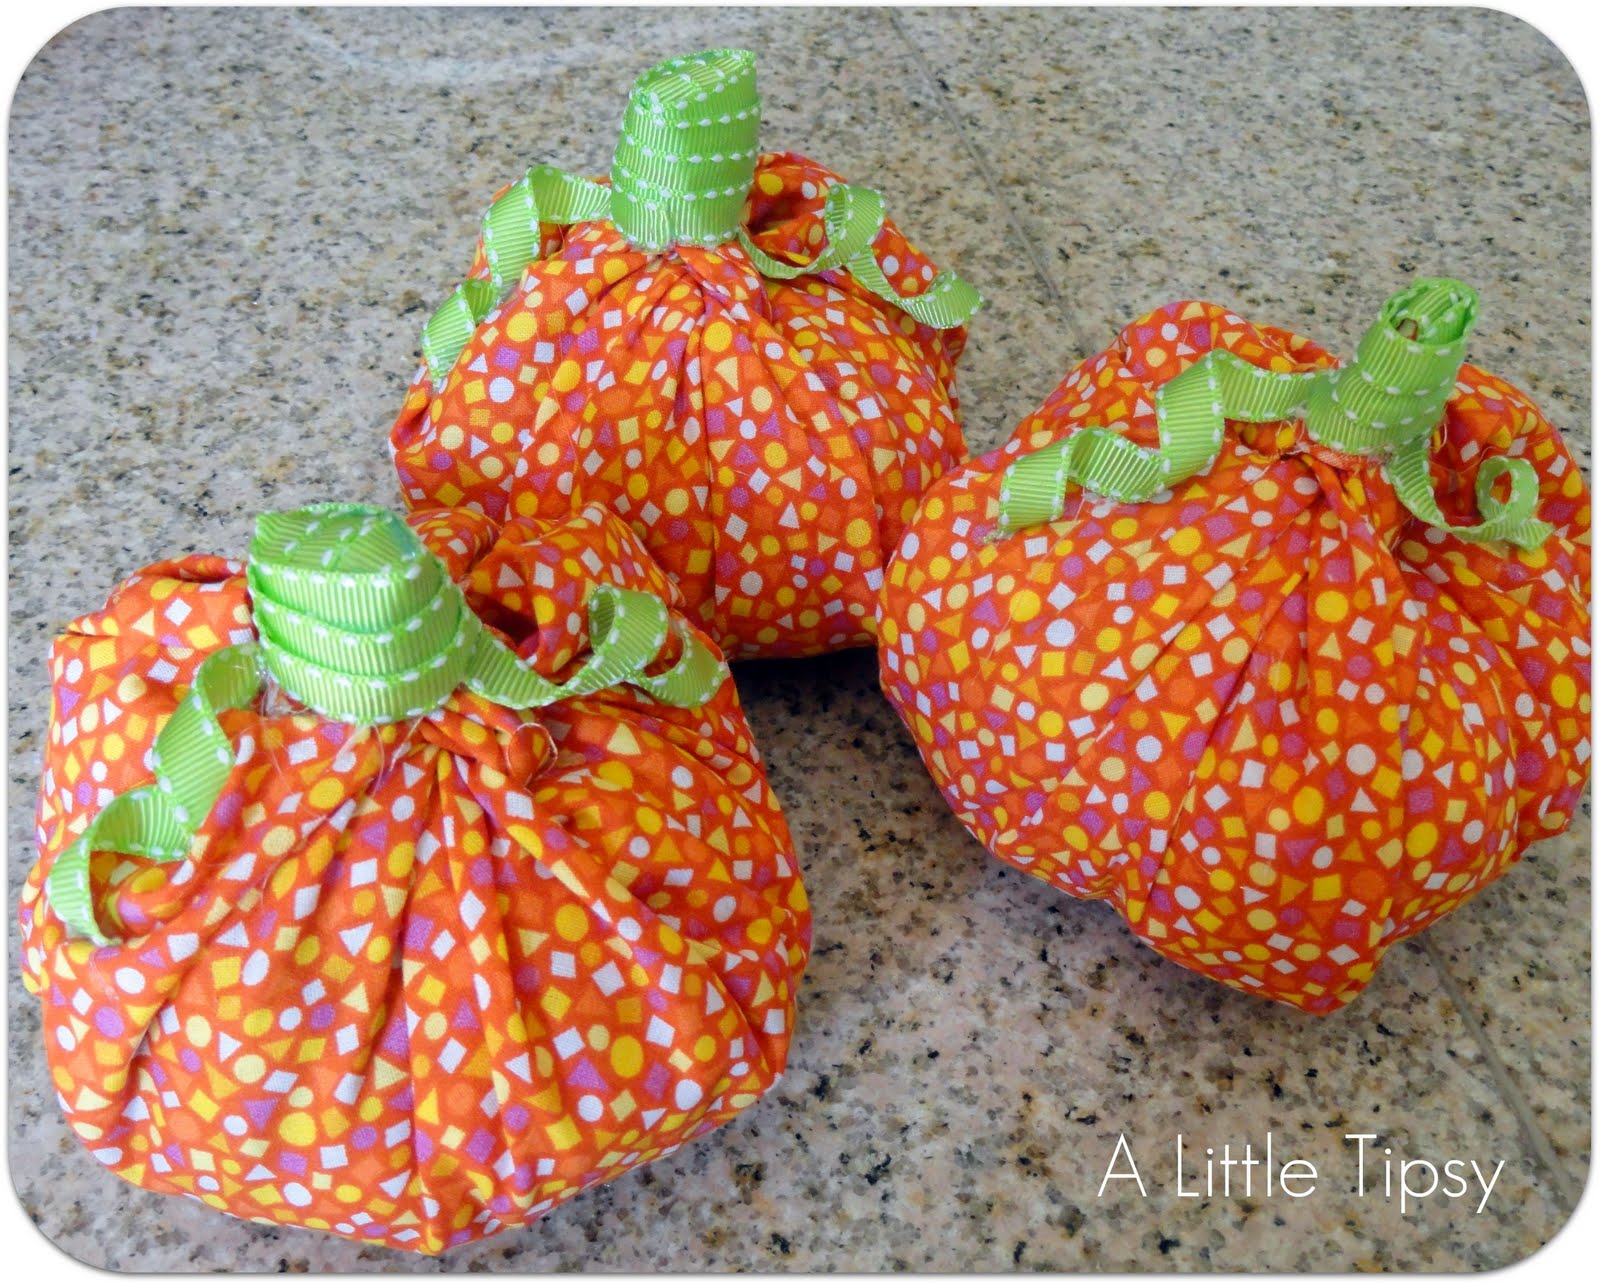
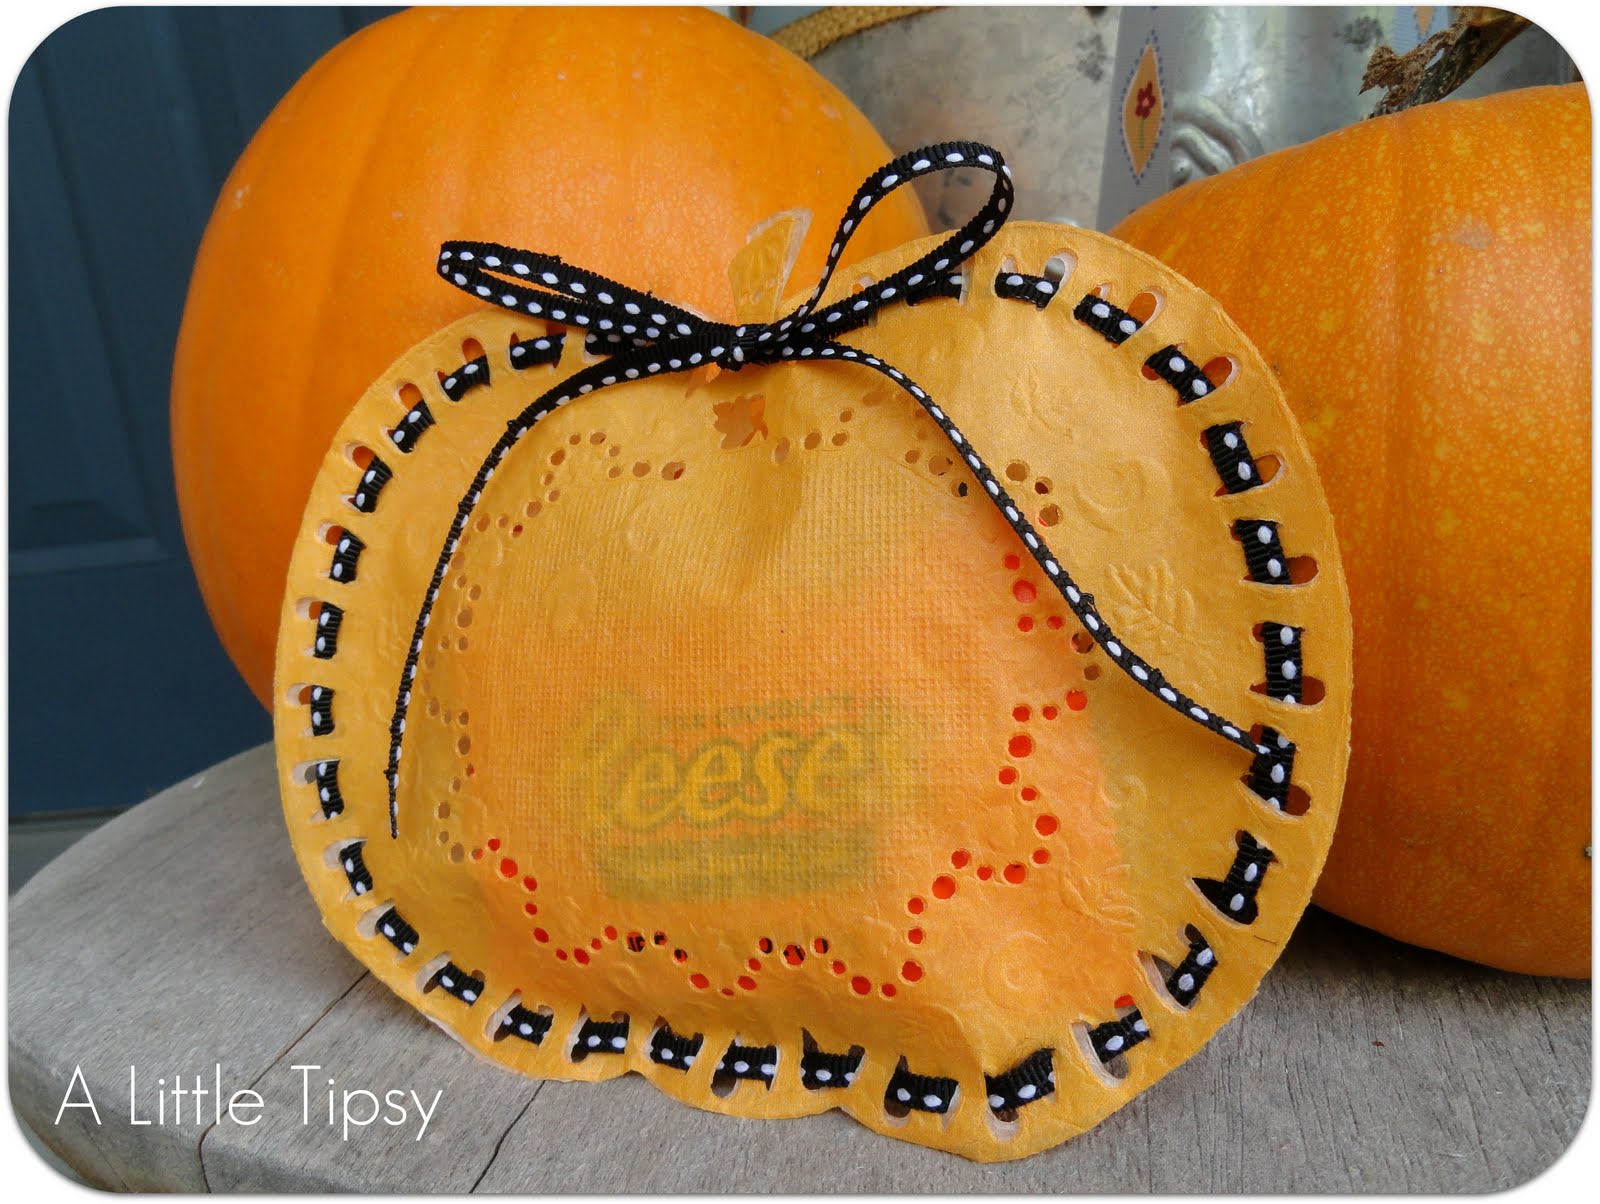
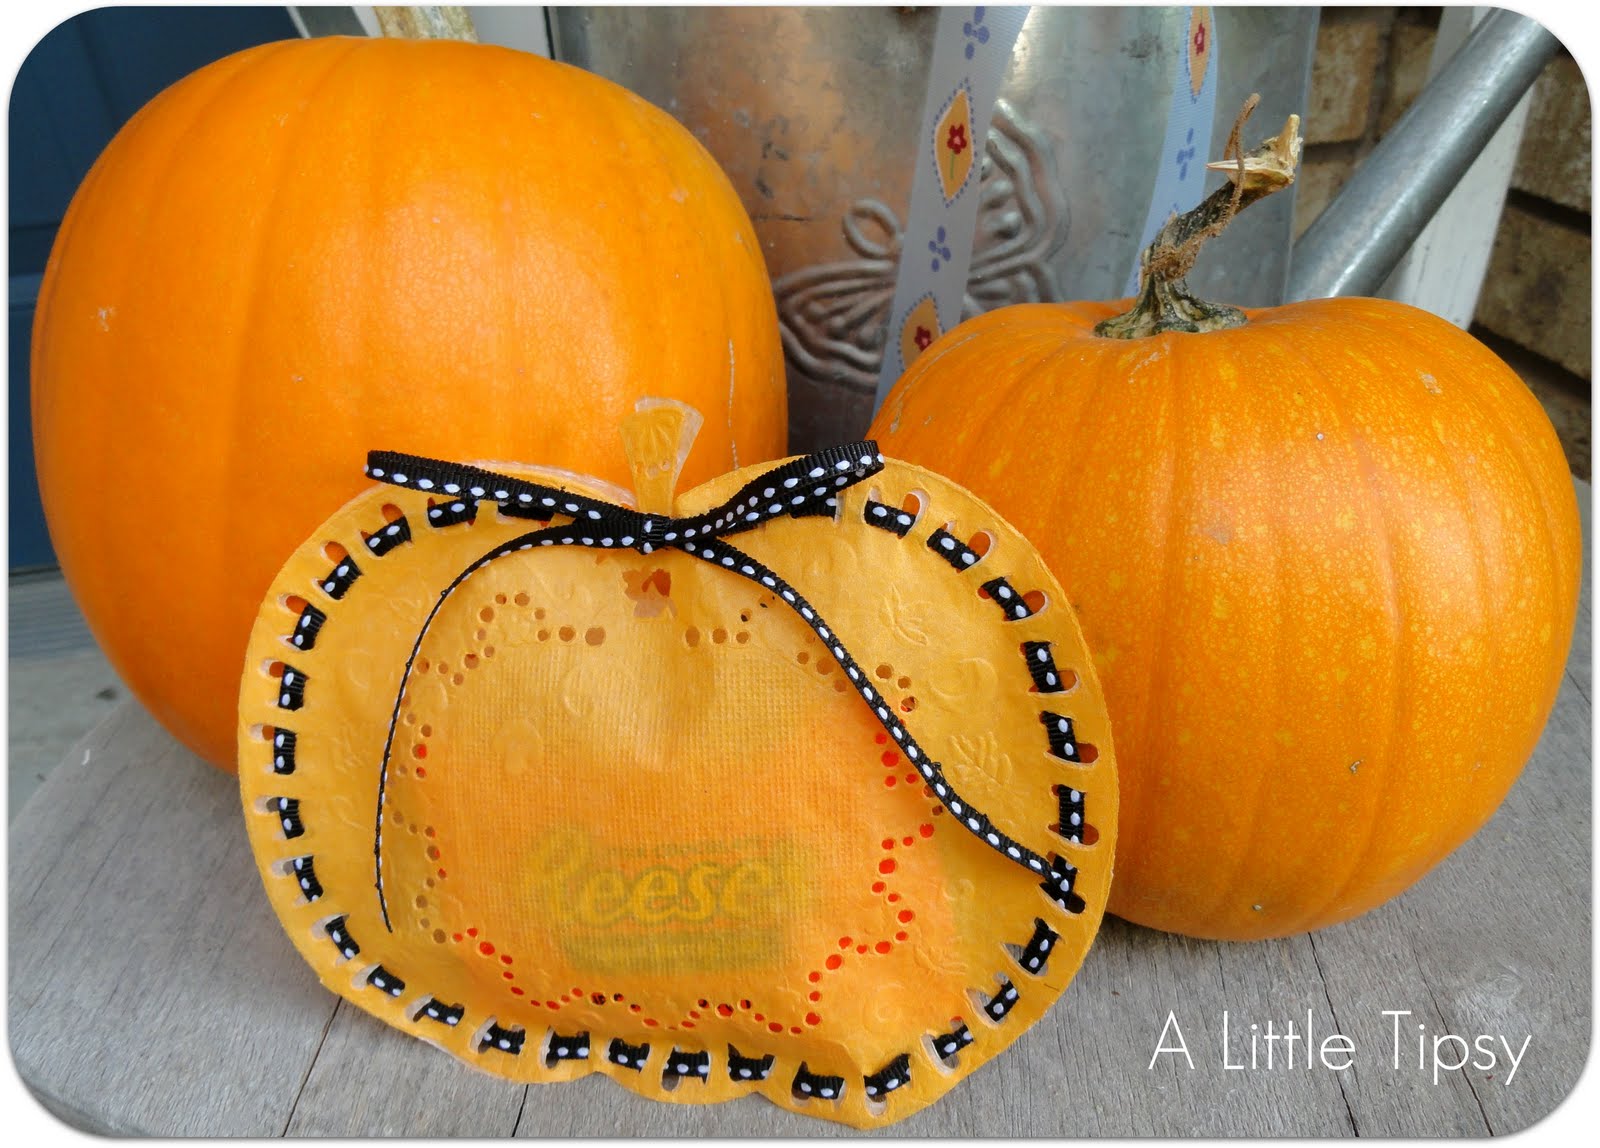
Let’s face it this time of year is all about the treats. So grab your favorite and let’s dress it up with this cute Doily Pumpkin Treat Bag!
This is a fun one for kiddos to help with if they have a soft touch. Tell them it’s a sewing card of sorts. 😉
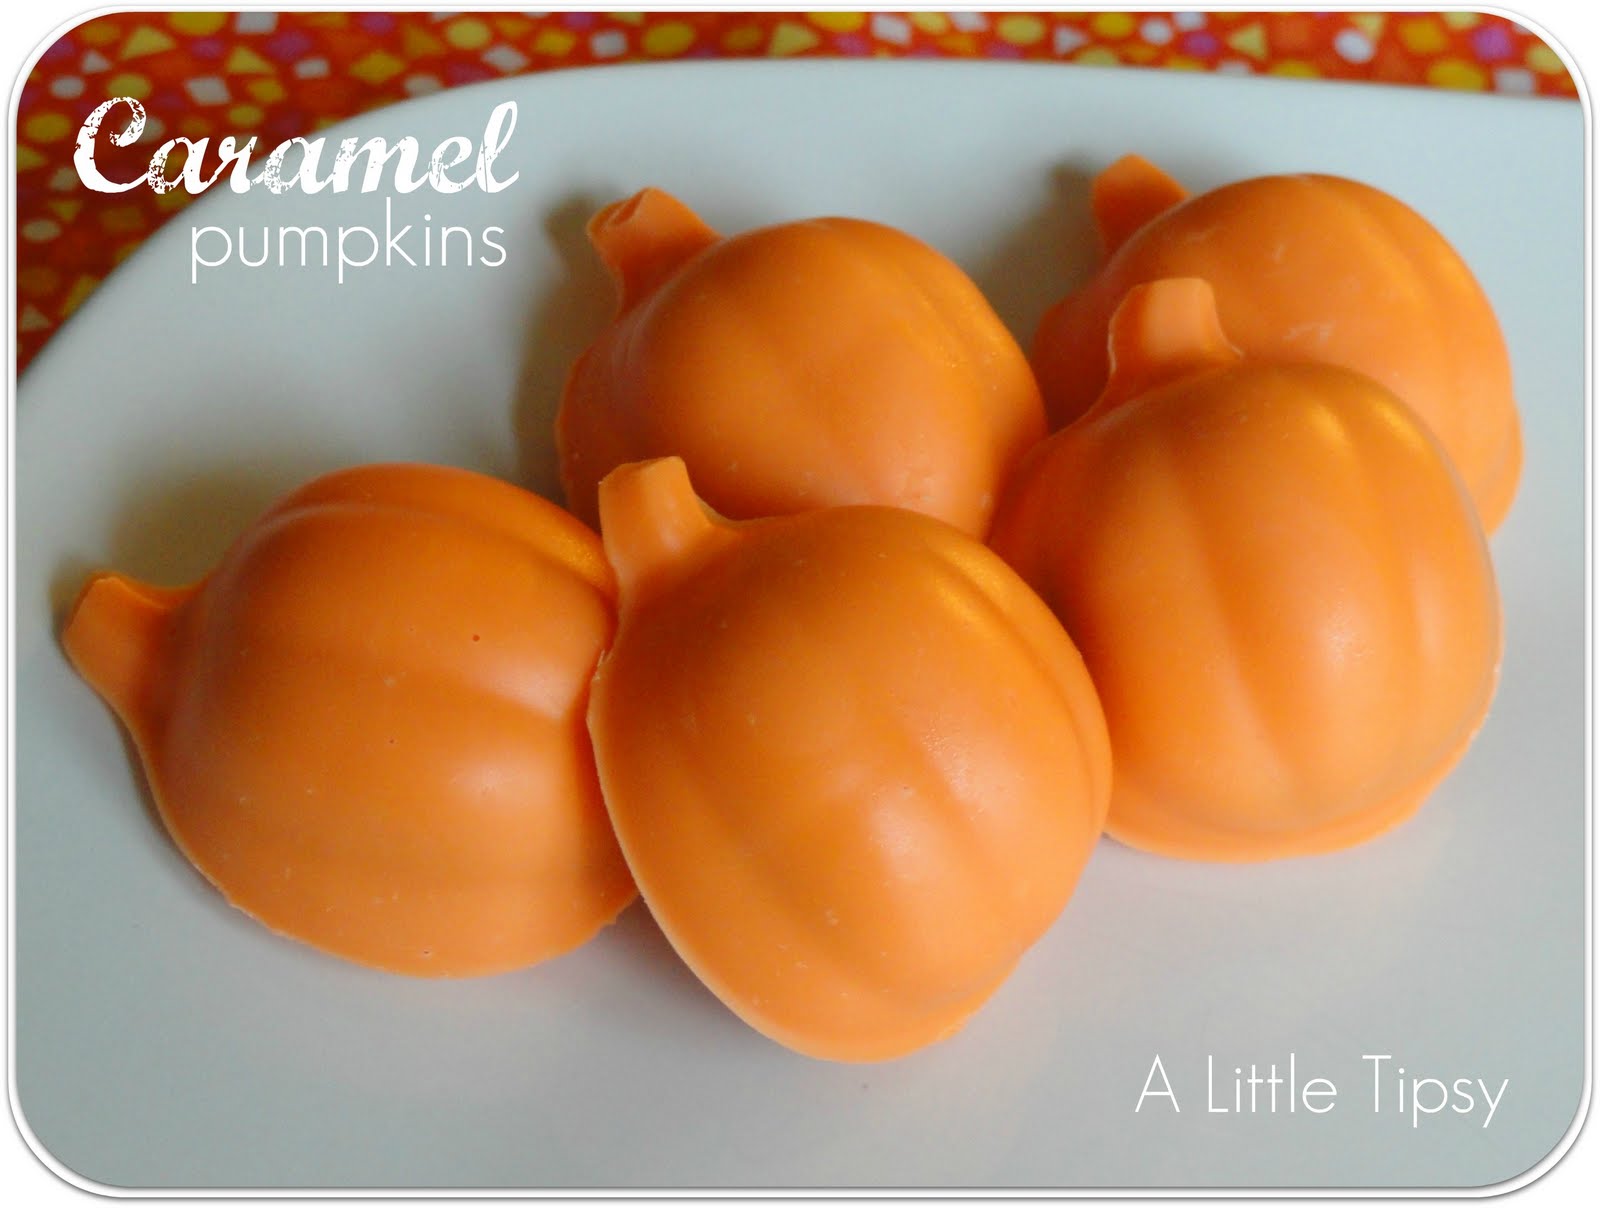
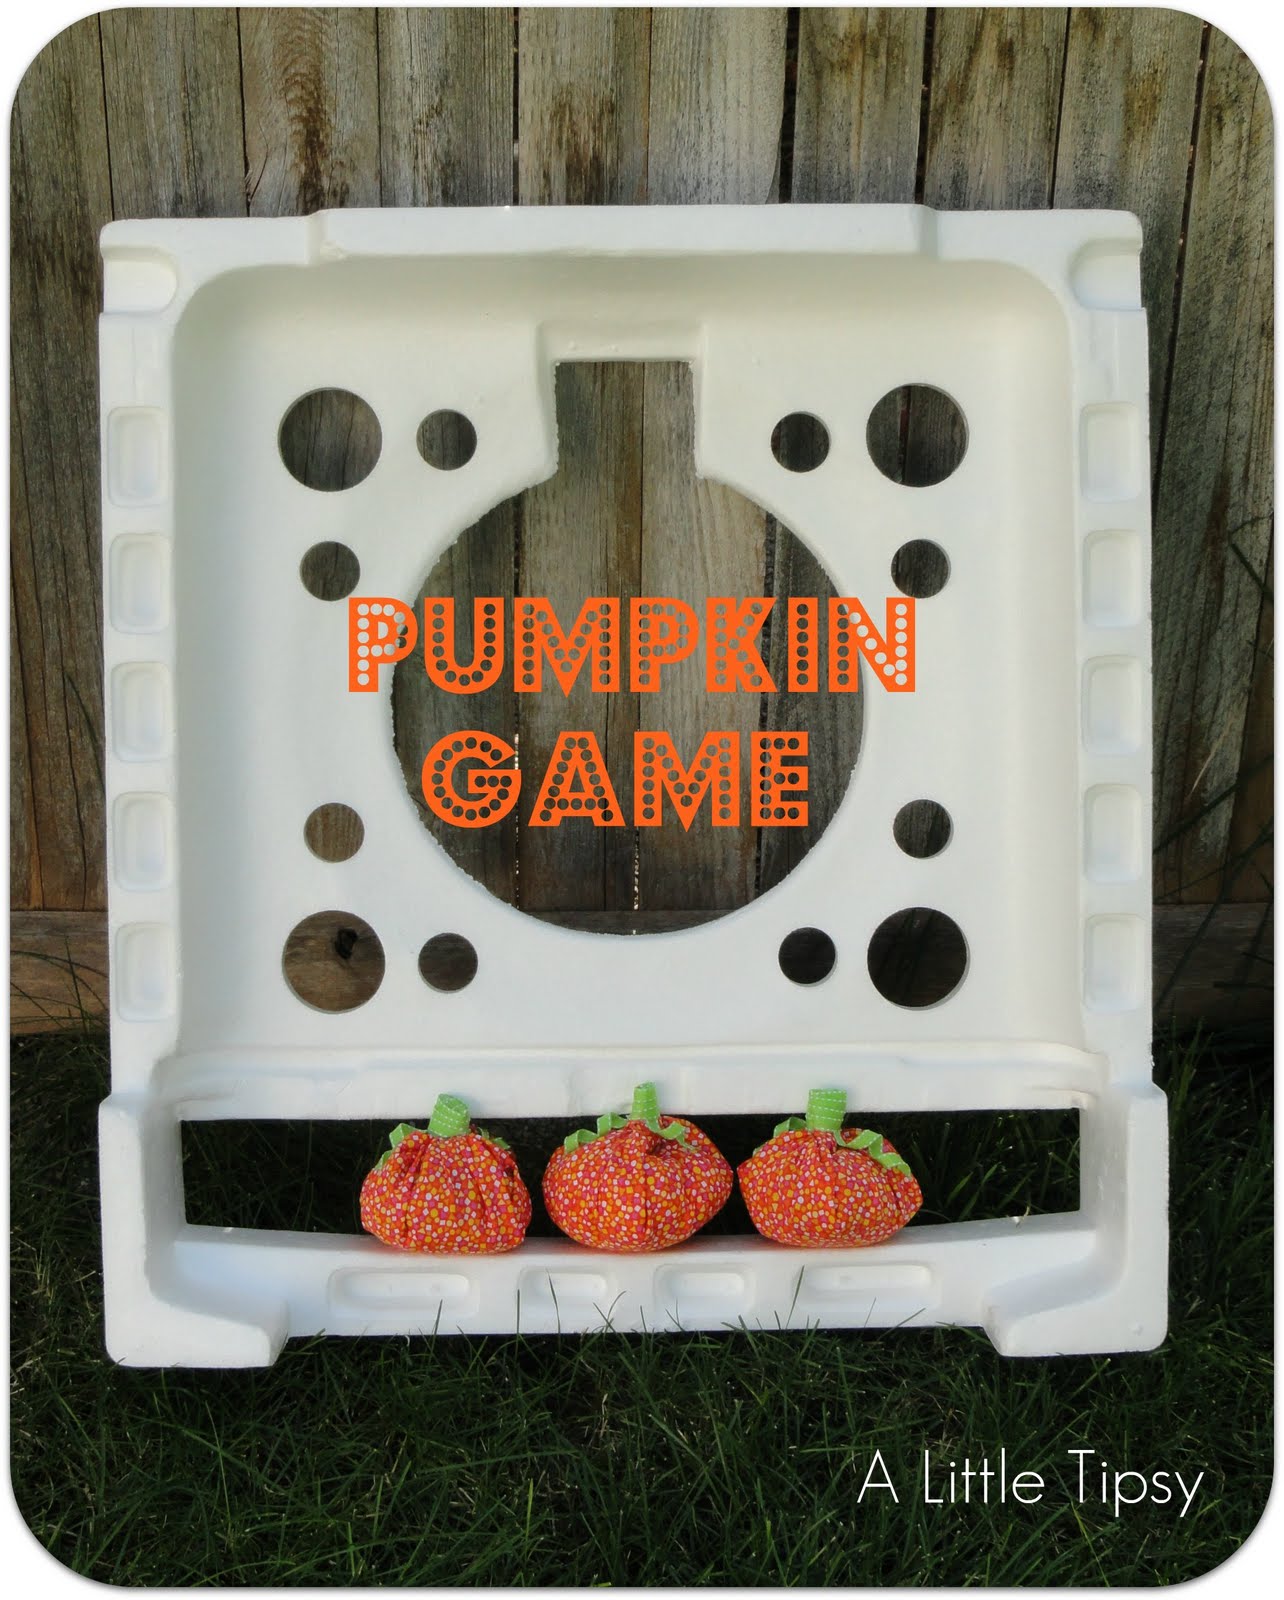
Doily Pumpkin Treat Bag
- Pumpkin doilies (Dollar Tree)
- Thin Black Ribbon
- Scissors
- Lighter
- Candy

1. Cut your skinny ribbon in half lengthwise to make it even thinner. Burn the raw edge with your lighter to stop fraying. Trust me on this one, unless you want a hairy pumpkin and one strand of ribbon left at the end.
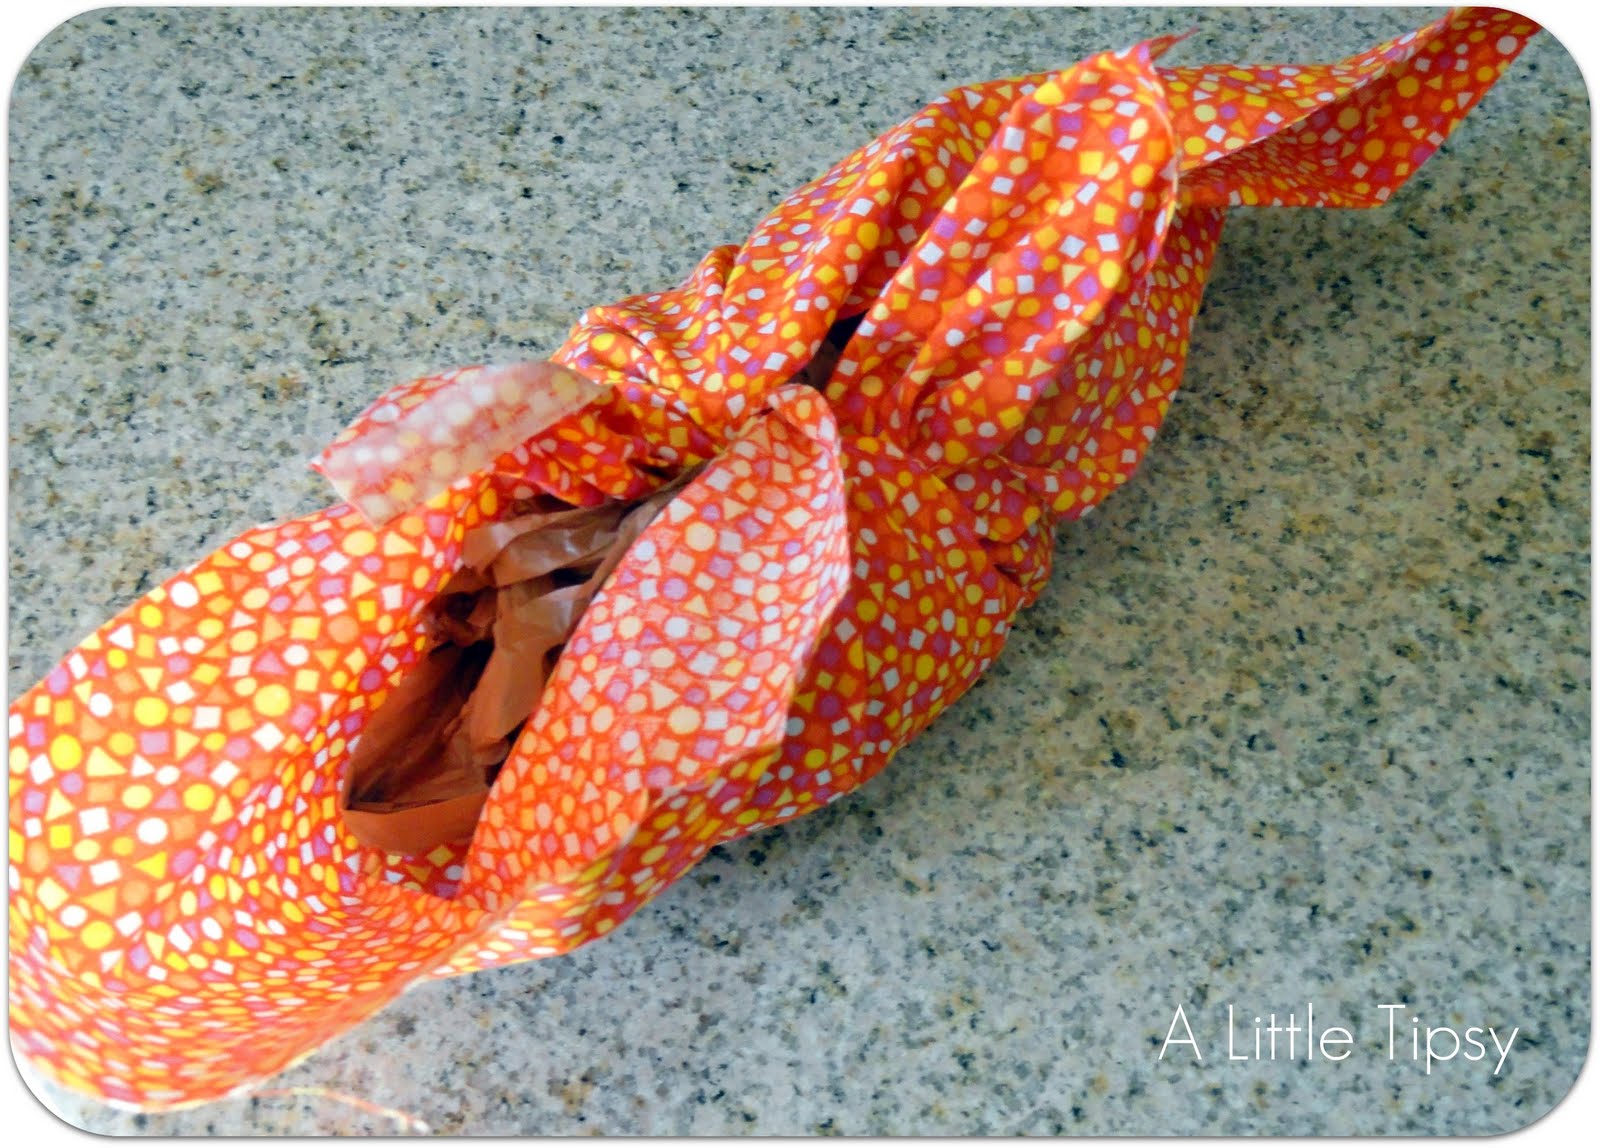
2. Take two doilies and place them with the white sides together. Weave the ribbon in and out through the holes. Put the candy in when you still have about two inches left to “sew” shut.
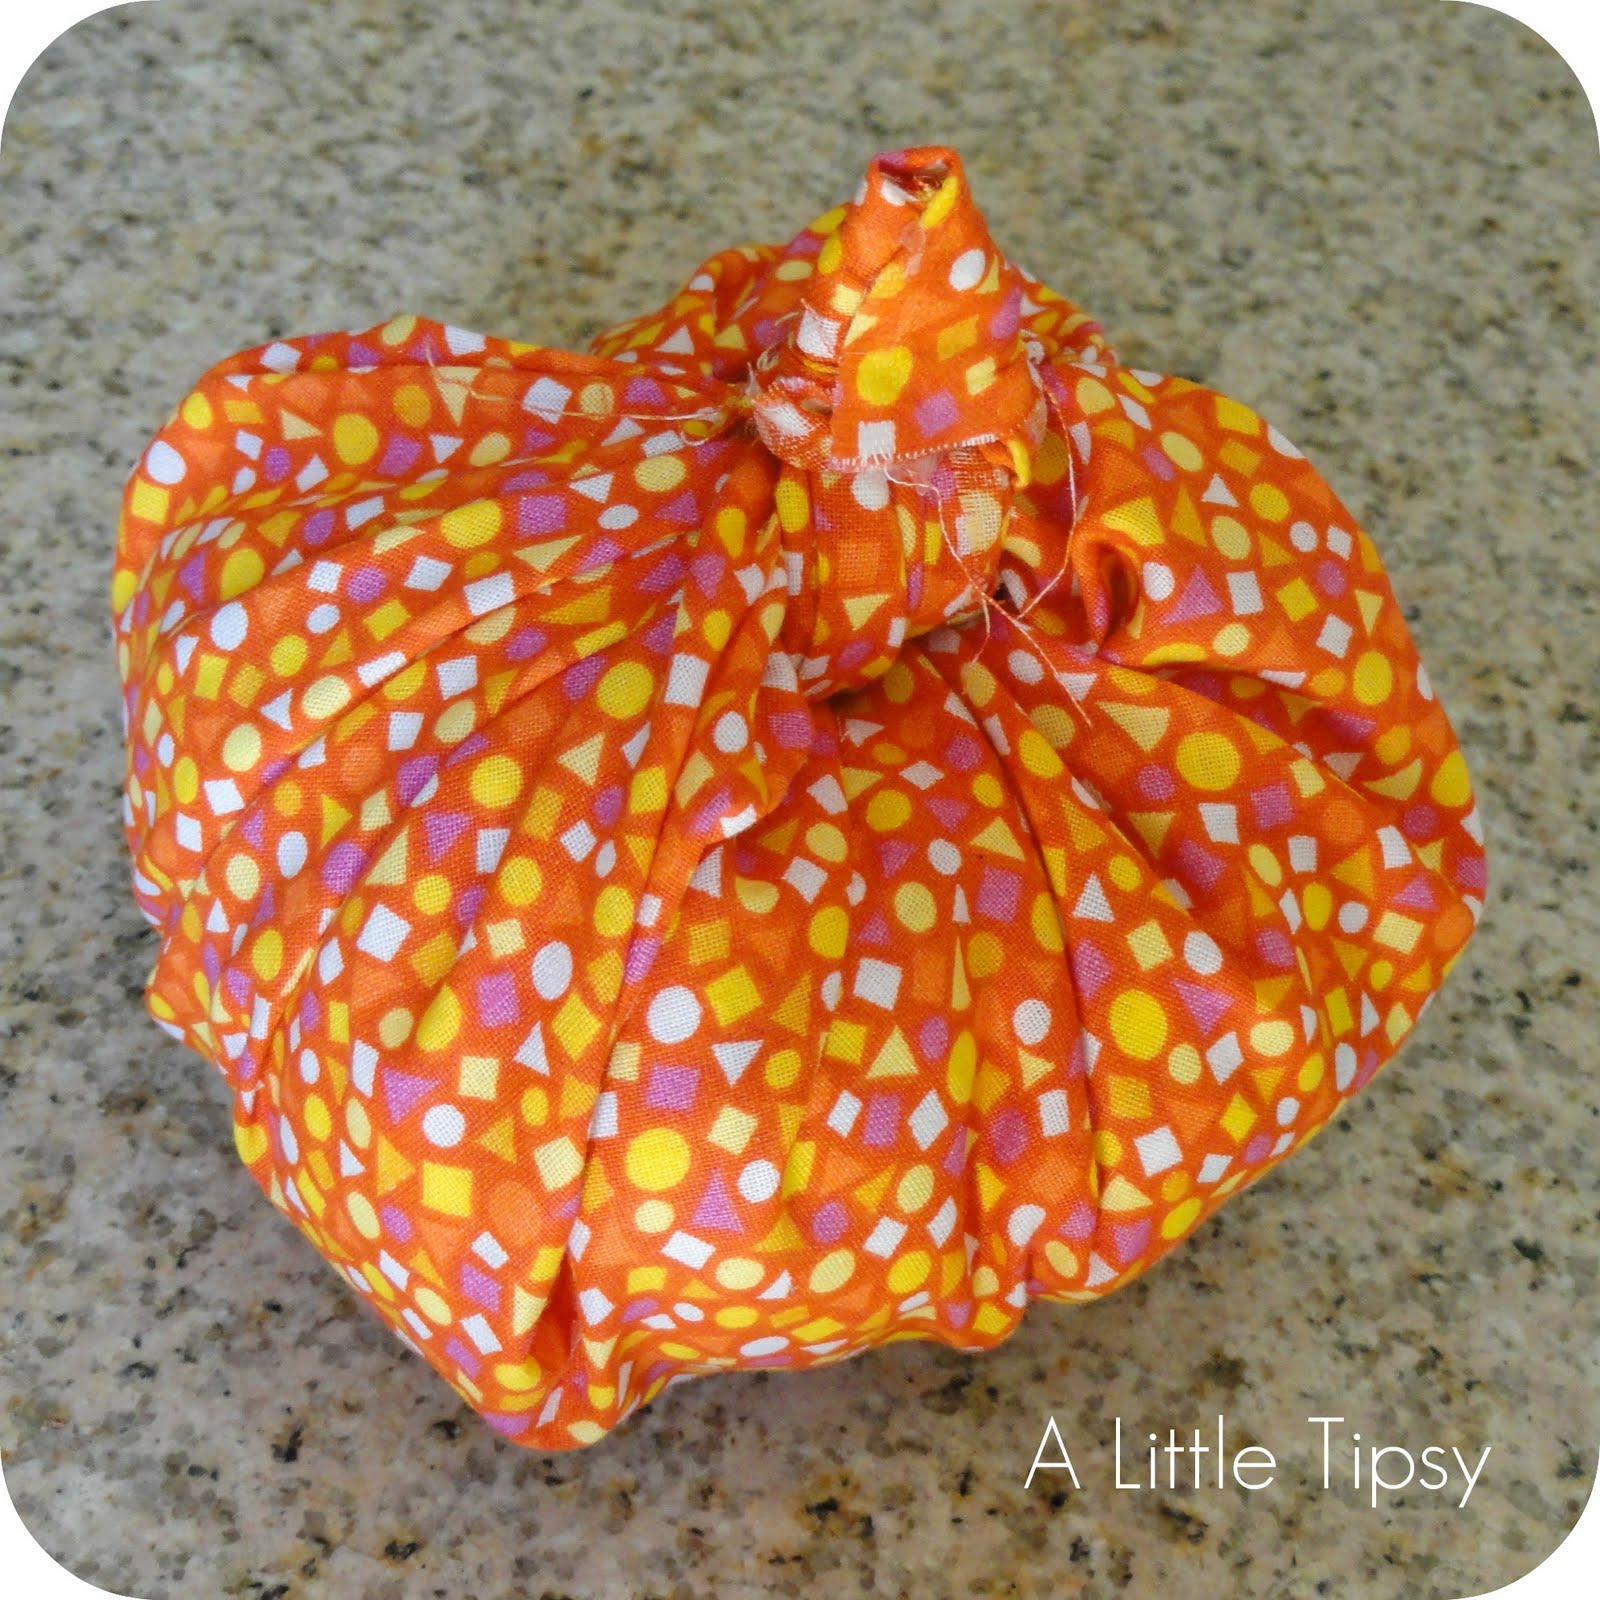
3. Finish weaving and tie off in a bow.
Fun filler ideas:
- Candy Corn
- Homemade pumpkin seeds
- Reese’s Pieces

They could be really fun at each place setting for Thanksgiving too!
P.S. Don’t forget to sign up for free Tipsy updates via RSS or email.