A Little Tipsy

Creative Tips & Ideas

  • home
  • About Me
  • the tipsy top
  • press
  • projects
  • contact me
[print_thumbnail_slider]

Fall Fever: Pumpkin Steamer

September 15, 2011 By Michelle Barneck 2 Comments

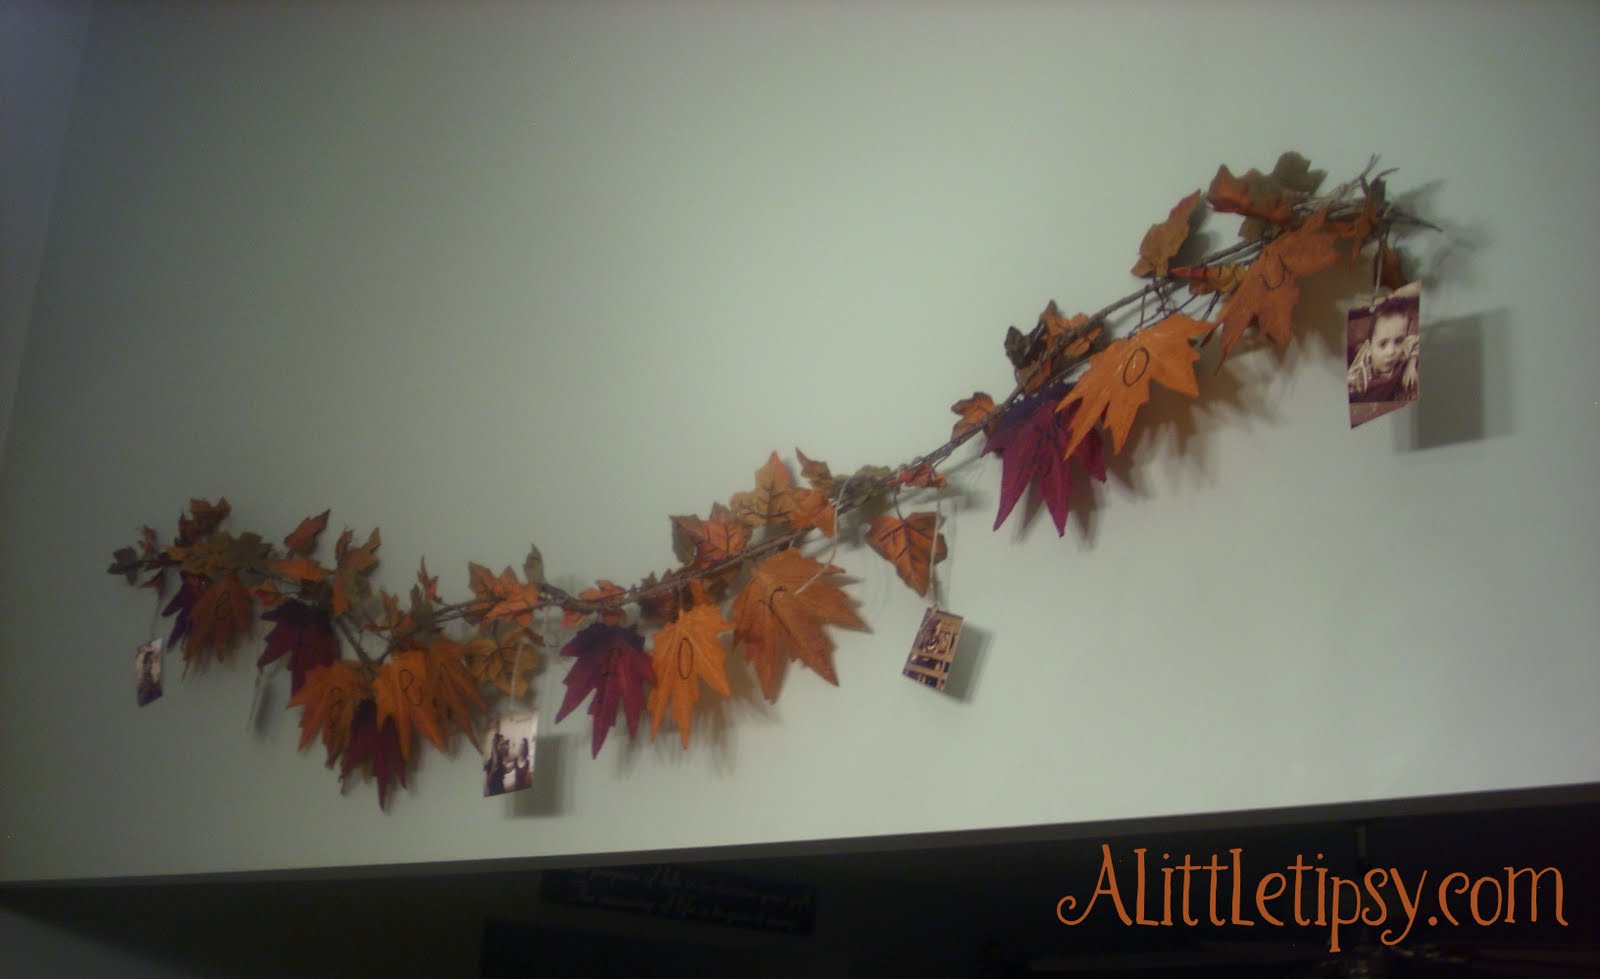
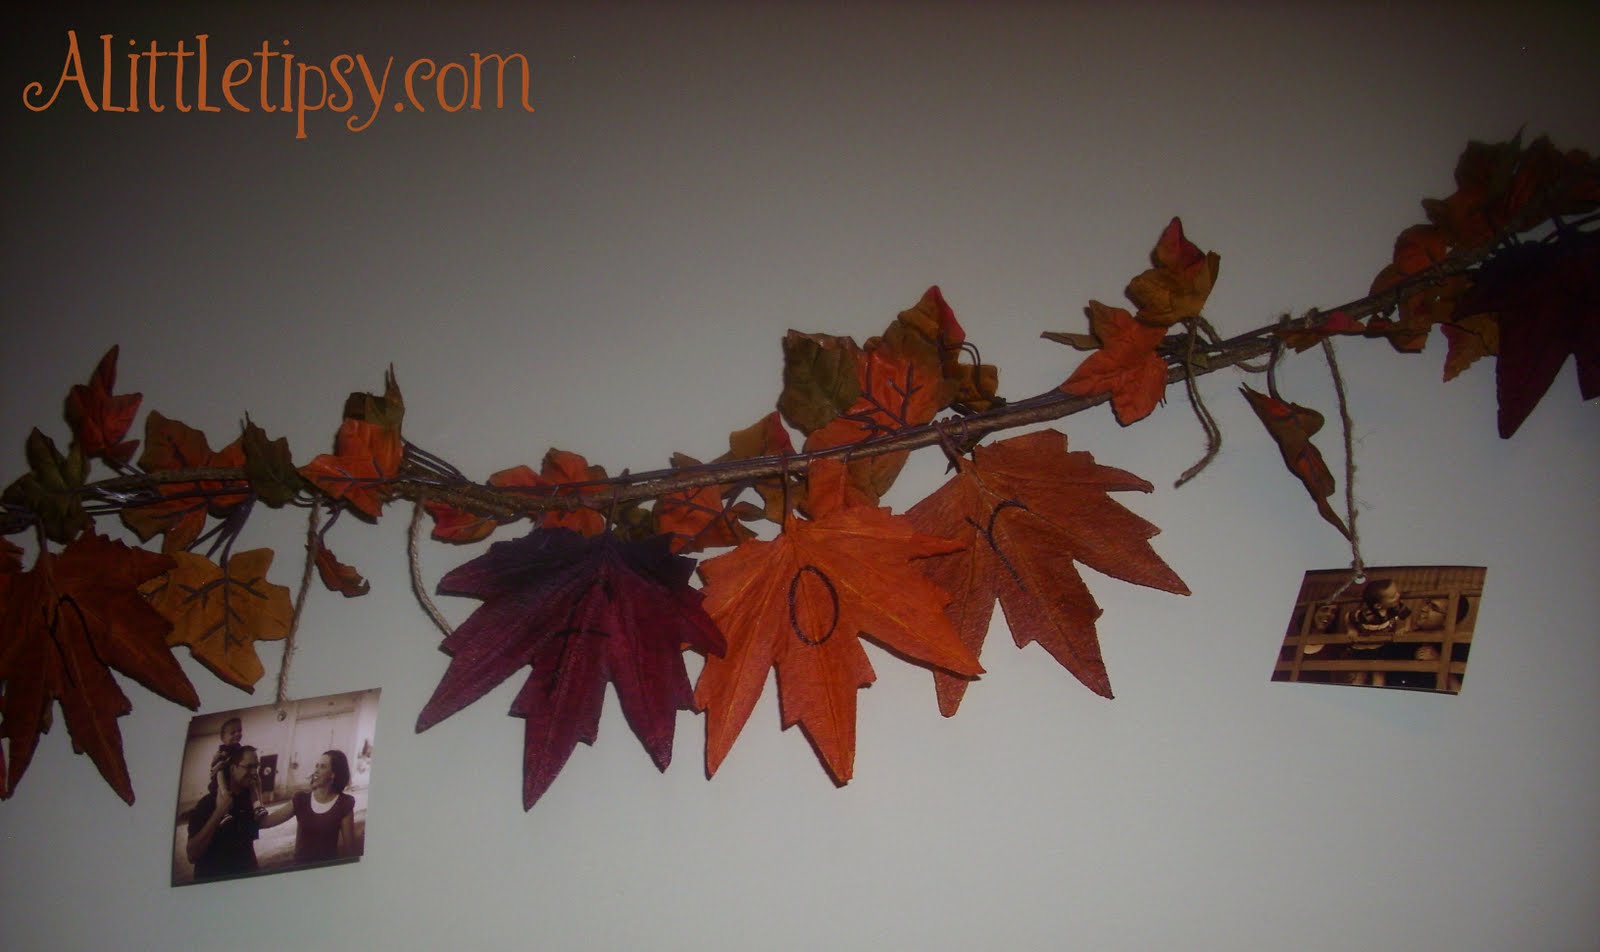
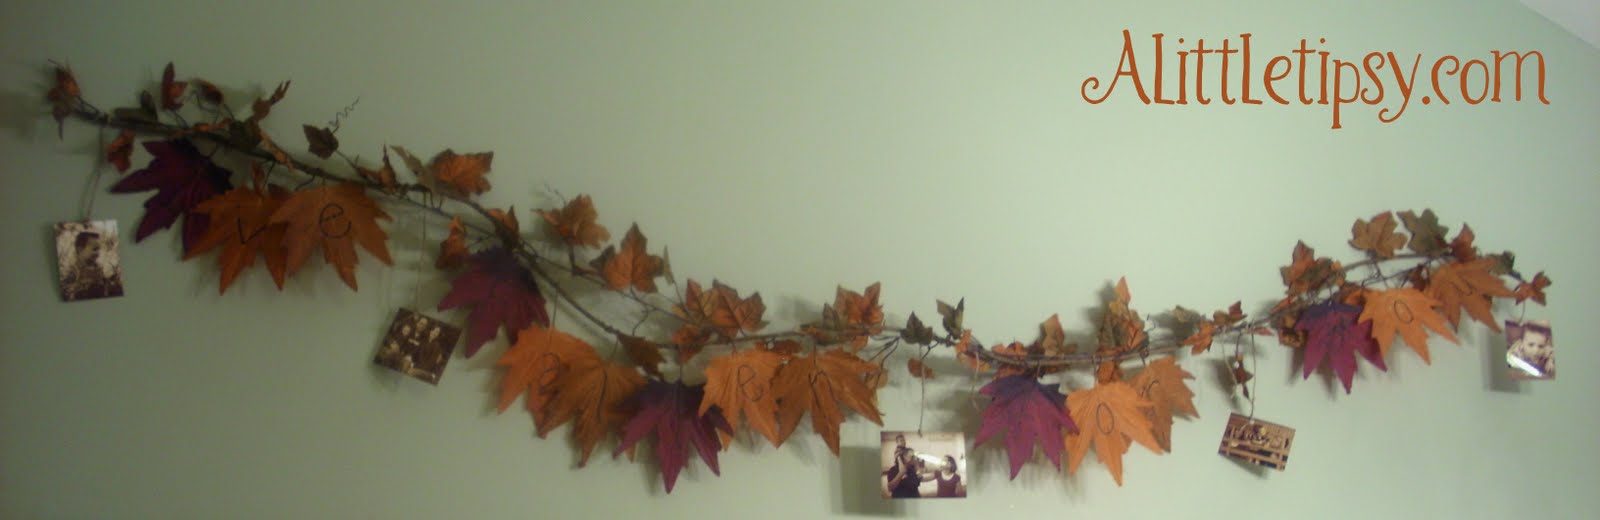
I am visiting over at Every Creative Endeavor today as a part of Amanda’s Fall Fever Series.

I am sharing a recipe for a Pumpkin Steamer so hop on over if you want a yummy fall beverage!

I have loved checking out the daily fall posts over there. Head over for tasty pumpkin fudge, festive fall wreaths, giveaways, and more!

P.S. Don’t forget to sign up for free Tipsy updates via RSS or email.

We have decided to truncate our feed to help protect against stolen content. I apologize for any inconvenience. Please love us anyway. 🙂

Paper Pumpkins

September 30, 2010 By Michelle Barneck 25 Comments

I found some really cute doilies at Dollar tree and immediately knew I could make some fun paper pumpkins out of them. If you have five minutes and a glue stick you can make these! They are so easy and turned out super cute.

Items needed:

  • Paper pumpkin doilies
  • Glue stick
  • Green wire or ribbon

1. Separate the doilies, this can be tricky as they stick together. I never did get 36.
2. Fold the doily in half with the orange inside.
3. Glue two white sides together by putting glue on the parts without holes and carefully lining them up.

4. Continue gluing and stacking. I liked using 12 doilies per pumpkin. It seemed to have just the right amount of fullness. Glue the top doily to the bottom doily to finish it off.

Congrats you just made paper pumpkins! Don’t you look fancy!

Put them on the table or hide them from your toddler on a shelf.

Linking Up:
Get Your Craft On
Transformation Thursday
Strut Your Stuff
Show Off Your Stuff
Look at me
Fall Frenzy

Visit thecsiproject.com


Post sponsored by PSprint. Here are 20 wicked Jack-O-Lantern halloween design inspirations to boost your creativity.

We have decided to truncate our feed to help protect against stolen content. I apologize for any inconvenience. Please love us anyway. 🙂

Fall Garland

September 28, 2010 By Michelle Barneck 8 Comments

I got the idea a couple of weeks ago to make a fall garland that reads “I’ve Fallen for You.” I headed over to Dollar Tree to see what I could find to make my fall garland a reality.

They had just what I needed.
Two 4 ft. fall garlands
Three packs of fall leaves with wire stems

1. Stretch out the garlands on the table so you can see the space you have to work with.
2. Using a sharpie, write a letter on alternating colors of the wire stemmed leaves to spell out “I’ve fallen for you.”

3. Attach the leaves to the fall garland using the wire stem, spreading them across the whole thing, but leaving room to attach a picture between each word.

4. Print small pictures of your family in Sepia tone. Most of mine were 2″x 3″ so I could print two on a 4″ x 6″ photo paper.
5. Attach them to the fall garland using garden twine.

6. Hang on the wall. I tied twine to the garland and hung a loop over a nail.

I love that it brings a bit of those luscious warm colors in and can stay up until Thanksgiving. I don’t want to have to worry much about my decor with the new baby coming mid November.

Linking Up:
Get Your Craft On
Toot Your Horn Tuesday
Anything Related
Topsy Turvy Tuesday

P.S. Don’t forget to sign up for free Tipsy updates via RSS or email.

We have decided to truncate our feed to help protect against stolen content. I apologize for any inconvenience. Please love us anyway. 🙂

Pumpkin Chocolate Chip Cupcakes

October 28, 2009 By Michelle Barneck 9 Comments

Here’s a fun little Pumpkin Chocolate Chip Cupcake recipe that is pretty darn healthy (I think it’s like 1 weight watchers point, no I am not on Weight Watchers, but my former co-workers who were loved these) and ridiculously easy! Oh, and did I mention yummy! My husbands co-workers (aka computer geeks) loved these!

Ingredients:
1 box spice cake
1 small can Pumpkin
1/2 bag of chocolate chips

Mix it up, put in cups and bake for 22 minutes or until toothpick comes out clean. This will make about 20ish pumpkin cupcakes depending on how big you make them.
Easy peasy. Seriously, if you mess this one up I don’t know what to tell you!

I put them in paper cups, but also borrowed this awesome pumpkin shaped pan from my sis. I think she may have purchased it at Ikea?

I added a little green frosting swirl to the pumpkin shaped ones. I did not have an fall themed plated so I used two of the generic ones to make a little container and drew a pumpkin on top with markers.

Hmmm. I gave them all away. Maybe I need to make more. 🙂

P.S. Don’t forget to sign up for free Tipsy updates via RSS or email.

We have decided to truncate our feed to help protect against stolen content. I apologize for any inconvenience. Please love us anyway. 🙂
« Previous Page
Next Page »

  • Bloglovin
  • Facebook
  • Google+
  • Instagram
  • Pinterest
  • RSS
  • Twitter

Hi there! I'm Michelle. Mother of three little boys and one little princess. Welcome to A Little Tipsy, a place for exploring creativity and sharing inspiration.

Follow on Bloglovin


Visit Michelle Barneck {A Little Tipsy}'s profile on Pinterest.

Tutorials by Category


15 Family Reunion Games

Family Reunion Games Collage

15 Sprinkle Party Ideas

Sprinkle Birthday Party
Creative Commons License

© Copyright 2014 A Little Tipsy · Site Designed by The Fairy Blogmother · Web Hosting by RFE Hosting

This website uses cookies to improve your experience. We'll assume you're ok with this, but you can opt-out if you wish.Accept Read More
Privacy & Cookies Policy