A Little Tipsy

Creative Tips & Ideas

  • home
  • About Me
  • the tipsy top
  • press
  • projects
  • contact me
[print_thumbnail_slider]

Pumpkin Wreath

October 19, 2012 By Michelle Barneck 3 Comments

I shared this fun pumpkin wreath over on Every Creative Endeavor last week, but wanted to share here for anyone who missed it.
Wanna make a wreath? I am am loving the texture and harvest feeling wreath adds to my wall!
 
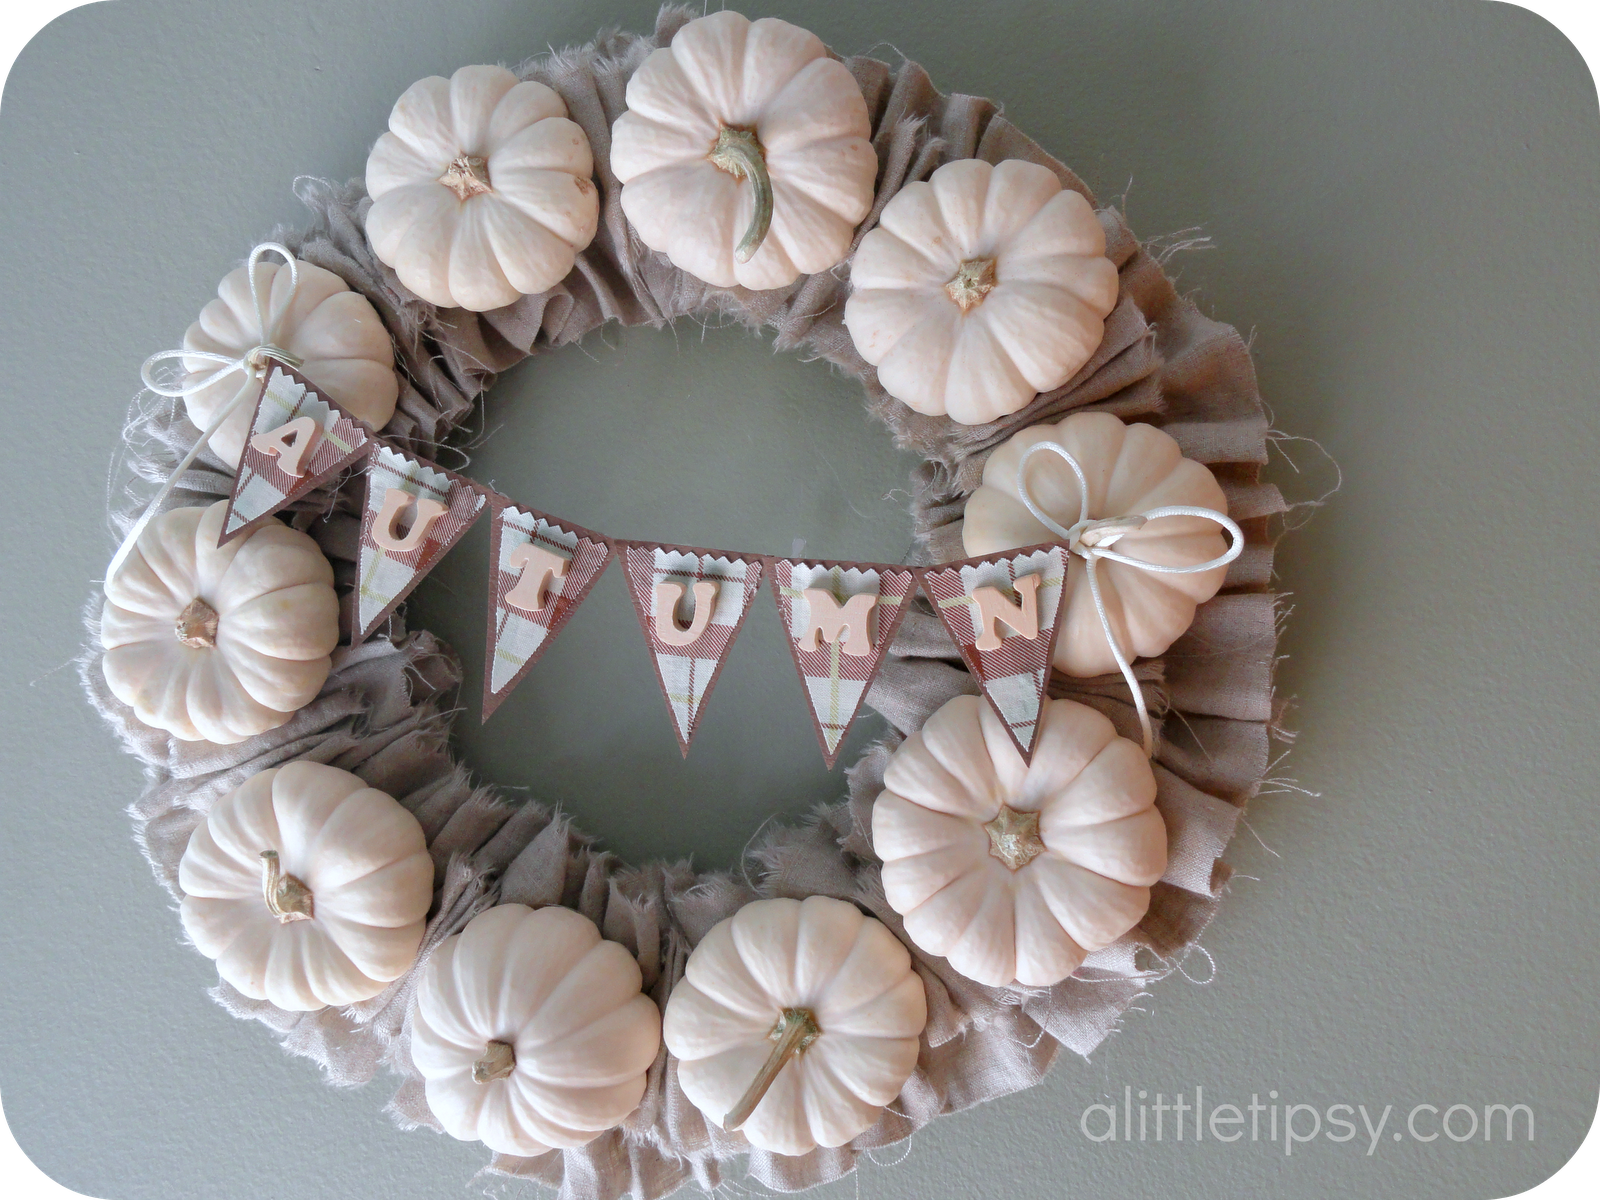
It’s not the traditional fall colors, but I adore the neutral theme.
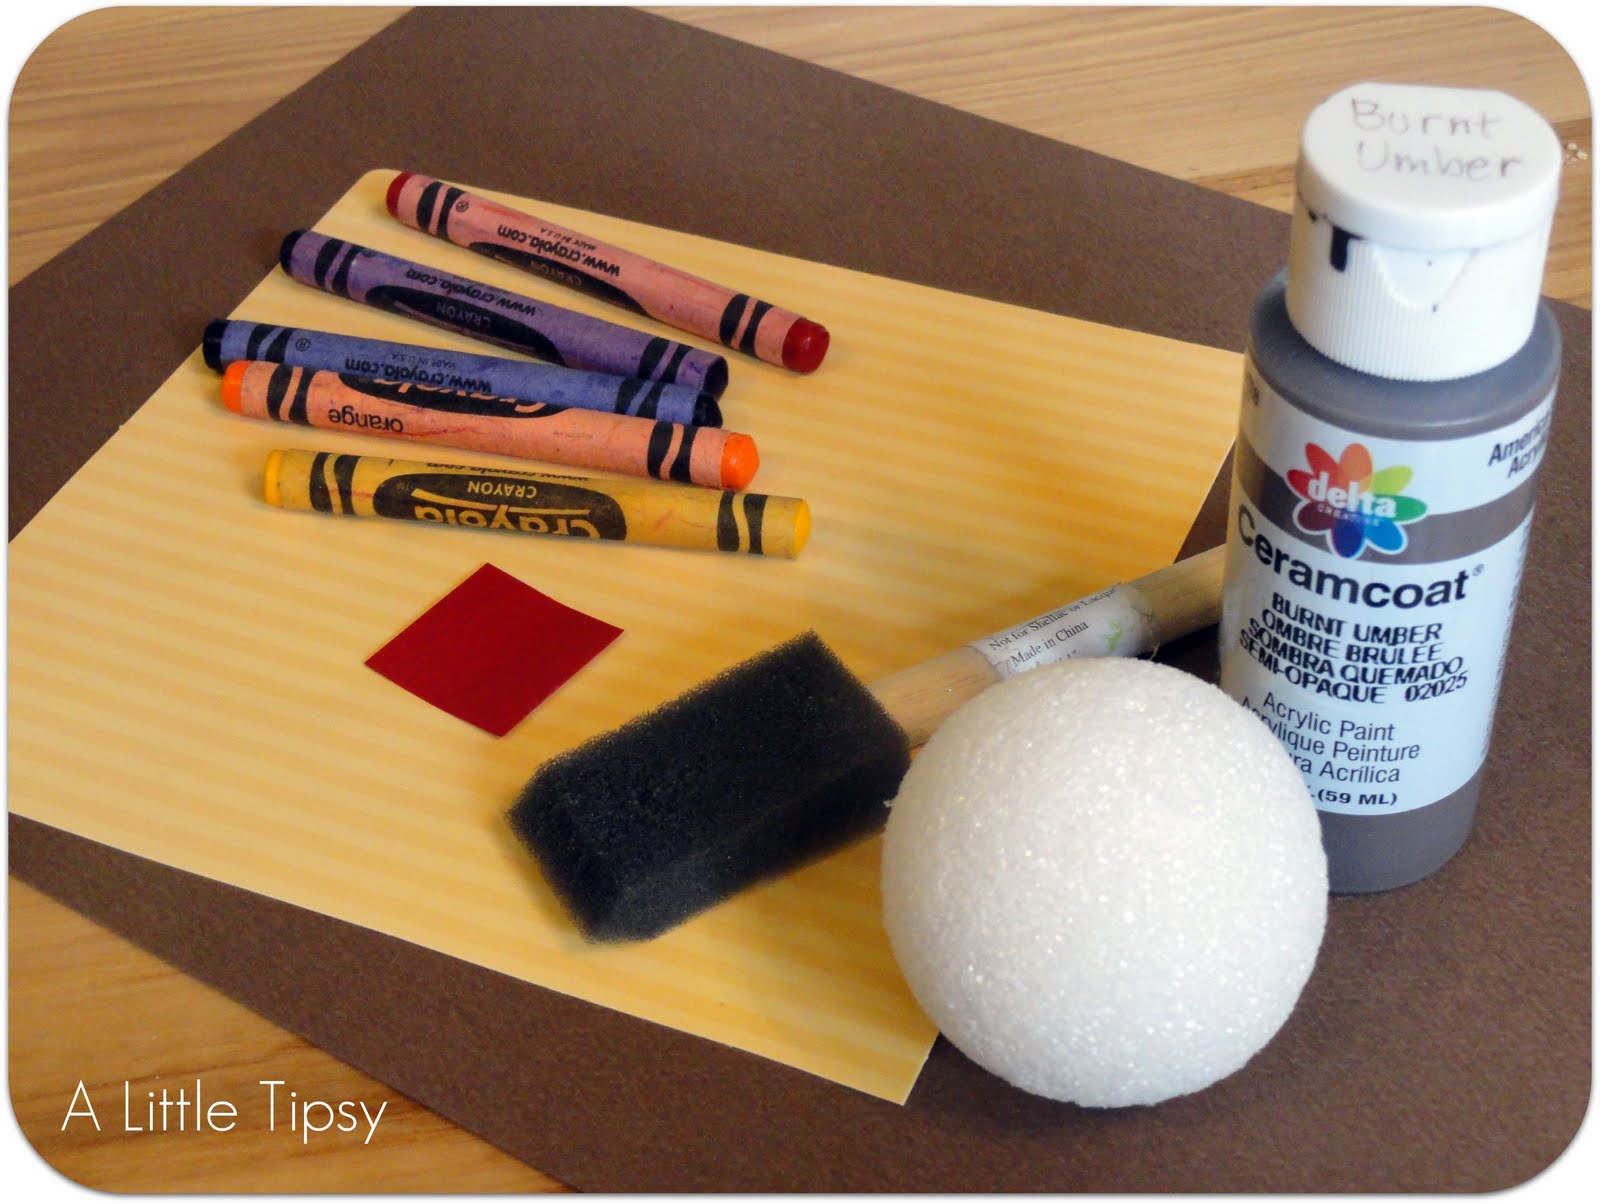
Supplies needed:
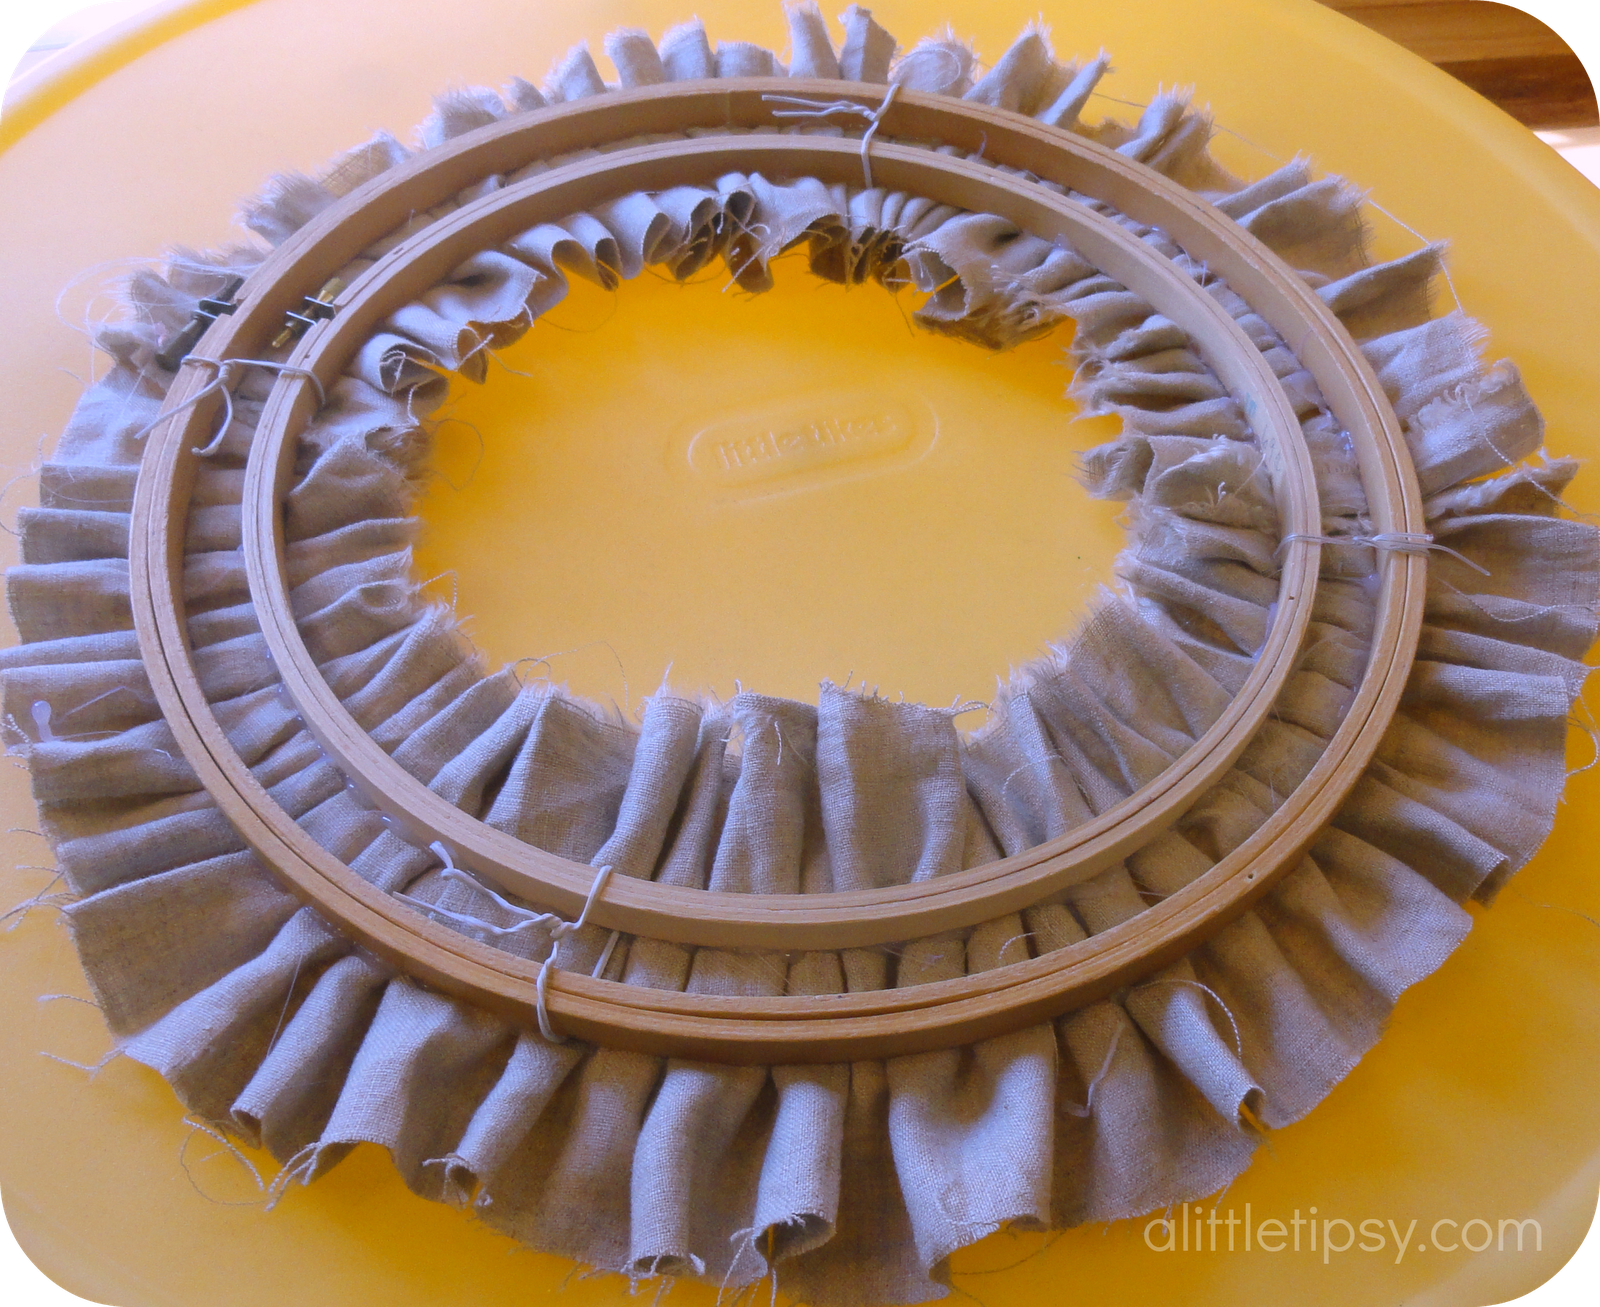
Two nesting embroidery hoops
Twist ties
Linen (about 12 in. x 54 in.)
Ten white mini pumpkins
Hot glue or Amazing goop or other super strong glue
Ribbon
Scissors
Cardstock
Fabric scrap
Fabric glue
Wood letters
How to make a wreath:
1. Twist tie the embroidery hoops together as tight as possible to ensure stability.
2. Rip the linen in to 4 inch strips. Hot glue fabric to the hoops ruffling as you go along. Use a lot of glue so it adheres well. Here’s what it will look like on each side.

3. Arrange your pumpkins on the linen. Begin gluing them starting with the bottom of the pumpkin and then attaching any fabric that touches the sides with glue. Make sure they are very secure with hardly any movement.

4. Add additional security and dimension by using the leftover 2 inch strips of linen. Cut them in to four inch pieces and ruffle placing between the pumpkins and securing with glue.

5. Make a mini pennant banner by cutting small triangles out of fabric and slightly larger triangles out of cardstock. I used a pinking shear edge on the fabric for added interest. Use the fabric glue to adhere the fabric to the cardstock. Attach the wood letters to the triangles with fabric glue. Hot glue the triangles  to the ribbon.
6. Attach your pennant to two of the pumpkin stems by tying two loops around the stems in a knot.

7. Hang using a system that can hold a lot of weight. I have a screw in a stud. DO NOT hang on a door or something else that moves. The wreath cannot withstand movement or swinging. 

Enjoy your fun fall pumpkin wreath!

P.S. Don’t forget to sign up for free Tipsy updates via RSS or email.

We have decided to truncate our feed to help protect against stolen content. I apologize for any inconvenience. Please love us anyway. 🙂

Fresh Peach Dessert

August 20, 2012 By Michelle Barneck 5 Comments

I am a Brigham City girl and anyone from around there knows we know our peaches. I have long since moved to the valley, but brought a little touch of my hometown with me that stands in my backyard. My peach tree is on and boy are we loving them! There’s nothing quite like a fresh peach dessert.
FRESH PEACH DESSERT

The true beauty of this fresh peach dessert recipe is THERE IS NO COOKING INVOLVED, thus the fresh! It keeps the fruit in it’s original glorious form, which for me with peaches is a must. I am not a huge fan of cooked fruit. 
And it is ridiculously easy. If you can crush, cut, and mix you can make this recipe. Truly.
Adapted from this recipe found through Pinterest on the My Favorites blog. The original recipe prepares the dessert in a 13×9 pan, but if you want to be fancy like the pic above it is easy to separate it in to individual serving dishes. Just layer as normal.
And in case you were wondering it is kid tested, mother approved.
Fresh peach dessert is best within the first 24 hours so if you have a small family like us, brighten someones day and take them a little bit of heaven.
Now go. Get your hands on some local peaches and make it now. You can thank me later!

P.S. Don’t forget to sign up for free Tipsy updates via RSS or email.

We have decided to truncate our feed to help protect against stolen content. I apologize for any inconvenience. Please love us anyway. 🙂

Thanksgiving for Kids

November 20, 2011 By Michelle Barneck 4 Comments

In case you missed my guest post on A Glimpse Inside here’s an idea to make it a fun Thanksgiving for Kids.

So here it is, my fun little turkey friend for the kiddos I have lovingly named…

Terrence the Turkey


He may be a little shy at first, but once you get to know him he is a total Butterball.

Supplies needed:

2″ Styrofoam ball
Serrated knife
Brown paint
Foam Brush
5 Crayons
Pointy nosed pen
Brown cardstock
Yellow cardstock
Red Cardstock
Scissors


1. Slice off the bottom of the ball with a knife so it will sit flat.


2. Paint the ball brown.

3. In the center of the ball, push the pen in to the styrofoam about 1/2 inch to make a holes for the crayons. It has to be in the middle straight to the center or the crayons will tip the ball over.


4. Cut a body shape, beak, and gobble out of the cardstock.


5. Use your knife to make a slit in the styrofoam in front of the crayons to slide the body in.


6. Hot glue the beak on. Cut a tiny slit in the gobble and slide it on to the beak.


Find a nice place for him on the kids table…


or set him free to roam.


We have decided to truncate our feed to help protect against stolen content. I apologize for any inconvenience. Please love us anyway. 🙂

Thanksgiving Craft: Gather Plate

November 1, 2011 By Michelle Barneck 8 Comments

Lately, I am finding myself drawn to the simple things. This is the time of year when the hustle and bustle begins and there just seems to be a lot of “noise.” Halloween has passed and I needed something to fill the Holiday decor void so I came up with this simple Thanksgiving craft. I have lots of decor items that refer to giving thanks, being grateful, remembering our blessings, etc. I wanted a simple word that represents Thanksgiving to me. I think I found the perfect one.

Between all the craziness of travelling and food prep there is one thing about Thanksgiving that means the most to me and that is the gathering. Bringing family and friends together to express our gratitude, bask in memories, and create new.

Easy Thanksgiving Craft: Gather Plate

Did I mention that you only need three things?

White plate
Martha Stewart Fire Opal Glitter Paint
Martha Stewart Fine Tip Top #3
Screw the tip on to your paint bottle and write on the plate.
Let dry overnight.
Add your cute new Thanksgiving craft to your decor.

P.S. Don’t forget to sign up for free Tipsy updates via RSS or email.

We have decided to truncate our feed to help protect against stolen content. I apologize for any inconvenience. Please love us anyway. 🙂
« Previous Page
Next Page »

  • Bloglovin
  • Facebook
  • Google+
  • Instagram
  • Pinterest
  • RSS
  • Twitter

Hi there! I'm Michelle. Mother of three little boys and one little princess. Welcome to A Little Tipsy, a place for exploring creativity and sharing inspiration.

Follow on Bloglovin


Visit Michelle Barneck {A Little Tipsy}'s profile on Pinterest.

Tutorials by Category


15 Family Reunion Games

Family Reunion Games Collage

15 Sprinkle Party Ideas

Sprinkle Birthday Party
Creative Commons License

© Copyright 2014 A Little Tipsy · Site Designed by The Fairy Blogmother · Web Hosting by RFE Hosting

This website uses cookies to improve your experience. We'll assume you're ok with this, but you can opt-out if you wish.Accept Read More
Privacy & Cookies Policy