A Little Tipsy

Creative Tips & Ideas

  • home
  • About Me
  • the tipsy top
  • press
  • projects
  • contact me
[print_thumbnail_slider]

How To Remove Sticker Residue

June 4, 2013 By Michelle Barneck 5 Comments

Hello again, it’s Aly from Entirely Eventful Day here to share a helpful tip with you…

I have kids. And what I really want to know is why do they insist on sticking stickers on my furniture? I used to stress about it, not anymore. Now I know how to remove stickers from furniture without chemicals and it’s oh, so easy. Don’t you want to know how…

READ MORE…


Tada! Just put a little lemon oil on your finger and rub it on the sticker residue. I was skeptical, but this is amazing and it works! Plus, you don’t have to worry about it taking finish off your furniture.

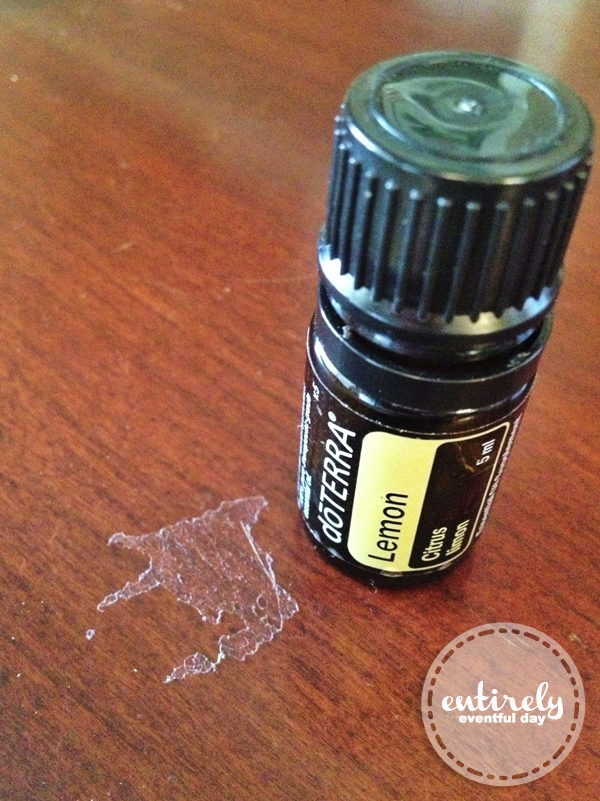
PS, this is just the brand of lemon oil I happen to own.  This isn’t an advertisement. I’m sure any brand would work just fine.  I hope this relieved a little stress for you.  Next time your kid covers your coffee table with My Little Pony stickers you won’t need to fly off the handle. Just rub a little yummy smelling oil on it.  You’re welcome.

——————————————————————————–
Great tip Aly! I am always finding sticker on furniture and walls so this will definitely help keep the peace. Now if I could just get them to stop leaving stickers on their shirts when they go through the wash!

We have decided to truncate our feed to help protect against stolen content. I apologize for any inconvenience. Please love us anyway. 🙂

Bling It On Flower Sash #12MonthsofMartha

June 3, 2013 By Michelle Barneck 2 Comments

This month Martha Stewart sent me a big box of jewelry supplies including more rhinestones than I had ever seen in my house. Being a house full of boys we don’t see much sparkle and shine, but I was up for the challenge. I spotted these hematite rhinestones and instantly fell in love with the dark gray. I knew I had to use them. I love the combination of gray and teal (as you can see in my master bedroom) and remembering I had a teal satin sash I knew just what to do…

I love that the flower sash is so simple, but makes a big statement. It is perfect to take a dress up a notch or even throw on with casual clothes for a little extra something. Versatility at its finest!

It’s so fast to pull together. Here’s the how-to:

Bling It On Flower Sash

SUPPLIES:

  • Satin Sash or Wide Ribbon
  • Large Silk Flower
  • Martha Stewart Hematite Rhinestones
  • Martha Stewart Jewelry Glue
  • Hair Clips

DIRECTIONS:

1. Take the flower off the long stem and remove any large plastic embellishments in the center leaving the little plastic part that holds the flower together.
2. Glue the rhinestones in place. I used 7 rhinestones in something of a circular flower pattern. Let the glue dry overnight.
3. I wanted my flower to be removable so I could make more and swap them out so I attached the flower to the sash with two hair clips.

It’s such a simple way to dress up any kind of outfit! I can wait to put some more flowers together and make some matching accessories with the rest of my box!

Disclosure: I was provided product for this post.

We have decided to truncate our feed to help protect against stolen content. I apologize for any inconvenience. Please love us anyway. 🙂

June Visiting Teaching Message: Family History

June 2, 2013 By Michelle Barneck 1 Comment

The Visiting Teaching Message for June is on family history. I love this quote from President Boyd K. Packer and here’s a little family history tidbit for you, President Packer is my Great Uncle.

Download the printable June Visiting Teaching Message Handout here.
Feel free to print and share with the sisters you visit.
We have decided to truncate our feed to help protect against stolen content. I apologize for any inconvenience. Please love us anyway. 🙂

Jesus Wants Me for a Sunbeam T-Shirt

May 30, 2013 By Michelle Barneck 1 Comment

June is nearly here and summer is about to begin which means break out the shorts and t-shirts! I love to dress my little guys in custom shirts and I wanted a bright and cheery one for those sunny days. My little guy loves to sing primary songs and one of his recent favorites (no doubt sung in nursery endlessly) is Jesus Wants Me for a Sunbeam which is of course a classic for his age group and thus the perfect inspiration for his summer outfit.


The first verse goes like this…

Jesus wants me for a sunbeam,
To shine for Him each day;
In every way try to please Him,
At home, at school, at play.

The shirt was so easy to put together using my Cricut (I am an affiliate) mini and their iron-on material. It will be even easier for you since I am sharing the free Cricut template! It’s even pre-reversed for you! Just cut and iron-on!


For a little extra flair we added a sun on the back.

It’s the perfect little shirt for any sunbeam!
What’s your kiddos favorite primary song? Do they shout “sunbeam” as loud as my little one?
We have decided to truncate our feed to help protect against stolen content. I apologize for any inconvenience. Please love us anyway. 🙂
« Previous Page
Next Page »

  • Bloglovin
  • Facebook
  • Google+
  • Instagram
  • Pinterest
  • RSS
  • Twitter

Hi there! I'm Michelle. Mother of three little boys and one little princess. Welcome to A Little Tipsy, a place for exploring creativity and sharing inspiration.

Follow on Bloglovin


Visit Michelle Barneck {A Little Tipsy}'s profile on Pinterest.

Tutorials by Category


15 Family Reunion Games

Family Reunion Games Collage

15 Sprinkle Party Ideas

Sprinkle Birthday Party
Creative Commons License

© Copyright 2014 A Little Tipsy · Site Designed by The Fairy Blogmother · Web Hosting by RFE Hosting

This website uses cookies to improve your experience. We'll assume you're ok with this, but you can opt-out if you wish.Accept Read More
Privacy & Cookies Policy