Just wanted to pop in and wish you all a Happy 4th! We are so blessed to have the freedoms we do and so thankful to those who keep our country safe! God bless you all!
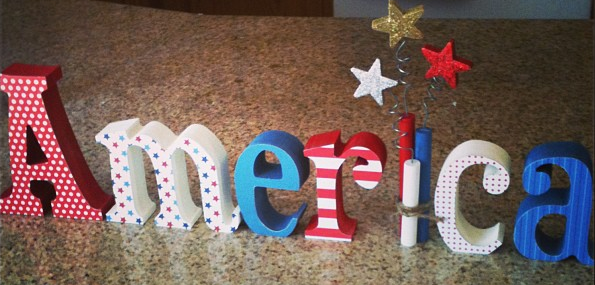
If you follow on instagram you already know about these fun letter my sis and I made last minute. I may just leave them up through the end of July. I think we have the best colors. Seriously, what’s better than red, white and blue?
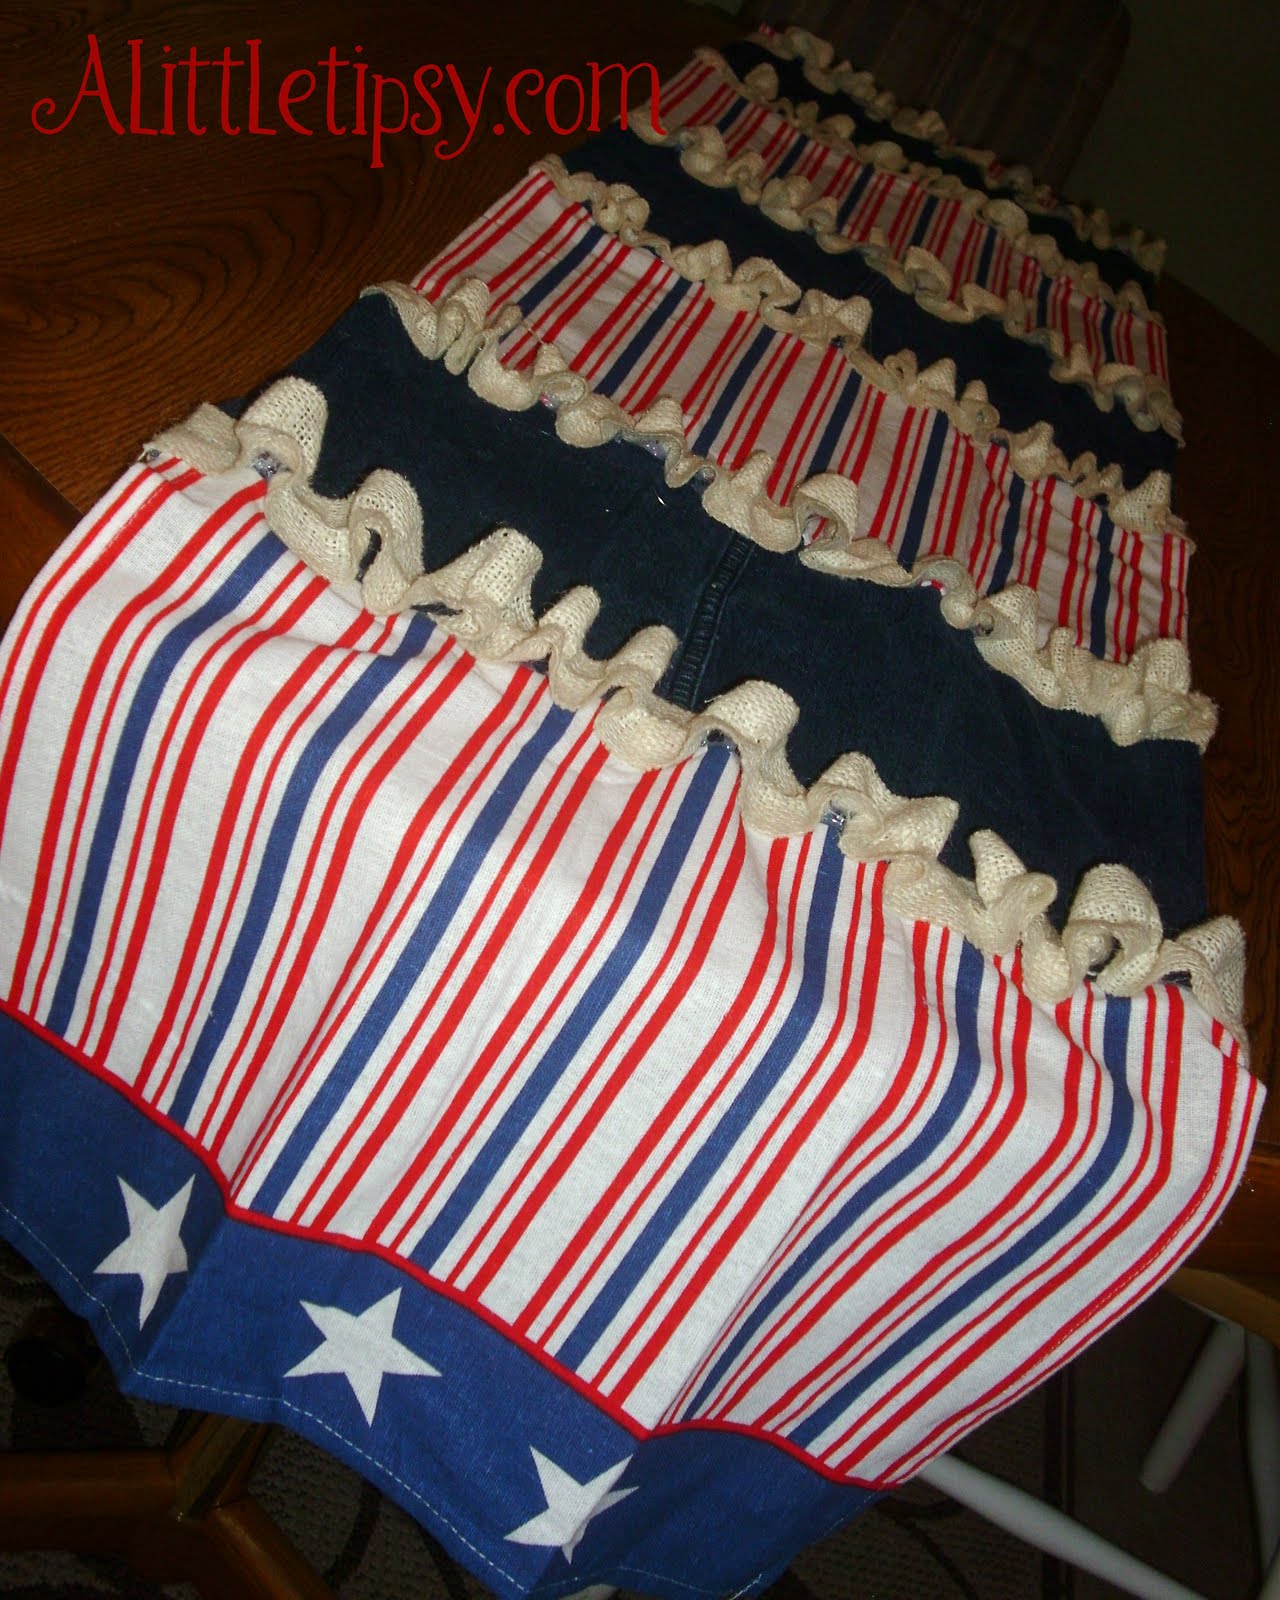
Anyway, enjoy your parades, BBQs, and fireworks and we’ll be back with more fun projects soon! If you just can’t wait, here are a few fun patriotic projects from the past!


There ain’t no doubt I love this land, God Bless the U.S.A!
We have decided to truncate our feed to help protect against stolen content. I apologize for any inconvenience. Please love us anyway. 🙂