A Little Tipsy

Creative Tips & Ideas

  • home
  • About Me
  • the tipsy top
  • press
  • projects
  • contact me
[print_thumbnail_slider]

Fall Yarn Wreath with A Glimpse Inside

September 3, 2014 By Michelle Barneck 1 Comment

Hello everyone!
I’m Allison and I’m the blogger behind the blog A Glimpse Inside.
 I’m an Army wife and momma to two little girls with a creative side.
I blog about crafts, diy projects, recipes, and our military and everyday life.
I’m happy to be here today to help out Michelle while she snuggles with that adorable new bundle of joy of hers.
Today, I am here to share with you an easy fall wreath!
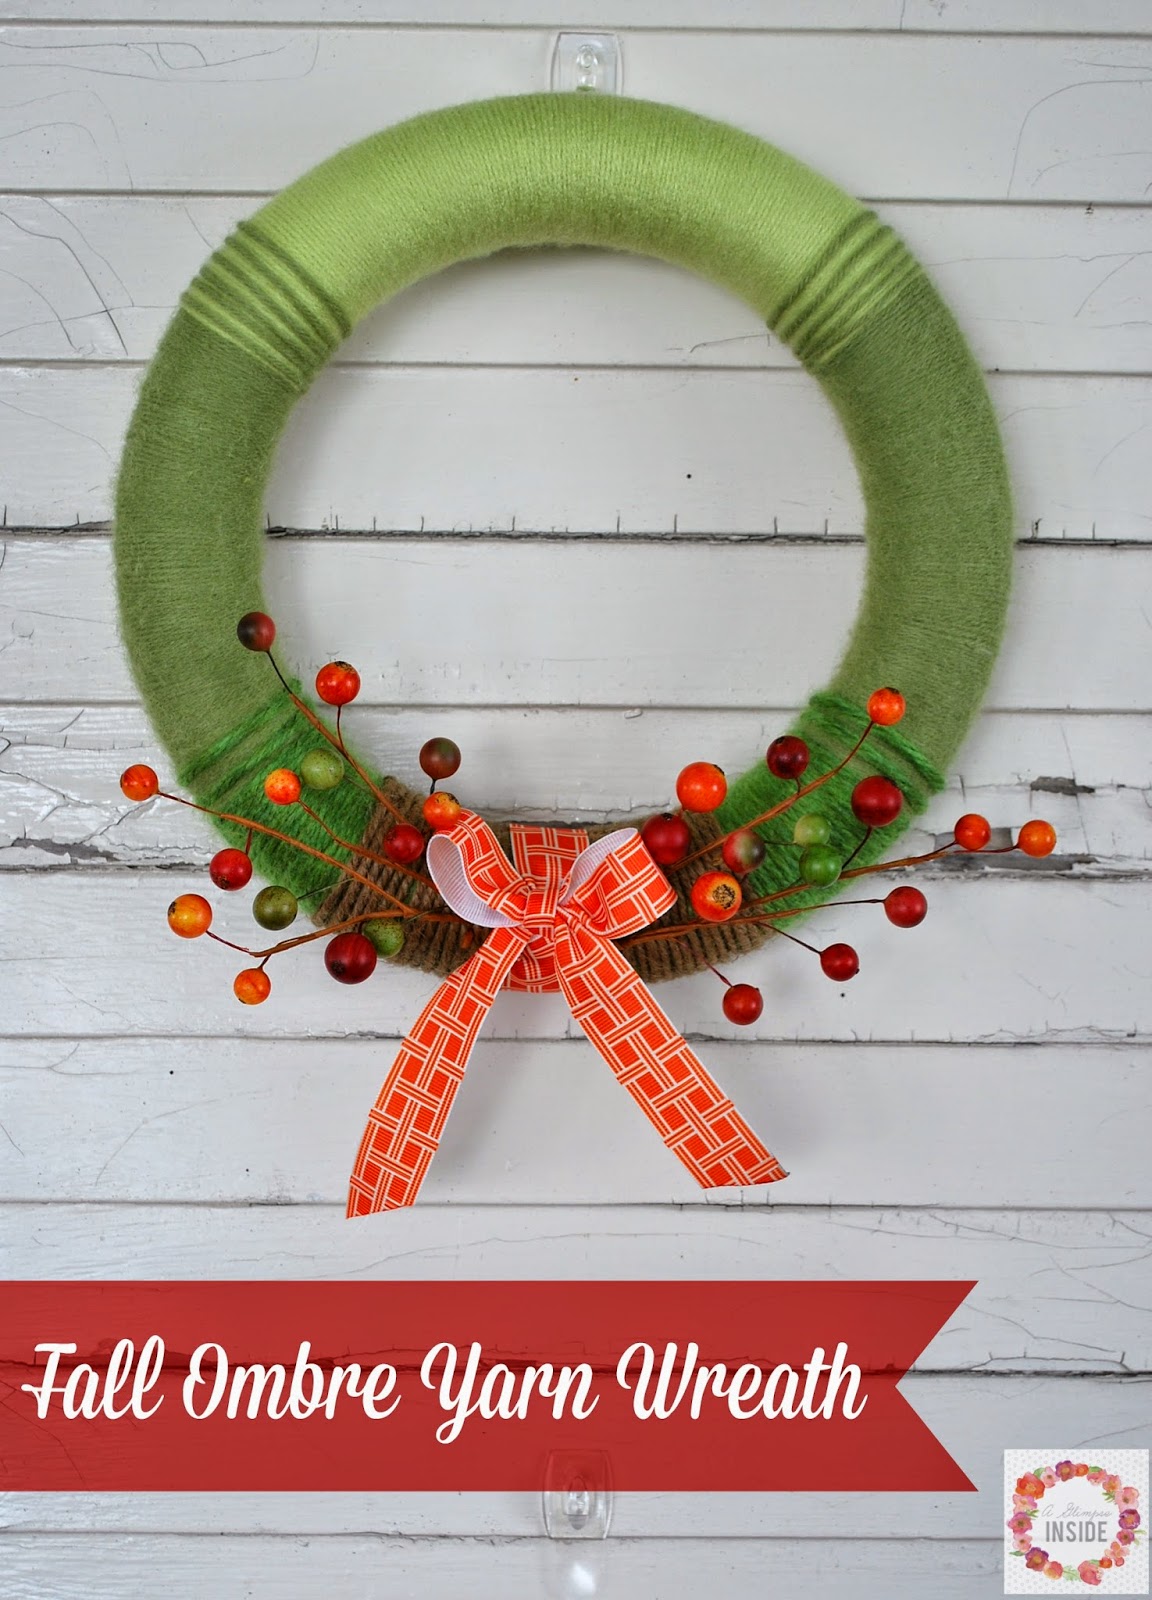
 Here is how you can make a fall yarn wreath for yourself.
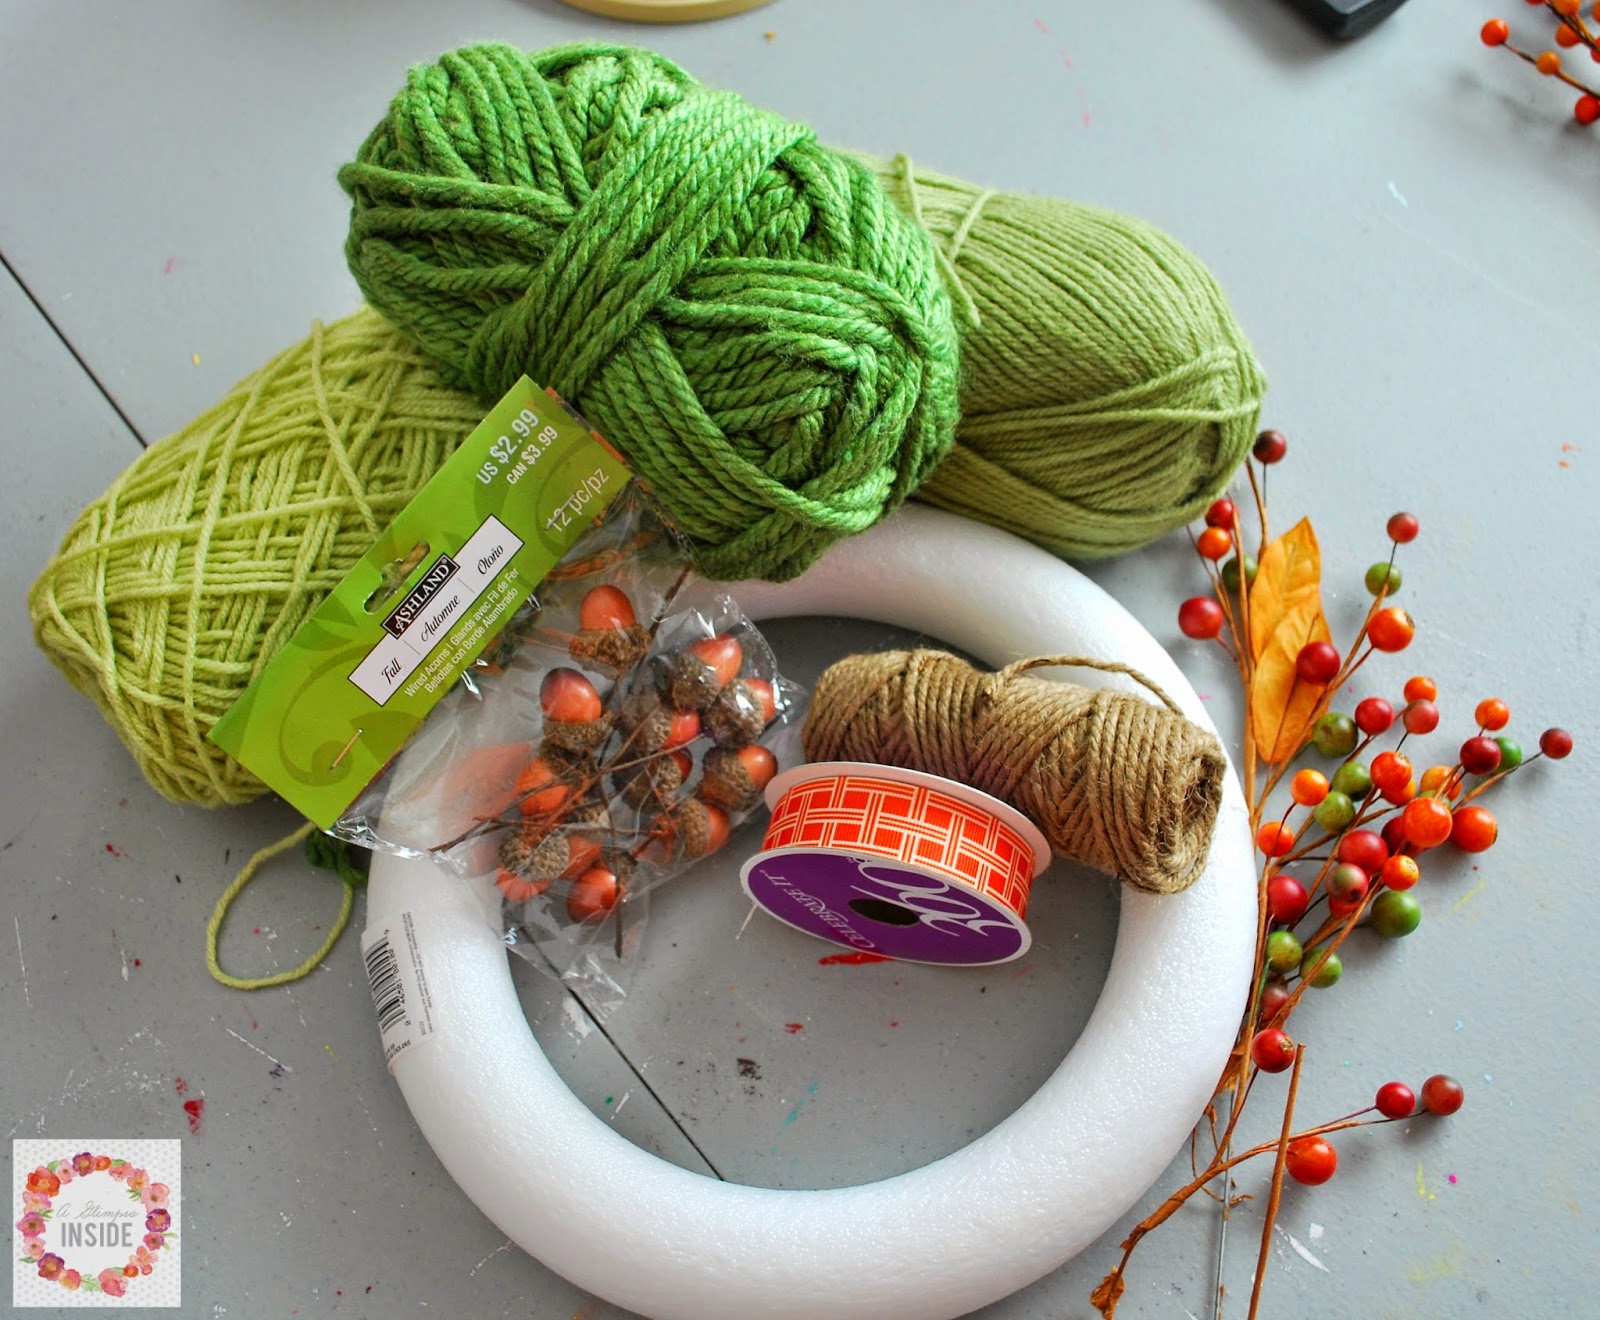
Supplies: 
-Wreath Form
-Yarn- 3 in the color of your choice- light, medium and dark in shade
-Twine
-Ribbon
-Fall Berry Picks
-Other fall picks (optional)
-Hot Glue Gun
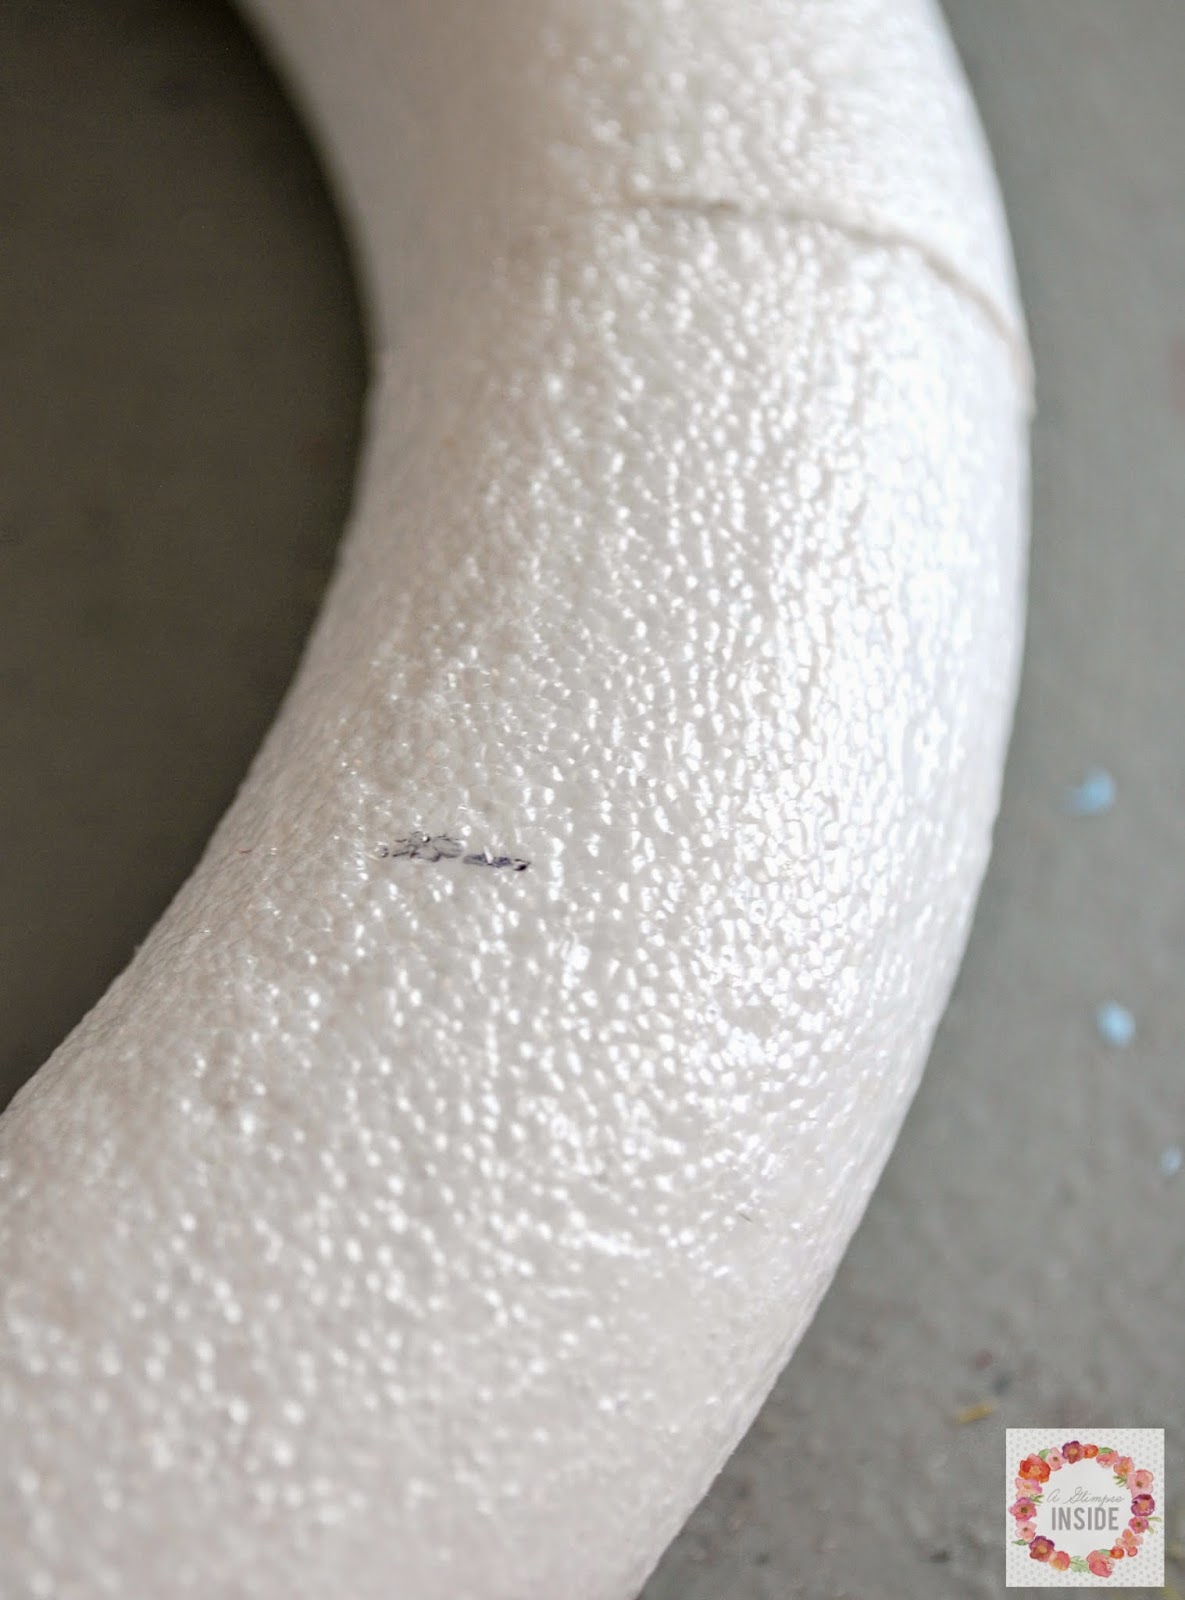
I began by marking the wreath form in four spots where I wanted to start and stop each color of yarn.
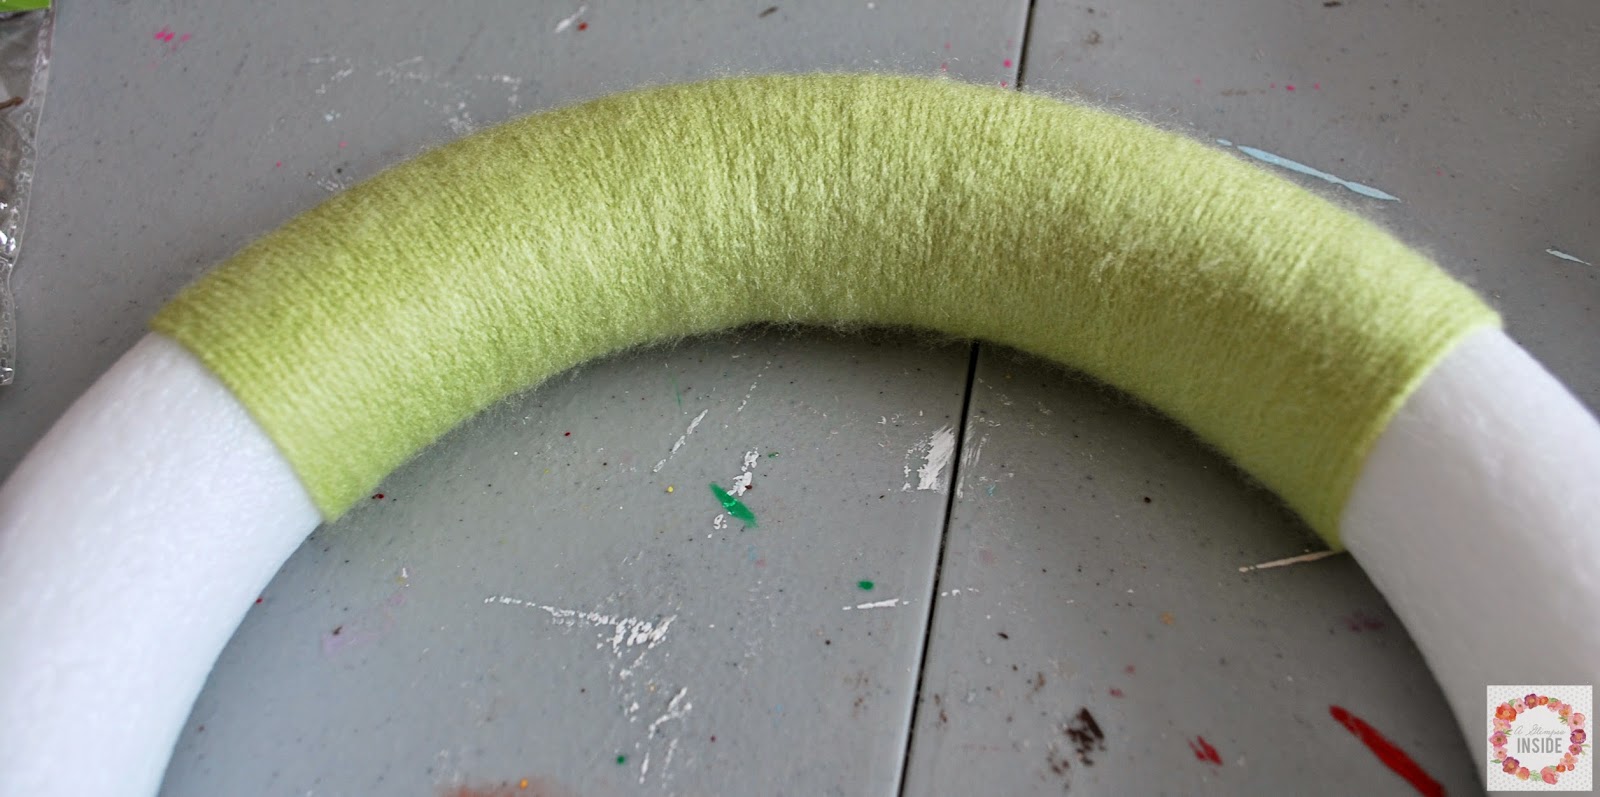
Start by wrapping the lightest yarn color first on the top portion of the wreath.
When it is time to start the second, medium color of yarn, overlap the first color slightly leaving space between the the new color yarn so you can see the light shade through.
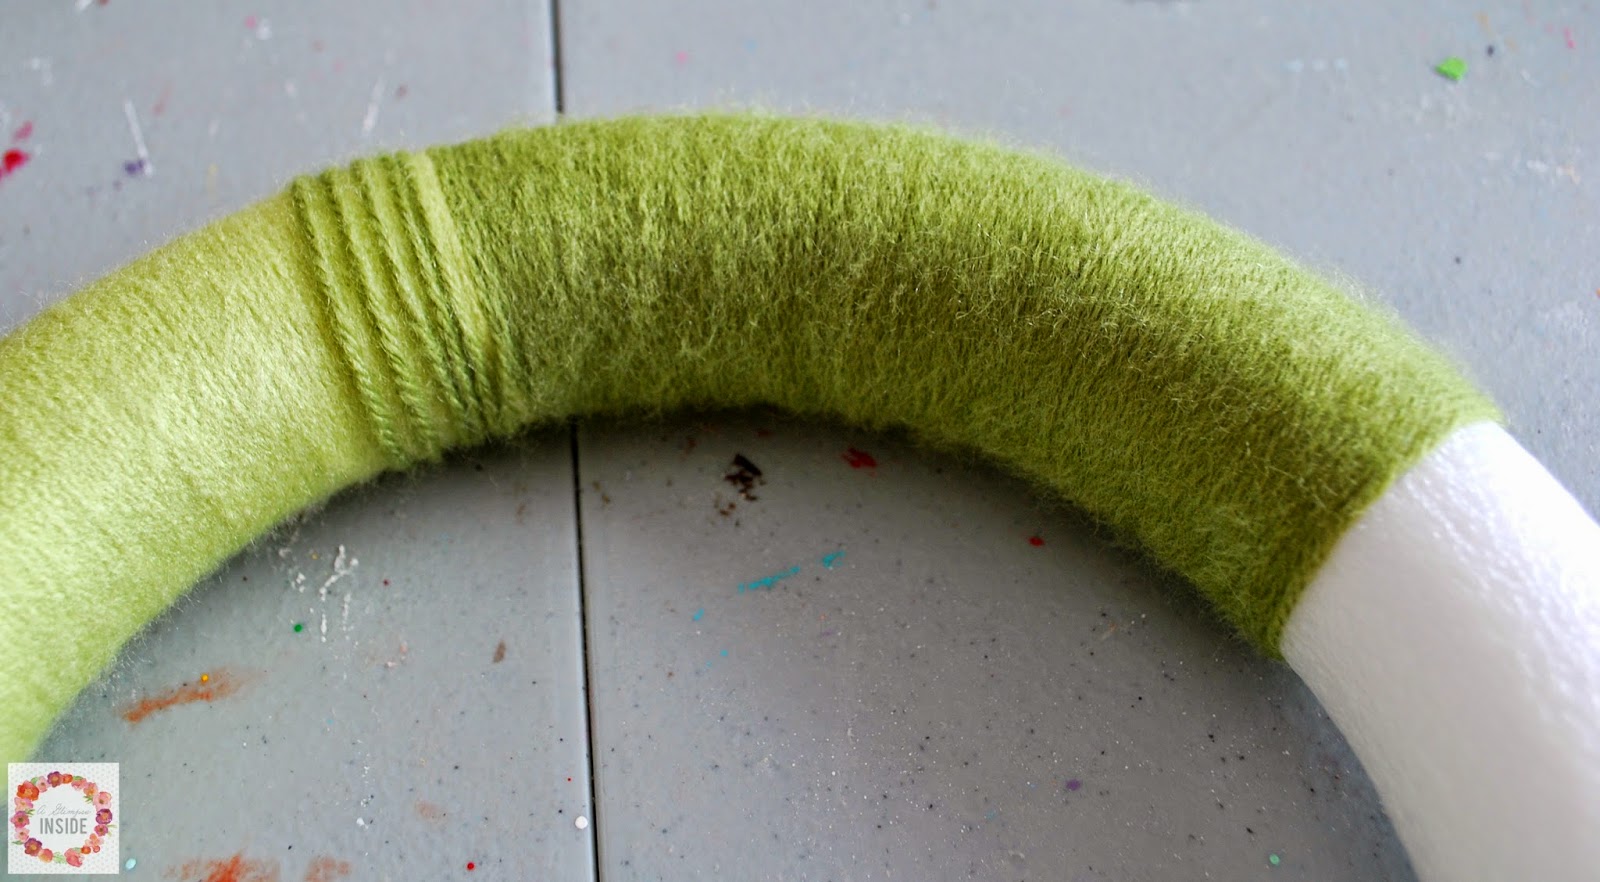
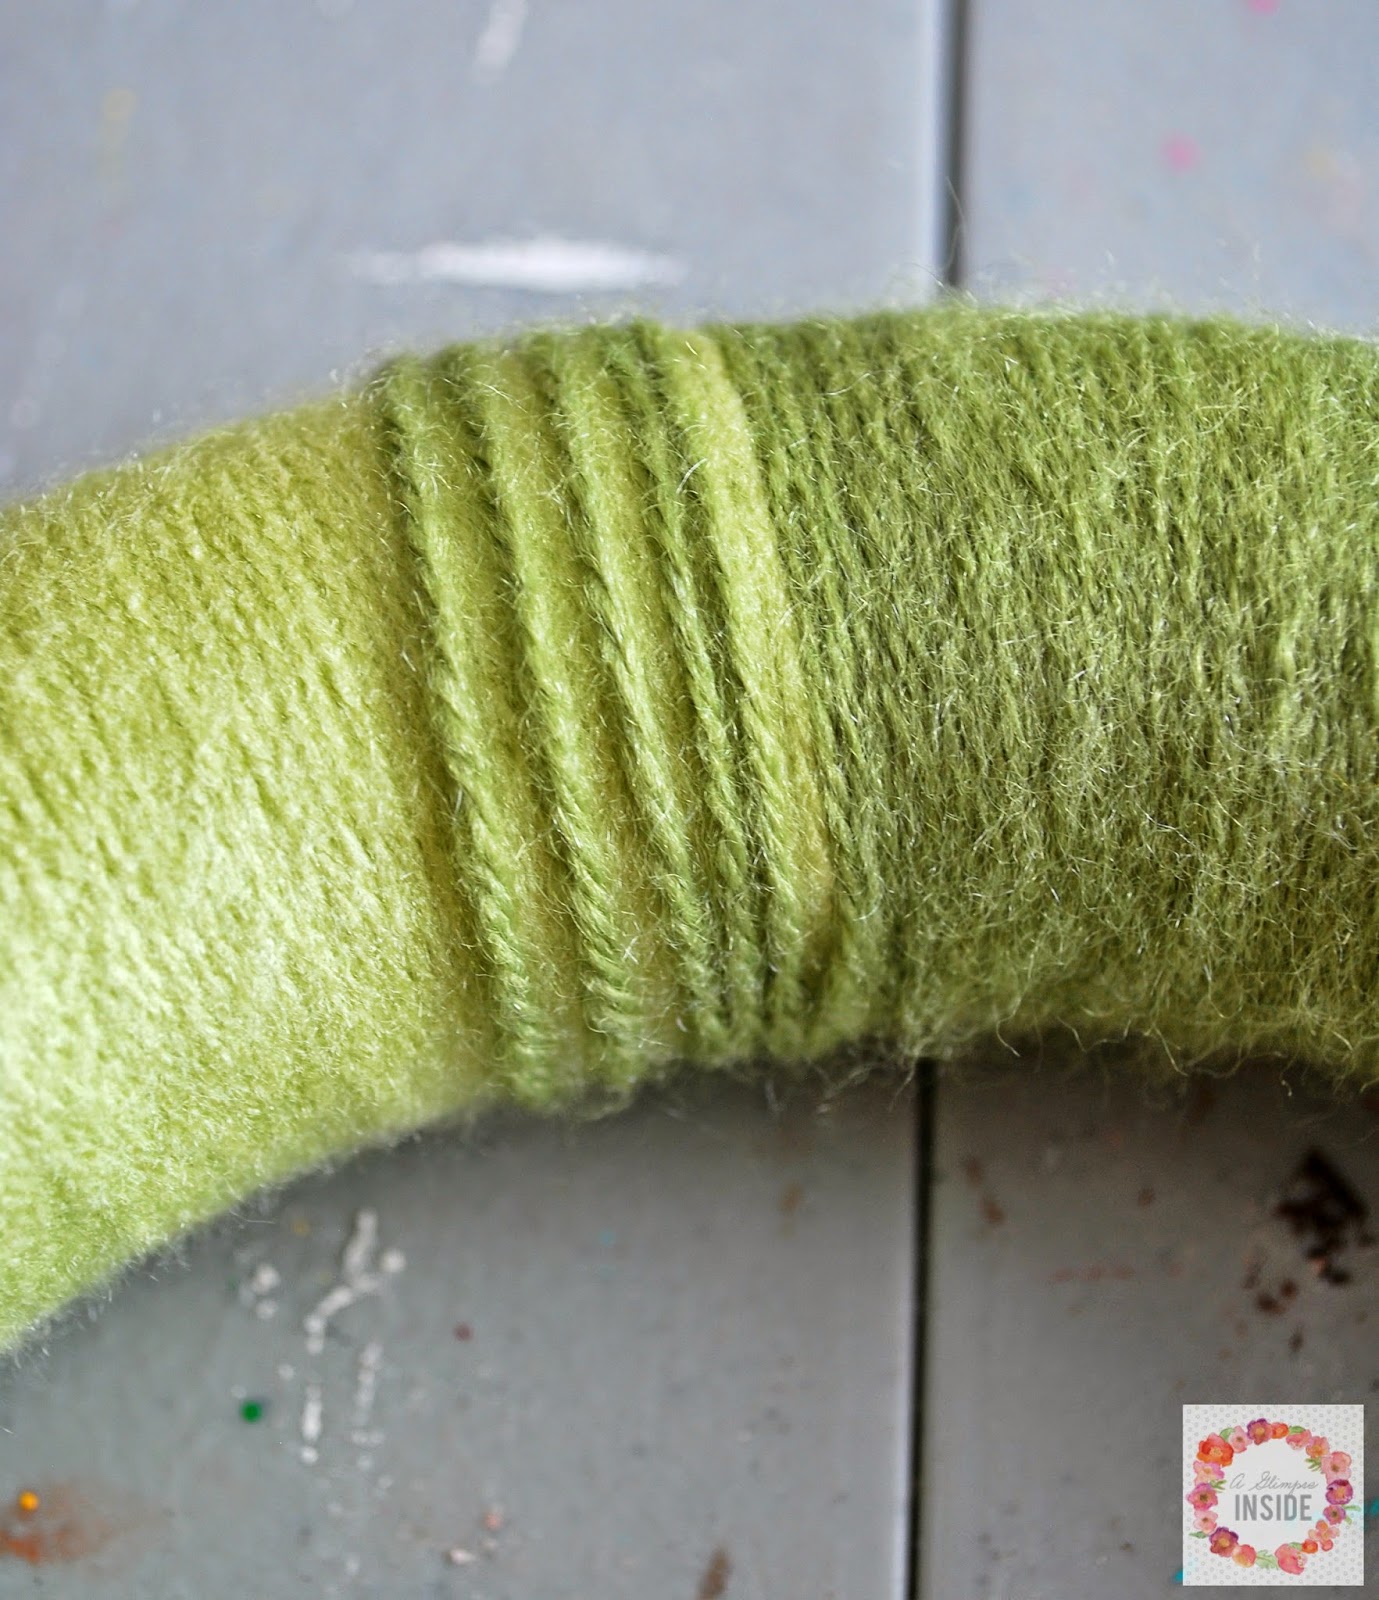
Wrap the second color yarn down both sides of the wreath form.
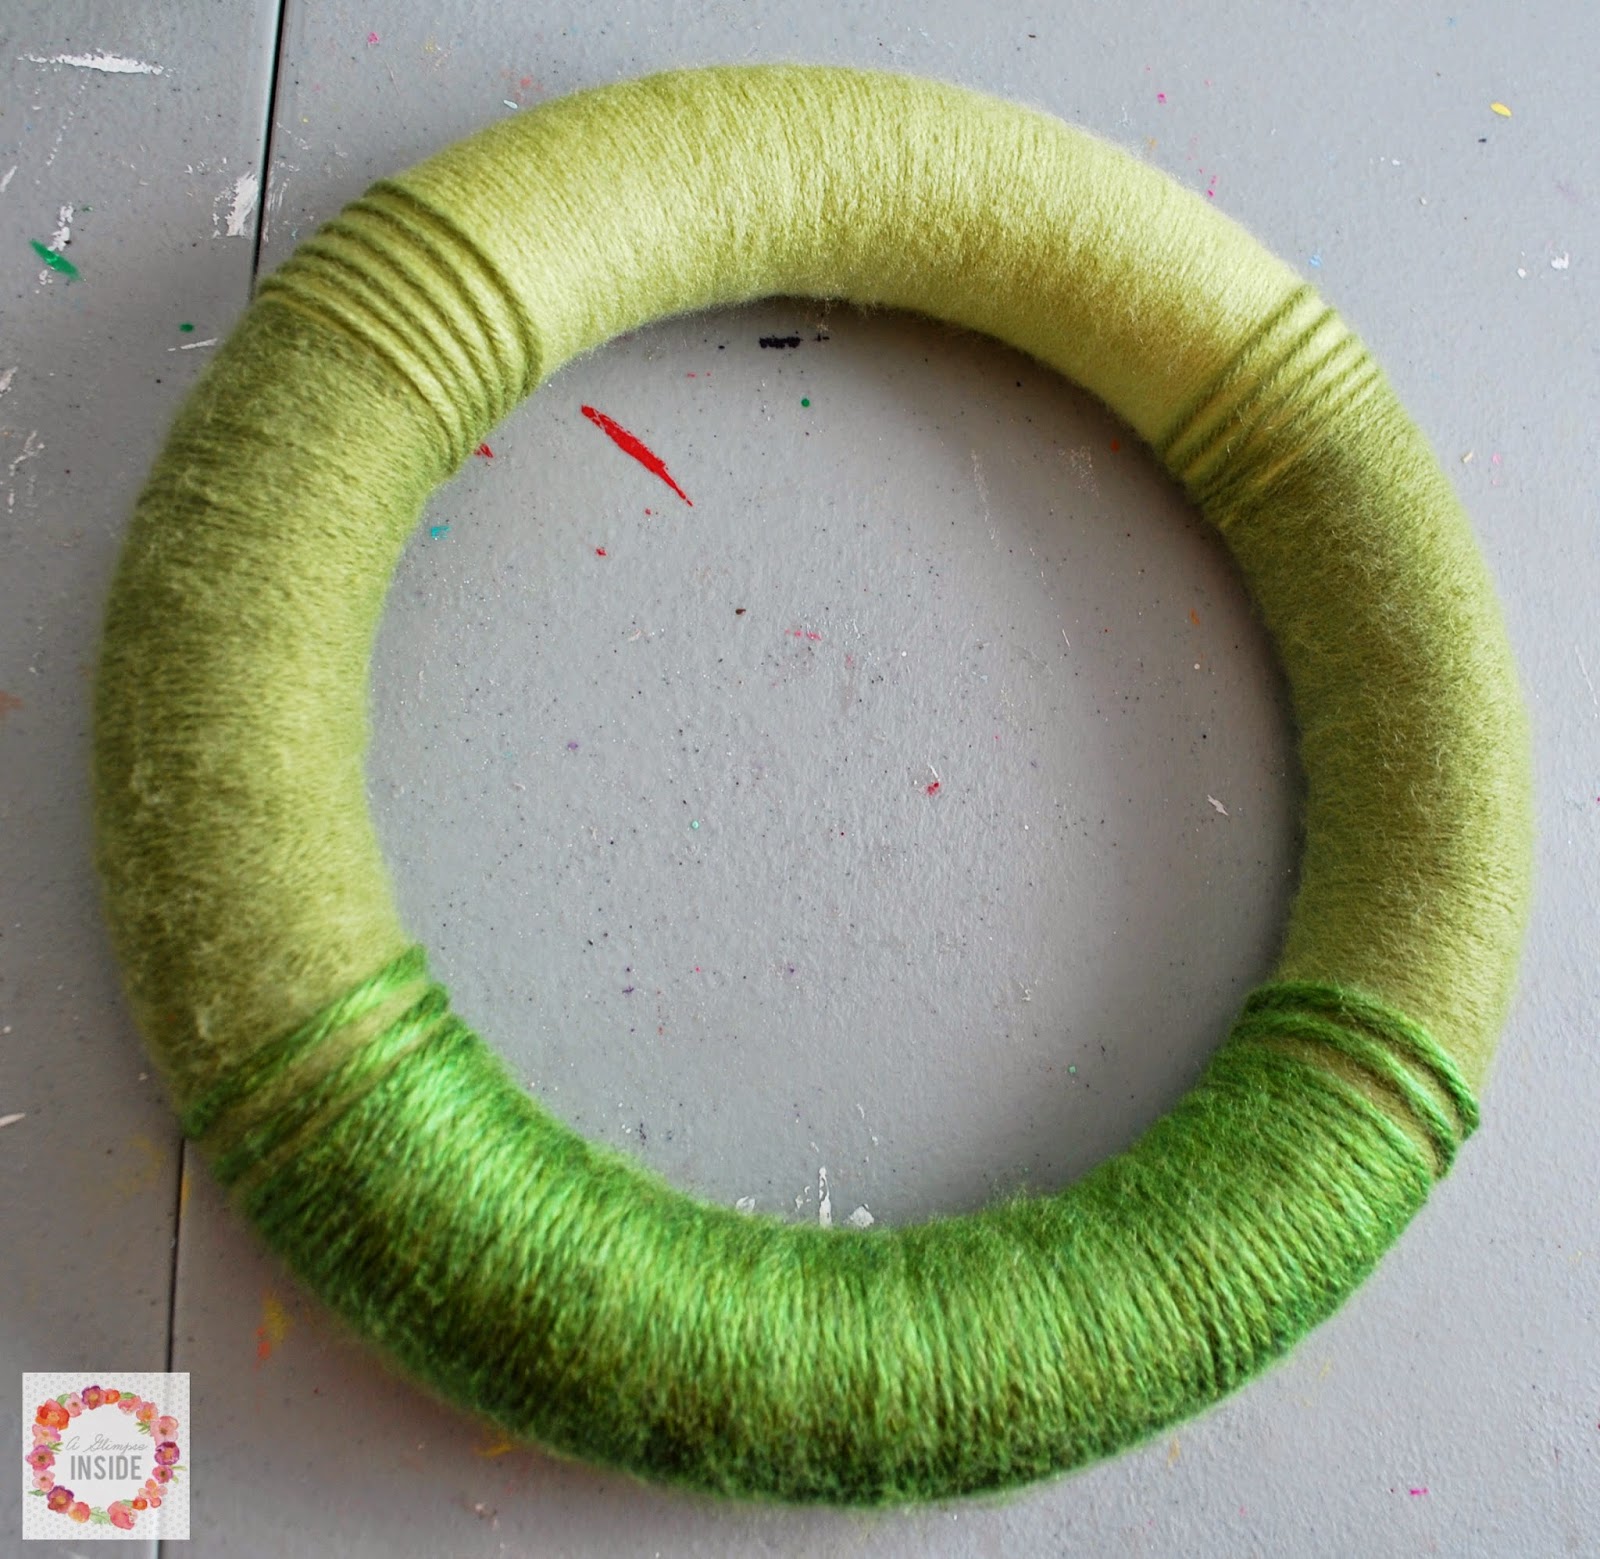
Then wrap the third, darkest color across the bottom of the form again overlapping the previous color.
I wanted to add more texture, so I took some twine and wrapped it in the center of the darkest green on my wreath.
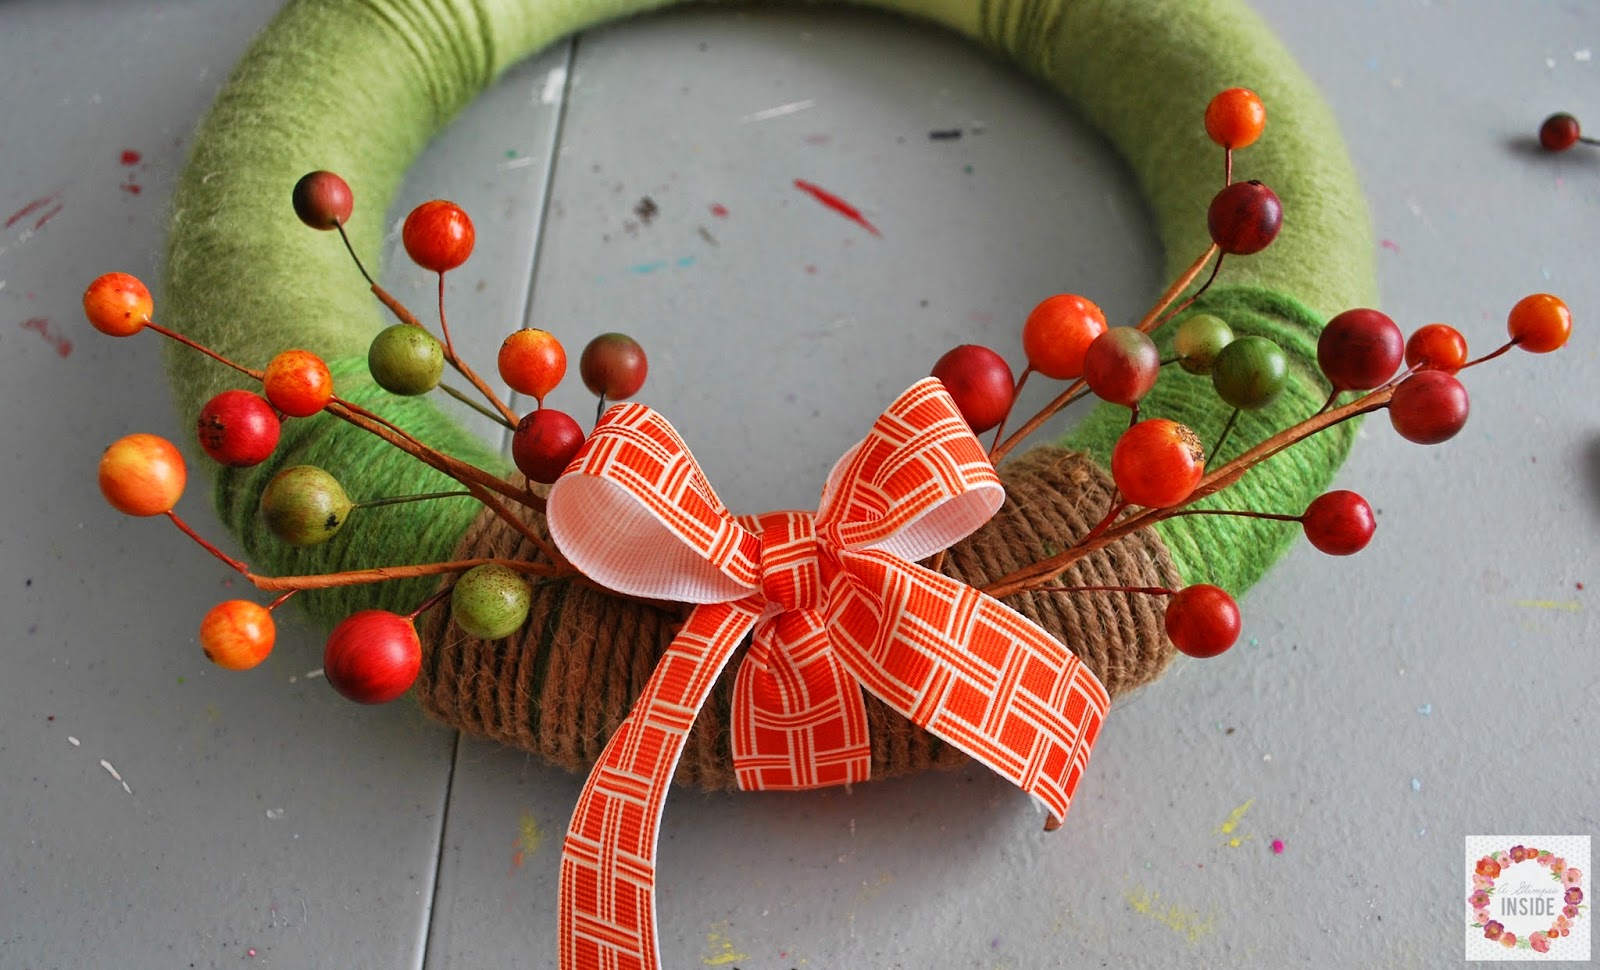
I then tied a ribbon and bow in the center of the twine and added some fall colored berries.
I just pushed the berry picks through and behind the twine behind the ribbon so the bow would cover it up.
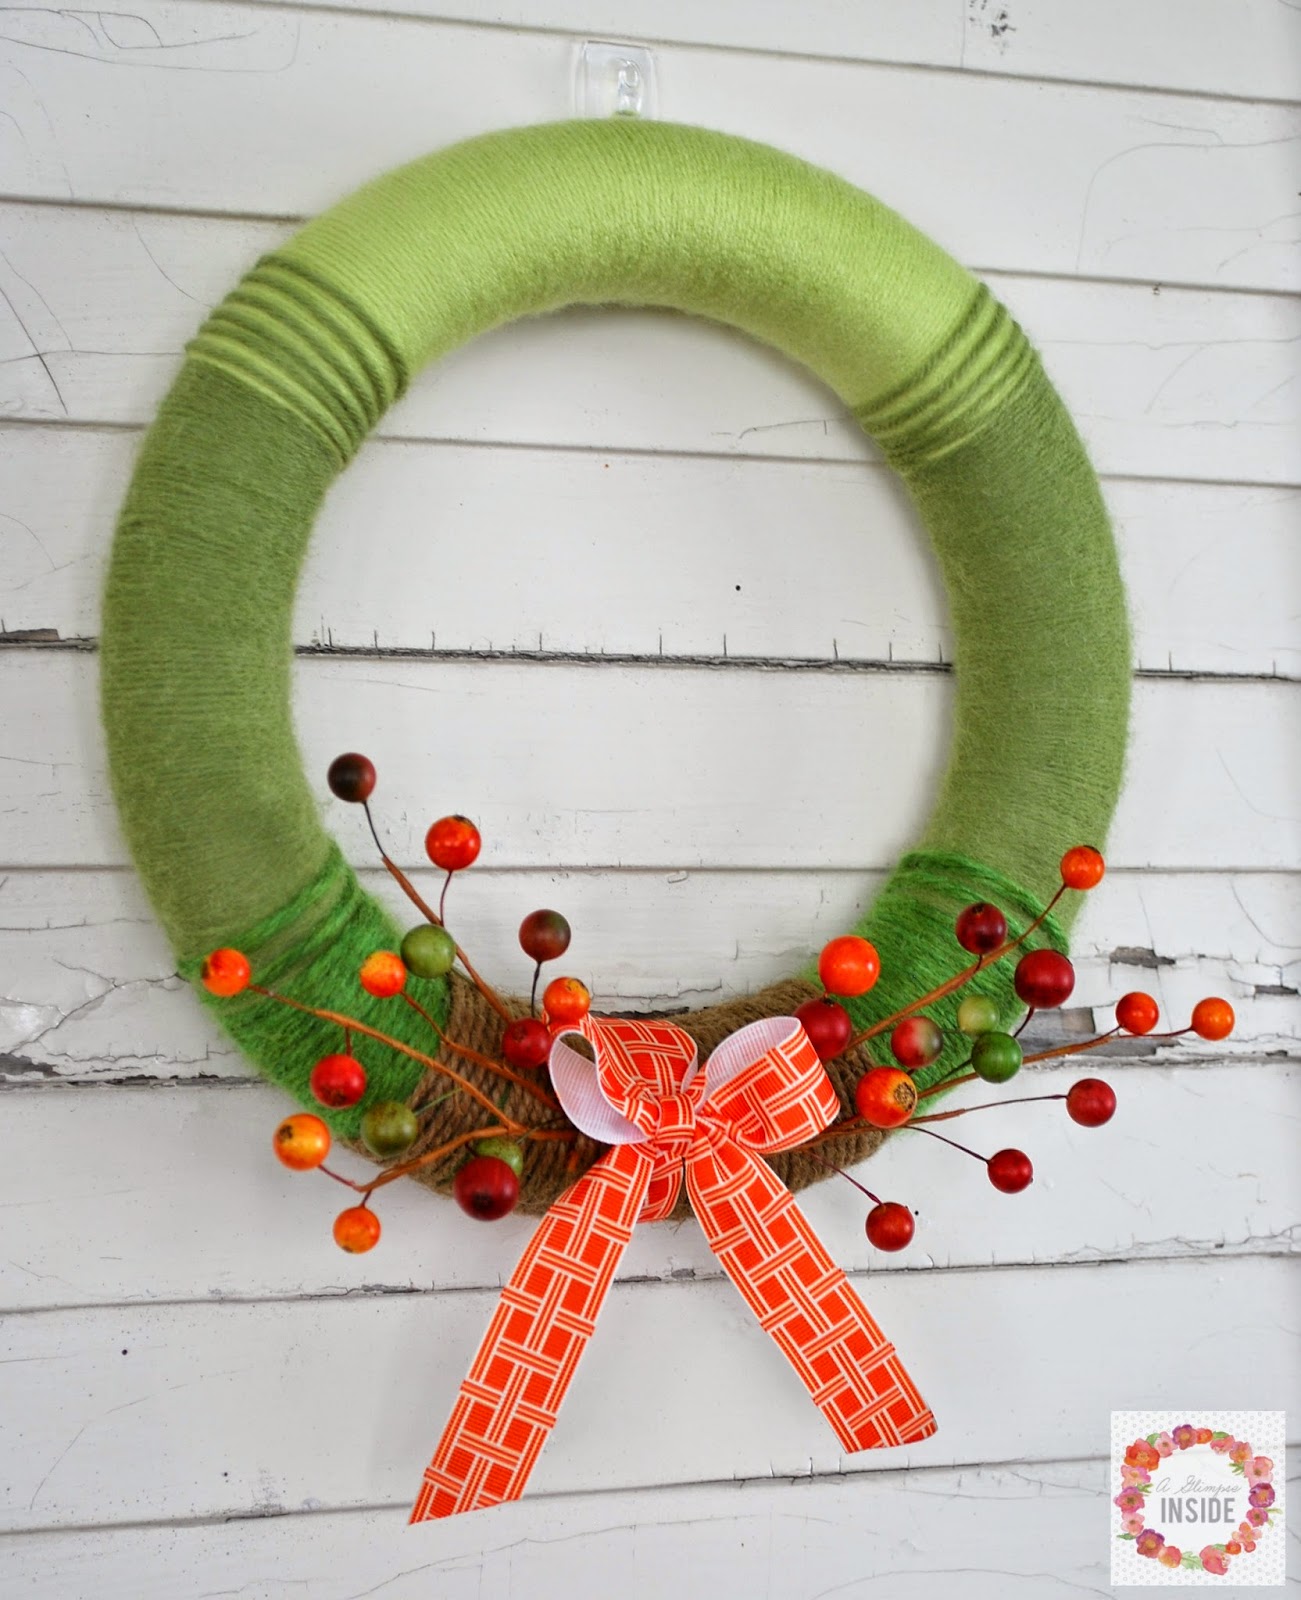
I used a small piece of yarn to create a loop on the top to hang it.
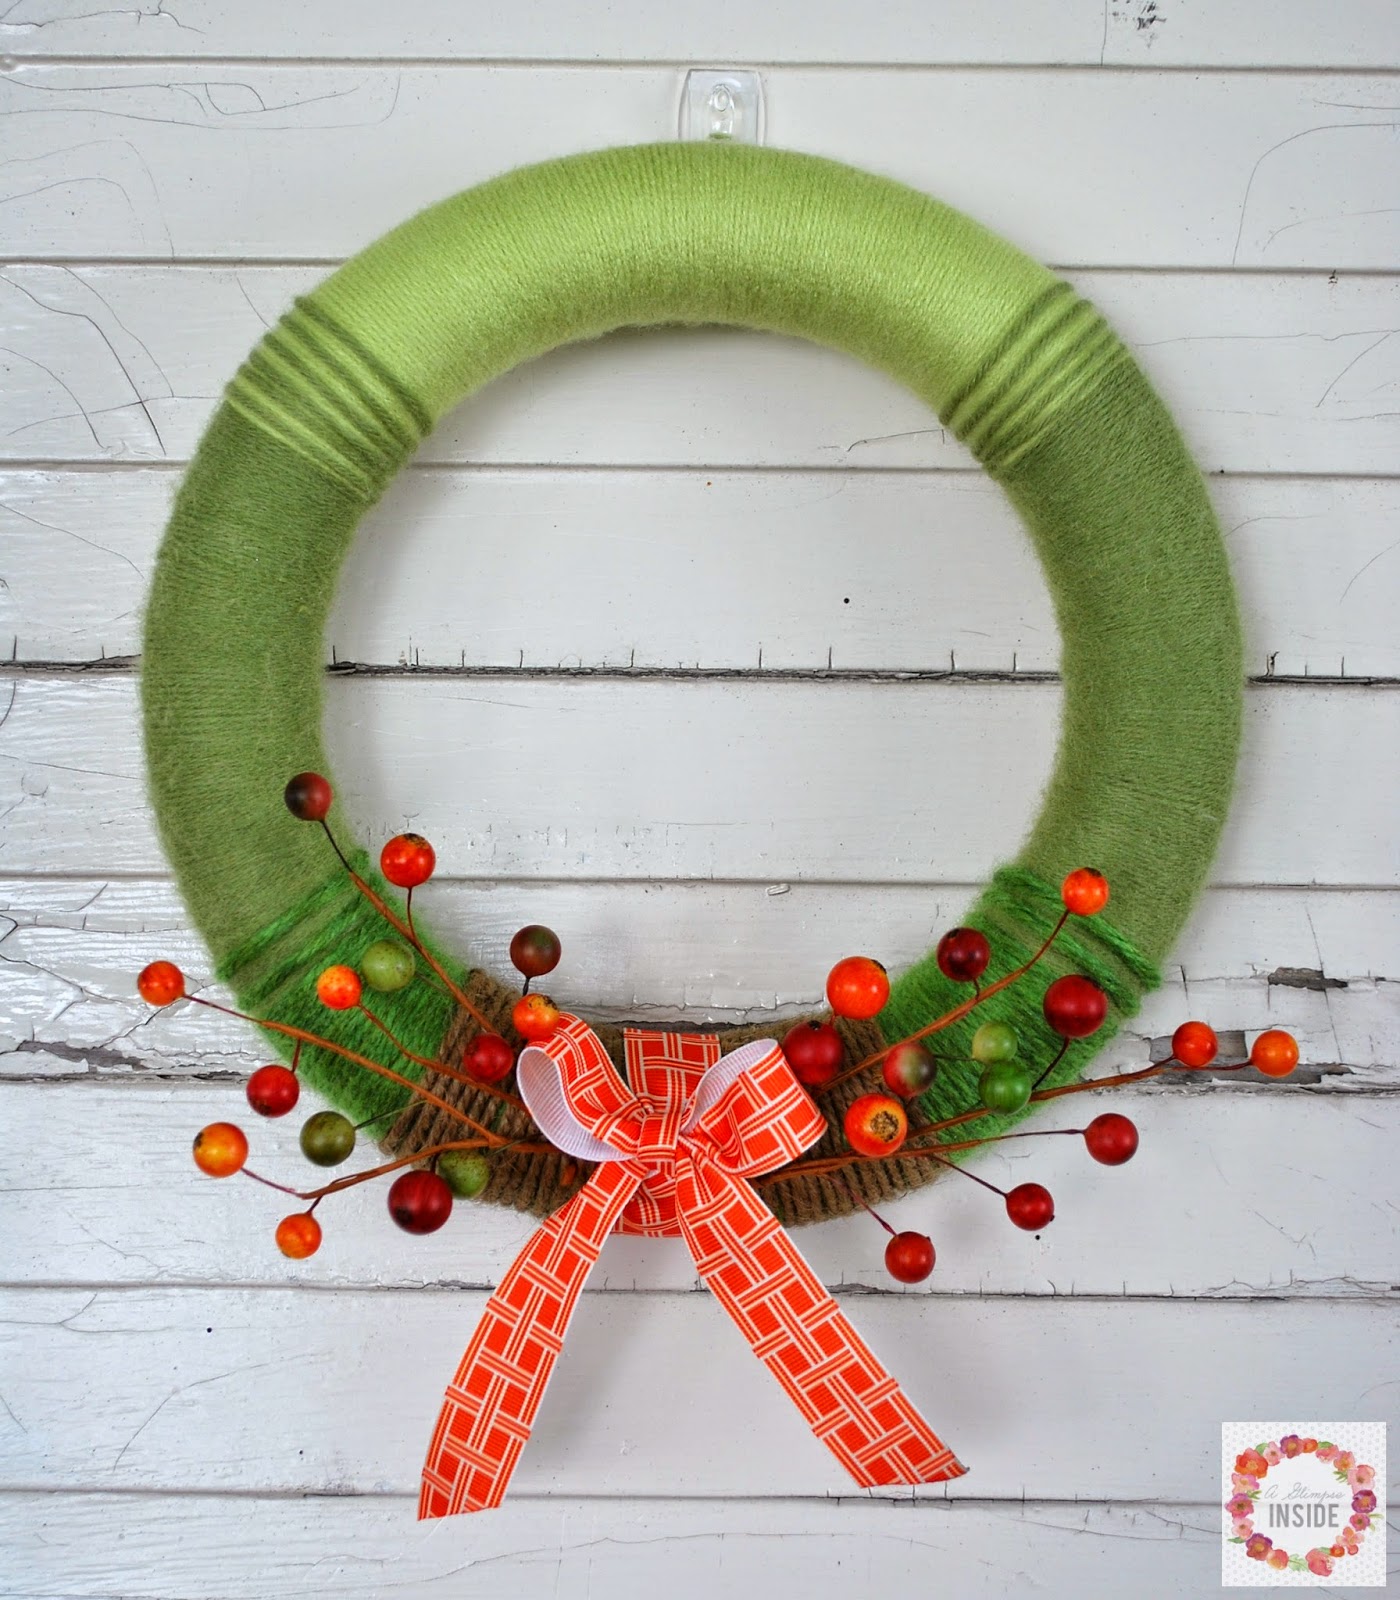
 And that’s it!!
You now have a pretty new fall yarn wreath to display!
Thanks for letting me share Michelle!
Feel free to stop by my bloggy neck of the woods sometime!
And come hang out with me on social media as well!
FACEBOOK // TWITTER // INSTAGRAM // PINTEREST

Cinnamon Swirl Cake with Simply Kierste

September 1, 2014 By Michelle Barneck 3 Comments

Hello, friends! I’m Kierste, from Simply Kierste, and I’m delighted to be here with you today! Fall is my ABSOLUTE favorite season, and after recently moving to upstate New York, I’m even more excited. I love the crisp mornings, cozy sweaters, vibrant leaf colors, pumpkin patches, cider mills, and of course, the yummy food. Today I’m sharing one of our family’s all-time favorite fall recipes, Cinnamon Swirl Cake. You are going to love me (or hate me, because you’re going to want to eat it all!) for this!

Cinnamon Swirl Cake | simplykierste.comSeriously, it is SO good. Bits of cinnamon & sugar are swirled around inside the moist, buttery cake, and it’s topped with a creamy cinnamon buttercream frosting that I could eat with a spoon. (And I may or may not have done that before…)

This cake is very similar to a coffee cake, and could be served at brunch, or for dessert. It’s always a hit wherever I take it, and recipe It’s also a recipe that works well with gluten-free flour. I’ve served it numerous times that way, and no one was the wiser!

This really is the perfect cake for fall, and the entire holiday season. I love to serve it on the weekends for breakfast, and it’s also a yummy breakfast on Christmas morning. You really can’t go wrong serving this cake…anytime!

Cinnamon Swirl Cake | simplykierste.com

Cinnamon Swirl Cake
Recipe Type: Dessert, Breakfast
Author: Simply Kierste
Ingredients
  • 3 c. flour
  • 1 c. sugar
  • 4 tsp. baking powder
  • 1/4 tsp. salt
  • 2 eggs
  • 2 tsp. vanilla
  • 1 1/2 c. milk
  • 1/2 c. melted butter
  • 1/2 c. melted butter (Yes, another one! Keep them separate.)
  • 2/3 c. brown sugar
  • 1 T. flour
  • 1 T. cinnamon
  • Cinnamon Buttercream Frosting
  • 4 c. powdered sugar
  • 1/2 c. butter, softened
  • 1-2 T. milk
  • 1/2 T. cinnamon
  • 1 tsp. vanilla
  • dash salt
Instructions
  1. Mix the flour, sugar, baking powder, and salt. Add the eggs, vanilla, milk, and 1/2 c. melted butter, and mix well. Pour into a greased 9×13 pan. Melt the second 1/2 c. butter, and stir in the cinnamon, flour, and brown sugar. Pour on top of the cake and swirl through with a butter knife. Bake at 375 degrees for 20-25 minutes, or until done through.
  2. While it’s baking, make the Cinnamon Buttercream Frosting! Place the powdered sugar and softened butter in a large mixing bowl. Beat with a hand mixer, adding the milk a little bit at a time until you get the right consistency. Add the vanilla and salt, mix well. Mix in the cinnamon.
  3. Frost the cake as soon as it comes out of the oven!
  4. ENJOY!!

Thank you so much for having me, I’m happy to meet you! Come on by Simply Kierste and say hello, I’d love to have you! I’m sharing lots of ideas for the holidays, yummy recipes, organization tips and ideas, home decor and DIY projects, tons of free printables, family ideas and more!
Halloween Ideas | simplykierste.com
Striped & Polka Dot Pumpkins // Halloween Book Countdown // You’ve Been Boo’ed Free Printables // Halloween Treat Jars

About the Author: Kierste is the girl behind the blog Simply Kierste, where she shares her love for all things creative and DIY. When she’s not chasing around two sets of twins, a teenager, and a baby, she’s working on a project, training for her next race, reading one of her favorite books, or baking something with chocolate in it. Please add her to your Google circles. You can also find her on Facebook, Pinterest, and Twitter.

Apple Pie Pizza from Creations by Kara

August 29, 2014 By Michelle Barneck Leave a Comment

Hello Little Tipsy fans! I’m Kara from Creations by Kara, and I’m thrilled to be filling in for Michelle while she spends time with her newest little bundle of joy!

When fall rolls around, one of my favorite things to do is start baking! We have an apple tree, so I am always looking for new ways to use up apples. In one of my recipe books, I found a recipe for apple pizza, but it called for cream cheese. I didn’t have any, so I came up with my own version. And trust me, this Apple Pie Pizza is amazing!
Apple Pie Pizza ~Creations by Kara

This stuff smells so amazing while it is baking! The apple filling is so yummy I had to stop myself from eating it by the spoonful. The crust is nice and chewy, and the crumb topping is buttery and delicious. It’s similar to apple pie, but much easier to make and serve. It is truly a perfect fall treat!

Apple Pie Pizza

Dough:
1 tsp instant yeast
1 1/2 Tbsp sugar
2 Tbsp hot water
1/3 cup milk, warmed
1/4 tsp salt
2 Tbsp oil
1 1/4– 1 1/2 cups flour
Apple Filling:
1 Tbsp butter
2 large granny smith apples, thinly sliced
1/4 cup sugar
1 Tbsp flour
1/2 tsp cinnamon
Pinch of nutmeg
Crumb Topping:
1/3 cup flour
3 Tbsp sugar
2 Tbsp butter, softened
For dough: Combine yeast, sugar, hot water, and warm milk in a mixing bowl. Stir till yeast dissolves. Add salt and oil. Stir in one cup of the flour and mix well. Add enough remaining flour to make a soft dough. Knead a few times on a floured counter. Return to the bowl, cover, and let rest 15 minutes.

For filling: Melt butter in a skillet. Add remaining ingredients. Cook and stir over medium heat for 5 minutes. Turn heat to low; cook and stir for 3-4 more minutes, or till apples are crisp tender. For topping: Combine all ingredients in a small bowl. Mix with a fork till crumbly.

To make pizza: Pat dough onto an 8-9″ circle on a lightly greased cookie sheet, making a rim around the edges. Arrange the apples evenly over the crust. Sprinkle the crumb topping over the apples. Bake at 350° for 20-25 minutes or till crust is golden brown.

Fall is one of my favorite times of year! I hope you’ll stop by to see more of my yummy fall recipes.

If cooking isn’t your thing, I also have lots of fun fall decorating ideas!
Fall Decor
Thanks for having me stop by for a visit Michelle!

Fall Burlap Subway Art Printable with My Daylights

August 27, 2014 By Michelle Barneck 8 Comments

FallBurlapSubwayArtPreview

Hi there! I’m really excited to be a guest here at A Little Tipsy. I’m Jennifer from My Daylights where I share a little bit of everything-recipes, crafts, a little DIY, thoughts, book reviews, and my very favorite thing, Printables.

Walking down the aisles at craft stores and some retail stores, I have to honestly say that I breathe a sigh of relief to see the fall items on the shelves. While there are definitely some fun aspects to summer, I am honestly not in love with it! I am not a fan of the heat. At all! Which is why Fall is amazing. It’s beautiful, it’s crisp, it’s cooler, and it has one of my favorite holidays-Halloween. My husband is always joking each year that we can’t possibly add one more fall decoration to our home and I take great pride in proving him wrong!

One of the easiest ways to decorate is with printables. Just print them out, throw them in a cute frame, and voila! Instant decor that’s easy to change out and move around. I have loved seeing all of the burlap items around the stores.

Fall Subway Burlap Printable At mydaylights.net

Burlap has such great texture and adds a special charm to any decor. Because I love it so much, I decided to create a printable that looks like it’s burlap. It’s easier than painting or getting the little burlap fibers everywhere.

_DSC1502

The printable has some of my favorite words for fall, including a fun pumpkin.

_DSC1501

It’s an 8×10 and works best being printed either on premium photo paper or premium presentation paper.

Download the Fall Burlap Subway Art Printable Here.

I hope it’s a nice compliment to your Fall Decor this year. If you like this, pop on over to my blog for more fun posts like the ones below! Click on the pictures to be taken to the posts.

OneHourDinnerRolls

Easy Homemade Dinner Rolls

BackToSchoolMapPreview

Back to School Treasure Map Printable

Chalkboard Key Holder 1

DIY Chalkboard Key Holder

« Previous Page
Next Page »

  • Bloglovin
  • Facebook
  • Google+
  • Instagram
  • Pinterest
  • RSS
  • Twitter

Hi there! I'm Michelle. Mother of three little boys and one little princess. Welcome to A Little Tipsy, a place for exploring creativity and sharing inspiration.

Follow on Bloglovin


Visit Michelle Barneck {A Little Tipsy}'s profile on Pinterest.

Tutorials by Category


15 Family Reunion Games

Family Reunion Games Collage

15 Sprinkle Party Ideas

Sprinkle Birthday Party
Creative Commons License

© Copyright 2014 A Little Tipsy · Site Designed by The Fairy Blogmother · Web Hosting by RFE Hosting

This website uses cookies to improve your experience. We'll assume you're ok with this, but you can opt-out if you wish.Accept Read More
Privacy & Cookies Policy