 Each week I will feature a project that was done for five dollars or less. I think this will be really fun and will showcase some super budget friendly projects! I am really excited about it and hope you will be too! I am also going to include a place for you to link up your $5 or less projects so we can all be inspired by each other! Get ready for some totally affordable fun! Now on to our first project!!
 Supplies:
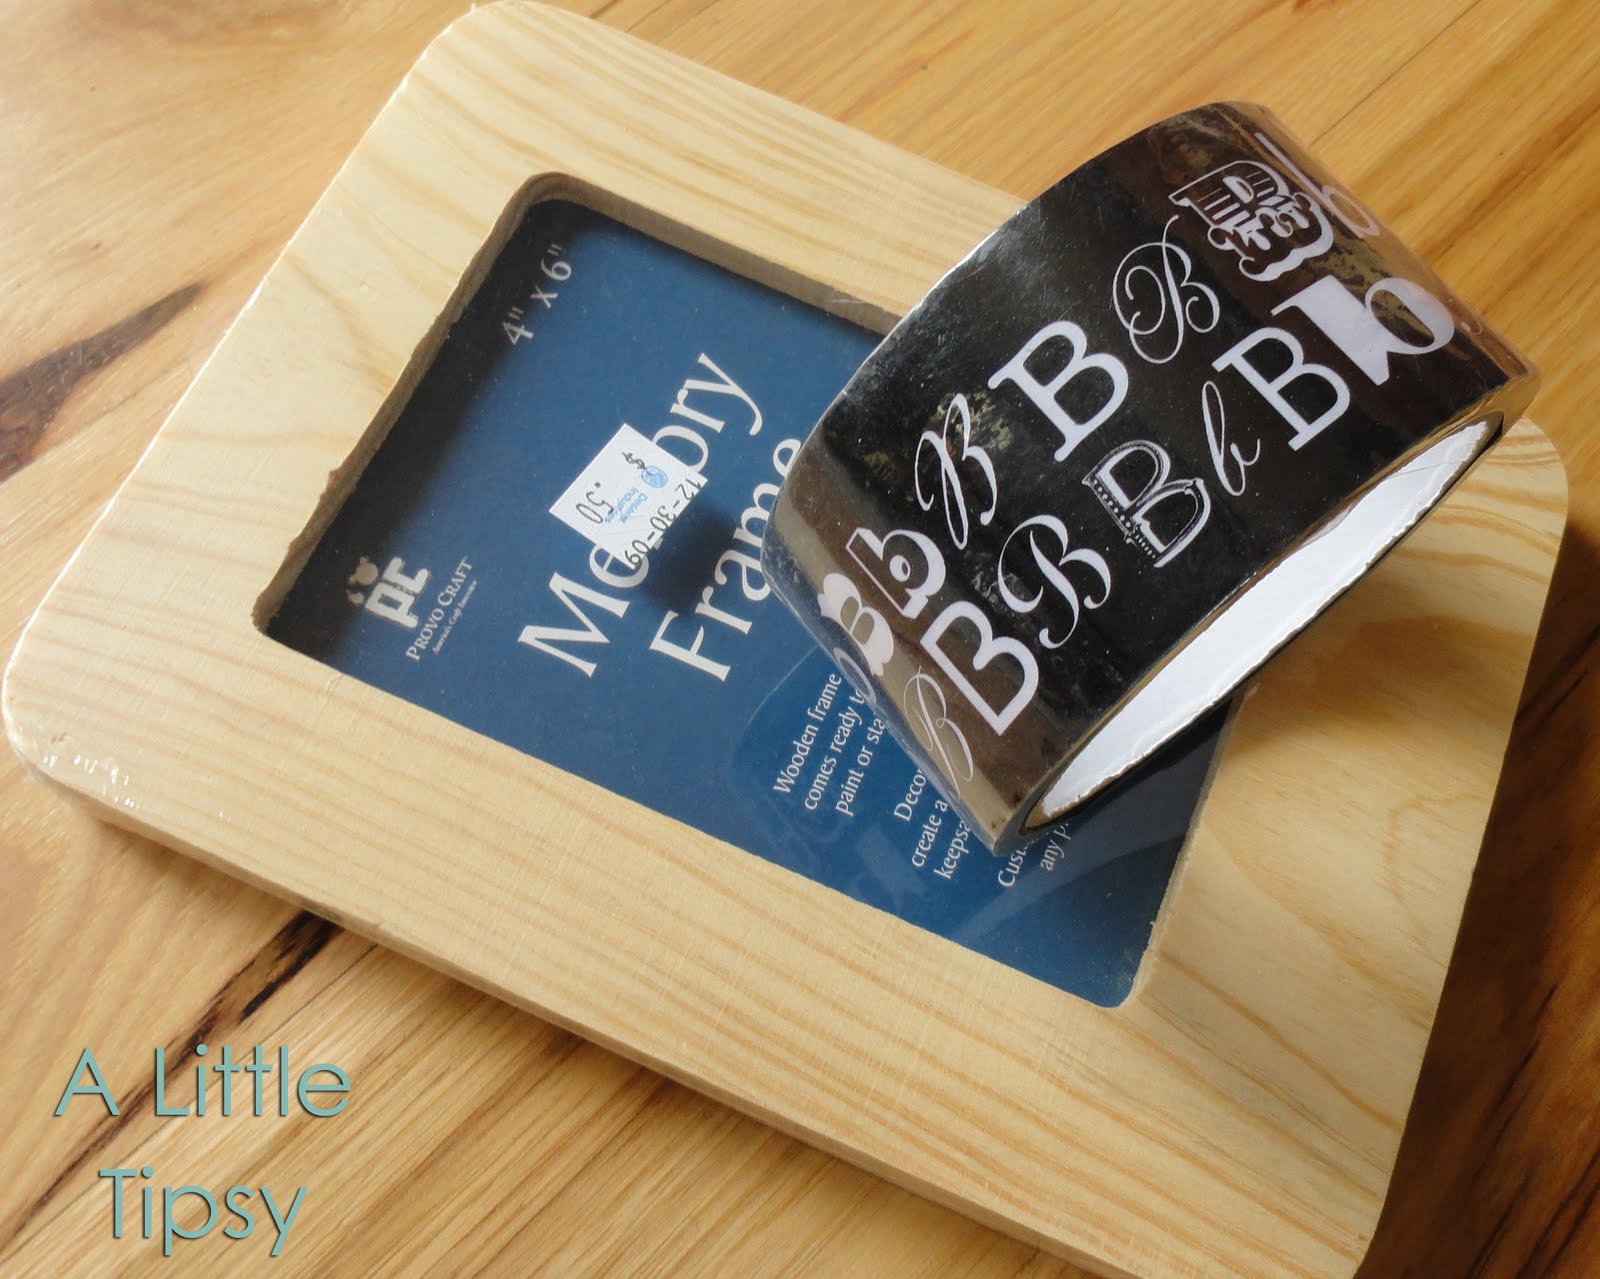
- Wood frame (50 cents thrift store, easily found for $1 at craft store)
- Decorative packing tape ($1 Michael’s)
- White & Black Craft Paint
- Exacto knife
- Cutting board
- Scrap paper
- Chalk
- Buttons
- 3-D adhesive squares
- Glue dots
Total project cost: $1.50
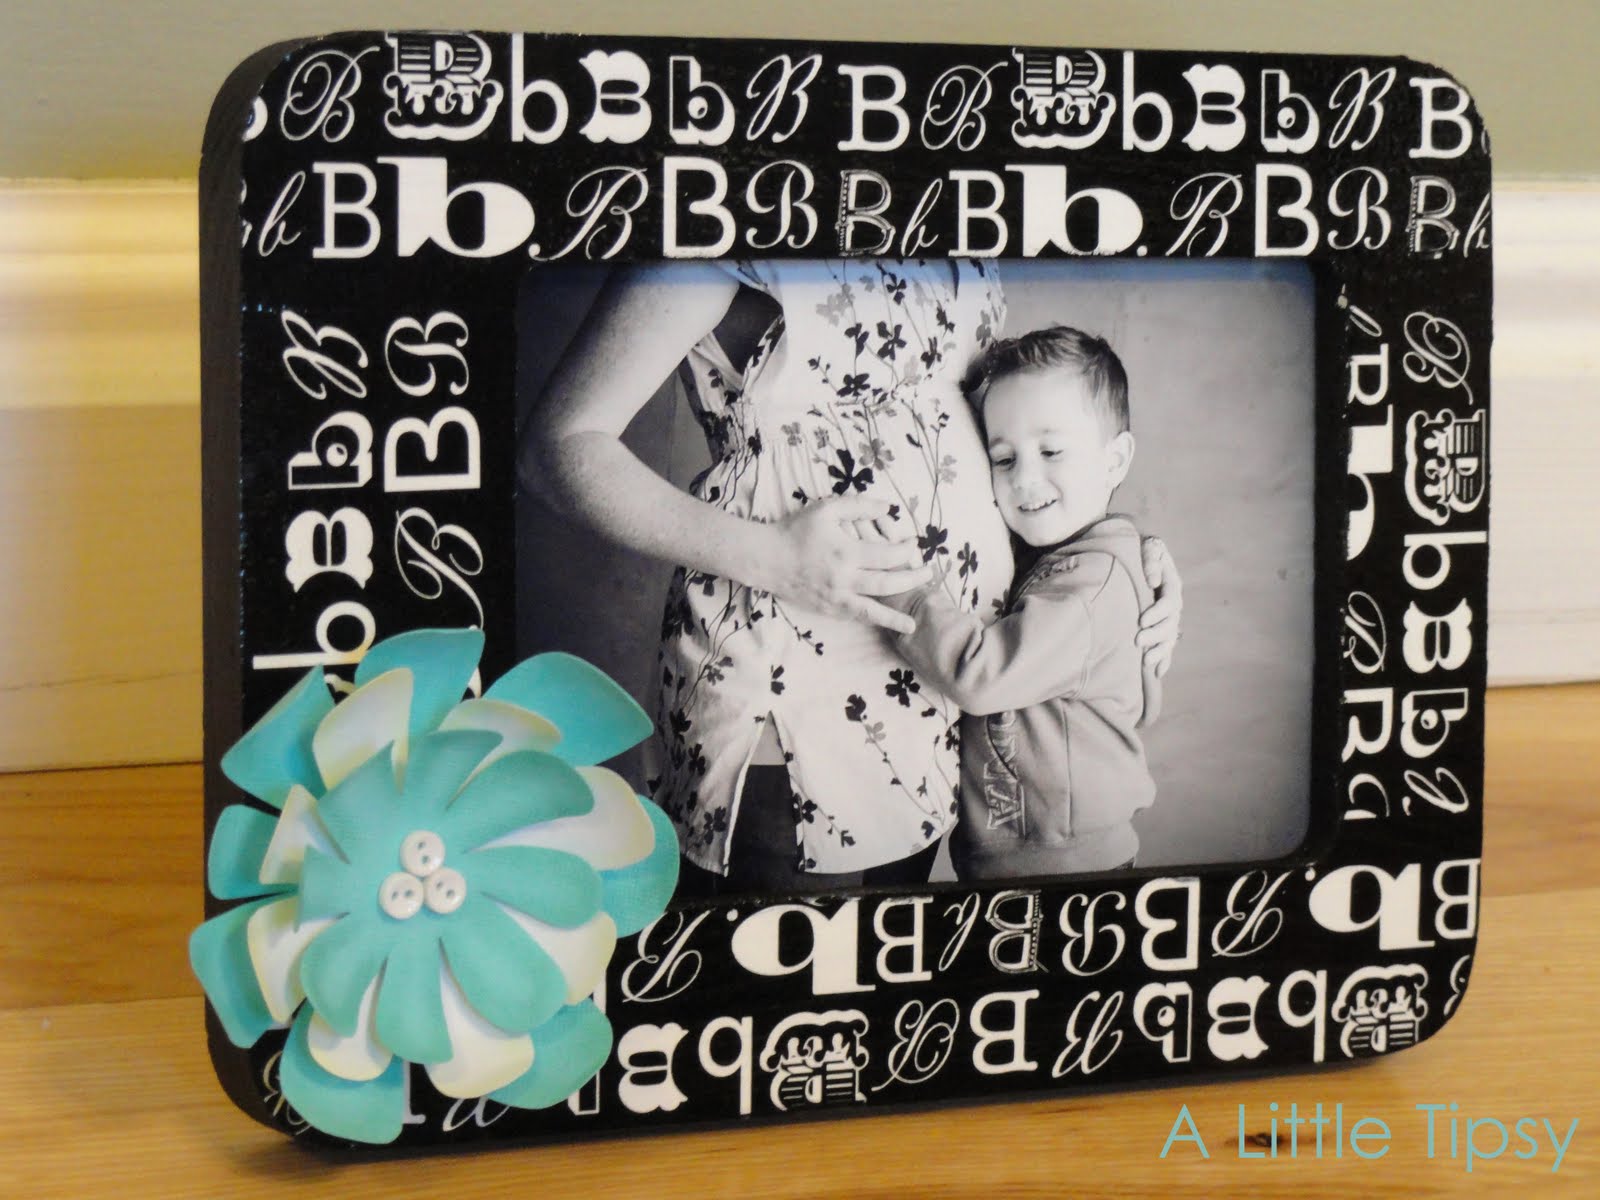
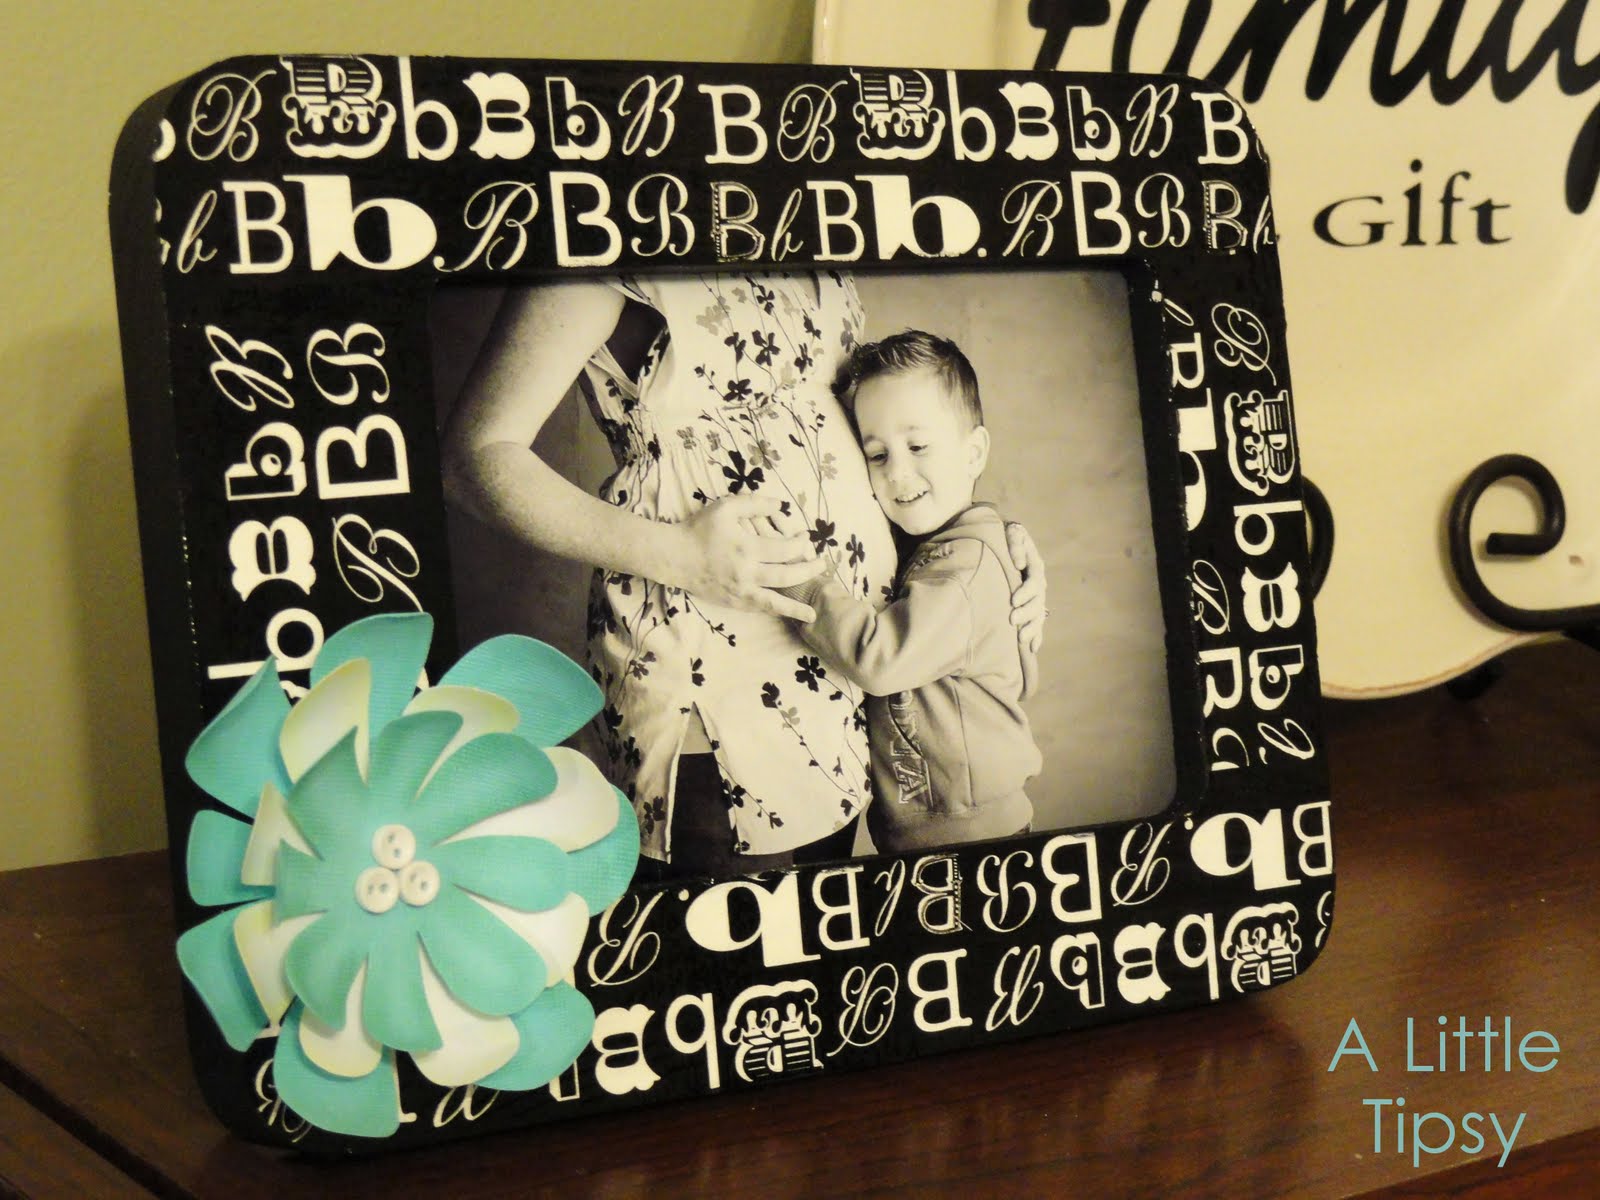
1. Paint the frame. I used black on the edges and white on the front because the monograms on my tape were clear and I wanted them to be white.
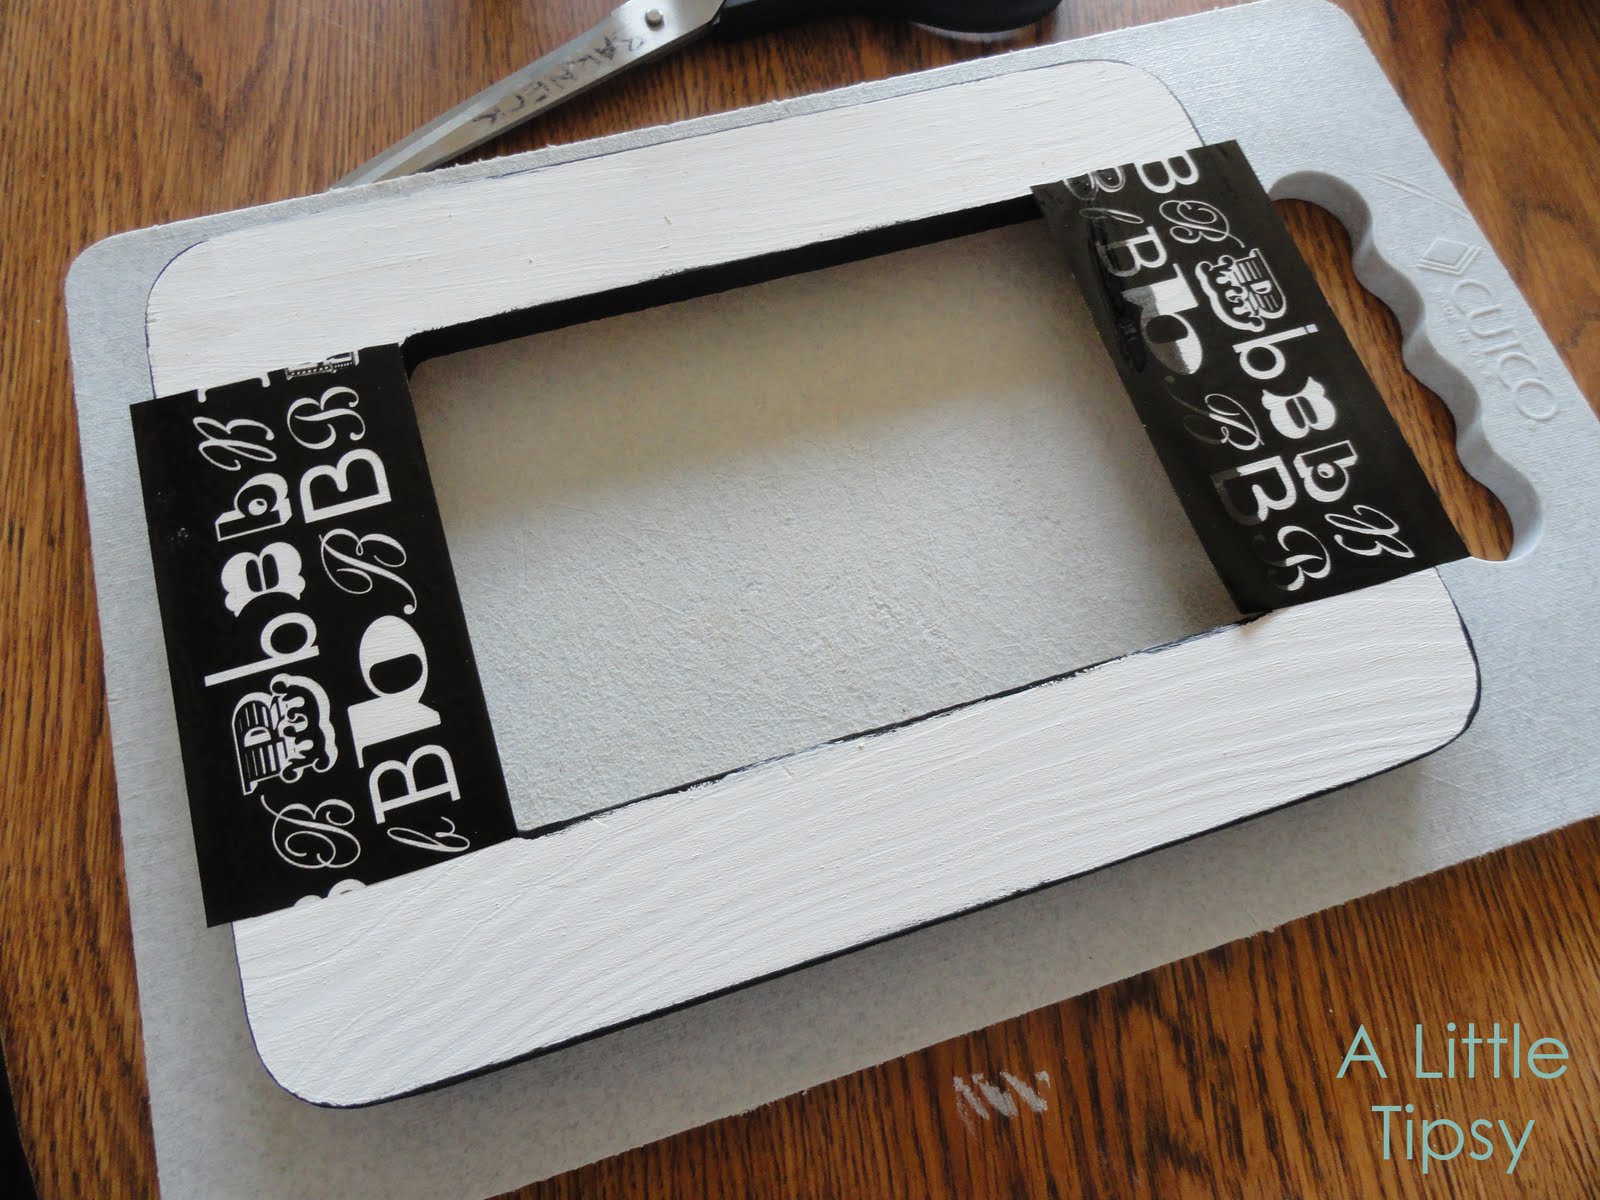
2. Cover the frame with tape. I placed mine with the bottom of the B’s always facing the center.
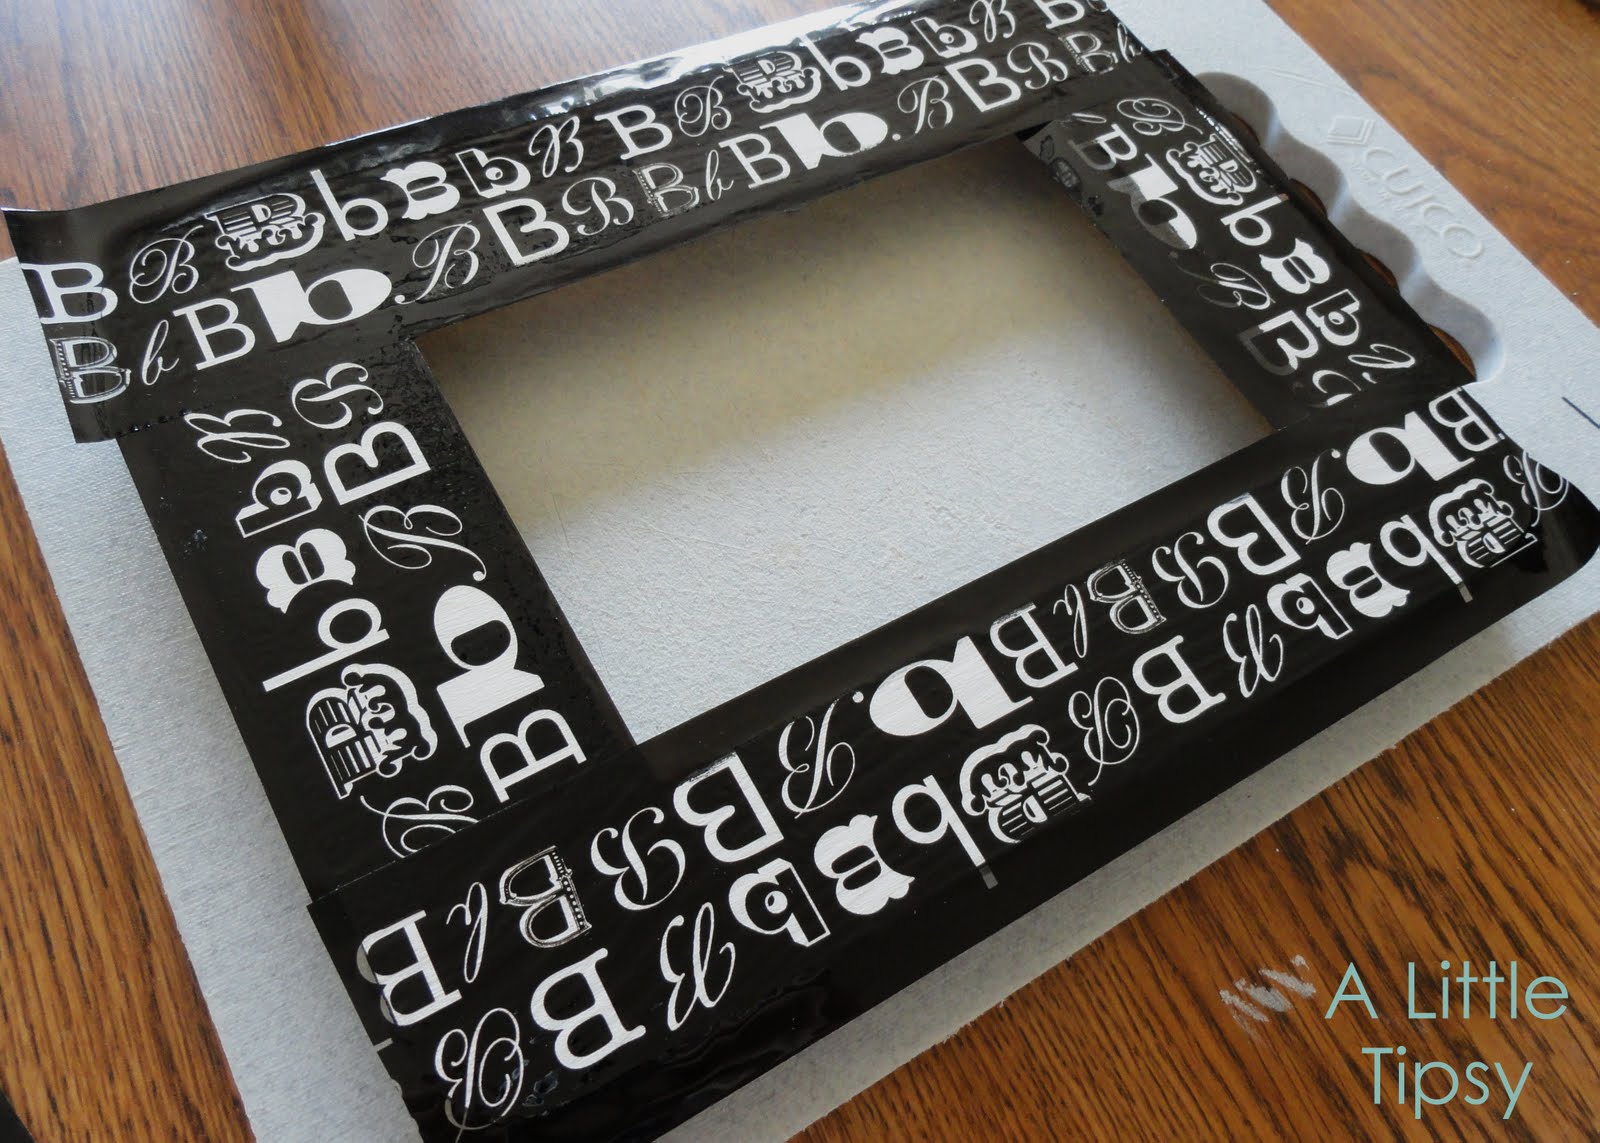
3. Place the frame tape side down on a cutting board and using an exacto knife trim the excess.

5. I added chalk around the edge of each petal to add more depth. Teal on the turquoise and yellow on the white.

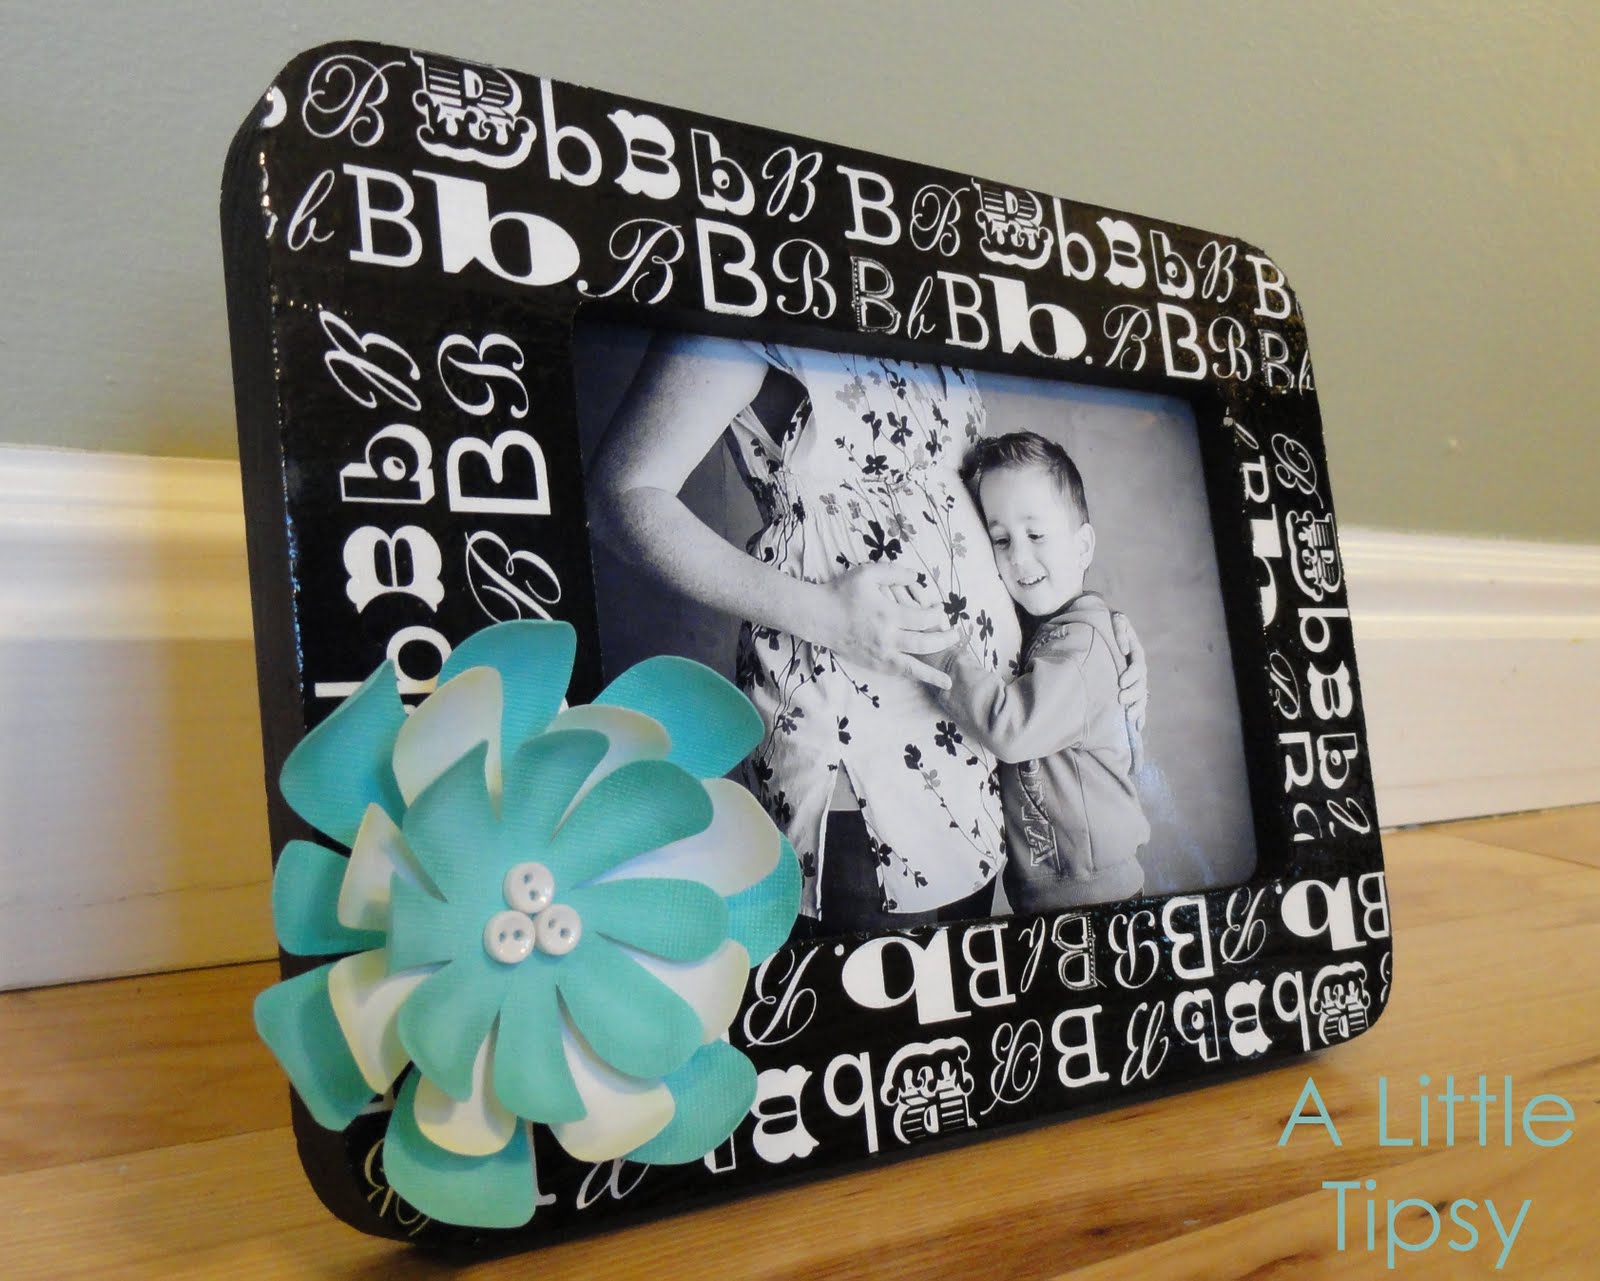
7. Assemble the flower, attaching the flowers with 3-D adhesive squares and the buttons with glue dots. Stick the flower to the frame with glue dots so you can change it out if you so desire.

OK, so now it’s time to link up!!
Please remember:
- Only link projects that cost you $5 or less (price does not have to include items you had on hand)
- You can link past projects that fit the dollar limit
- Please link back so others can join the party


P.S. Don’t forget to sign up for free Tipsy updates via RSS or email.