A Little Tipsy

Creative Tips & Ideas

  • home
  • About Me
  • the tipsy top
  • press
  • projects
  • contact me
[print_thumbnail_slider]

DIY Under $5: Task Board

May 11, 2011 By Michelle Barneck 10 Comments

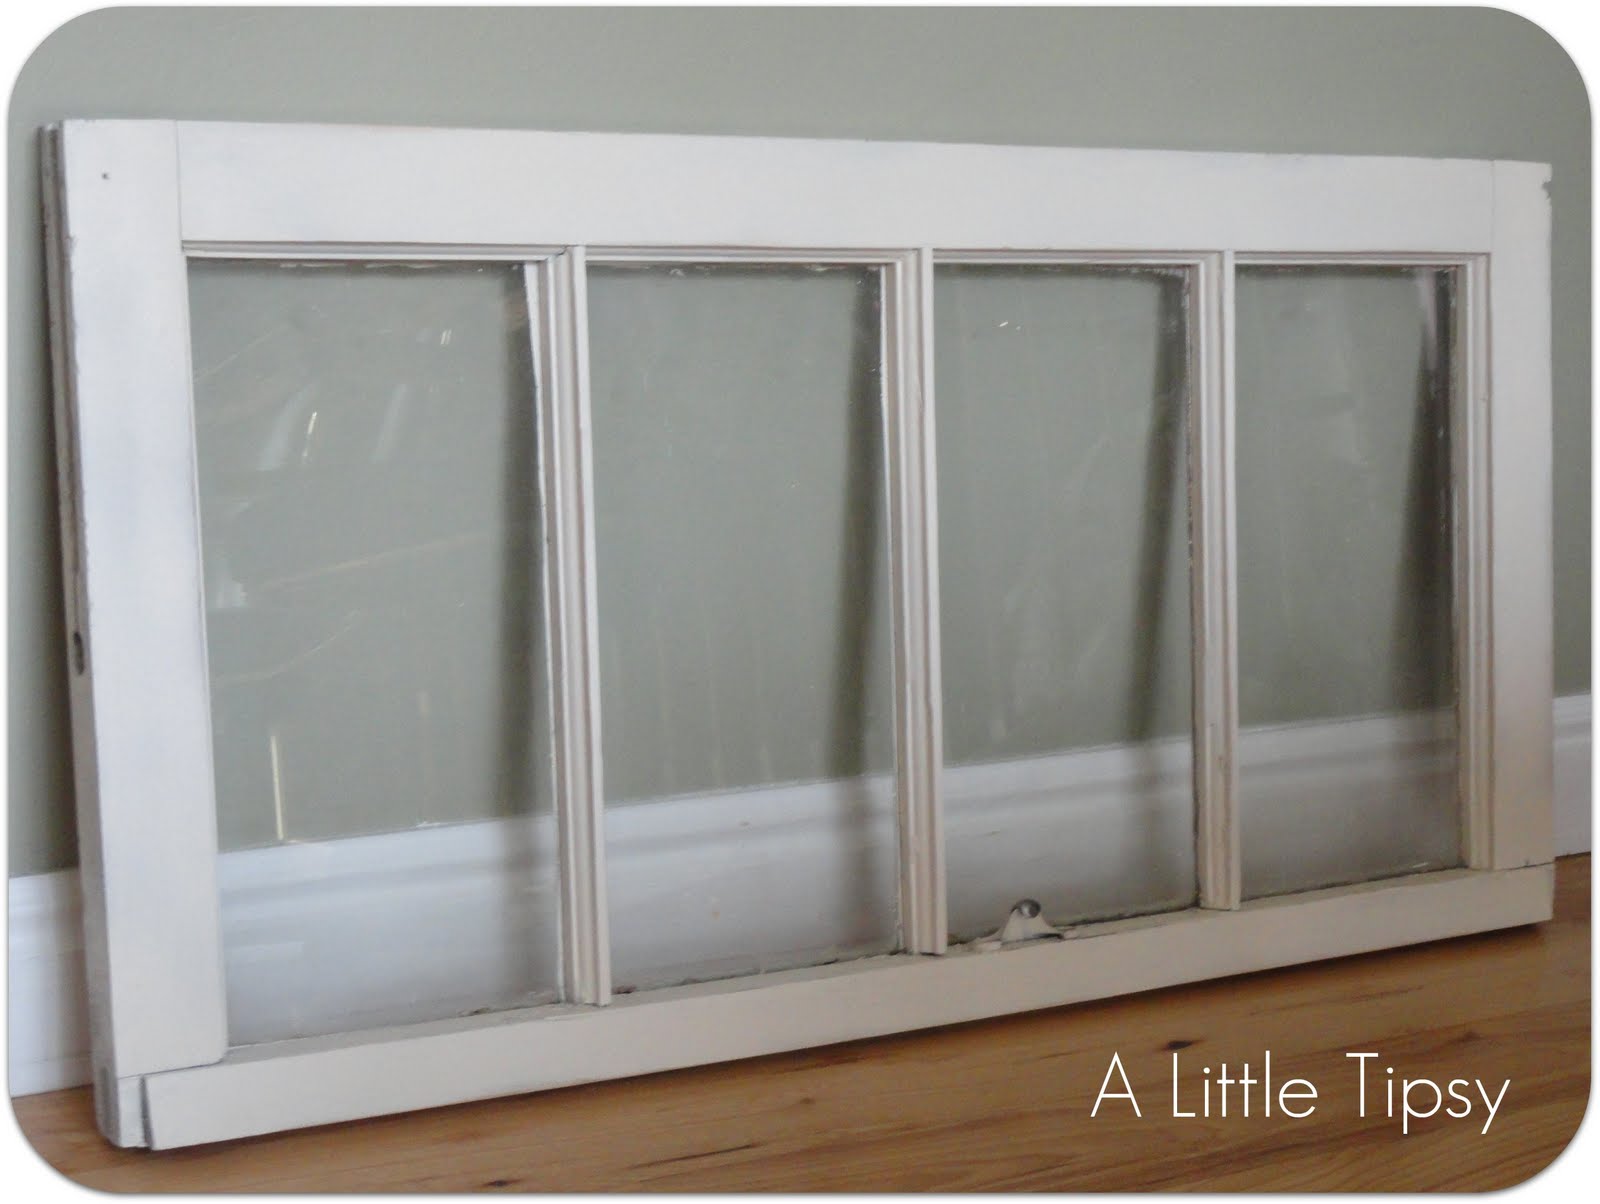
Old Window + Personal Kanban = Task Board

If you’re like me you always have a million projects in the works. I have become the queen of multi-tasking which leaves me at the end of the day with a whole bunch of things worked on, but not much to show for it. I decided I need a new system. Something to whittle down the tasks so that even if it is only a few, at the end of the day there are tasks done and off the list.

Kanban definition in a nutshell: task management made visual and simple, limiting work in progress
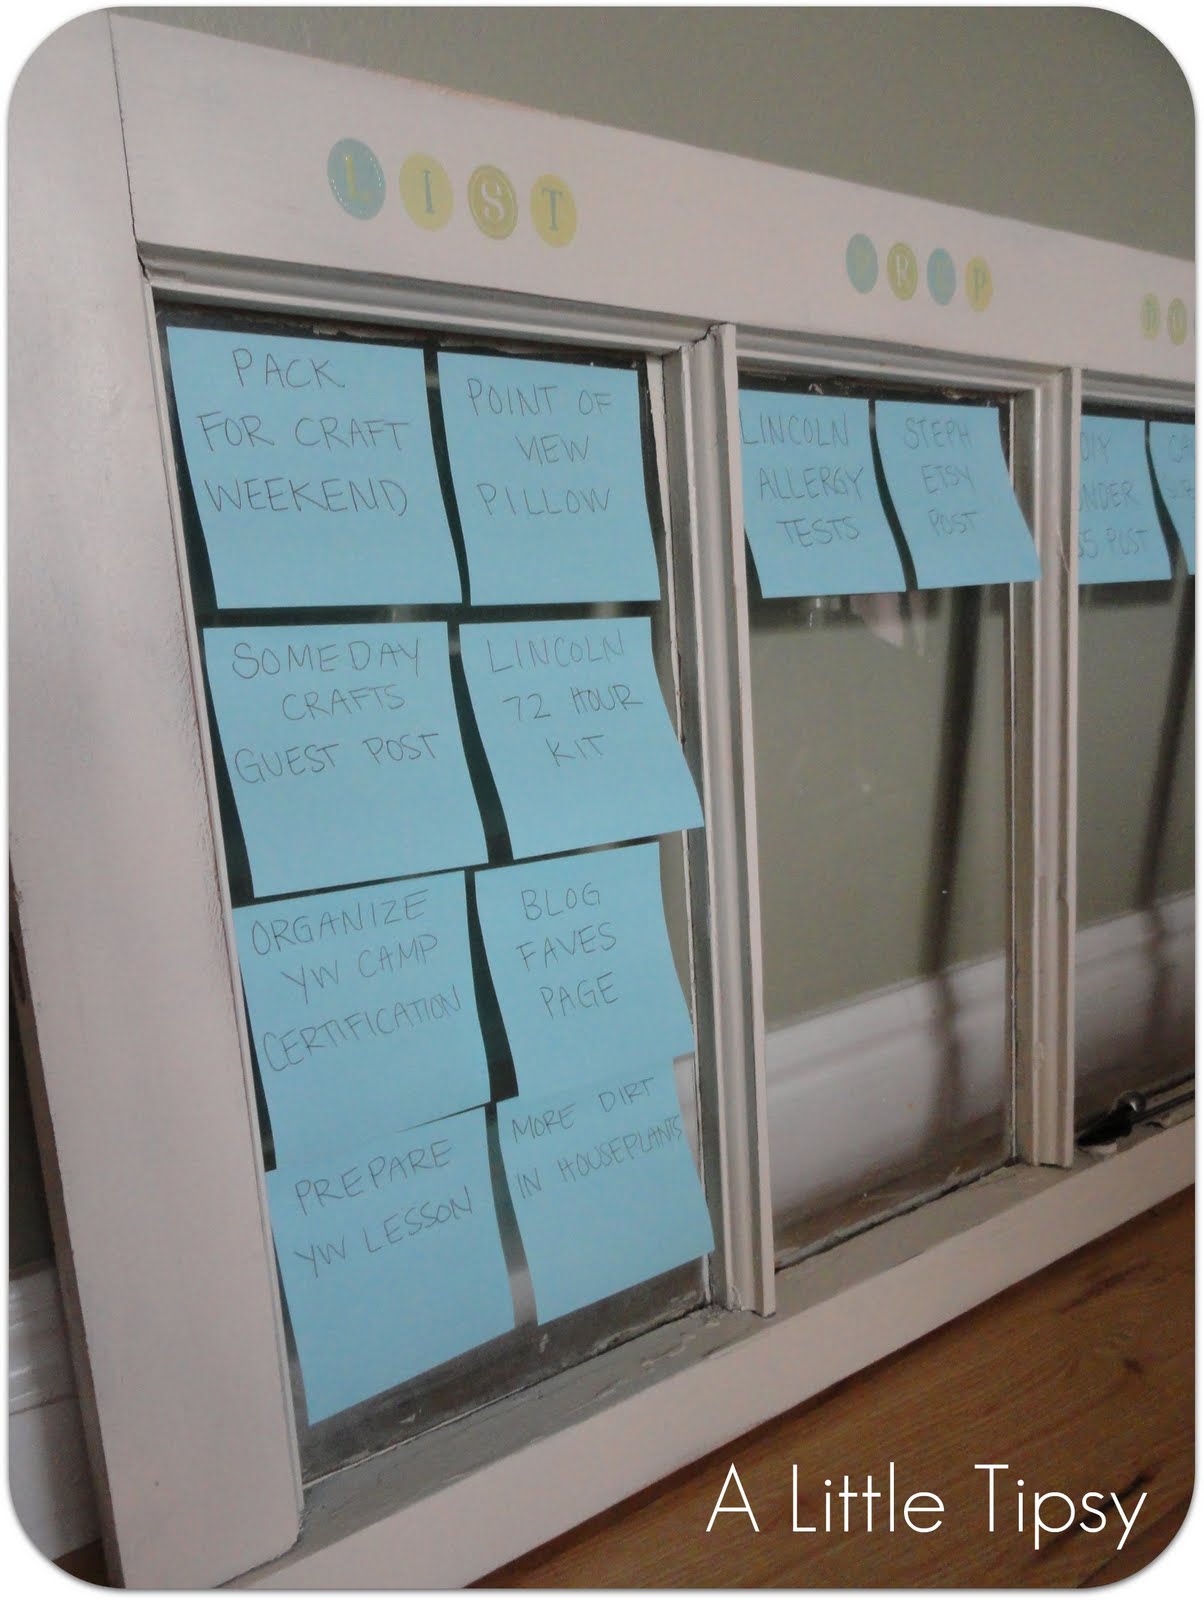
Task Board

Supplies needed:

  • Old window {donated by the fabulous Stacy of Not Just a Housewife}
  • Electric handheld sander and/or Sanding sponge
  • Heirloom white spray paint
  • Clear contact paper
  • Letter decals
  • Post-its
  • Pen

Total cost: FREE I had everything on hand. Though I will be buying some hanging supplies to attach it to the wall.

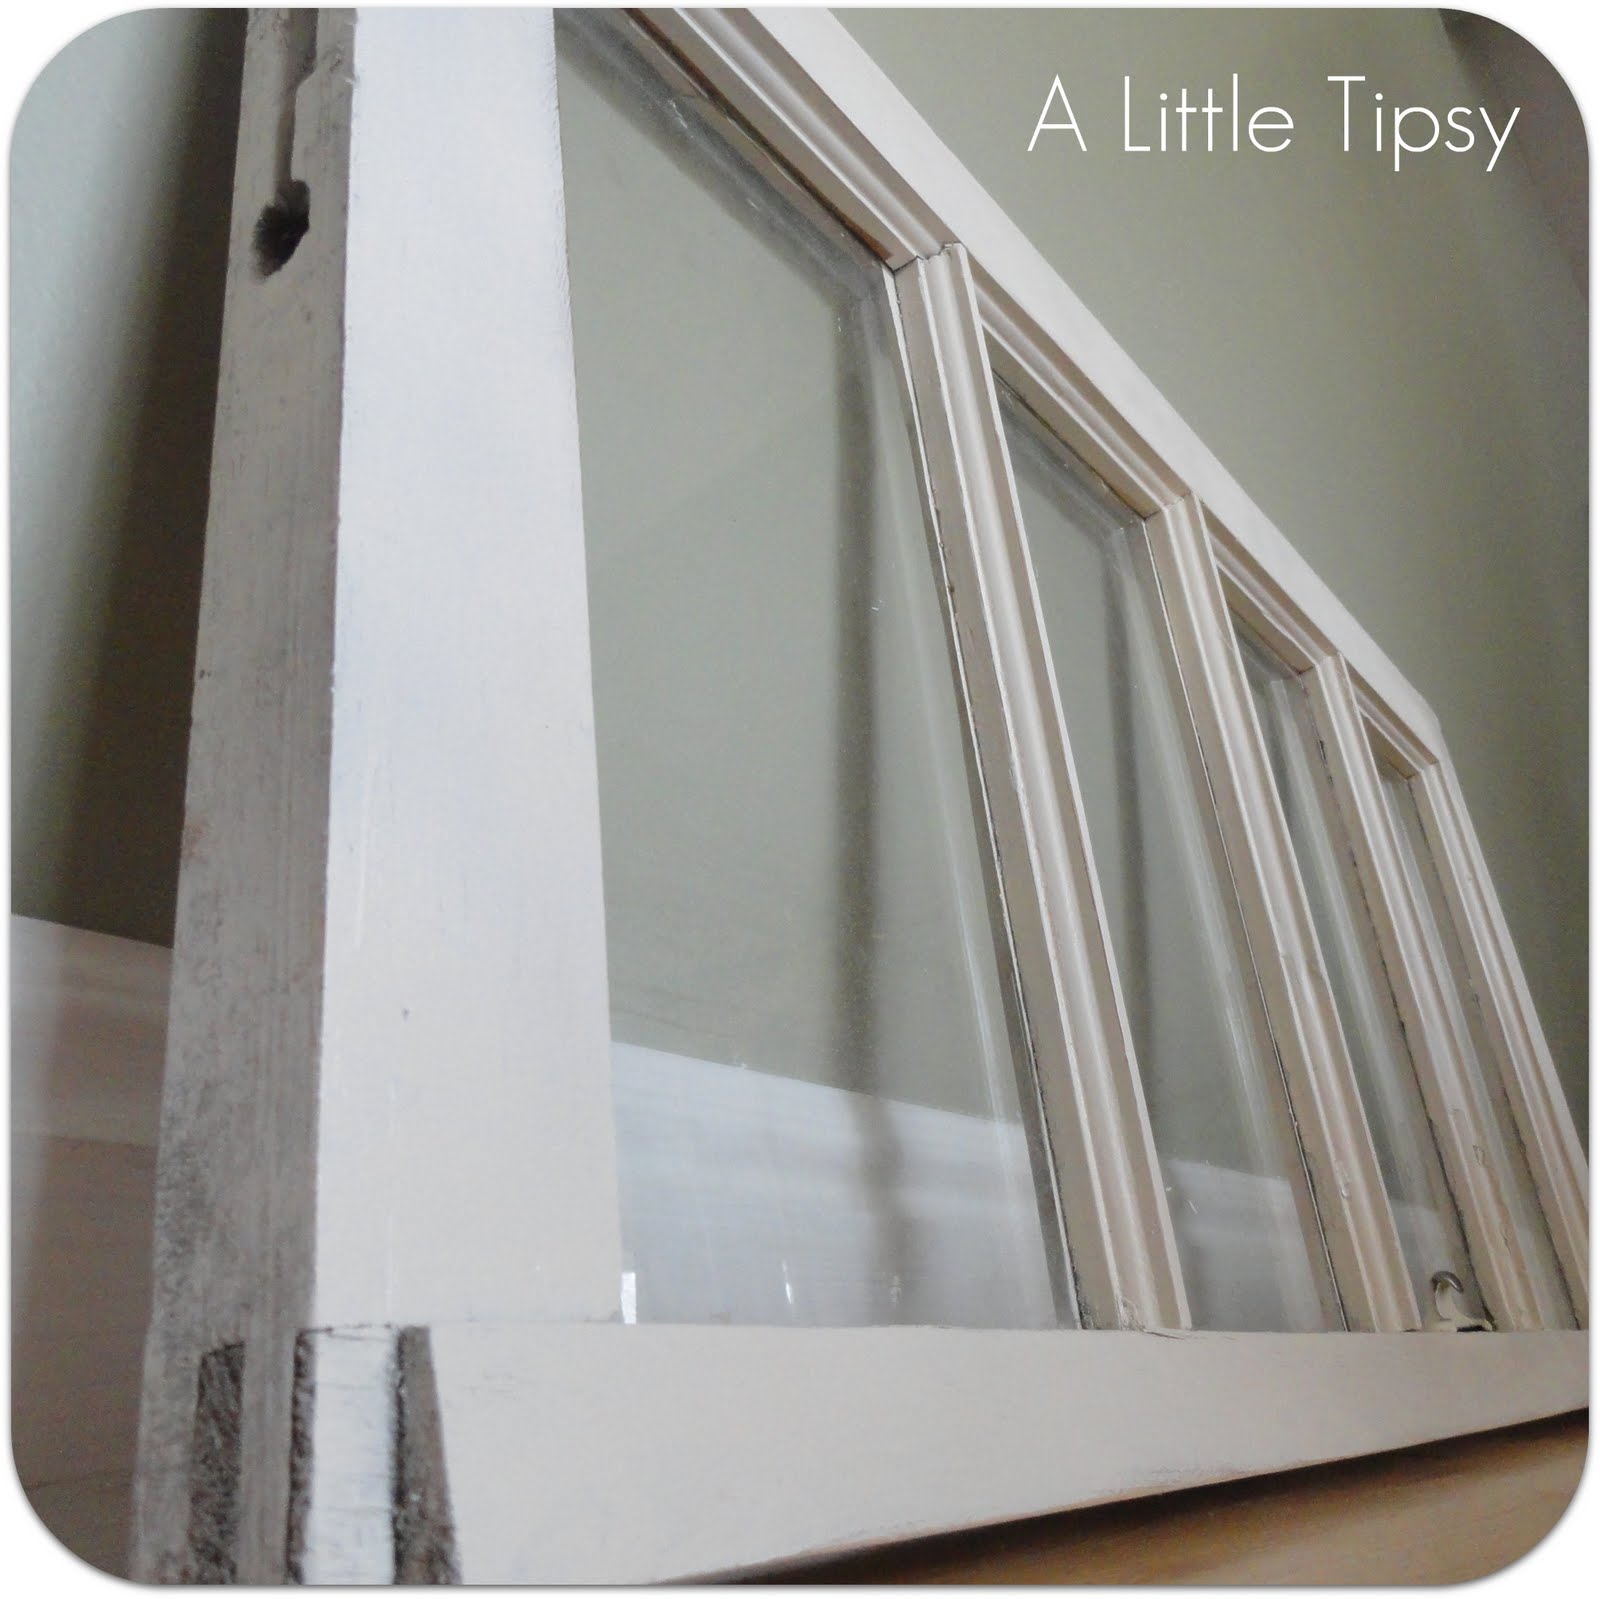
1. Take an old window and give her a nice sanding. I used our hand held electric sander and then went over it by hand with a sanding sponge. I didn’t get all the areas all the way down to the wood because I liked the texture and chippiness.
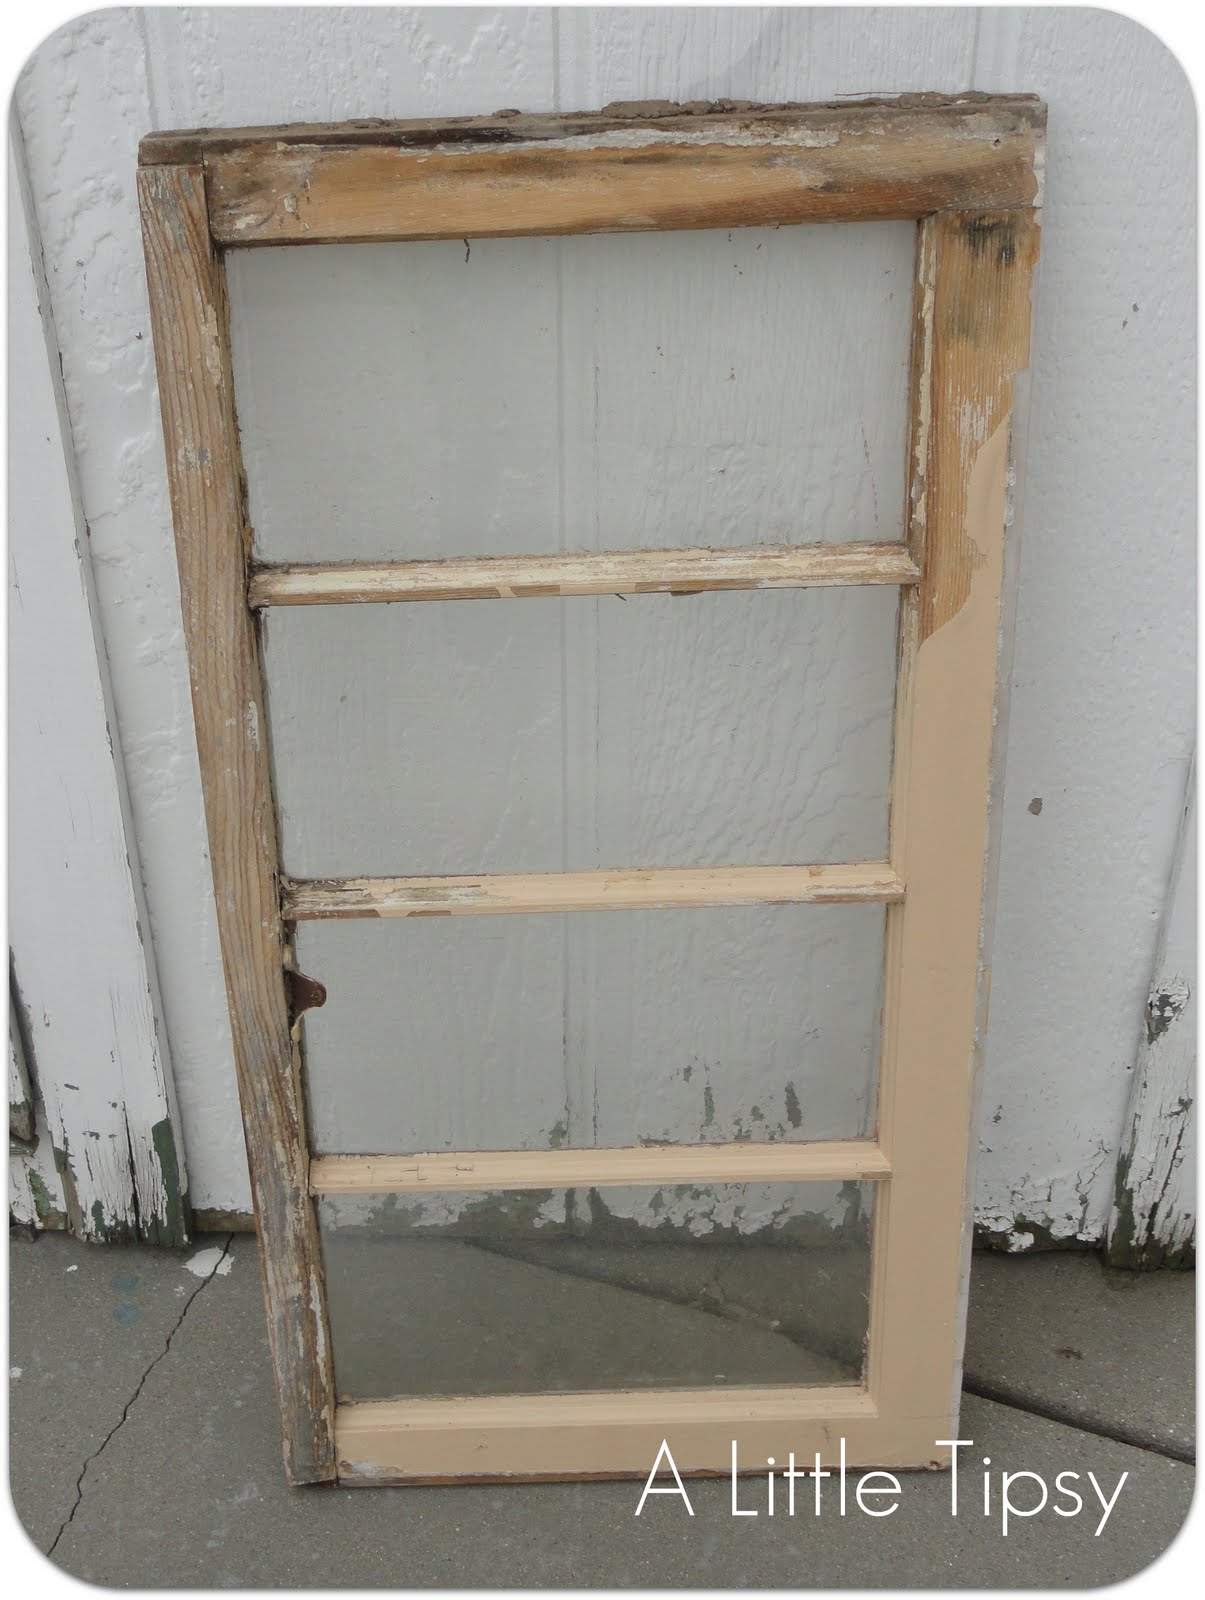
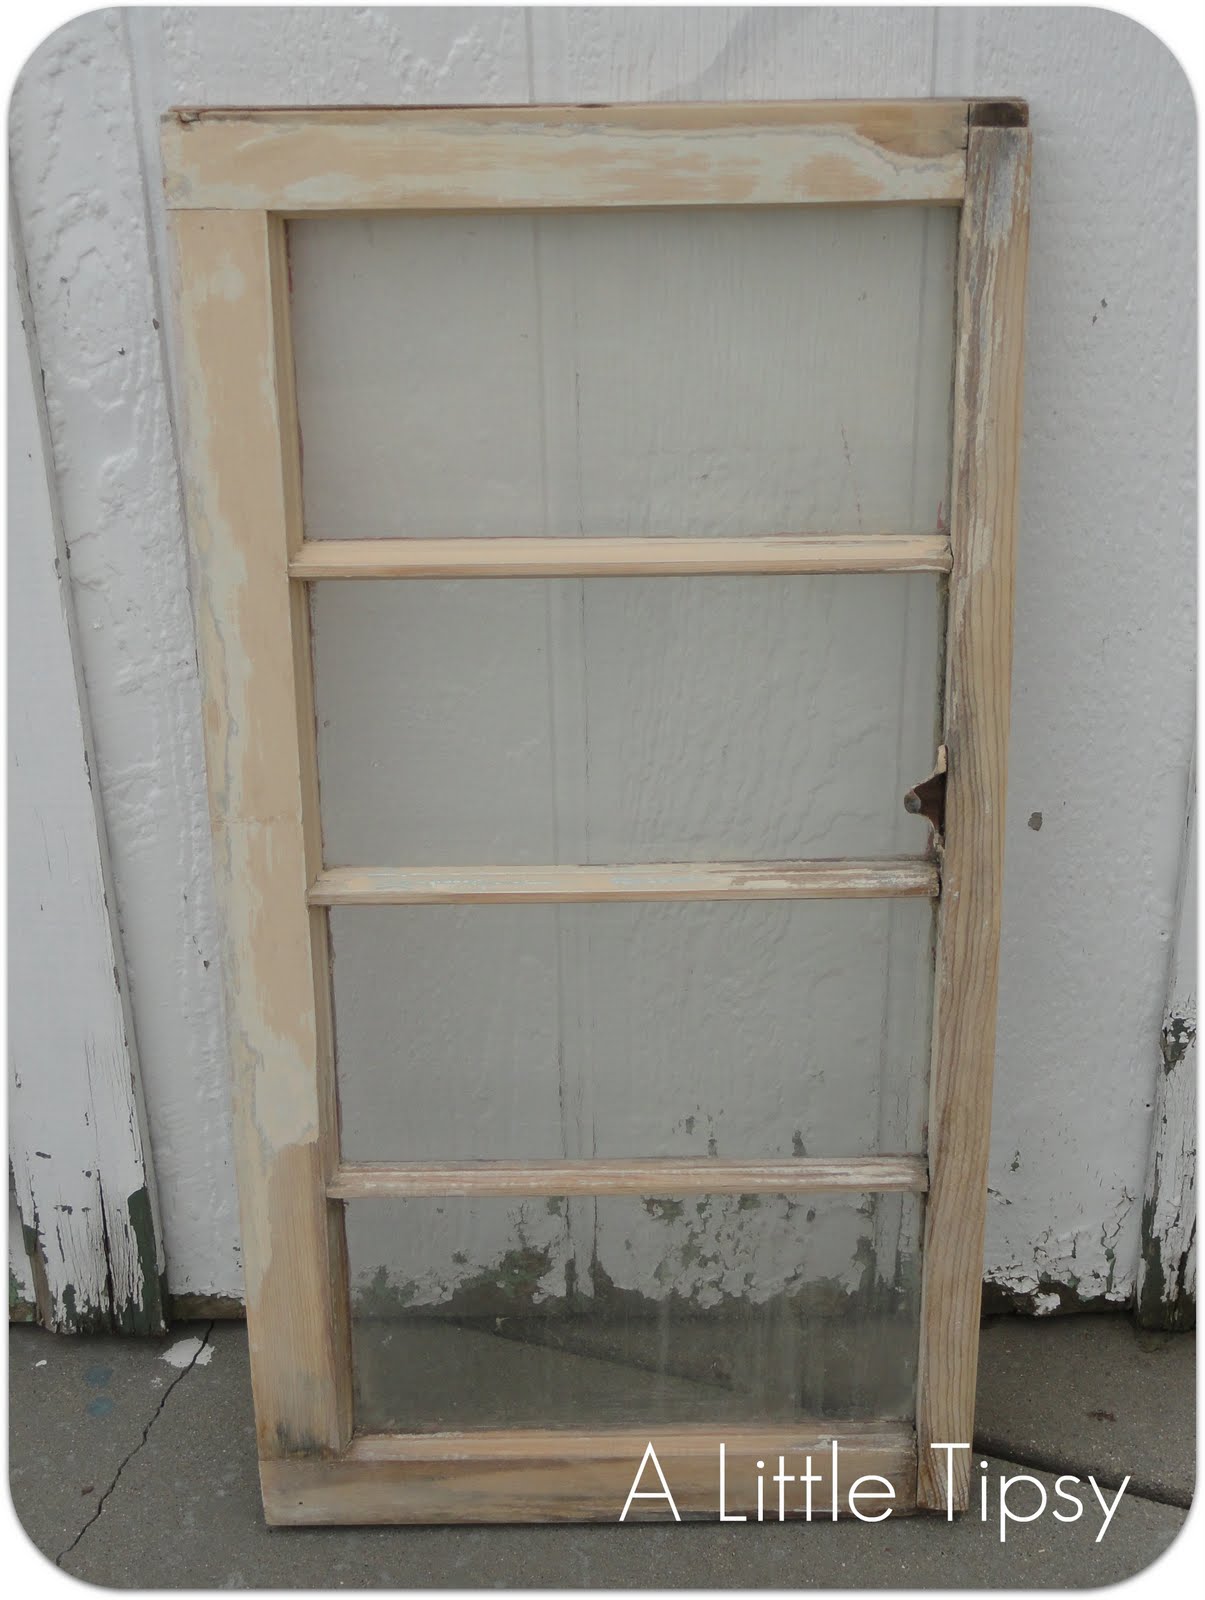
Before………………………………………………………….After

2. Then, I cut clear contact paper the size of the glass and adhered it to keep the paint off the glass.

3. Spray paint. I only needed one good coat. I use Rustoleum 2x paint so you may need more with another brand.

4. Rough up the edges using the sanding sponge.

5. Add the decals to label your different areas. I did four: list, prep, doing, and done because that is the Personal Kanban system. Plus, it helped that my window had four panes. 🙂


Can you see the perfect little nook for my pen there at the bottom? The little hook holds it in place.
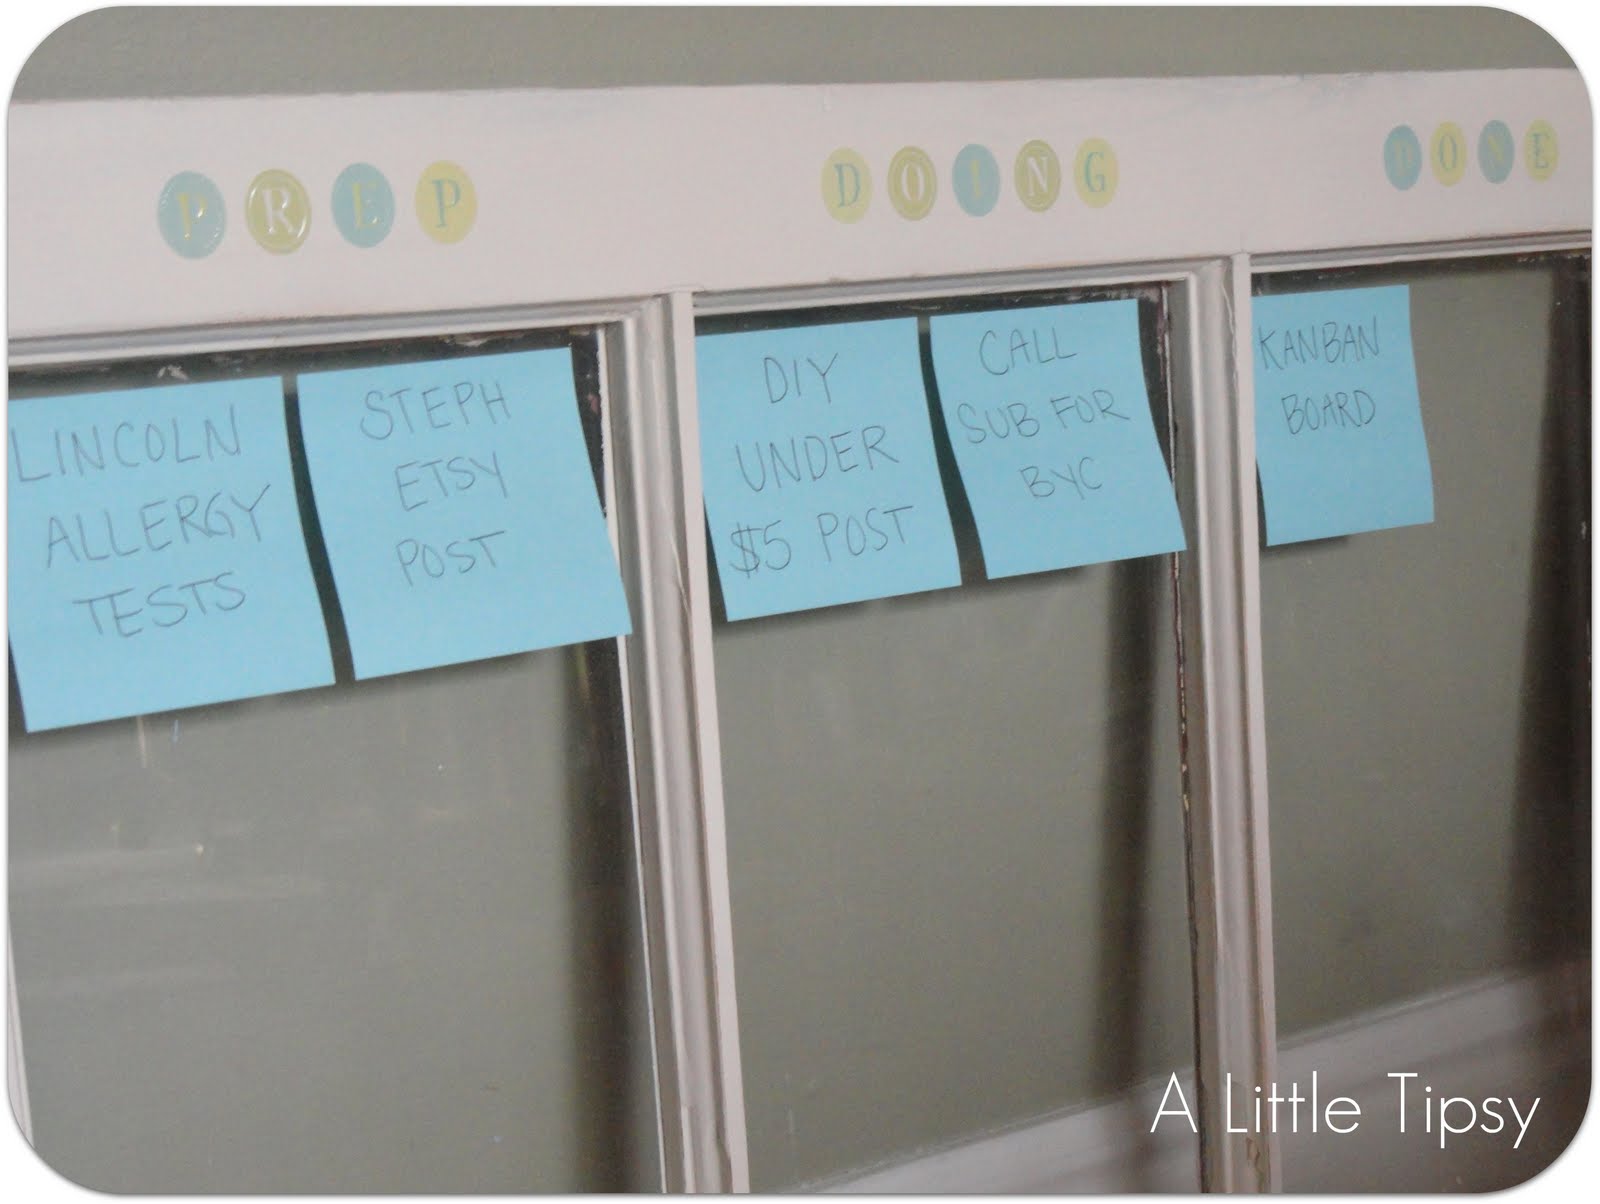
6. Fill with a sticky note for each task in your list. You could also do dry erase markers. Kanban likes you to use something physical that you move along the system so you can actually see and track the tasks getting done.

Now it’s time to link up your $5 projects!

Please remember:

  • Only link to your own projects that cost you $5 or less (price does not have to include items you had on hand)
  • You can link past projects that fit the dollar limit
  • Please link back so others can join the party and so you have the opportunity to be featured on Saturday!


DIY under $5


P.S. Don’t forget to sign up for free Tipsy updates via RSS or email.

We have decided to truncate our feed to help protect against stolen content. I apologize for any inconvenience. Please love us anyway. 🙂

DIY Under $5 Features

May 7, 2011 By Michelle Barneck 3 Comments

Thanks so much to all those who participated in the DIY under $5 linky this week! I have so much fun looking through all your projects! Here are the features for this week.

Link with Highest clicks:

Edible Crayons from Stampin’ and Craftin’

My faves:

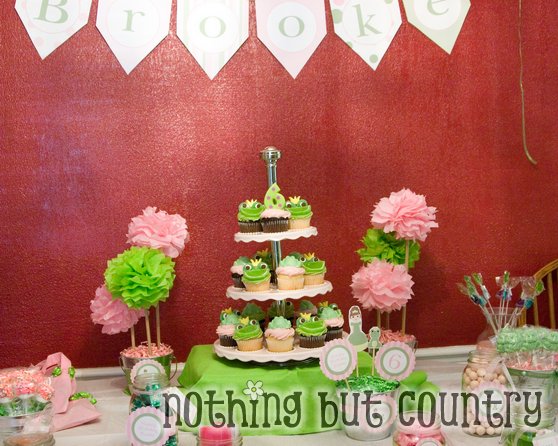
I love from Nothing But Country’s Princess and the frog party theme!

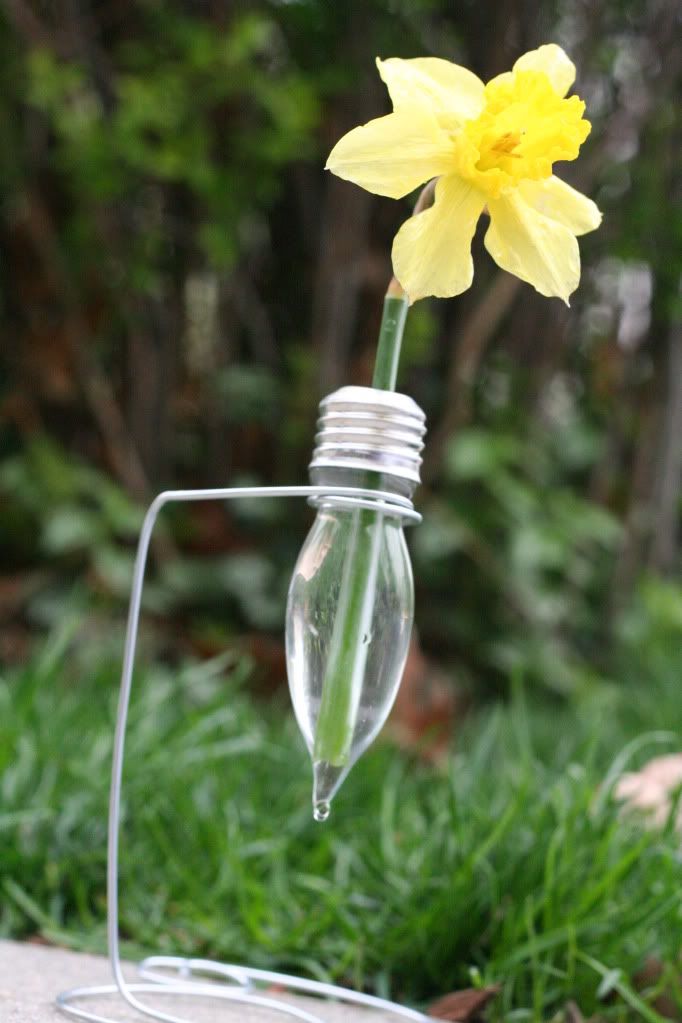
I am totally digging this light bulb vase from A Law Student’s Journey

This faux milk glass from C.W. frosting is awesome!

I can’t wait to see more from all of you!

Be sure to grab your A Little Tipsy featured button here.

P.S. Don’t forget to sign up for free Tipsy updates via RSS or email.
We have decided to truncate our feed to help protect against stolen content. I apologize for any inconvenience. Please love us anyway. 🙂

Feature Friday: My Junk Drawer {Roast Recipe}

May 6, 2011 By Michelle Barneck 2 Comments

Hello A Little Tipsy land!
My name is Kristen, from My Junk Drawer. I am thrilled to be a guest today! I am even more thrilled to have Michelle over on my blog today.

I am a SAHM/full time college student. I am married to a cool surfin’ musician who loves to be a kid. I have 3 cute little kiddos, ages 8, 3, and 1. In between diaper duties, and writing essays I like to create. I like to create with fabric, paper, wood and food. Today I am here to share with you a little bit of my love for food.

I am excited to share this recipe with you today. It is super and easy and super yummy! It makes for a great family meal or a meal you take to a friend in need.

Have you ever planned on cooking a pot roast in your crock pot so at the end of the day you could take a break and not have to slave over the stove to make dinner? Have you ever forgot to turn it on and not realized that it wasn’t on until it was too late to cook it in the crock pot? I have too! Today I am going to share my new way of making a pot roast dinner that tastes even better than in the crock pot. The potatoes and carrots don’t come out soggy, they come out perfect! And it only takes 3 hours, instead of 8!

Here we go…

Ingredients:

meat of choice-about 1/4 lb per person

potatoes-2 per person

one bag of baby carrots

seasoning

Step 1: Preheat oven to 300.

Step 2: Get out your roasting pan.

(I love my roasting pan, the best part is that it was only $8 at Wal-Mart)

Step 3: Prepare your meat by stabbing it a bunch of times with a fork, I think the proper term is tenderize (???).

It should look like this on both sides (look closely, there are a BUNCH of holes).

Step 4: Season it, generously, on both sides.

Step 5: Add water, not too much just enough to cover the bottom of the pan. It should only go up about 1/4 of the height of the meat. Cover with lid.

Step 6: Put it in the oven for about 2 hours. Chop up your potatoes sometime during this 2 hours. At the end of 2 hours it should look like this.

Step 7: Add potatoes and carrots, cover with lid. Put back in oven for 1 more hour.

Step 8: Take the pan out of the oven and test your meat. You do this by sticking a fork in it and twisting it. If the meat pulls apart you are good to go, if it doesn’t pull apart then stick it back in for 30 minutes and you will be good.

This is what you will end up with. Delicious pot roast with meat that melts in your mouth and veggies that have the perfect amount of bite left.

A huge thank you to Michelle for letting me invade her blog today! Make sure you all stop by My Junk Drawer and look around, I promise you will find something you like. 🙂

——————————————————————–

Thanks for stopping in Kristen! I am definitely going to try this one! I have a secret. I have never cooked a good roast. I can’t seem to find a happy medium with my hot running crock pot, so I am off to get myself a roasting pan!

P.S. Don’t forget to sign up for free Tipsy updates via RSS or email.
We have decided to truncate our feed to help protect against stolen content. I apologize for any inconvenience. Please love us anyway. 🙂

Photo Canvas Land Giveaway

May 5, 2011 By Michelle Barneck 88 Comments

I have a thing for canvas. I love how it can make a family photo look like a work of art. I love the texture. I love the wrap. I just love the look and feel of canvas.

Know what I don’t love? The price!

I am a mom of little kids. They change almost overnight so I like to update our pictures, A LOT! I am not a millionaire (shocker, I know) so I don’t have hundreds of dollars to drop every time I want to update our family pic.

I was asked to take a look at a canvas from PhotoCanvasLand.com and when I went online to order I was SHOCKED at their pricing. We’re talking under $20 for a gallery wrap 12×10 canvas. Insane. I’m not gonna lie I was skeptical about how it was going to turn out when I ordered.

I got it in the mail and was totally pleasantly surprised. The coloring was great and the quality was totally comparable to other *more expensive* canvases I have on my walls. Impressive.

So what gives? What is the difference between Photo Canvas Land and other canvas companies? Here’s what I can tell in my comparison:

  • The canvas is a bit thicker so the folds on the corners are a tad bigger. (See in photo above) It still stands upright on its own unless you try to put it on a shelf that tilts slightly forward like I did. I just added a little moss under the front to even it out. 😉
  • The wood frame is thicker and thus a bit heavier.
  • The staples are slightly larger.

Ok, so let’s review. All the differences are things that don’t really matter and the cost is super low. Nice.

I will say it took a little longer to arrive than I expected. I ordered on April 19th and got it May 4th. That’s a little over 2 weeks.

My Mom was really wanting to get a big canvas of our last family pic. I am too late for Mother’s Day. Birthday present, check.

Still skeptical?

You could be one of two lucky winners to try them out for yourself with a free 8×10 canvas.

To enter: leave a comment on this post saying what picture you would like in canvas

Extra entry: Let’s celebrate moms and give you an extra chance! Tell me how many kiddos/stepkiddos you have.

If you register at PhotoCanvasLand.com before the giveaway closes, you get free shipping if you win too. Bonus.

If you want to order one now, you can get 10% off by using the code LittleTipsy10Off. The code is good until June 15th!

Giveaway closes Monday, May 9th. Good Luck!

Disclosure: Photo Canvas Land sent me the product to review and is providing the giveaway. The opinions are my own and guess who would have shared a find like this anyway. Me. Oh and I am now a Photo Canvas Land Affiliate, cause why the heck not.

P.S. Don’t forget to sign up for free Tipsy updates via RSS or email.

We have decided to truncate our feed to help protect against stolen content. I apologize for any inconvenience. Please love us anyway. 🙂
« Previous Page
Next Page »

  • Bloglovin
  • Facebook
  • Google+
  • Instagram
  • Pinterest
  • RSS
  • Twitter

Hi there! I'm Michelle. Mother of three little boys and one little princess. Welcome to A Little Tipsy, a place for exploring creativity and sharing inspiration.

Follow on Bloglovin


Visit Michelle Barneck {A Little Tipsy}'s profile on Pinterest.

Tutorials by Category


15 Family Reunion Games

Family Reunion Games Collage

15 Sprinkle Party Ideas

Sprinkle Birthday Party
Creative Commons License

© Copyright 2014 A Little Tipsy · Site Designed by The Fairy Blogmother · Web Hosting by RFE Hosting

This website uses cookies to improve your experience. We'll assume you're ok with this, but you can opt-out if you wish.Accept Read More
Privacy & Cookies Policy