A Little Tipsy

Creative Tips & Ideas

  • home
  • About Me
  • the tipsy top
  • press
  • projects
  • contact me
[print_thumbnail_slider]

DIY Under $5 Features

September 17, 2011 By Michelle Barneck 2 Comments

There were so many things I loved this week! Thanks to everyone who linked up and shared their creativity! Now, for a few of the highlights.

My faves:

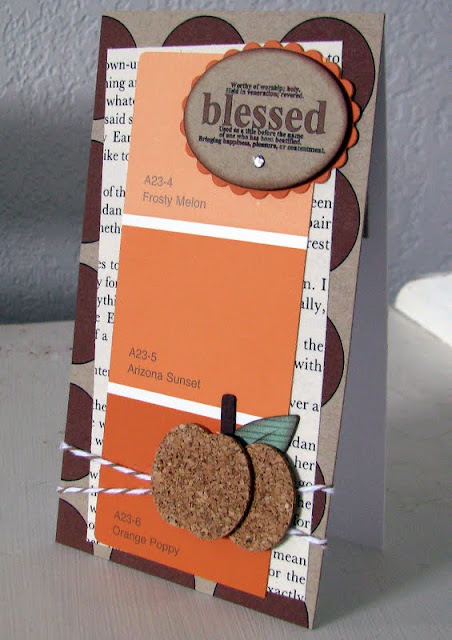
Cork Pumpkin Snippet Card from Scrappin’ with DeeDee
Cork, paint chip, book page and baker’s twine?! I am so in love with this!


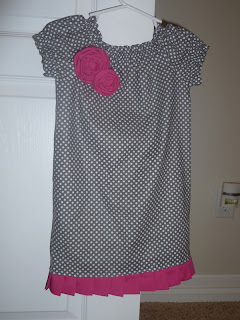
Polka Dot Pleated Dress
from Yours, Mine and Hours
I want a shirt just like this please!
Organizing Keepsakes with free printable from Lovely Little Snippets
Why didn’t I ever think of this?


Measuring Cups/Spoons Organizer from Burton Avenue
Get them out of the drawer and hang them on cupboard doors!


Link with the highest clicks:

Dollar Store Decor from Tales of a Trophy Wife

Be sure to grab your A Little Tipsy featured button here.

P.S. Don’t forget to sign up for free Tipsy updates via RSS or email.

We have decided to truncate our feed to help protect against stolen content. I apologize for any inconvenience. Please love us anyway. 🙂

Fall Fever: Pumpkin Steamer

September 15, 2011 By Michelle Barneck 2 Comments

I am visiting over at Every Creative Endeavor today as a part of Amanda’s Fall Fever Series.

I am sharing a recipe for a Pumpkin Steamer so hop on over if you want a yummy fall beverage!

I have loved checking out the daily fall posts over there. Head over for tasty pumpkin fudge, festive fall wreaths, giveaways, and more!

P.S. Don’t forget to sign up for free Tipsy updates via RSS or email.

We have decided to truncate our feed to help protect against stolen content. I apologize for any inconvenience. Please love us anyway. 🙂

DIY Under $5

September 14, 2011 By Michelle Barneck 1 Comment

Welcome to another week of DIY under $5! We’re gonna be changing things up a bit. I will still be doing projects for under $5. But, I will be posting those projects separate from the party so the post won’t be a mile long and so people don’t think I am trying to promote my party by linking up my project on their page.

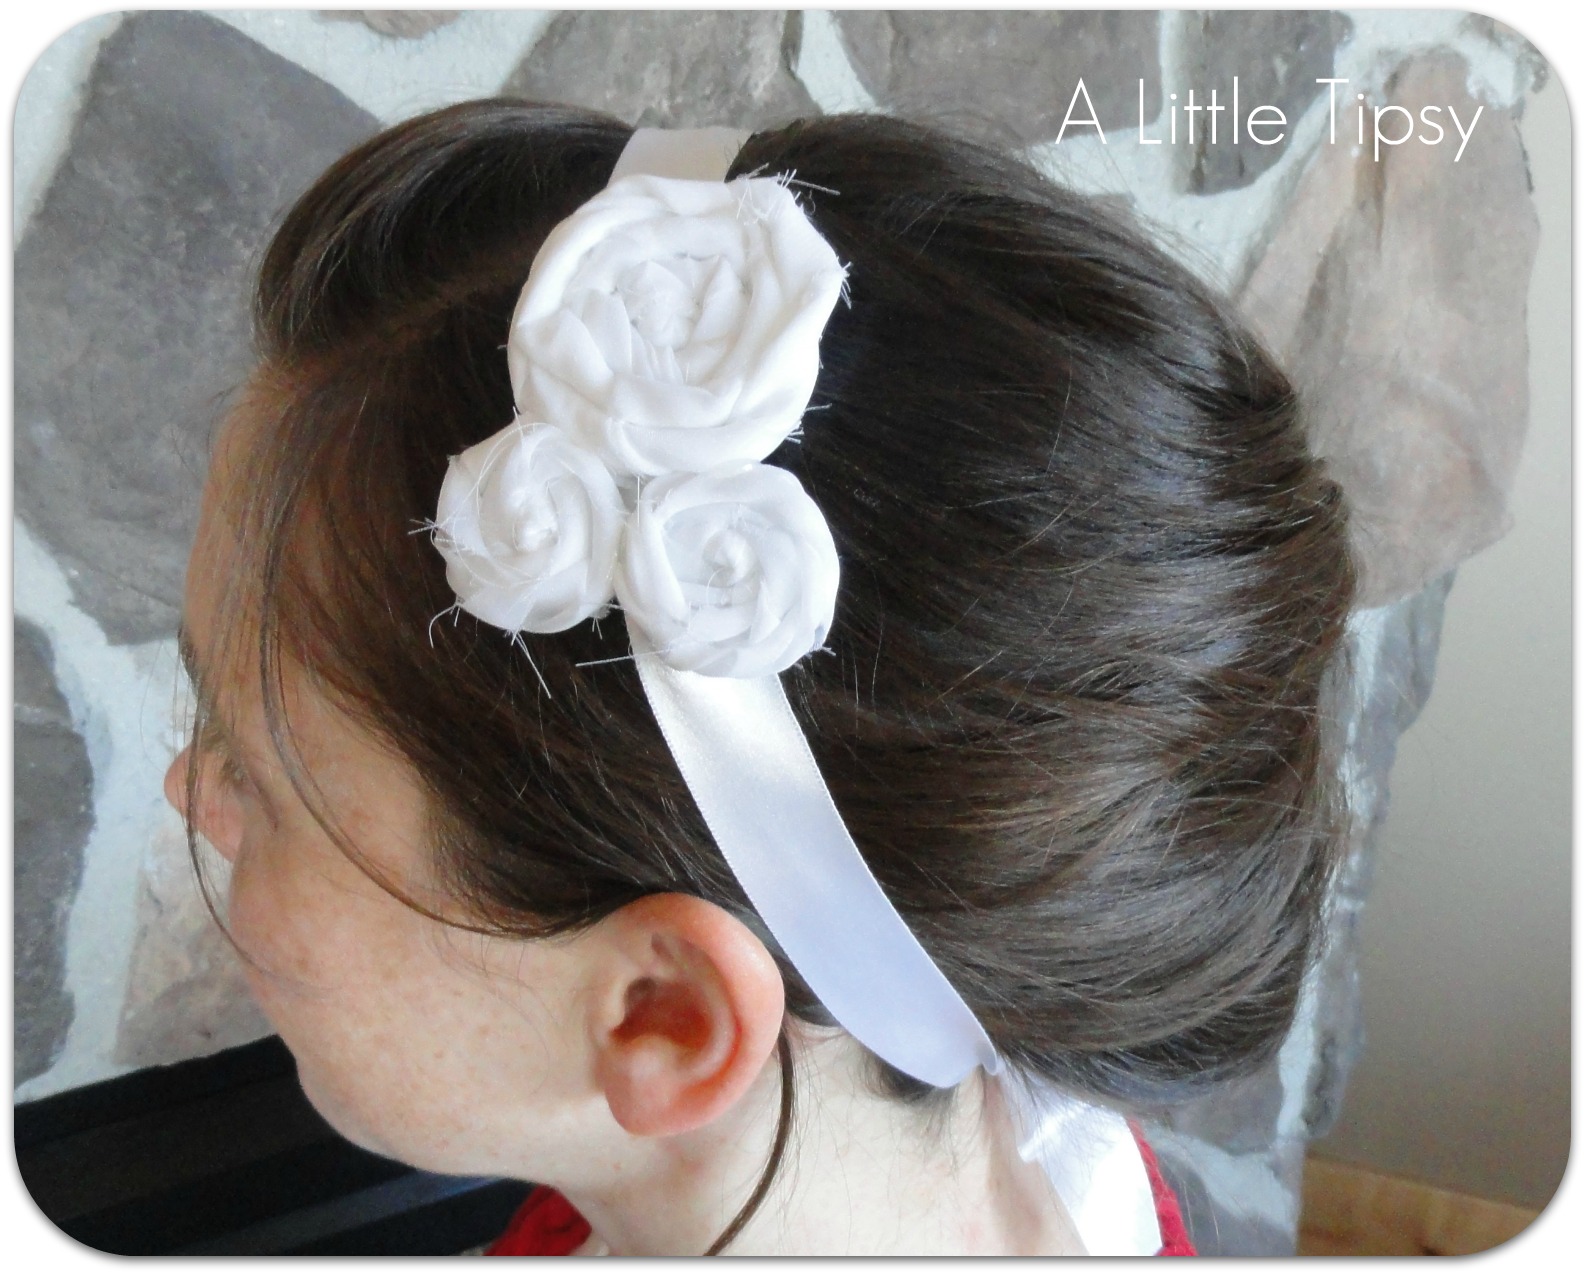
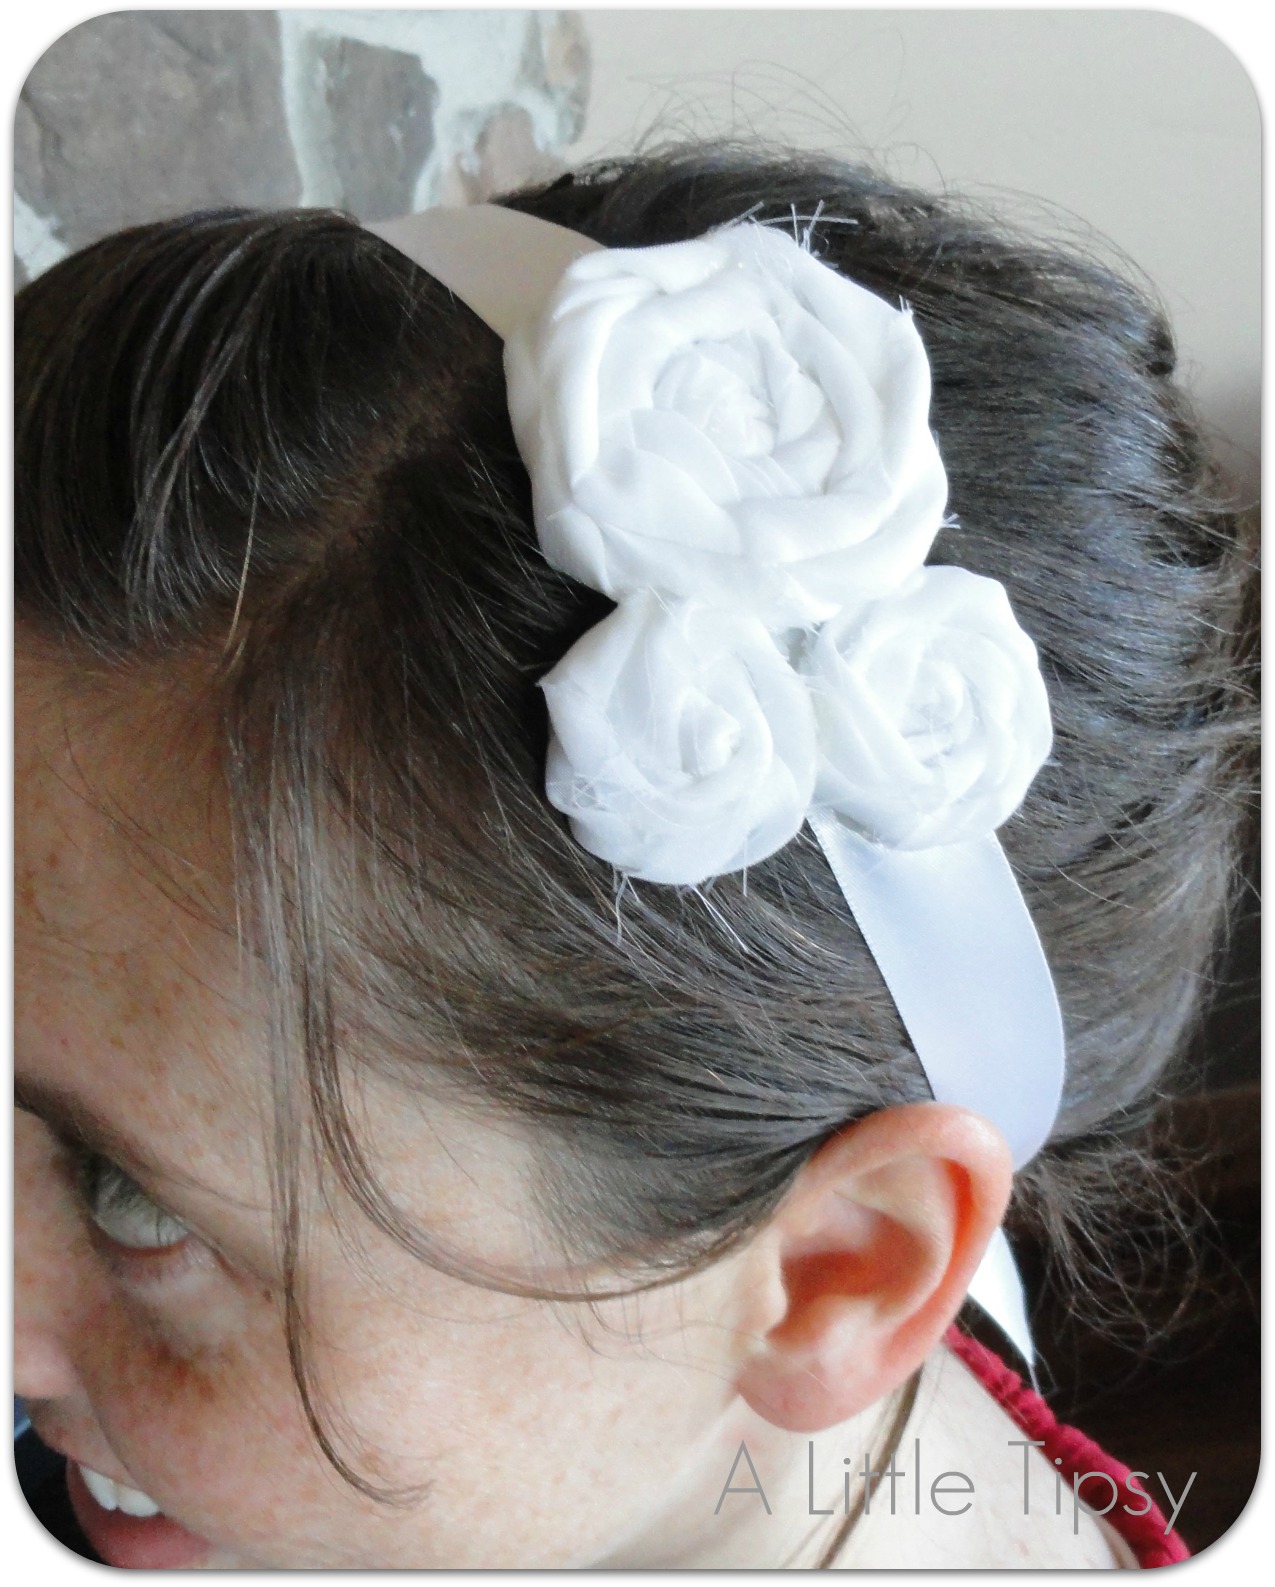
So what is my project for this week? A super cute and easy rosette headband. I think it took me about 10 minutes and 10 cents to make.

And while we’re changing things up let’s throw another little addition in the mix. I enjoy so much your $5 projects that I decided to add an addition link section for anything under $15! That’s right. It will open up a place to show additional projects that can’t be purchased with an Abe Lincoln, but are still totally affordable! I can’t wait to see more from you!

Now it’s time to link up your projects!

Please remember:

  • Only link to your own projects that cost you $5 or less (price does not have to include items you had on hand) or $15 or less in the 2nd section.
  • You can link past projects that fit the dollar limit, but please only link each project one time to one DIY Under $5 party. Do not link the same project week after week.
  • No linking giveaways or items for sale
  • Please link back so others can join the party and so you have the opportunity to be featured on Saturday!

DIY under $5

Projects under $5

Projects under $15

P.S. Don’t forget to sign up for free Tipsy updates via RSS or email.

We have decided to truncate our feed to help protect against stolen content. I apologize for any inconvenience. Please love us anyway. 🙂

Rosette Headband

September 13, 2011 By Michelle Barneck 2 Comments

Being a mommy of little ones means getting ready fast, which often means ponytail and headband for me. The pony is fast and easy and the headband makes me feel a bit more feminine and put together as I chase boys all day. This rosette headband is one of my favorites. Not only because it is cute, but because it was insanely easy to make and cost me a few cents.

Rosette Headband

Supplies:
Scrap Fabric
Hot Glue
Thin Cardboard
Ribbon

  • Roll three rosettes. (tutorial here if you need it, I used hot glue, not fabric glue) One big and two smaller and glue each one to a circle piece of cardboard. Mine was a piece of tissue box that had a pretty grey flourish pattern on it I liked.
  • Glue the rosettes together and glue off centered on to a ribbon.

Let’s just clarify, I am not sporting a french twist. There is a messy bun hiding there on the side.

My fabric and ribbon were both in a scrap bag I got from Hobby Lobby for a dollar or two. There was some really great stuff in there I still need to use!

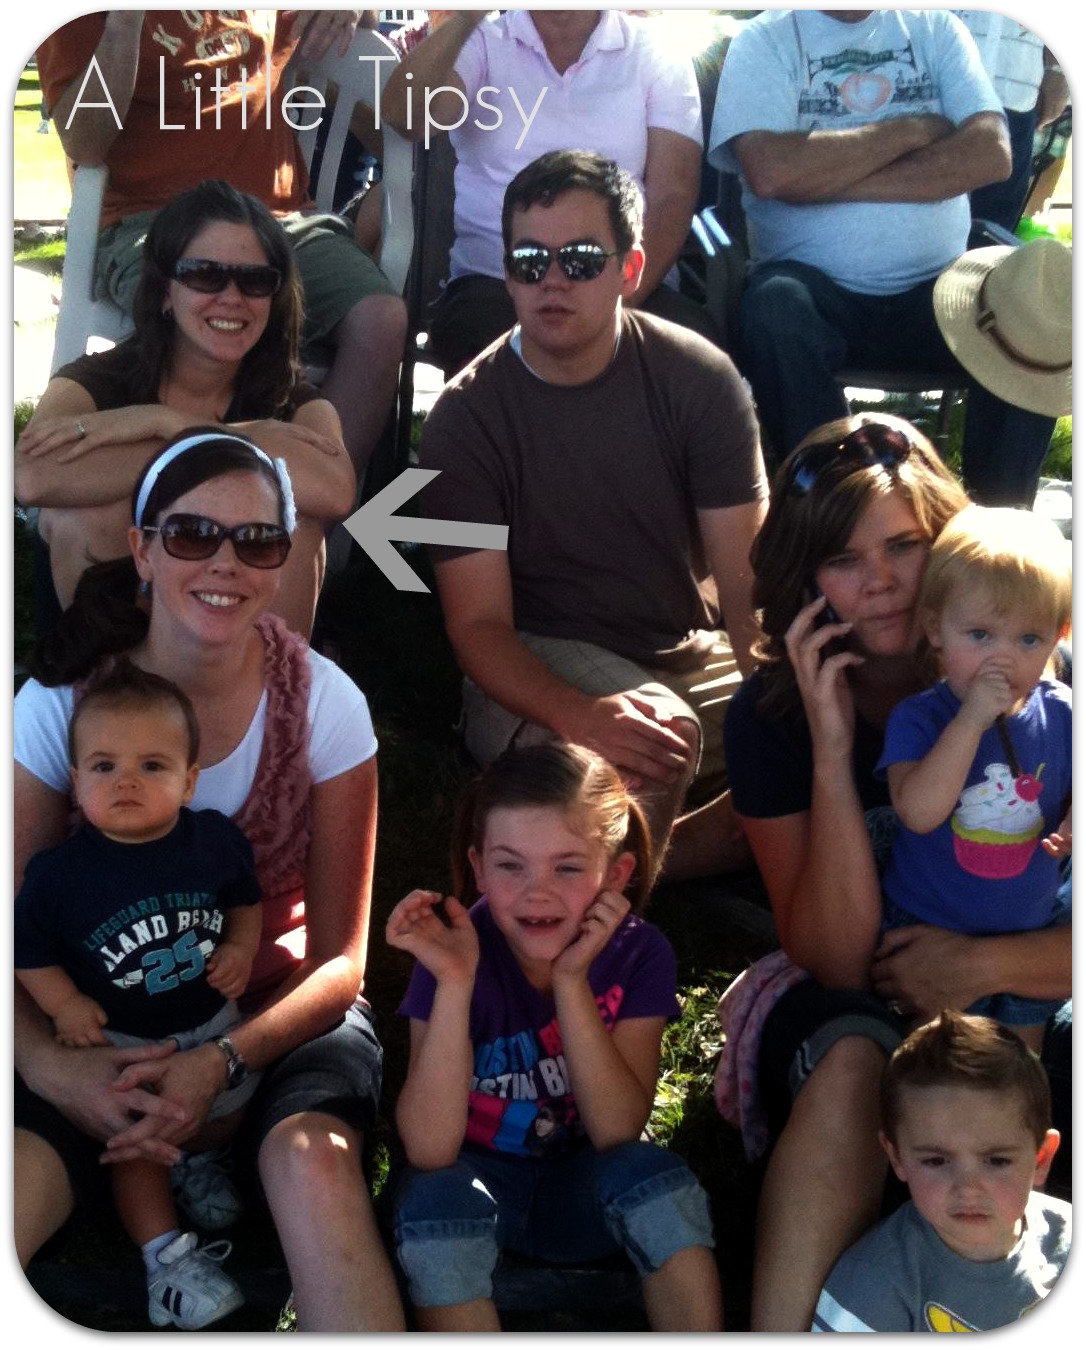
Here I am donning my rosette headband and ponytail at Peach Days this last weekend. Don’t the kids look thrilled about the parade?! That’s what happens when you find out they banned handing candy or anything else out to the crowd. Boo.

I really should make more of these in fun colors! I love that you just tie the ribbon at the base of your head so it is never too tight!

Linking up with:
Look What I Made
Whatever Goes Wednesday
Topsy Turvy Tuesday
Get Your Craft On
Show and Tell
Tip me Tuesday
Lil’ Luna
Show Me What Ya got

P.S. Don’t forget to sign up for free Tipsy updates via RSS or email.

We have decided to truncate our feed to help protect against stolen content. I apologize for any inconvenience. Please love us anyway. 🙂

« Previous Page
Next Page »

  • Bloglovin
  • Facebook
  • Google+
  • Instagram
  • Pinterest
  • RSS
  • Twitter

Hi there! I'm Michelle. Mother of three little boys and one little princess. Welcome to A Little Tipsy, a place for exploring creativity and sharing inspiration.

Follow on Bloglovin


Visit Michelle Barneck {A Little Tipsy}'s profile on Pinterest.

Tutorials by Category


15 Family Reunion Games

Family Reunion Games Collage

15 Sprinkle Party Ideas

Sprinkle Birthday Party
Creative Commons License

© Copyright 2014 A Little Tipsy · Site Designed by The Fairy Blogmother · Web Hosting by RFE Hosting

This website uses cookies to improve your experience. We'll assume you're ok with this, but you can opt-out if you wish.Accept Read More
Privacy & Cookies Policy