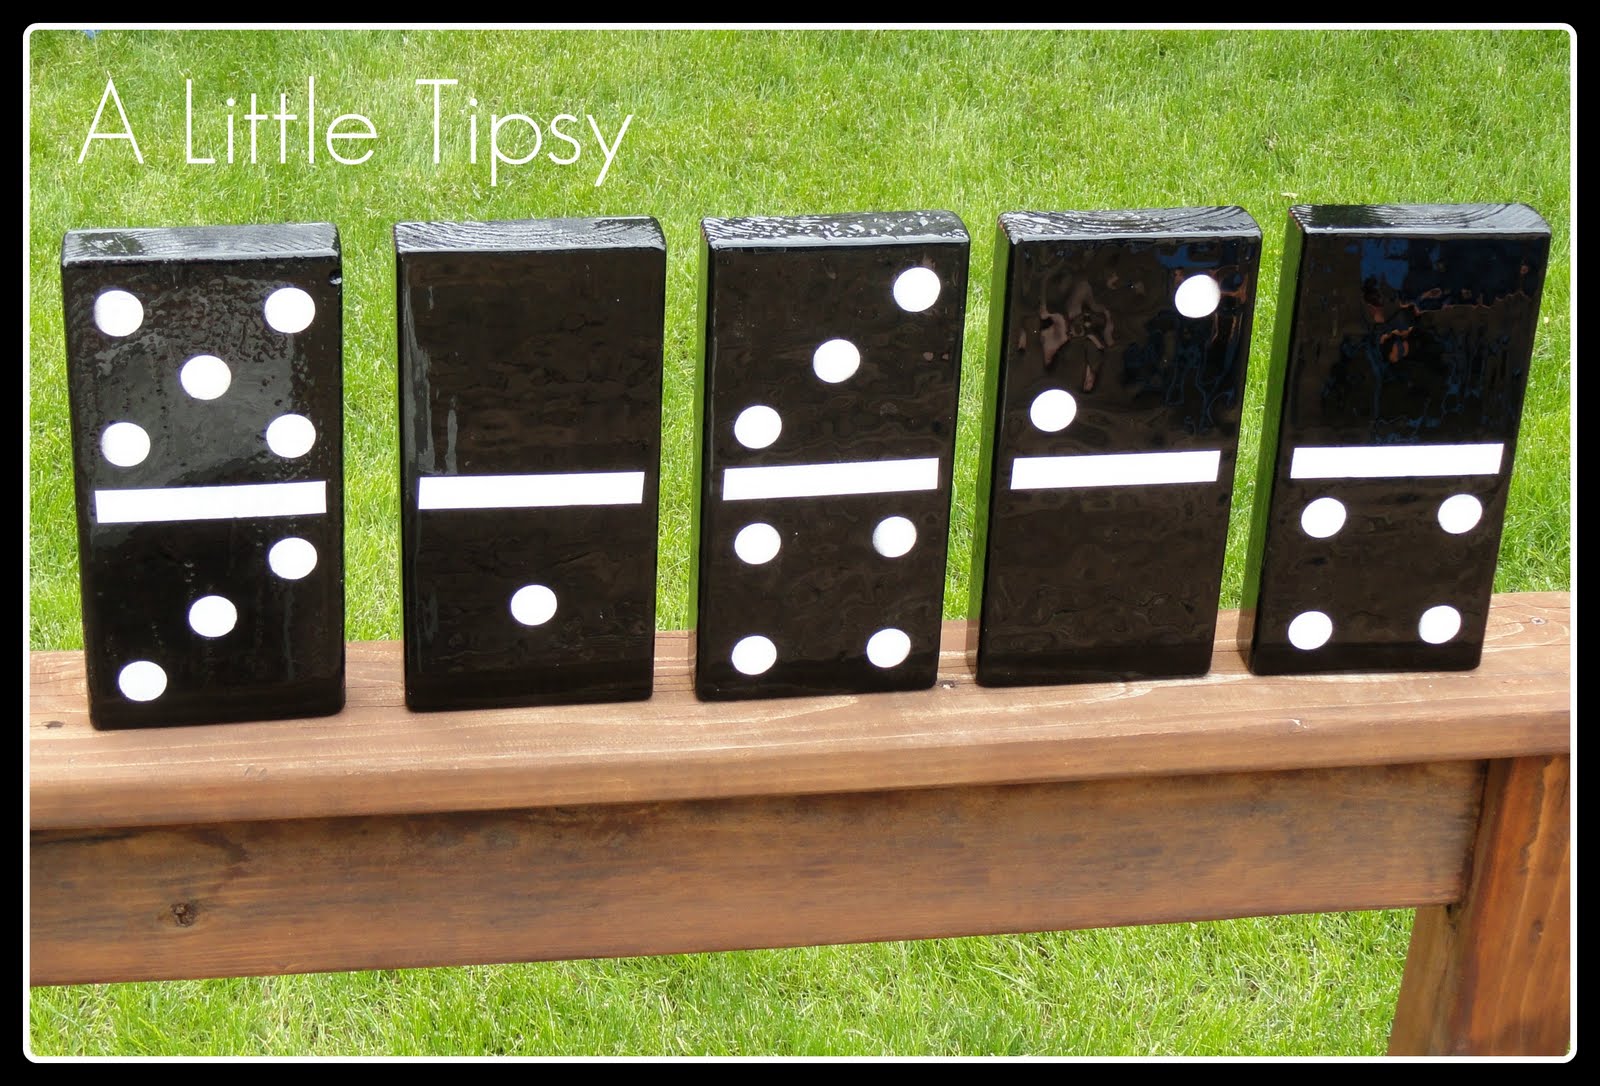
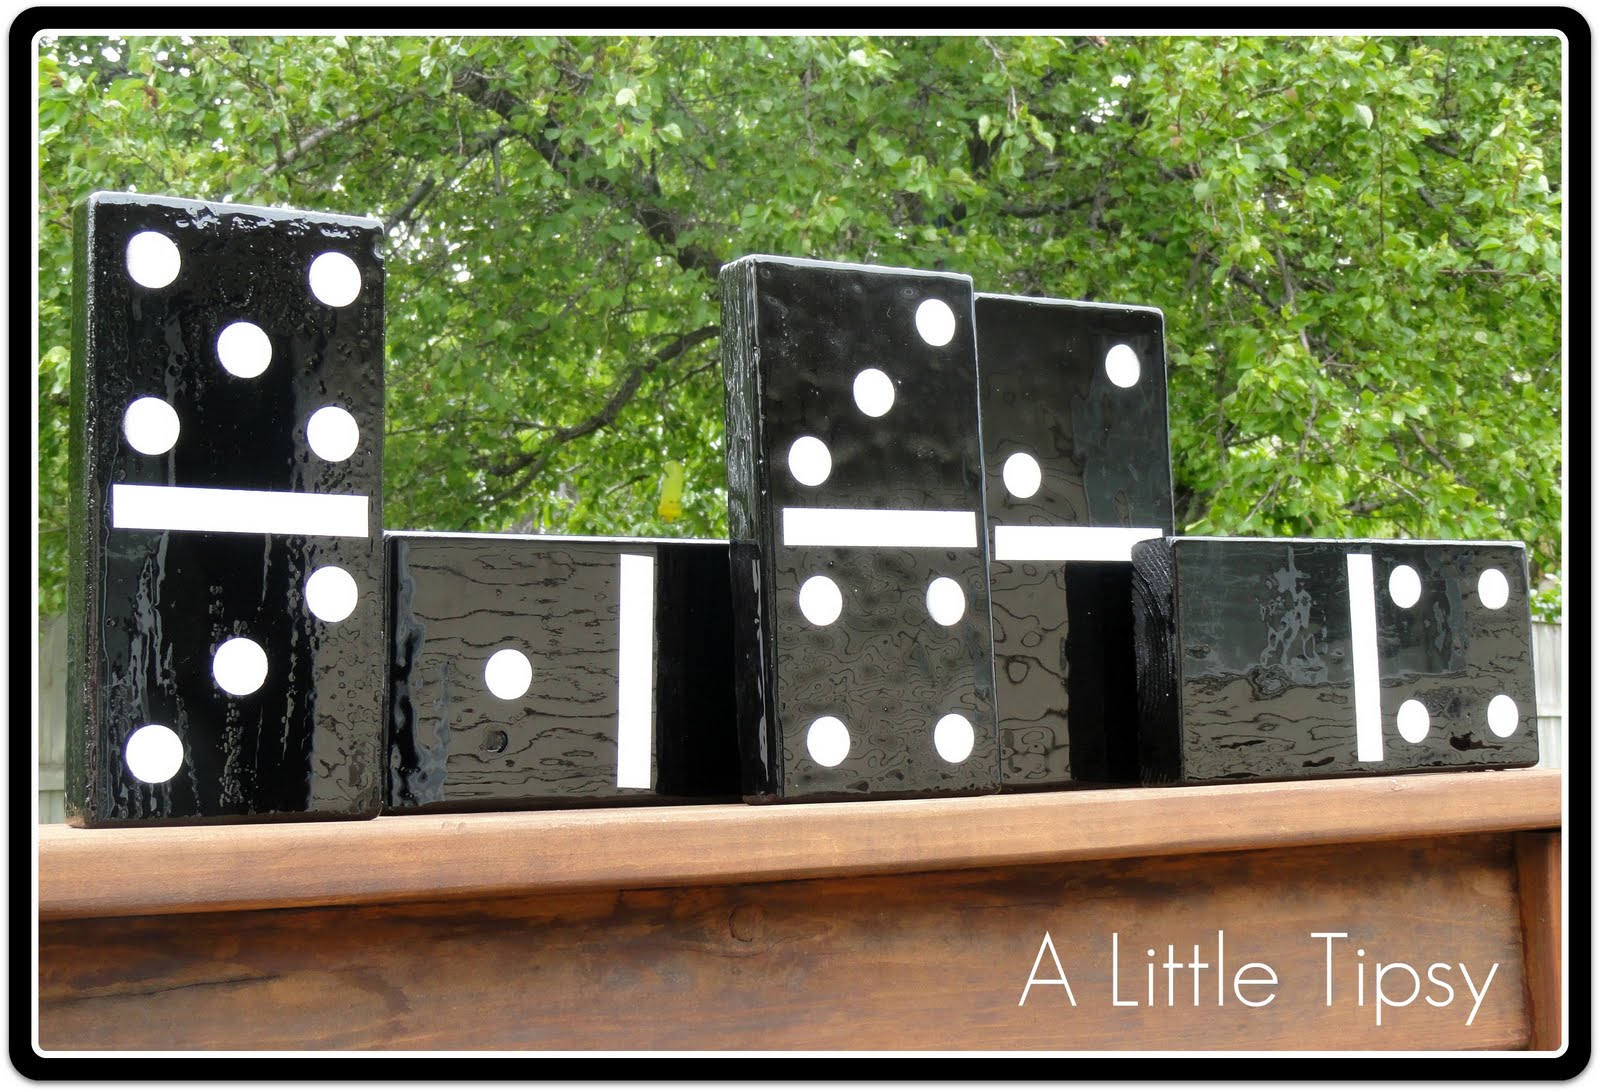
I am in the process of redecorating our play/game room. I decided to include some over-sized game pieces for an added element of fun. I went with a couple of my hubs favorites to start with chess and dominos. I figured I could easily make some dominos of my own, so that’s just what I did. I thought of using birth dates as the numbers to make them even more significant, but quickly decided against that realizing that the 27th would just not fit. 😉 Instead, I went with our anniversary date.
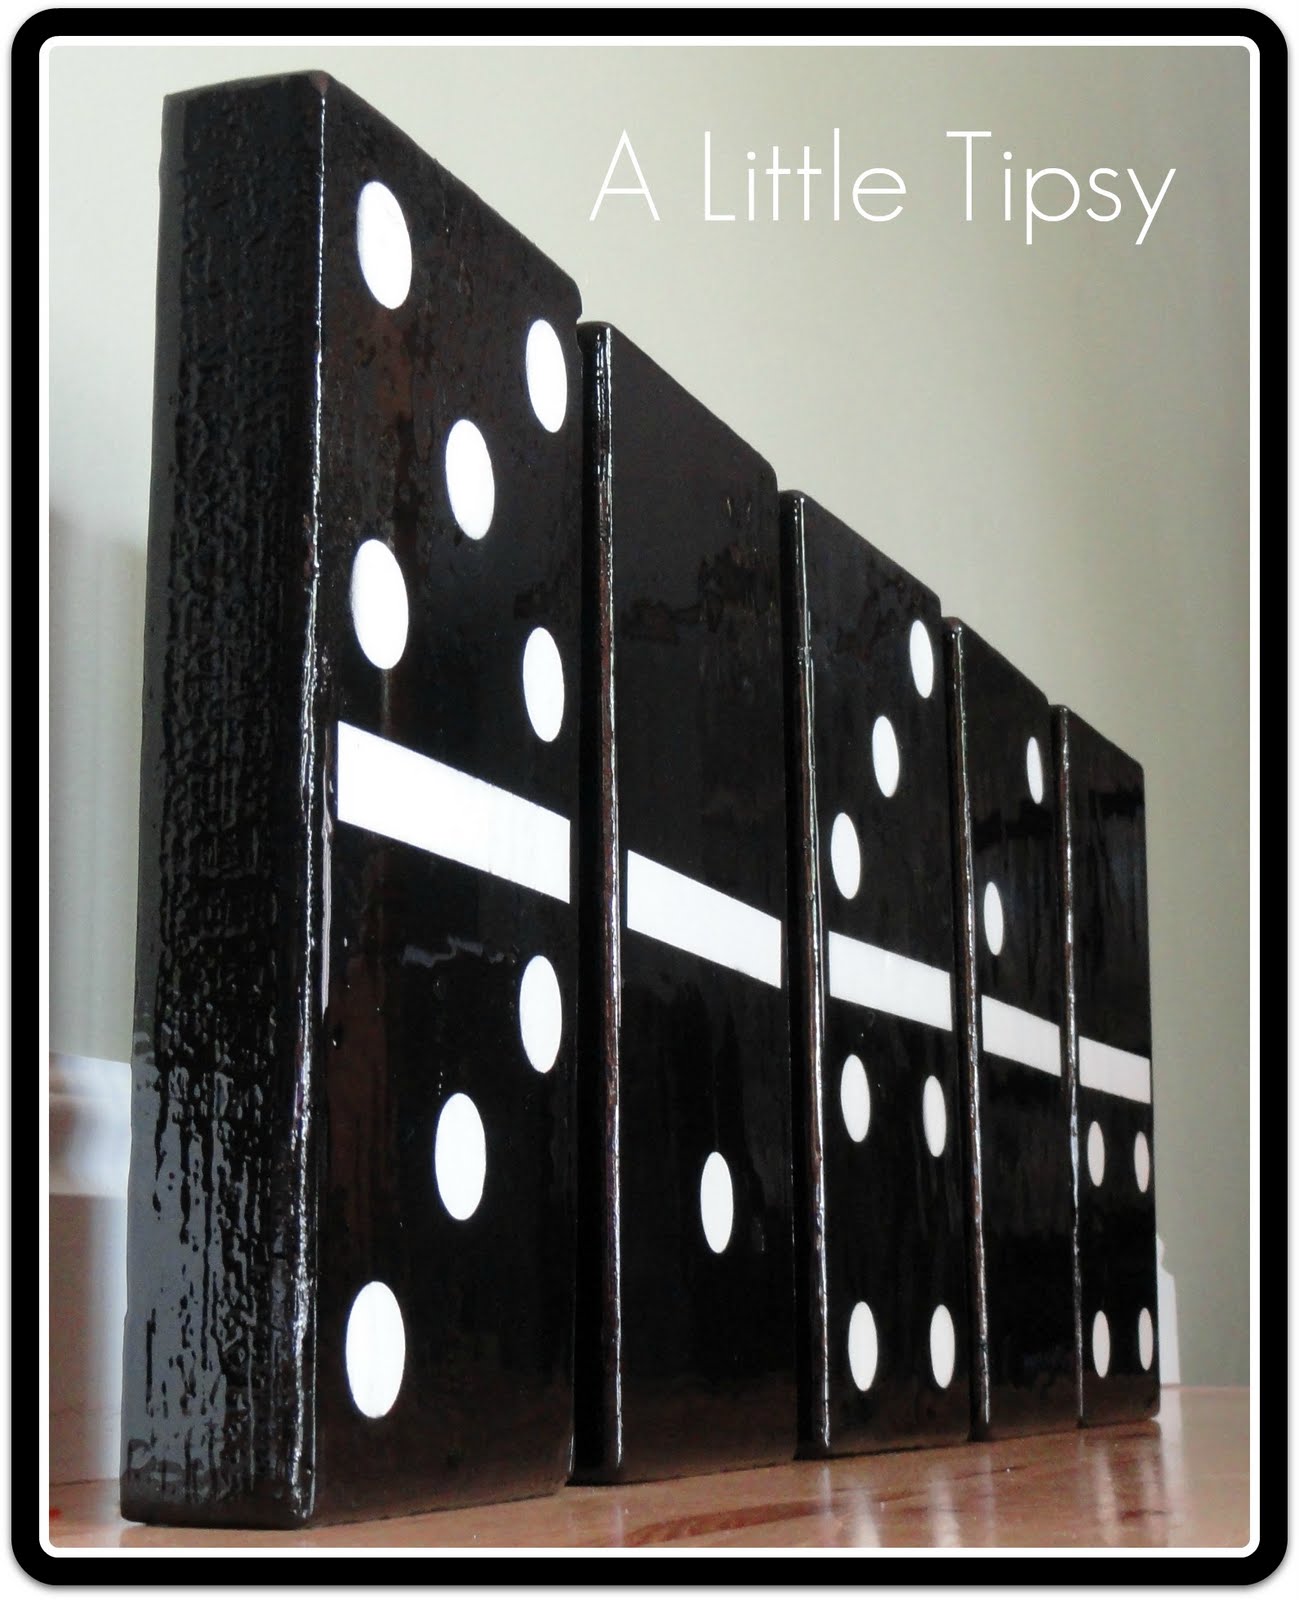
Dominos
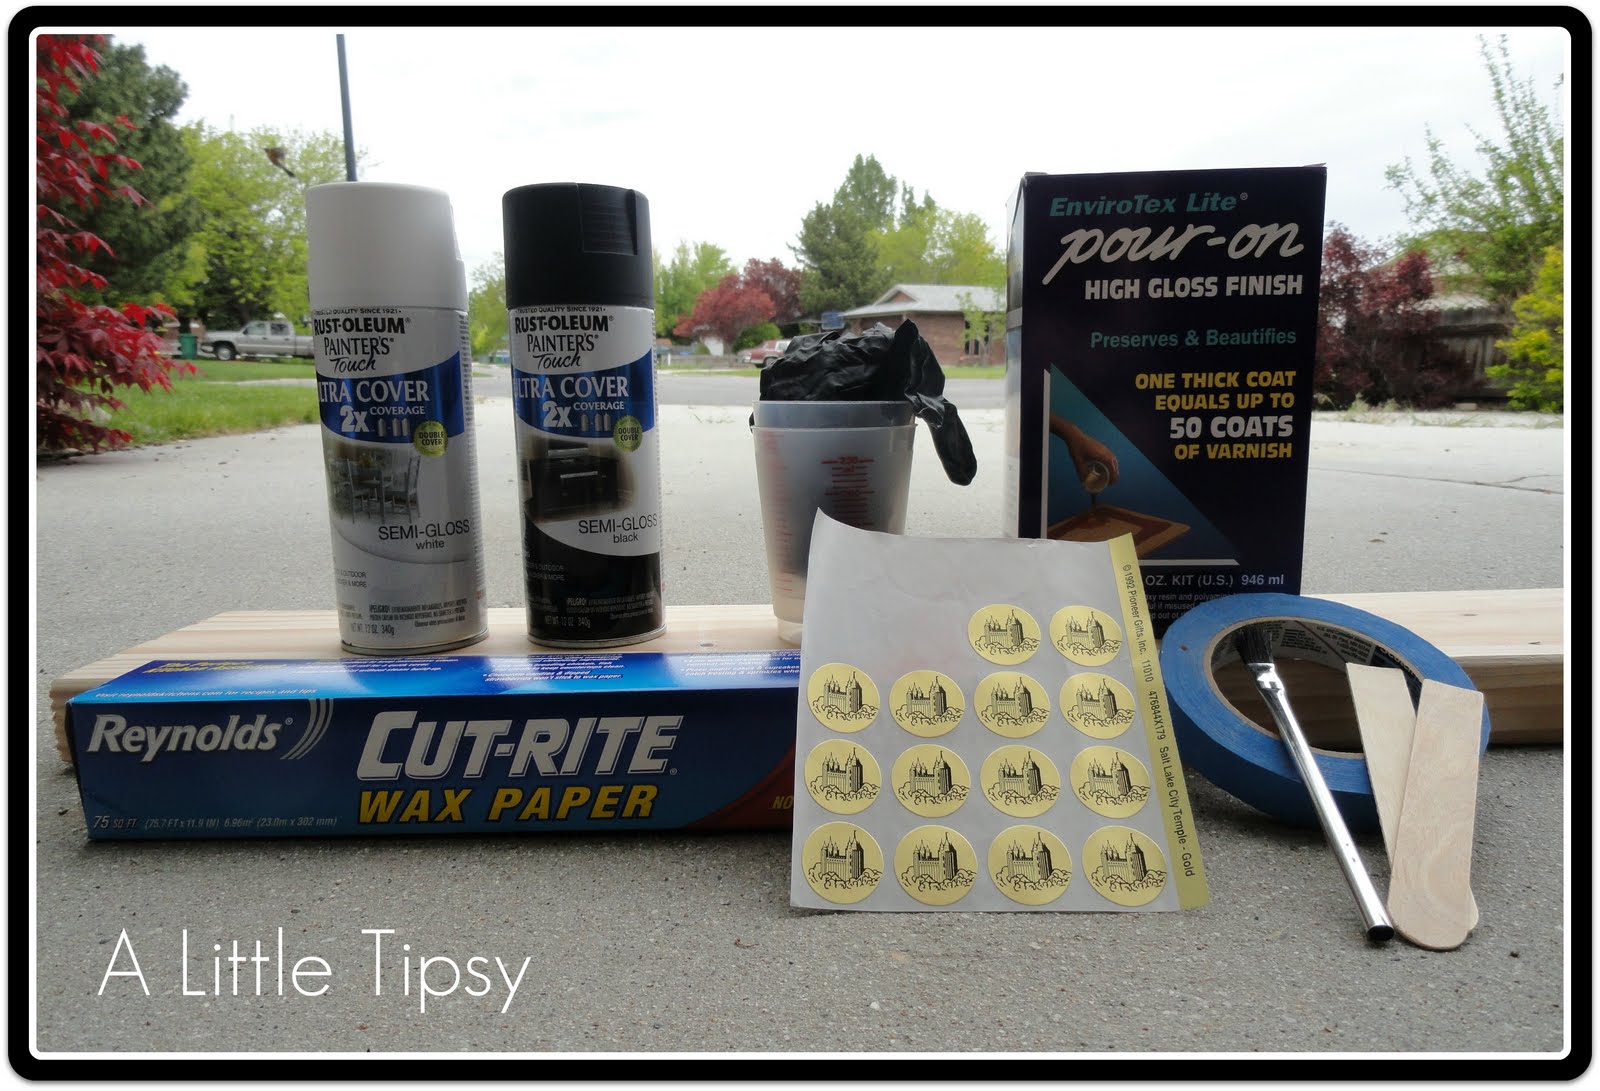
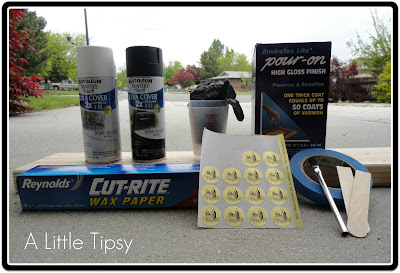 One 2×6 board
- Electric sander
- White spray paint
- Black spray paint
- Thin blue paint tape
- Circle stickers
- Wax paper
- Mixing cups
- Mixing sticks
- Gloves
- Brush
- 4-5 oz. Envirotex Lite pour-on high gloss finish
- Cups (to hold dominos for drying)
1. Cut your 2×6 board in to five 11 inch pieces (you will have about 3 ft leftover). I had one of the workers at Home Depot do this for me (I call him my Home Depot husband), though he used a HUGE saw and it left deep grooves on the ends which I did not love.
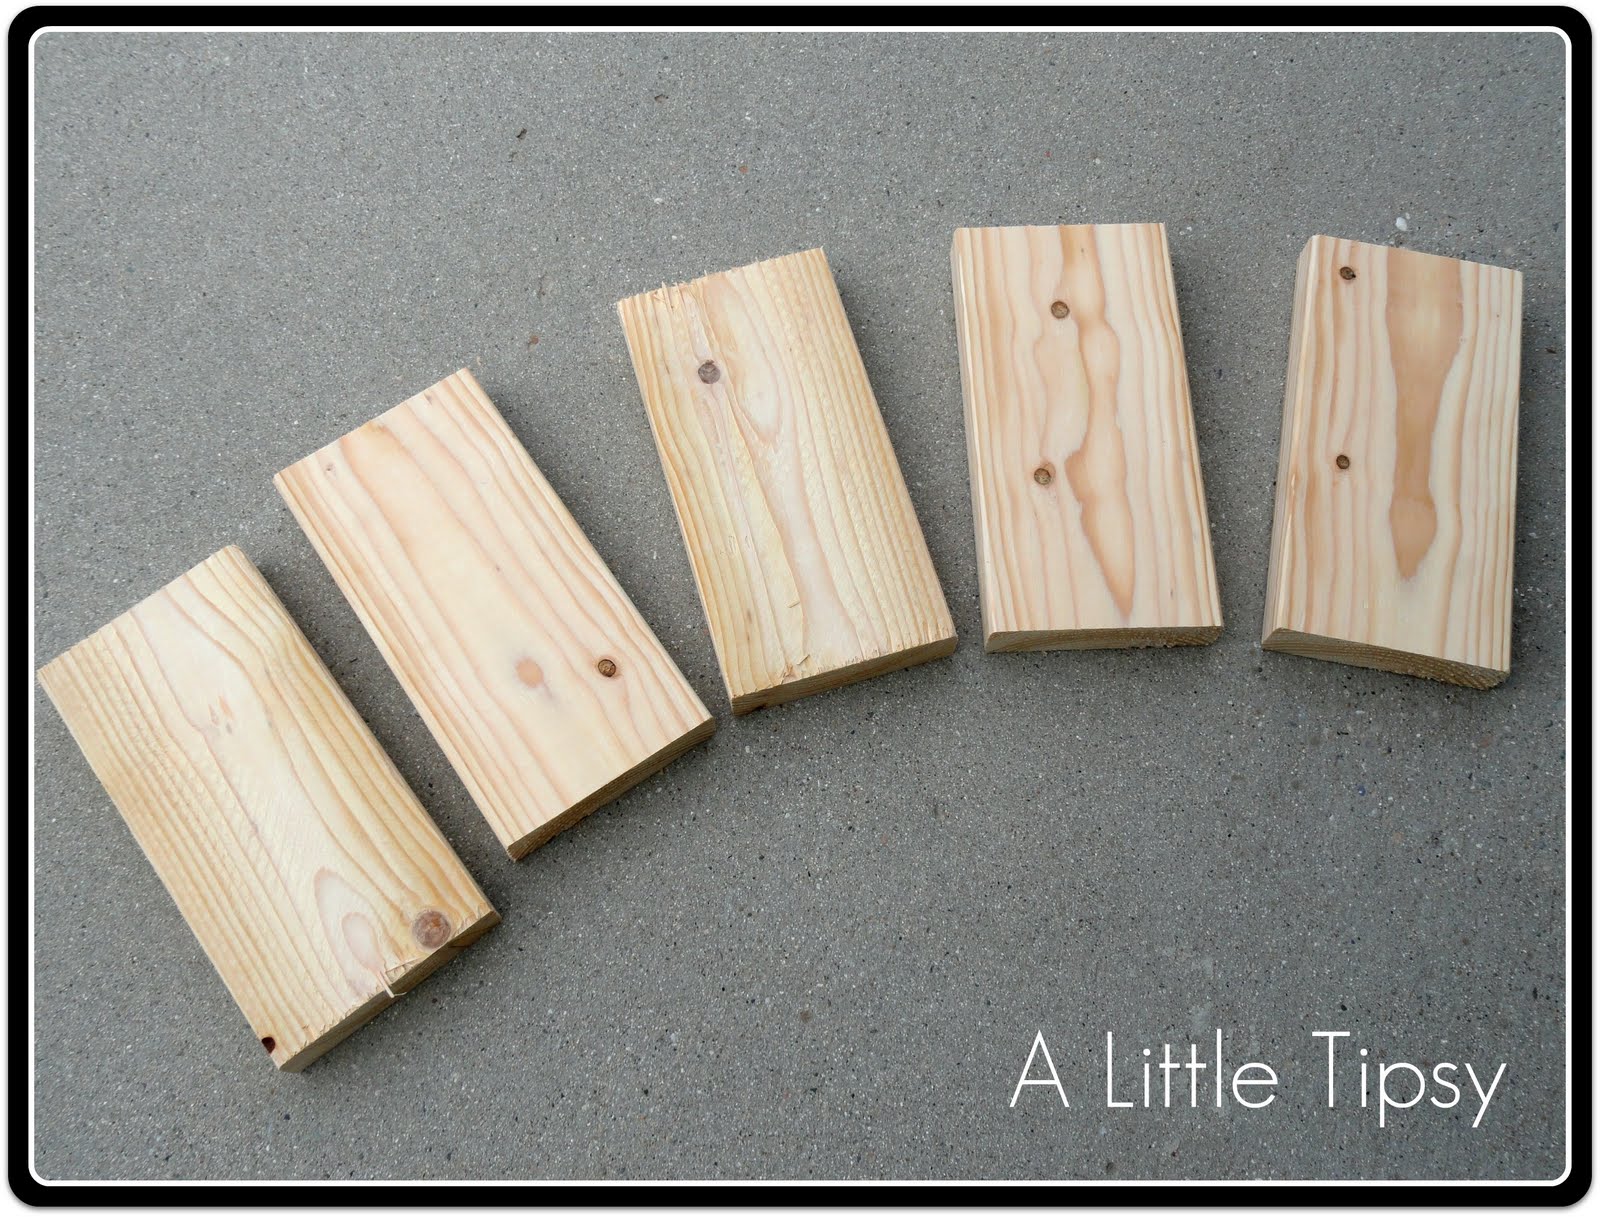
2. Sand down your board so it is smooth and all the edges and corners are rounded like a domino.

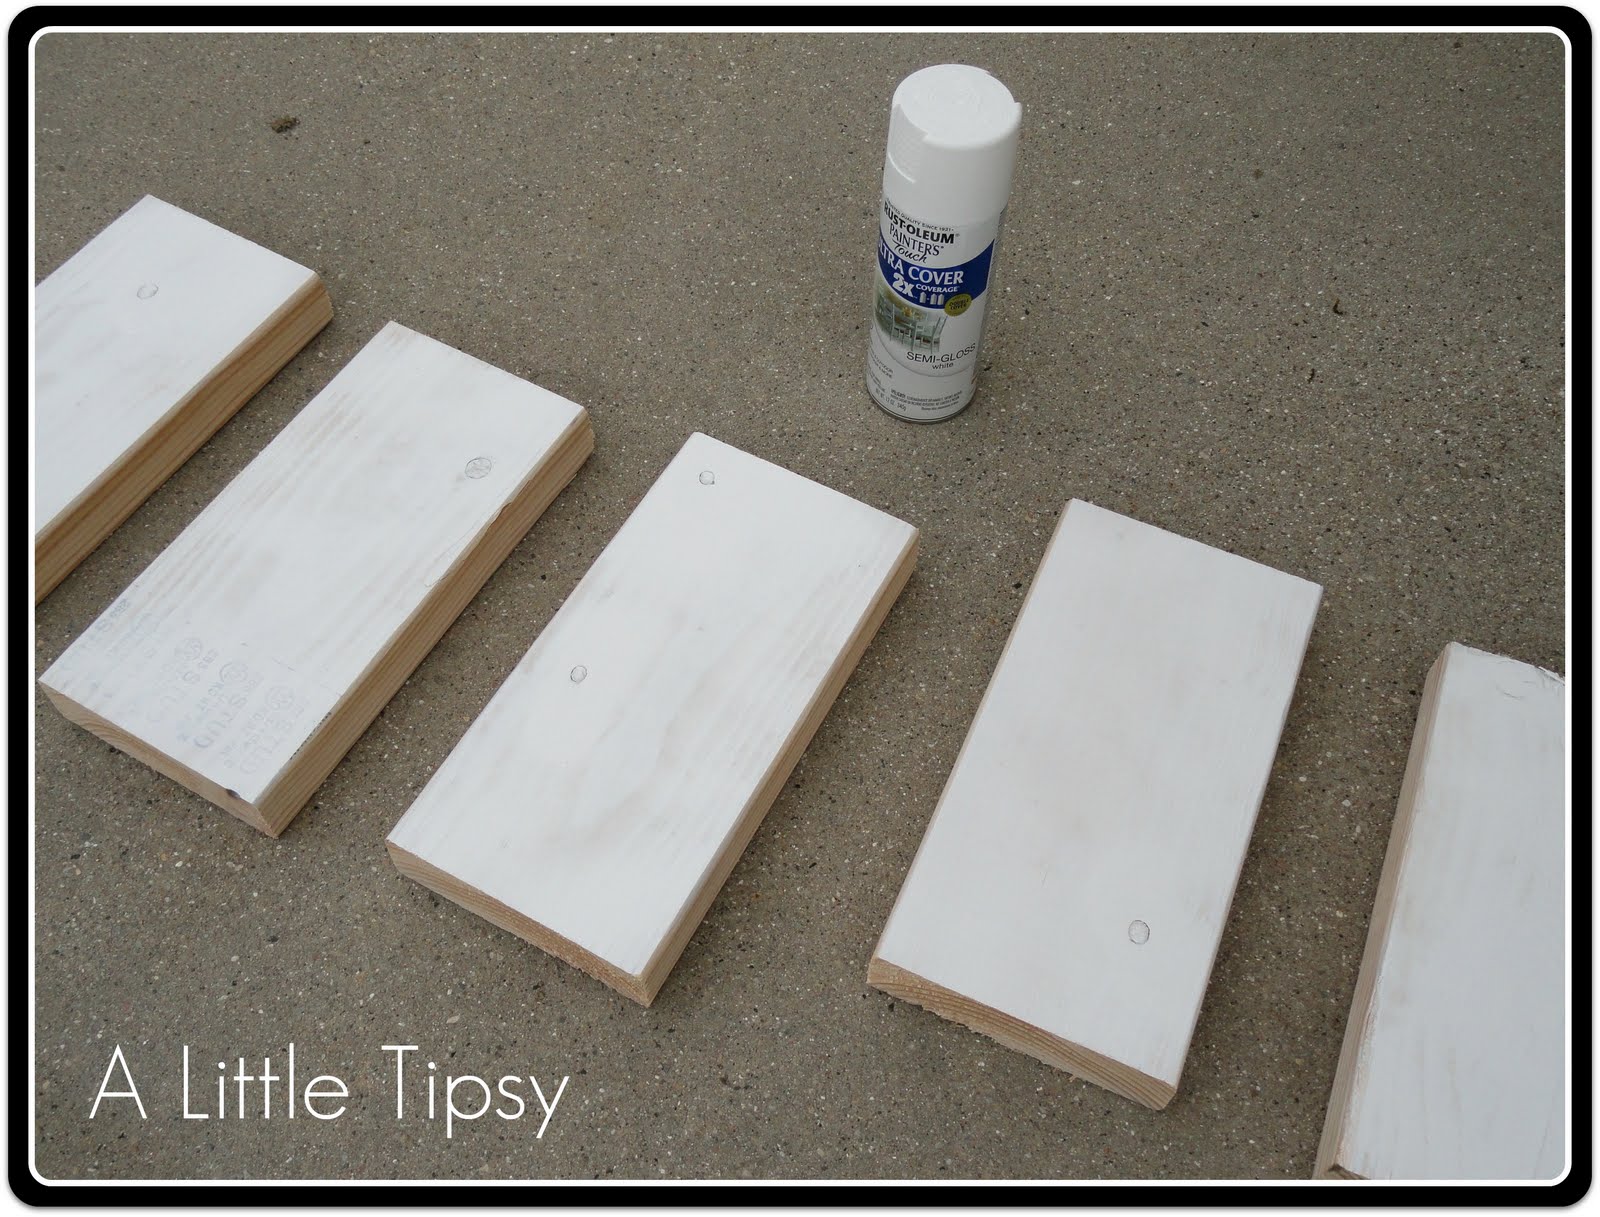
3. Spray the front of your domino with a coat of white paint and let dry according to the directions on the can.
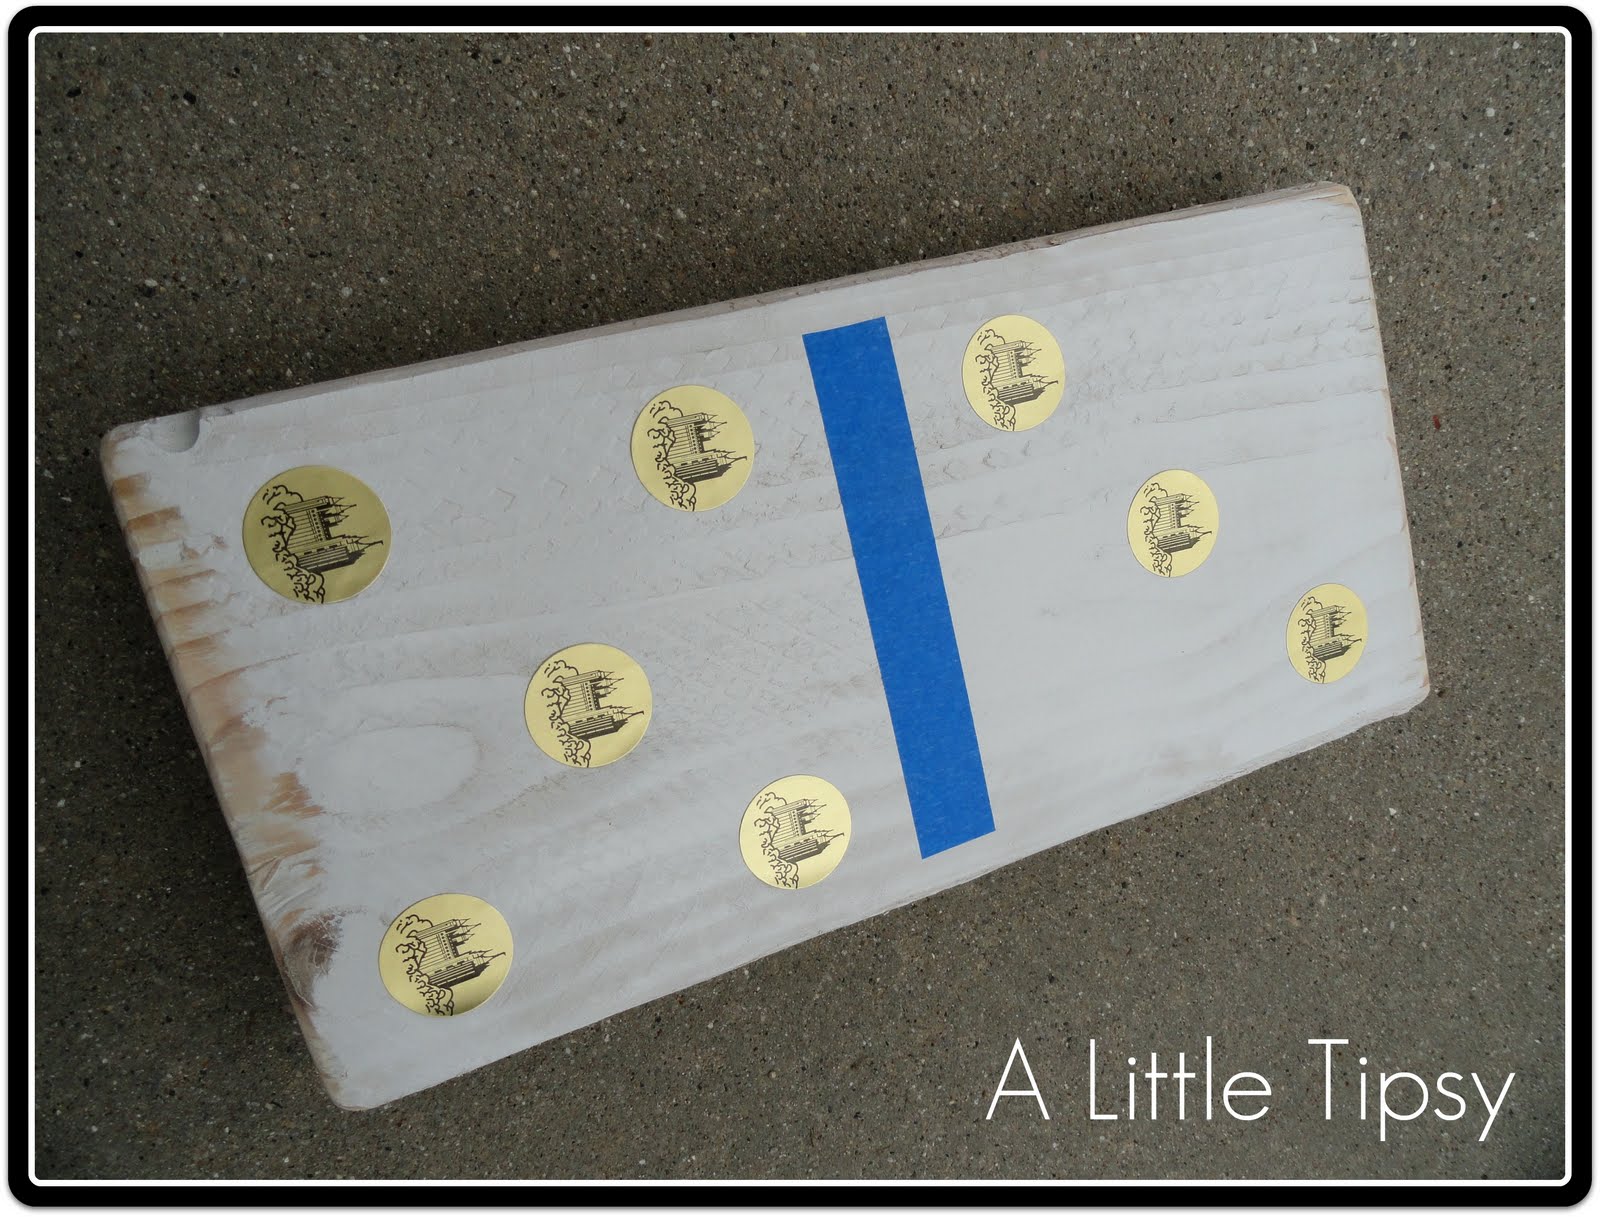
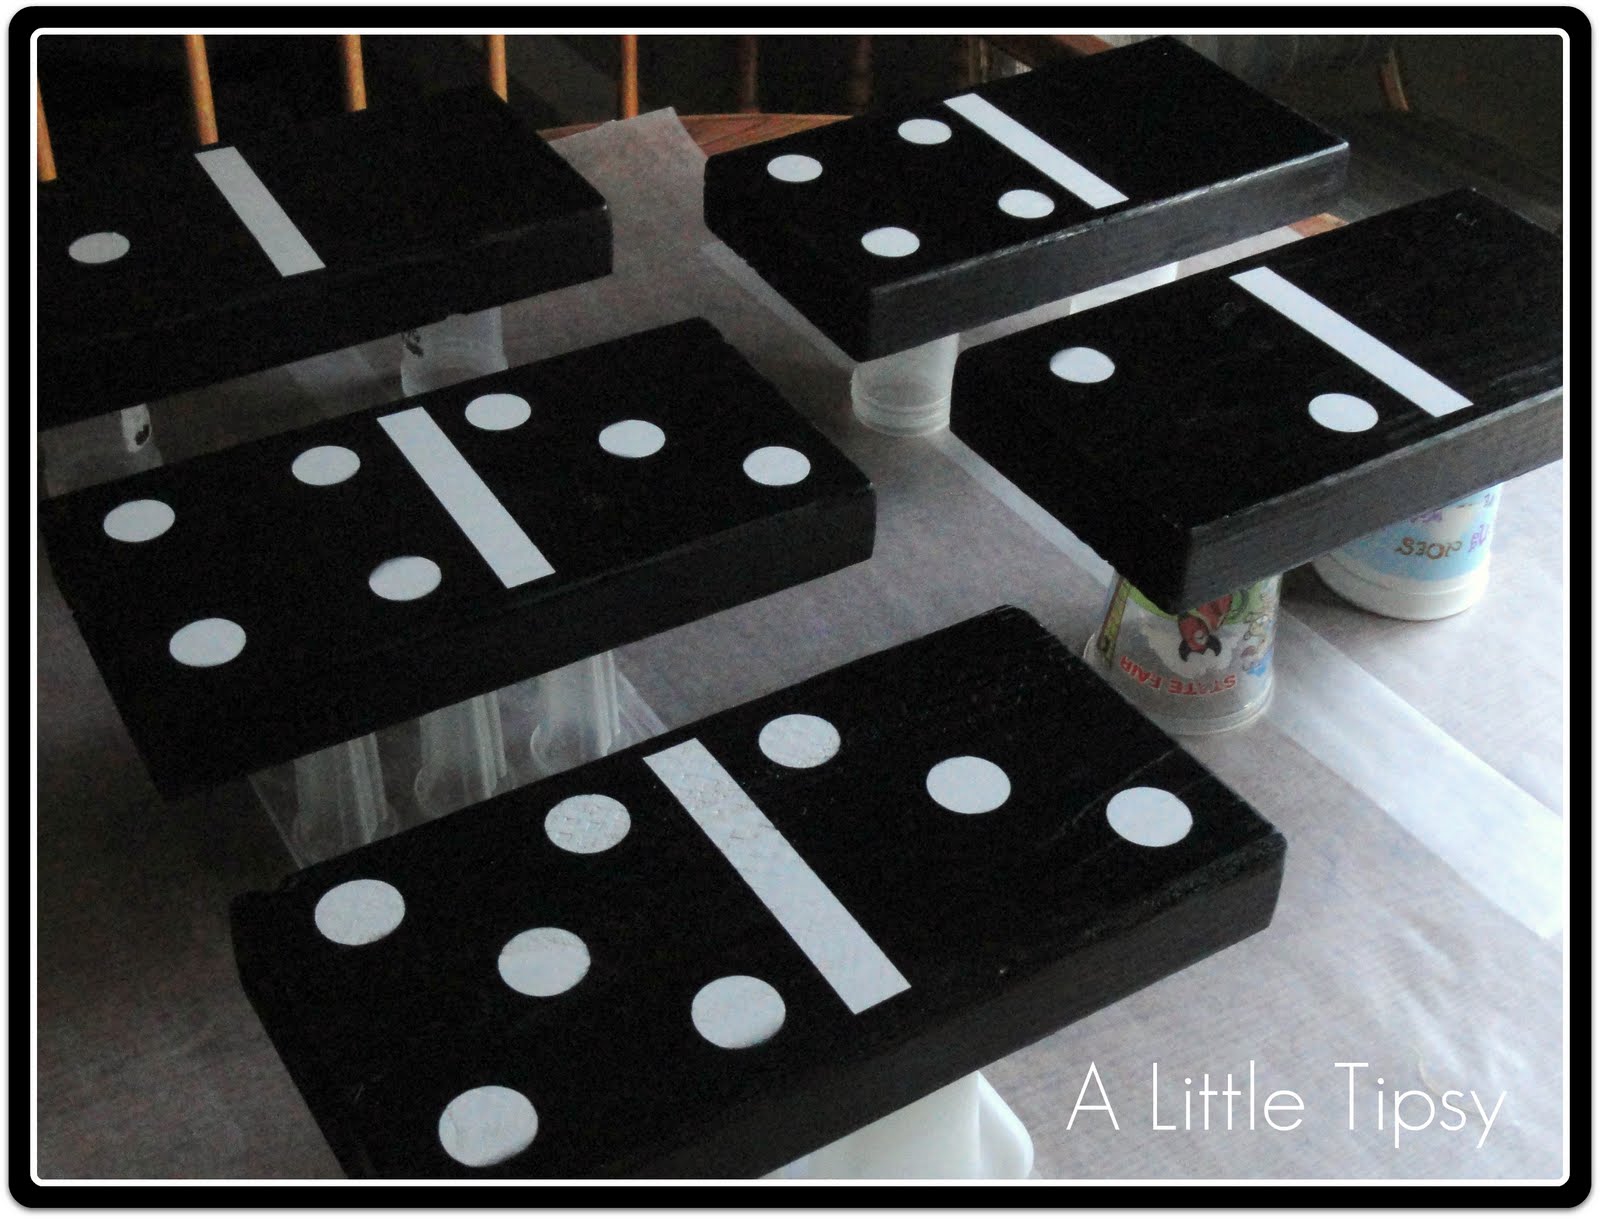
4. Use a strip of blue painters tape to make the line in the middle of each of the dominos. Place your circle stickers where you want them for the numbers on the dominos making sure all the edges are down securely.
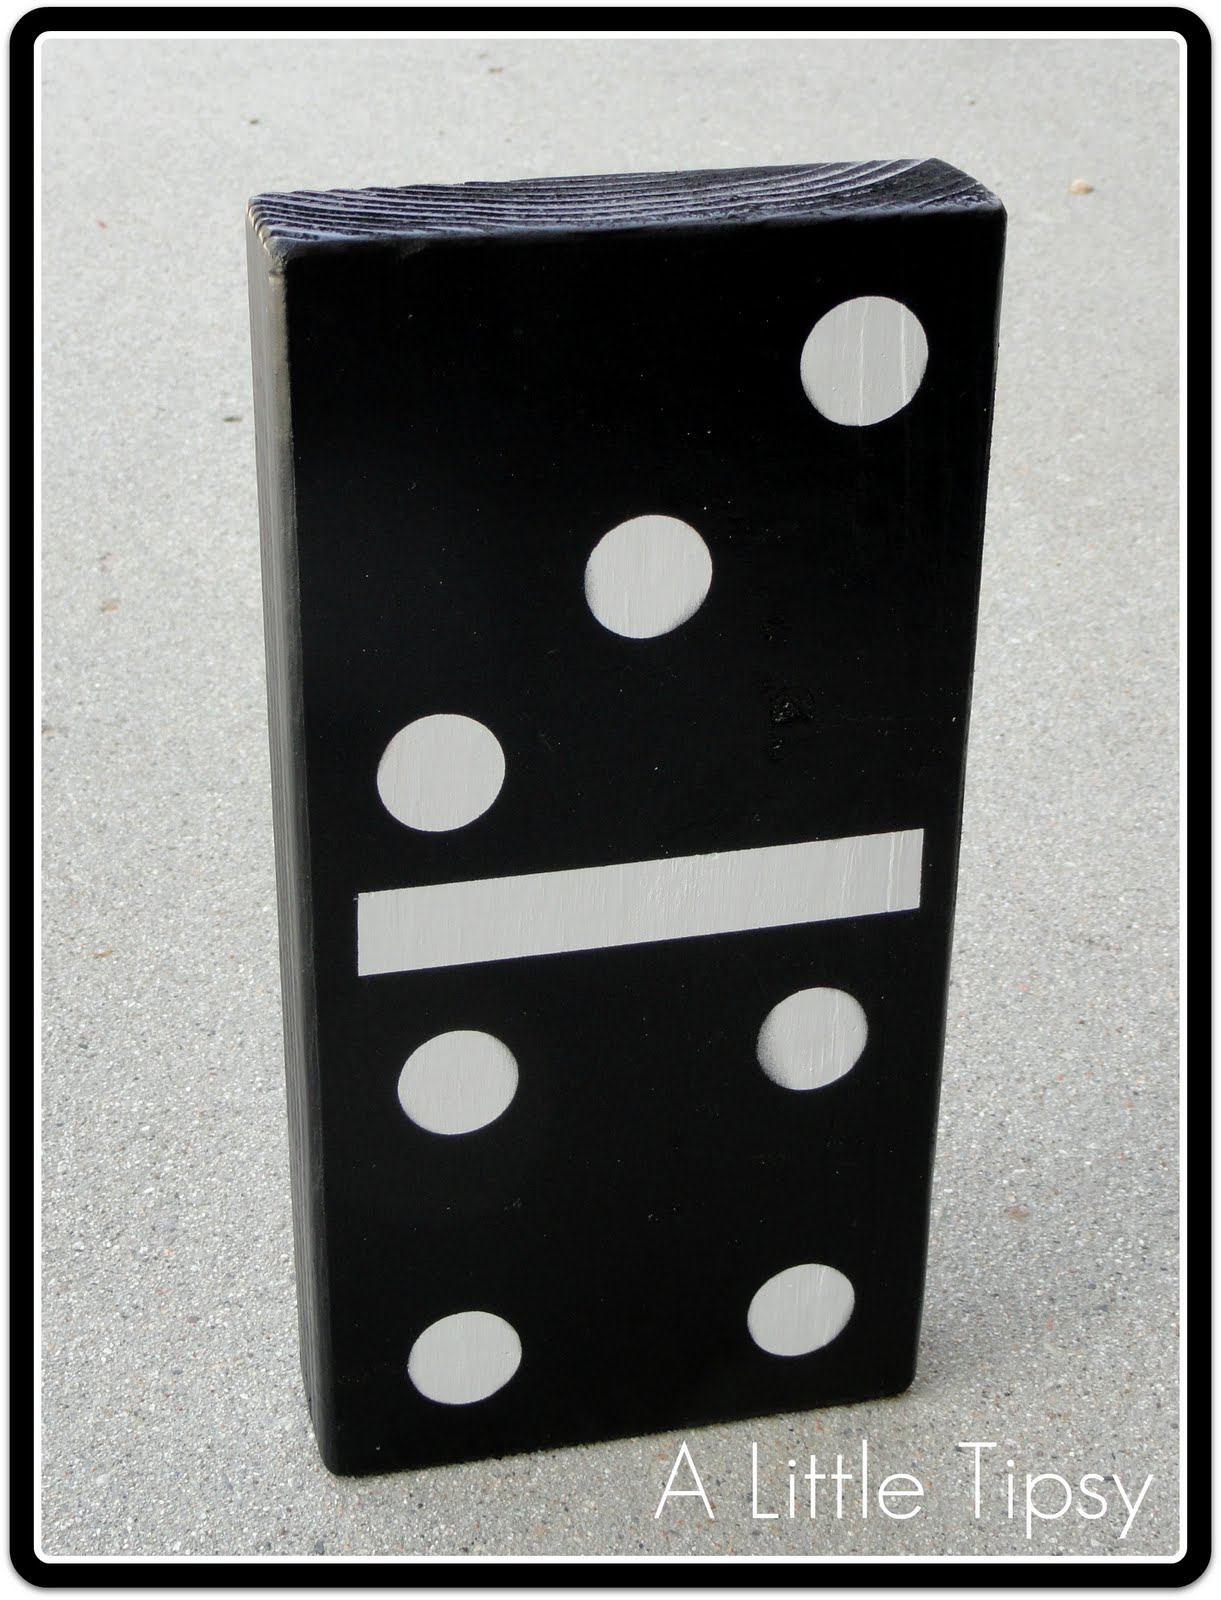
5. Spray paint the dominos black.

6. After a couple of hours, peel off the stickers and tape to reveal the white dots and lines on the dominos. Let the black paint continue to dry and allow to dry according to the instructions on the paint can.

7. Pick a surface to place the dominos where they can sit to dry (I did it on the kitchen table after the kids went to bed so the dominos would have a good 11 hours to dry before curious little hands were introduced.) and will not be exposed to a lot of dust floating around and is also at least 70 degrees. Cover your surface with wax paper and place the cups to hold the dominos while adding the gloss.
8. Mix up the Envirotex Lite pour on gloss according to the instructions. I just brushed on a thin wood sealant coat. I was going to do the flooding, but ended up liking it with just a “thin” coat. {READ ALL THE INSTRUCTIONS IN THE BOX FIRST and wear gloves. Trust me on this. You do not want to mess this part up and it can be temperamental!} I used about 5 oz. of Envirotex, but that is because it started hardening before I was done and I had to mix up and additional ounce. You can probably do it with 4 oz. if you do it in two batches of 2 oz. I just used my breath to get the bubbles out after I applied the thin coat.
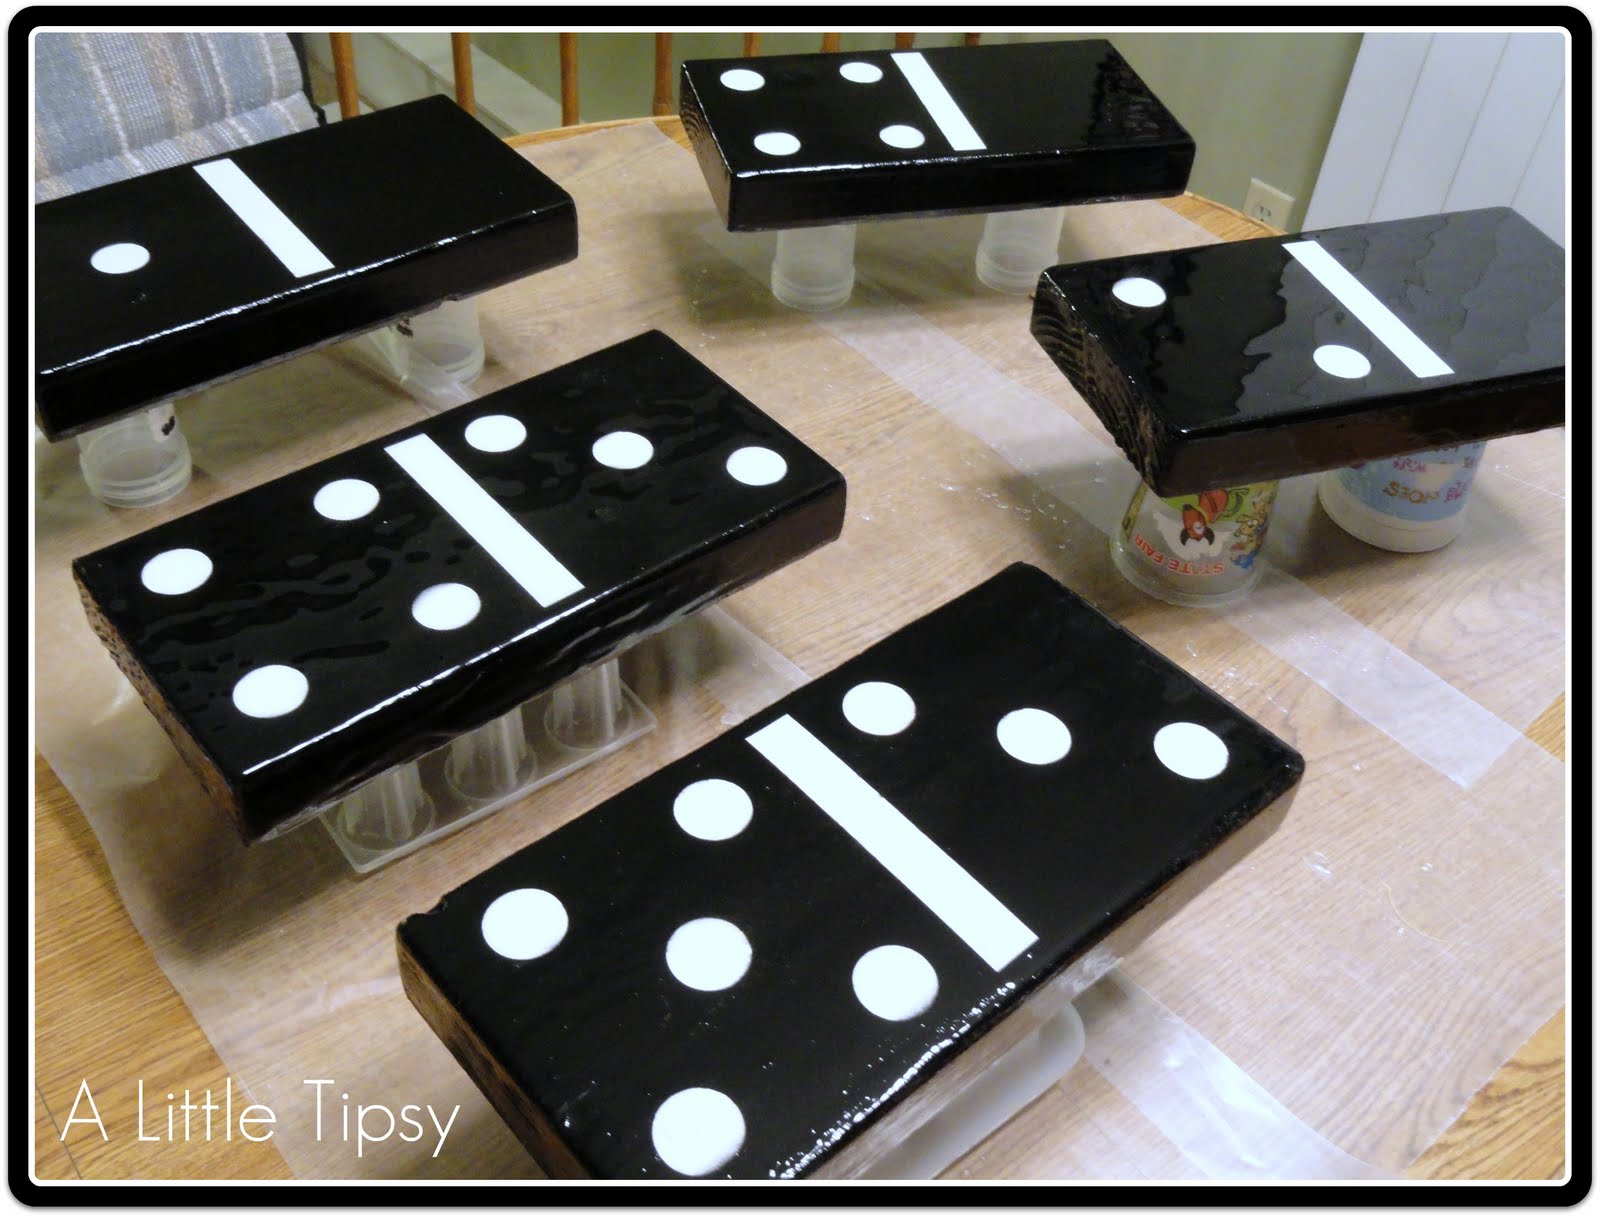
9. After you cover them all with gloss, let them dry for a couple of hours, then go around and scrape any drips off the bottom of the dominos. Otherwise, they will become permanent drips.
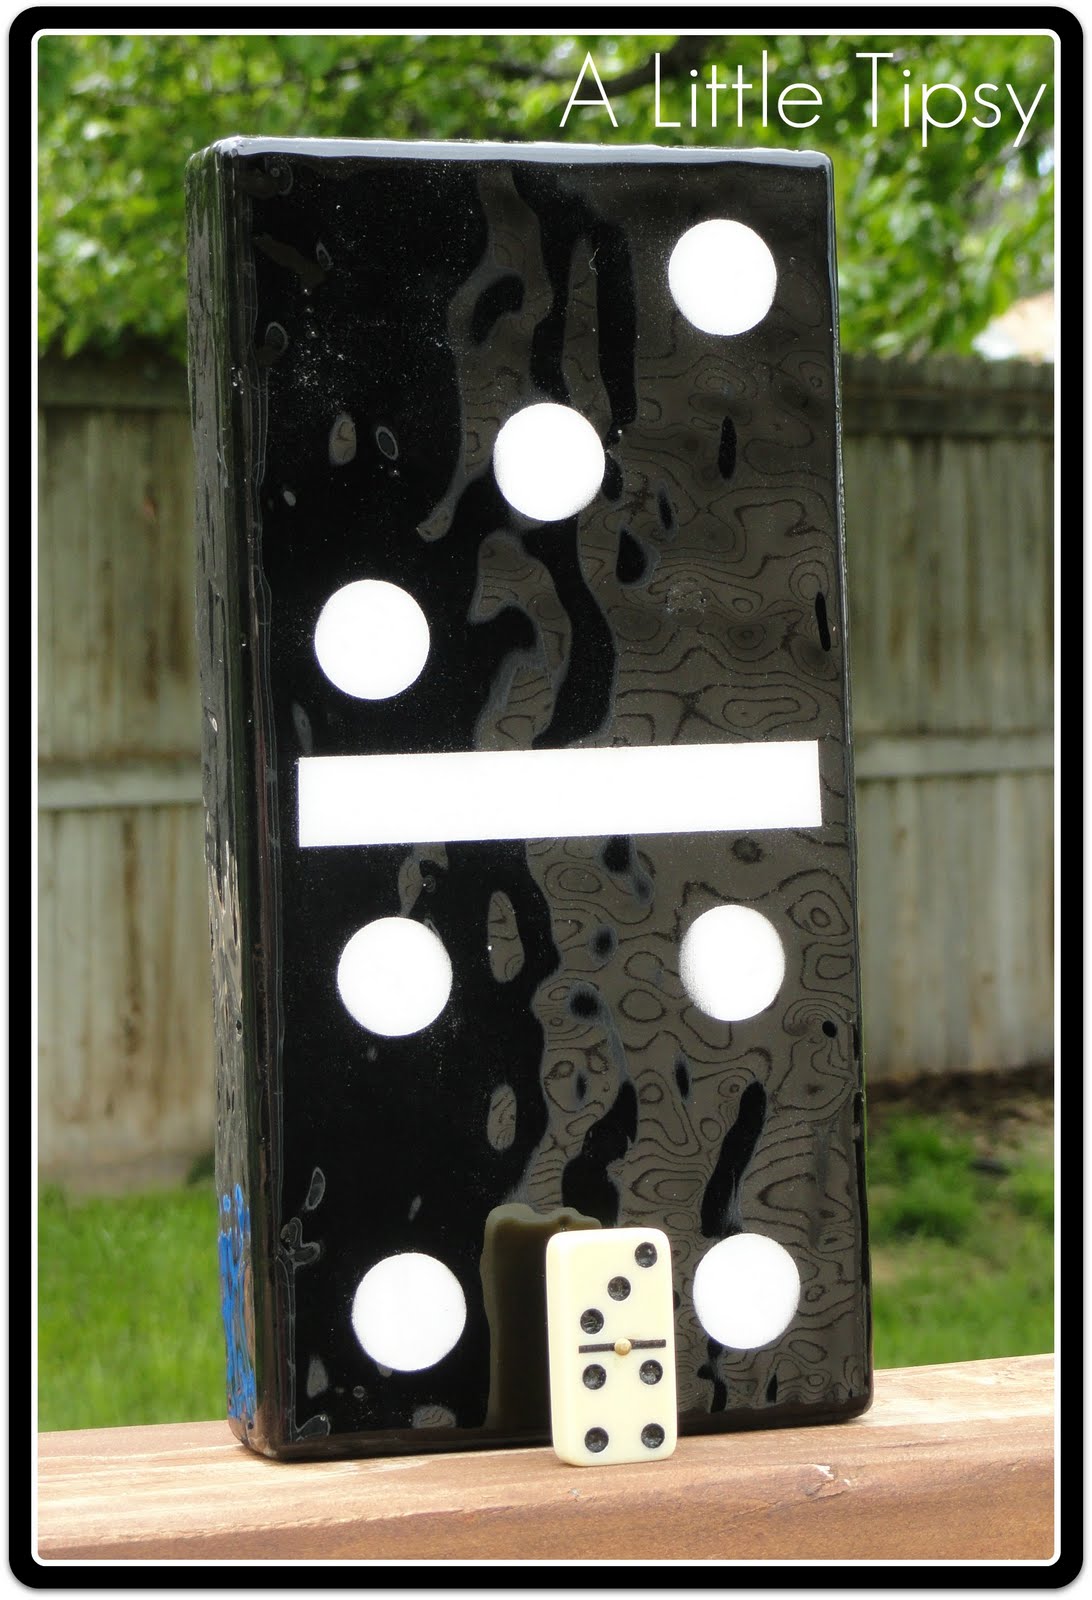
(I was having fun taking pics with reflections in them, here’s my kitchen light fixture)

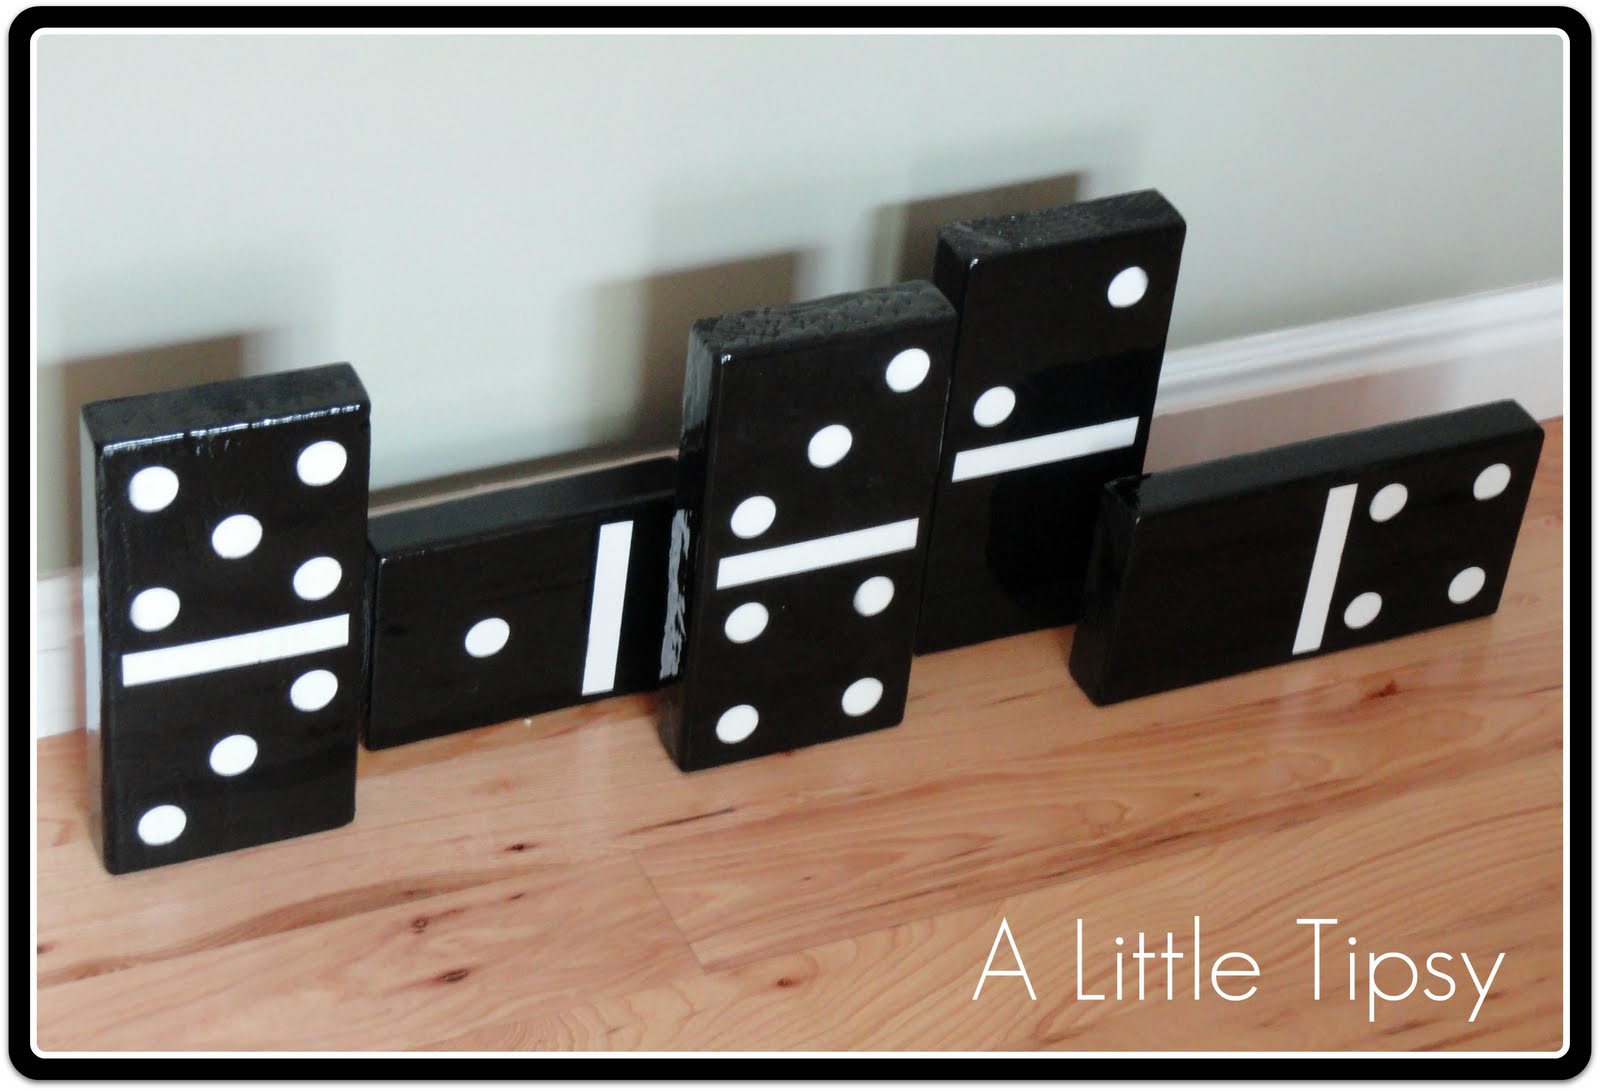
10. I let them dry overnight, then moved them to a more secure location and let them dry for another couple of days just to be sure.

Now, I just need an awesome shelf in the game room to house them!
A big thanks to Crafterminds for choosing me to participate in this Envirotex Lite party! I can’t wait to try it out on some more things!
Check them out on:
Resin Crafts Blog
ETI on Facebook
ETI on Twitter
P.S. Don’t forget to sign up for free Tipsy updates via RSS or email.