A Little Tipsy

Creative Tips & Ideas

  • home
  • About Me
  • the tipsy top
  • press
  • projects
  • contact me
[print_thumbnail_slider]

Fall Garland

September 28, 2010 By Michelle Barneck 8 Comments

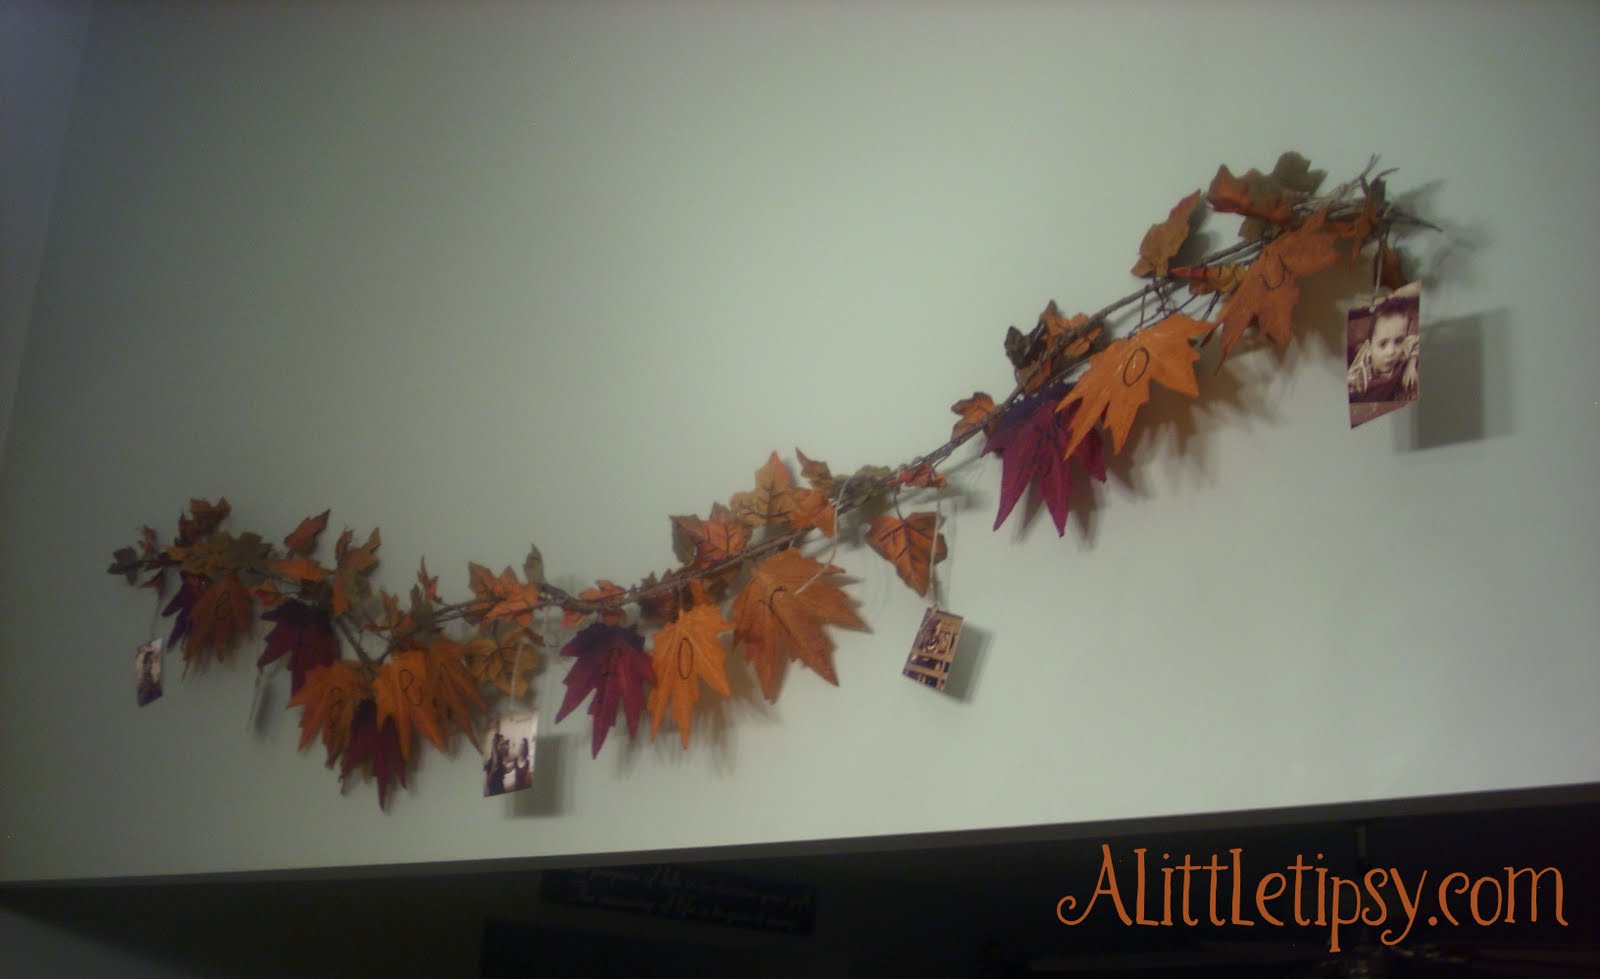
I got the idea a couple of weeks ago to make a fall garland that reads “I’ve Fallen for You.” I headed over to Dollar Tree to see what I could find to make my fall garland a reality.

They had just what I needed.
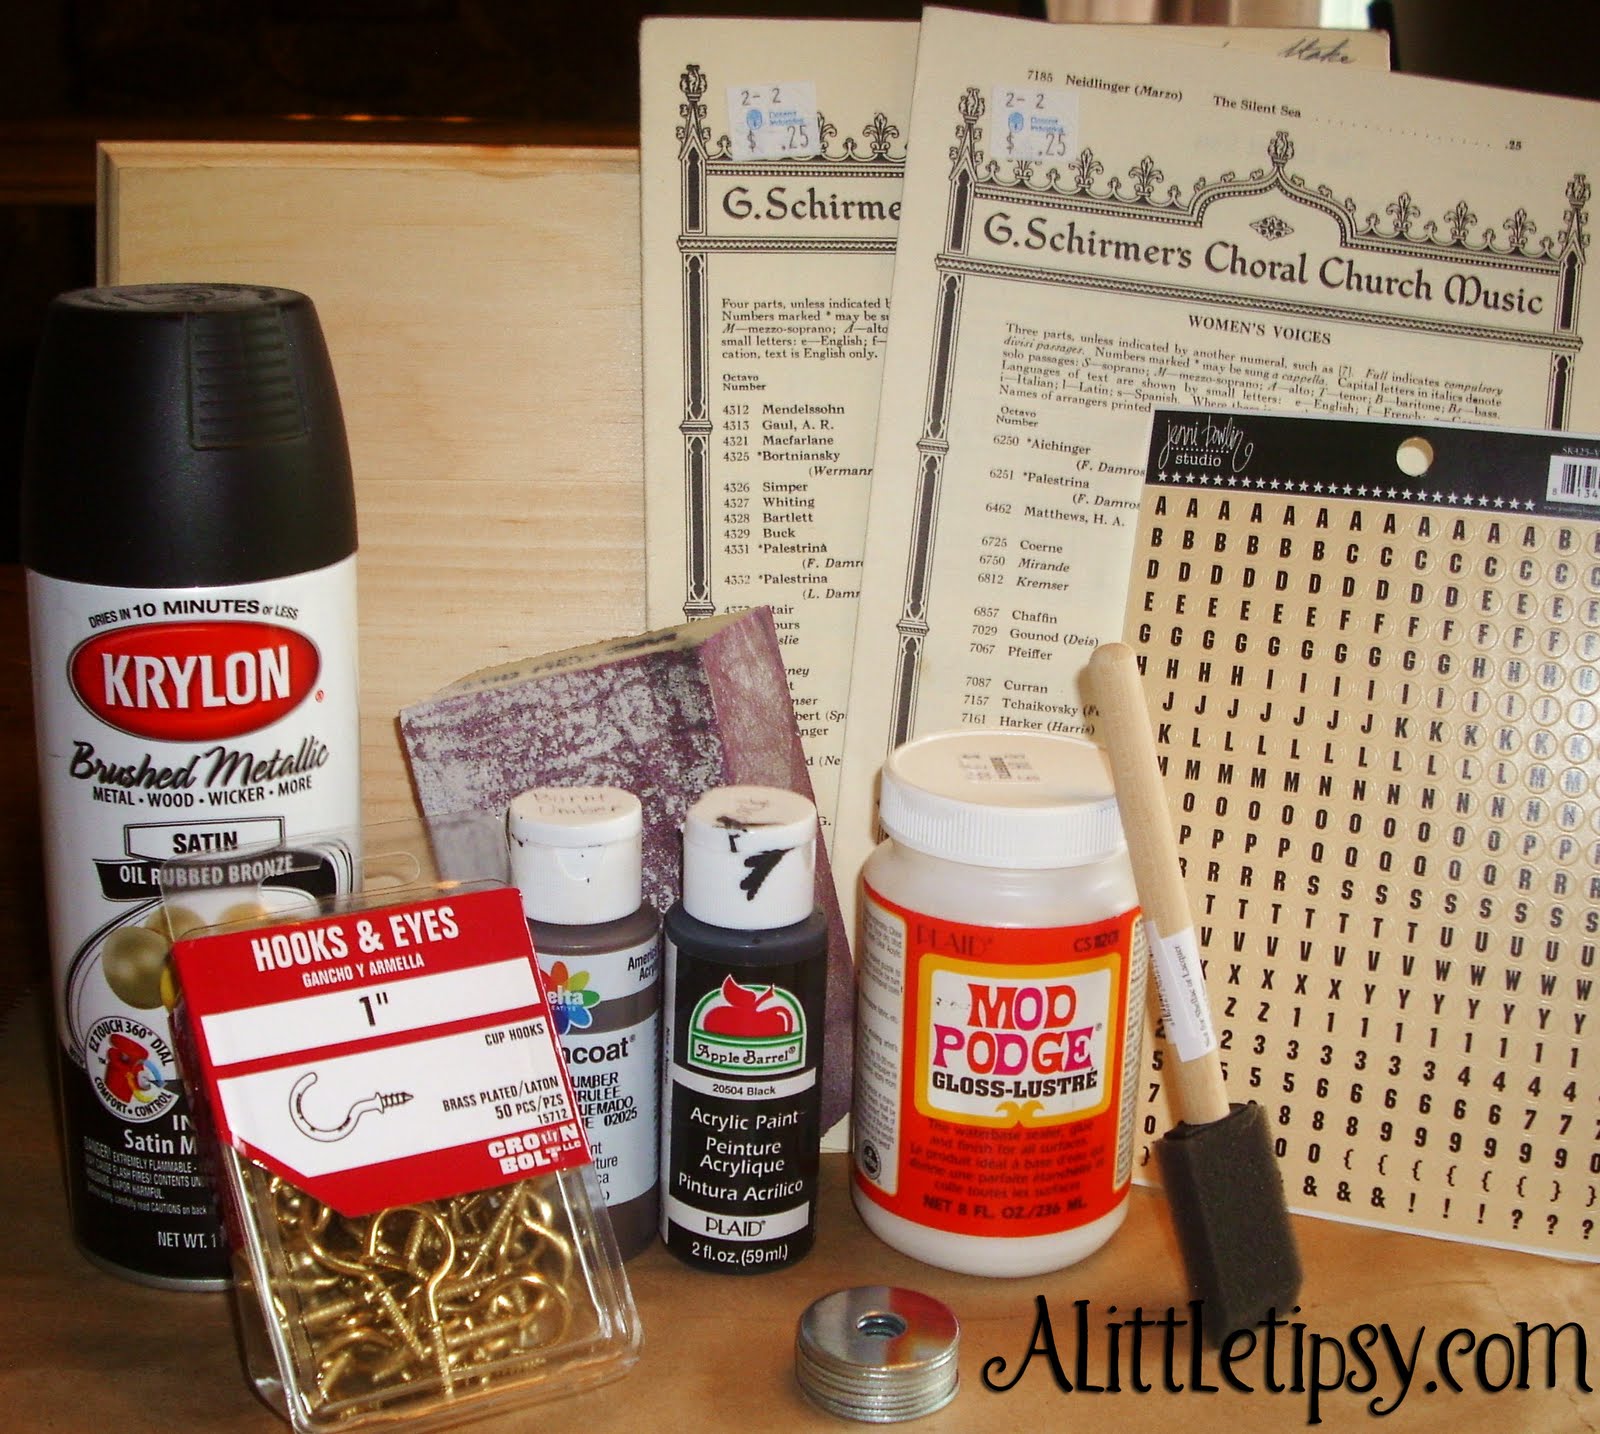
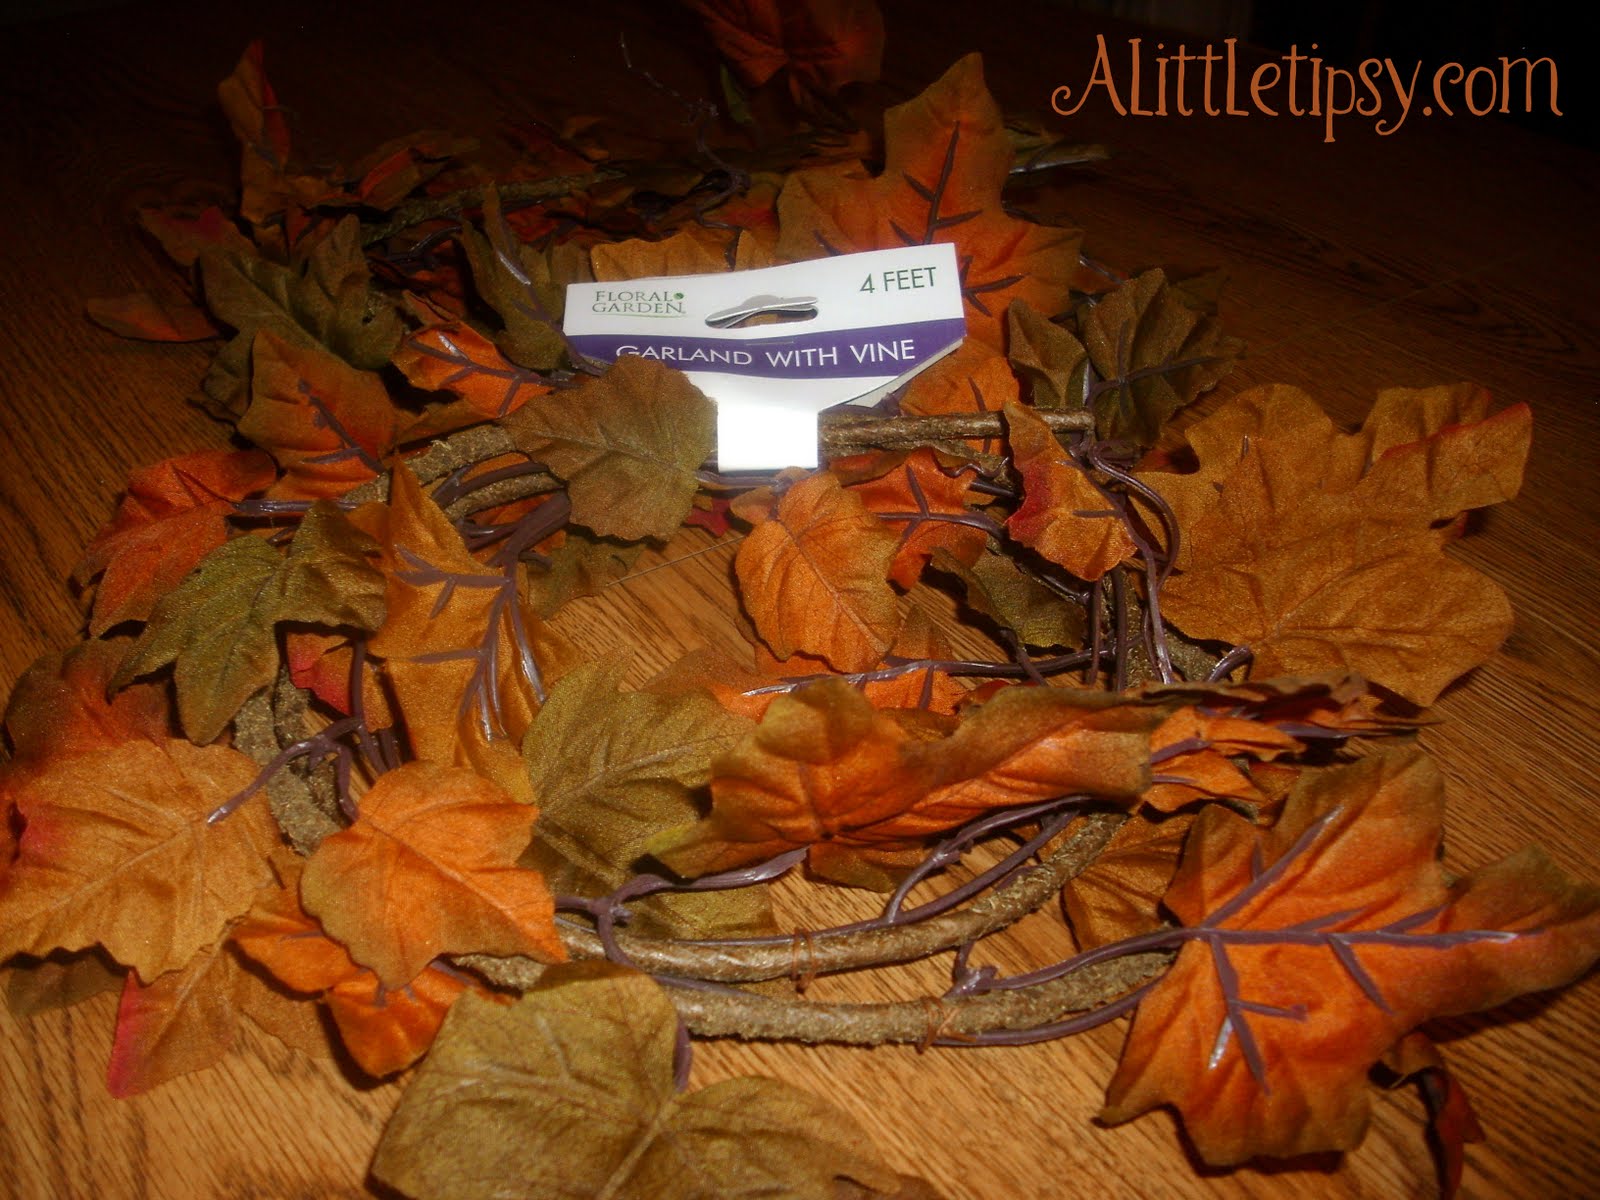
Two 4 ft. fall garlands
Three packs of fall leaves with wire stems

1. Stretch out the garlands on the table so you can see the space you have to work with.
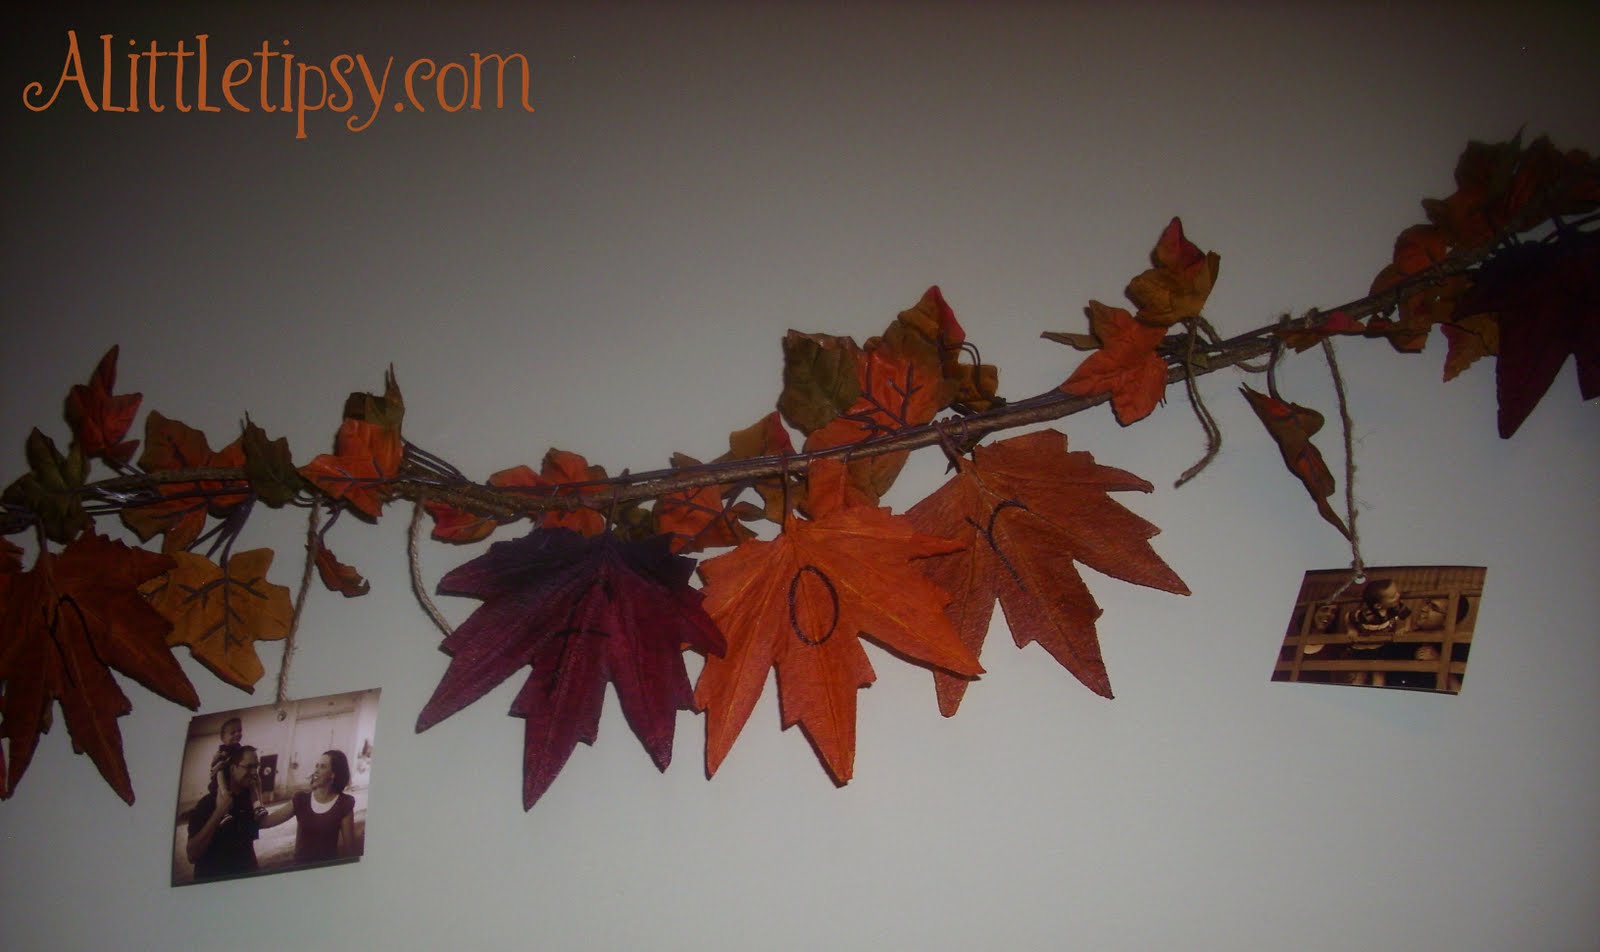
2. Using a sharpie, write a letter on alternating colors of the wire stemmed leaves to spell out “I’ve fallen for you.”

3. Attach the leaves to the fall garland using the wire stem, spreading them across the whole thing, but leaving room to attach a picture between each word.

4. Print small pictures of your family in Sepia tone. Most of mine were 2″x 3″ so I could print two on a 4″ x 6″ photo paper.
5. Attach them to the fall garland using garden twine.

6. Hang on the wall. I tied twine to the garland and hung a loop over a nail.

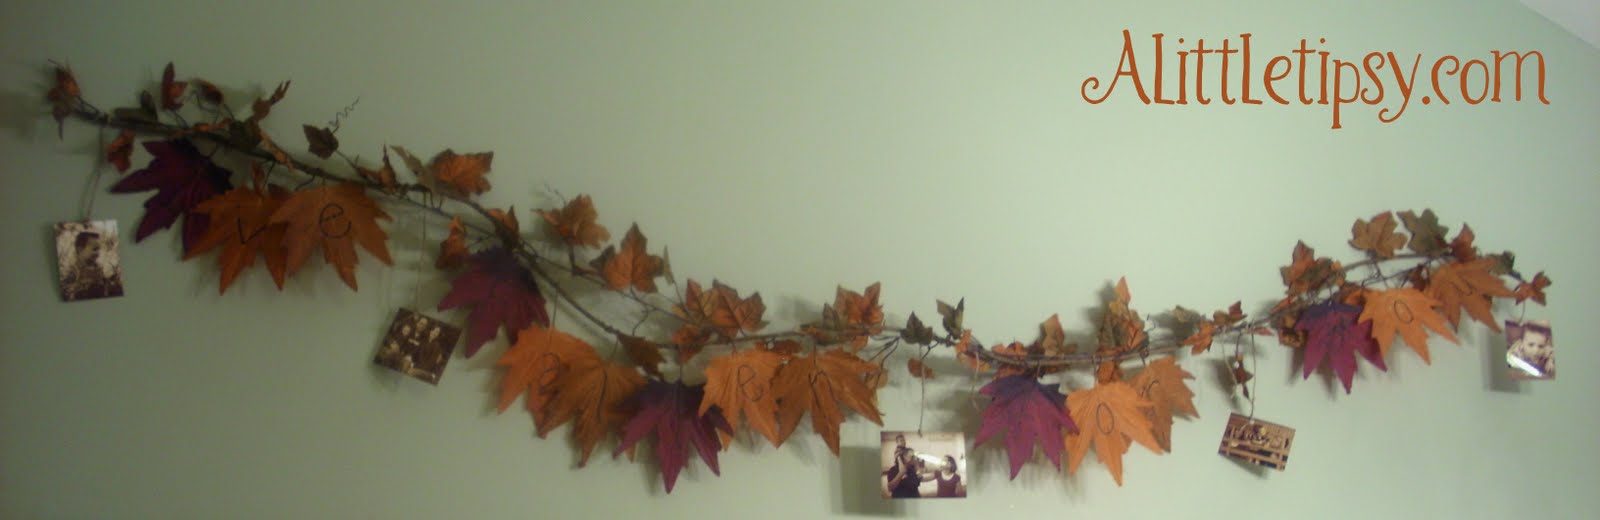
I love that it brings a bit of those luscious warm colors in and can stay up until Thanksgiving. I don’t want to have to worry much about my decor with the new baby coming mid November.

Linking Up:
Get Your Craft On
Toot Your Horn Tuesday
Anything Related
Topsy Turvy Tuesday

P.S. Don’t forget to sign up for free Tipsy updates via RSS or email.

We have decided to truncate our feed to help protect against stolen content. I apologize for any inconvenience. Please love us anyway. 🙂

Feature Friday-Blog Swap with Not Just a Housewife

September 24, 2010 By Michelle Barneck 1 Comment

Hi! I am Stacy and I am visiting from Not JUST A Housewife . A Big thanks to Michelle for letting me post here today! Don’t you just love her site?

I am a stay at home mom to 4 little boys. I love it! I love that every day is different. I love most things that have to do with home making. I love crafts, coming up with fun activities for my kids, cooking, decorating, gardening, and building furniture. My blog is only 3 weeks old so I appreciate the opportunity to get the word out about it.

Here are some of the things you can see on my blog.

Chocolate Spiders for a fun Halloween treat ( there are peanut butter ones too!).

Find out all the fun things you can do with a jar of buttons.

I love the show Cupcake Wars. I have been trying out new recipes. I have made rootbeer float, chocolate malt, chocolate strawberry and peaches and cream so far.

I also love to make custom decorations for my home. See how to paint fabric HERE.

We bought a darling 1938 home and I have been remodeling it one room at a time. Come see my cheap bathroom renovation!

For me gardening is therapy. It is what keeps me sane! I have a huge garden and I love to bottle what I grow. I will try to share what I have learned with you.

Michelle asked me to answer a few questions.

  • What is my favorite crafting tool? My nail gun! I use it all the time for fixing things,adding molding, and building furniture or shelves.
  • What is the best Halloween costume I have come up with? My kids never want to be anything “normal”. One year my little boy wanted to be a FLY! Of course I had to make it. because where else would you get one? It was a labor of love because I DO NOT sew well. I didn’t have a pattern either. But it turned out alright.
  • And last of all. . . What is my favorite fall treat? Pumpkin rolls with the cream cheese filling. Yummmm!

Thank you for letting me introduce my blog to you!

———————————————————–

Stacy is one of my newest sponsors and is incredibly talented! You can spend a ton of time perusing her posts as they are all seriously gold! She is so creative! I am amazed by her Bug’s life bed and she also has a cool alternate to pumpkin carving. Thanks Stacy for swappin’ it up!

P.S. Don’t forget to sign up for free Tipsy updates via RSS or email.

We have decided to truncate our feed to help protect against stolen content. I apologize for any inconvenience. Please love us anyway. 🙂

Burlap Ruffle Table Runner

June 23, 2010 By Michelle Barneck 16 Comments

This is a fun patriotic table runner with a little burlap ruffle for added cuteness. I made it for the 4th of July, but it can easily be done with alternate fabric for any occasion.

Supplies needed:
Scissors
2 cotton towels or fabric
Denim (slightly more than 1 pant leg)
Burlap (at least 1 ft x 4 ft, preferably more)
Sewing Machine
Thread
Glue Gun
Hot Glue


My patriotic cotton towels are from Dollar Tree.

1. Cut towels in half. Measure how long your table is to see how much denim you will need to make the runner long enough. Alternate material.

2. Pin and sew the edges of the denim to match the towel width.
3. Put the bright sides of the fabric together. Pin and sew the edge together to connect the two fabrics. Continue until all the pieces are sewn together in a strip.

4. Cut burlap in to six 2 inch wide and about 4 foot long strips. Snip and pull out one of the burlap strands to make cutting straight a snap.
5.To make ruffles, hold on to the strand in the middle of the end a burlap strip and CAREFULLY push the material to gather. Do this from each end until the gathering meeting in the middle and you have a ruffle. Be extremely gentle with the strand. I broke mine multiple times. When you are happy with the amount of gathering, tie knots on the end of each strand to keep the ruffle in place.

6. Now hot glue your ruffles on each seam. Wrap the edges of the burlap around the runner and glue down for a finished look.

I was so proud to show off my Denim and burlap ruffle table runner to the hubs when he got home. Too bad he asked what it was and was confused. He claims he has never seen a table runner before. I know he has seen them tons of times at my moms house. Such a man.

Linking Up:
Patriotic Parade
Get Your Craft On
Transformation Thursday
Strut Your Stuff
Show Off Your Stuff
Show and Tell
Whatever Goes Wednesday
Look What I Made

P.S. Don’t forget to sign up for free Tipsy updates via RSS or email.

We have decided to truncate our feed to help protect against stolen content. I apologize for any inconvenience. Please love us anyway. 🙂

Make Your Own Key Hanger

May 31, 2010 By Michelle Barneck 40 Comments

I wanted to get all of our keys out of a jumbled pile, but could not find a cute key hanger I liked so I decided to make my own. I like the sheet music and Typewriter trends out there right now, so I decided I would incorporate all 3 types of keys: music keys, typewriter keys, and car keys.

And of course being the kind and generous person that I am, I made you a tutorial because good things are meant to be shared right?!

Supplies needed:

  • 9×12 wood board (Wal-Mart)
  • Black & Brown Craft Paint
  • Mod Podge
  • Foam Brush
  • Sand Paper
  • A few old sheets of music (D.I.)
  • 8-1″ hooks
  • 8-1 1/4 inch Washers
  • 4-1 3/4 inch Washers
  • Oil rubbed bronze spray paint
  • E-6000 or other industrial glue
  • Little letter stickers (Robert’s)
  • Cream and black card stock
  • Free Typewriter font
  • Picture hangers (Robert’s)

How to Make a Key Hanger:

1. Sand the edges of the board smooth. Mix the black and brown to somewhat match oil rubbed bronze paint. Apply to the edges of the board with a foam brush. It will probably need a couple coats. Rough up the edges a little with the sand paper.

2. My sheet music was not as wide as the board, so I cut it in strips and used 5 strips (about 1 3/4 inch) across to cover the board. Just line up the music and you can barely tell it came from another page. I left a 2 1/4 inch space at the top of the board for the label. My sheet music had a nice break where I wanted to add the hooks for my keys. Mod podge the strips to the board one at a time to cover the board. I left the black/brown paint residue in the container I put the mod podge in so it would give it a antiqued tint.

3. Cut a strip of black card stock (about 2 1/4 in tall) to cover the top for the label where it will says “KEYS.” Mod podge it on. Cut a strip of cream card stock slightly smaller to create a black frame and mod podge it on.

4. Screw the tiny hooks into the top of a box for easy spray painting. Cover your area and spray paint the hooks and washers with a few coats according to the directions on the paint can. Let dry.

5. Attach the 8 small washers where you want the hooks with industrial glue. Let set.
6. Add tiny letter stickers to those spots you want labeled. I name our cars Tuck (Hyundai Tuscon) and Tepid (97 Dodge Intrepid that someone needs to haul out of our driveway). I left the top shorter hanging area spots unlabeled for random church keys, relatives house keys, etc.
7. Screw the tiny hooks in with your sheer strength and bare hands.

8. Print out “KEYS” using the free typewriter font on cream card stock. I think I used 90 pt font to get it the right size. You’ll want them to fit on about 1 1/2 inch circles. Trace the circles around the letters and cut them out.

9. Glue the letters to the big washers. Then, glue the big washers to the label area on top of the board.

10. Attach some picture hangers to the back and hang.

Now I can grab my keys off the hanger as I head out to the garage and not have to sift through a pile on a shelf. Yay!

Linking up with:
Made By You Monday
Just Whipped Something Up
Making the World Cuter
It’s So Very Creative
Making Monday Marvelous
Visit thecsiproject.com


P.S. Don’t forget to sign up for free Tipsy updates
via RSS or email.

We have decided to truncate our feed to help protect against stolen content. I apologize for any inconvenience. Please love us anyway. 🙂
« Previous Page
Next Page »

  • Bloglovin
  • Facebook
  • Google+
  • Instagram
  • Pinterest
  • RSS
  • Twitter

Hi there! I'm Michelle. Mother of three little boys and one little princess. Welcome to A Little Tipsy, a place for exploring creativity and sharing inspiration.

Follow on Bloglovin


Visit Michelle Barneck {A Little Tipsy}'s profile on Pinterest.

Tutorials by Category


15 Family Reunion Games

Family Reunion Games Collage

15 Sprinkle Party Ideas

Sprinkle Birthday Party
Creative Commons License

© Copyright 2014 A Little Tipsy · Site Designed by The Fairy Blogmother · Web Hosting by RFE Hosting

This website uses cookies to improve your experience. We'll assume you're ok with this, but you can opt-out if you wish.Accept Read More
Privacy & Cookies Policy