A Little Tipsy

Creative Tips & Ideas

  • home
  • About Me
  • the tipsy top
  • press
  • projects
  • contact me
[print_thumbnail_slider]

DIY Under $5 and Point of View Features

June 4, 2011 By Michelle Barneck 5 Comments

I have the best job in the world picking from your projects to feature. I seriously have so much fun looking through all the links. Let’s show off a few from the DIY Under $5 linky and then I show off a couple of pillows from the Point of View Pillow link up.


Link with the most clicks:

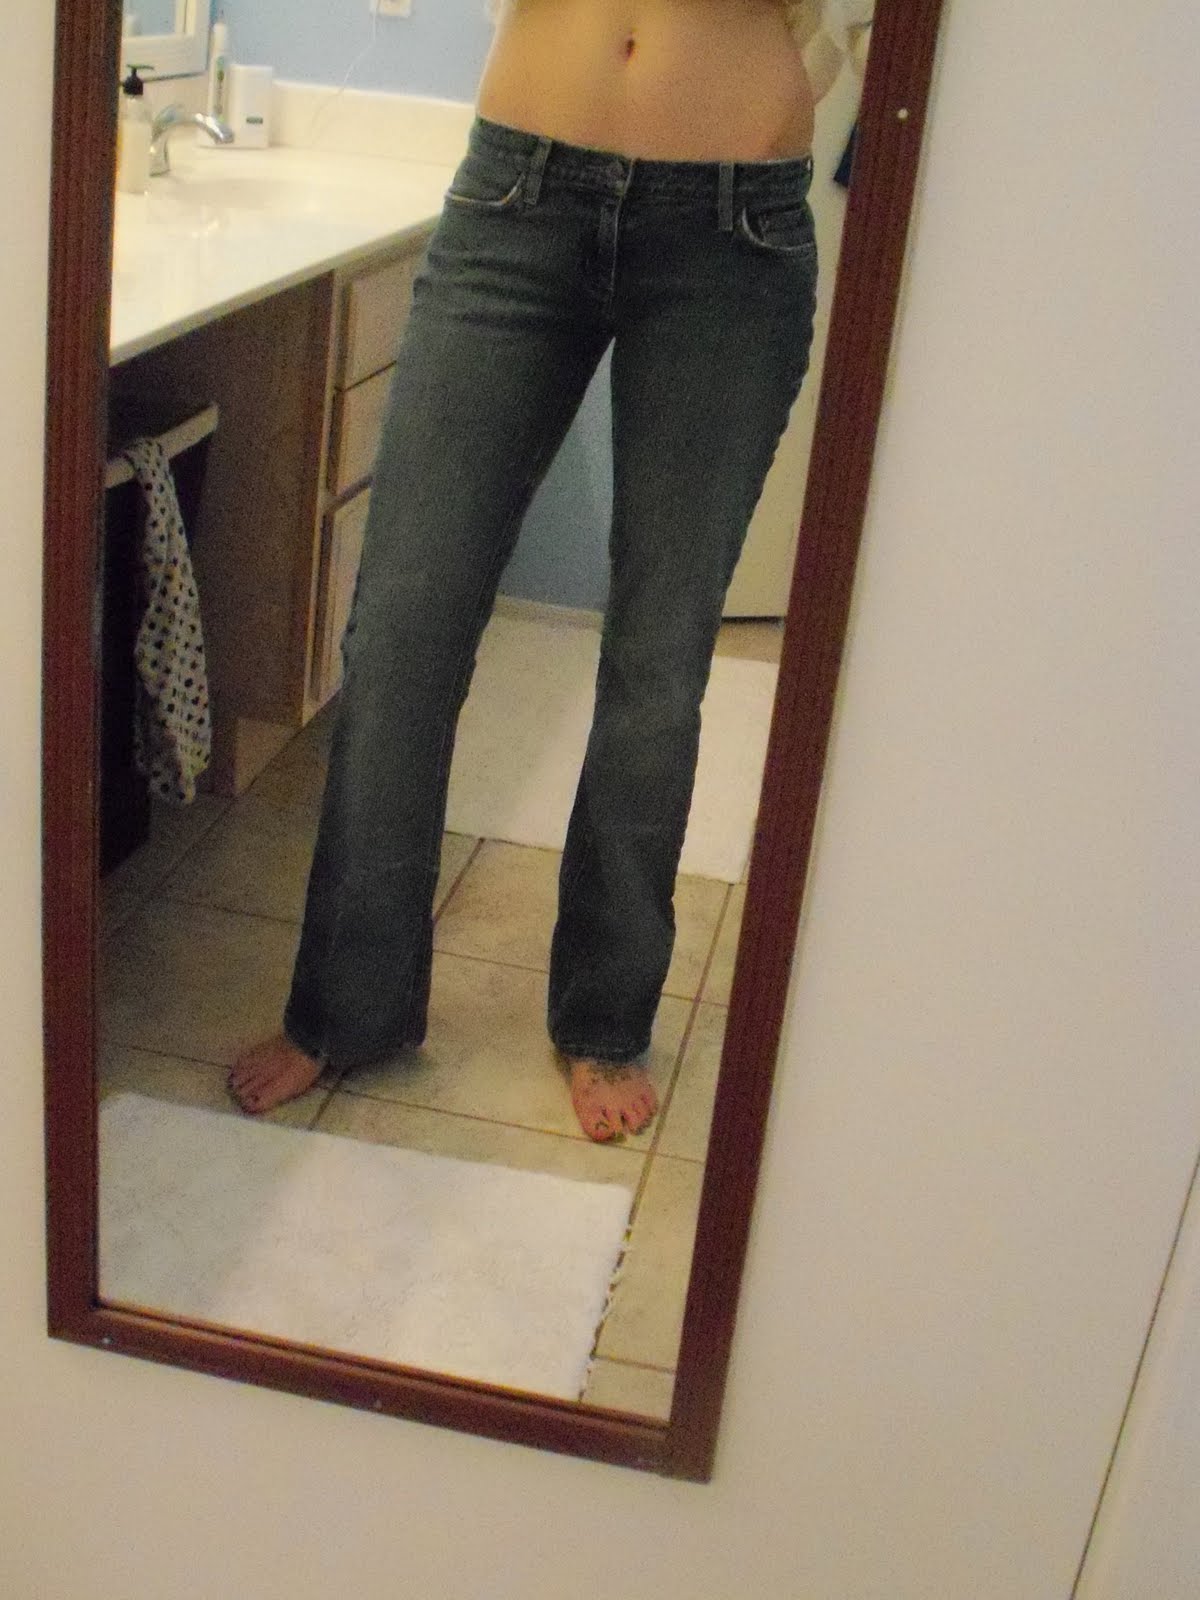
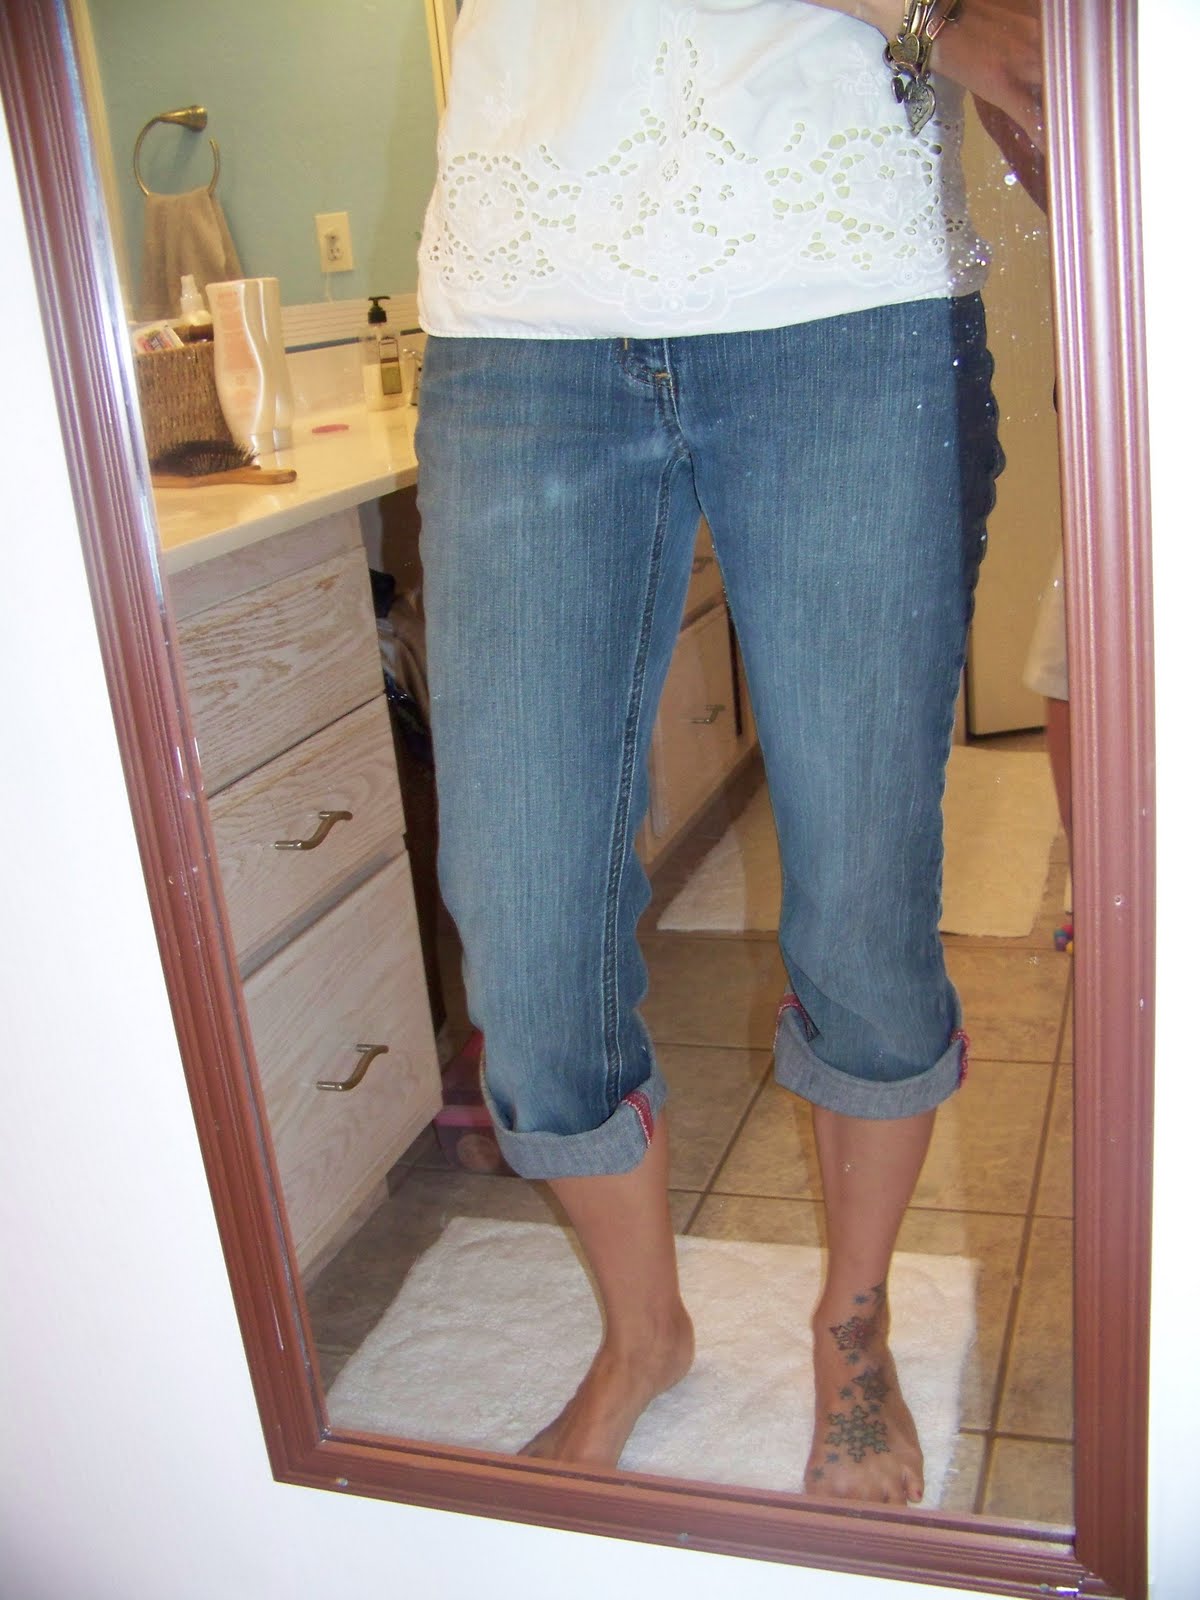
Updating $3 Jeans {pants to capris} by My Balancing Act

My faves:

Upcycle Shirt to Purse by Craft Buds

Graduation Hat Card by Stampin’ and Craftin’

DSC08975


Faux Pewter Candlesticks
by Mama Says Sew

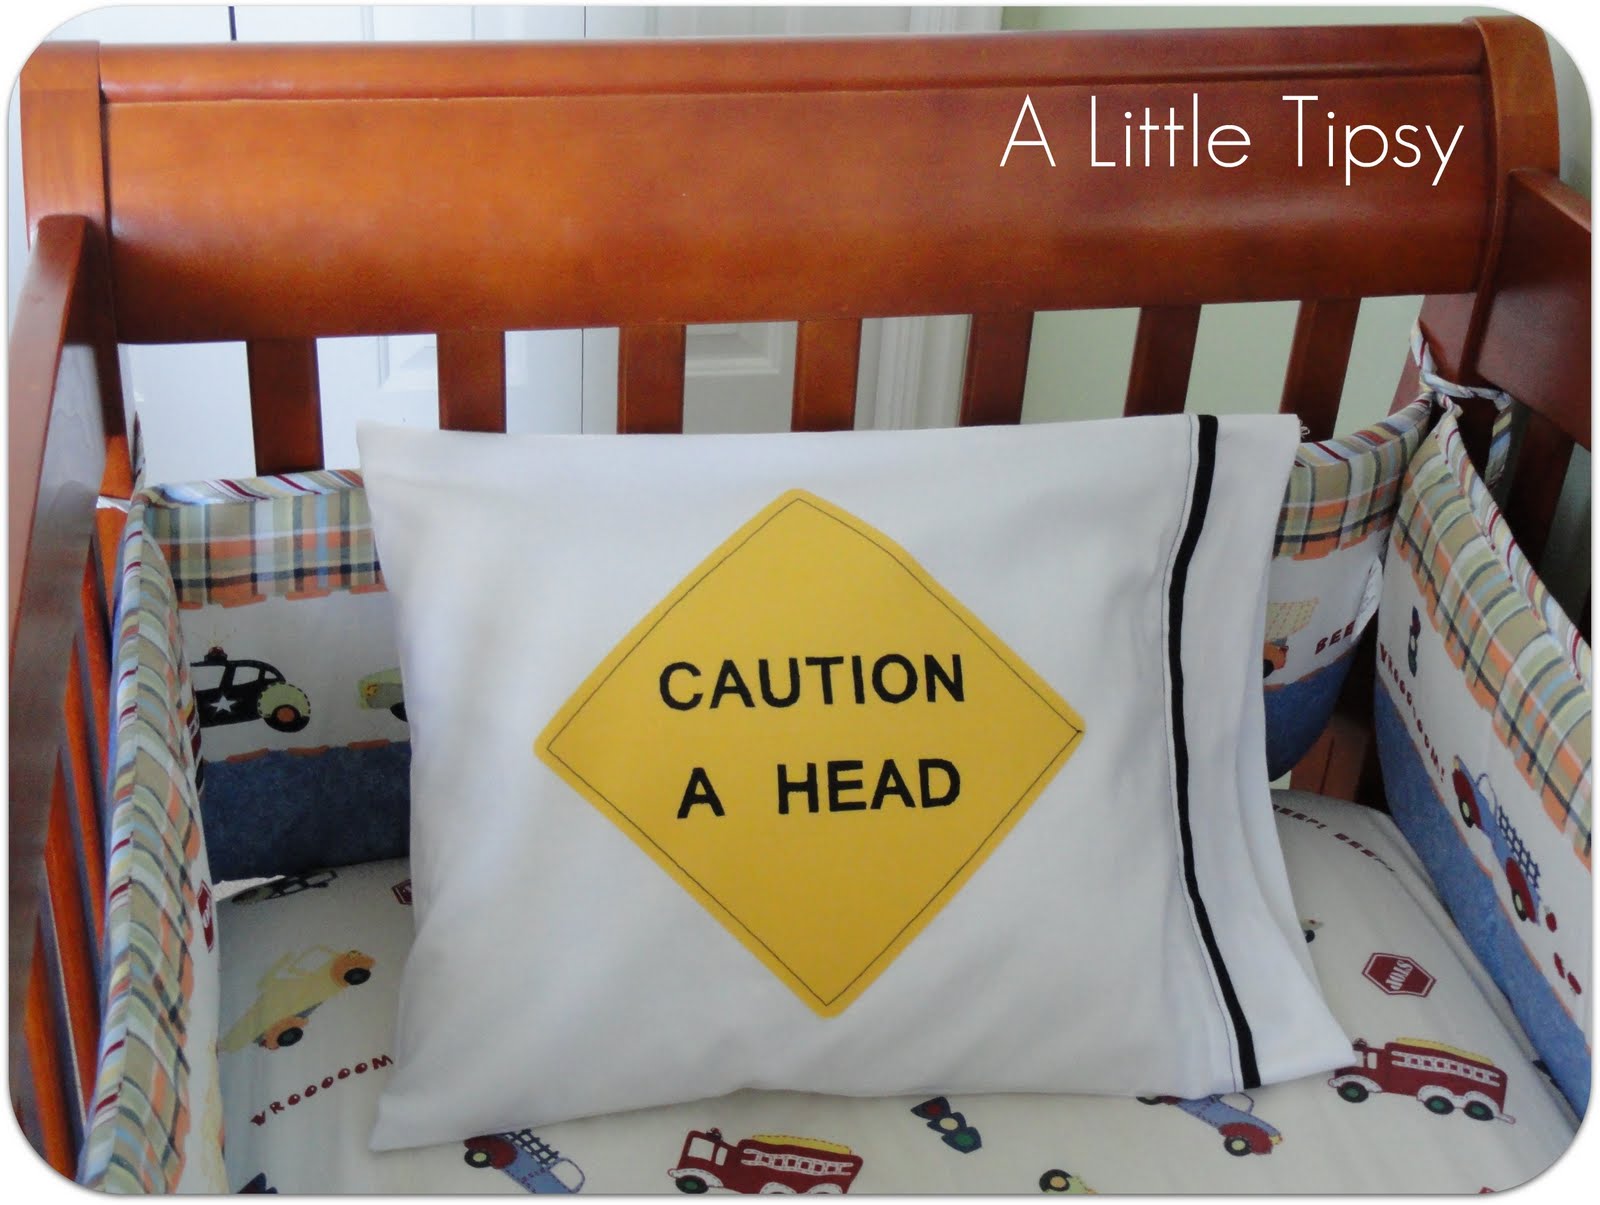
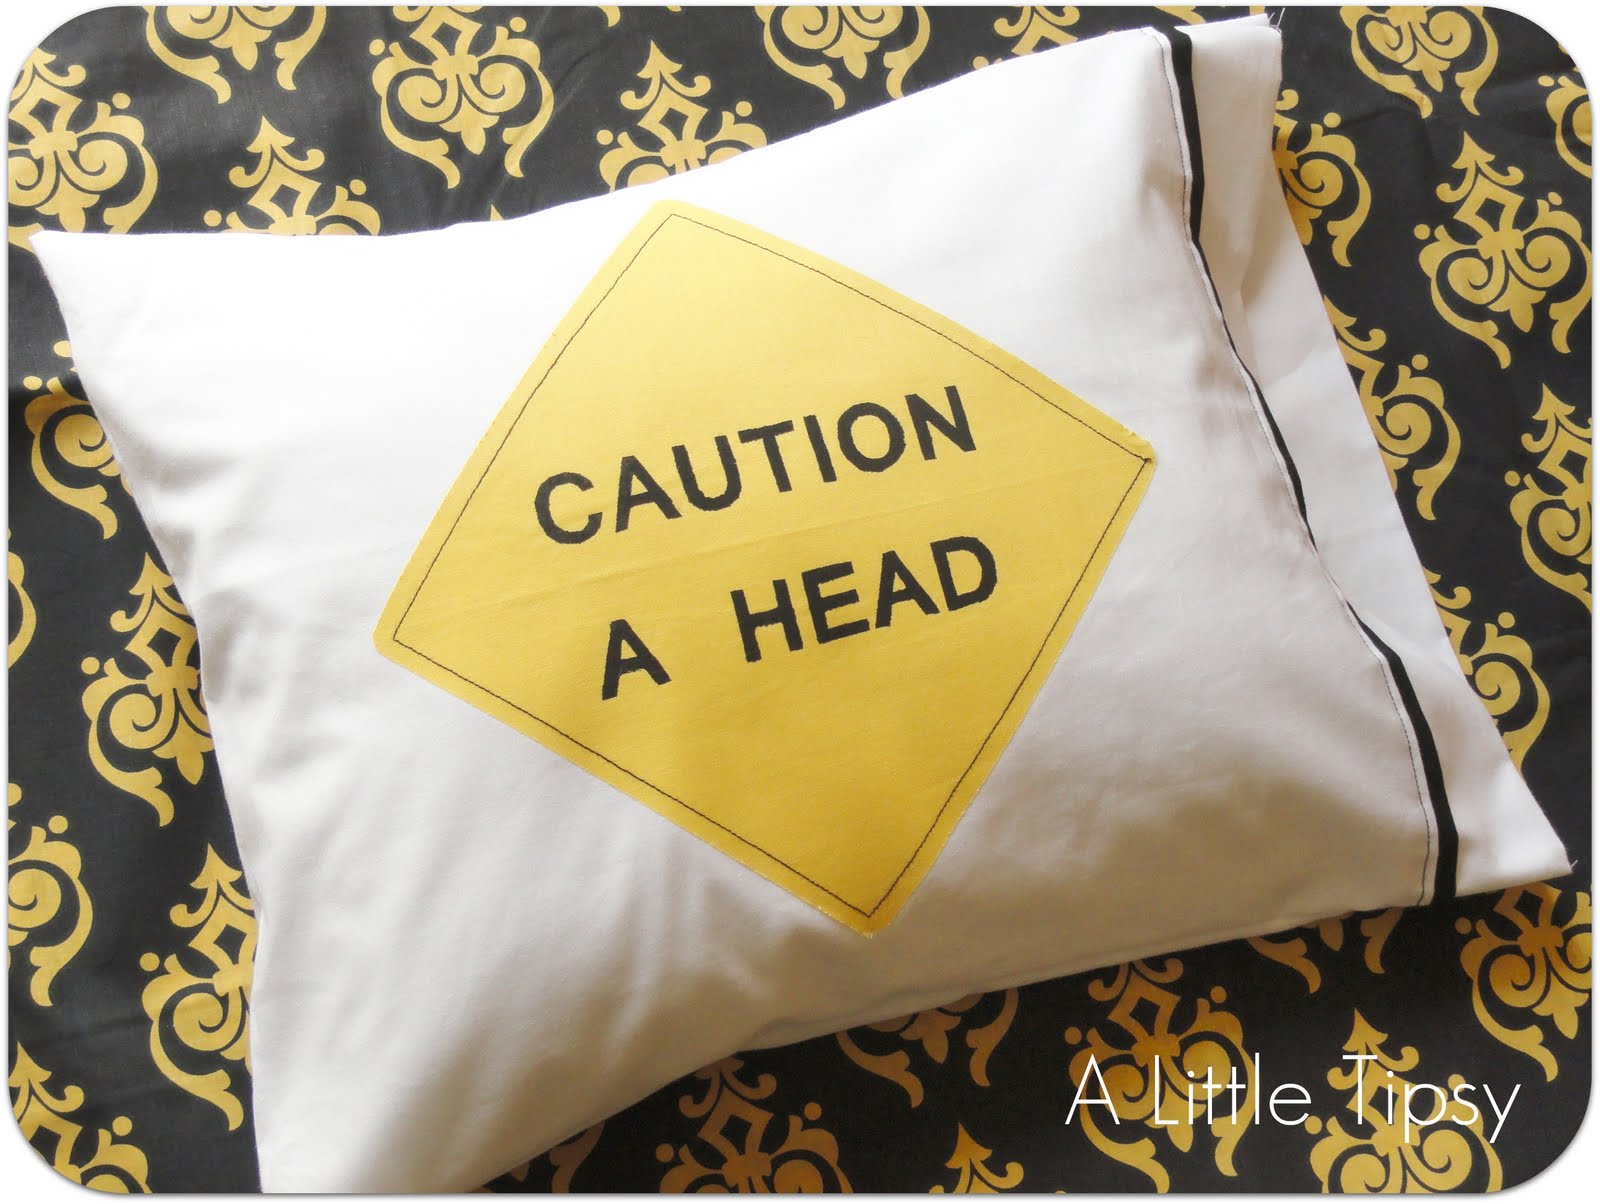
There were a ton of fabulous pillows on the Point of View link up! Here are a couple of my faves!

No-sew Pillow Cover from Organize and Decorate Everything

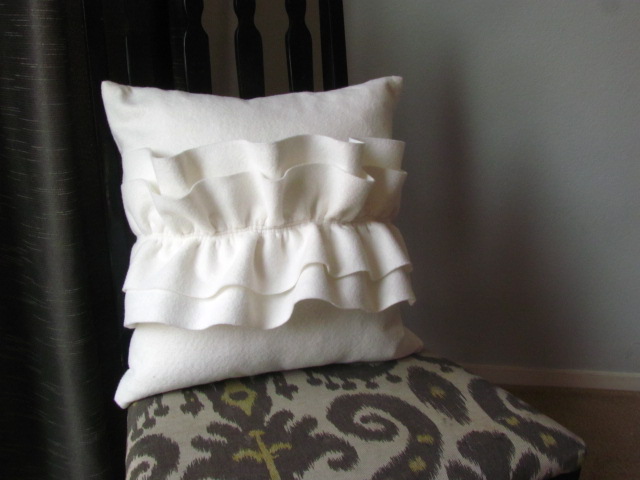
Felt Ruffle Pillow from Persia Lou

You are such amazing sources of inspiration!

Remember to pick up your A Little Tipsy featured button or Point of View featured button HERE if you were spotlighted today!

P.S. Don’t forget to sign up for free Tipsy updates via RSS or email.
We have decided to truncate our feed to help protect against stolen content. I apologize for any inconvenience. Please love us anyway. πŸ™‚

Dominos {Giant Syle}

June 2, 2011 By Michelle Barneck 23 Comments

I am in the process of redecorating our play/game room. I decided to include some over-sized game pieces for an added element of fun. I went with a couple of my hubs favorites to start with chess and dominos. I figured I could easily make some dominos of my own, so that’s just what I did. I thought of using birth dates as the numbers to make them even more significant, but quickly decided against that realizing that the 27th would just not fit. πŸ˜‰ Instead, I went with our anniversary date.

Dominos

Supplies needed:
  • One 2×6 board
  • Electric sander
  • White spray paint
  • Black spray paint
  • Thin blue paint tape
  • Circle stickers
  • Wax paper
  • Mixing cups
  • Mixing sticks
  • Gloves
  • Brush
  • 4-5 oz. Envirotex Lite pour-on high gloss finish
  • Cups (to hold dominos for drying)

1. Cut your 2×6 board in to five 11 inch pieces (you will have about 3 ft leftover). I had one of the workers at Home Depot do this for me (I call him my Home Depot husband), though he used a HUGE saw and it left deep grooves on the ends which I did not love.

2. Sand down your board so it is smooth and all the edges and corners are rounded like a domino.

3. Spray the front of your domino with a coat of white paint and let dry according to the directions on the can.

4. Use a strip of blue painters tape to make the line in the middle of each of the dominos. Place your circle stickers where you want them for the numbers on the dominos making sure all the edges are down securely.

5. Spray paint the dominos black.

6. After a couple of hours, peel off the stickers and tape to reveal the white dots and lines on the dominos. Let the black paint continue to dry and allow to dry according to the instructions on the paint can.

7. Pick a surface to place the dominos where they can sit to dry (I did it on the kitchen table after the kids went to bed so the dominos would have a good 11 hours to dry before curious little hands were introduced.) and will not be exposed to a lot of dust floating around and is also at least 70 degrees. Cover your surface with wax paper and place the cups to hold the dominos while adding the gloss.

8. Mix up the Envirotex Lite pour on gloss according to the instructions. I just brushed on a thin wood sealant coat. I was going to do the flooding, but ended up liking it with just a “thin” coat. {READ ALL THE INSTRUCTIONS IN THE BOX FIRST and wear gloves. Trust me on this. You do not want to mess this part up and it can be temperamental!} I used about 5 oz. of Envirotex, but that is because it started hardening before I was done and I had to mix up and additional ounce. You can probably do it with 4 oz. if you do it in two batches of 2 oz. I just used my breath to get the bubbles out after I applied the thin coat.

9. After you cover them all with gloss, let them dry for a couple of hours, then go around and scrape any drips off the bottom of the dominos. Otherwise, they will become permanent drips.
(I was having fun taking pics with reflections in them, here’s my kitchen light fixture)

10. I let them dry overnight, then moved them to a more secure location and let them dry for another couple of days just to be sure.

Now, I just need an awesome shelf in the game room to house them!

A big thanks to Crafterminds for choosing me to participate in this Envirotex Lite party! I can’t wait to try it out on some more things!

ETI sent me this product to try out. You won’t believe all that you can do with this product. Envirotex Lite was created by Environmental Technologies Inc. (ETI), which is the home for many resin and mold making products.
The use of resin in jewelry making, mixed media and paper arts continues to grow in popularity. Today, artists are using ETI’s products in many crafty ways and they will be showcasing these works of art on their new blog “Resin Crafts”.

Check them out on:
Resin Crafts Blog
ETI on Facebook
ETI on Twitter

P.S. Don’t forget to sign up for free Tipsy updates via RSS or email.

We have decided to truncate our feed to help protect against stolen content. I apologize for any inconvenience. Please love us anyway. πŸ™‚

Point of View: Pillows {Caution A Head Pillowcase}

May 27, 2011 By Michelle Barneck 6 Comments

Welcome, welcome to another month of Point of View where, on the 4th Friday of each month, we each show you our takes on a particular theme. This month’s theme is PILLOWS. Take a look at the fun projects we have lined up for you!

1. Amy {Ameroonie Designs}
2. ME & here you are for the tutorial!
3. Jonie {Just Between Friends}
4. Gwen {Gwenny Penny}

I have been meaning to make this pillowcase for months. Like since my older son sleeping was in the transportation themed nursery, oh nearly 8 months ago now. I even purchased the supplies and had them in a bag starring me down any time I pass them. My recent girls craft weekend finally gave me the uninterrupted time and motivation to pull out the bag and get it done.

Why did I wait so long?! I adore this pillowcase!!!

It makes me chuckle inside every time I think about it.

So here’s the DL so you can make a pillowcase of your very own.

{CAUTION: A HEAD} Pillowcase

Supplies:
  • White cotton fabric
  • Yellow cotton fabric
  • Black cotton fabric
  • Black thread
  • White thread
  • Fabric interfacing
  • Iron
  • Freezer paper
  • Printer
  • Cutting board
  • Exacto
  • Textile medium (turns acrylic paint into fabric paint $5 at Hobby Lobby)
  • Black acrylic paint
  • Piece of cardboard
  • Foam brush

I made my pillowcase for a toddler pillow (travel sized pillow I got at a conference) so I will not give measurements because most people don’t have that exact pillow.

1. Cut a long rectangle of white fabric to fold and fit over the front and of back your pillow. I literally draped it around my pillow and left about and inch and a half on either side for roominess and seams and cut off the excess.

2. Cut two 1.5 inch wide strips of black material an inch longer than the length of the end of your pillowcase. You will fold these in half and iron flat for the pillowcase trim.

3. Cut two 3 inch wide strips of white material an inch longer than the length of the end of your pillowcase. You will fold these in half and iron flat to finish the pillowcase opening.

4. Cut a square out of the yellow and round the edges. You will turn it on point to make the diamond. Make it big enough to be 2 or three inches from the top and bottom edge of the pillowcase.

5. Layer the white and black pieces, folded white, folded black, then large white piece with the edge tucked and ironed under. Pin them together so that all pieces can be sewn in place with one seam. Do this on each side (back, front).

6. Sew layers together with black thread.

7. Lay the yellow diamond on the fabric interfacing and cut the interfacing to size. Follow the direction on the interfacing to attach the diamond to the pillowcase with your iron.

8. Stitch a straight line around each edge of the yellow diamond to secure and make it look more like a sign.

9. Find a font that looks like a street sign (I used Vrinda 100pt bolded) and size it to fit your diamond. Print a test sheet on normal paper. If it is the right size, cut your freezer paper to 8.5 x 11 and print on the matte side.

10. Tape freezer paper to a cutting board and cut out letters with an exacto knife. Be sure you keep the loose middle of the letters.


11. Now put the freezer paper in place on the yellow diamond and iron on. I used the cotton setting and ironed it without the letter middles first. Just press down and hold the iron in place for 15 seconds or so in each spot and lift to the next spot. Then, add in the middles and iron those in place. Don’t move the iron side to side, just press and lift or your middles could get misplaced.

First, without middles.

Then, with.

12. Follow direction on the textile medium to make acrylic paint ready for fabric. Place a piece of cardboard behind stencil to block paint seepage.

13. Paint a light coat over each letter making sure you get to the edges.

14. I let the paint dry, but I would pull the stencil off while it is still wet. I did that on my test run and the edges were crisper. When I pulled it off when it was dry they were a little furry.

15. Follow directions on paint to make it permanent and washable. I had to iron over mine and let it dry 7 days. It has dried one so far. πŸ˜‰

It is perfect for a planes, trains and automobiles room.


But, could also be really fun for a teen’s room!

Now go link up with the Point of View linky party over on Gwenny Penny so we can see your Point of View on PILLOWS! There are 5 creative collaborators, so you have 5 chances to be featured!

P.S. Don’t forget to sign up for free Tipsy updates via RSS or email.

We have decided to truncate our feed to help protect against stolen content. I apologize for any inconvenience. Please love us anyway. πŸ™‚

DIY Under $5 Features

May 21, 2011 By Michelle Barneck 5 Comments

Another super week of link ups! Keep them coming. I love seeing all your projects. There were so many I wanted to feature this week. It was hard to narrow it down.

Link with the highest clicks:

Spring Flower Balls
from Happy Little Party

These are so cute and you’re gonna die when you find out what they are made from.

Ok, I have to tell you…
Wiffle balls!!

My faves:

Can Tab Belt and Bracelet from Little Assembly Required

DAD frame from Nothing But Country

Zipper Scrap Bib Necklace from MeiJo’s Joy

Bean Balls from Love Sweet Love

Be sure to grab your A Little Tipsy featured button here.

P.S. Don’t forget to sign up for free Tipsy updates via RSS or email.

We have decided to truncate our feed to help protect against stolen content. I apologize for any inconvenience. Please love us anyway. πŸ™‚
« Previous Page
Next Page »

  • Bloglovin
  • Facebook
  • Google+
  • Instagram
  • Pinterest
  • RSS
  • Twitter

Hi there! I'm Michelle. Mother of three little boys and one little princess. Welcome to A Little Tipsy, a place for exploring creativity and sharing inspiration.

Follow on Bloglovin


Visit Michelle Barneck {A Little Tipsy}'s profile on Pinterest.

Tutorials by Category


15 Family Reunion Games

Family Reunion Games Collage

15 Sprinkle Party Ideas

Sprinkle Birthday Party
Creative Commons License

© Copyright 2014 A Little Tipsy · Site Designed by The Fairy Blogmother · Web Hosting by RFE Hosting

This website uses cookies to improve your experience. We'll assume you're ok with this, but you can opt-out if you wish.Accept Read More
Privacy & Cookies Policy