A Little Tipsy

Creative Tips & Ideas

  • home
  • About Me
  • the tipsy top
  • press
  • projects
  • contact me
[print_thumbnail_slider]

DIY Under $5 and Point of View Features

July 2, 2011 By Michelle Barneck 5 Comments

I had so many projects I wanted to feature this week that I actually had to narrow it down by who linked back. You guys have so many great affordable ideas!


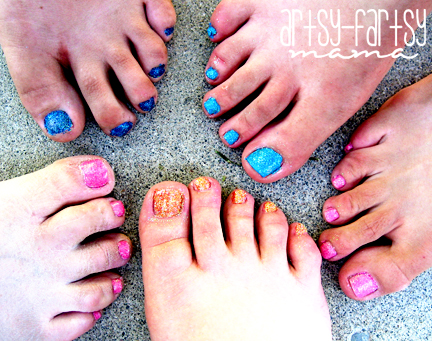
Link with the highest clicks:

DIY Glitter Toes from Artsy-Fartsy Mama

My Faves:

Stamped Americana Pillow from Mishmash Mom

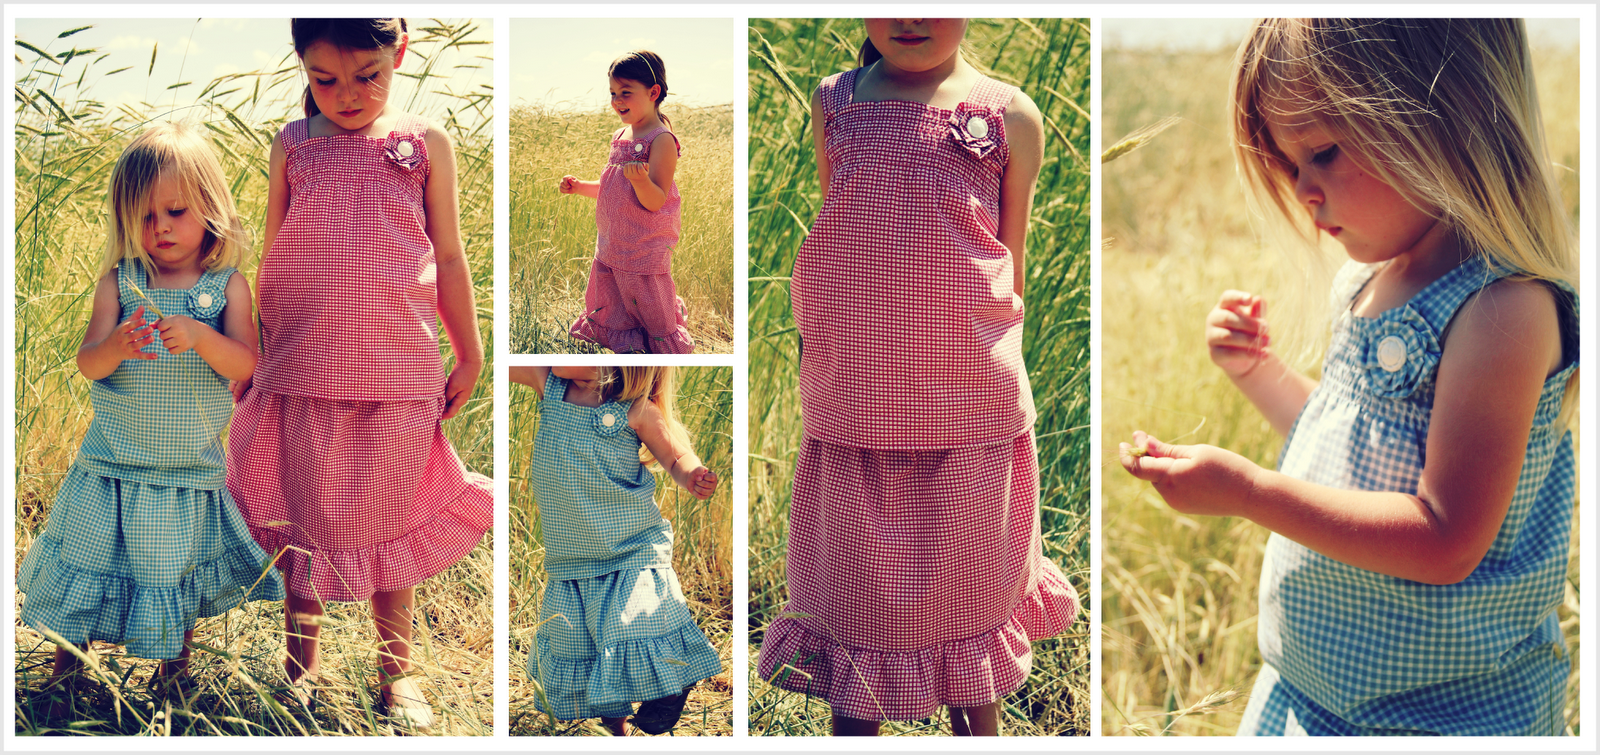
Pillowcase Outfits from Grey Luster Girl


Ric Rac Pocket Bib from Just Another Hang Up

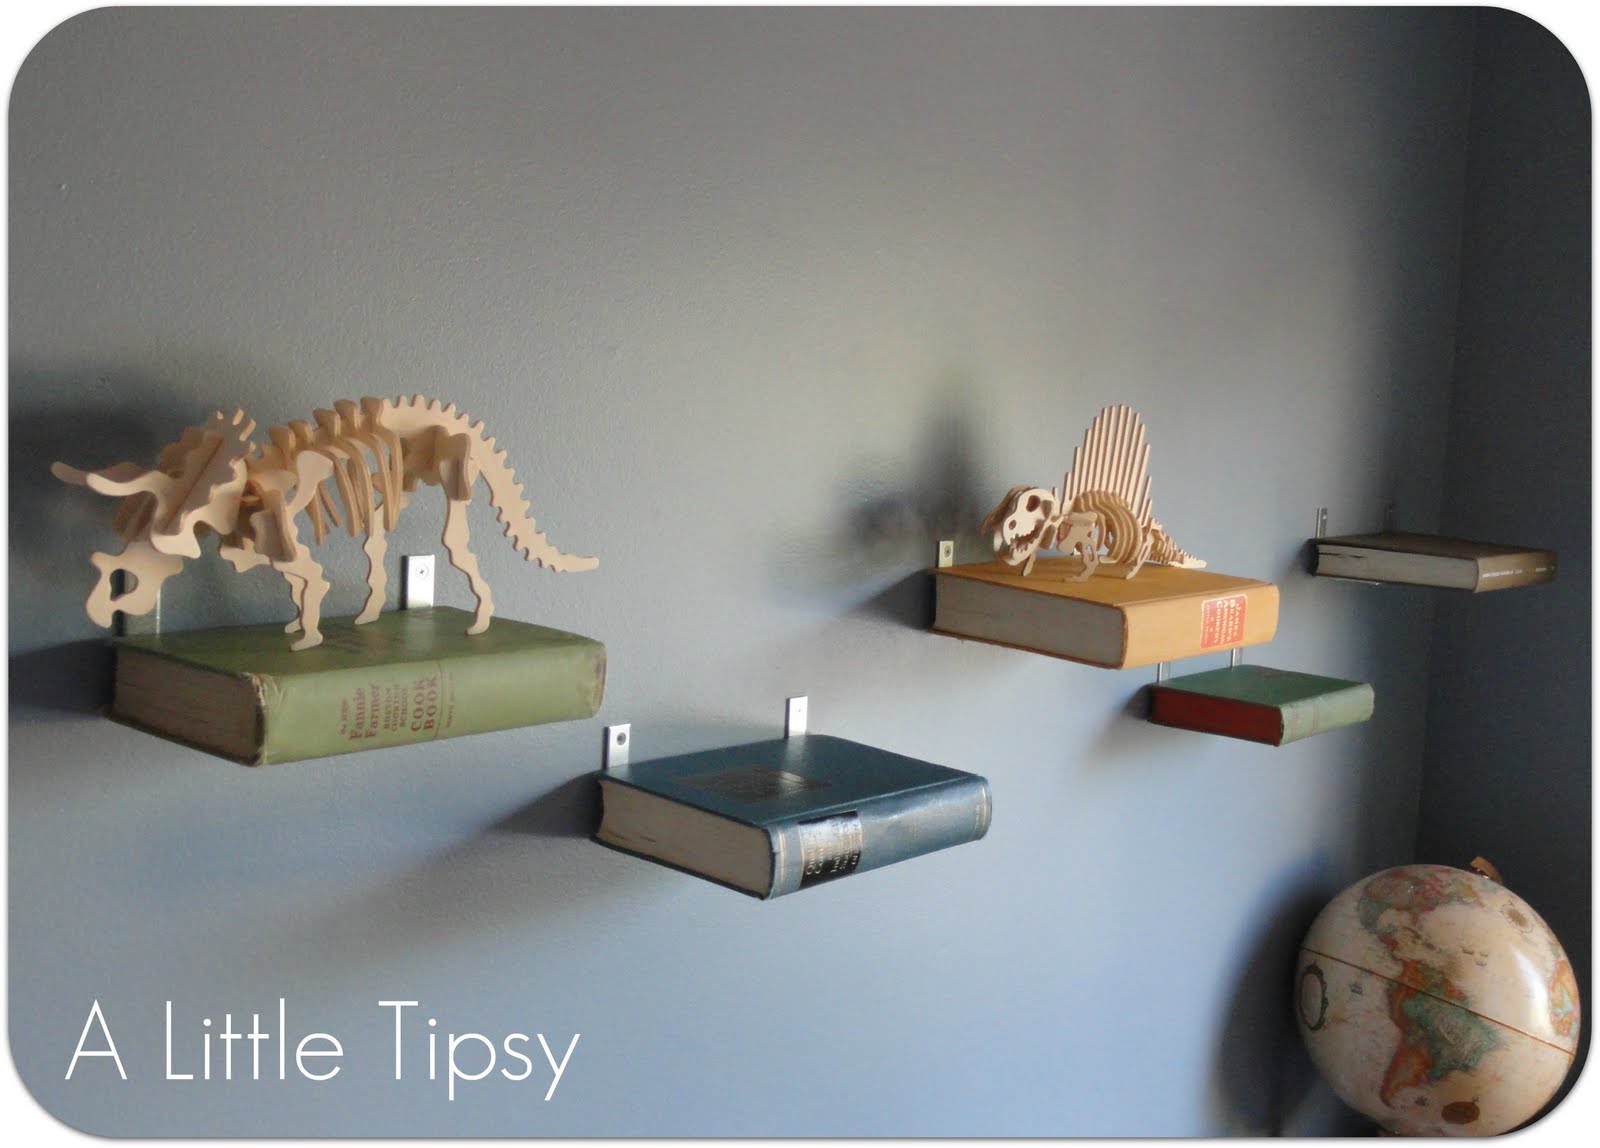
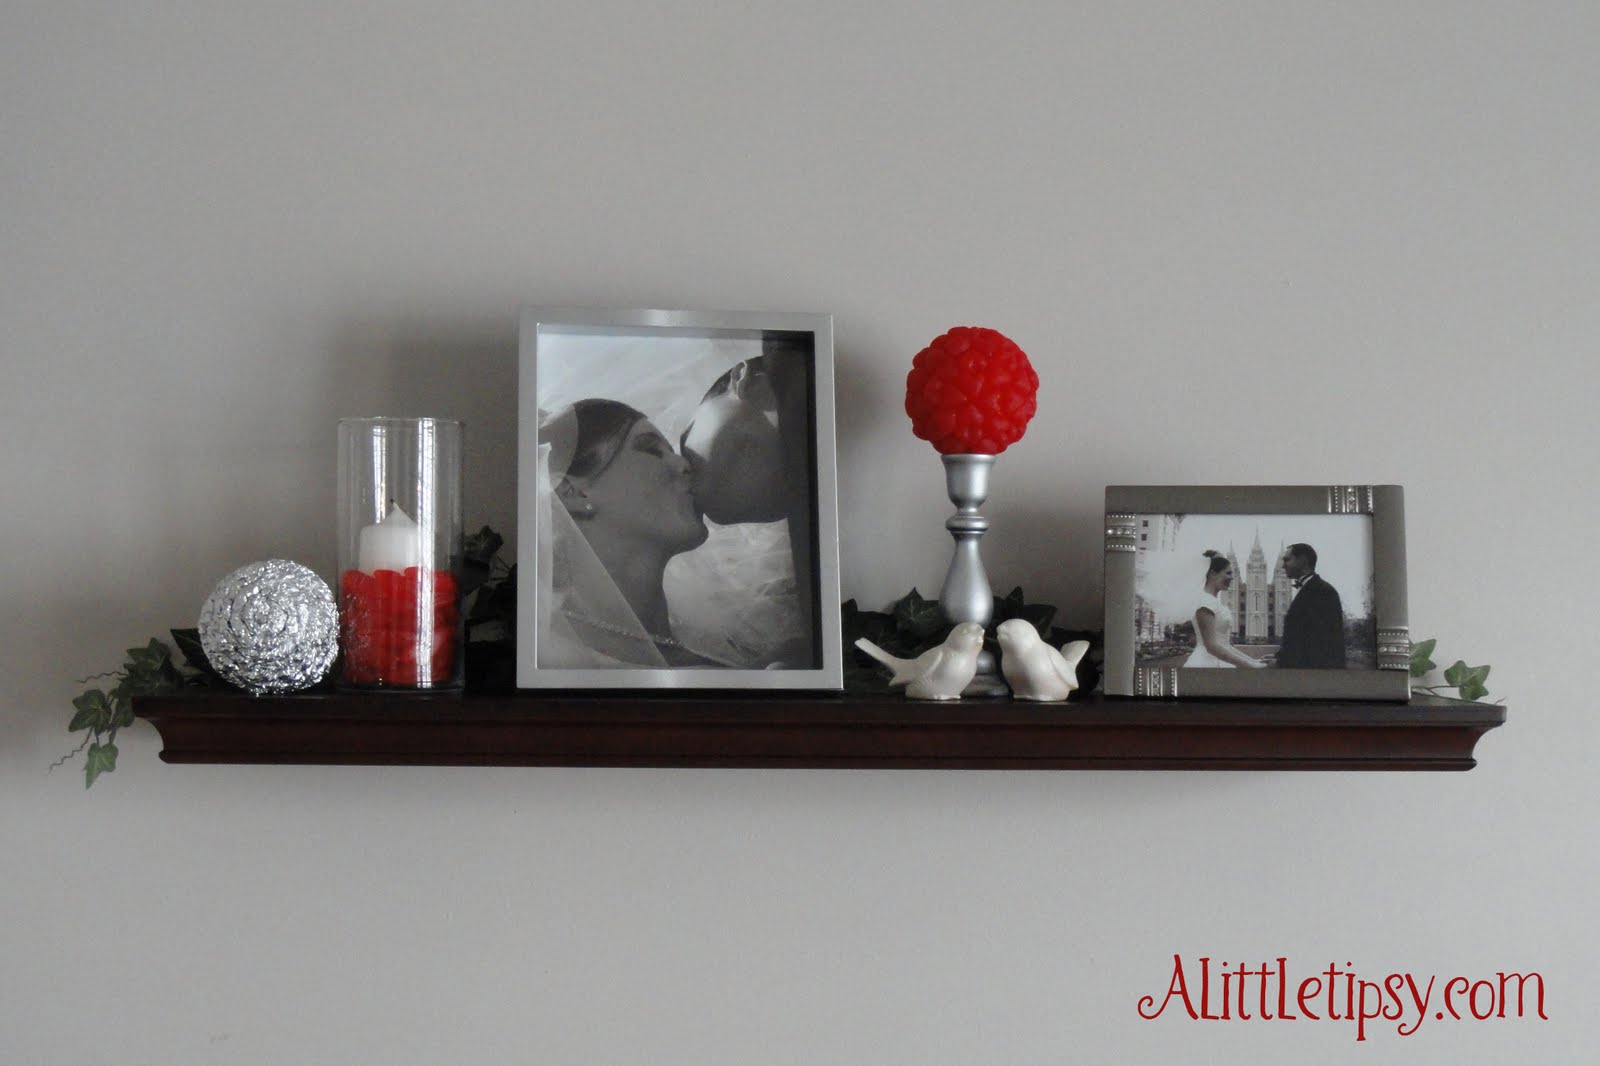
And here is a feature from our Point of View Shelves linky party.

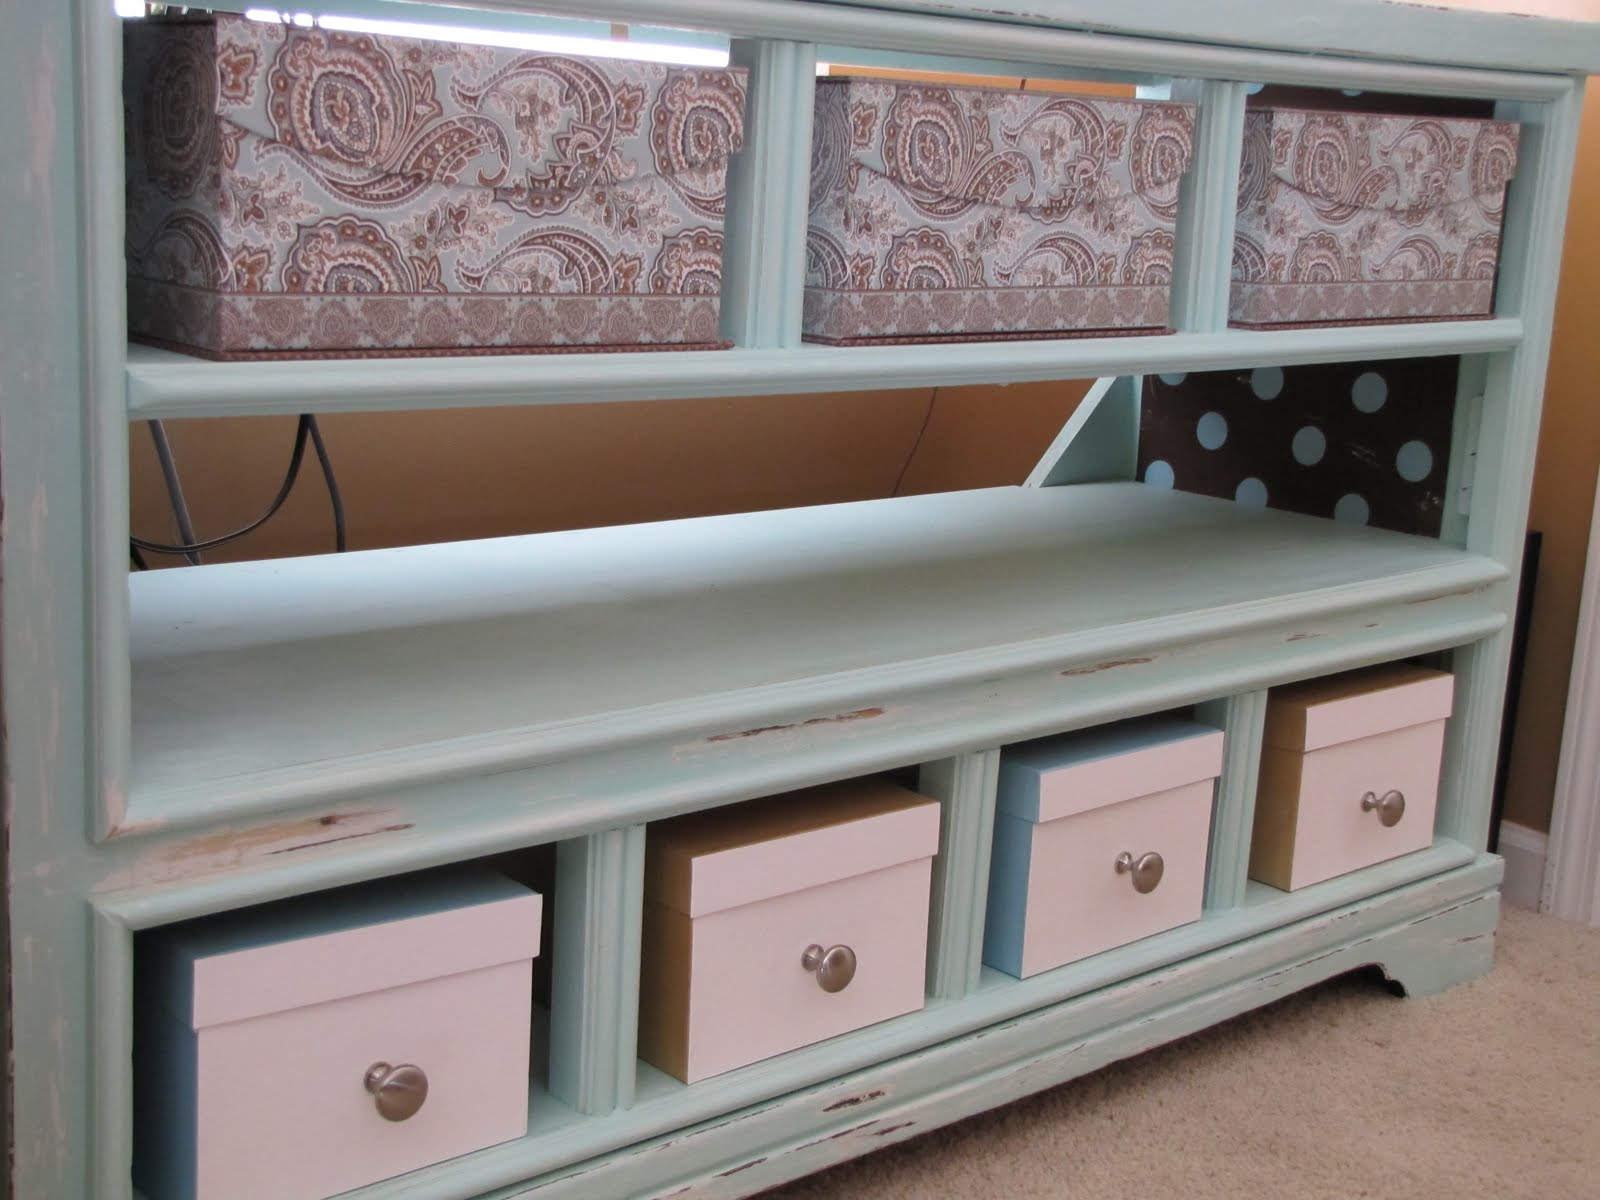
Curbside Dresser Shell to Media Storage Center by Re-Create with L. Lane Designs

I can’t wait to see more fun projects from these parties!

Be sure to grab your A Little Tipsy or Point of View featured button here.
P.S. Don’t forget to sign up for free Tipsy updates via RSS or email.
We have decided to truncate our feed to help protect against stolen content. I apologize for any inconvenience. Please love us anyway. ๐Ÿ™‚

Point of View: Shelves {Book Shelves}

June 24, 2011 By Michelle Barneck 16 Comments

Welcome to another month of Point of View where, on the 4th Friday of each month, we each show you our takes on a particular theme. This month’s theme is SHELVES. Just look at the fun projects we have lined up for you!

1. Camilla (Rosy Red Buttons)
2. Michelle (Stay right here!)
3. Jonie (Just Between Friends)
4. Amy (Ameroonie Designs)
5. Gwen (Gwenny Penny)

Are you interested in participating as a guest member of Point of View? We are looking for people who would like to join us. We will be including one guest each month, so if you would like to take part contact Amy from Ameroonie Designs (utahchemnrd@yahoo.com). Please include your blog name and URL, and we will add you to the list. You will be notified in advance when it is your turn.

Now on to my shelves! Book shelves to be exact. No, not shelves to house books, books hung as shelves! I loved this idea when I first saw it on Kojo Designs and just had to make some with my own twist of course. Her books were all put together as one shelf, but I wanted to put dinos on mine for my little guys paleontology room and they are too long to fit on the book so I made each book an individual shelf.

Here’s what you’ll need:

  • Books
  • Paper
  • Scissors
  • Tape
  • Measuring tape
  • Level
  • Pencil
  • L Brackets
  • Screws
  • Anchors
  • Clamps
  • Drill

1. First, make paper cutouts of your books, write the book colors on them and hang them on the wall re-arranging them until you are happy.

2. Next measure so they will be evenly spaced and hold the brackets where you will want your books and mark where the holes need to be with your pencil. Drill the holes and place anchors so the screws won’t pull out of the dry wall. Now, screw the L brackets in place.

3. Next, screw the books on to the brackets. We decided to use clamps to hold the books closed tighter so the screws would grab more of the pages and make them more secure.

4. Place your decor and you’re done!

I will have a dino on each book I just need to put the rest together. They are just wood puzzles I got at Harbor Freight for $1 each, but they are perfect for what I wanted!


Now we would love to see your take on shelves!! Head over to the Point of View linky party over on Just Between Friends and you may be featured on one of the Point of View contributors sites.

Linking up with:
Design Dazzle

P.S. Don’t forget to sign up for free Tipsy updates via RSS or email.

We have decided to truncate our feed to help protect against stolen content. I apologize for any inconvenience. Please love us anyway. ๐Ÿ™‚

DIY Under $5: Dice

June 15, 2011 By Michelle Barneck 4 Comments

I am in the process of re-decorating our game/playroom. You saw my giant dominos and what better way to complete the set than with some larger than life dice to go along!


Dice

I found these foam dice a while back and loved that they were huge, but they were not exactly the bold color I needed for my new scheme.

I enhanced the white dots with my craft paint, mod podged over each size to seal the foam and added garage sale dot stickers for the numbers.

Then, I pulled out my new secret weapon Krylon Dual Paint (paint and primer in one) in Semi-gloss Cherry Red and gave each side of the dice a few coats until it was the color I wanted.

Now my great big dice are happy red and ready to style up our game room.

Aren’t they so fun next to the little dice?

Total cost:
Dice: $2.50
Paint: free for a review (you’ll see more of it soon)
Craft paint, mod podge, stickers: on hand

Now it’s time to link up your $5 projects!

Please remember:

  • Only link to your own projects that cost you $5 or less (price does not have to include items you had on hand)
  • You can link past projects that fit the dollar limit, but please only link each project one time
  • No giveaways or items for sale
  • Please link back so others can join the party and so you have the opportunity to be featured on Saturday!

DIY under $5

P.S. Don’t forget to sign up for free Tipsy updates via RSS or email.

We have decided to truncate our feed to help protect against stolen content. I apologize for any inconvenience. Please love us anyway. ๐Ÿ™‚

10 Tips for Allergy Friendly Decorating

June 7, 2011 By Michelle Barneck 2 Comments

I wrote this post while participating in a blog tour conducted by Clever Girls Collective on behalf of Claritinยฎ. I have been compensated for my time commitment to the program.

I have allergies. I have had ever since I can remember. When spring comes and things start to look pretty my congestion gets ugly. My mom says I had a runny nose since birth. Lovely, I know. Allergies are the pits. Lucky for us there are ways to help control the sniffle, sneeze, head exploding joy by making some alterations in our home decor. Cool right?! Here are ten tips on how to make your home decor work for you and your (or your family’s) allergies.

10 Tips for Allergy Friendly Decorating
  • Keep clutter free and easy to dust or rotate frequently so things aren’t sitting. I love to rotate my living room decor based on season so this help eliminate things collecting dust.

  • Buy allergy friendly indoor plants. Here’s a great list of allergy friendly indoor plants and believe it or not many of them are beautiful and colorful!
  • Use fake flowers and greenery. I would never be able to have fresh lilacs in the house, but I love how the silk version looks in this pitcher aside my cherry blossom branch!
  • Leather couches instead of cloth are easier to wipe down. Admittedly, my couches are microfiber, but they are second best for wipe down purposes especially when scotch guarded.
  • Use washable bedding and wash in hot often. My son has an organic allergy friendly mattress pad and comforter from Natura that have been great!
  • Hang easy to wipe blinds instead of drapes that collect dust
  • Have a chest to store toys that are not in use so they don’t sit and collect dust. I like this one that is simple, but has a little something special in that it resembles a treasure chest.
  • Use washable rugs so you can toss them in the washing machine as needed
  • Paint over wallpaper collects less dust on the walls
  • Use tile or wood on floors instead of carpet that collects dust and germs. I have a lot of carpet, but I have it cleaned with the changes of the seasons and vacuum with a HEPA filter.

As you can see the theme here is pretty much stay dust free. That is the key to keeping your indoor allergies in check.

For more tips on relieving allergies visit www.Facebook.com/Claritin. I was selected for this sponsorship by the Clever Girls Collective, which endorses Blog With Integrity, as I do.

P.S. Don’t forget to sign up for free Tipsy updates via RSS or email.

We have decided to truncate our feed to help protect against stolen content. I apologize for any inconvenience. Please love us anyway. ๐Ÿ™‚
« Previous Page
Next Page »

  • Bloglovin
  • Facebook
  • Google+
  • Instagram
  • Pinterest
  • RSS
  • Twitter

Hi there! I'm Michelle. Mother of three little boys and one little princess. Welcome to A Little Tipsy, a place for exploring creativity and sharing inspiration.

Follow on Bloglovin


Visit Michelle Barneck {A Little Tipsy}'s profile on Pinterest.

Tutorials by Category


15 Family Reunion Games

Family Reunion Games Collage

15 Sprinkle Party Ideas

Sprinkle Birthday Party
Creative Commons License

© Copyright 2014 A Little Tipsy · Site Designed by The Fairy Blogmother · Web Hosting by RFE Hosting

This website uses cookies to improve your experience. We'll assume you're ok with this, but you can opt-out if you wish.Accept Read More
Privacy & Cookies Policy