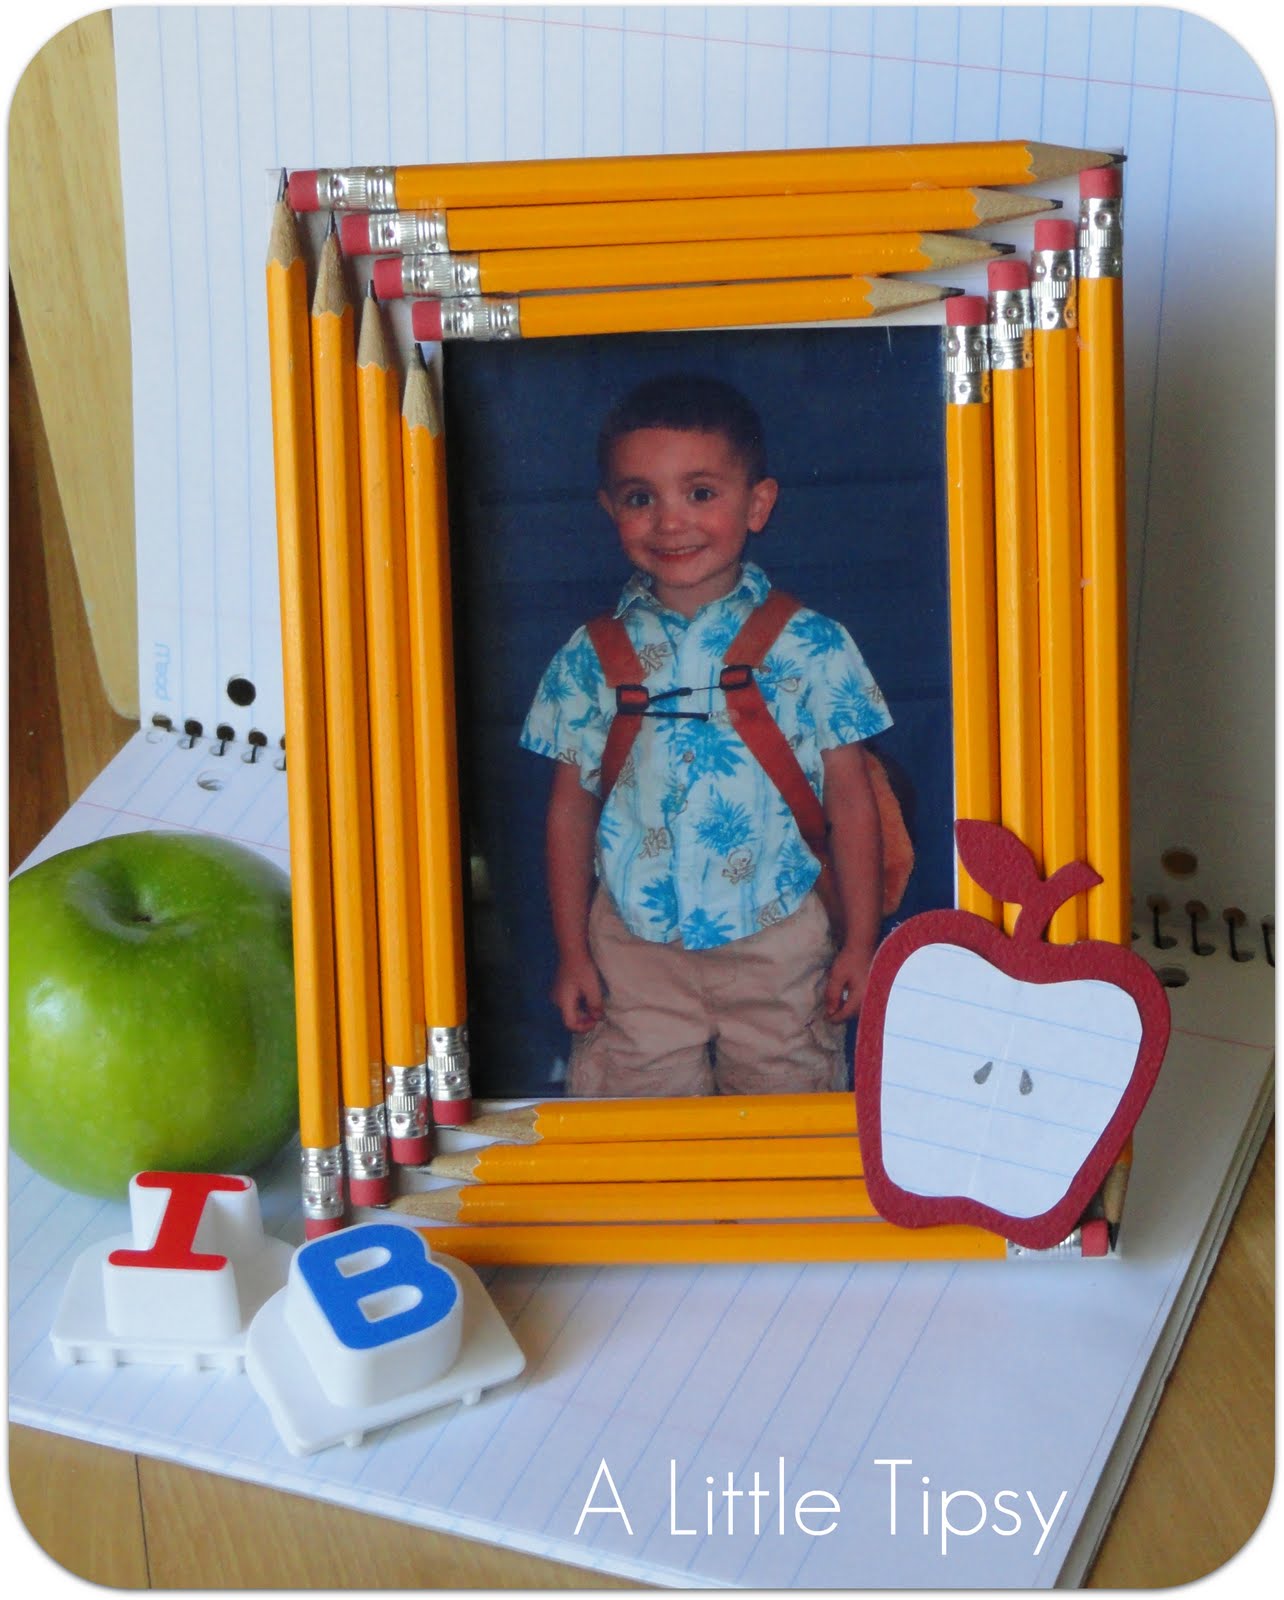
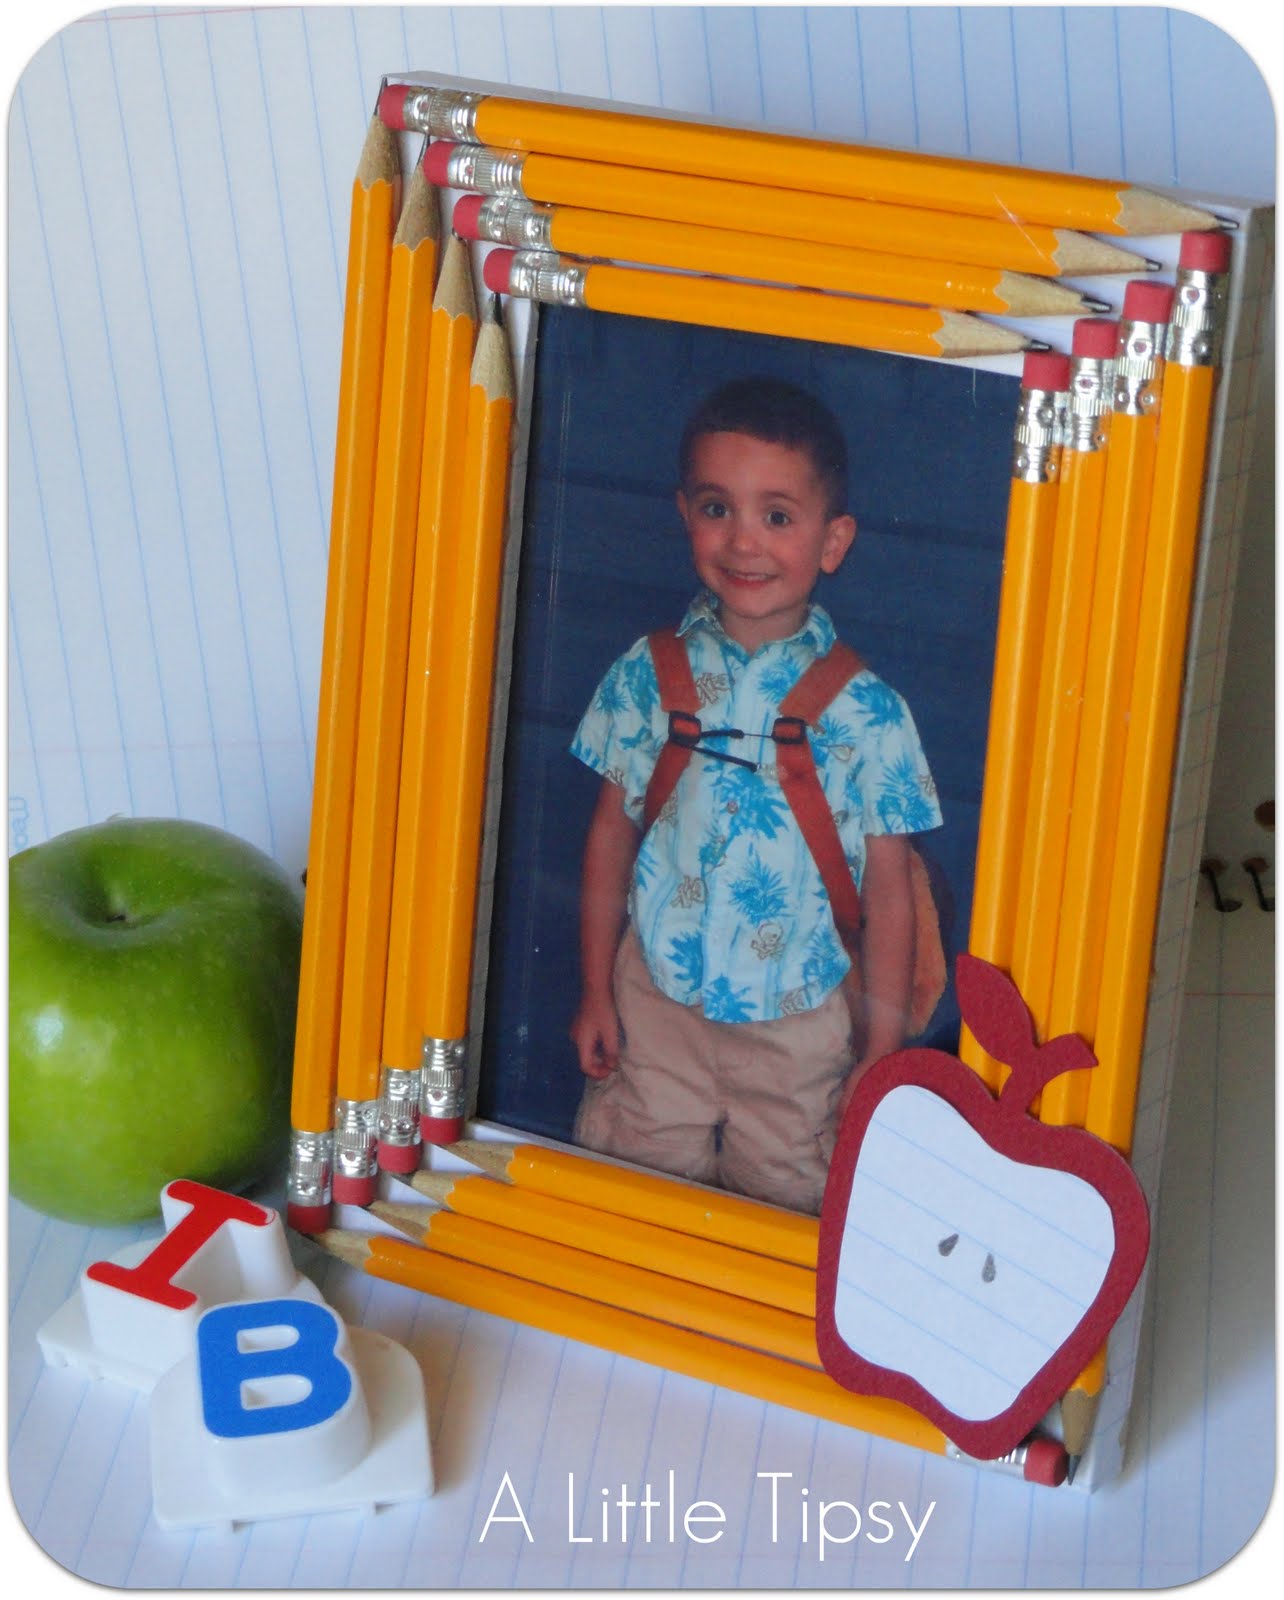
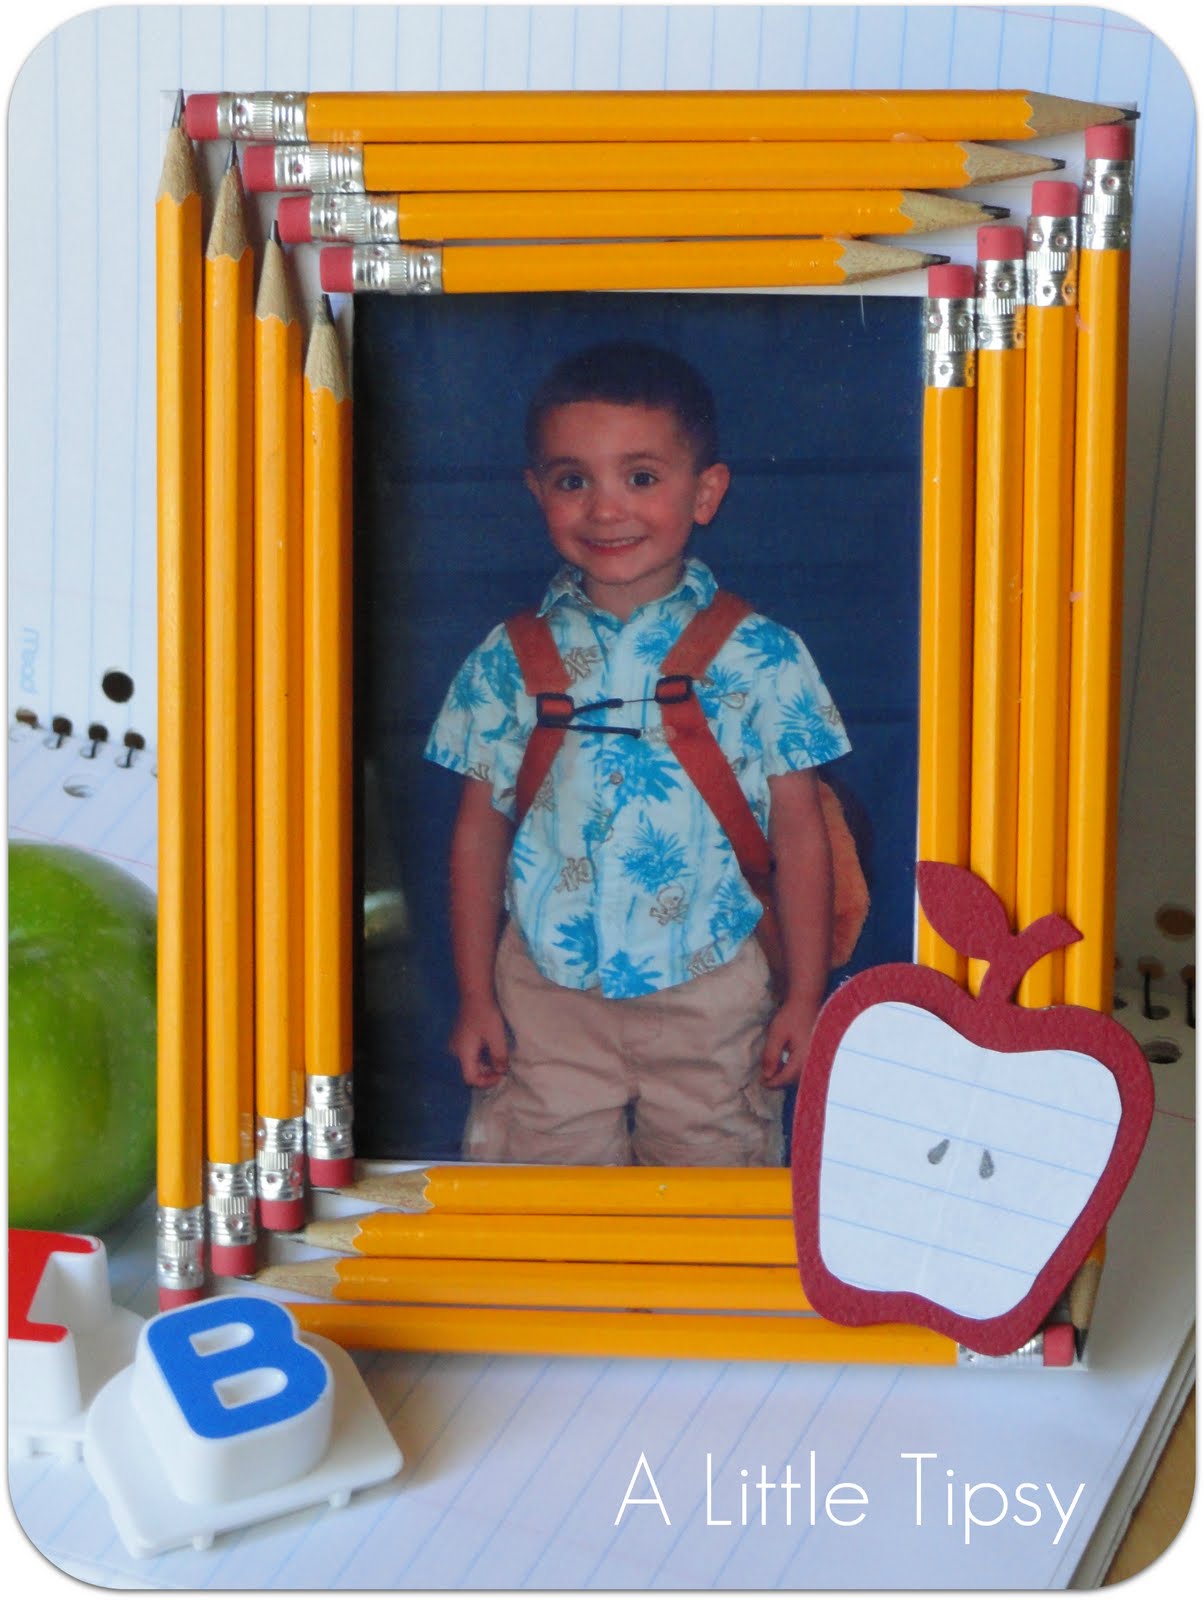
I’m kinda liking the whole school theme. My little guy is loving preschool and I want to reinforce that any way I can. When making my Back to School frame I got the idea to make a ruler frame to go along.
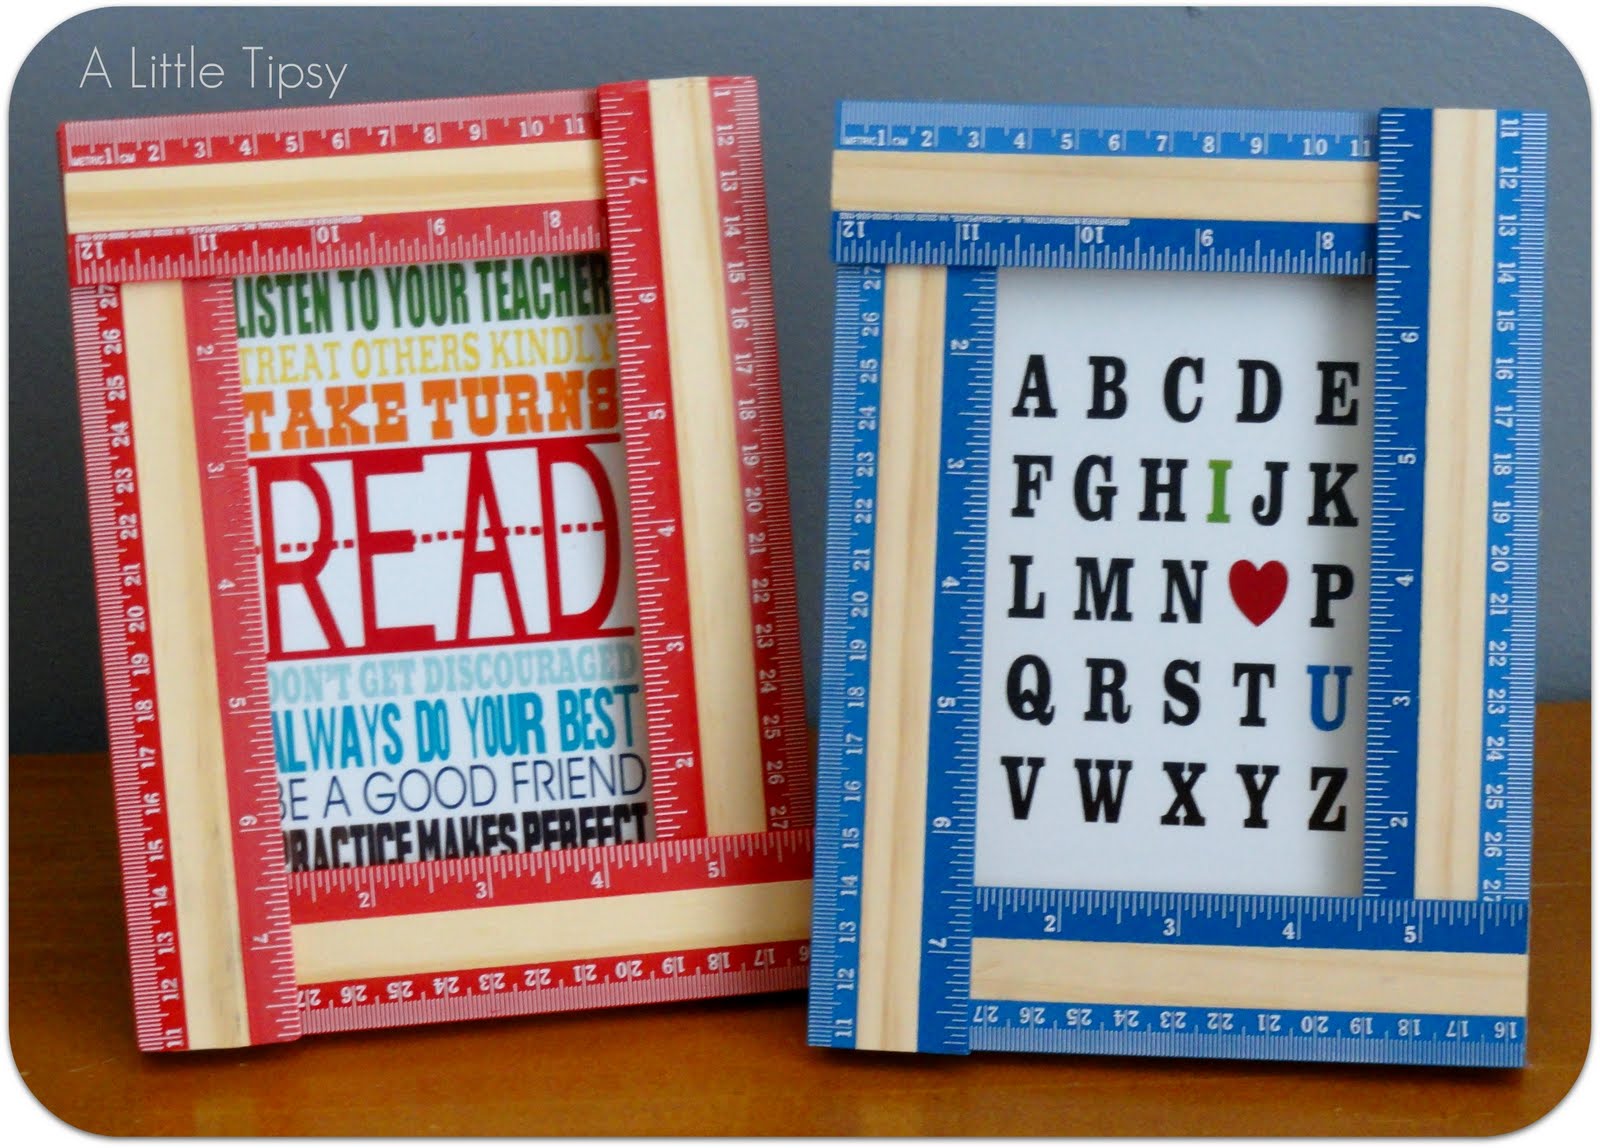
Making a ruler frame was pretty much as easy as I thought and I love how they turned out, very academic. 😉
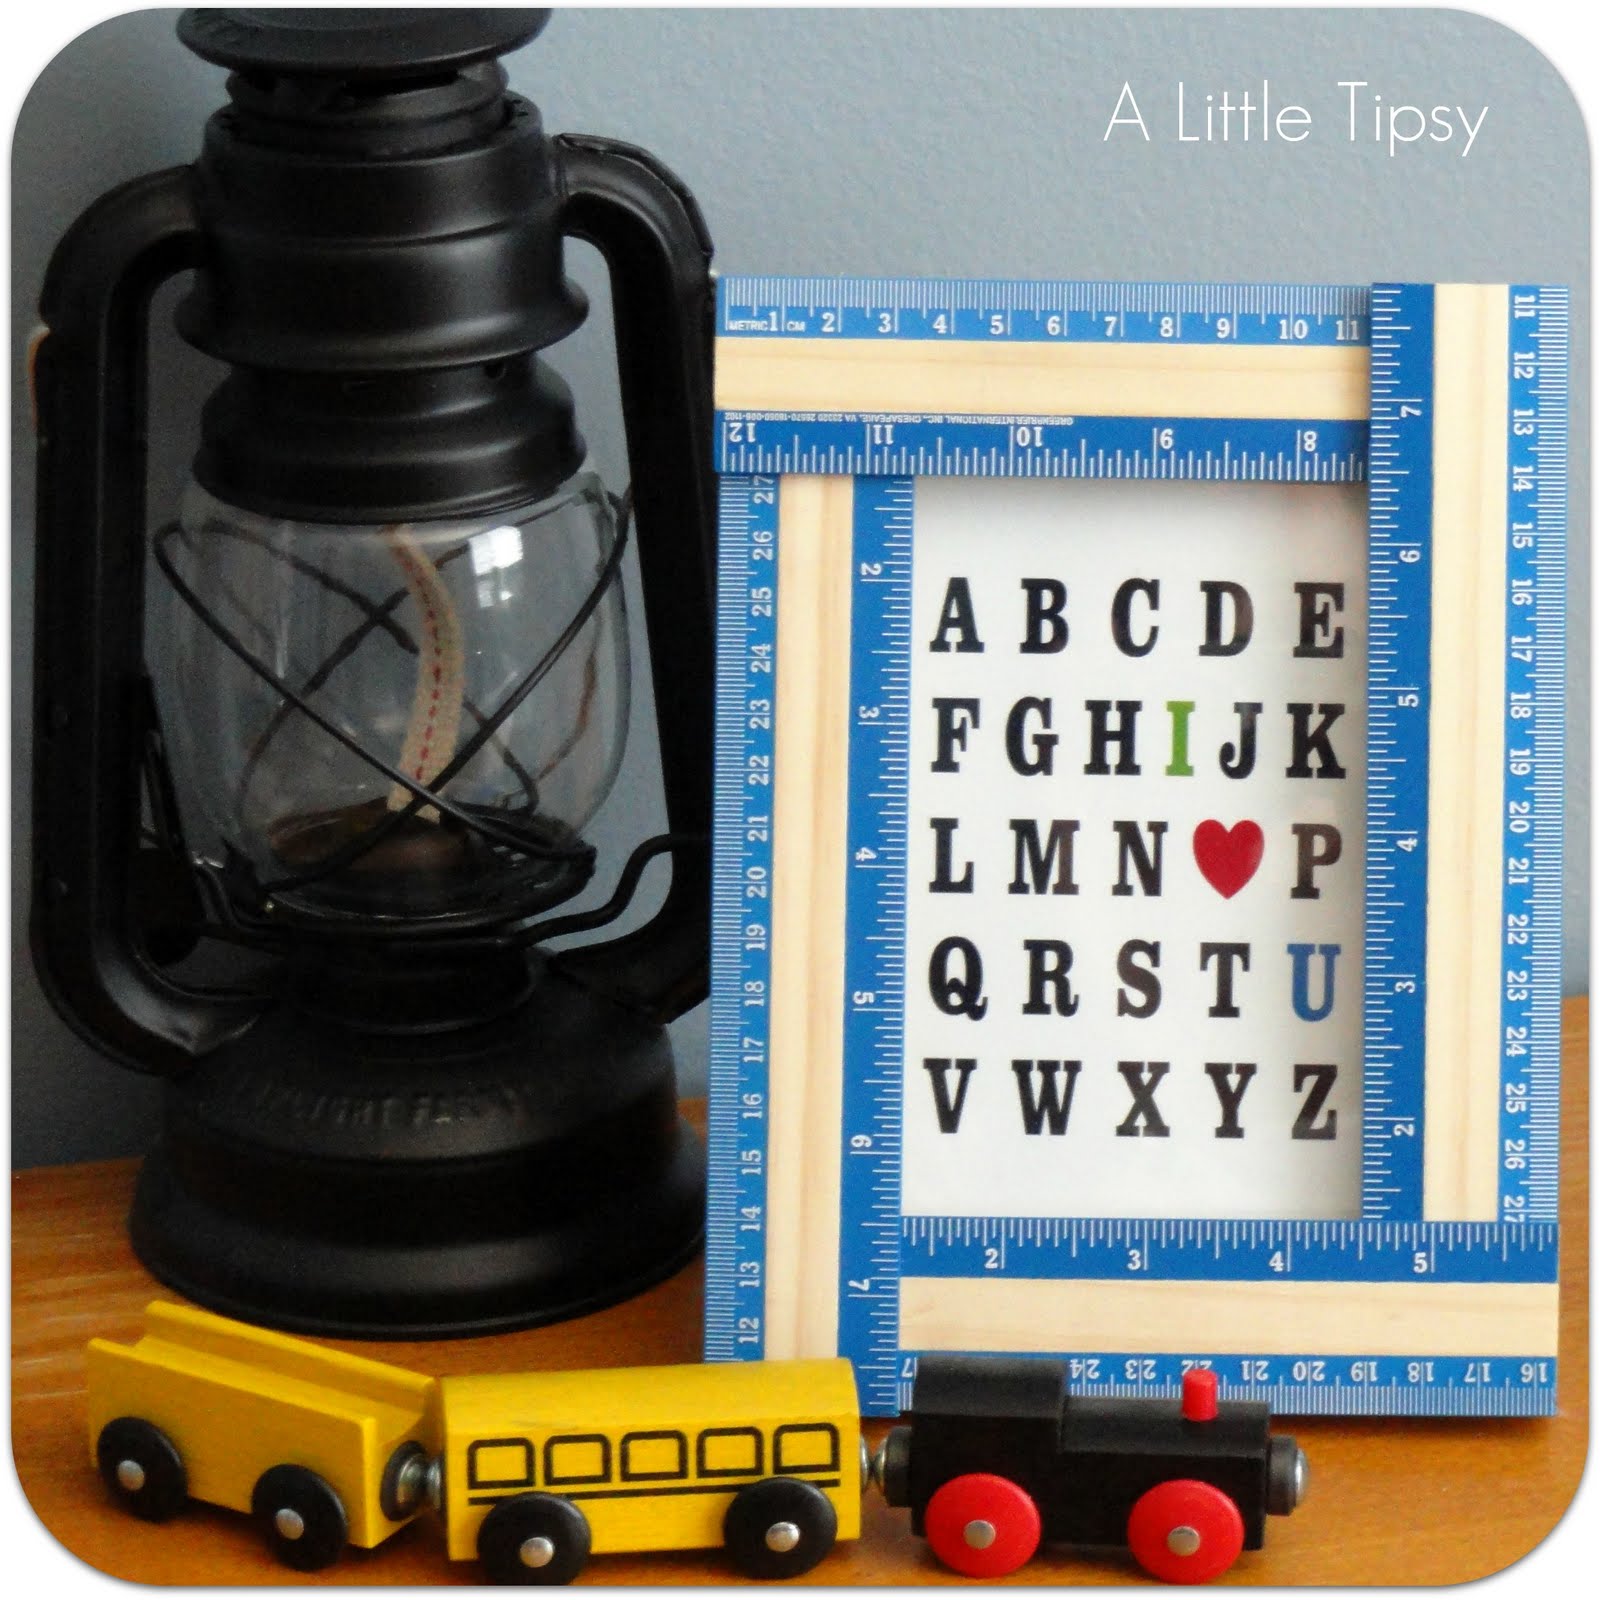
Ruler Frame
Supplies:
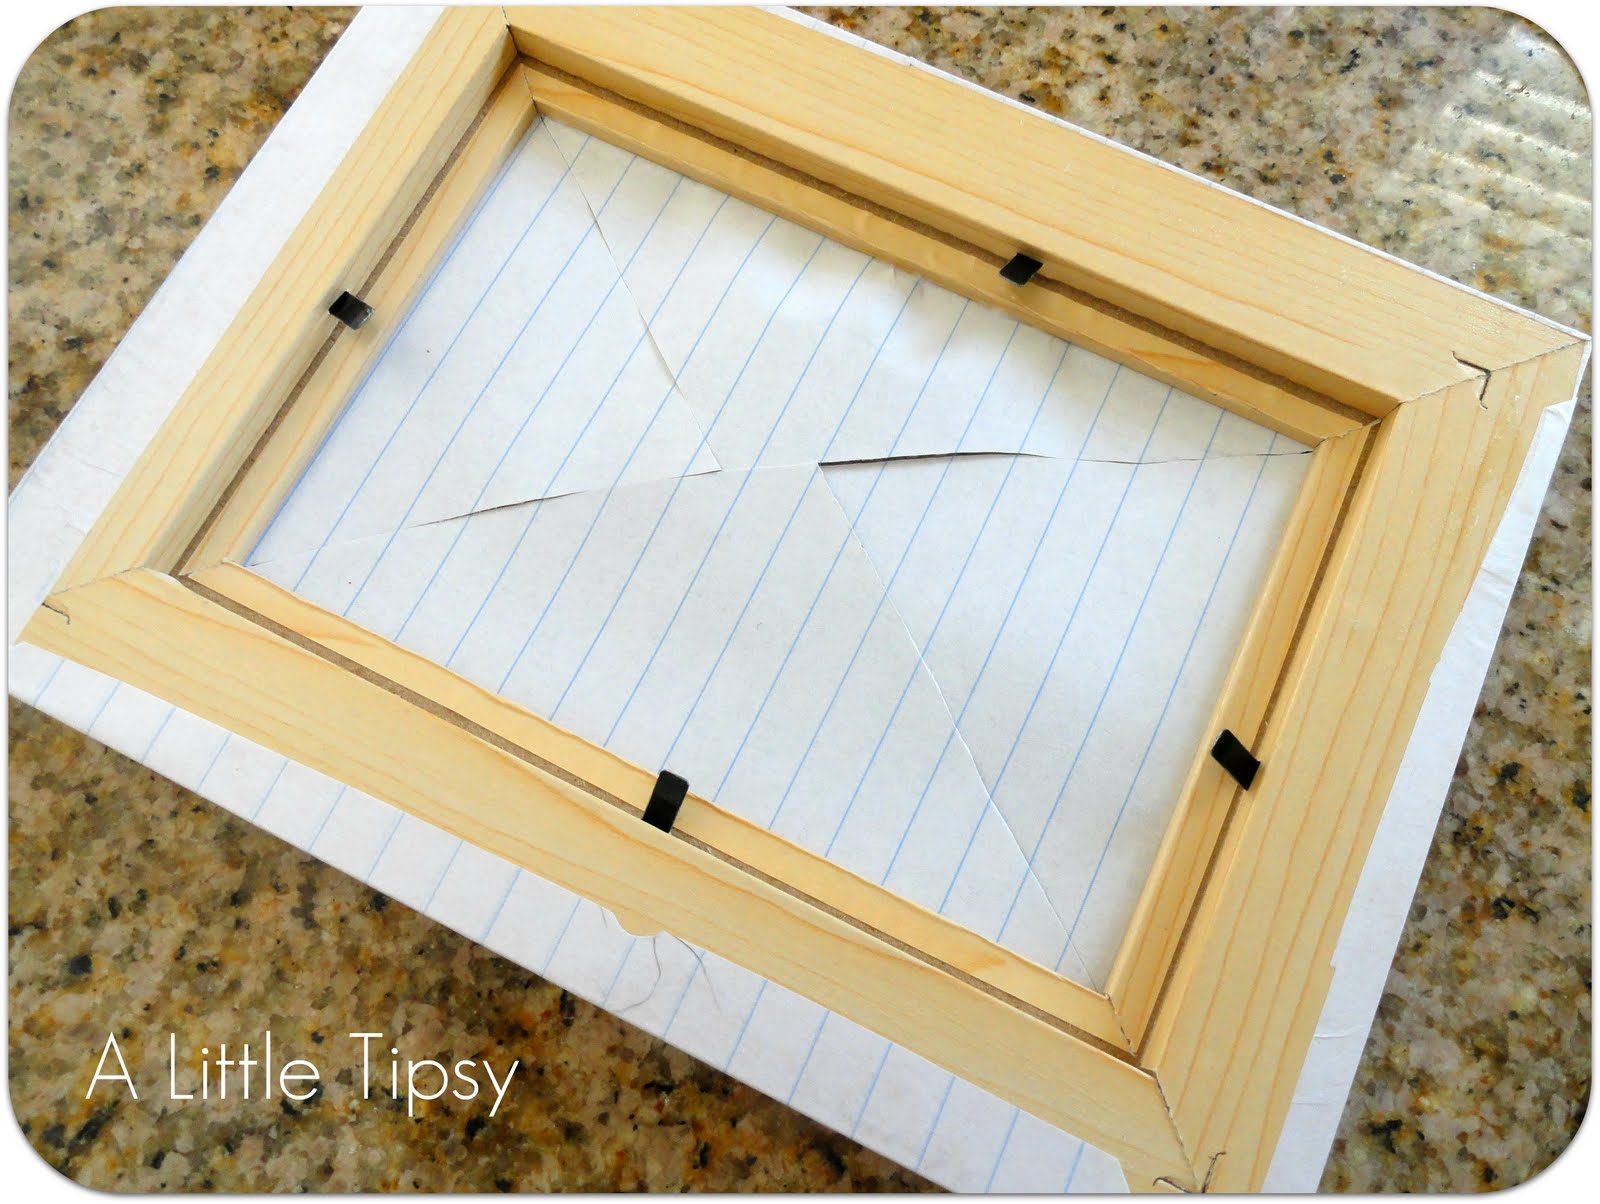
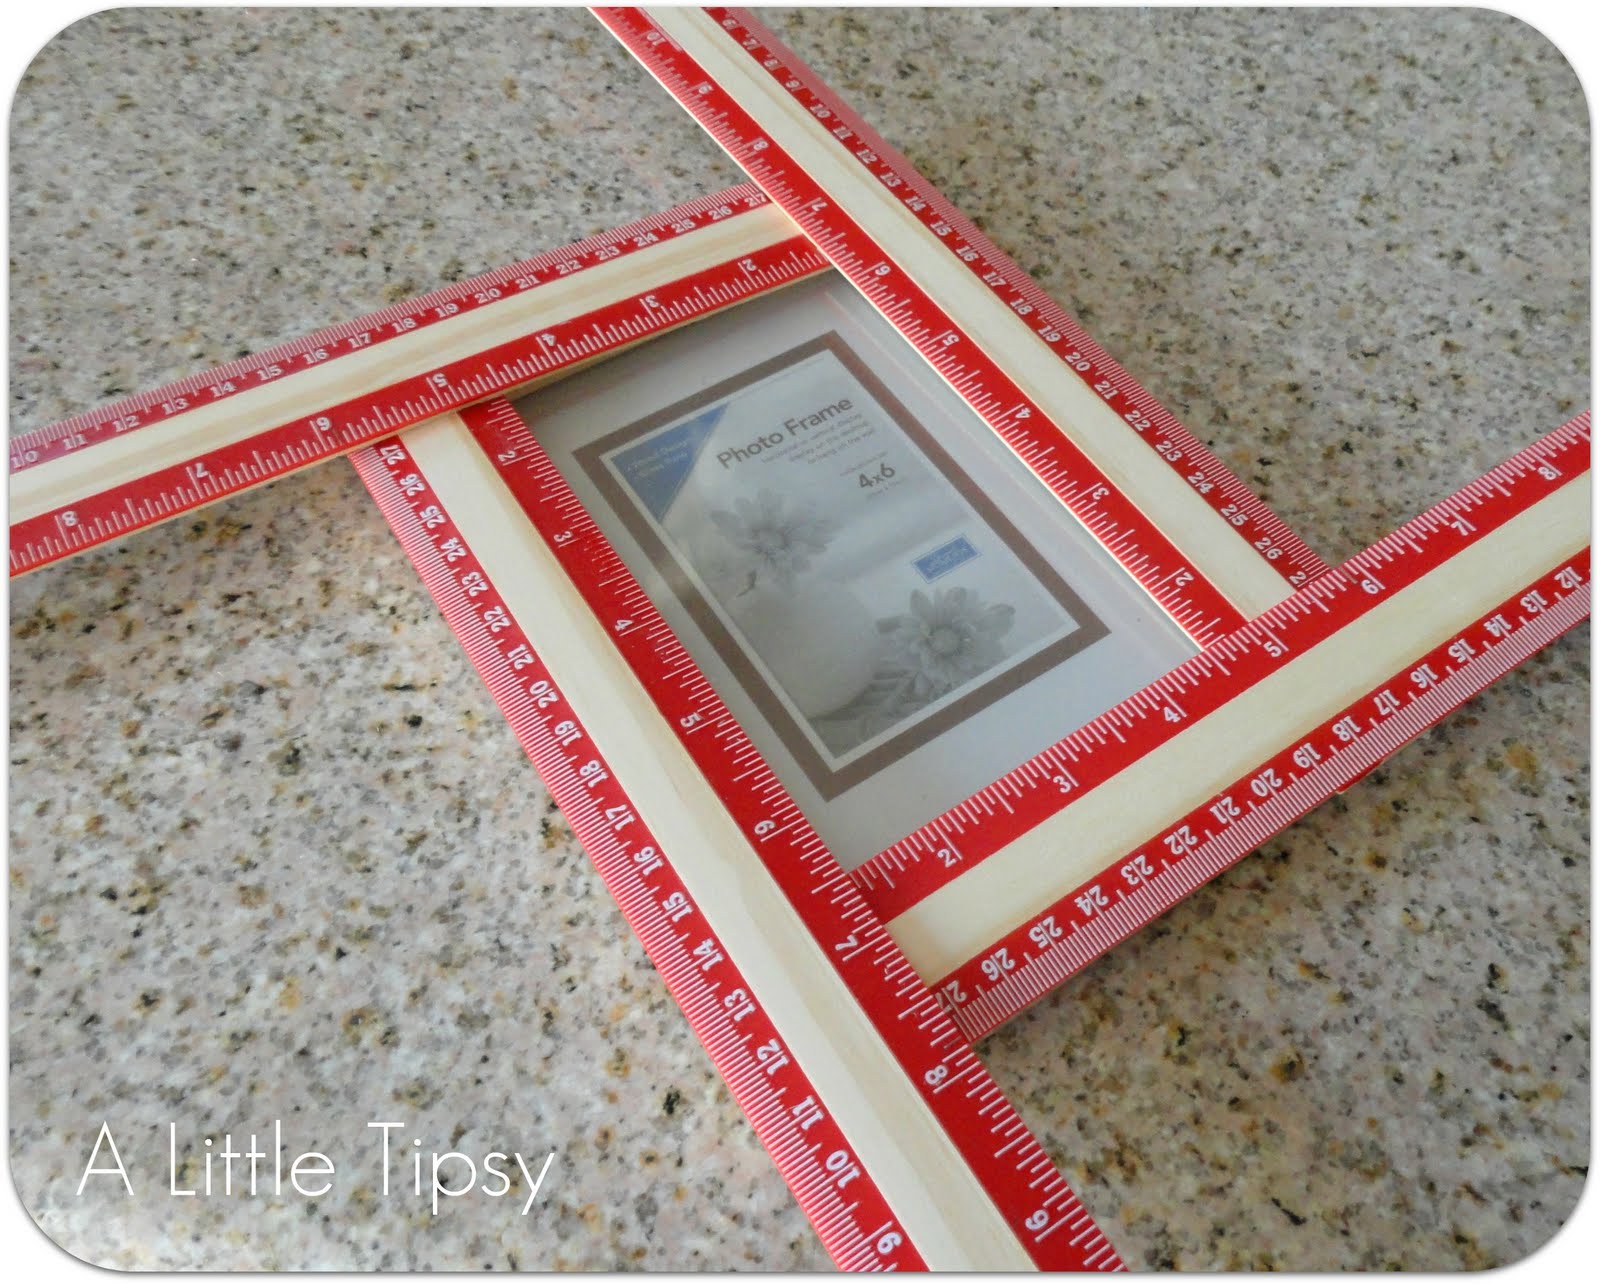
- 4×6 frame
- 4 wood or partially wood rulers
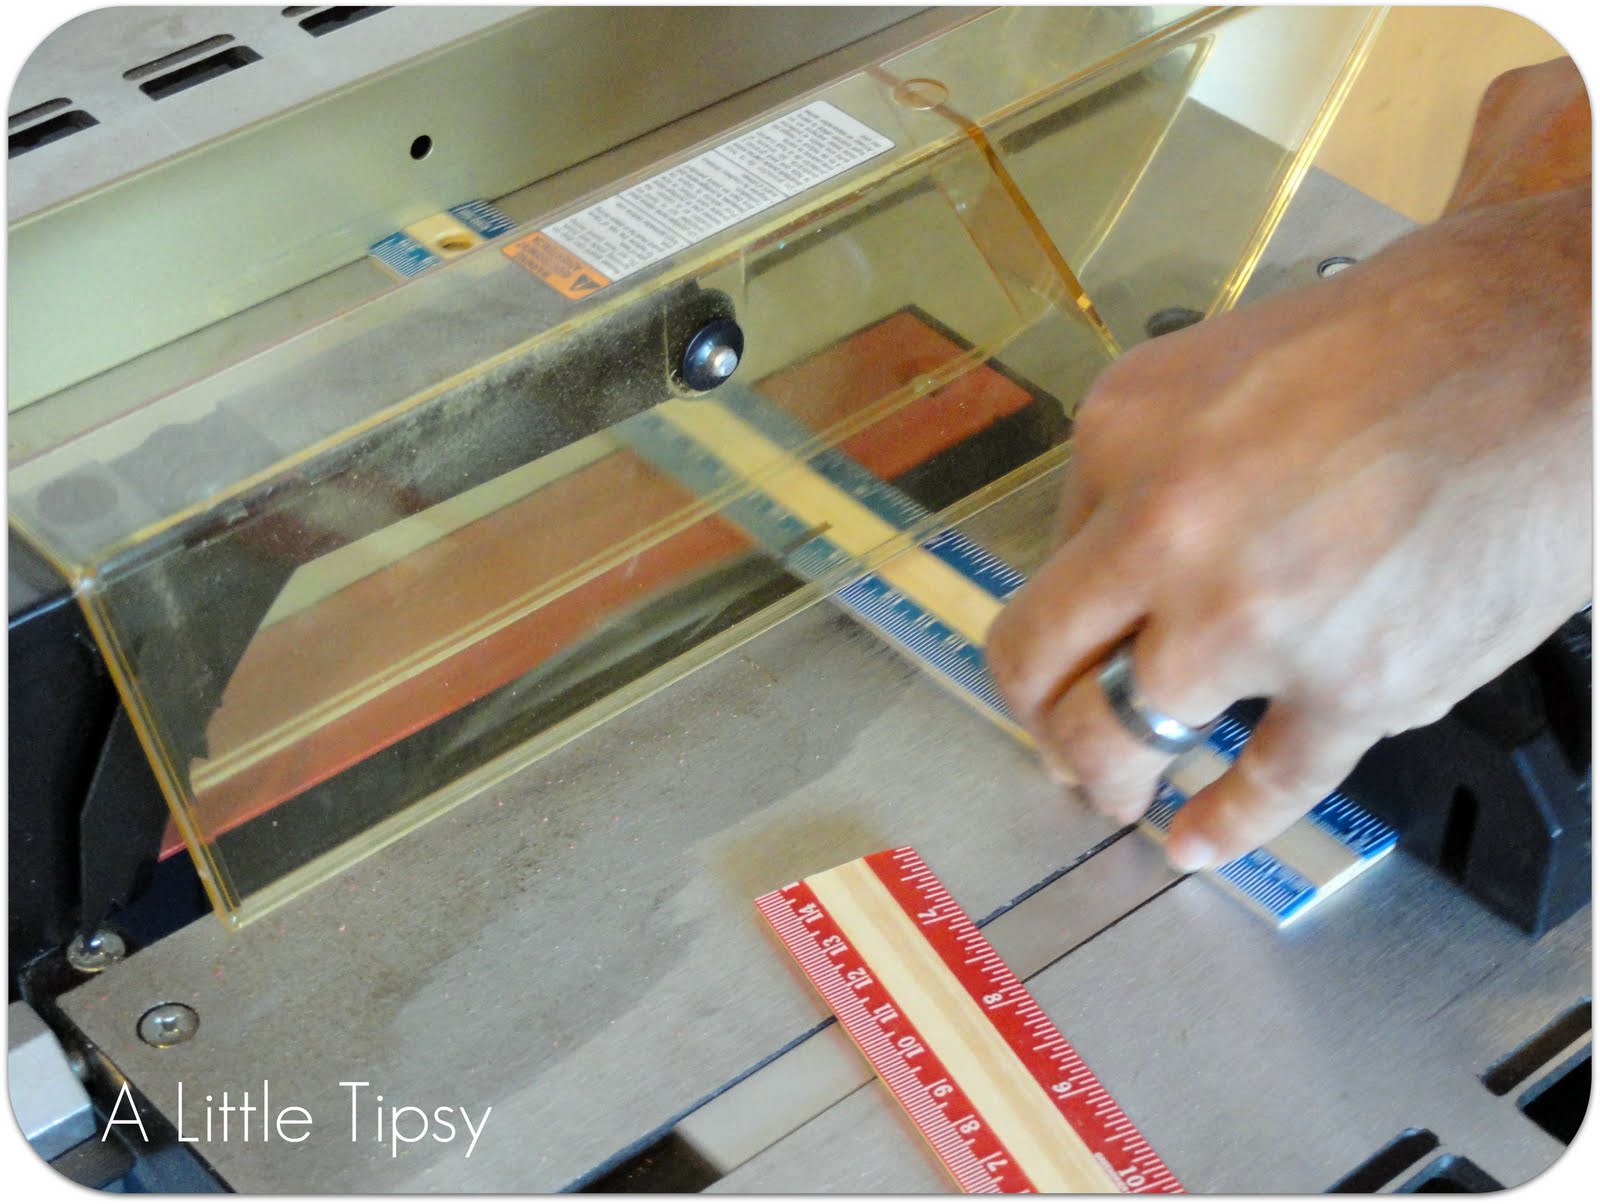
- Table saw
- Hot glue

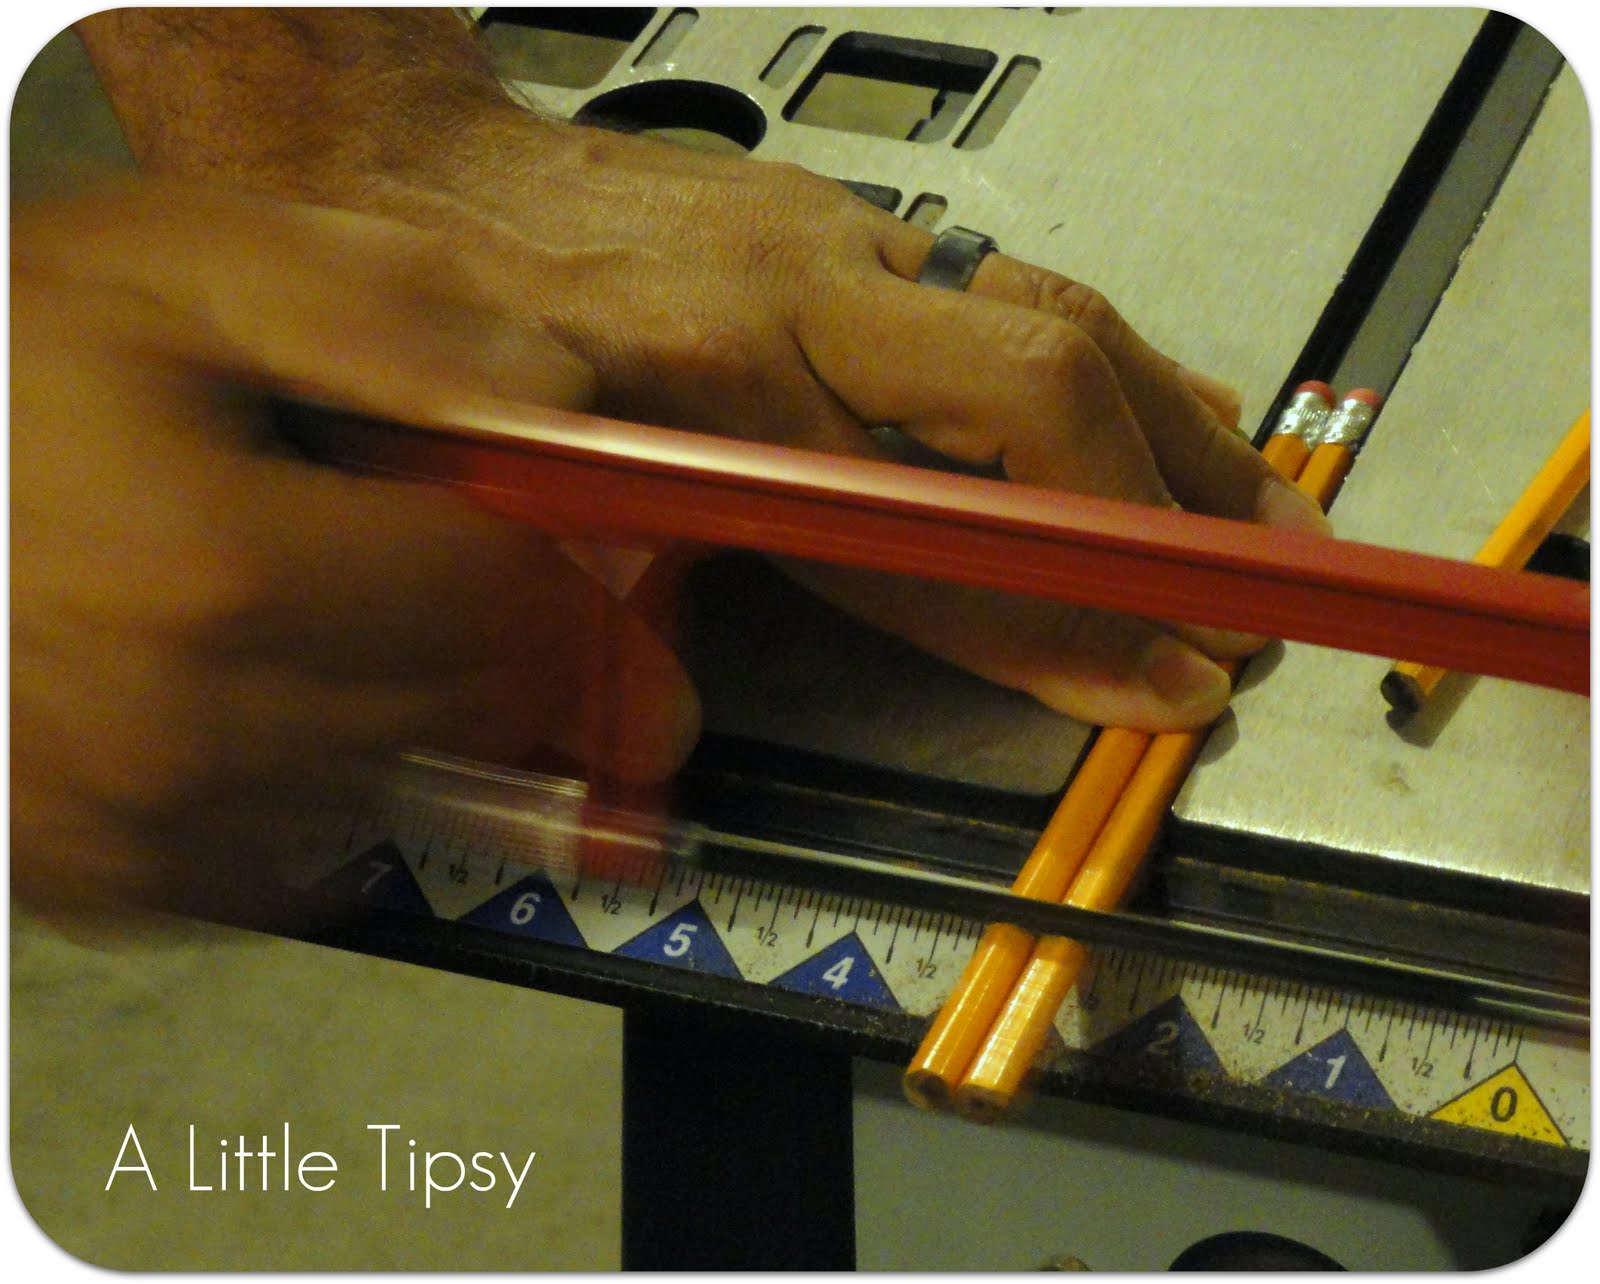
1. Lay your rulers on your frame. I liked one end under and one end over. Mark with a pencil where to make your cuts so they fit on the frame just right.
2. CAREFULLY cut your rulers with the table saw. Be sure to account for the width of the blade when cutting. I had to leave an extra 1/8th inch. If you don’t have a table saw you can use a hack saw. I did my first two like this, but it took forever.
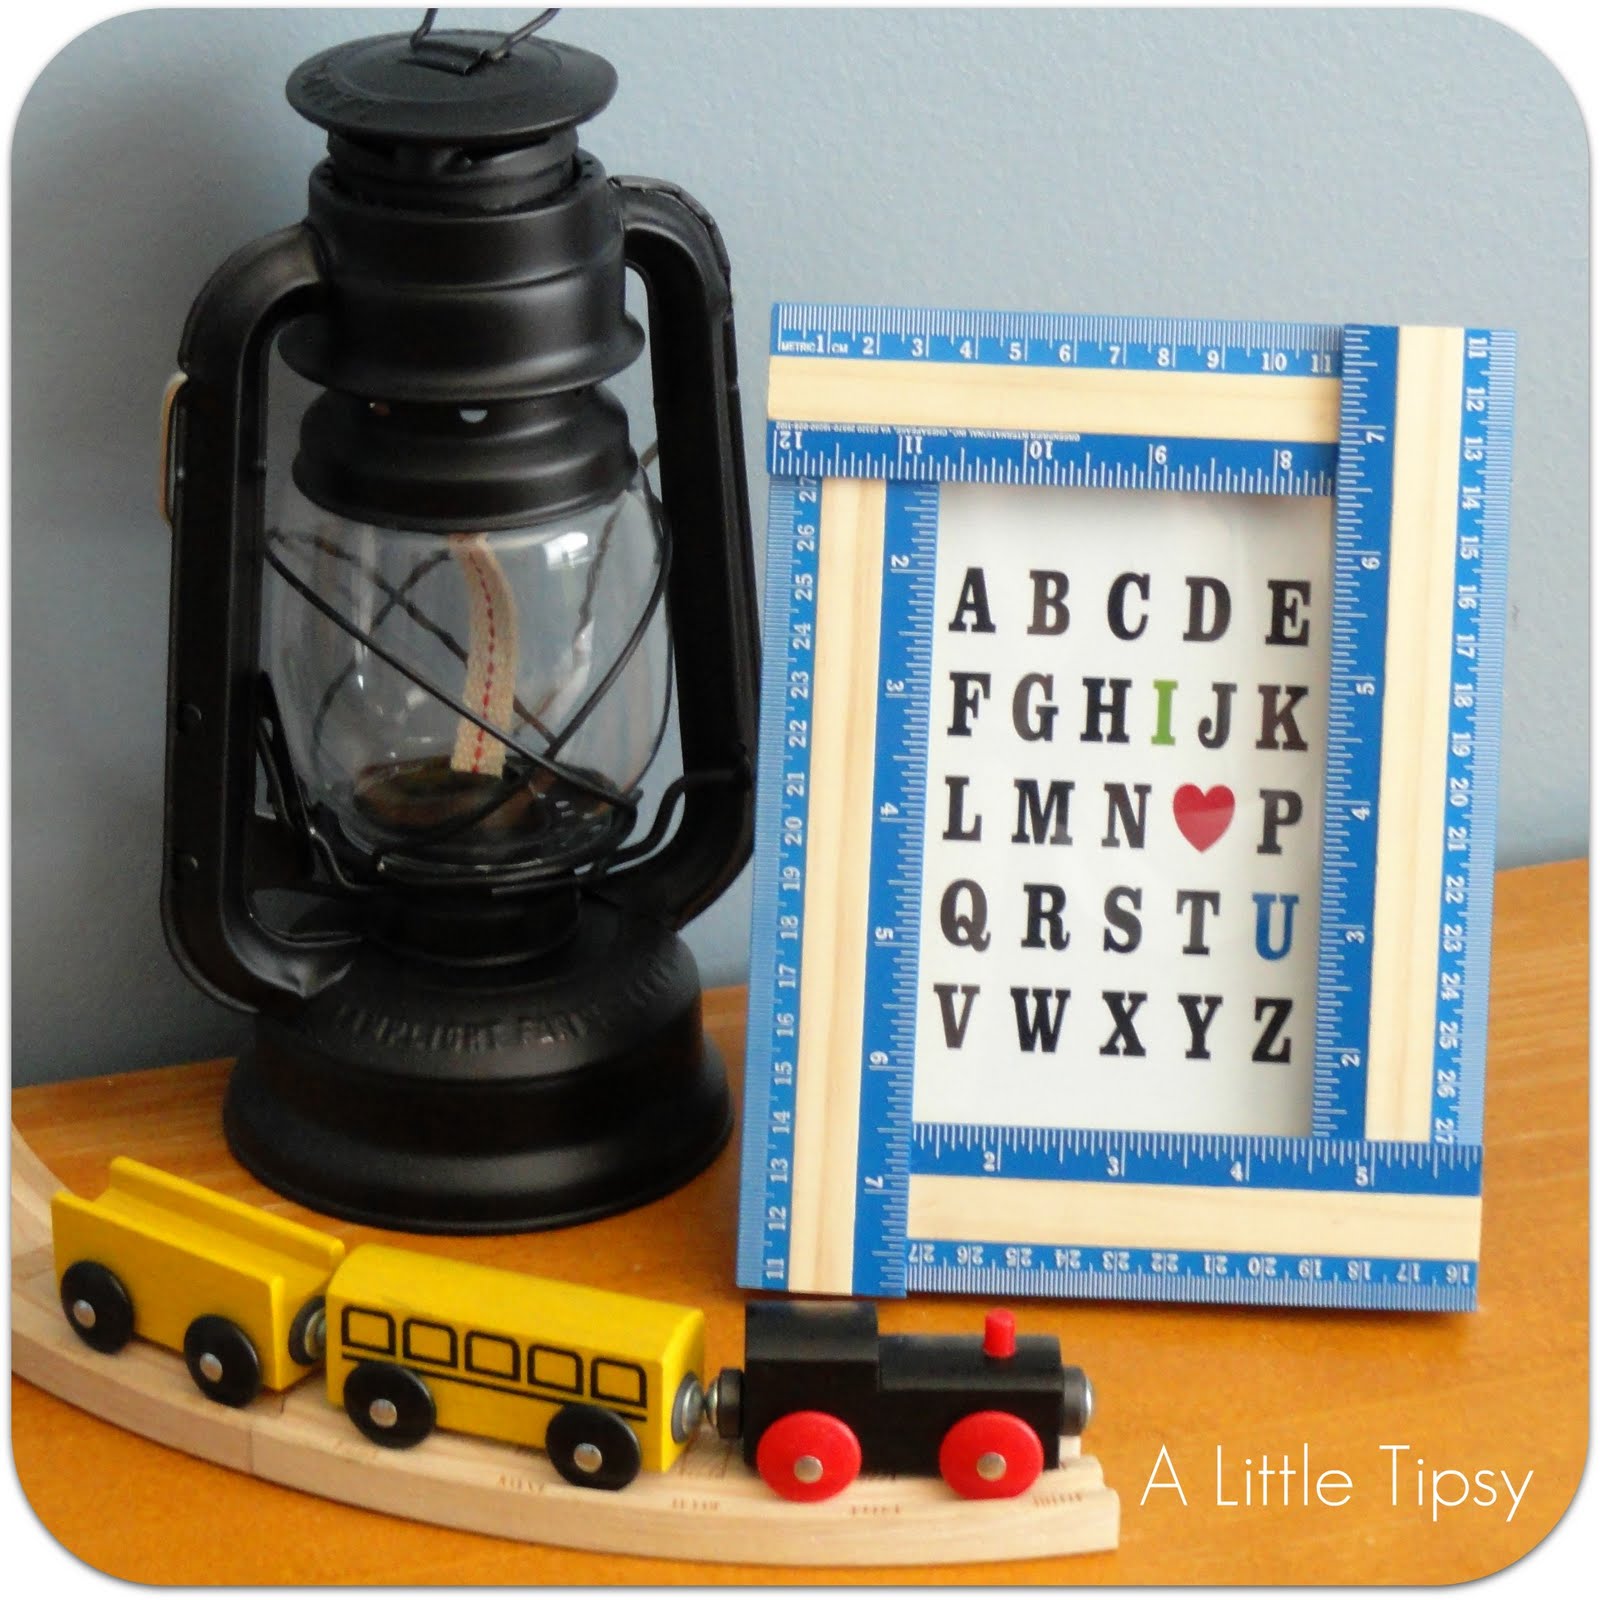
3. Lay your rulers back on your frame to make sure they fit right. Then hot glue to frame by putting a line of glue across the end of the ruler that goes under and another line of glue about an inch in from the “over” end so it will touch the ruler under it.

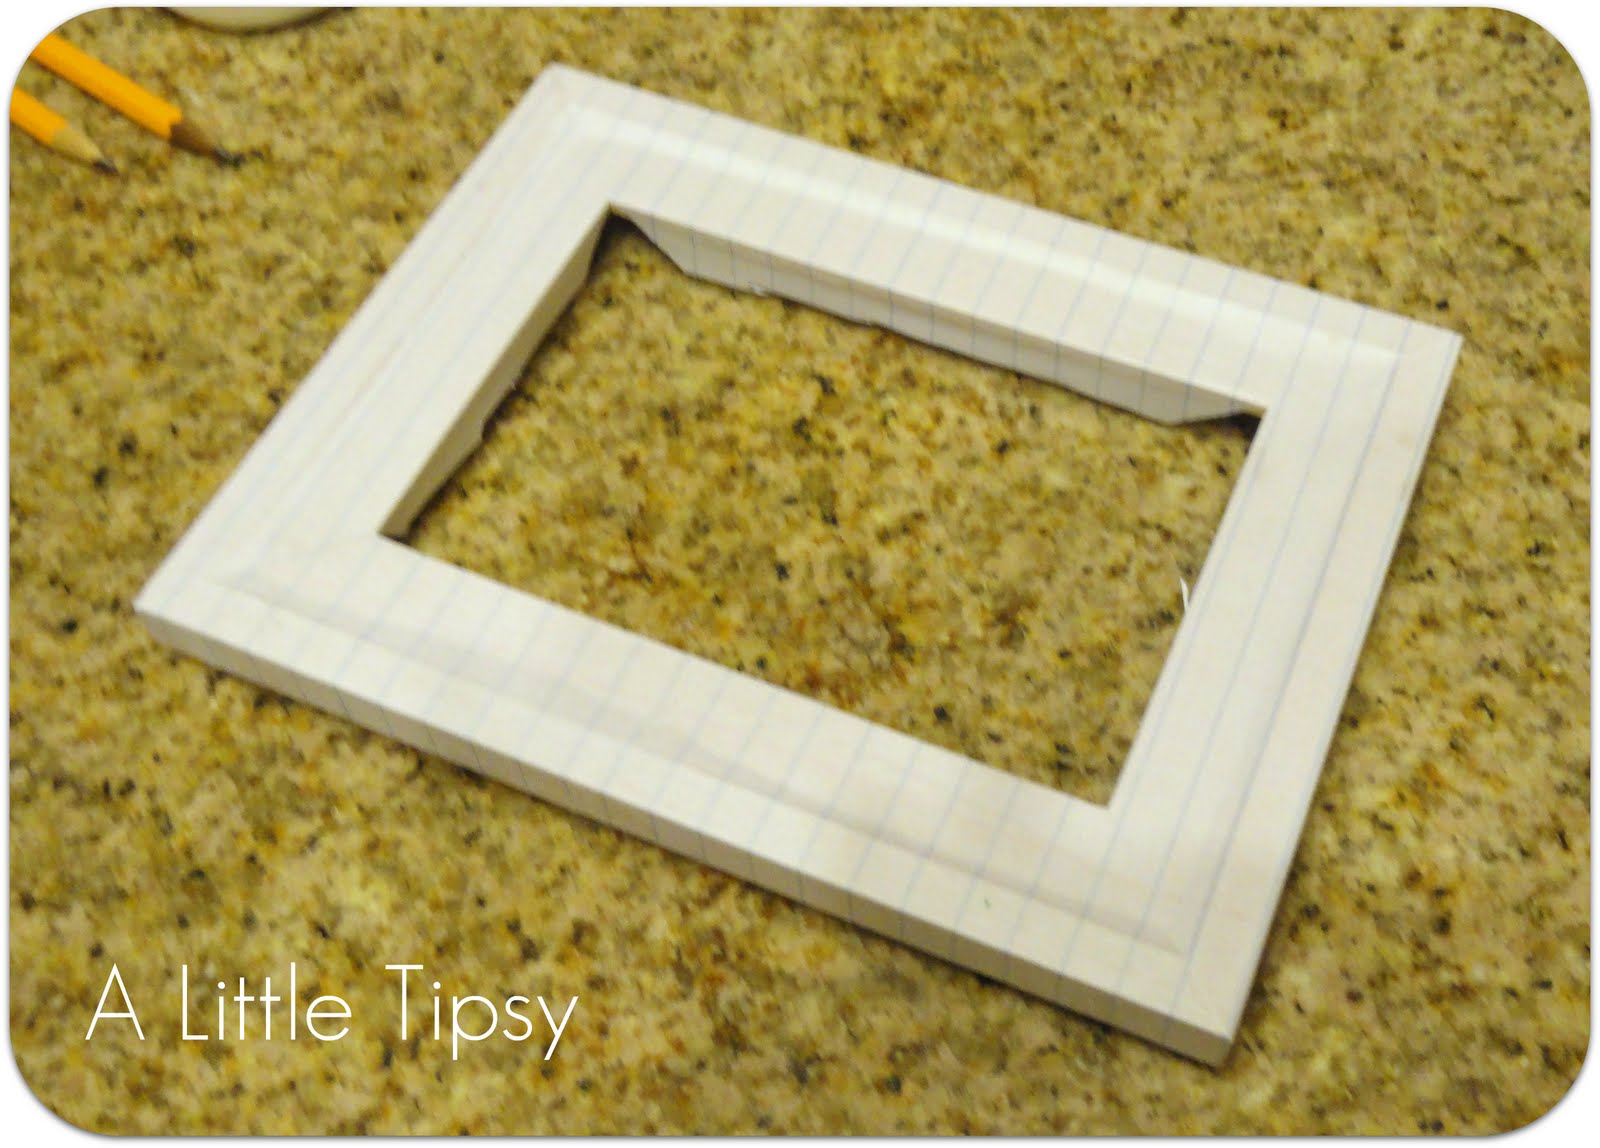
Simple as pie. The kind made with pre-made crust and pudding.

Super cute on their own, but add a printable from the talented girls at Eighteen25 and Sprik Space and it totally makes them!

Total cost: $3 per frame
Frame: $1
Rulers: $2 (2 for $1, used 4)
Printables: FREE
Everything else on hand
Now it’s time to link up your $5 projects!
Please remember:
- Only link to your own projects that cost you $5 or less (price does not have to include items you had on hand)
- You can link past projects that fit the dollar limit, but please only link each project one time to one DIY Under $5 party. Do not link the same project week after week.
- No linking giveaways or items for sale
- Please link back so others can join the party and so you have the opportunity to be featured on Saturday!


Linking up wtih:
Look What I Made
Whatever Goes Wednesday
Topsy Turvy Tuesday
Design Dazzle
The Idea Room
P.S. Don’t forget to sign up for free Tipsy updates via RSS or email.