Tie Dye brings back lots of memories like demolition derbies, girls camp, and my brother in-law when we first met him. I was excited when I was asked to try out Tulip Tie Dye not only because we had a past, but because I like a challenge and wanted to see what I could create using tie dye besides the traditional t-shirt. Ok, so I did start with an old stained t-shirt, but I came up with these coordinating Mom and tot tie dye accessories.
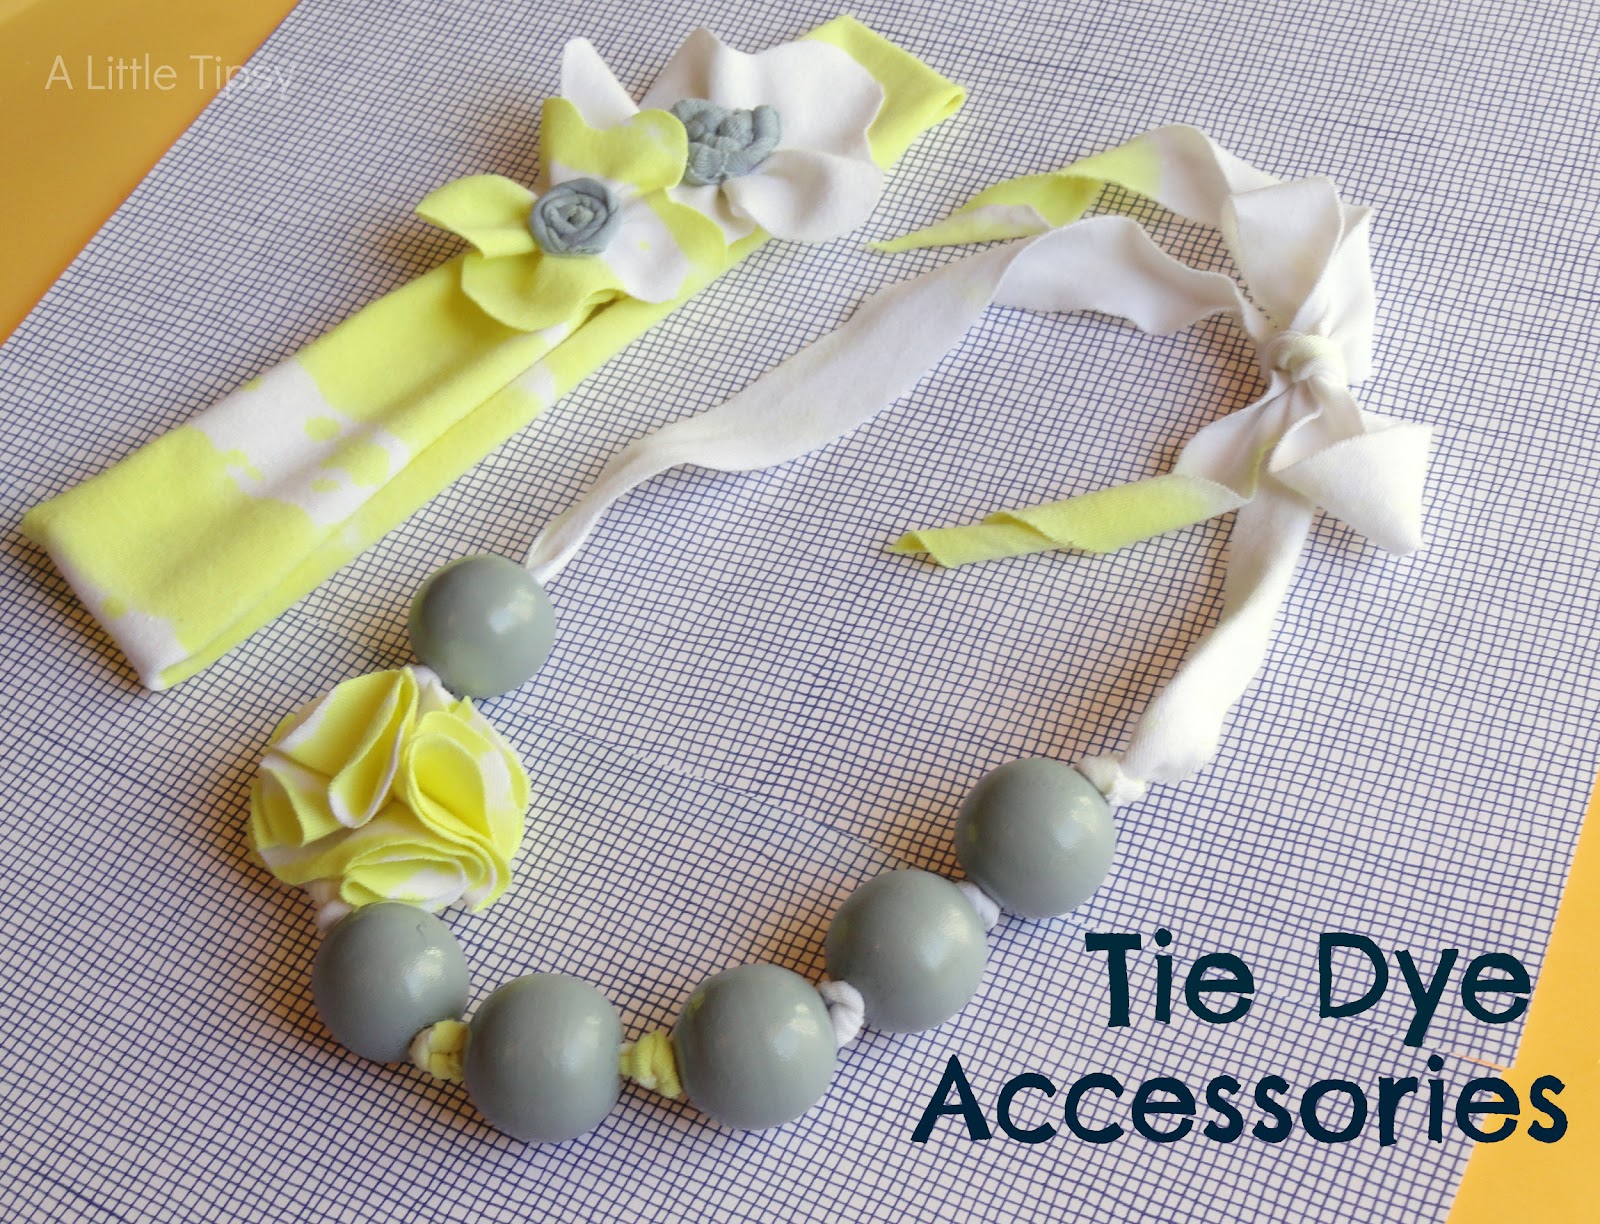
Necklace inspired by I Heart Naptime
I had no idea why in the world I was making matching accessories. I have no daughter nor do any of my little nieces really wear cutesy headbands. Later, I found out an adorable family whom I adore was going through a big trial and could use a little sunshine in their life. Things happen for a reason I believe.
Ready for a little how to?
SUPPLIES:
Tulip Tie Dye Kit Including:
-Tie Dye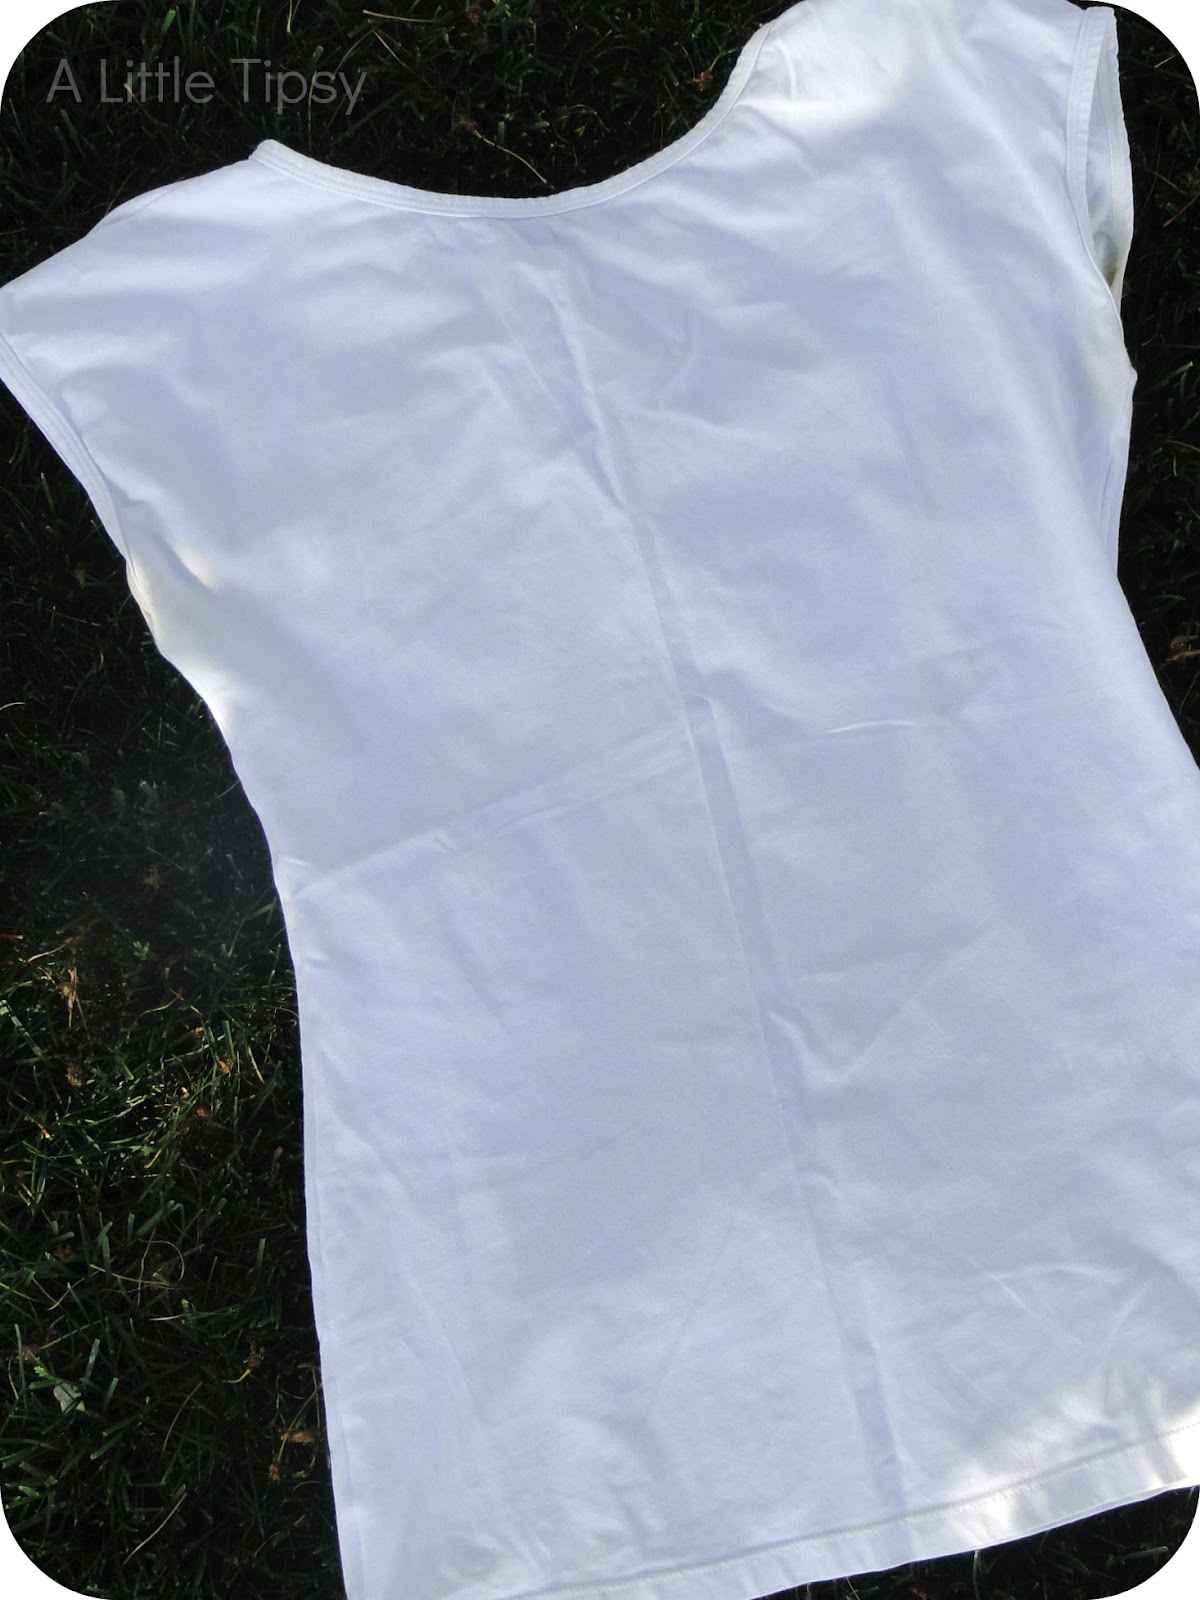 -Squirt bottles
-Gloves
-Surface cover
- Pre-washed white t-shirt (mine was 95% cotton, 5% spandex so it was nice and smooth with a bit of elasticity and also does not roll as much when stretched)
- Fabric scissors
- Big wood beads
- Gray spray paint
- Needle
- Thread
- Felt
- Hot Glue Gun
DIRECTIONS:
1. Lay out your surface cover and pre-washed shirt. Wearing your gloves mix up yellow and black dye. I did a black ombre shirt before this, so you can either use the dye for something else until you have about 1/4 of the black left and then fill the bottle with water to dilute to gray or just use less dye powder and more water to begin.
2. Use the squirt bottle to dye the top of the shirt with the gray using a sweeping side to side motion until covered completely to about 4 inches down. Then dye with yellow using the sweeping motion, but leave about 1.5 inches between stripes. Do not oversoak with yellow. You want the back to remain mostly white. Let dry for at least 6 hours. I let mine dry completely.
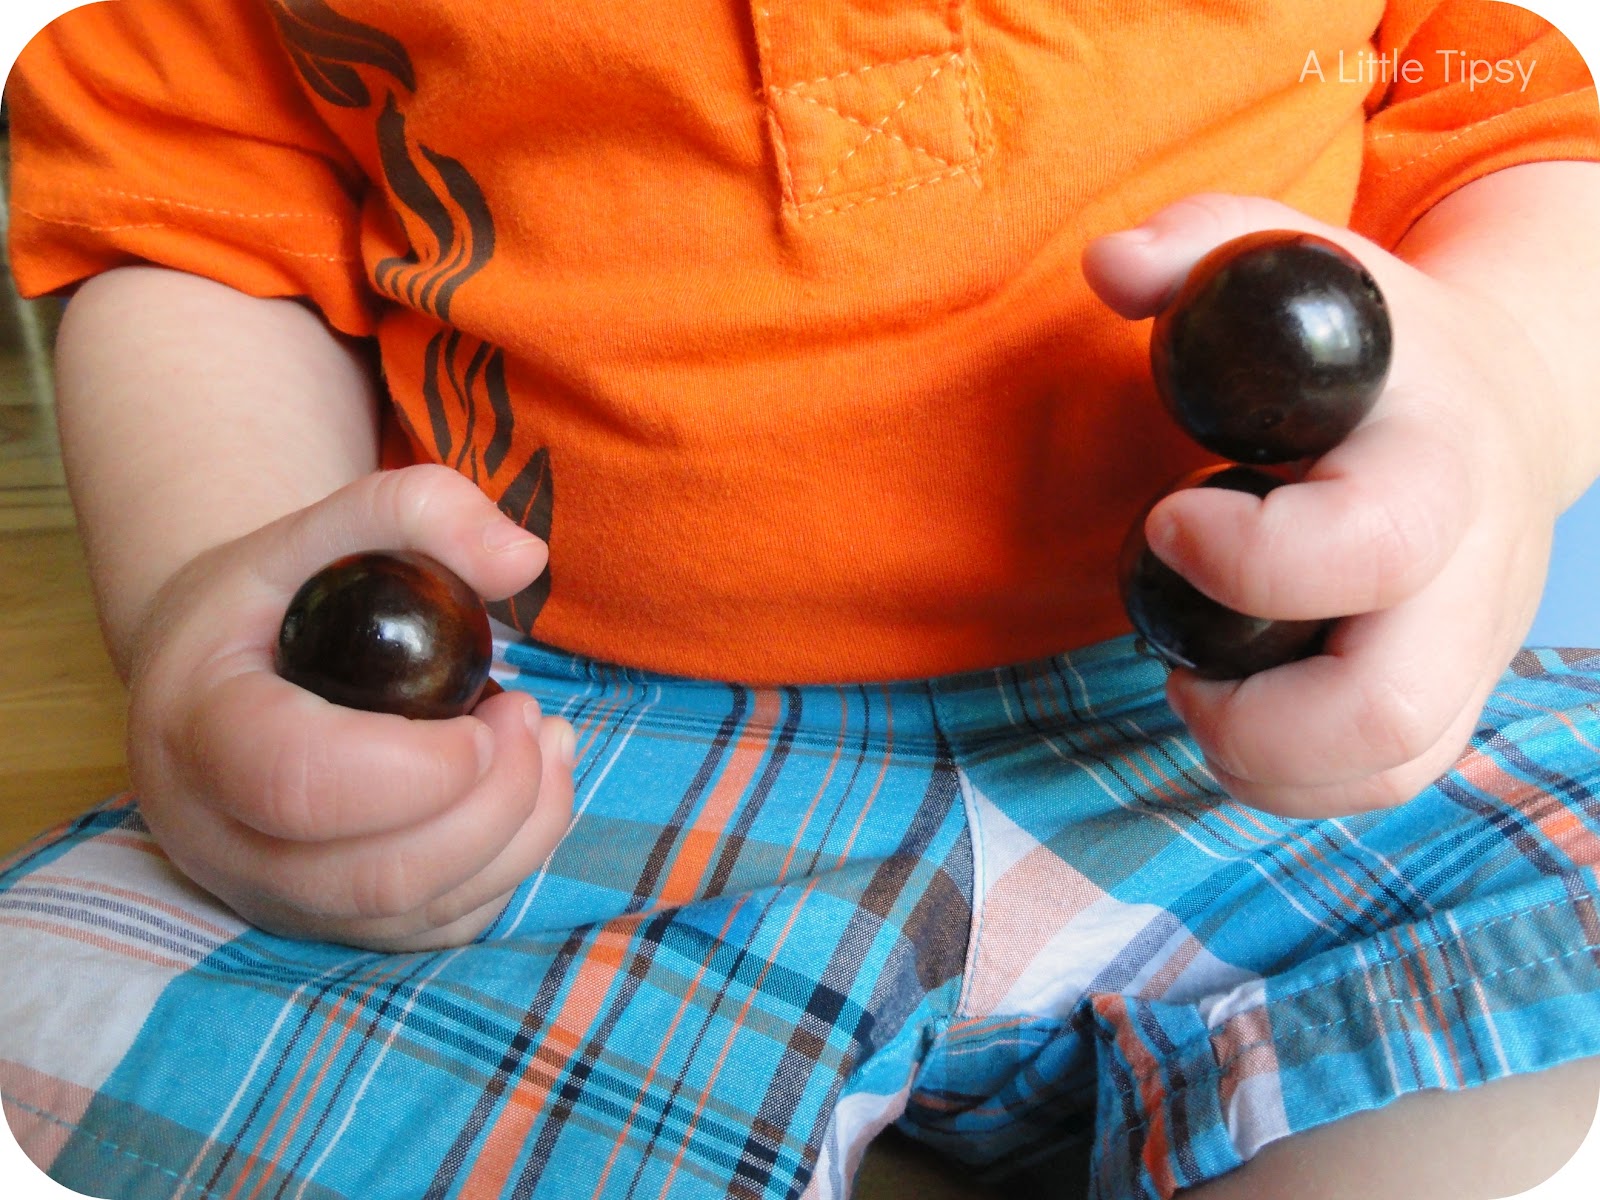
3. While the shirt is drying, spray paint your beads gray letting them dry between coats. I used 3 thin coats.

4. Launder separately in the hottest water safe for your fabric using the large load setting with a little bit of laundry soap. Dry separately in the dryer.
I actually loved how it looked as a shirt and was tempted to stop here…
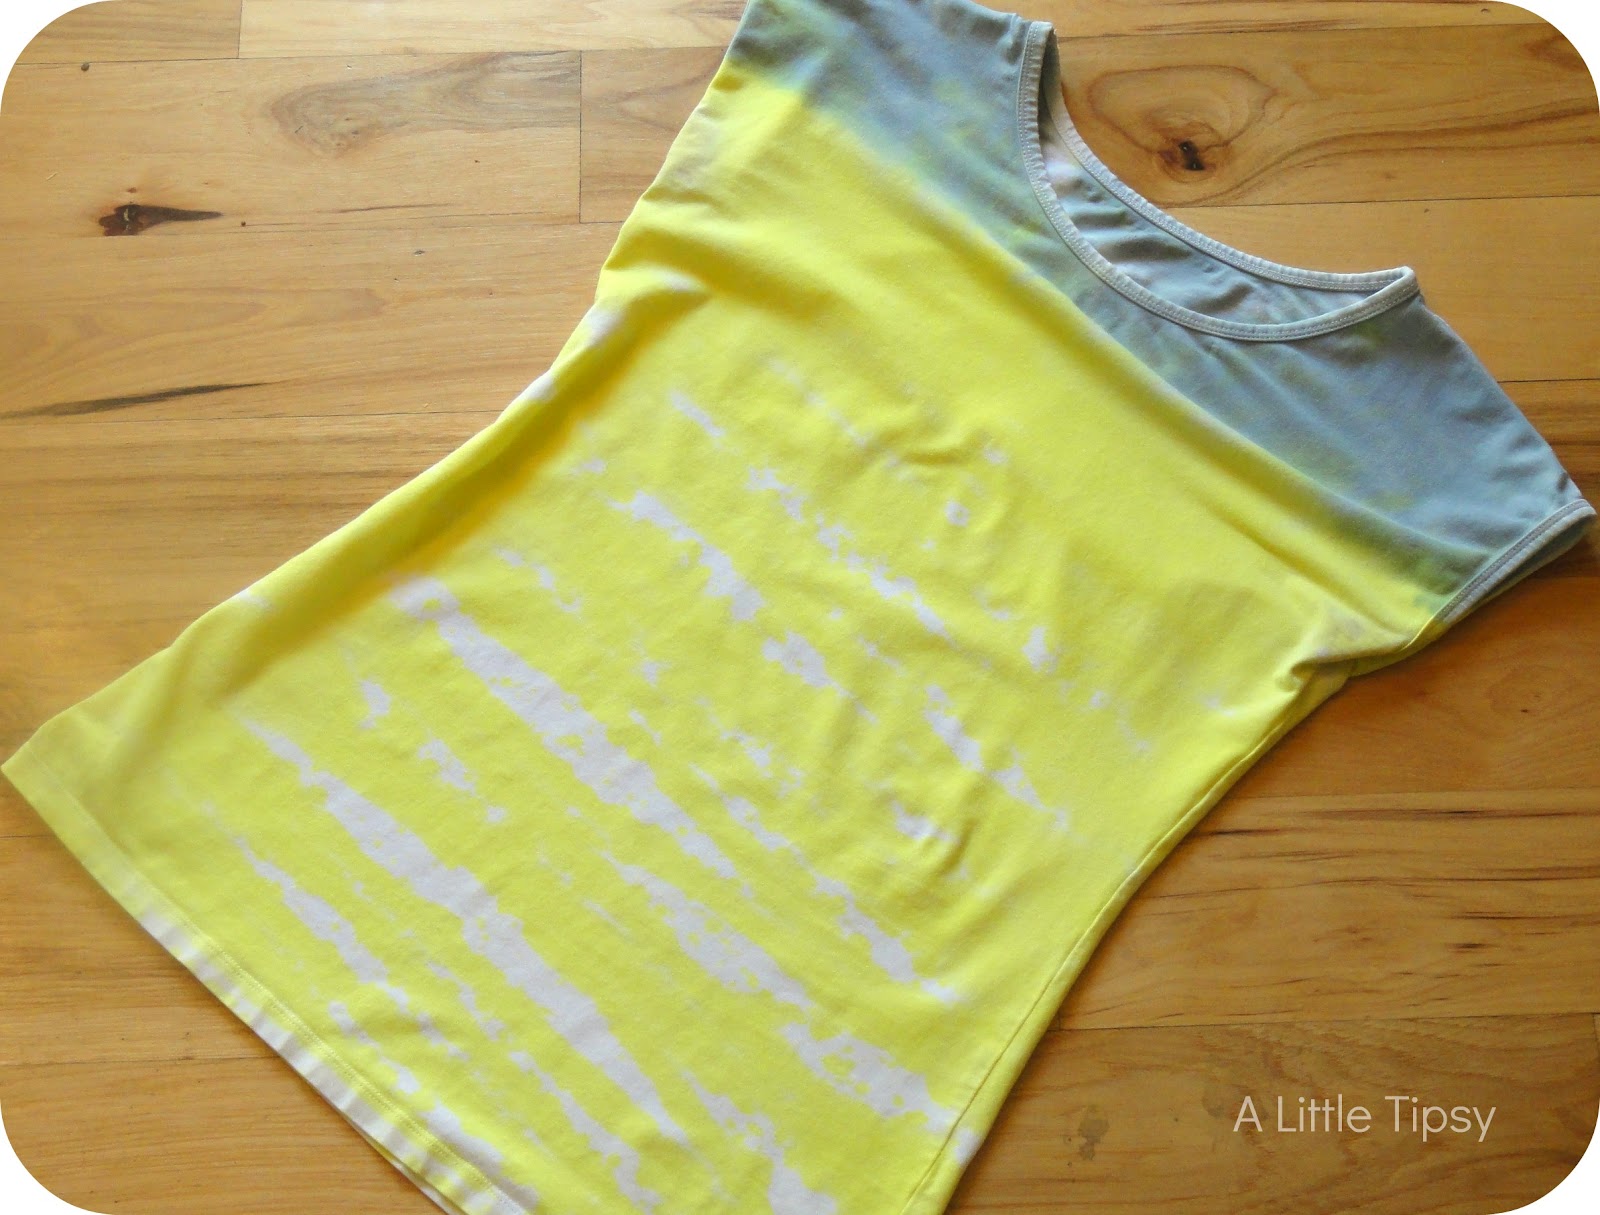
but there was a small stain on the back of my shirt on the white part, so I grabbed the scissors and continued on my way.

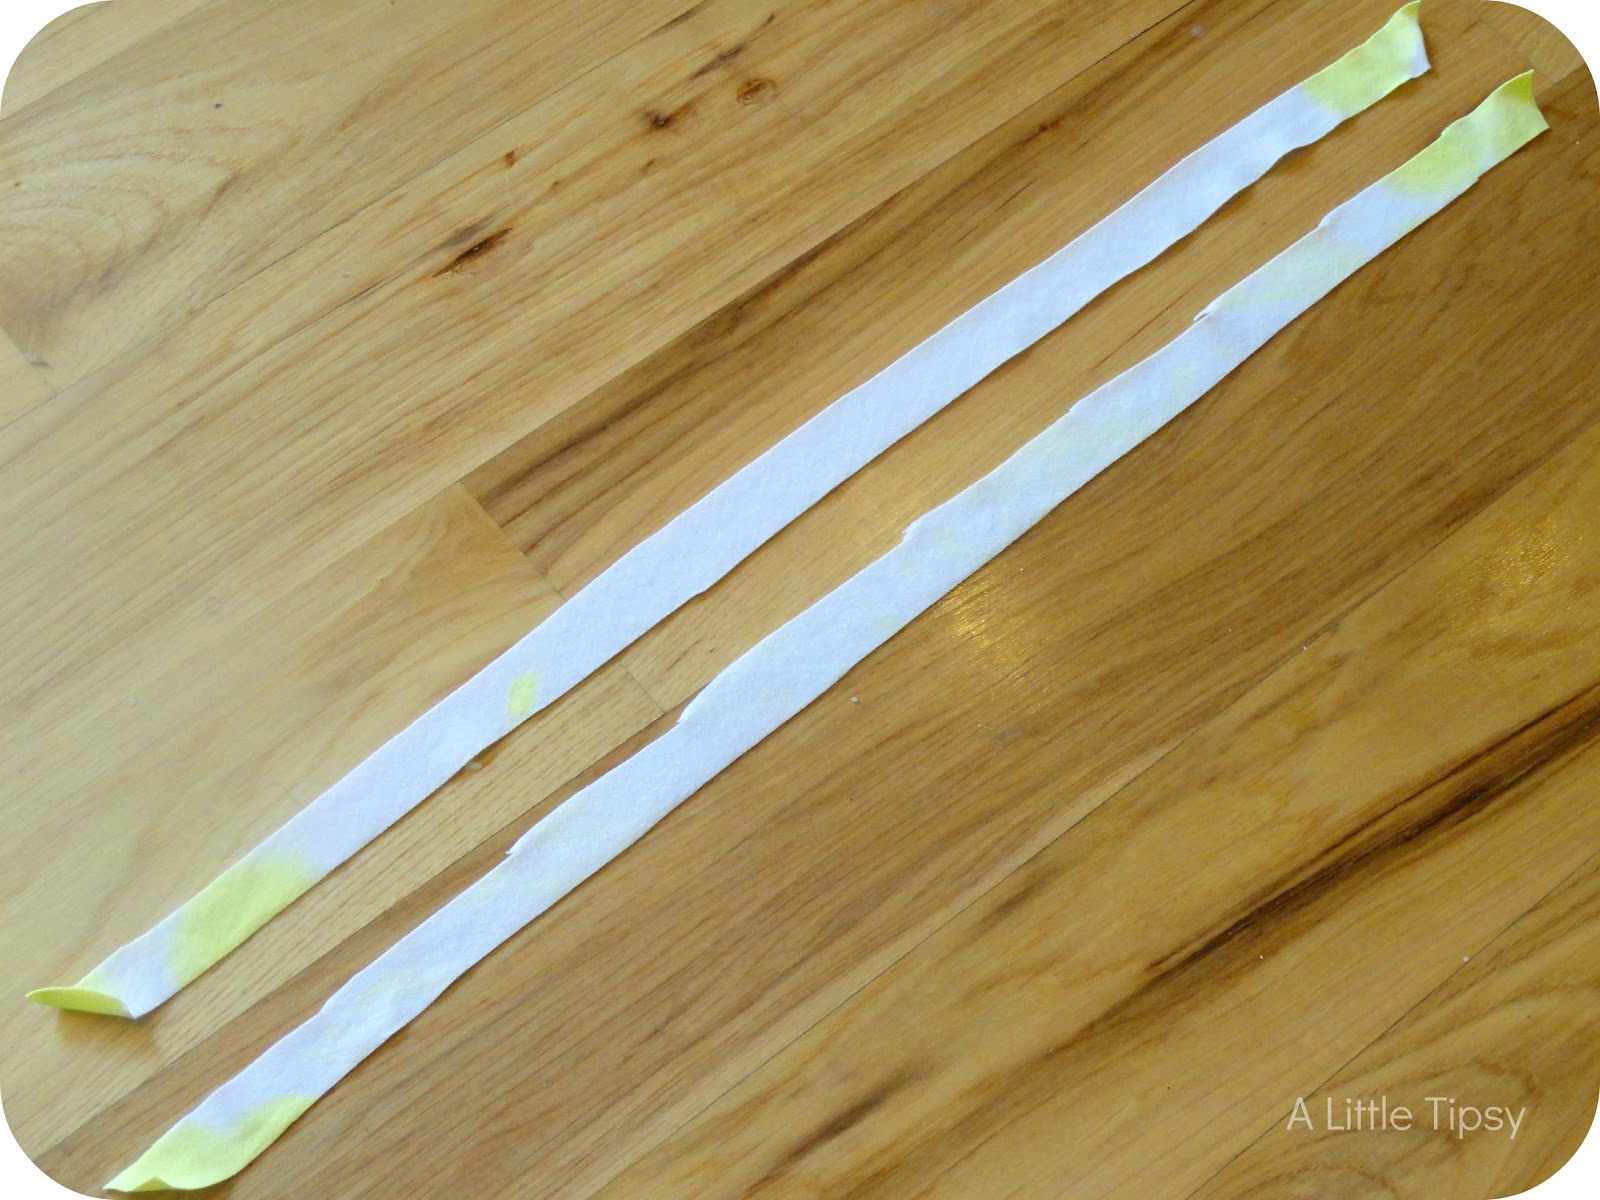
5. Cut 1/2 inch strips from the back of the shirt on a diagonal so they are as long as possible. This will give the strips yellow ends.
6. Make a small slit in the end of each strip and thread them through each other so they are attached.

7. Tie a knot where you attached the two strands for extra security and to start your necklace. Work out from that center knot. Twist up the end of the strip so it looks like the top of a pointy ice cream cone. Slide the point through the beads one by one. You can make the hole in the bead a bit larger by placing the tip of some ordinary scissors in and twisting around if needed. Tie a knot on either side of each bead so they stay in place. Leave about a 2 inch space for the flower with five beads on one side and one bead on the other.
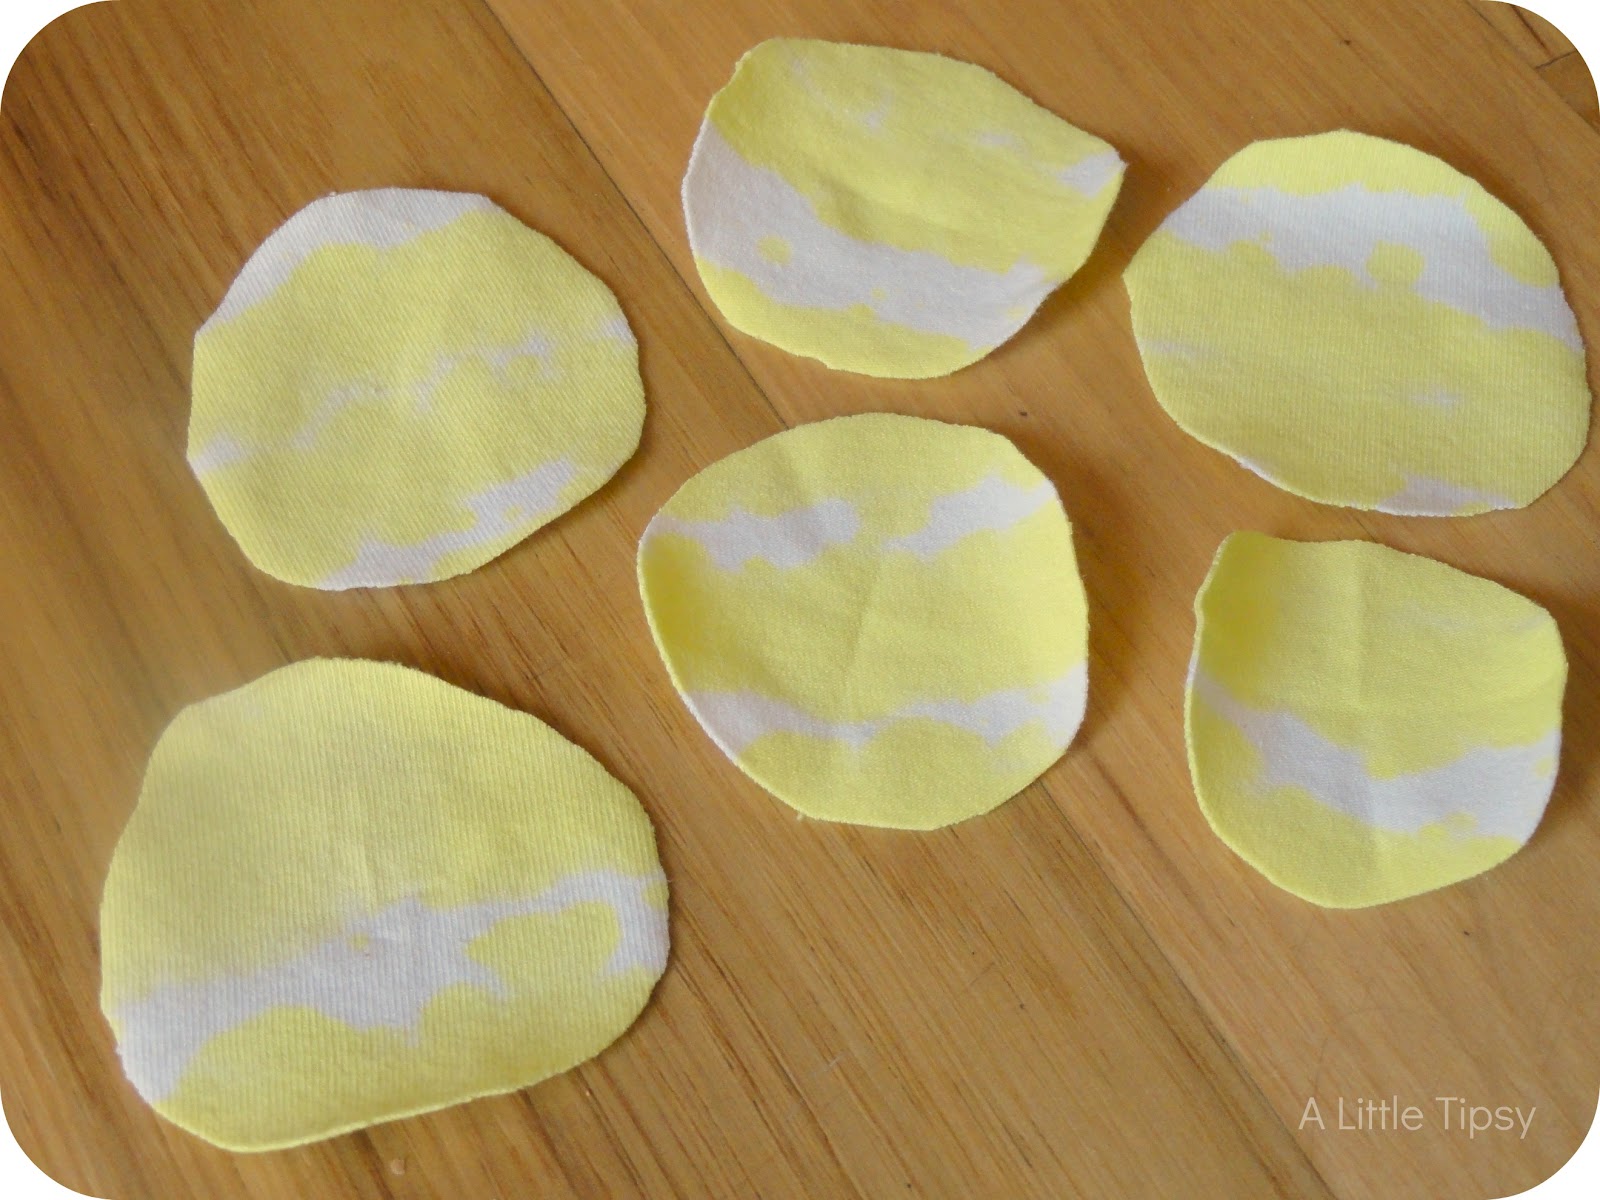
8. For the flower, cut 6 circles about 2 inches in diameter from the yellow striped part of the shirt.
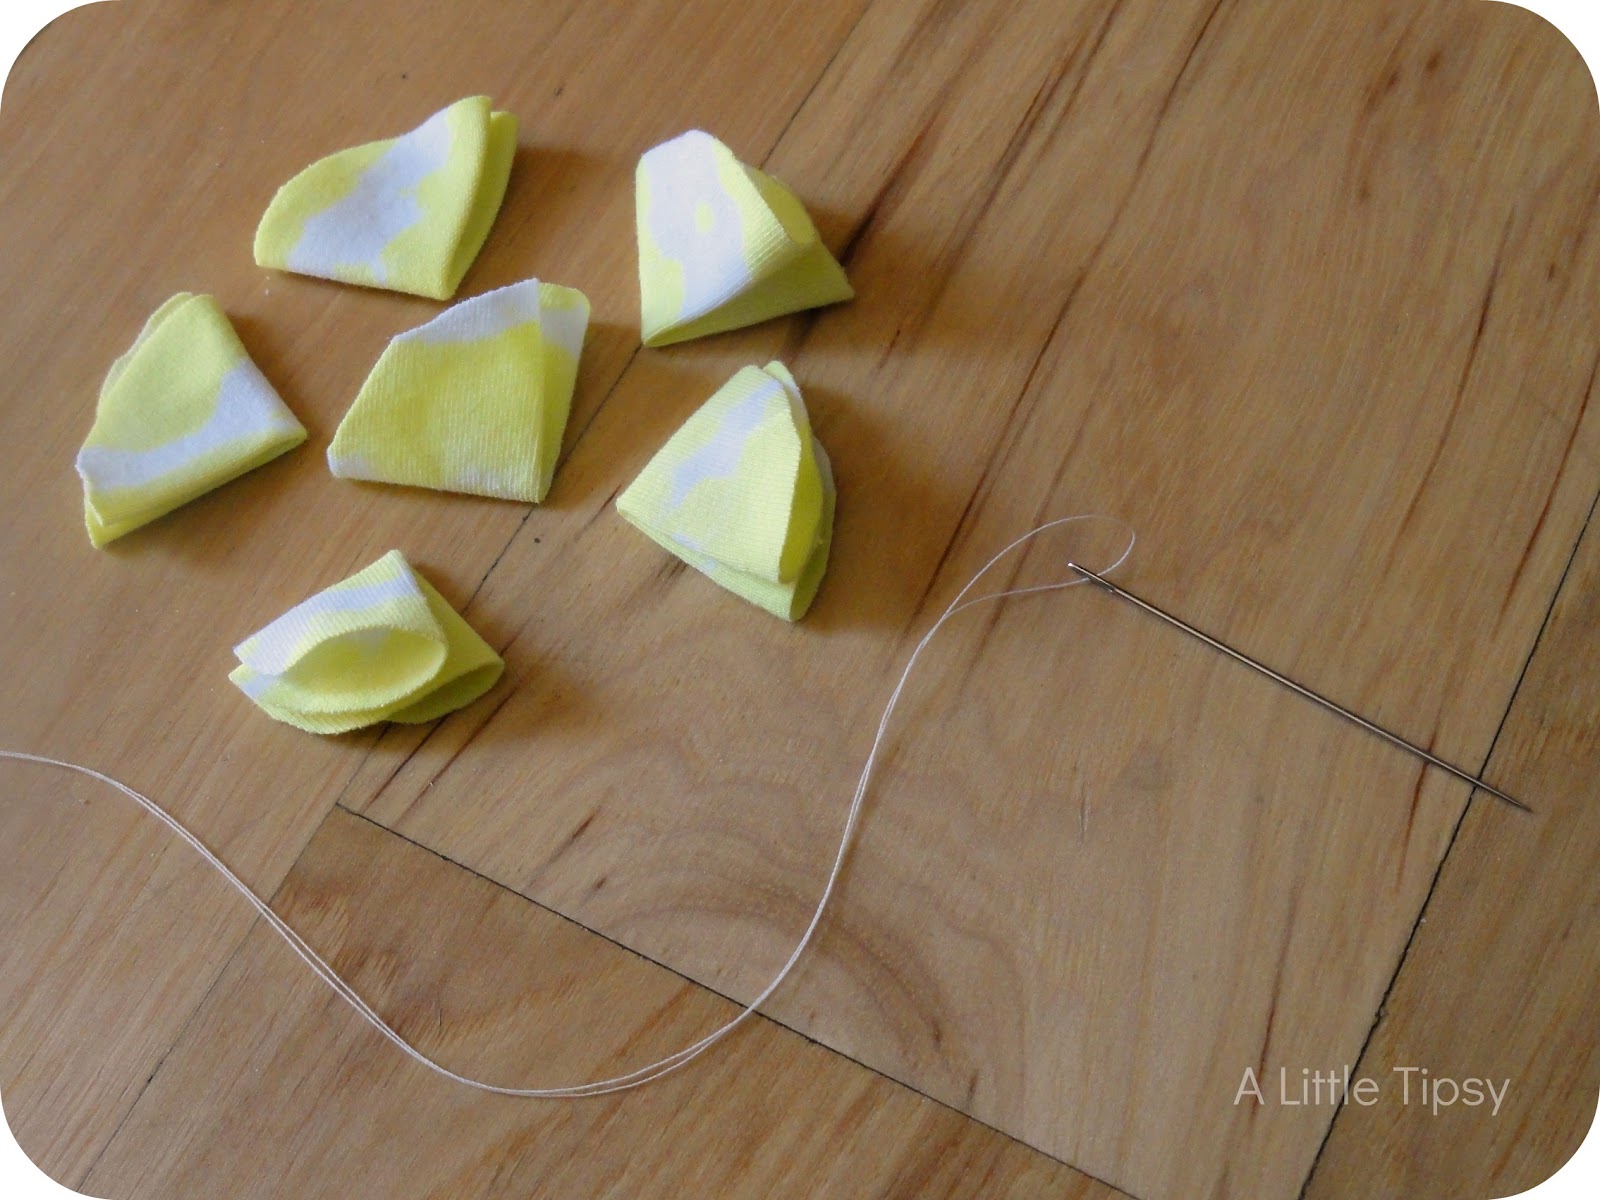
9. Fold the circles in half and then in half again to get a pie shape. Attach them by poking the needle through the point of each pie. Rotate and fluff the “petals” as needed to get a nice full shape.
10. Hot glue the flower in place and then secure a circle of felt to the back of the flower for additional security and finished look.

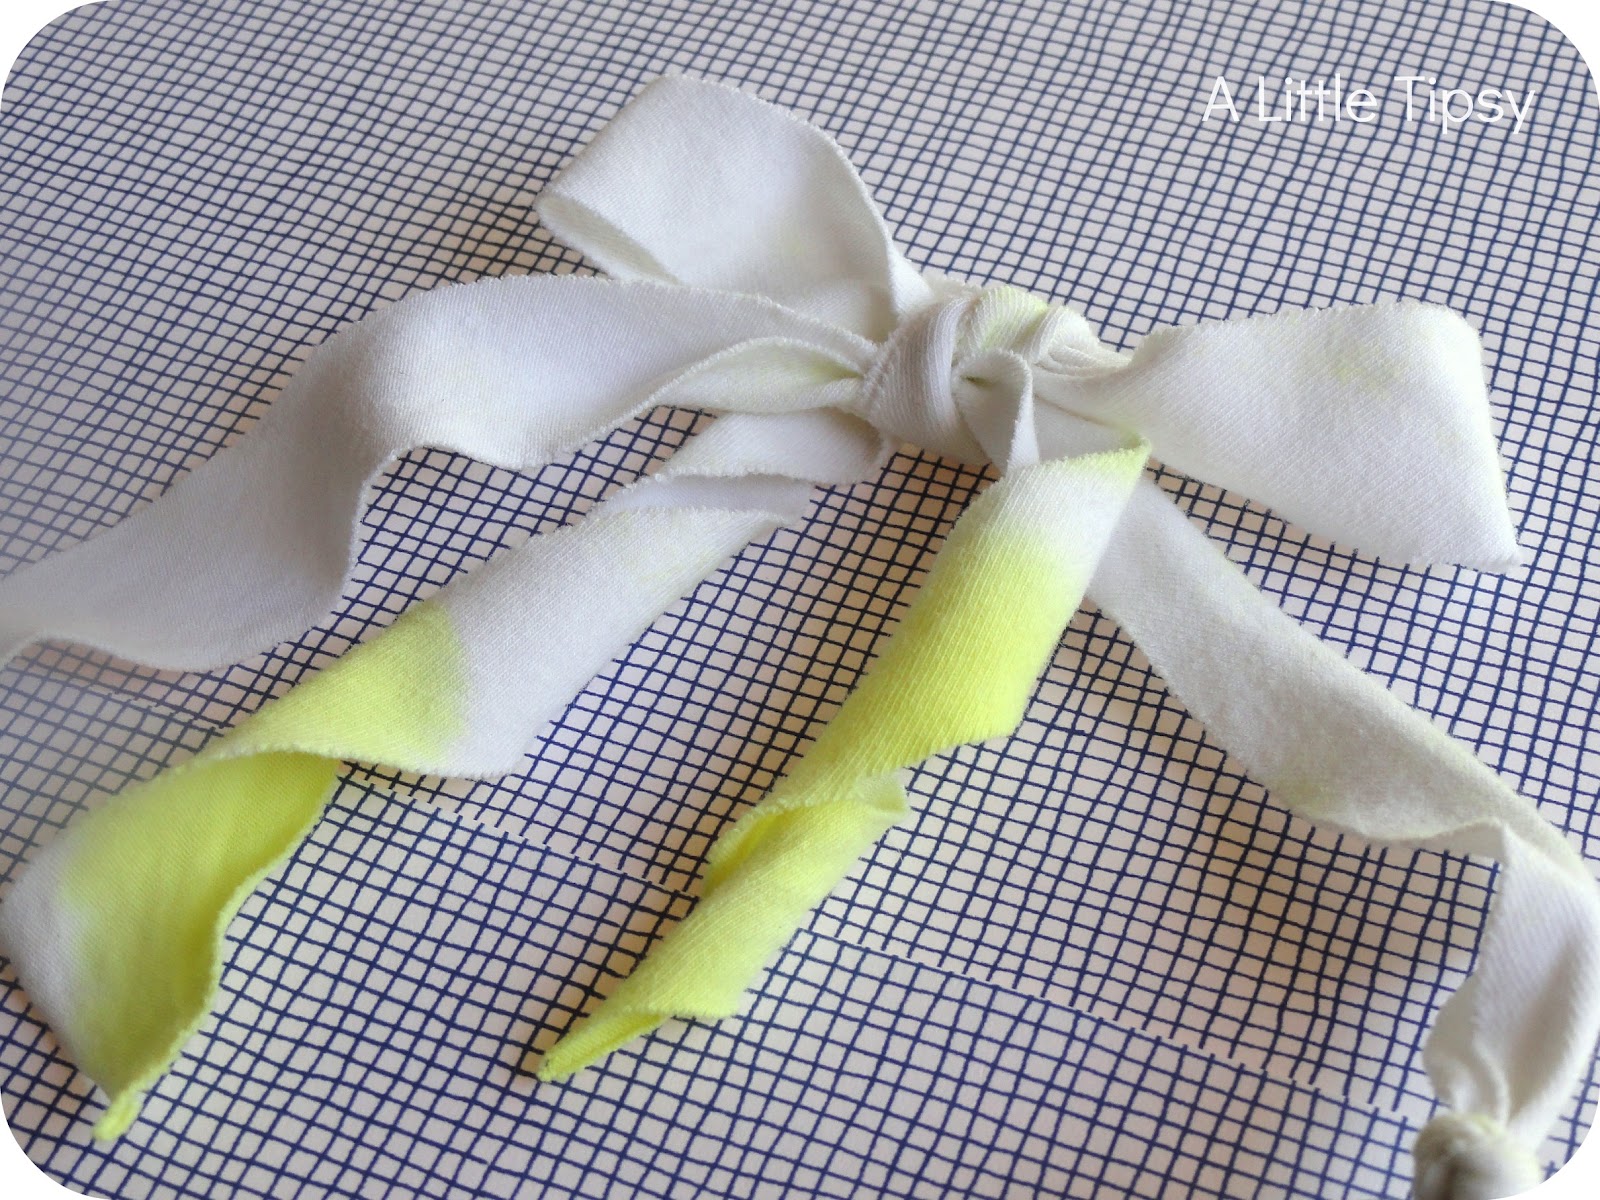
11. Tie the necklace around your neck to the desired length using a bow. The ends of the strips will still have a bit of a twist from threading them through the beads.
Have you ever seen tie dye look so cute?

Just wait until you see the tot side of the coordinates!
1. Cut a 2 inch strip of the yellow stripes. Pull the ends tight so it rolls in a bit. Attach the ends with hot glue. Cute another strip about 1″x 2″ Roll in the edges and hot glue over the seam to keep it soft for the little one.
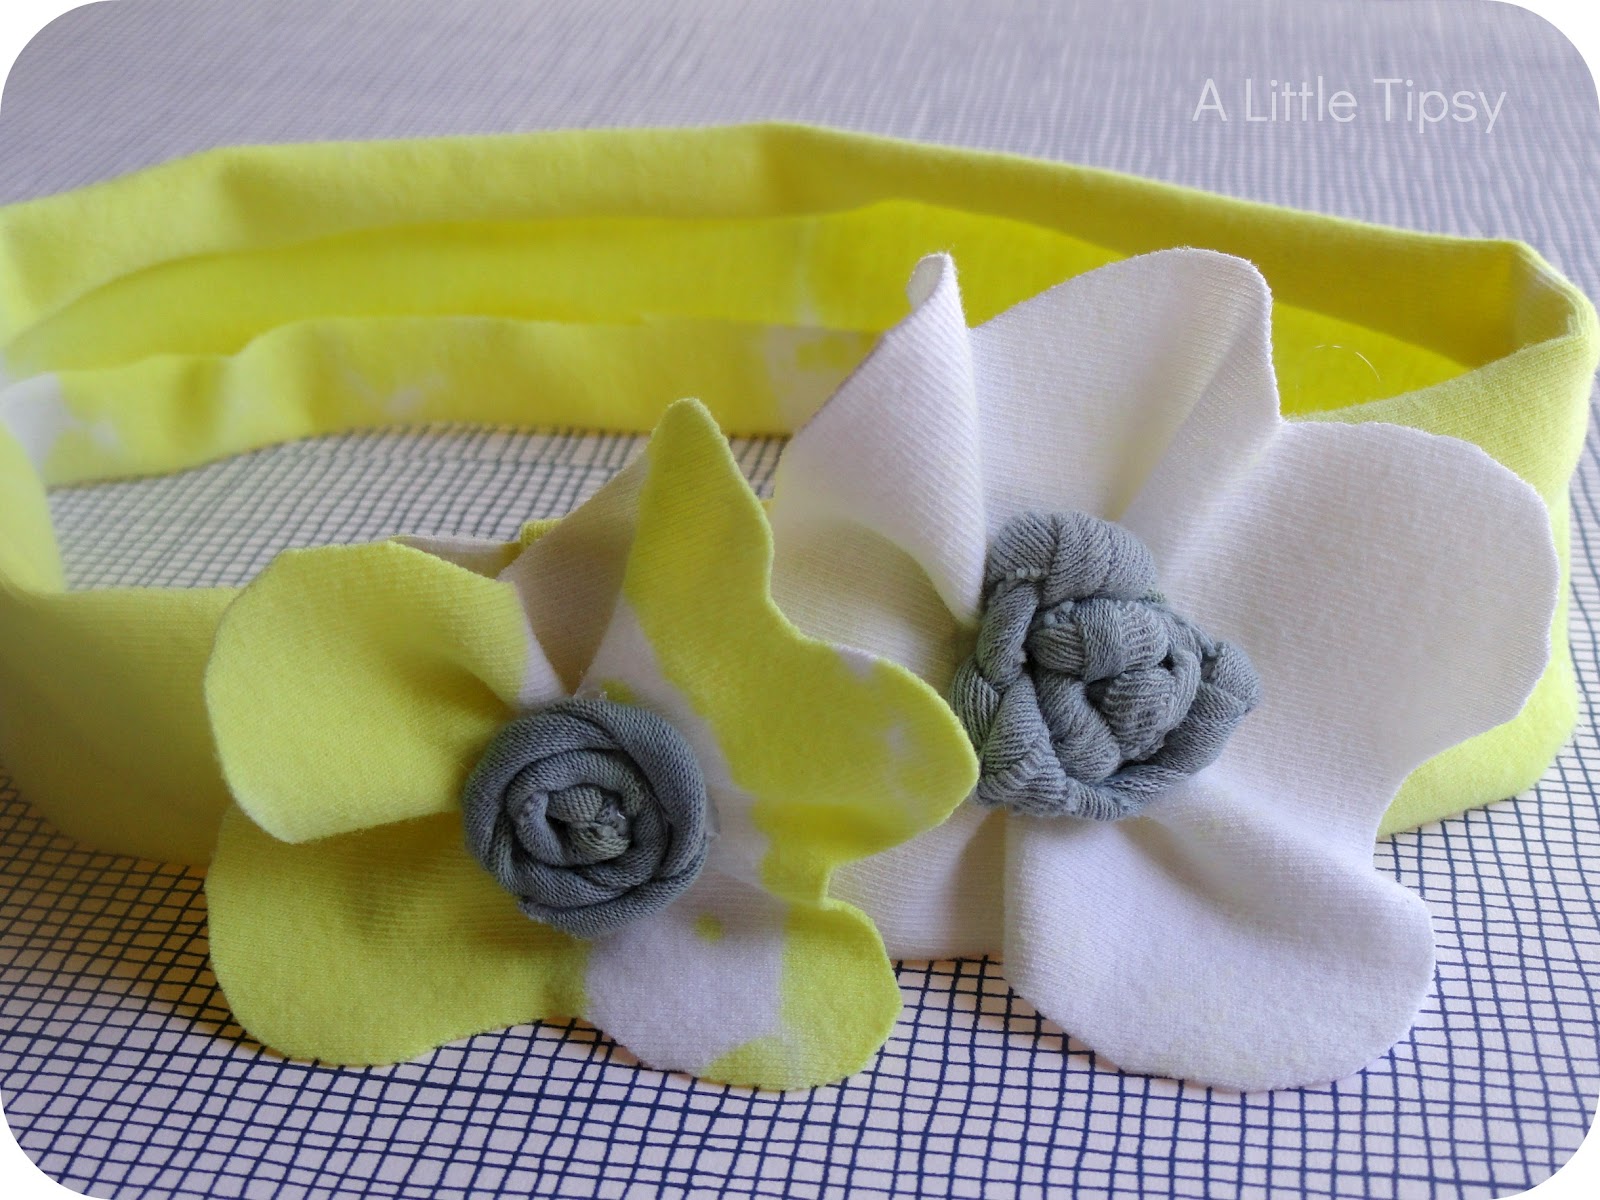
2. For the flowers, cut a 3 inch square in the yellow stripes and a 3 1/2 inch square from the white. Cut out a wiggly shape like an amoeba. It does not have to be perfect. Now place a dob of hot glue in the center and squish to give the flower ripply volume.
3. For one center, take a strip of gray and make a rosette. For the other, take a strip and tie knots all along it. Then, wrap it round itself in a spiral twisting as needed to make it fit right. Hot glue them to the center of the flowers.
4. Hot glue the flowers to the headband.

Ug, I love it so much! It is just dying to be donned on a sweet little soul! I am excited to try some more techniques!

If you like this necklace, you might also like our Fabric Necklace, Tshirt DIY Necklace, or our Quite a Spectacle Anthro Knock off.
Tulip Tie Dye Kits are available at Walmart, Walmart Canada, Michaels, JoAnn, A.C. Moore, Hobby Lobby, Hancock Fabrics, Meijer. Tie dye kit contents and colors may vary by store.
See more fun ideas from ilovetocreate.com on…
- Twitter: http://twitter.com/
ilovetocreate (@ilovetocreate) - Facebook: http://www.facebook.com/
ilovetocreate and http://www.facebook.com/ ILoveTulipFashionArt - Pinterest: http://pinterest.com/
ilovetocreate
Disclosure: I wrote this post as part of a paid campaign with iLoveToCreate.com and Blueprint Social. The opinions and creations in this post are my own.
P.S. Don’t forget to sign up for free Tipsy updates via RSS or email.
We have decided to truncate our feed to help protect against stolen content. I apologize for any inconvenience. Please love us anyway. 🙂