A Little Tipsy

Creative Tips & Ideas

  • home
  • About Me
  • the tipsy top
  • press
  • projects
  • contact me
[print_thumbnail_slider]

Gender Reveal Pouch

June 11, 2013 By Michelle Barneck Leave a Comment

Are you planning a gender reveal baby shower? Or, are you eagerly waiting to tell your friends and family whether you are having a boy or a girl? Well, I have THE most adorable gender reveal craft to share with you today! It’s super simple, super duper cute, and is SO fun to use for the BIG moment when the secret of the baby’s gender is revealed!
Read the how-to…

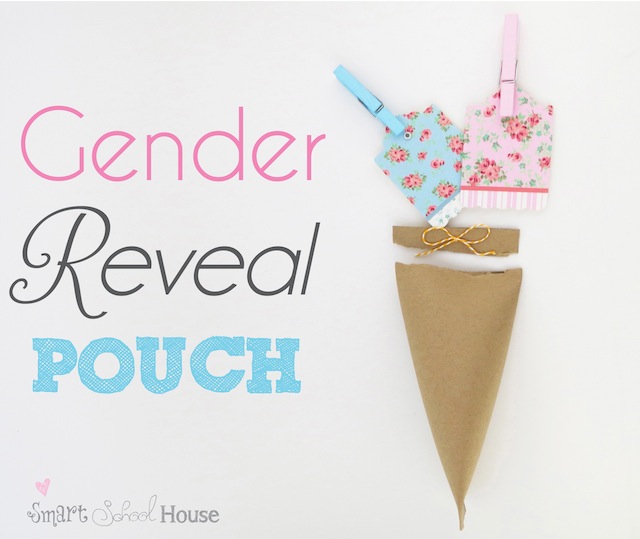
A paper pouch is filled with a pretty tag and coordinating clothespin. You can pass out the pouches (which are completely sealed) to your guests or family. Then, when you are ready to reveal the baby’s gender, each person tears off one end of the pouch too see if it is a girl or a boy! This is what it would look like if you are revealing the gender of a baby girl:
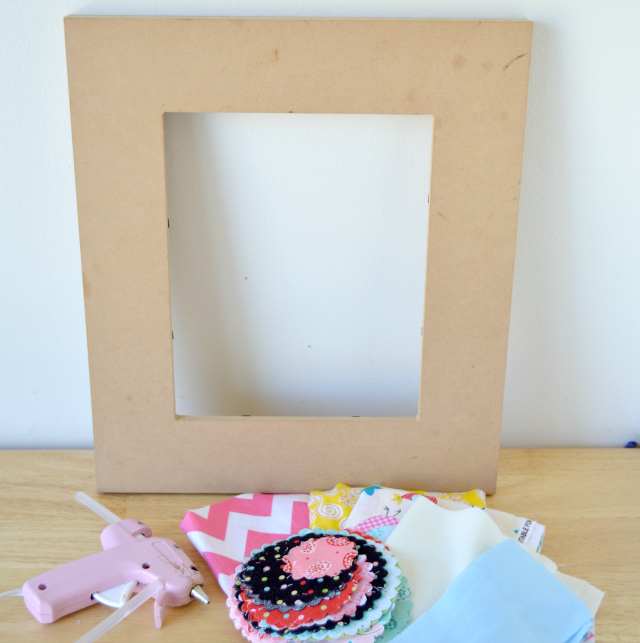
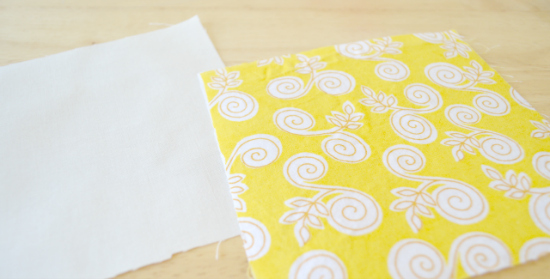
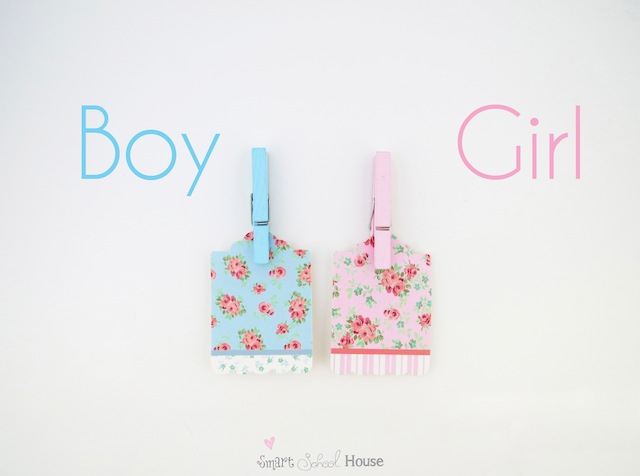
To get started, you will need to find some cute blue and pink tags. You also need blue and pink clothespins. You can paint plain clothespins or you can purchase some that are already colored. I found allllll of these pretty supplies at my local craft store (pssst: and they were totally affordable, which makes it even more fun to do!). 
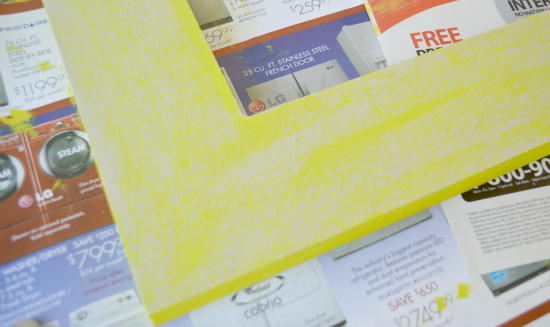
I don’t know about you, but Kraft paper is my favorite thing right now. It kind of has a rustic-pretty look to it, don’t you think? Plus, mixed with the shabby chic feel of these pink and blue tags and I think the look is so stylish! Kraft paper is thick, just like card stock. You will need to cut your paper into an 8×8 square:
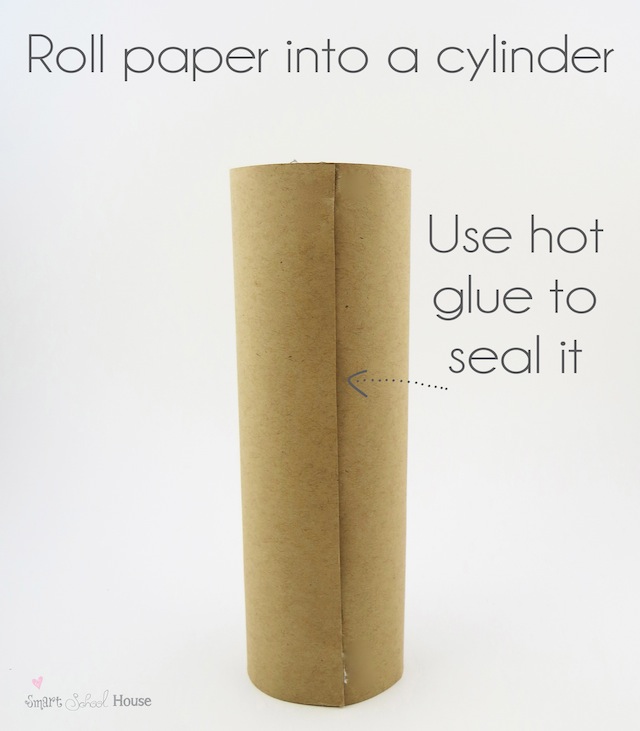
Then, roll the square up to form a cylinder. Seal the sides together using a hot glue gun. You DO NOT want this puppy to come apart!
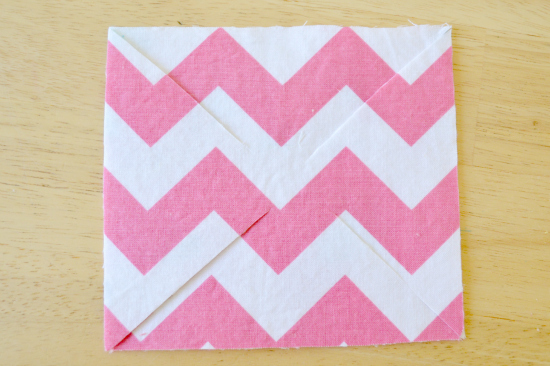
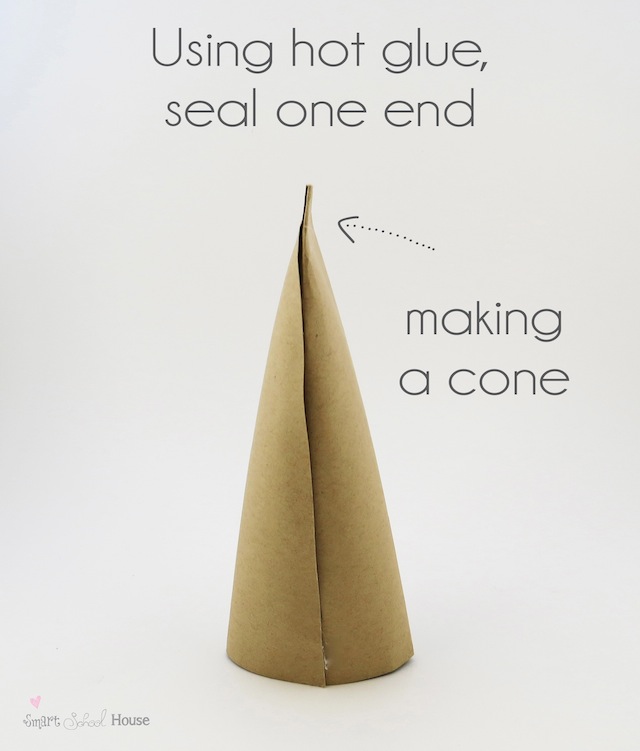
Next, you press the end of the cylinder together to make the shape of a sugar cone. Then, you seal the edge with a thick strip of hot glue. 
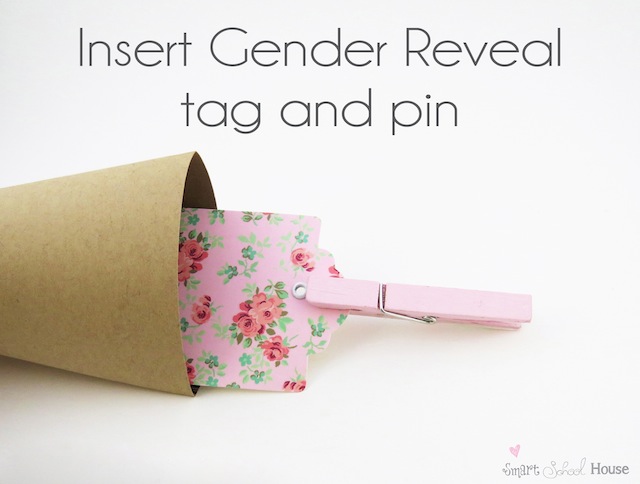
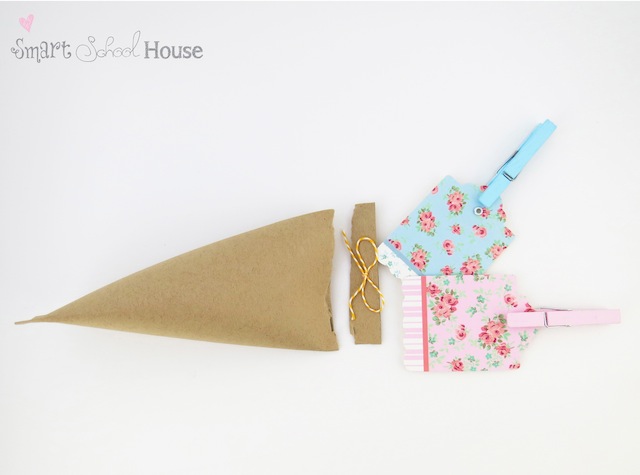
Now, you insert the gender reveal tag and pin like so:
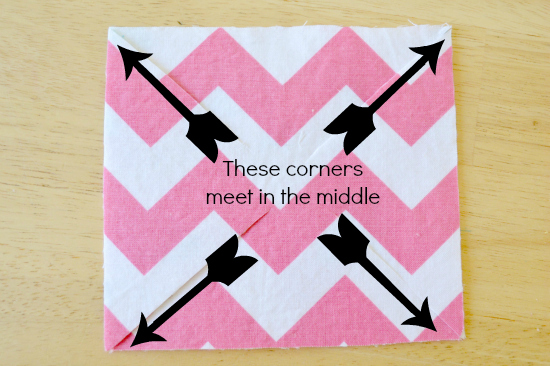
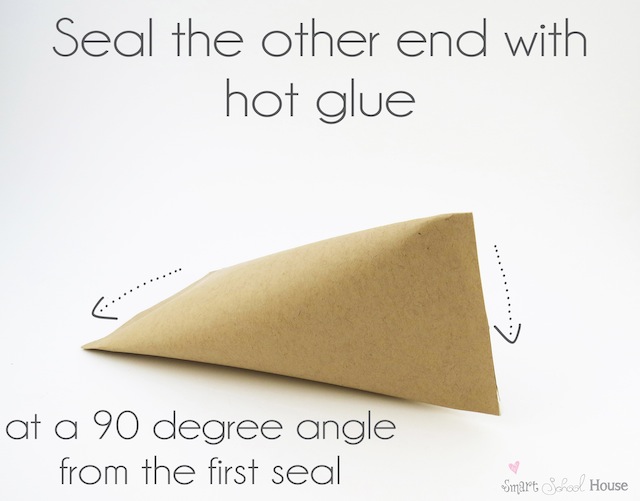
After that, you press the other end together at a 90 degree angle from the first seal. That’s how you achieve the cute triangular shape to the pouch:) Again, you want to seal it closed with a thick line of hot glue. I adorned this end of my gender reveal pouch with a yellow baker’s twine bow. That part is optional, but it helps point out the end where you want your guests to rip. Baker’s twine can also be found at any craft store these days. 
All done! In about 10 minutes flat you’ve created a Gender Reveal Pouch that is perfect for a baby shower.
Aren’t these the most adorable little pouches to reveal the gender of a precious little bun in the oven? 
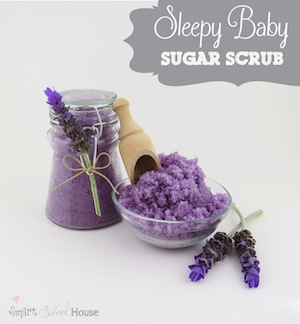
If you are looking for more baby shower ideas, check out my Sleepy Baby Sugar Scrub:
—————————————————————————–
Thanks for an adorable idea Kelly! Gender reveal is all the rage right now and I too am a huge fan of the kraft paper. It’s the perfect blank canvas!
We have decided to truncate our feed to help protect against stolen content. I apologize for any inconvenience. Please love us anyway. 🙂

How To Remove Sticker Residue

June 4, 2013 By Michelle Barneck 5 Comments

Hello again, it’s Aly from Entirely Eventful Day here to share a helpful tip with you…

I have kids. And what I really want to know is why do they insist on sticking stickers on my furniture? I used to stress about it, not anymore. Now I know how to remove stickers from furniture without chemicals and it’s oh, so easy. Don’t you want to know how…

READ MORE…


Tada! Just put a little lemon oil on your finger and rub it on the sticker residue. I was skeptical, but this is amazing and it works! Plus, you don’t have to worry about it taking finish off your furniture.

PS, this is just the brand of lemon oil I happen to own.  This isn’t an advertisement. I’m sure any brand would work just fine.  I hope this relieved a little stress for you.  Next time your kid covers your coffee table with My Little Pony stickers you won’t need to fly off the handle. Just rub a little yummy smelling oil on it.  You’re welcome.

——————————————————————————–
Great tip Aly! I am always finding sticker on furniture and walls so this will definitely help keep the peace. Now if I could just get them to stop leaving stickers on their shirts when they go through the wash!

We have decided to truncate our feed to help protect against stolen content. I apologize for any inconvenience. Please love us anyway. 🙂

Water Spigot Coat Rack

May 21, 2013 By Michelle Barneck 3 Comments

Hello…it’s Ali from House Vintage back again with another fun DIY project.  This project only takes a few hours and shouldn’t cost much money.  By utilizing salvaged materials, you can make a coat rack.

The supplies you will need are:

Click here to see the full tutorial.

Water spigot knobs are easy to find at flea markets and usually cost a few dollars.  They can also be found on Etsy.  My pile has been collected over time, as I would find them out thrifting.  The wood board was a leftover scrap.  If you don’t have any scrap wood around, you can buy this already precut at the hardware store.  They come in a variety of lengths.  Pick the right size for your space.

Rusty knobs were painted with several thin coats of spray paint.  I also added some stain to enhance the tone of the wooden board. Remember to always paint and stain in a well ventilated area.

Decide how many knobs you would like your coat rack to have.  Four worked well on my board.  I used a yard stick to make sure they were evenly spaced.   The knobs are then screwed into the board, from the front.  The thickness of the board and the knob will determine the size of screw to use.  I also added a plastic spacer and/or washer to allow for space behind the knob where items can hang.  Each of my knobs had a different depth, so you may have to use a different configuration on each.  I also didn’t pre-drill my holes, but if you are using a wood that splits easily, you may opt to do that.

Find a place that could use some extra organization or storage, and hang it up.  Your salvaged coat rack is done!

————————————————————-
Thanks Ali! I love the color and character of this coat rack! It would be great as a towel rack in a bathroom too! 
We have decided to truncate our feed to help protect against stolen content. I apologize for any inconvenience. Please love us anyway. 🙂

Pinwheel Chalkboard Frame

May 14, 2013 By Michelle Barneck 1 Comment

What? You didn’t know that “chalkboard” was in? JK, I know it is all over the place. But I got some fun clear chalkboard paint and I had to try it out. Because a lime green chalkboard frame is AWESOME!! So today I am sharing how I made this bright and fun frame that is a chalkboard making it so that you can switch out your picture AND the saying surrounding it! Or even let your kiddos doodle around it to make it their own and match the picture you put inside.

Read more…

  Lime Green Chalkboard Frame
 I had a blank frame that I got for really cheap because it was missing it’s glass. It had been sitting around for a while just collecting dust, so I knew it was perfect for this project. The rest of the frame was all from “stuff laying around” my house. You bet my hubby was excited to see this stuff actually go to use for once!! I collected a bunch of fabric scraps, my hot glue gun, and some other accessories to bling up my frame. More on that in a minute. So I painted the frame bright lime green, and LOVE it. But once it was dry, I put on 2 coats of the Americana Clear Coat chalkboard paint. Make sure one coat is horizontal and then an hour later, paint the second coat vertical. Then don’t touch it for 24 hours. I know, it’s HARD. But if I can do it, you can too!
  Lime Green Chalkboard Frame
 After the 24 hours of dry time, you will want to condition your frame. To do this, take a piece of chalk and hold it on the side. then cover the entire frame with it until fully covered. Then wipe it off and your chalkboard is ready to go!
  Lime Green Chalkboard Frame
 Ok, now onto embellishing it. I decided to do pinwheels because, well, their awesome!! So I cut 4 4-inch squares out of different coordinating fabrics. 2 of them will go back to back. On 2 of the sheets I ironed on some fabric stabilizer and then glued them to the back of their matching other half. Then trim any fabric that is peeking out thru the other side.
  Lime Green Chalkboard Frame
 Then cut from each corner into the center, about 3/4 inch from the middle.
  corners
 Now you will use your hot glue gun to pull one corner from each cut section into the center. Fold one at a time and hold in place until the glue cools (using the back end of a pencil will save your fingers from being burned!) Then move onto the next corner! Once they are all folded in, I covered the corners and glue with a coordinating button!
  Lime Green Chalkboard Frame
 Now I glued a matching paper straw onto the back of the pinwheel and again using the hot glue gun I put it on the front of the frame.
  Lime Green Chalkboard Frame
 Write on your frame with chalk and display for everyone to see!!
   chalkboard frame

We have decided to truncate our feed to help protect against stolen content. I apologize for any inconvenience. Please love us anyway. 🙂
« Previous Page
Next Page »

  • Bloglovin
  • Facebook
  • Google+
  • Instagram
  • Pinterest
  • RSS
  • Twitter

Hi there! I'm Michelle. Mother of three little boys and one little princess. Welcome to A Little Tipsy, a place for exploring creativity and sharing inspiration.

Follow on Bloglovin


Visit Michelle Barneck {A Little Tipsy}'s profile on Pinterest.

Tutorials by Category


15 Family Reunion Games

Family Reunion Games Collage

15 Sprinkle Party Ideas

Sprinkle Birthday Party
Creative Commons License

© Copyright 2014 A Little Tipsy · Site Designed by The Fairy Blogmother · Web Hosting by RFE Hosting

This website uses cookies to improve your experience. We'll assume you're ok with this, but you can opt-out if you wish.Accept Read More
Privacy & Cookies Policy