A Little Tipsy

Creative Tips & Ideas

  • home
  • About Me
  • the tipsy top
  • press
  • projects
  • contact me
[print_thumbnail_slider]

Clipboard Memo Board

July 9, 2013 By Michelle Barneck 1 Comment

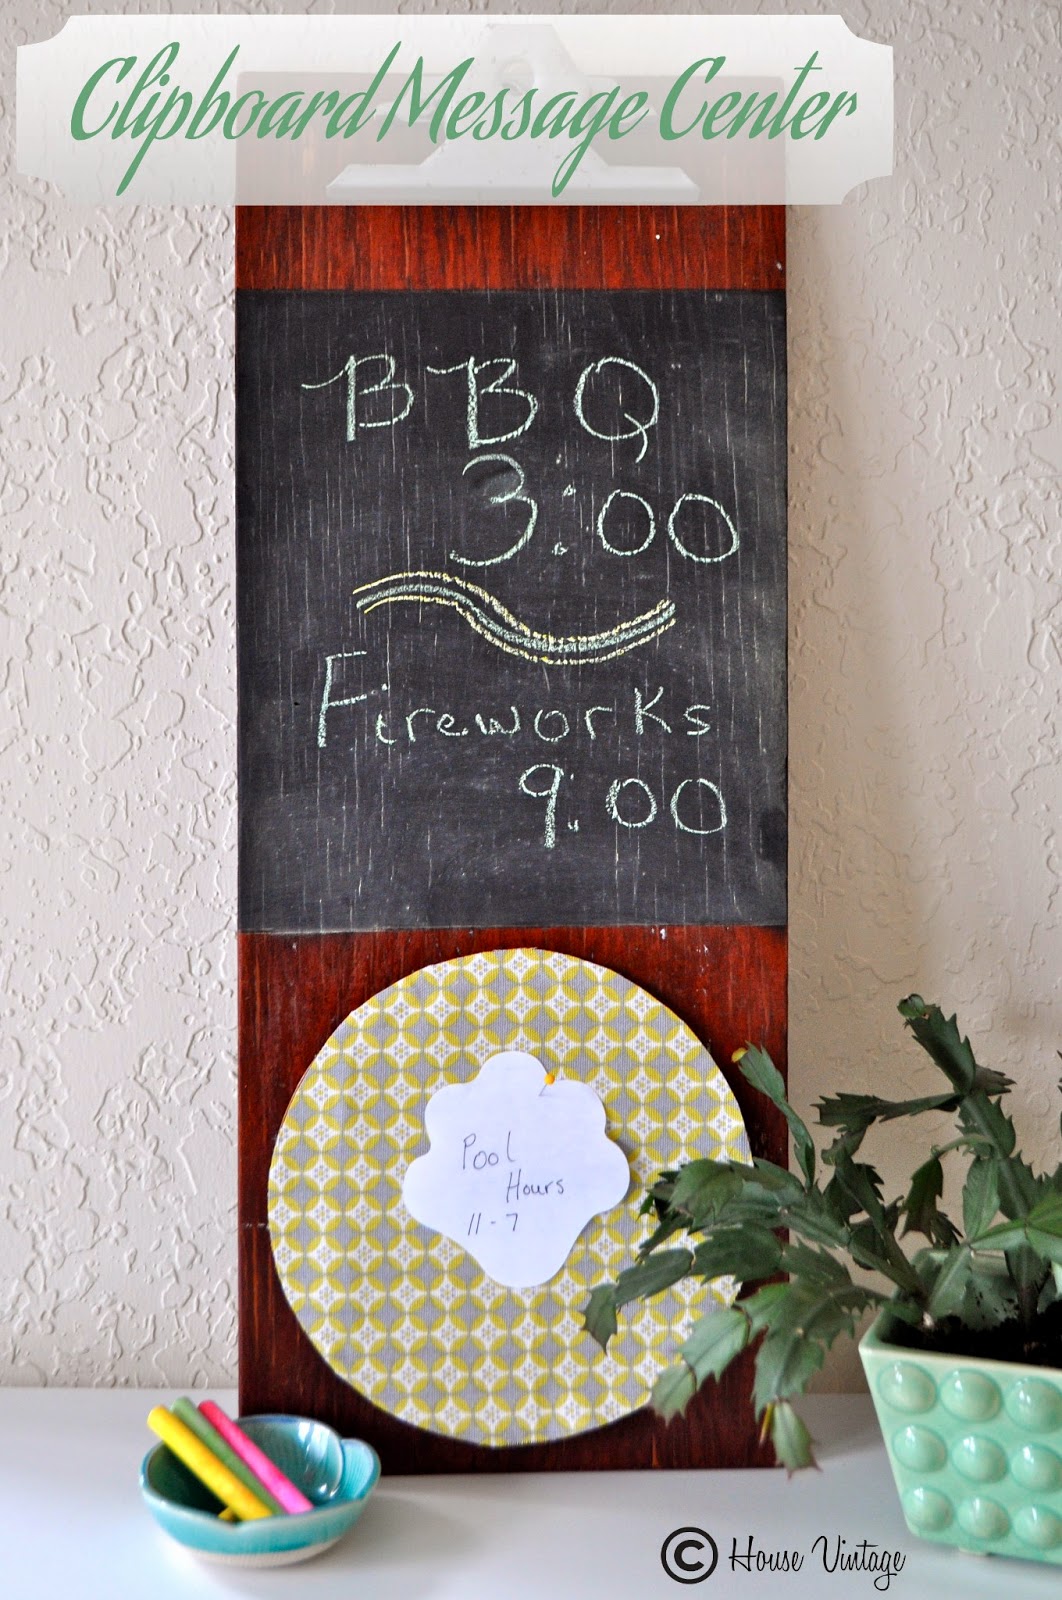
Hello again!  It’s Ali from House Vintage, back with another project.  This message center has a chalkboard and a cork board, and is so quick and cute.  It is something you will want to try this weekend!

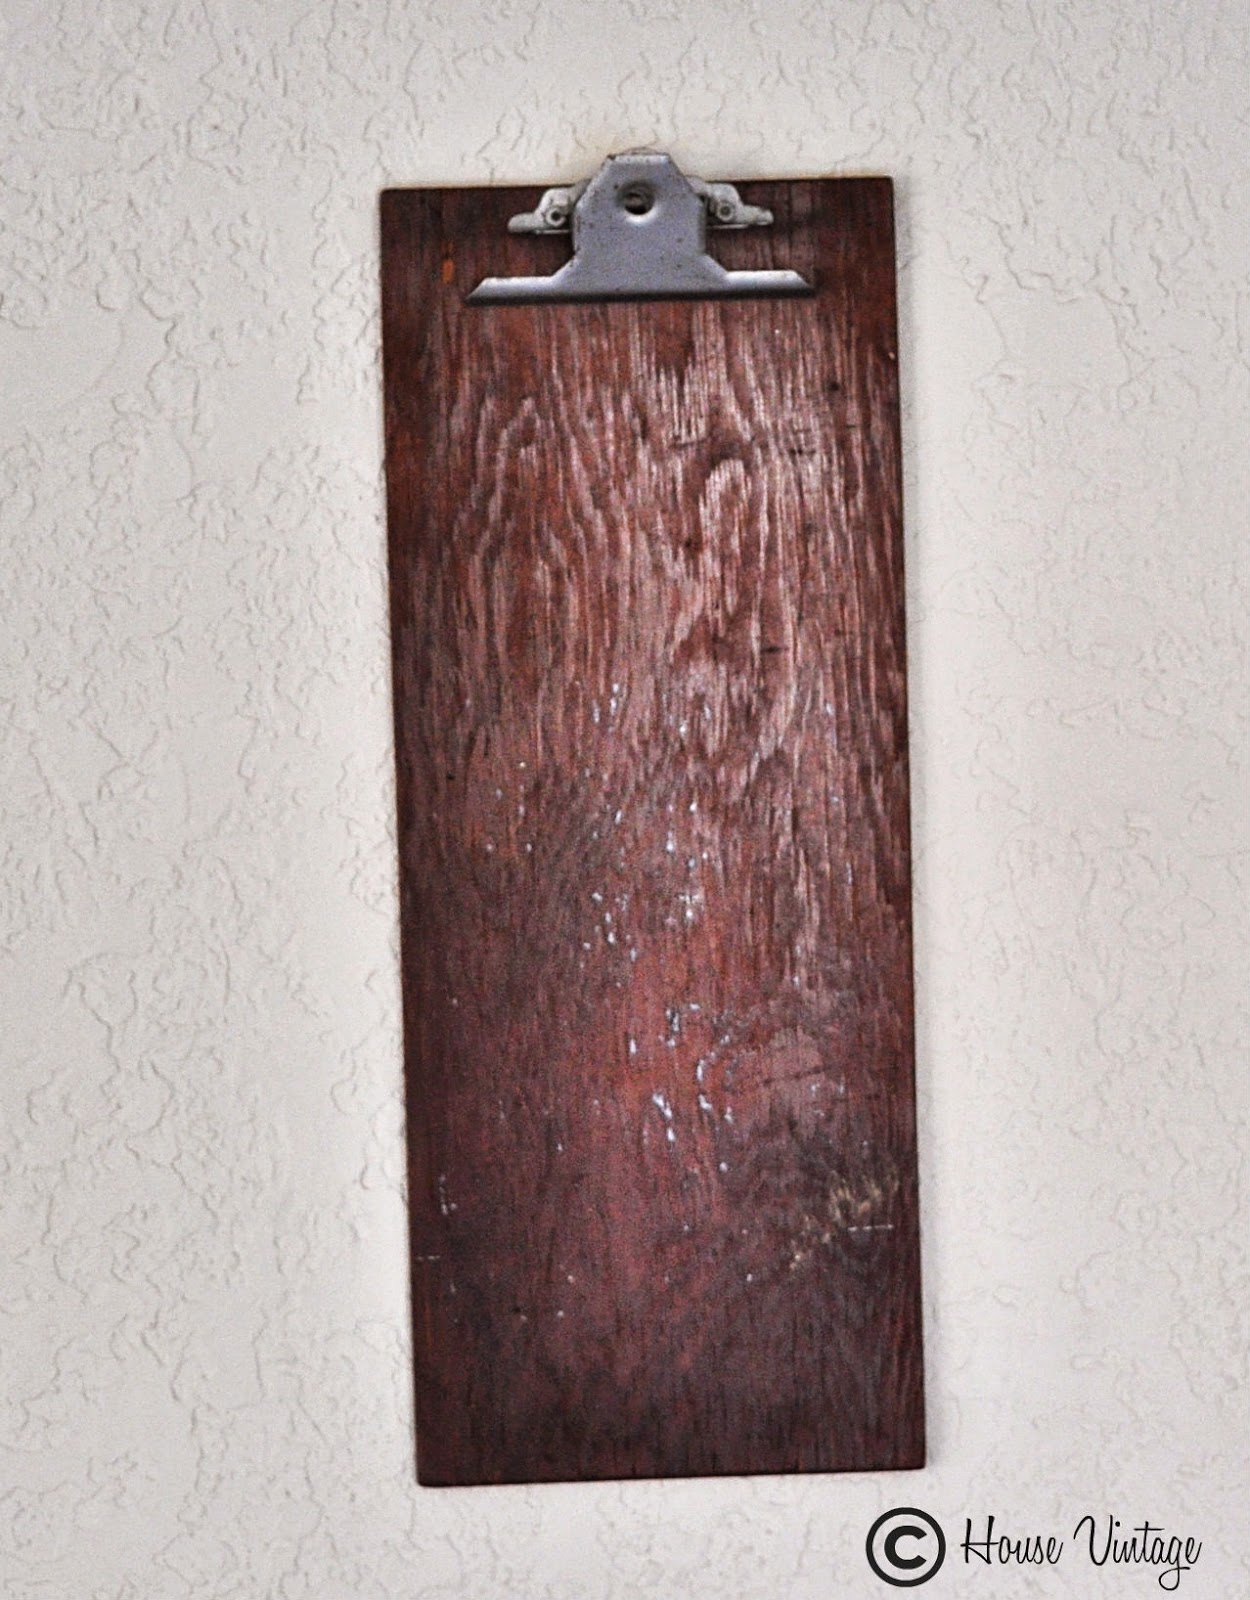
Start with a clipboard.  I’m using a vintage clipboard that I purchased from a flea market a few years ago.  This clipboard is a little longer than the standard size, but any clipboard will work.  I often see them at garage sales for less than a quarter.  Your clipboard doesn’t need to be in perfect condition, this is a great project for recycling.

Click for the full memo board tutorial.

Next, tape off a section of the board, so you can apply chalkboard paint.  Any shape or size will do, just think about how much writing space you will need.
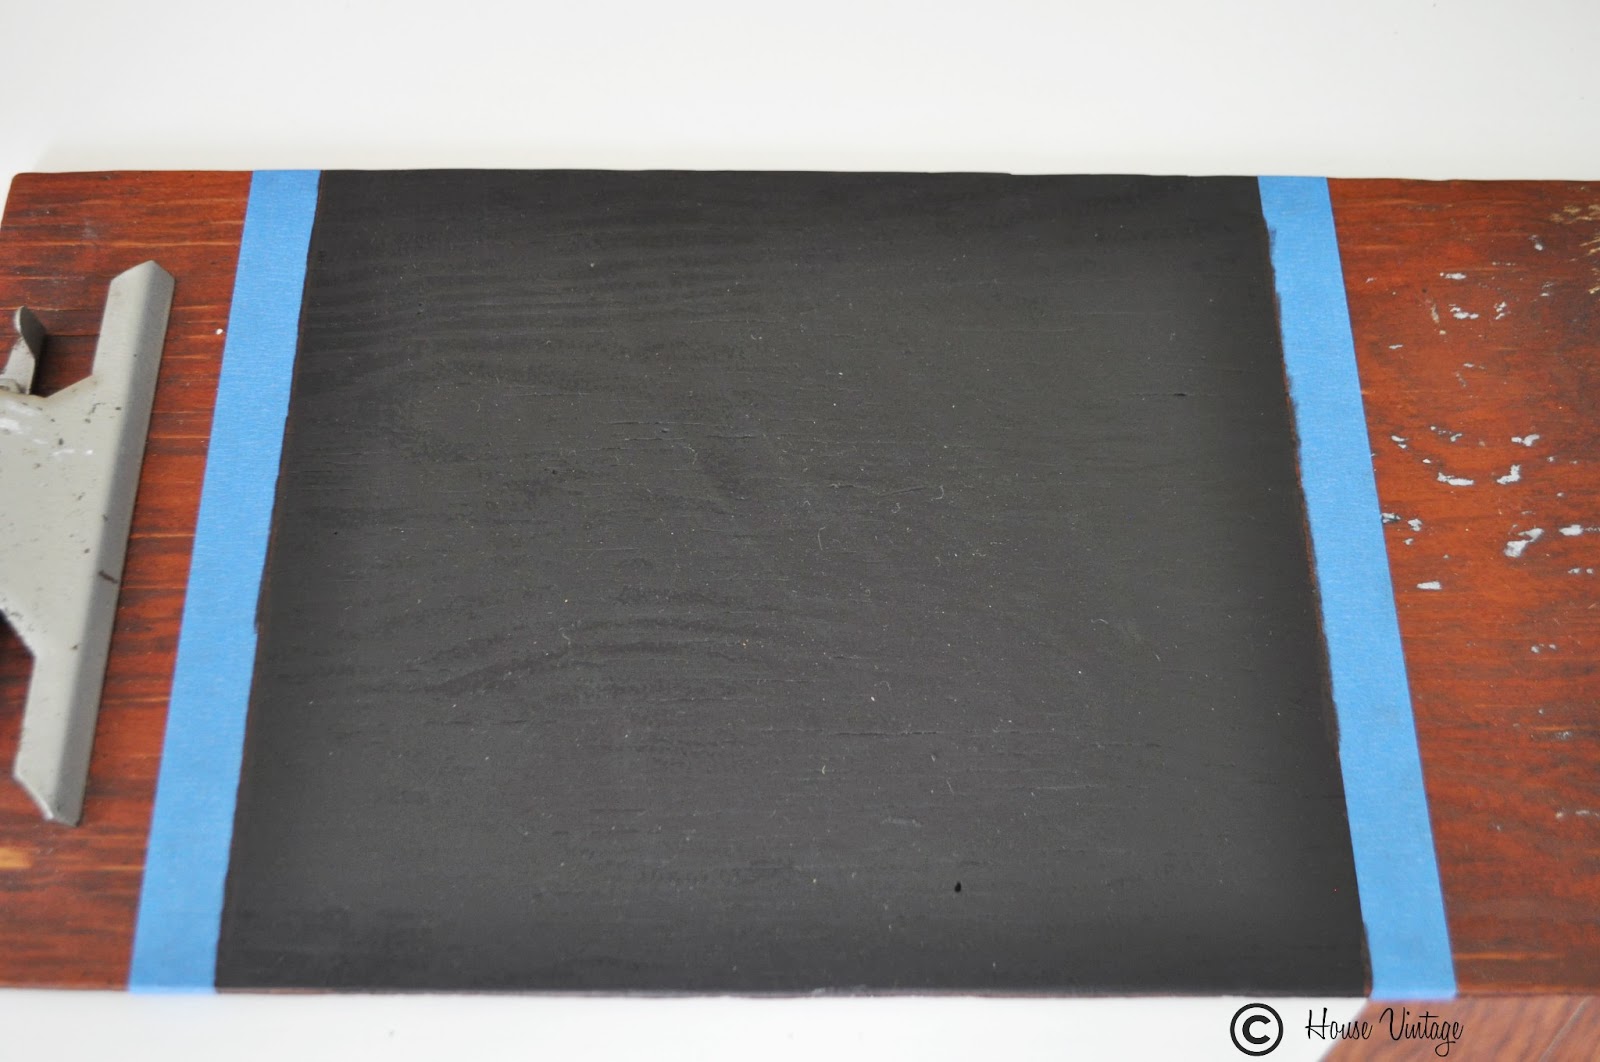
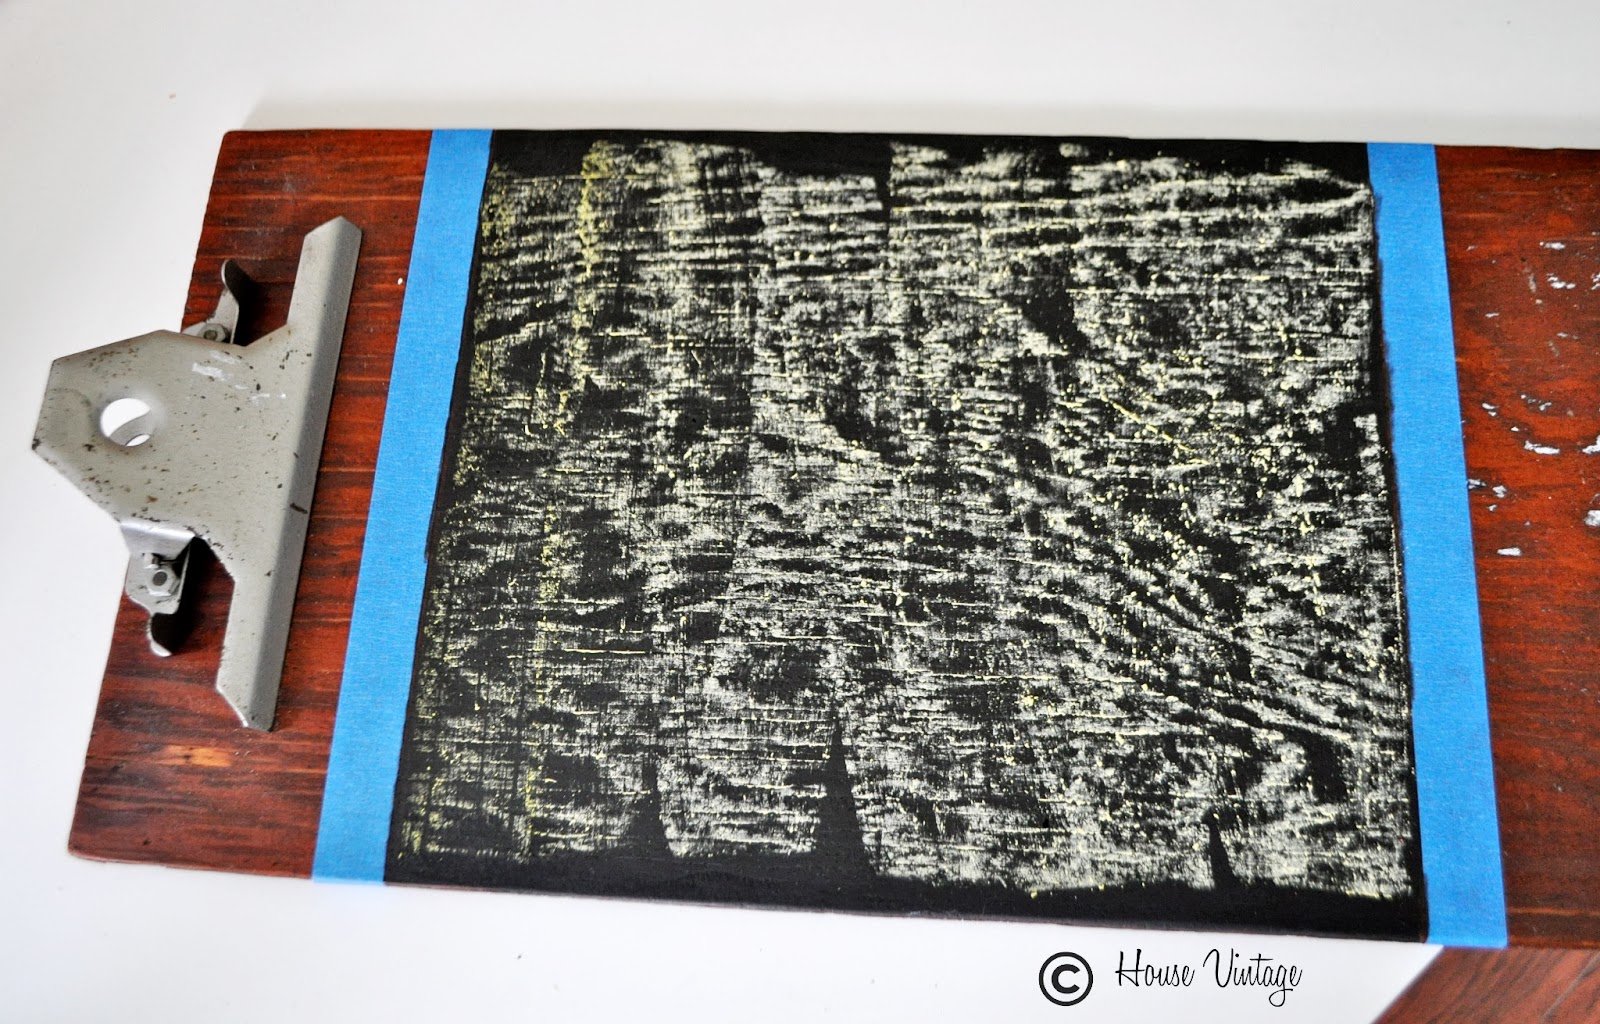
Allow the paint to dry and cure.  Before you remove the tape, use a piece of chalk to season the board so your writing will be erasable.
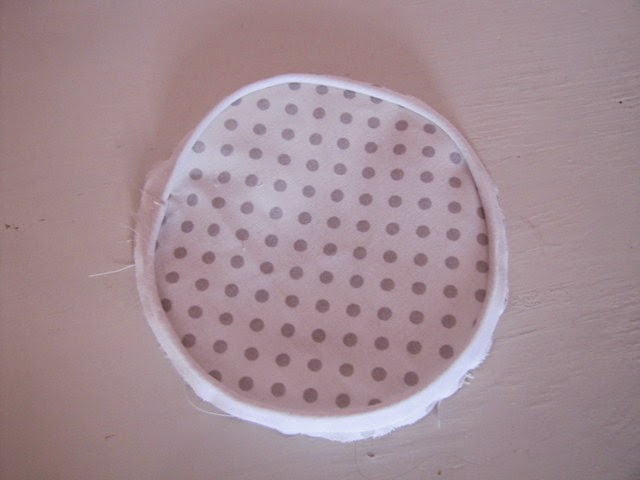
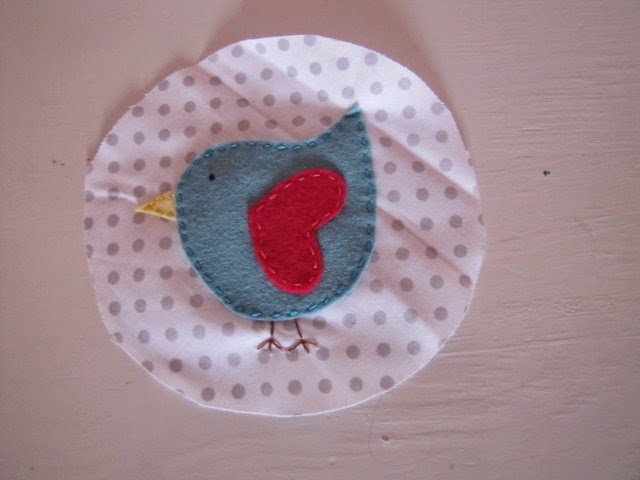
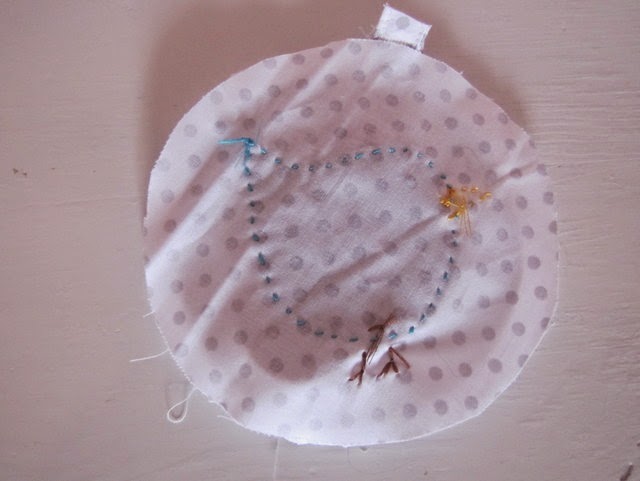
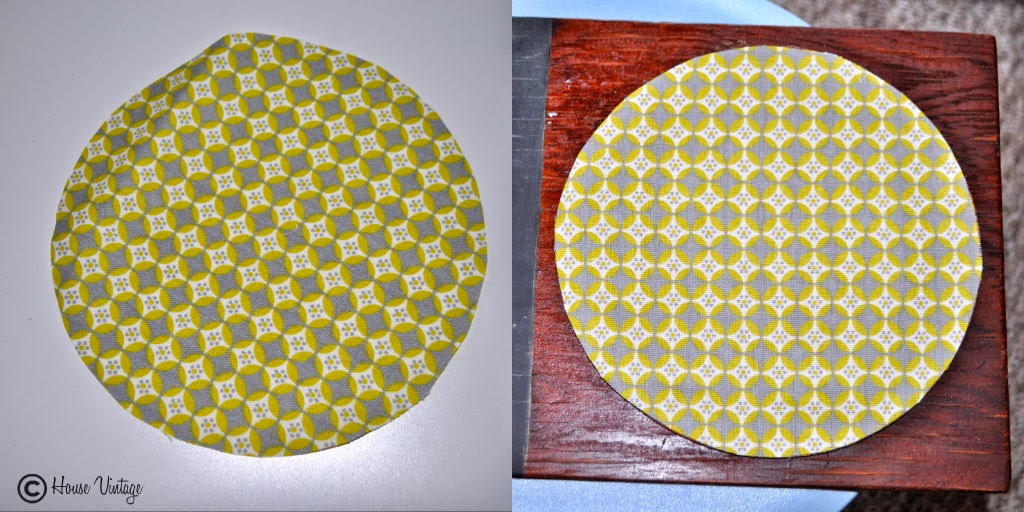
For the cork board section of the message center, I used a cork trivet.  These can be purchased at any craft store or dollar store.  You can leave the cork trivet a la natural, or cover it.  I searched my scrap pile for a fun fabric to use.  Simply trace the trivet onto the fabric.
Cut out the fabric and glue it onto the cork.  I used hot glue.  Then secure the fabric-covered cork circle to the clipboard.
Now you can keep your family informed and organized with this clipboard message center!
————————————————————————–
What a fun idea for a memo board! Thanks Ali!
We have decided to truncate our feed to help protect against stolen content. I apologize for any inconvenience. Please love us anyway. 🙂

DIY Envelope Pillow Cover

July 2, 2013 By Michelle Barneck Leave a Comment

Hey guys, I’m super excited to be back over here at A Little Tipsy today to share a fun sewing tutorial. I am a self taught sewer, so I’m not technical or detailed. I usually figure out all of my projects on my own (with a little trial and error!) and I share them in non-sewing terms because I really don’t know much!

  Envelope Pillow Tutorial from OurThriftyIdeas.com

I am currently re-doing my master bedroom color scheme and decor, and in the process I am making new pillows for my bed, because you can never have too many pillows on your bed! Today’s pillow tutorial is super simple. I got it done in less than 30 minutes, and it makes such a great impact for being so simple.

{Read More of this Awesome Tutorial}

Envelope Pillow Tutorial from OurThriftyIdeas.com

I found this cute fabric at my local Bennion Crafts store. I love that it’s not just a typical chevron, but has the accents with the dots. This is for an 18 inch pillow, but if you are doing a different size, just adjust the measurements accordingly.  Cut your fabric to 19×19 and 19×24 inches. This will allow for seams and also give your pillow a snug fit. Then cut your 24 inch piece in half, making two 19×12 inch pieces. From there you are going to hem one side of the 12 inch pieces (pictured below)
  Envelope Pillow Tutorial from OurThriftyIdeas.com  

After your 2 sides are hemmed, lay your 19×19 piece on the ground facing up. Lay each 12 inch section on top, right sides facing down, with the seam in the middle. They will overlap creating the “envelope” fold of your pillow.

  Envelope Pillow Tutorial from OurThriftyIdeas.com

Then sew around all 4 edges with with a straight stitch and a 1/2 inch seam allowance. Once it is all sewn, trim off the excess fabric from all sides. Now all you need to do is turn the pillow case right side out and stuff
with your pillow!

  Envelope Pillow Tutorial from OurThriftyIdeas.com   

 Thanks for letting me stop by and share a sneak peak into my new master bedroom. Make sure to check out the full reveal on my site later this month (after my big move to Sunny St. George!)

———————————————————————–
Thanks Vanessa! I love a sewing tutorial that looks easy enough for me to follow and chevron + polka dots = cuteness!

We have decided to truncate our feed to help protect against stolen content. I apologize for any inconvenience. Please love us anyway. 🙂

Tooth Fairy Pillow for Little Girls

June 25, 2013 By Michelle Barneck 1 Comment

Hi everyone! This is Terra from mama says sew. Today I’m going to share the tutorial for this Tooth Fairy Pillow with you.
A little while ago, our daughter lost her first tooth. She was so excited to leave it under her pillow and get a surprise from the tooth fairy. The next morning, however, she came into our room, very disappointed, saying that the tooth fairy hadn’t left her anything. Well, I was pretty sure that the tooth fairy had left something, because I know her {or in this case, him} personally, so I told her to go look again. But with this pillow, she can hang her tooth on her bedpost, and the tooth fairy can slip the surprise into the tooth pocket, with no worries about it getting lost {or waking her up}.

Click for the full photo tutorial.

Here’s how I made mine. I did an etsy search to get some ideas {and there are pages and pages of tooth fairy pillows} so head over there if you want some other ideas {or want to buy one instead of make one}.
You’ll need:
Fabric scraps
Piping {optional}
Embroidery floss
Felt
Batting
Basic sewing supplies
I started by cutting out two circles for the pillow and two strips of fabric for the door hanger. Then cut out some felt shapes. You can download the template for the bird here.
Pin your piping around the edge of one of the circles, overlapping at the ends.

Open up one end of the piping and snip off the thread inside.

Pin the piping casing over the other end of the piping, so that all raw edges are enclosed.

Baste the piping to the pillow. It is helpful to use a zipper foot. You can leave the piping off, or you could add a ruffle in place of the piping.

Sew on the tooth pocket, making sure to leave the top of the tooth open, so it is actually a pocket and not an applique.
Sew your fabric strips together, then turn right side out and topstitch the sides, to make the hanger.

 Sew on the beak and embroider some feet.

Sew the wing to the bird, and then make a french knot for the eye.

Sew the bird to the pillow.

Pin the hanger to the tooth side of the pillow.

Layer the bird on top, right sides together with the other pillow circle. Stitch all the way around, leaving a small opening to turn.

Turn the pillow right side out and stuff it with some batting. Slip stitch the pillow closed.

Now you’re ready for the tooth fairy! This would be easy to switch up for a boy-you could do dinosaurs, trucks, or whatever your little guy likes.

————————————————————————
Absolutely adorable Terra! I love the idea of hanging it on the bedpost so there is never any confusion/waking scares. Thanks for sharing!

We have decided to truncate our feed to help protect against stolen content. I apologize for any inconvenience. Please love us anyway. 🙂

Independence Day Liberty Board

June 18, 2013 By Michelle Barneck 5 Comments

Hi, it’s Amy, here again from The Happy Scraps.  I’m excited to be here sharing this fun Independence Day Liberty board.  This was a really simple project, but it makes a statement and I’m so excited to have it up in my home for the 4th of July!

Click here for the full picture tutorial.

I had my shaped board and partially painted the edges red.  Then I gave it 3-4 good coats of white, including the red edges.  

Once it was all painted and dry, I distressed the edges, revealing the red, just a little bit.

Using my Cricut and Cricut Craft Room, I designed and cut out this outline of the US with the “Liberty” in the center of it.  With transfer tape I put it on the board. 

To finish it off, I tied this fun striped ribbon around the bottom. I think it was the perfect finishing touch.  

What kind of 4th of July decorations do you have?  I think this one is my new favorite. 

—————————————————————————
Thanks Amy! I think I need one of these at my house! The striped ribbon is the perfect touch.

We have decided to truncate our feed to help protect against stolen content. I apologize for any inconvenience. Please love us anyway. 🙂
« Previous Page
Next Page »

  • Bloglovin
  • Facebook
  • Google+
  • Instagram
  • Pinterest
  • RSS
  • Twitter

Hi there! I'm Michelle. Mother of three little boys and one little princess. Welcome to A Little Tipsy, a place for exploring creativity and sharing inspiration.

Follow on Bloglovin


Visit Michelle Barneck {A Little Tipsy}'s profile on Pinterest.

Tutorials by Category


15 Family Reunion Games

Family Reunion Games Collage

15 Sprinkle Party Ideas

Sprinkle Birthday Party
Creative Commons License

© Copyright 2014 A Little Tipsy · Site Designed by The Fairy Blogmother · Web Hosting by RFE Hosting

This website uses cookies to improve your experience. We'll assume you're ok with this, but you can opt-out if you wish.Accept Read More
Privacy & Cookies Policy