A Little Tipsy

Creative Tips & Ideas

  • home
  • About Me
  • the tipsy top
  • press
  • projects
  • contact me
[print_thumbnail_slider]

Minnie Mouse Hooded Towel

April 9, 2013 By Michelle Barneck 1 Comment

Hello A Little Tipsy Readers! This is Amber from Crazy Little Projects here to teach you to make a hooded towel-and I think you Disney fans are going to love this one. I make a new hooded towel every month-check them out here! But this one’s a little different from the ones I’ve made in the past. This one’s Minnie Mouse (or Mickey Mouse-take your pick). I’m thinking some kiddos would love these. They’d be
great to take on a trip to Disney!

  Minnie Mouse Hooded Towel Tutorial by CrazyLittleProjects.comMickey Mouse Towel Tutorial by CrazyLittleProjects.com  

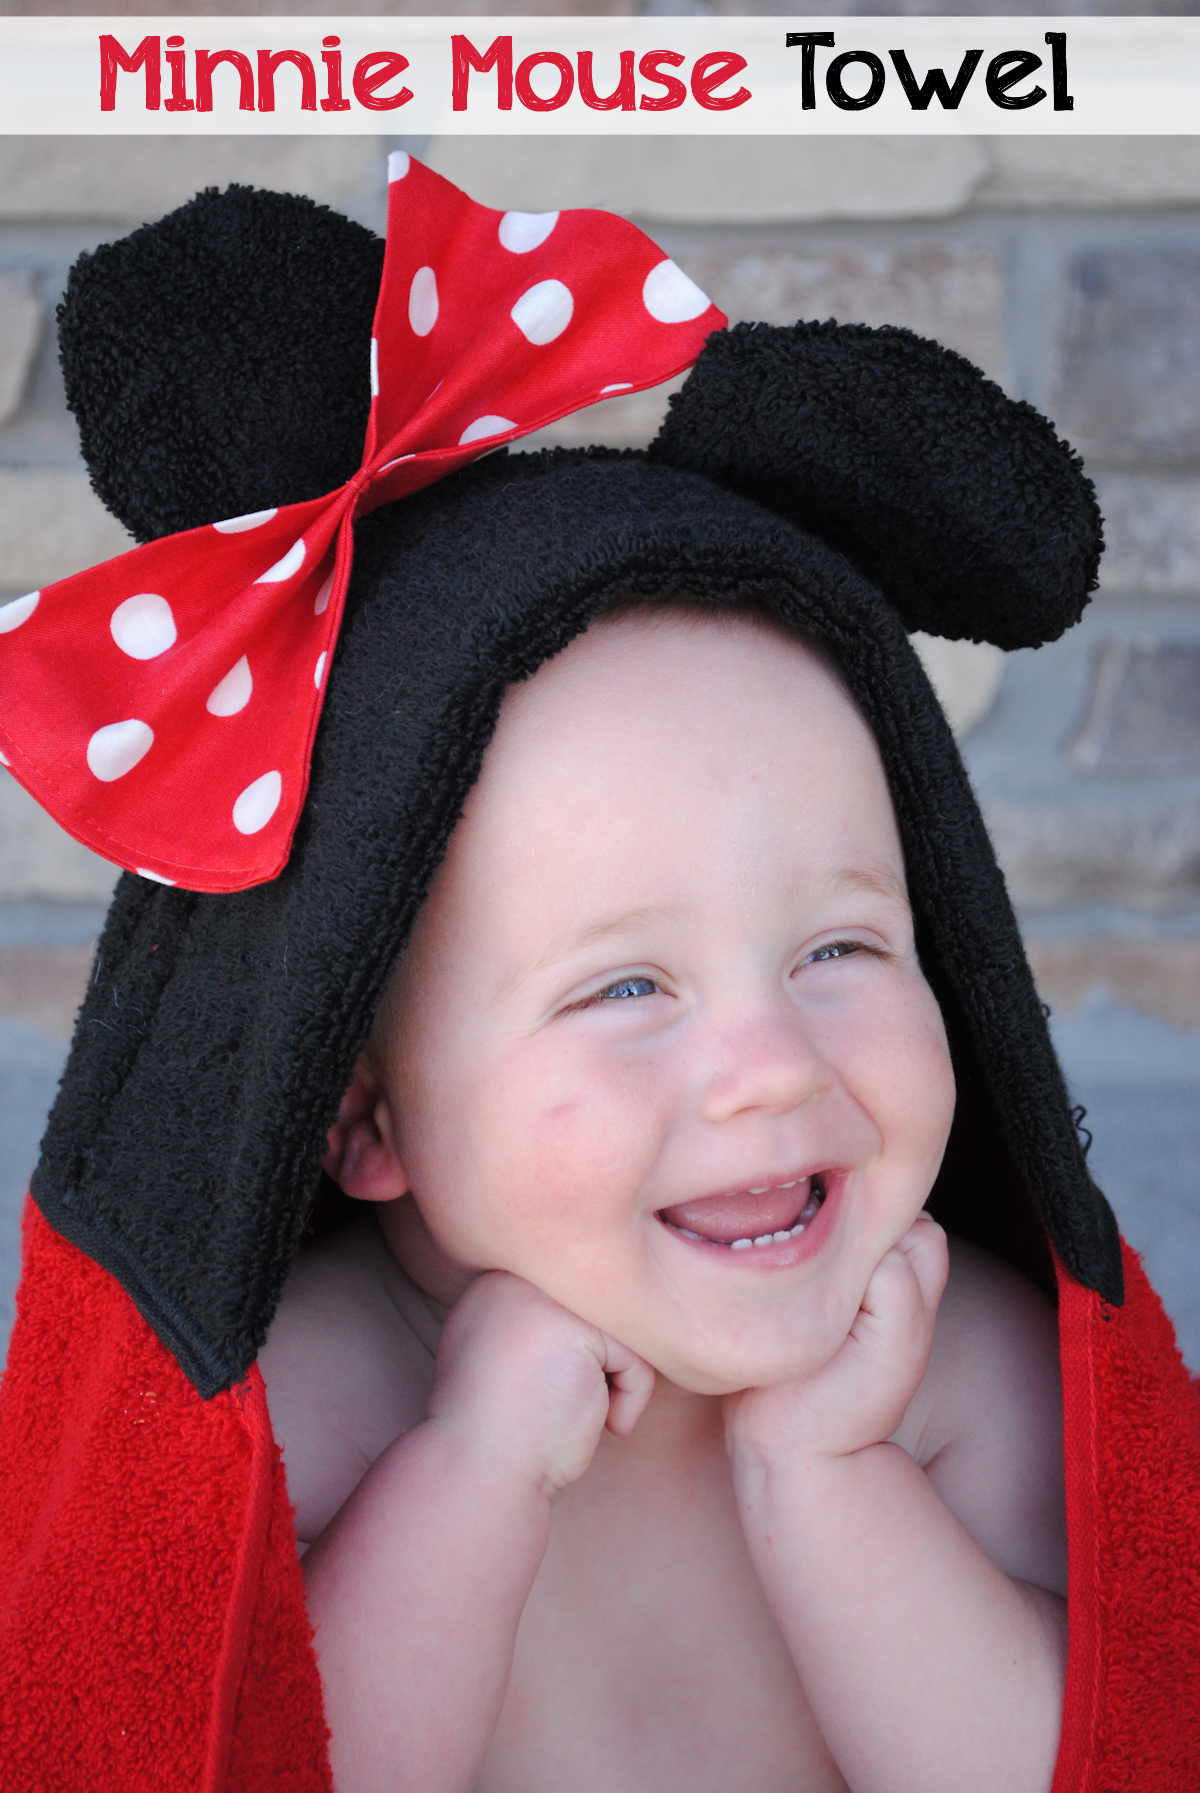
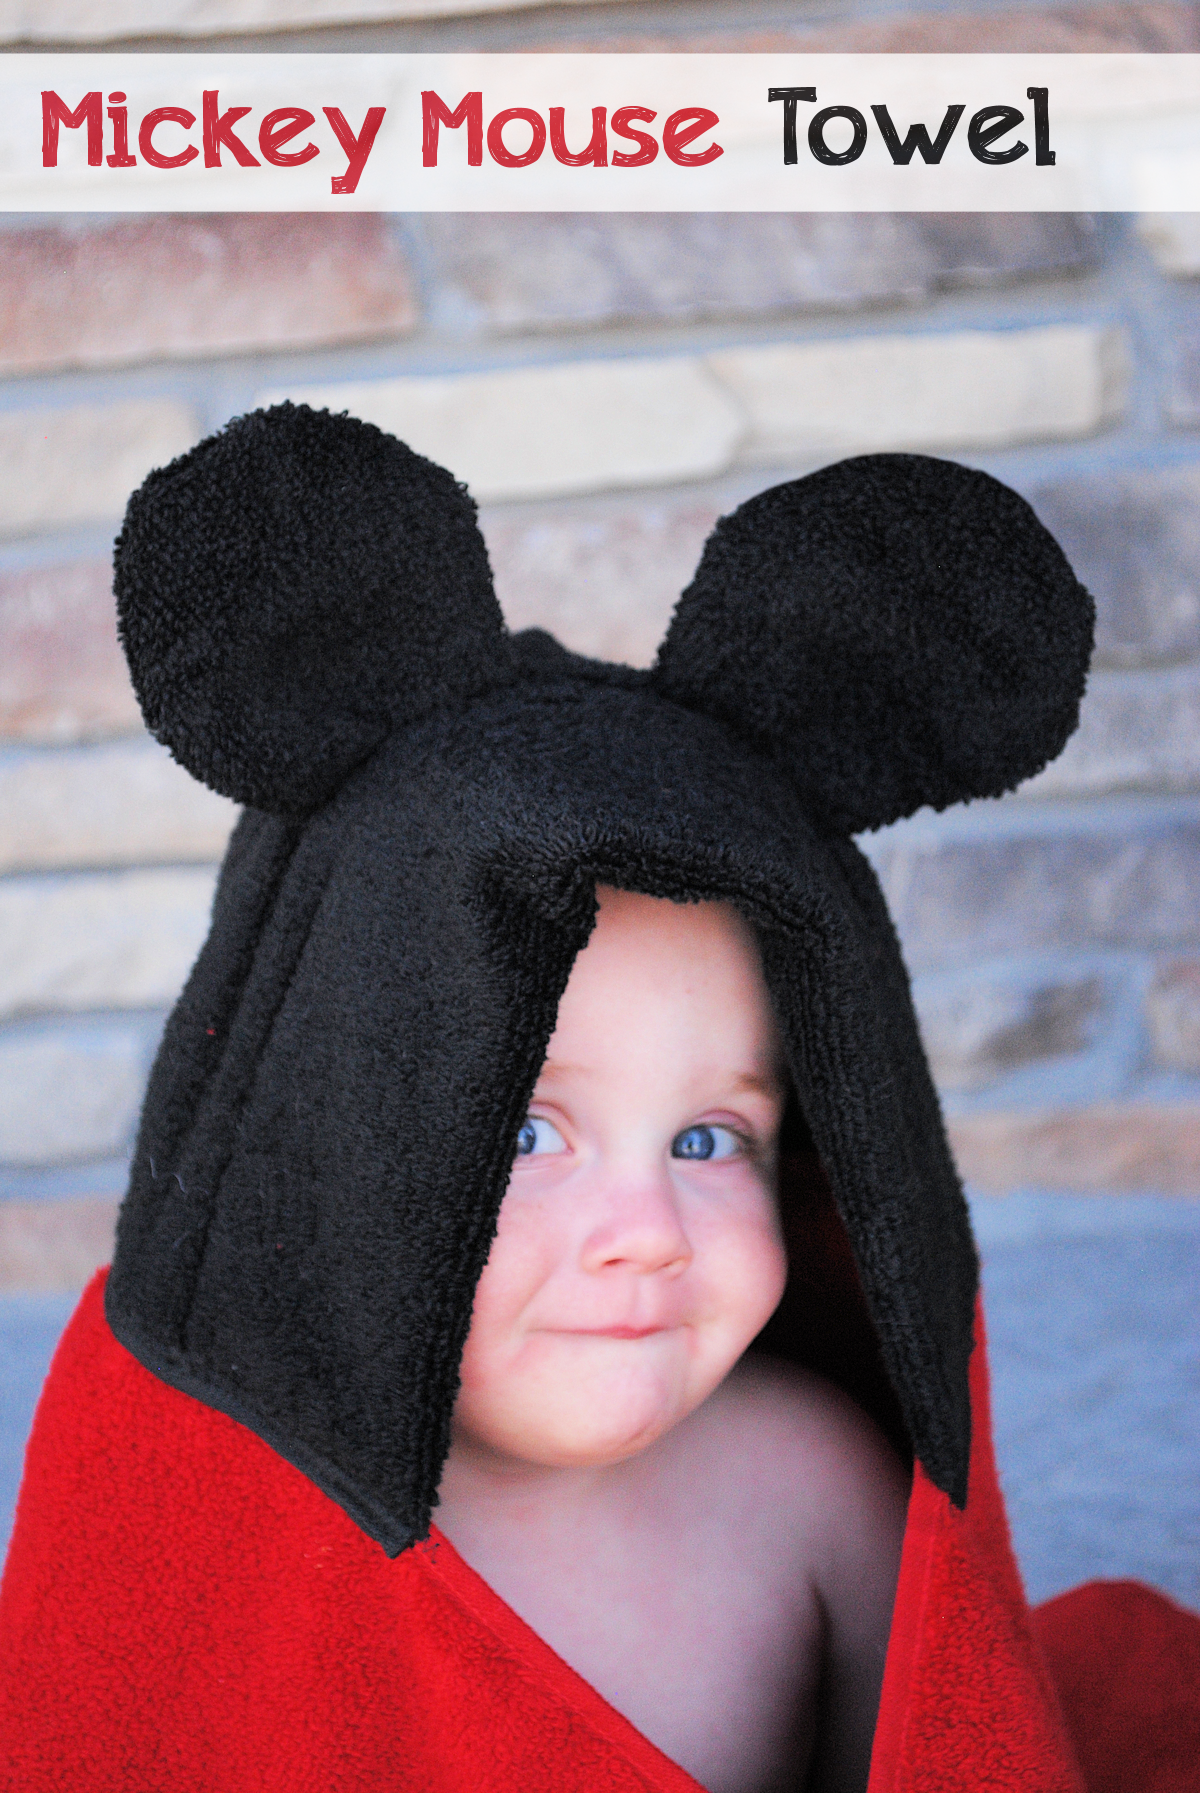
Mickey and Minnie Hooded Towel Tutorial:

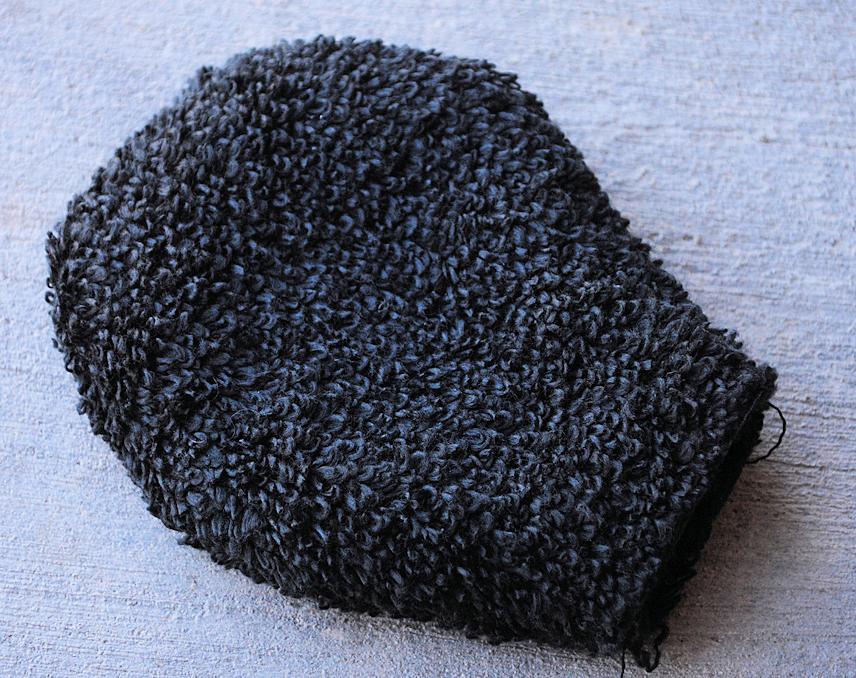
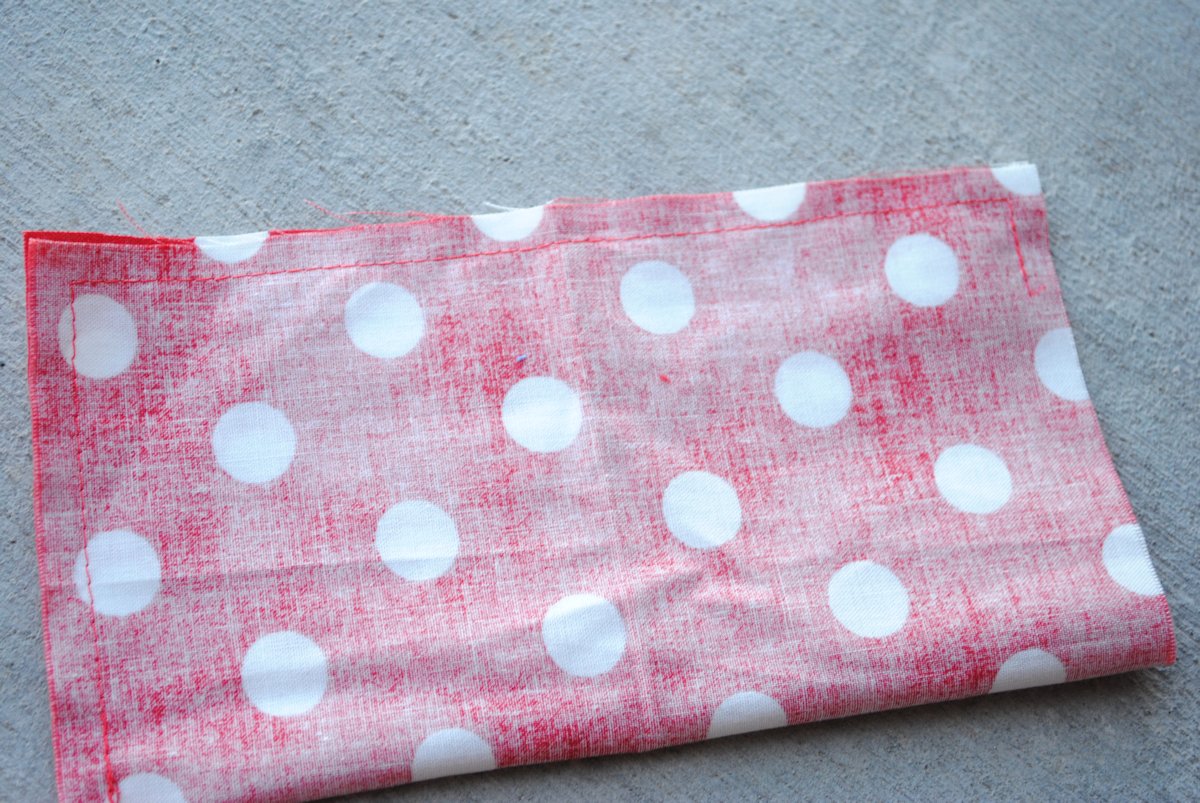
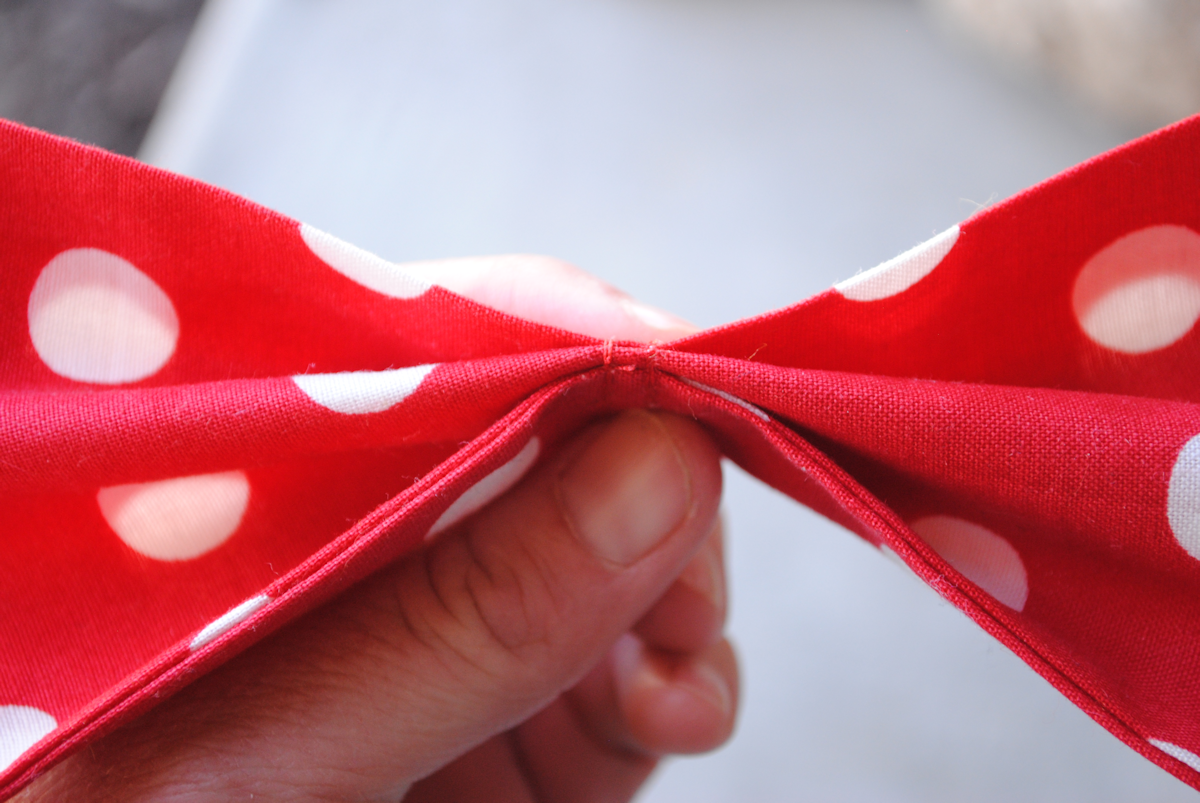
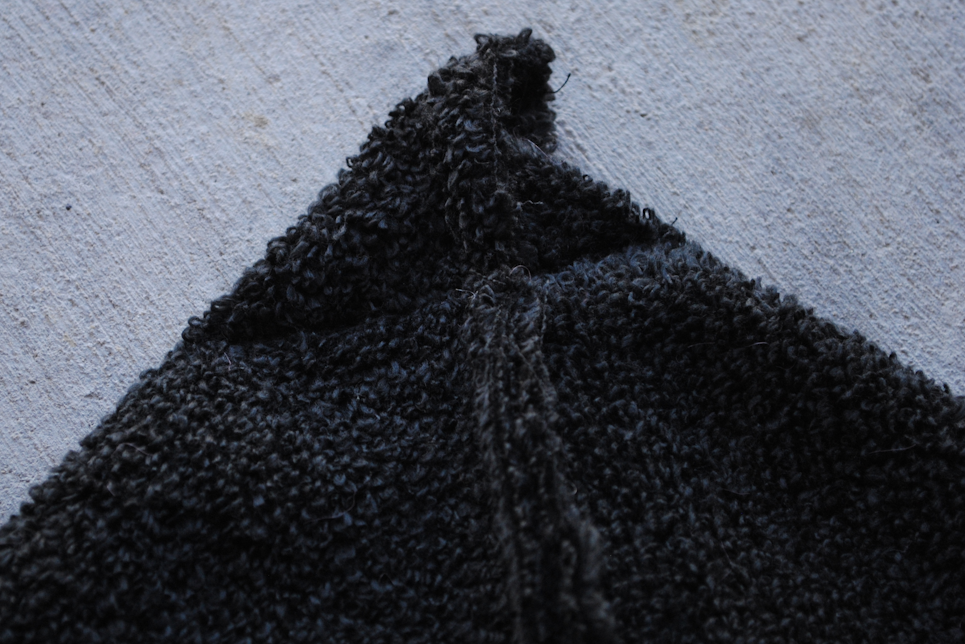
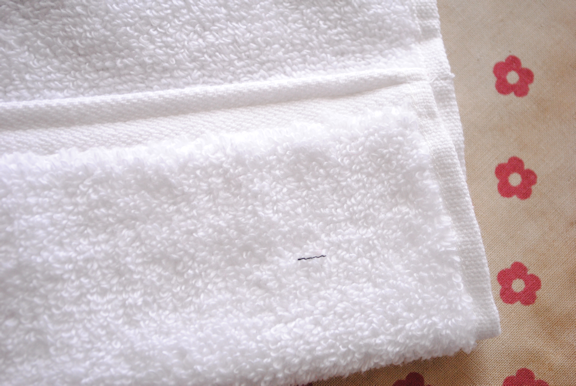
Supplies Needed: 1 Red Towel 1 Black hand towel Red polkadot fabric or ribbon for Minnie Towel   Instructions: In this post I am teaching you to make the head part of this towel. If you would like to see how I finish off my hooded towels and attach the hoods, see my basic hooded towel post. To start off, cut your hand towel in half horizontally. Fold the selvage edge under about 3-4 inches and stitch it in place. (Sorry, forgot to take pictures of this, but here it is on another towel):

  Fold 

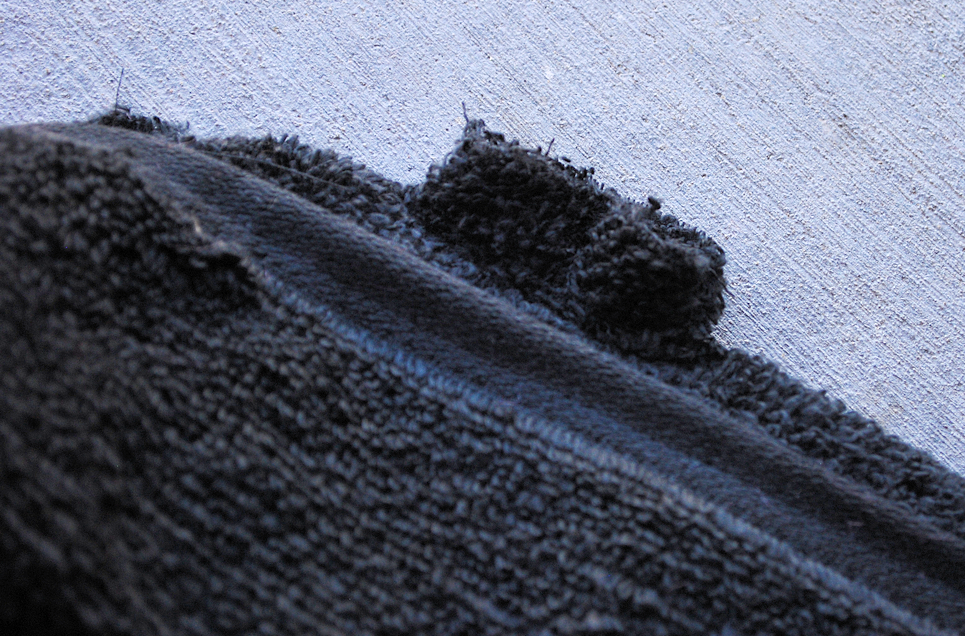
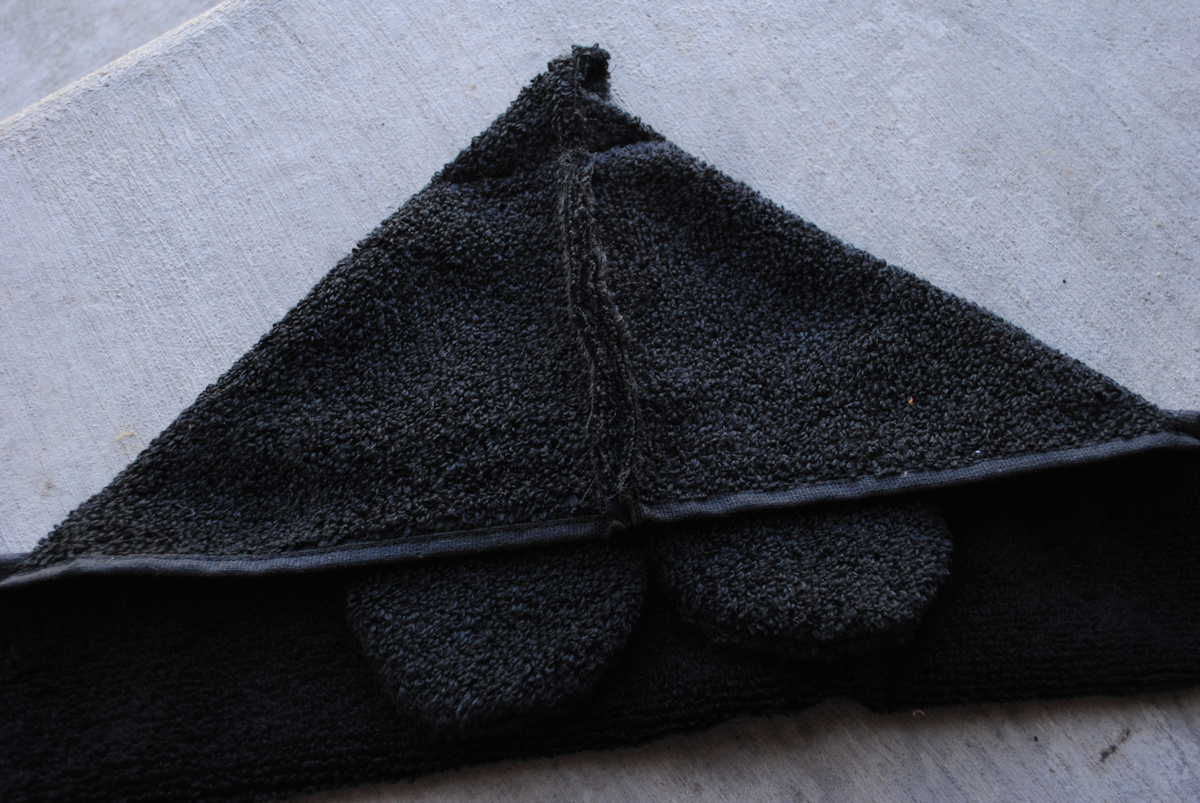
 Now, flip that over and you will work on the underside, the side without the seam. With the extra piece of hand towel cut out your ears. You will need 4 ear pieces. Just cut a large circle but make it slightly oval shaped so that you can sew it in place easier (see image below). Grab 2 ear pieces and sew them together leaving an opening in the bottom.

  Eear2 
 Turn them right side out:
  Ear 
 On your hand towel decide where you want the ears and cut small slits. Pull the ear through so that it looks like this on the underside: 
  Earthrough 
 Do that with both ears and snip off any excess on the bottom. For Minnie-to make the bow either use red polka dot ribbon and tie it, or, use red polka dot fabric. Cut the fabric to be about 14 inches by 5 inches (it’s up to you how big or small you want the bow). Fold it so that right sides are together and stitch around it leaving a small opening to turn it.
  Bow1 
 Turn it right side out, press it and then sew the opening closed. The pinch your bow like this:
  Bow 
 And stitch it in the middle to hold it. Hand stitch the bow to the towel where you want it. Now, fold your hood part in half so that the ears are on the inside and zig zag up the back along the raw edges. Then, fold it 
like this:
  Backofhood 
 And sew a straight line across the top about 1-2 inches from the top and snip that off. (This rounds out the hood so it’s not so pointy.)
  Tip 
 And you’re done! Just sew the hood to your towel and you’ve got yourself a little Mickey or Minnie Hooded Towel! Here’s a few more of my hooded towels:
  Hooded Animal Towels  
 Come find me on facebook, pinterest and twitter!
——————————————————————
Oh my heavens Amber, this is adorable! I wish I had these for our Disney trip last fall. These would be perfect to take to the pool in the summer too! Thanks for such a great tutorial.
We have decided to truncate our feed to help protect against stolen content. I apologize for any inconvenience. Please love us anyway. 🙂

12 Tips for Making the Most of a Blog Conference

April 8, 2013 By Michelle Barneck 6 Comments

This post is sponsored by Vistaprint. The text and recommendations are all my own.


  1. Sit by someone new at each class or meal. This will ensure you meet lots of new people. People are feeling just as nervous/shy as you are. Don’t be afraid to introduce yourself. 
  2. Bring lots of business cards. The upcoming SNAP conference is going to have around 350 people.


    You probably won’t meet all of them (unless you are an introduction ninja) but there are also sponsors etc. so don’t short your self. I ordered mine from Vistaprint and they are good quality and super affordable especially when you use Vistaprint coupon codes. I ordered 500 2-sided color cards with premium matte cardstock for $31.47! Last year I added a little something to make them stand out.
  3. Have a way to corral others business cards. Last year at SNAP they gave us a hole punch and a ring to keep business cards in order. This is not always the case and you don’t want to lose them.
  4. Find the sponsors you are interested in working with and introduce yourself. They are getting inundated with intros so don’t wait for them to talk to you. Leave them with a card and follow up after the conference.
  5. If possible, stay at the conference hotel. Who doesn’t love spending time with like minded people?! You will get to know your roommates really well, but also meet people at breakfast and walking to/from the hotel. Plus, it is really convenient if you forget something, need to change shoes, etc. Also, if you are staying, see if your roomates are planning to do roomie gifts.  
  6. Get to class early. Seats fill up fast and some rooms only hold so many. If you are set on a certain class get there early. It’s also hard to hear in the back sometimes so try to get forward if possible.
  7. Bring a notebook for notes. There is going to be a ton of info thrown at you so bring something to write down what sticks out to you to take action on later.
  8. Don’t be afraid to ask questions. If you have them chances are someone else does too. On the flip side of this, don’t dominate the class with a barrage of questions. If you have a ton of questions they might answer them as the class goes on or you could try to corner the speaker after the presentation.
  9. Wear comfortable shoes or bring band-aids for blisters. Trust me, now is not the time to break in 4 inch heels. You will do a lot of walking. Choose some cute flats or heels you can comfortably wear all day.
  10. Have a water bottle on hand. Like I said earlier, lots of walking and classes. It’s nice to have a beverage on hand whether your choice is H20 or Diet Coke.
  11. Bring a smartphone or tablet to tweet/instagram and follow others on the hashtag. That’s half the fun isn’t it? I swear a blogger conference is the only place where it isn’t totally rude to be typing away tweeting during a speaker or conversation.
  12. Take pictures with friends everyday. I always forget until the last day and go running around trying to get pics with my girls. Get ahead of the game and take a few everyday.
We have decided to truncate our feed to help protect against stolen content. I apologize for any inconvenience. Please love us anyway. 🙂

Kaboo Tablet Bag

April 4, 2013 By Michelle Barneck 3 Comments

This review and giveaway is sponsored by Kaboo. The content is all my own.
With a new Kindle Fire HD, I decided I needed a safe place to tote it around with me. It didn’t take me long to decide I needed a Kaboo bag. They are the cutest tablet bags I’ve seen, plus they are a local company which I love. I ordered up the Riley Pearl. Isn’t she pretty? 

I am totally loving it so far. I took it on a weekend getaway and loved how it fit my electronics perfectly! There are so many pockets. Seriously, an organized place for everything. You can see how I packed everything with the labels below.

Though the Riley Pearl is meant to be a tablet bag, not a camera bag, I figured with the padded lining on one side my camera was safer in there than in any other bag I carry. I am excited to take it to the SNAP conference to keep all my tech gear close at hand.
The Kaboo bag is kind of like a mullet. Wait for it…business in the front and party in the middle. I love how the lining is such a fun colorful print.
With seven pockets on the outside there is no shortage of storage. I love these pockets for my phone, wallet, keys, and other items I need to get to often. There’s also a pocket the perfect size for my camera charger. Love!
So, I am really excited about my bag. Can you tell? Wanna be twinsees with me?
Kaboo is giving a Riley Pearl Kaboo Bag to one of my lucky readers!

Enter using the rafflecopter form below.

a Rafflecopter giveaway

We have decided to truncate our feed to help protect against stolen content. I apologize for any inconvenience. Please love us anyway. 🙂

Succulents: A How-To Guide

April 3, 2013 By Michelle Barneck 2 Comments

I in no way claim to be a green thumb. Luckily there are those who excel in this area to help the rest of us along. I had been coveting the beautiful succulent arrangements popping up around the web for a while now and decided to bit the bullet and try my hand at it. I couldn’t be more thrilled with how mine turned out!
I am attending the SNAP! Conference in a couple weeks and as a fun way to prepare and get to know other bloggers participated in a SNAP Swap. We were given a budget of $15 and told to thrift store shop and raid our stashes to come up with some items for our partner to makeover. My partner Amber from Crazy Little Projects lives here in Utah so we were able to meet up and swap in person which was fun! Here’s the goods I came home with.
Be sure to run over and see what I sent her home with and what she came up with!
Now, how can you pot some succulents of your very own? Here’s the low down using tips I learned from this Outside Inside post from Ms. Green Thumb herself Cynthis Bee.
SUPPLIES:
  • Bowl or pot
  • Activated Carbon (found in the aquarium section)
  • Aquarium Gravel
  • Mirable Grow Moisture Control Potting Mix
  • Succulents (I found mine at Home Depot)

Layer your ingredients as follows: carbon, gravel, potting mix, succulents, gravel. You can keep the potting mix just in the middle and have only gravel around the edges if you want. The carbon and gravel are what make this bowl work with no drainage.
I love how it adds life, color, and texture to my front room!

I wasn’t sure about the blue gravel at first, but I had it on hand from when we used to have African swimming frogs and decided to give it a whirl. I am so glad because I am in love with it!

Come to find out, potting soil is not the best for succulents. Read all about it at the end of this succulent post from Cynthia. I am hoping the moisture control feature of the Miracle Grow combats this. Luckily, I am just keeping them indoors for a couple more weeks until it warms up in these parts and then they can move outside and re-pot if needed.
We have decided to truncate our feed to help protect against stolen content. I apologize for any inconvenience. Please love us anyway. 🙂
« Previous Page
Next Page »

  • Bloglovin
  • Facebook
  • Google+
  • Instagram
  • Pinterest
  • RSS
  • Twitter

Hi there! I'm Michelle. Mother of three little boys and one little princess. Welcome to A Little Tipsy, a place for exploring creativity and sharing inspiration.

Follow on Bloglovin


Visit Michelle Barneck {A Little Tipsy}'s profile on Pinterest.

Tutorials by Category


15 Family Reunion Games

Family Reunion Games Collage

15 Sprinkle Party Ideas

Sprinkle Birthday Party
Creative Commons License

© Copyright 2014 A Little Tipsy · Site Designed by The Fairy Blogmother · Web Hosting by RFE Hosting

This website uses cookies to improve your experience. We'll assume you're ok with this, but you can opt-out if you wish.Accept Read More
Privacy & Cookies Policy