- Online=spend a few minutes whenever I find them.
- If there is a class on this, I am obviously missing something.
- From a company name Simplify 101 means it won’t be overly complicated
I am still in the midst of this workshop, but I can tell you it has already done wonders for my paper organization skills. They break it down in to lessons and help you figure out where it comes from, why it is piling up, and how to make a few alterations that work for your personal style to keep it all at bay. I know we are picture people, so here are a few of the changes I have made so far.

{Before}……………………………………………{After}
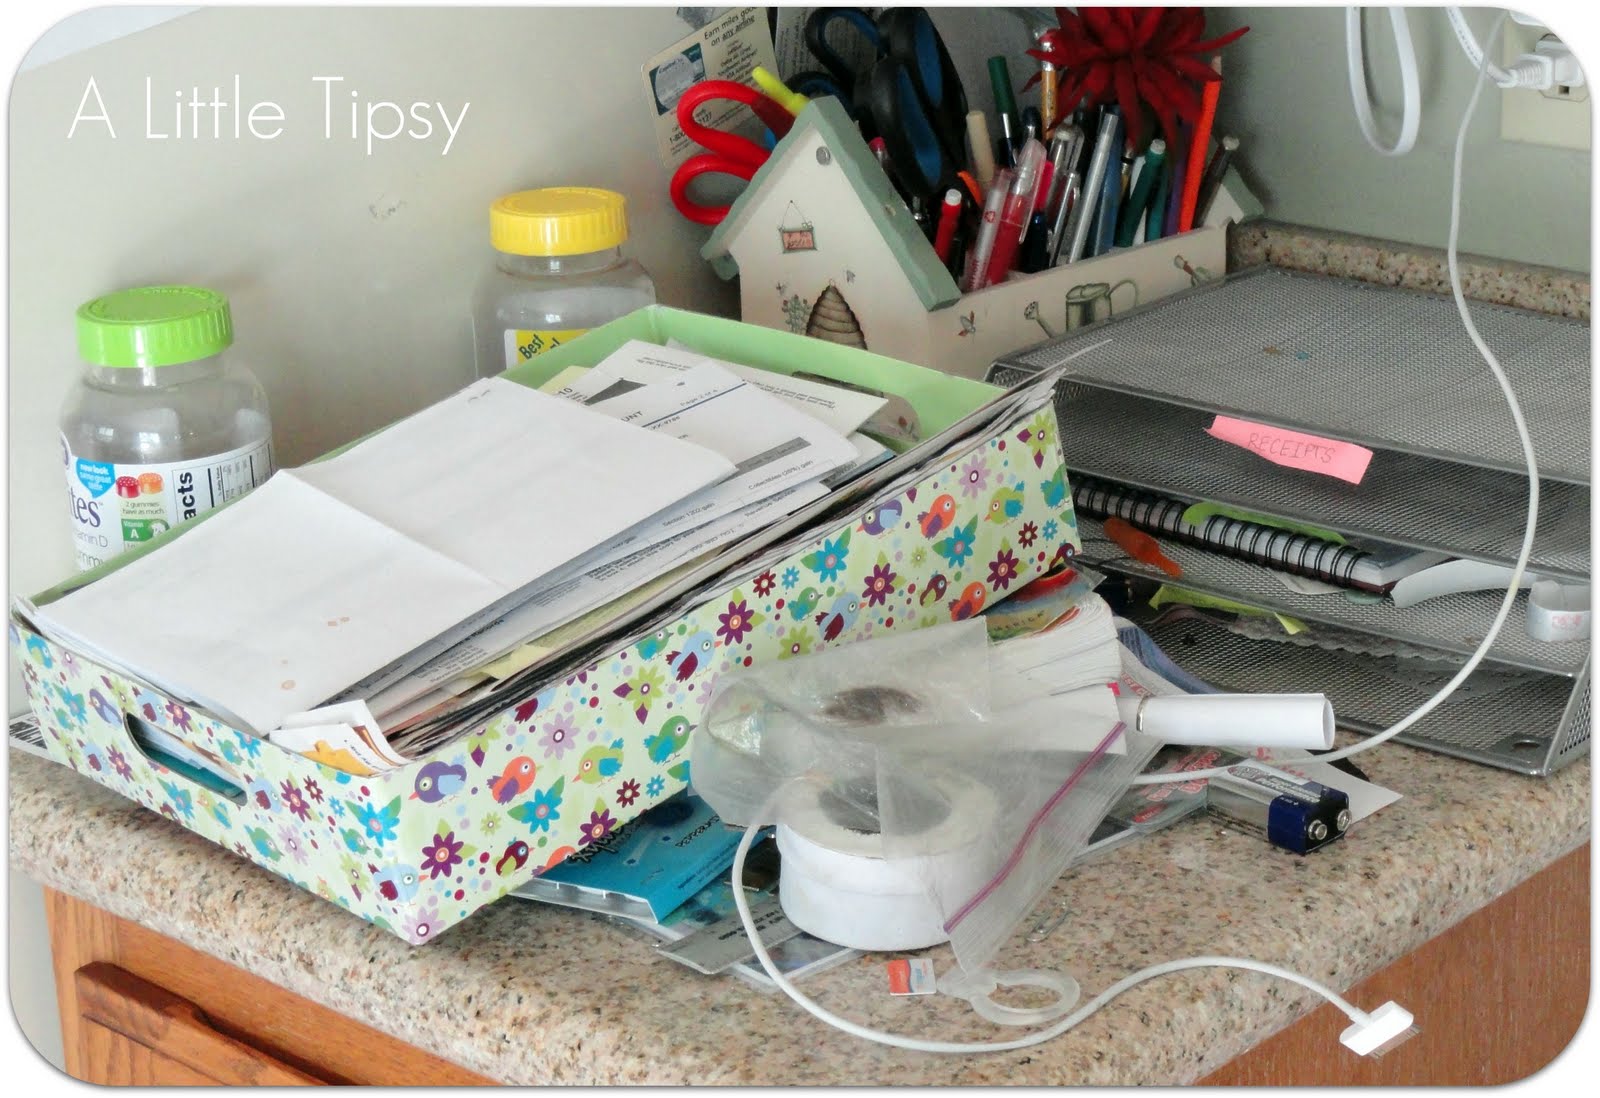
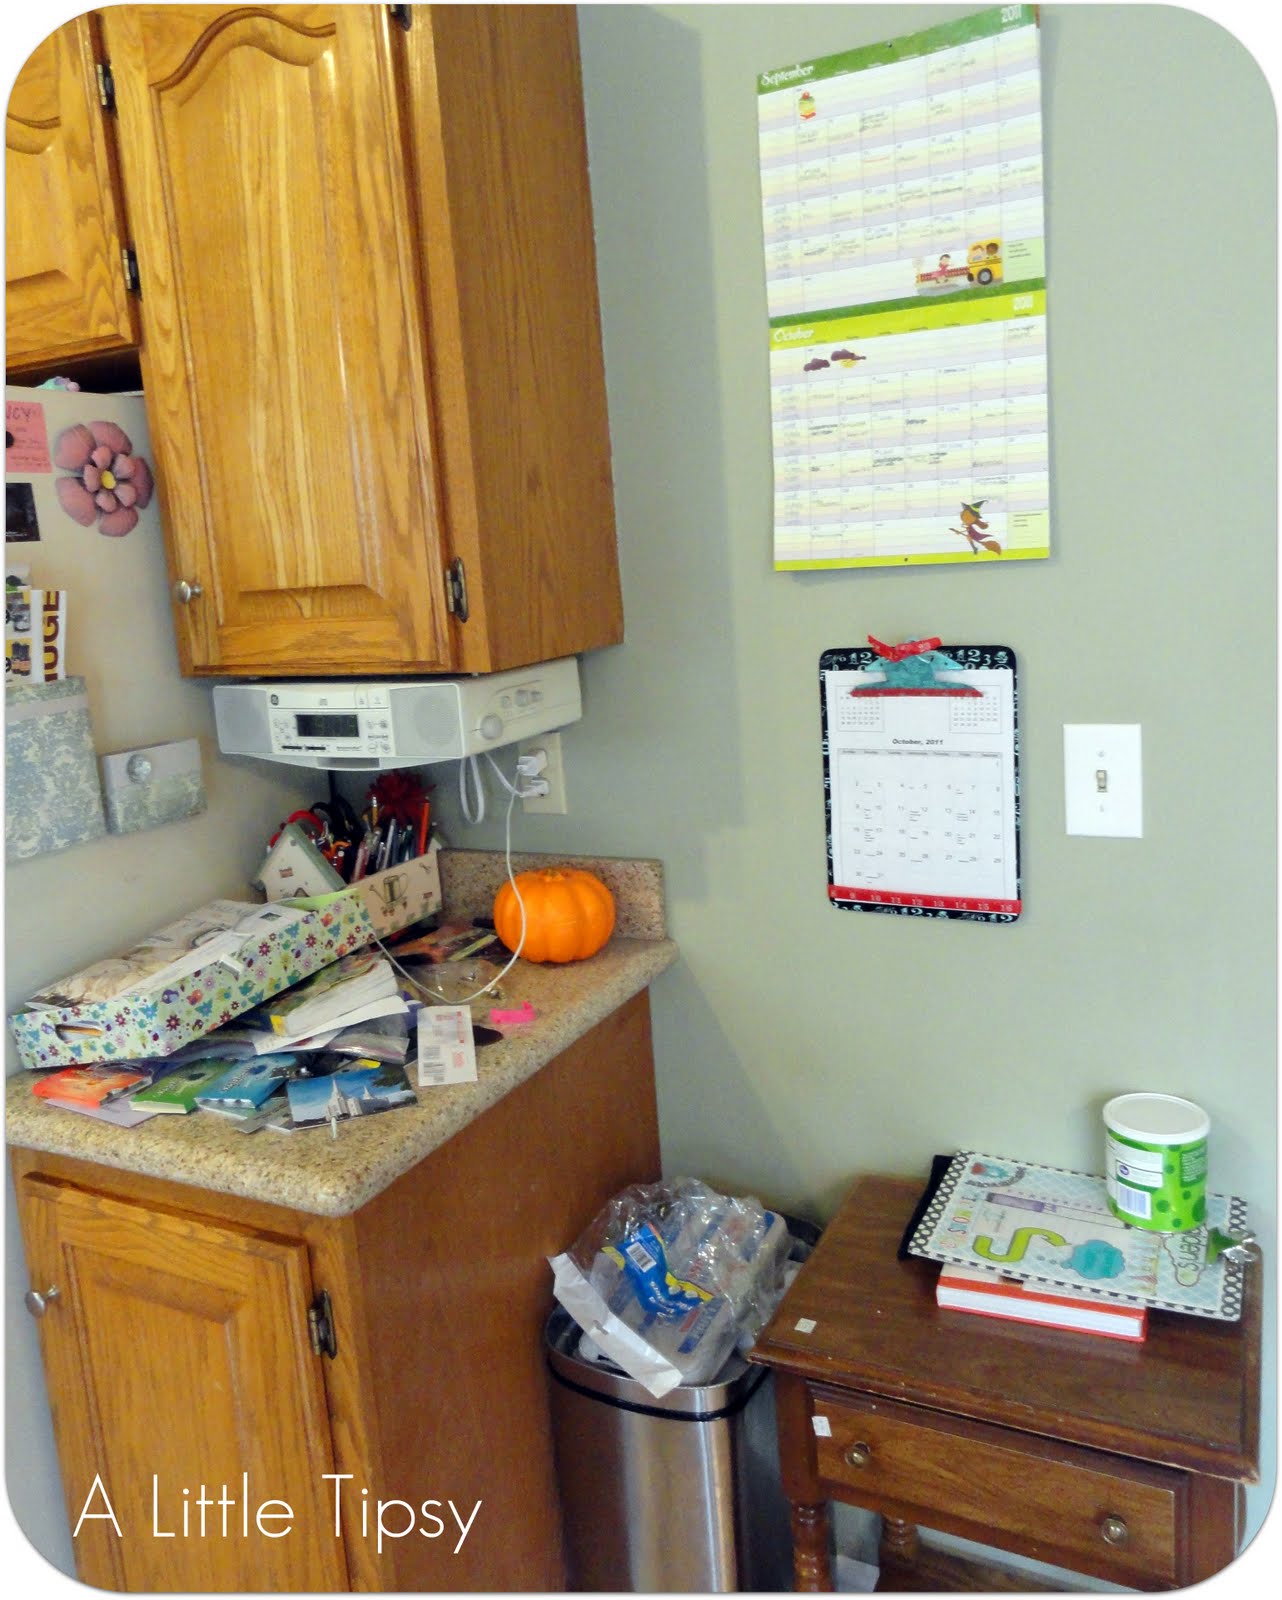
{Before}
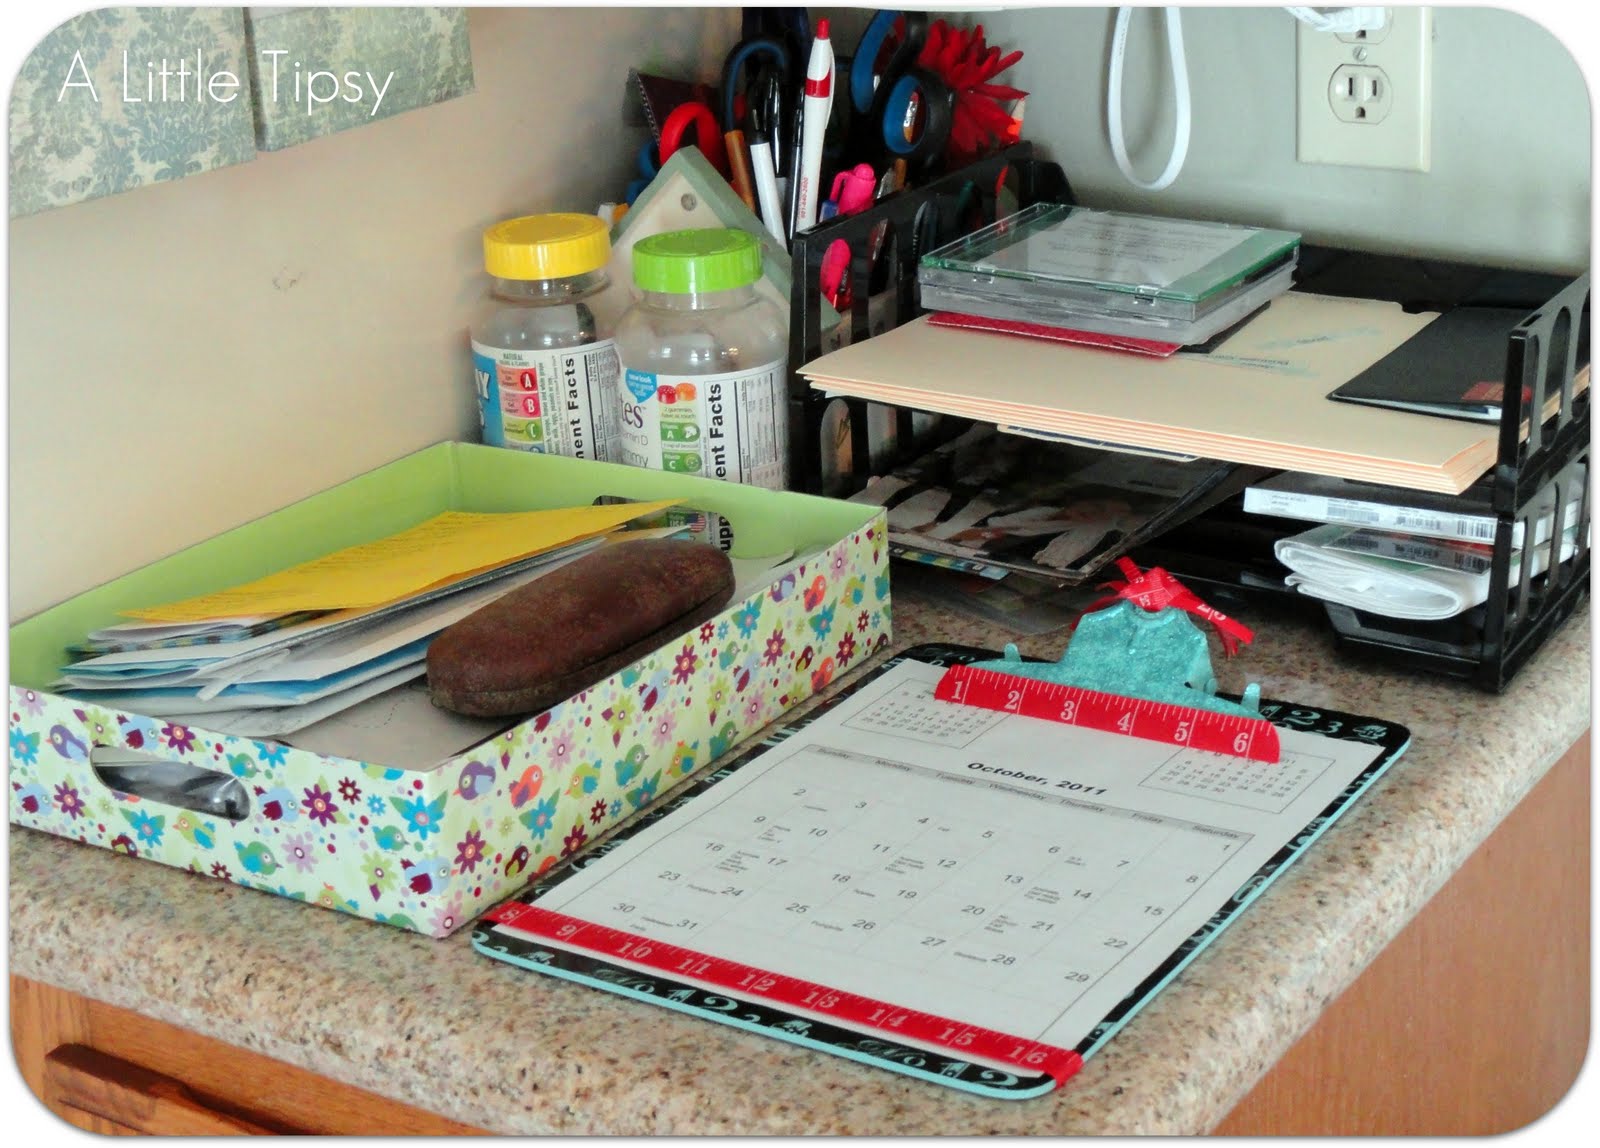
{After}
I hate to say it, but I had already gone through a lot of the paper when I took the before pic. I realized that one place for everything was making one big mess so I broke things down in to several systems:
1. Inbox{green flowery number}: for the daily influx. I go through this nightly.
2. School clipboard: for preschool calenders & papers
3. Magazine holder {turquoise on small table}: holds the magazines and catalogs I want to go through. I take one at a time up to my nightstand.
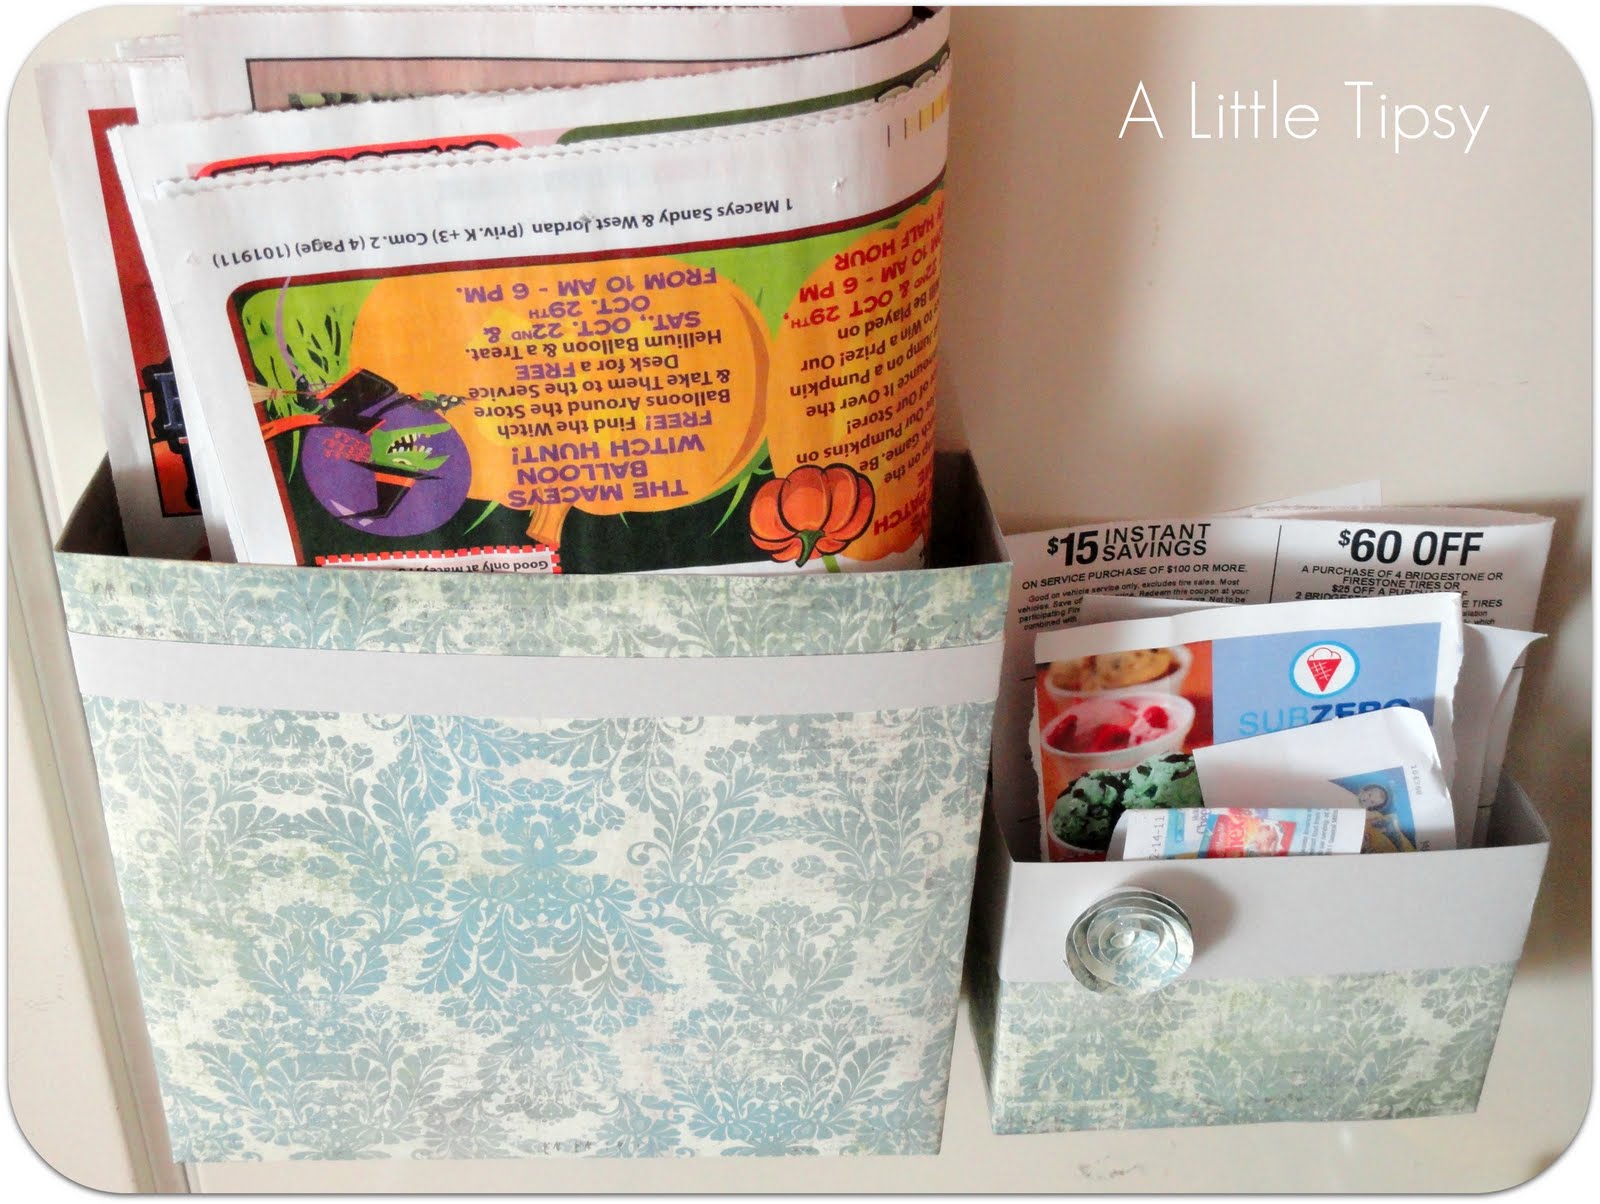
4. Grocery System: one for ads and one for coupons on the side of the fridge made from snack boxes and scrapbook paper. Inspiration by…
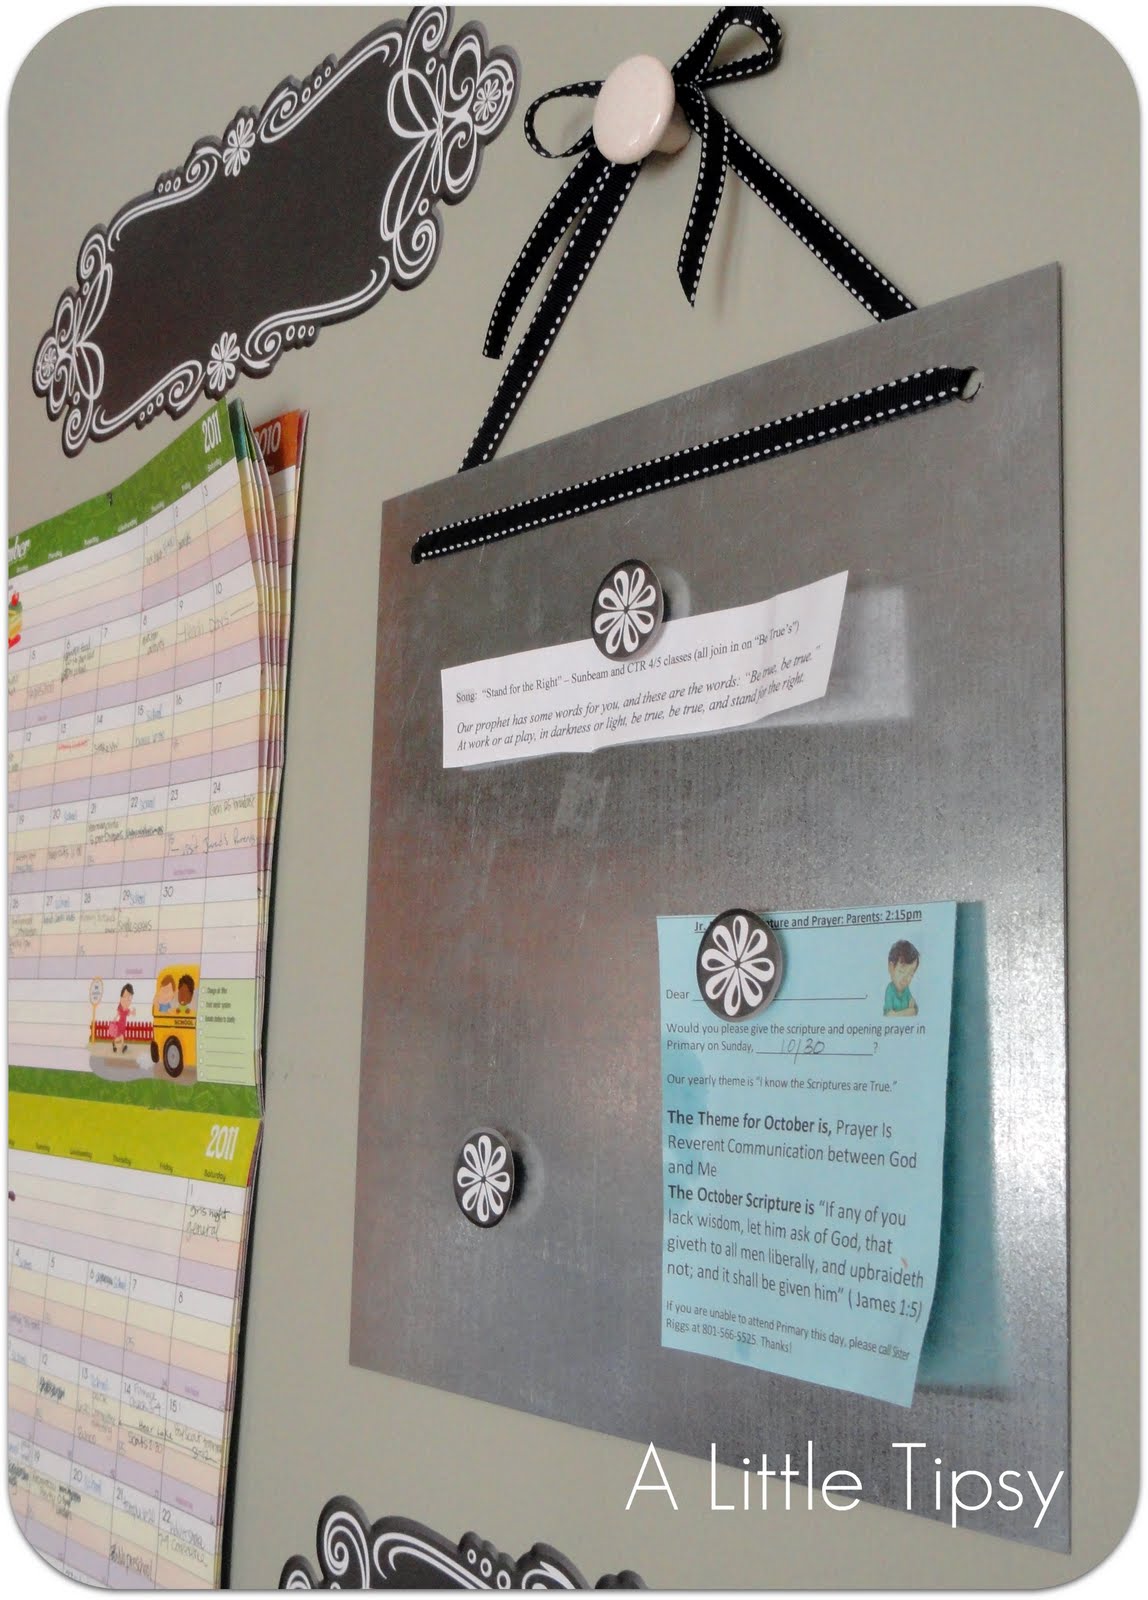
5. Magnet board: for little notes that need to be in plain sight or will be around less than a week.
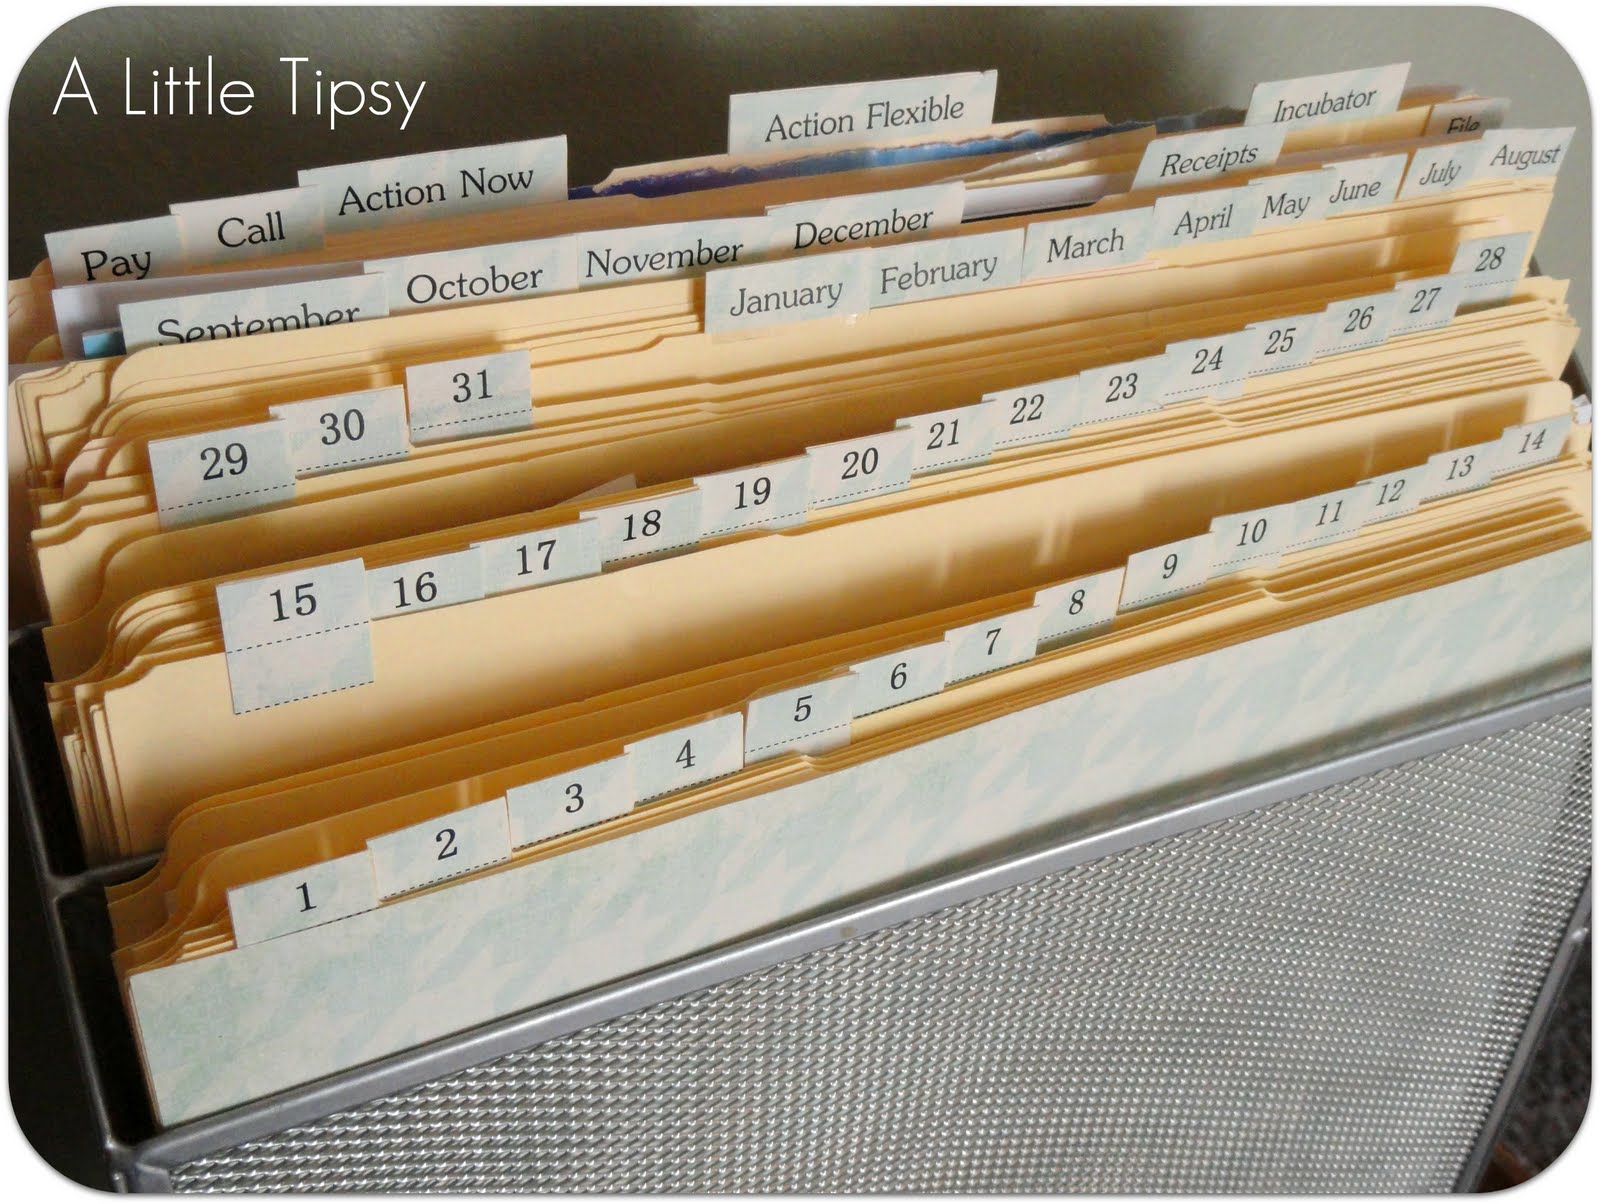
6. Tickler file: A folder for each day of the month and each month of the year. To file things with a due date or inspiration for certain times of the year. I also added pay, call, action now, action flexible, receipts, file and incubator (need time to decide if I need to keep ie. kids artwork) folders.
My friends at Simplify 101 are offering one lucky reader a free spot in the Get Organized for the Holidays online workshop {$67 value}.
This online workshop is the ultimate holiday planning workshop. Start making your plans for a joyful (and stress-free!) holiday season in early November.

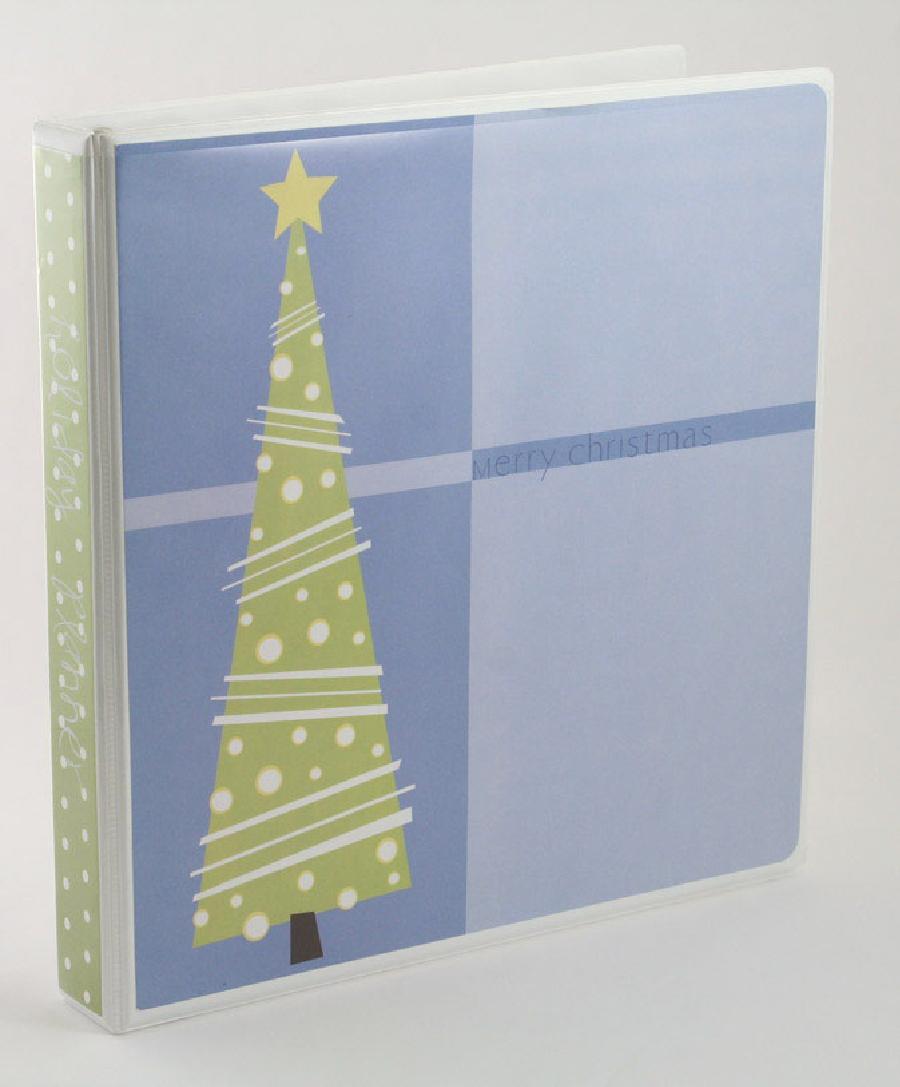
We’ll create a holiday planning binder loaded with holiday planning forms, checklists, and best of all, a customized holiday plan that focuses on what’s most important to you and your family. Then, learn how to weed-out and simplify your less meaningful holiday tasks, freeing-up time to truly enjoy and savor those activities that make the holidays most special to you.
How to enter (up to four chances to win):
-
Leave a comment on this post telling me what you are most looking forward to this holiday season.
- Follow A Little Tipsy
-
Mention this giveaway on Facebook or Twitter, then leave a comment letting me know you did.
-
Sign up to receive the free Mini Guide for creating a command central binder, then leave a comment letting me know you did.
Giveaway closes Thursday, October 27th. Good luck!
Bonus: simplify 101 is offering my readers 15% off enrollment in this workshop! To take advantage of this offer, enter ALT15 during checkout. This coupon is good through Thursday, October 27, 2011 and may not be combined with any other offers.
If you’d like more tips on organizing your home or office top to bottom, sign up for Simplify 101’s organizing newsletter right here ! You can also follow the blog and get even more daily tips.
——————————————————————
The winner of the $50 gift card from Groopdealz is…
jen said… I love groopdealz! i love the vinyl decals
Congrats!
P.S. Don’t forget to sign up for free Tipsy updates via RSS or email.


