Thank you, Michelle, for letting me steal the show! I had the great opportunity to meet Michelle the other day and I’m so glad that I did! Her projects are amazing 🙂 I guess I should introduce myself, I’m Alicia, voice behind Thrifty and Chic.

Like most of you, I’m sure, I love to create and decorate! I usually focus on projects like building furniture and easy….and cheap :)…..DIY projects for your home. I’ve been on a kick lately of changing up the walls in my house, like this planked wall in my front room. I am in love with it…well, as in love with it as you can be with an inanimate object 😉 lol. I also just redid my guest bathroom for under $60…and the board and batten in there was only $11. I’m all about decorating on the cheap…or lets class it up and say ‘being thrifty’. That’s also why I choose to build my own furniture. It’s a great easy way to change up a space without spending a lot of money…just using a little bit of elbow grease. You can find all my furniture plans, from farmhouse tables to benches, on my blog!
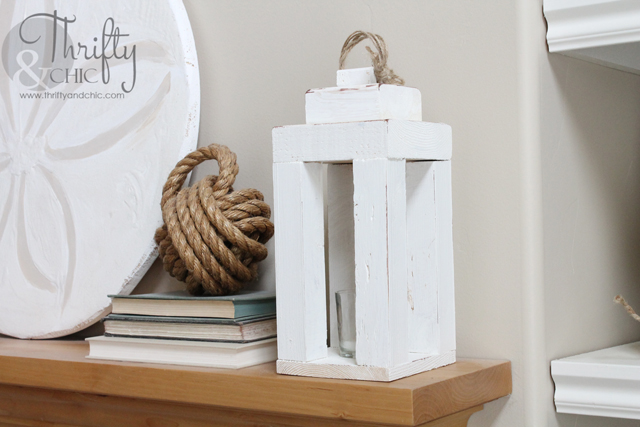
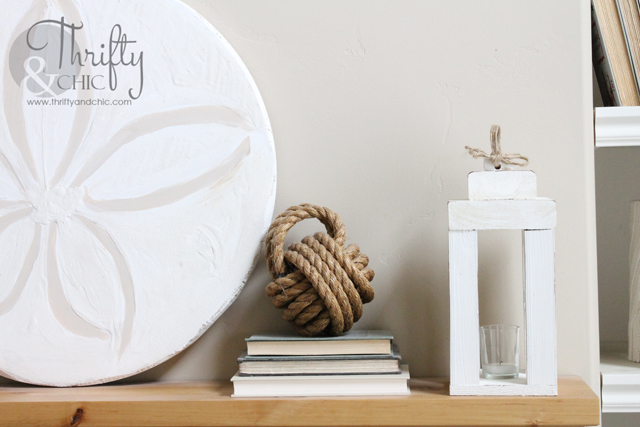
Today I’m going to share with you a super simple ‘building’ project. A lantern. A cute little shabby chic lantern 🙂 If you have some wood sitting around your house, I’m sure you’ll have enough to make this. I just used some scrap pieces. And the best part, since it’s ‘shabby chic’ who cares what the wood looks like 🙂 The more beat up the better!
Read on for the full tutorial…
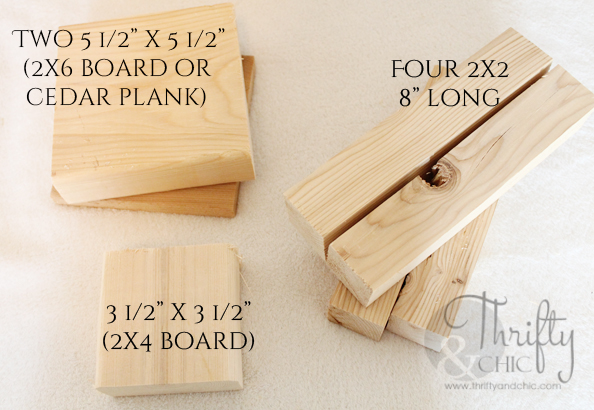
Here are the supplies:
- 2 pieces of wood cut to the same measurements. Mine are 5 1/2″ x 5 1/2″. I used a 2×6 board and a cedar plank board for this. You can use a cedar plank for both or a 2×6 for both. However you want it to look.
- One 2×4 cut squared, so about 3 1/2″ x 3 1/2″
- Four ‘legs’ cut the same height. You can use a 1×2 or a 2×2 for this. I cut mine 8 inches high
- One 1×2 cut square (not pictured)
- Wood glue
- Screws (if you plan to actually hang this)
- Paint/stain
- Jute/rope
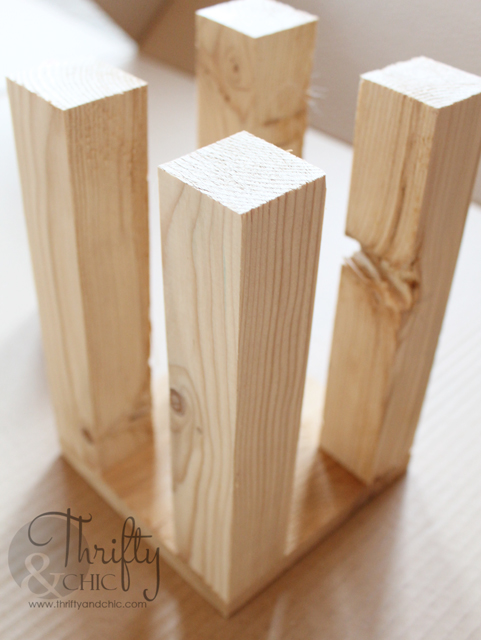
First step: Place the ‘legs’ (I know they aren’t legs, but it’s easier to explain this way lol) on top of one of the 5 1/2×5 1/2 pieces in the corners. Secure with wood glue.
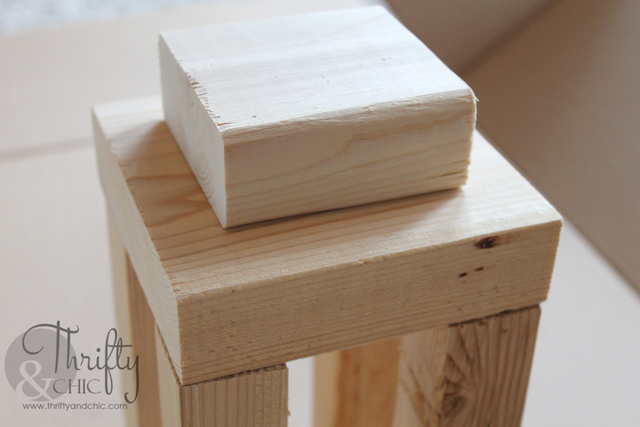
Step two: Place the top 5 1/2 x 5 1/2 piece on top, secure with wood glue.

This would be a great time to screw the legs into both sides if you are deciding to hang the lantern. Counter sink your screws on the top piece, and fill with wood putty so you won’t see them.
Step three: Secure the 2×4 piece on top of the piece in step 2, make sure it is centered.
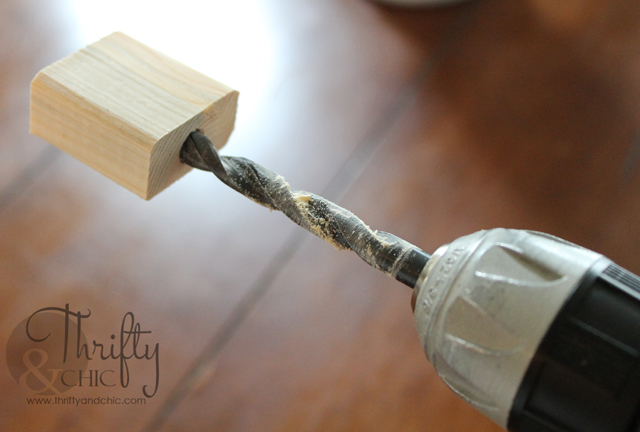
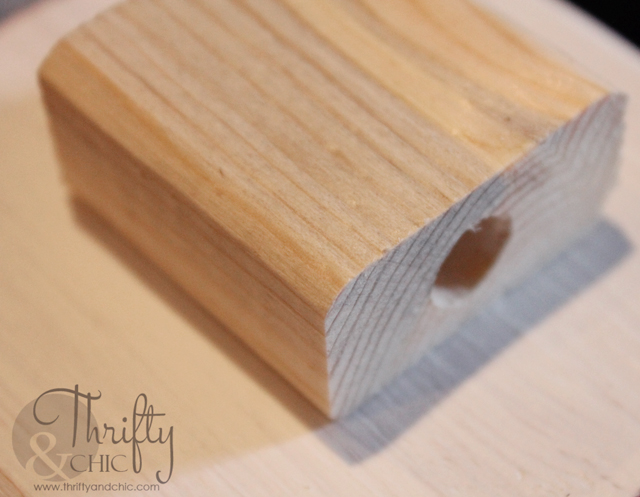
Step four: Take your square 1×2 piece, and drill a hole down the middle long ways. Secure to the top of the lantern.
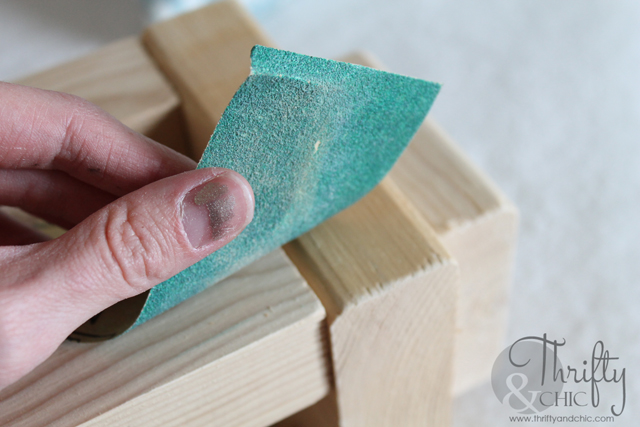
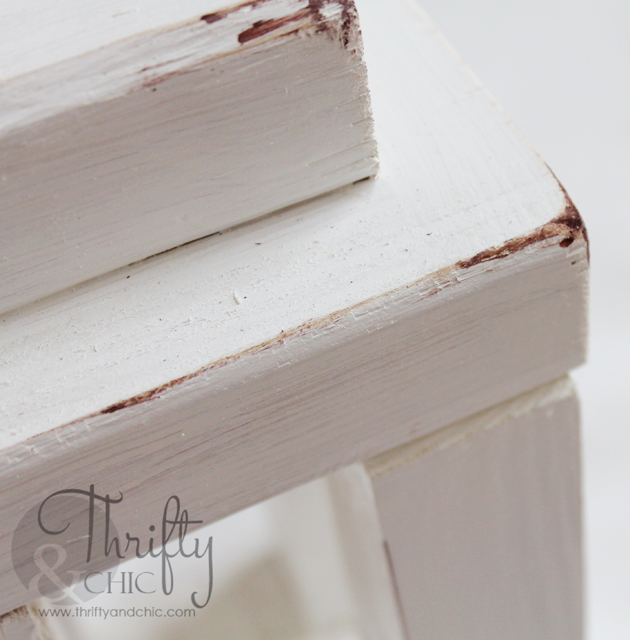
Step five: Make it look nice. Sand and then paint/stain and distress (if you would like).
Step six: Get some jute, and send it through the top hole, tie it off.
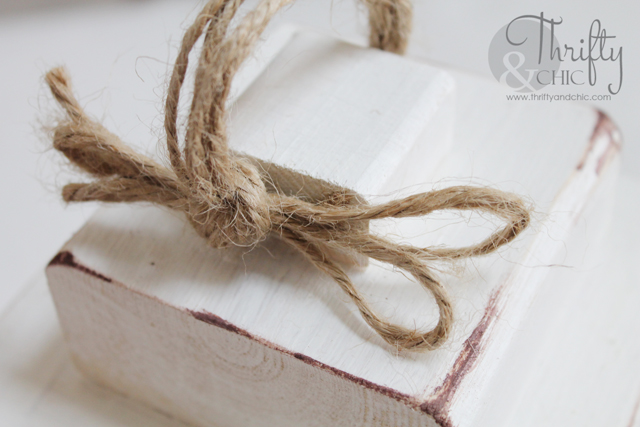
And there you have it! Just needs a light. I used a votive candle holder for mine. Just make sure that if you use a candle that actually burns, you have enough room from the top and all sides of the wood. Just use your own discretion on this, and be safe 🙂
You can probably tackle this project in about an hour if you aren’t making dinner or wrestling around with the kiddos.
Thanks again Michelle! I hope to see you all soon 🙂
I so love this idea! Looks so good!
Deborah
http://www.threedawgladydesigns.blogspot.com